Edamame Salad with Peanut Sauce
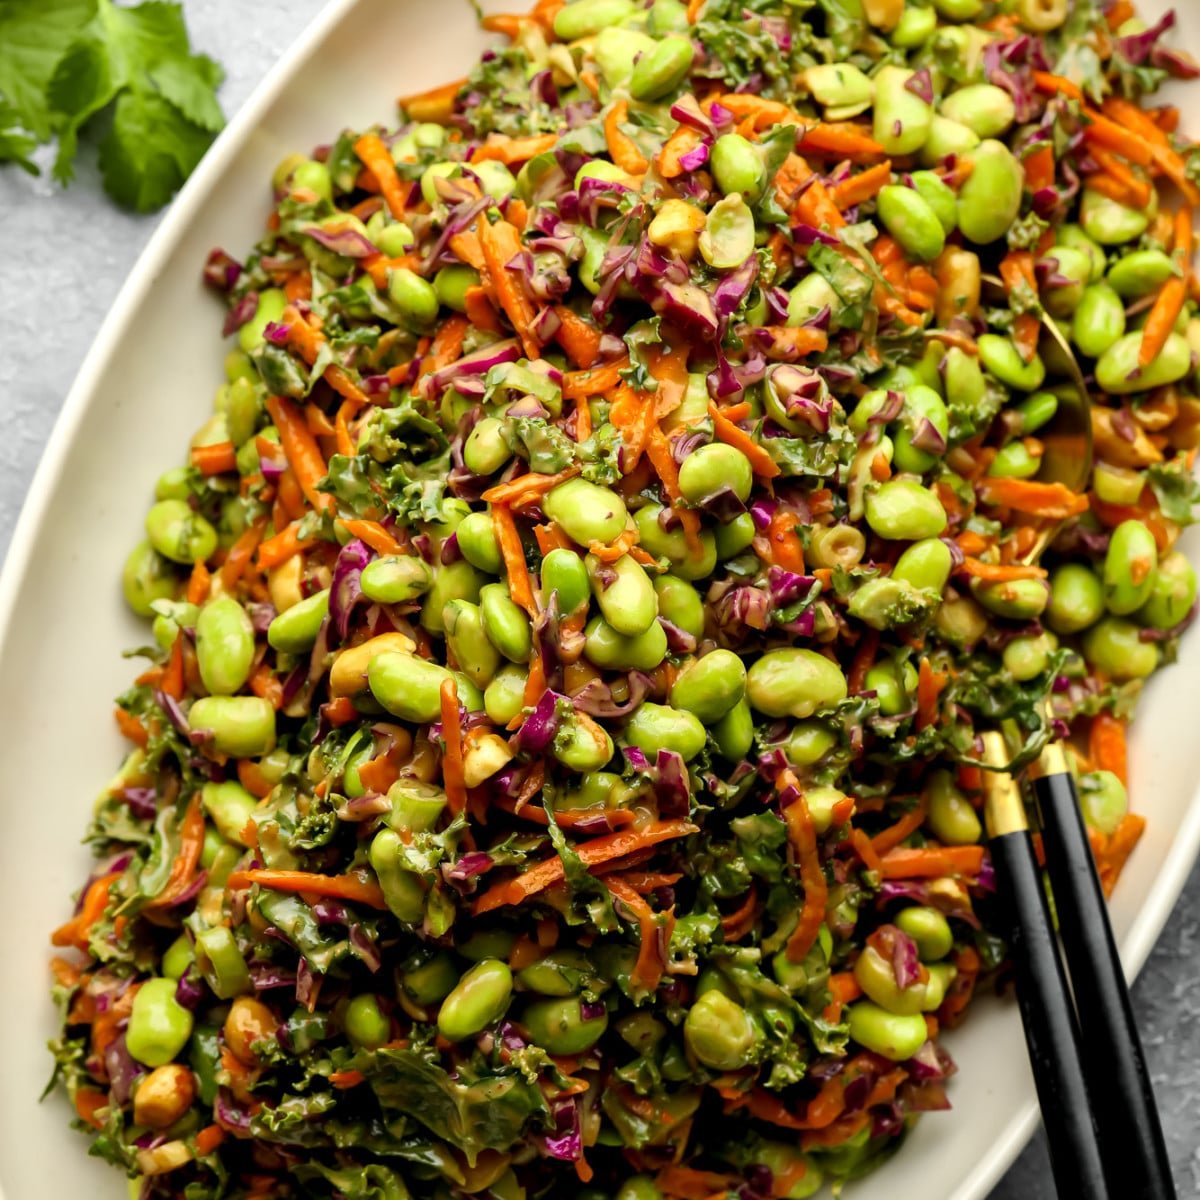 This protein-packed Edamame Salad tosses crunchy and colorful vegetables in a Thai-inspired peanut dressing. Enjoy it as a refreshing side dish or a hearty meal! If you’re on the lookout for more plant-based meal-prep recipes, you’ll also love my White Bean Salad, Creamy Carrot and Lentil Soup, and Easy Chana Masala. I’m tofu’s #1 fan…