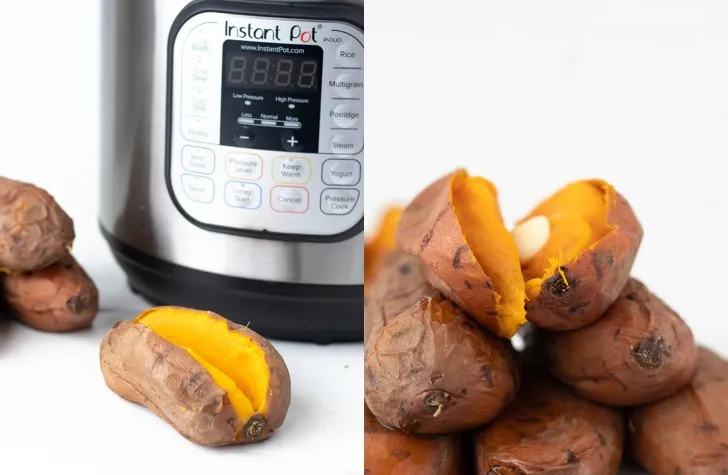
How many times have you pulled out your butternut squash just before supper and realized you don’t have enough time to cook it before the rest of your supper is ready?! This happens to me all. the. time. Am I the only one? I doubt it. Once your butternut squash is cooked it still needs to be separated from the skin, making it quite the ordeal to create on the fly. It’s also a lot of time and work just to use it all up in a soup or sauce!
Our Instant Pot method for cooking butternut squash will allow you to make the squash super quickly, as well as cook it in a way that separates the squash from the skin with minimal effort.
Want New Instant Pot Recipes and Content Delivered Straight To Your Inbox? Sign up for our Instant Pot Email Newsletter!
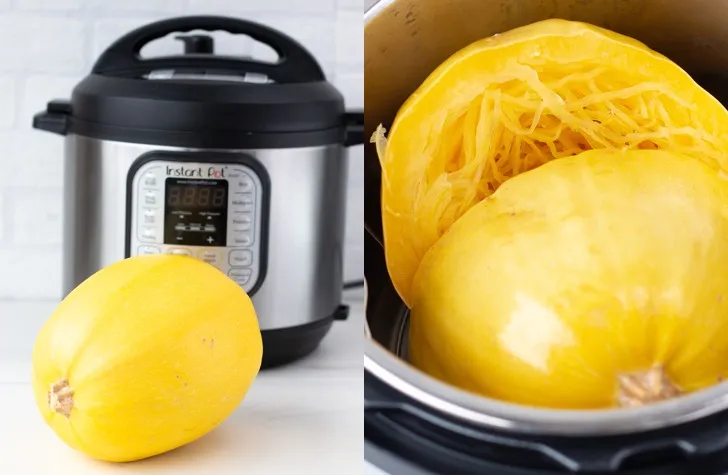
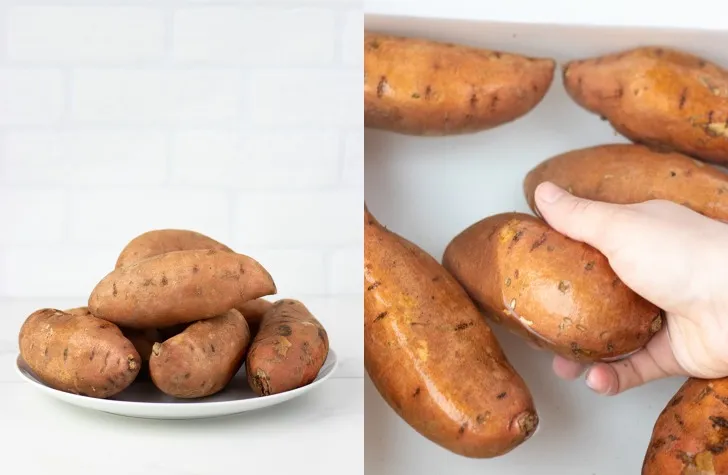
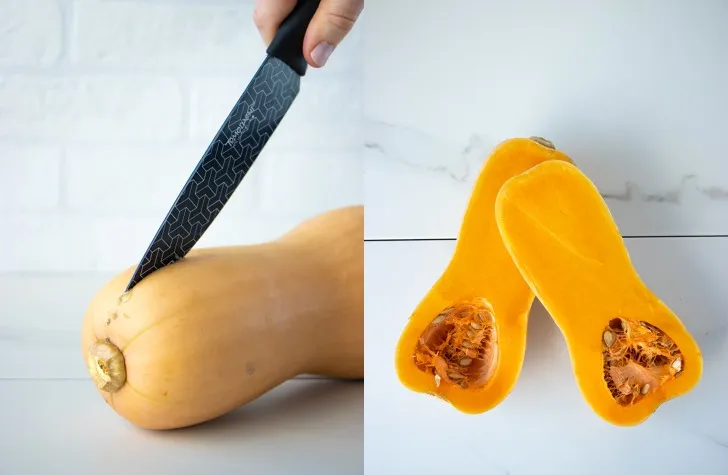
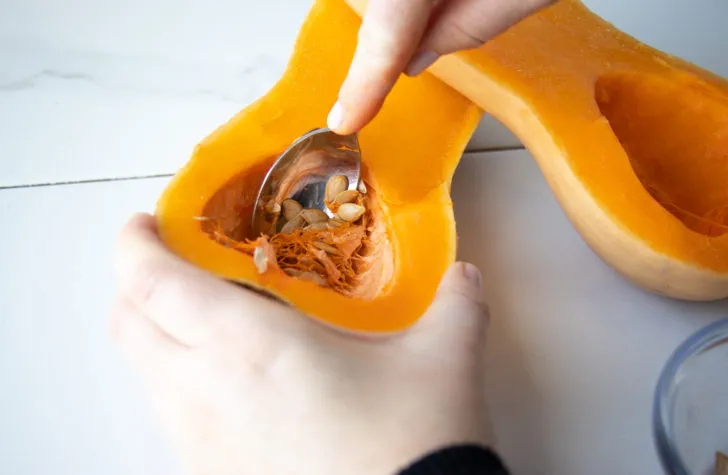
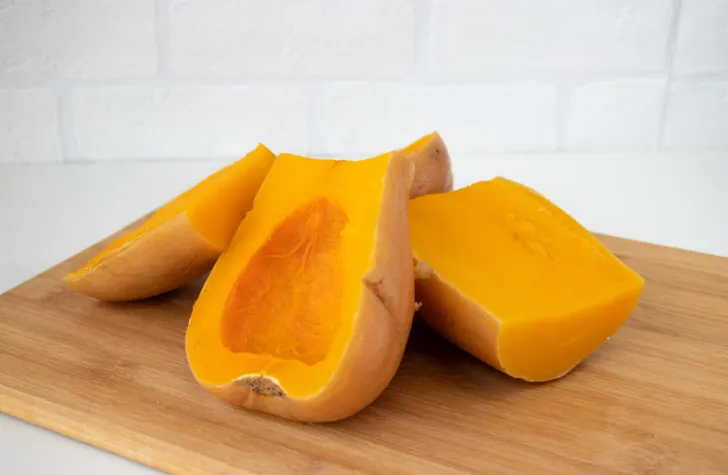
1. Cut and Scoop Out Seeds of Squash
If you’re a fan of Halloween, you’ll feel a little nostalgic about scooping out the seeds from your butternut squash. This important step makes it easy to serve up your squash after it has been cooked.
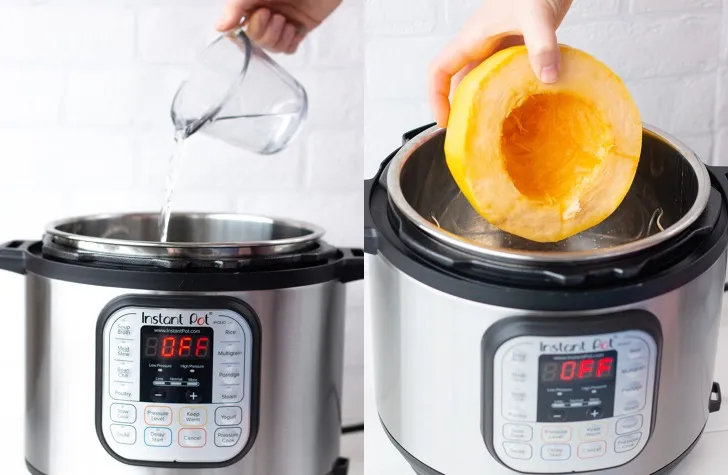
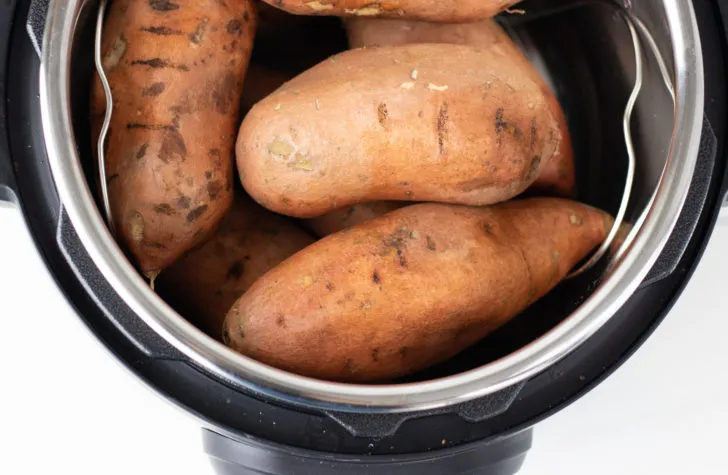
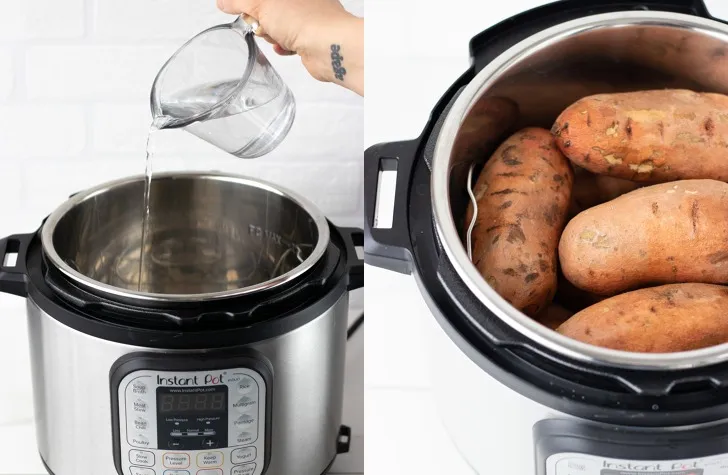
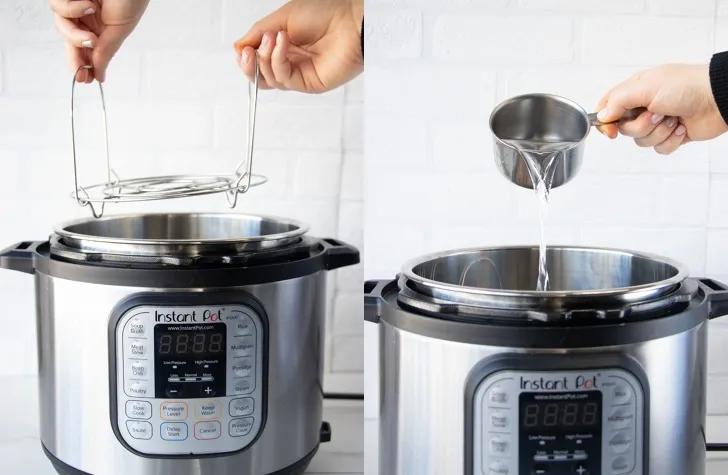
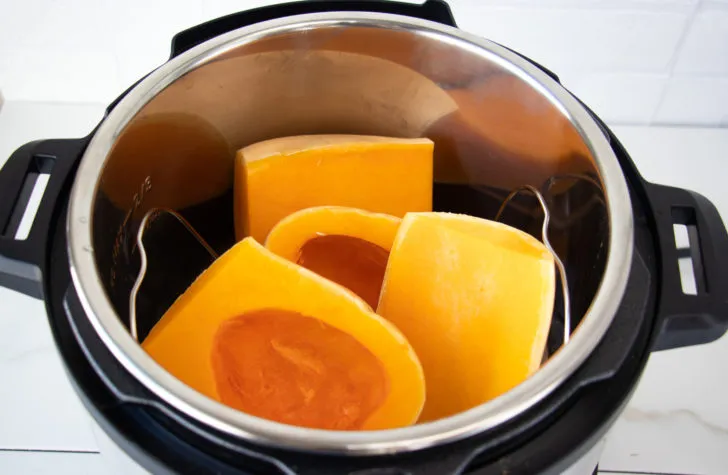
2. Add Trivet, Water, and Squash into Instant Pot
The water is what allows the Instant Pot to pressure cook the squash so it comes out tender! Adding the trivet simply keeps the squash out of the water and therefore from getting soggy. Place the deseeded squash in next. The size is completely up to you, as long as you choose one that will fit into your pot! If you’re having a bit of trouble fitting it in, cut a little bit off the top of each squash half until you can comfortably close the lid. The size you can get away with will largely vary depending on the shape of the squash and how big your IP model is.
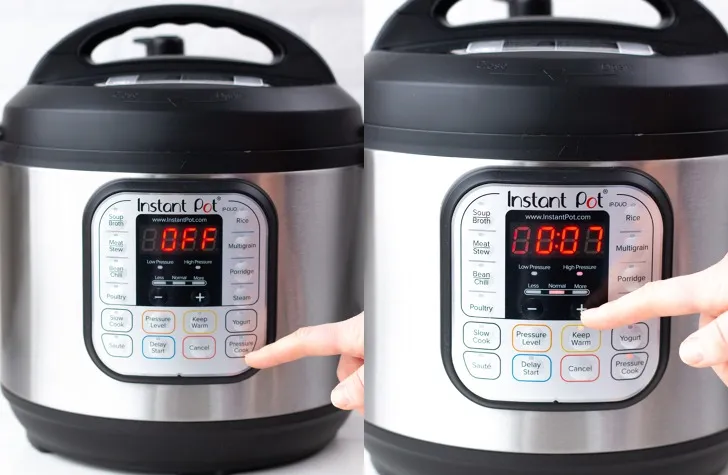
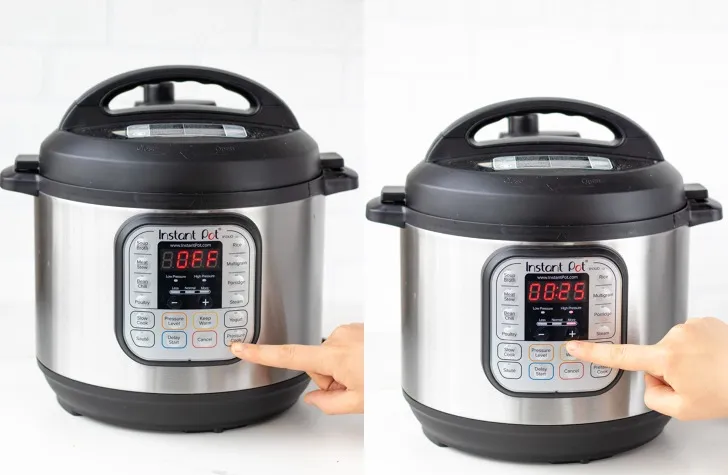
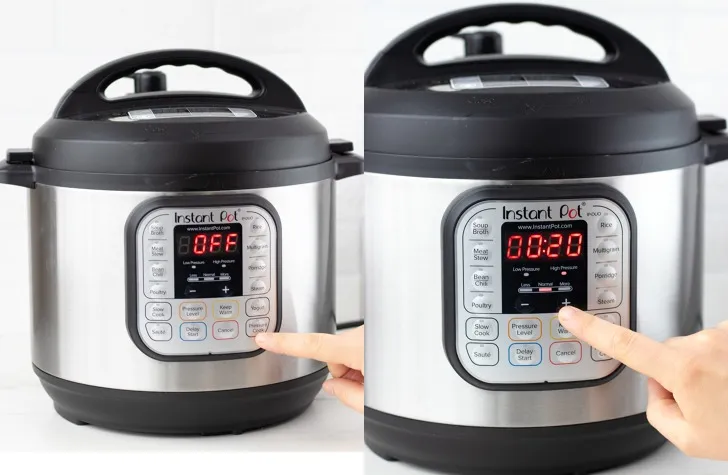
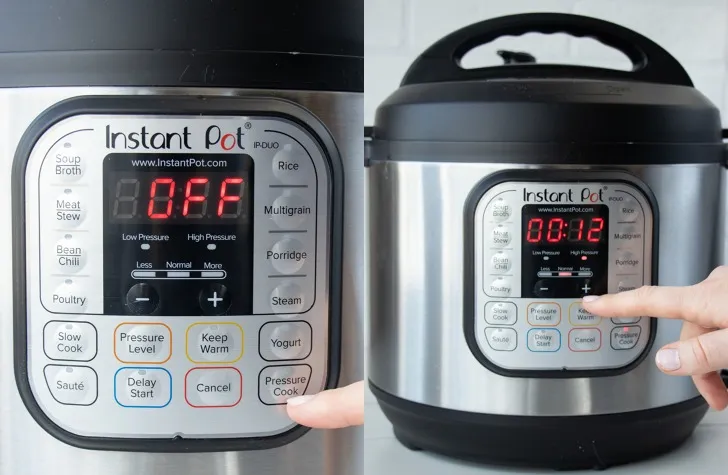
3. Pressure Cook
Put the lid on and set the valve to sealing. Cook on Manual/Pressure Cook HIGH for 12 minutes. Remember to account for the time it’ll take the pot to come to pressure (much like you’d allow time for the oven to preheat) when you’re planning your dinner time! It took our 6 Quart Pot Duo 13 minutes to come to pressure, but this will vary depending on the model and size of your Instant Pot.
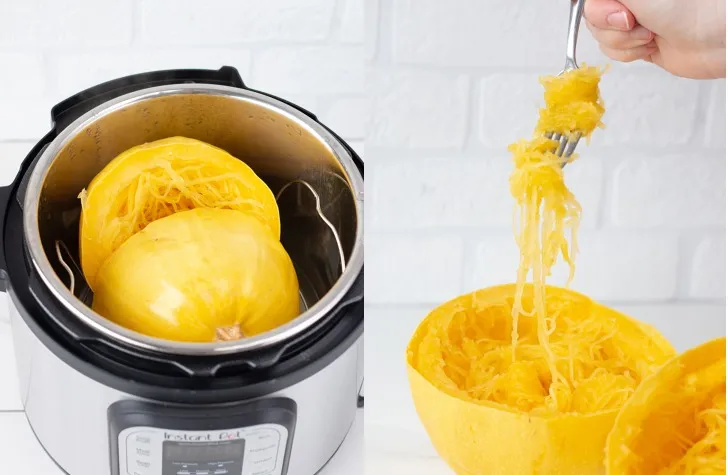
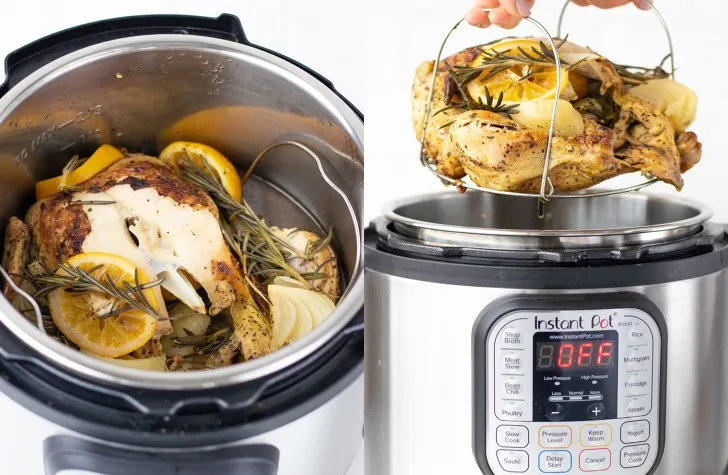
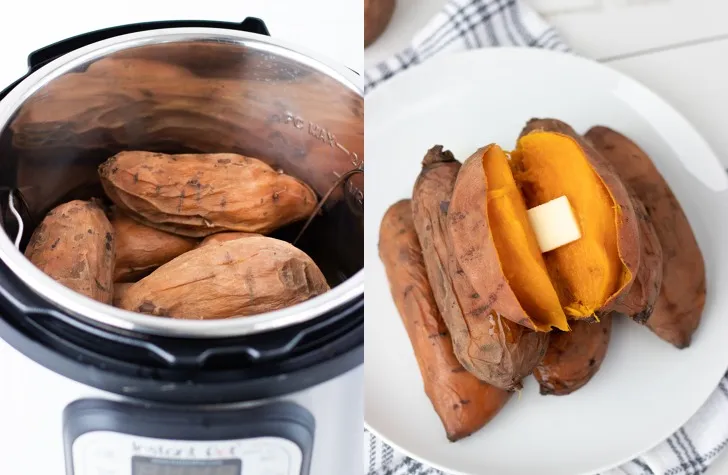
4. Quick Release and Serve
When the cook time has elapsed, quick release the pressure, making sure to stand far away enough from where the steam valve to avoid accidentally burning yourself. Remove the squash and let cool for 5 minutes before easily peeling away the skin. Each as is with some butter and salt, add to a dish, or make a soup or sauce out of it! No matter how you use it, it’ll be ready in a jiff and delicious.
Ingredients
- 1 medium butternut squash
- 1 cup water or broth
Equipment
- Instant Pot
Method
- Slice the butternut squash in half lengthwise and scoop out the seeds.
- Add liquid, then trivet, then squash halves to the Instant Pot.
- Lid the pot and set the valve to sealing. Cook on Manual/Pressure Cook HIGH for 12 minutes.
- Once the cooking time has elapsed, quick release the pressure and remove the lid. Carefully remove the squash and once cooled slightly and peel off the skin.
- Serve hot, use for other recipes (such as soup or in a side dish), or store in an airtight container for up to a week!
Notes:
If the squash doesn’t quite fit into the pot, chop a bit off either end until it fits. You may also find that the shorter, squatter squashes fit better, so keep that in mind when you’re at the grocery store.
It took our 6 Quart Pot Duo 13 minutes to come to pressure, but this will vary depending on the model and size of your Instant Pot.

The post Instant Pot Hack: How to Cook Butternut Squash appeared first on Forkly.