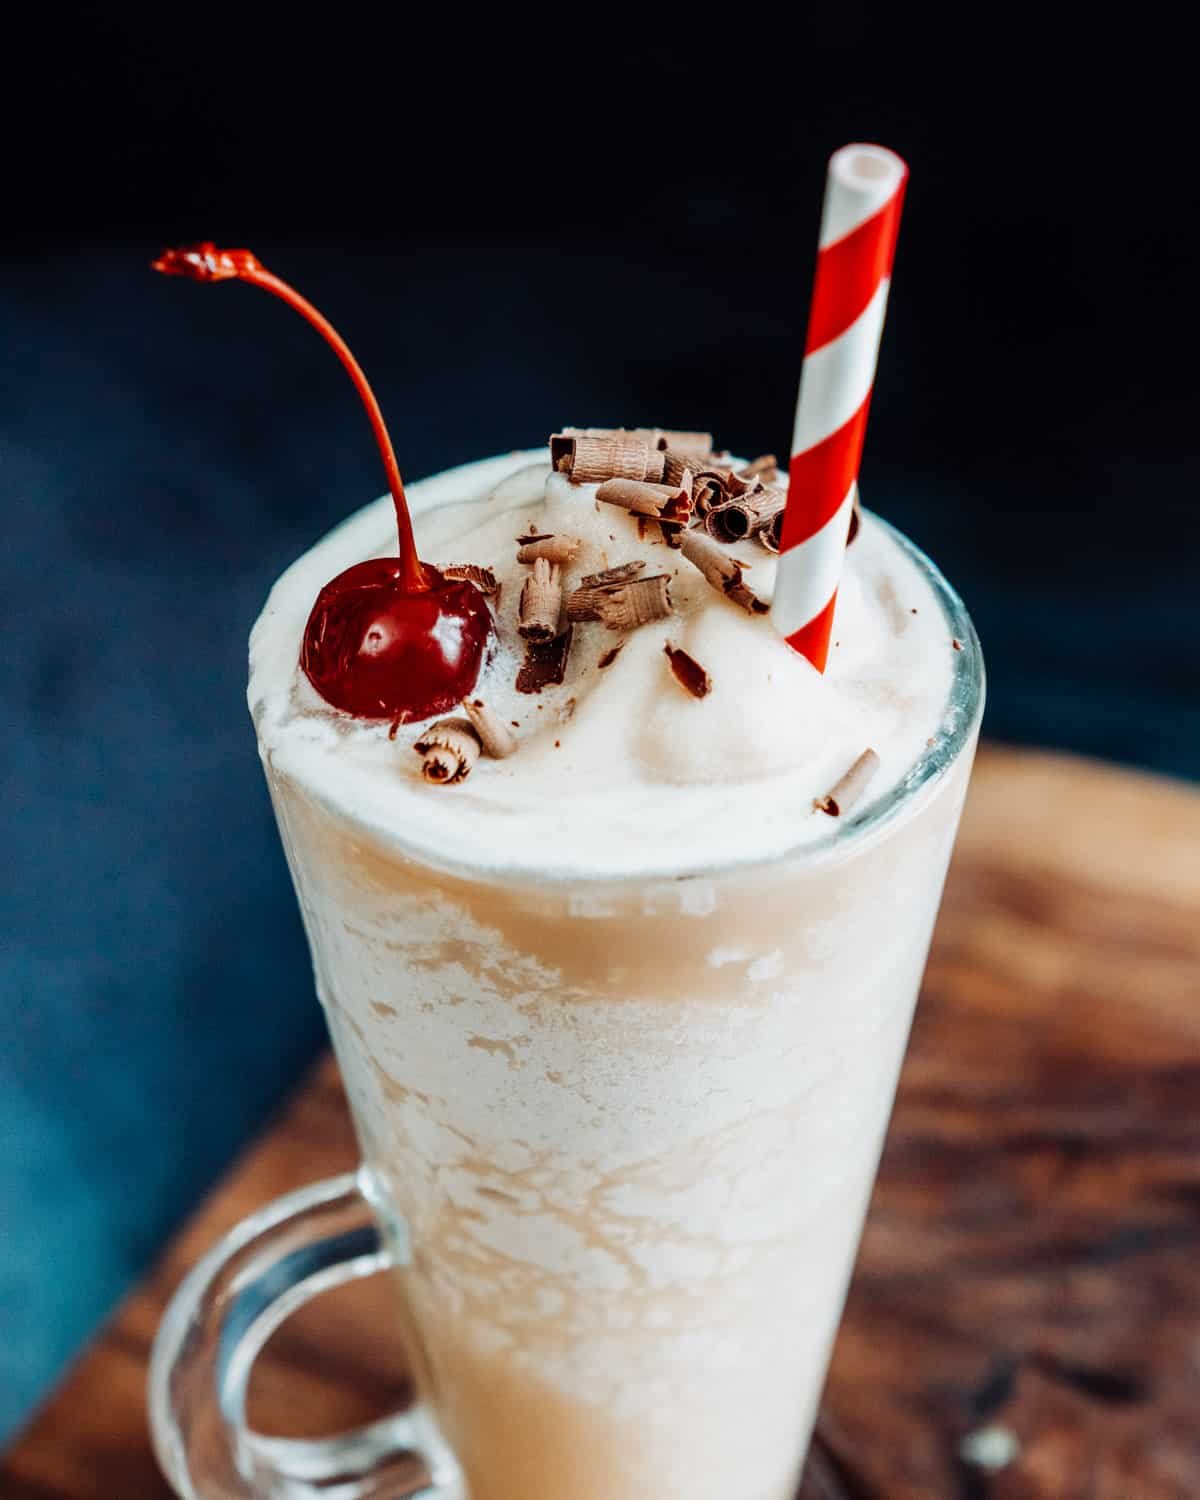
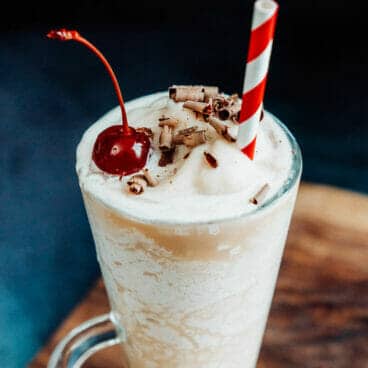
The Bushwacker drink is like a mashup of a chocolate milkshake and piña colada! This boozy frozen cocktail stars Kahlua and creme de cacao.

Here’s a frozen cocktail that will blow your mind with its creamy, chocolaty flavor: the Bushwacker drink! It’s equal parts refreshing and rich—essentially a mashup of a chocolate milkshake and piña colada.
Why we love this recipe: The Bushwacker is lusciously smooth with notes of chocolate, coffee and vanilla. It’s perfect for sipping poolside as a summer cocktail, or as a dessert drink any time you’re dreaming of sun. Here’s everything you need to know to make it!
Bushwacker cocktail ingredients
The Bushwacker is a frozen cocktail made with rum, Kahlua, creme de cacao, cream of coconut, and milk, known for its creamy texture, sweet flavor, and boozy kick. Invented in the 1970’s in St. Thomas, US Virgin Islands, it has since become popular in Florida and the American South. What’s in a Bushwacker? This frozen boozy milkshake relies on these ingredients blended to perfection:
- Rum: Dark rum is common in a Bushwacker, but you can use aged or white rum. We like this drink with aged rum (golden or añejo), because it has subtle flavor notes of vanilla, coconut, and caramel.
- Kahlua: Kahlua is a coffee liqueur that’s made in Mexico. You can use other types of coffee liqueur like Tia Maria.
- Creme de cacao: This chocolate liqueur carries the milkshake flavor.
- Cream of coconut: Make sure to buy cream of coconut, a sweetened syrup for drinks (not coconut cream, which is a different product).
- Milk and ice: Any type of milk works here, from 2% to whole to non-dairy milk like oat milk or almond milk. Blend everything with ice to make the Bushwacker!
The story behind the name?
The Bushwacker was invented at the Ship’s Store Pub in St Thomas, U.S. Virgin Islands in 1975 as a tropical spin on the White Russian by bartender Angie Conigliaro and manager Tom Brokamp. Apparently they named it after a guest’s dog, an Afghan hound named Bushwack!
How to make a Bushwacker drink: step by step
Once you’ve got your specialty liquors, mixing up the Bushwacker drink is a breeze! Here’s what to do (or jump to the full recipe):
- Step 1: Place 2 ounces (¼ cup) each rum, Kahlua, creme de cacao, cream of coconut, and 2% milk in a blender. Add 3 cups ice and blend.
- Step 2: Pour into a glass and garnish with a straw. Garnish with a maraschino cherry for a classic presentation. The drink tends to separate, which is normal: just stir it up with your straw while drinking!
Pro tip: There’s no dairy in any of the liqueurs in a Bushwacker drink, so it’s easy to make it a dairy free or vegan cocktail using oat milk.
What is creme de cacao?
Despite what you might think, creme de cacao is not creamy or made with dairy! This special liqueur is one of the oldest around. Here’s more about it:
- Creme de cacao is a chocolate liqueur, available in both white and dark varieties. It’s possibly one of the first alcoholic beverages, made in the 1600’s by monks after cocoa beans were brought back to Europe from America (source). The original Bushwacker had dark creme de cacao, but white is easier to find and what we call for here.
- What does creme de cacao taste like? White creme de cacao tastes like milk chocolate with notes of vanilla. The darkvariety tastes richer with dark chocolate notes.
- Is it worth buying? Yes, if you like dessert drinks! Use it to make creme de cacao drinks like the Brandy Alexander, Chocolate Martini, or Grasshopper.
Look for cream of coconut
Another important ingredient in the Bushwacker drink: cream of coconut! If you read one thing in this article, note this: Buy cream of coconut, not coconut cream! What’s the difference? Here’s what to know about cream of coconut vs coconut cream:
- Cream of coconut is a sweetened syrup for drinks, made with coconut cream and sugar. It’s sold in handy squeeze bottles (a popular brand is Coco Real). Cream of coconut is easy to find online or at liquor stores. Use up leftovers in coconut cocktails like the Piña Colada, Chi Chi, Painkiller, or Coconut Martini.
- Coconut cream is unsweetened, very thick, and has a strong coconut flavor. It’s typically sold in cans next to the coconut milk. Coconut cream is made from chilling coconut milk and then skimming off the layer of cream that floats to the top. Avoid using it in cocktails!
Pro tip: If you accidentally buy coconut cream, you can still save your Bushwhacker drink! Use 1 oz coconut cream and 1 oz simple syrup in place of the 2 oz cream of coconut.
Use Kahlua or any coffee liqueur
The last ingredient of note in the Bushwacker drink is Kahlua, a popular brand of coffee liqueur. Here’s more about it:
- Kahlua is a coffee liqueur that’s made in Mexico. It’s made with rum, sugar and coffee. There’s no dairy in it: it’s naturally dark brown in color and tastes like sweetened coffee. Kahlua has caffeine, but only about 25% as much as the same volume of coffee.
- Is it worth buying? Yes, there are many Kahlua drinks! Try it in a Mudslide, Espresso Martini, B-52, Kahlua Coffee, Mind Eraser, Colorado Bulldog, Black Russian or White Russian.

More sweet & frozen drinks
The Bushwacker is one in a family of sweet cocktails and frozen alcoholic drinks. Here are a few related drinks you might enjoy:
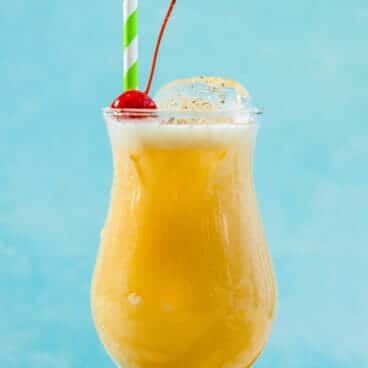
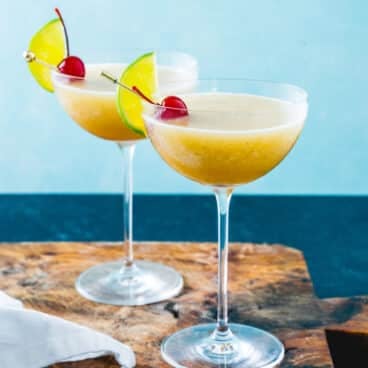
- The Pina Colada, Painkiller and Chi Chi are variations using pineapple juice and cream of coconut.
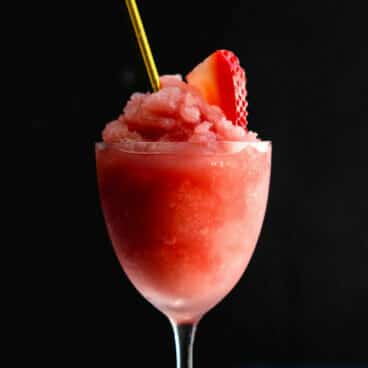
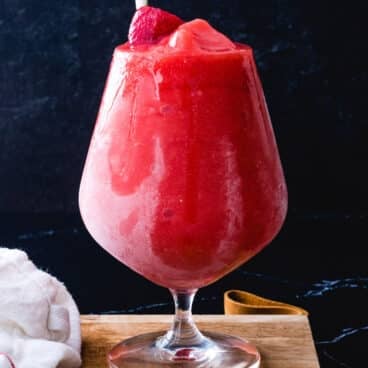
- The best Strawberry Daiquiri is homemade, made from frozen strawberries!
- This Frozen Margarita is the icy version of everyone’s favorite, the margarita.
- Try a Frozen Mojito for a minty frozen version of the Mojito.


Frequently asked questions
This frozen cocktail is a tropical blend of rum, coffee liqueur, cream of coconut, dark crème de cacao, and cream or milk. It’s known for its creamy texture, sweet flavor profile, and boozy kick.
Generally, it’s not an overly strong drink, but it packs enough alcohol content to be enjoyed responsibly.
The dominant flavors are chocolate and coconut, with hints of coffee and rum. The creaminess adds a luxurious mouthfeel, and the overall taste is sweet and refreshing.
While both are creamy and tropical, a Piña Colada features rum, pineapple juice, and cream of coconut. The Bushwacker adds coffee liqueur, dark crème de cacao, and skips the pineapple juice, resulting in a more chocolatey and coffee-forward flavor.
Dark rum is the traditional choice, offering a deeper flavor compared to lighter rums. However, you can also aged rum (anejo) with great results. White rum works too, and has a more straightforward flavor.
Yes! Opt for whole milk for a richer texture, or skim milk for a lighter option. You can also use non-dairy milks like oat milk and almond milk, which make this drink vegan and dairy-free.
Serve your Bushwacker in a chilled hurricane glass for a festive touch. Garnish with a maraschino cherry for a classic presentation.
Classic Bushwacker
-
 Prep Time: 5 minutes
 -
Cook Time: 0 minutes
-
Total Time: 5 minutes
-
 Yield: 2 drinks
Description
The Bushwacker drink is like a mashup of a chocolate milkshake and piña colada! This boozy frozen cocktail stars Kahlua and creme de cacao.
Ingredients
- 2 ounces (¼ cup) aged, white or dark rum*
- 2 ounces Kahlua
- 2 ounces creme de cacao (white or dark; we used white)
- 2 ounces cream of coconut
- 2 ounces 2% milk
- 3 cups ice
- For the garnish: Shaved chocolate or grated nutmeg, cocktail cherry (optional)
Instructions
- Add all ingredients to a blender and blend until smooth.
- Garnish with shaved chocolate or grated nutmeg, if desired. Add straws and serve. (You can stir with the straw when the drink starts to separate.)
Notes
*We like using aged rum in this drink, since it brings oak and vanilla undertones. But either white or dark rum work as well.
 Category: Drink
 Method: Blender
 Cuisine: Cocktails
- Diet: Vegetarian
Keywords: Bushwacker drink


 Want more with berries? Try our
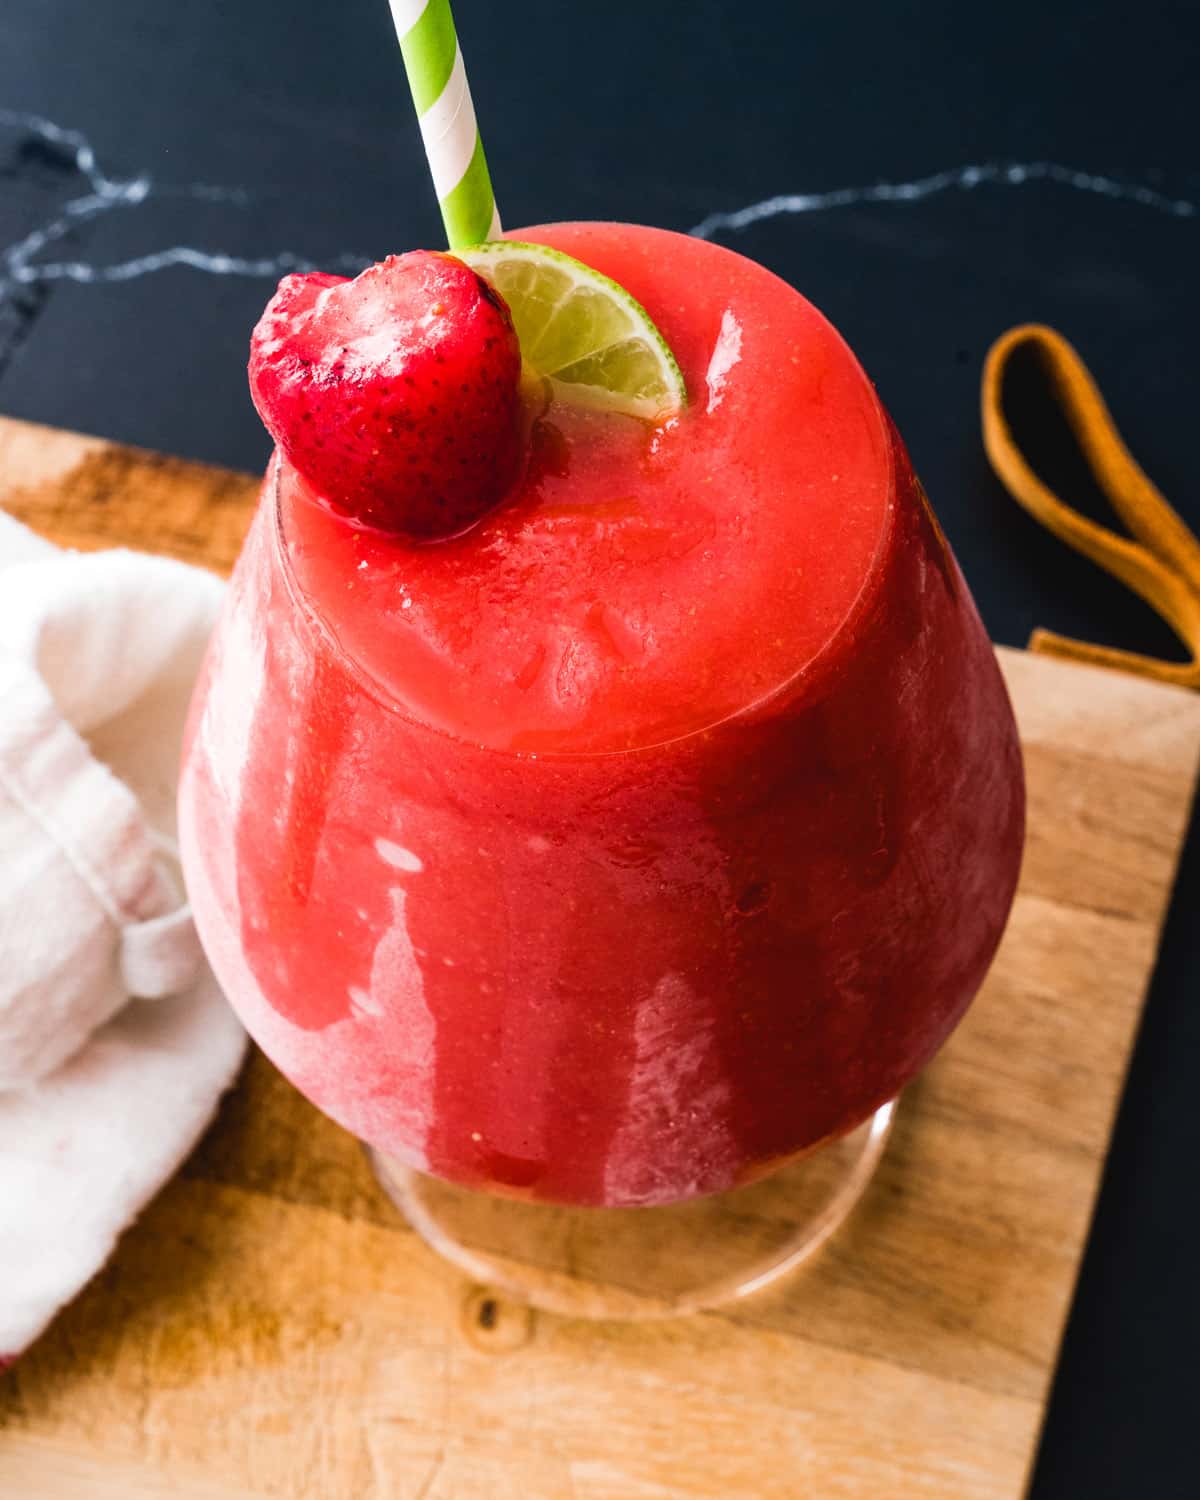


 You can use