French Onion Steak Crostini
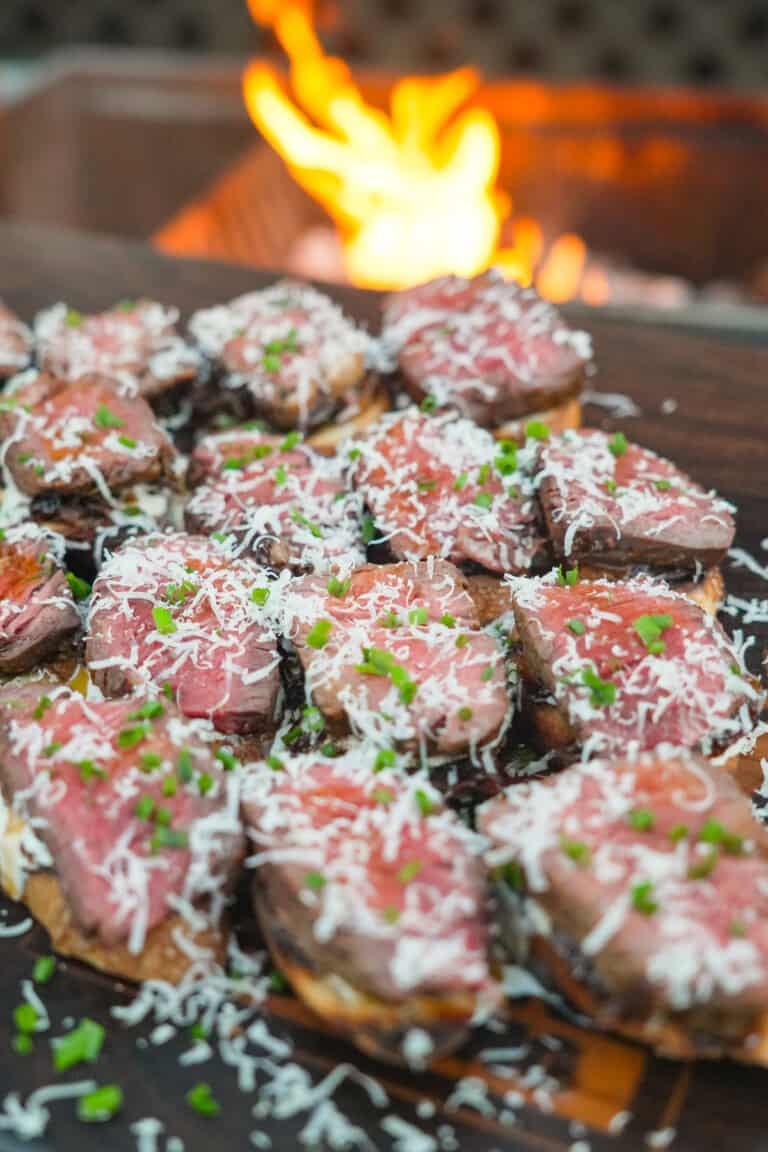
Just in time for the holidays, when cozy and comforting are must-haves on the menu, these French Onion Steak Crostini…
The post French Onion Steak Crostini appeared first on Over The Fire Cooking.
Just in time for the holidays, when cozy and comforting are must-haves on the menu, these French Onion Steak Crostini…
The post French Onion Steak Crostini appeared first on Over The Fire Cooking.
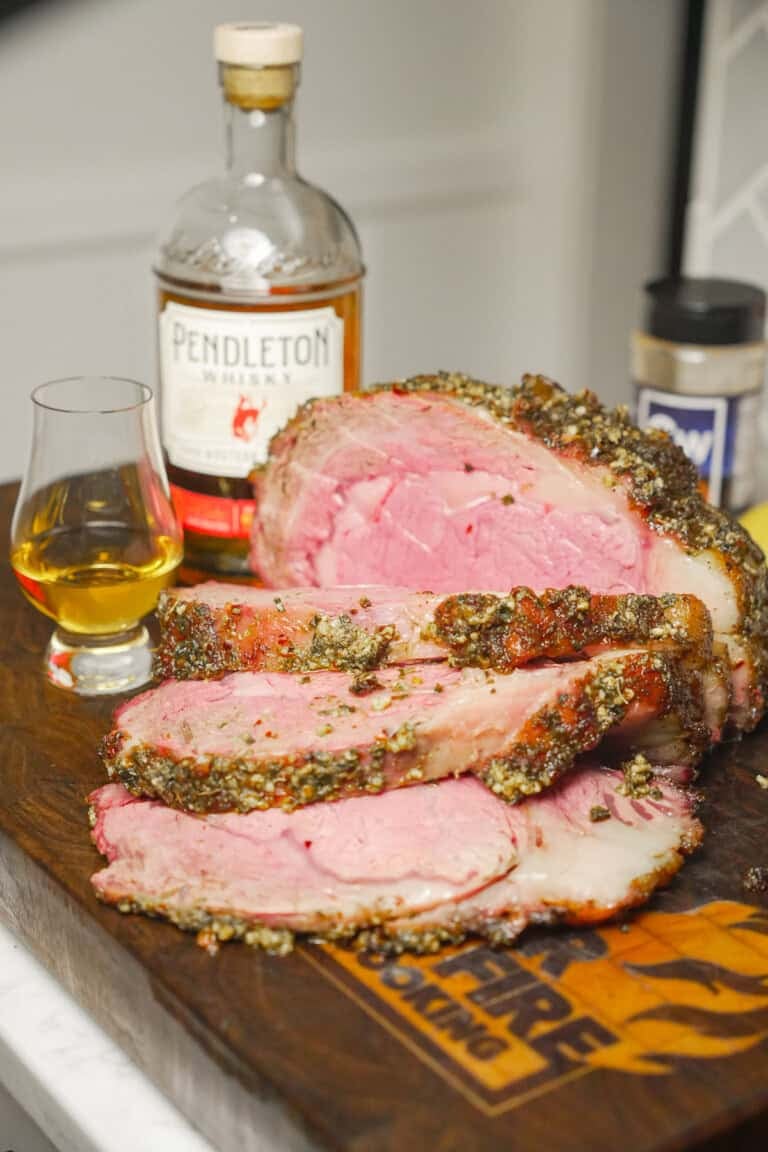
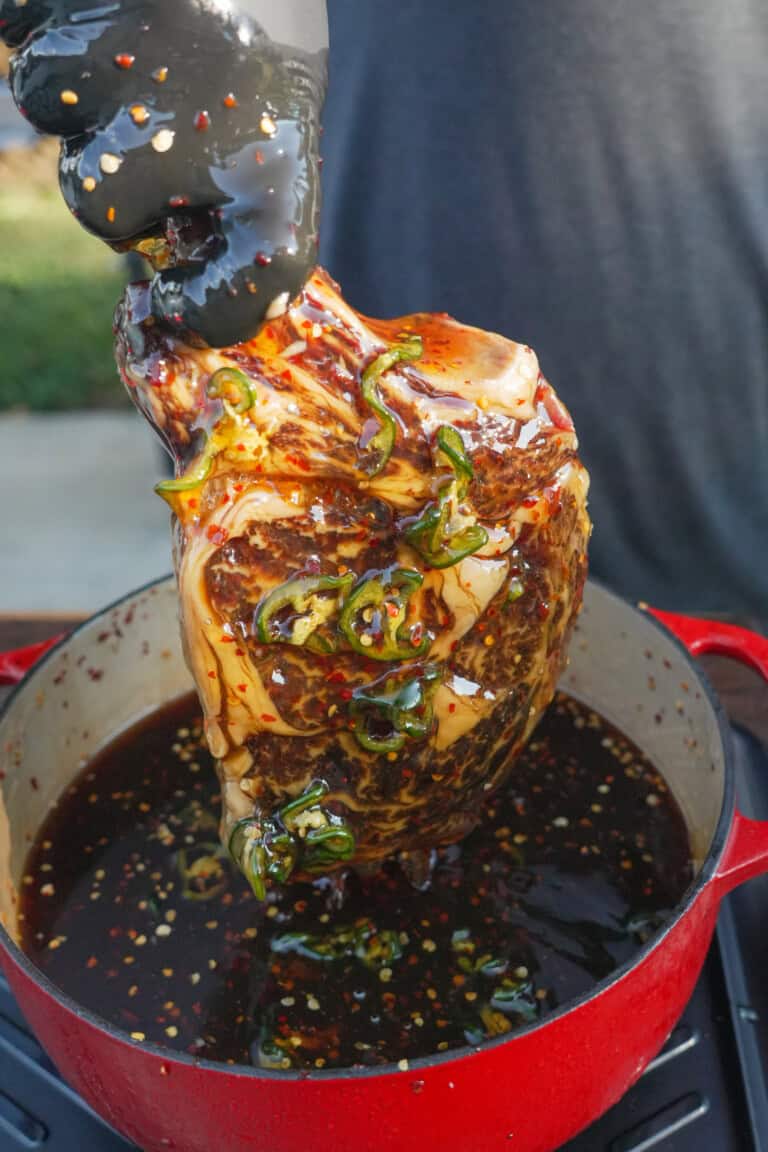
Just in time for the holidays, we’re firing up something bold, smoky, and a little experimental: a Whisky Injected Prime…
The post Whisky Injected Prime Rib appeared first on Over The Fire Cooking.
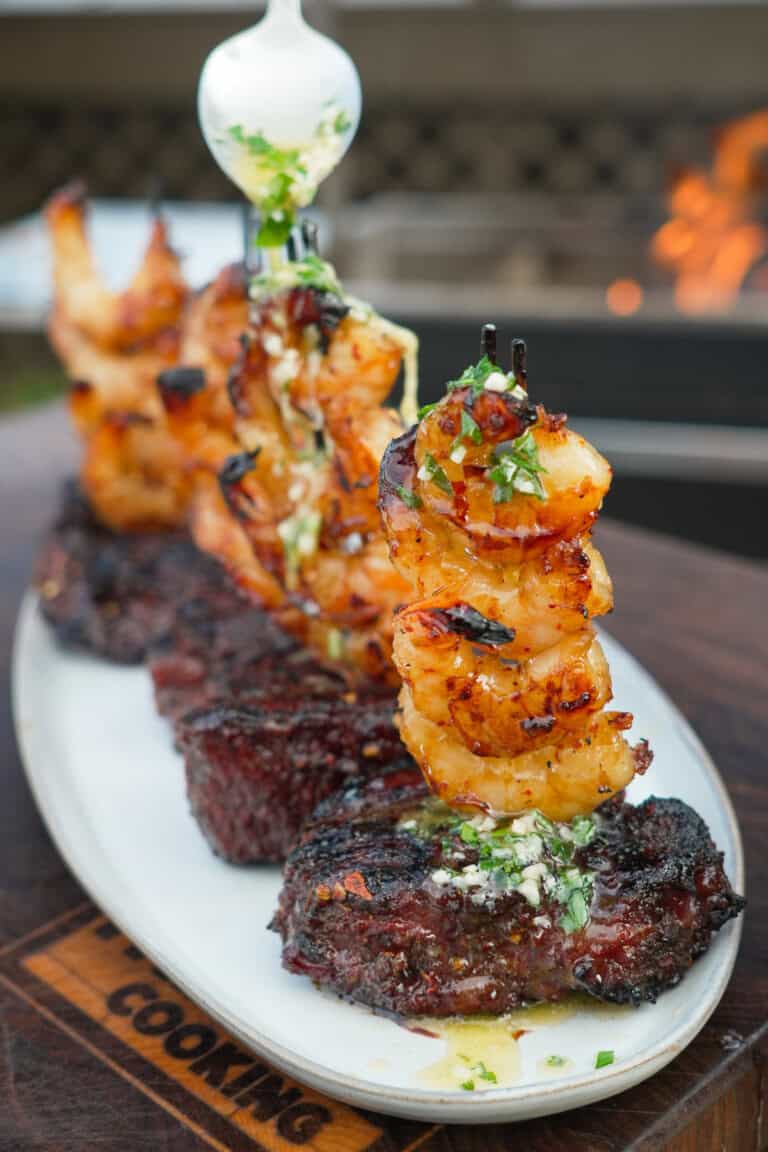
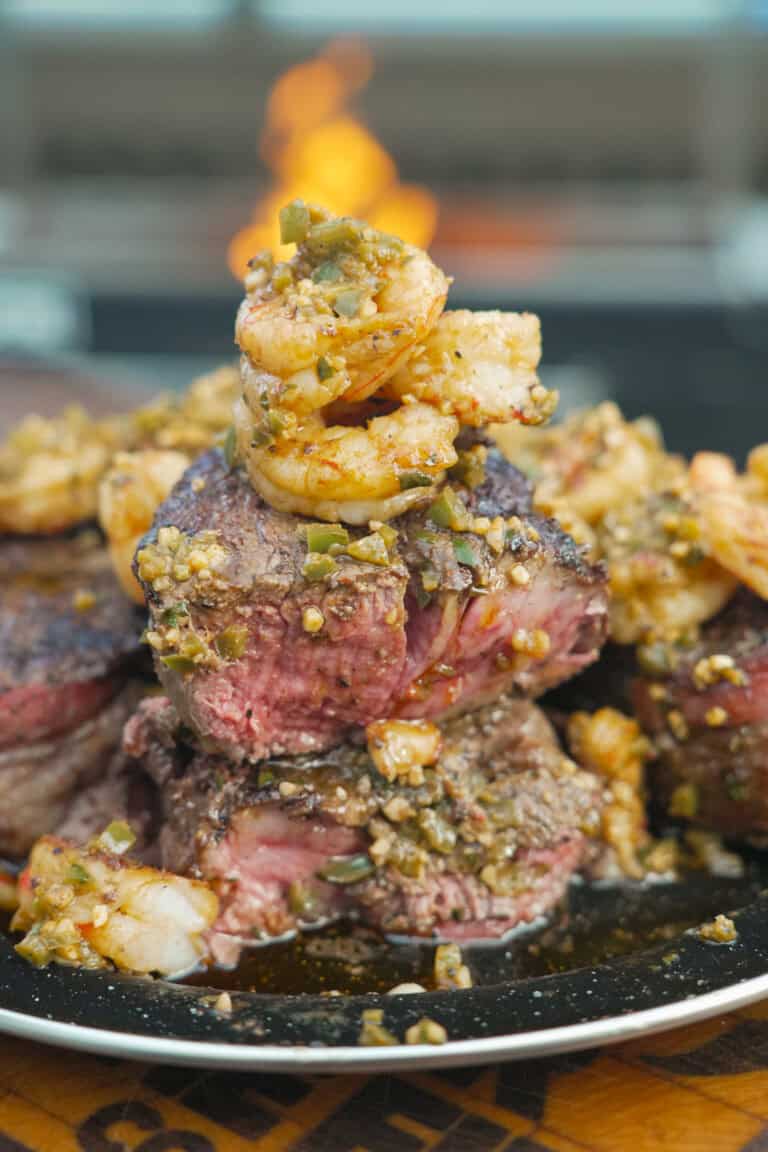
My current hot honey obsession has come for surf and turf! This hot honey steak and shrimp is so freakin’…
The post Hot Honey Steak and Shrimp appeared first on Over The Fire Cooking.
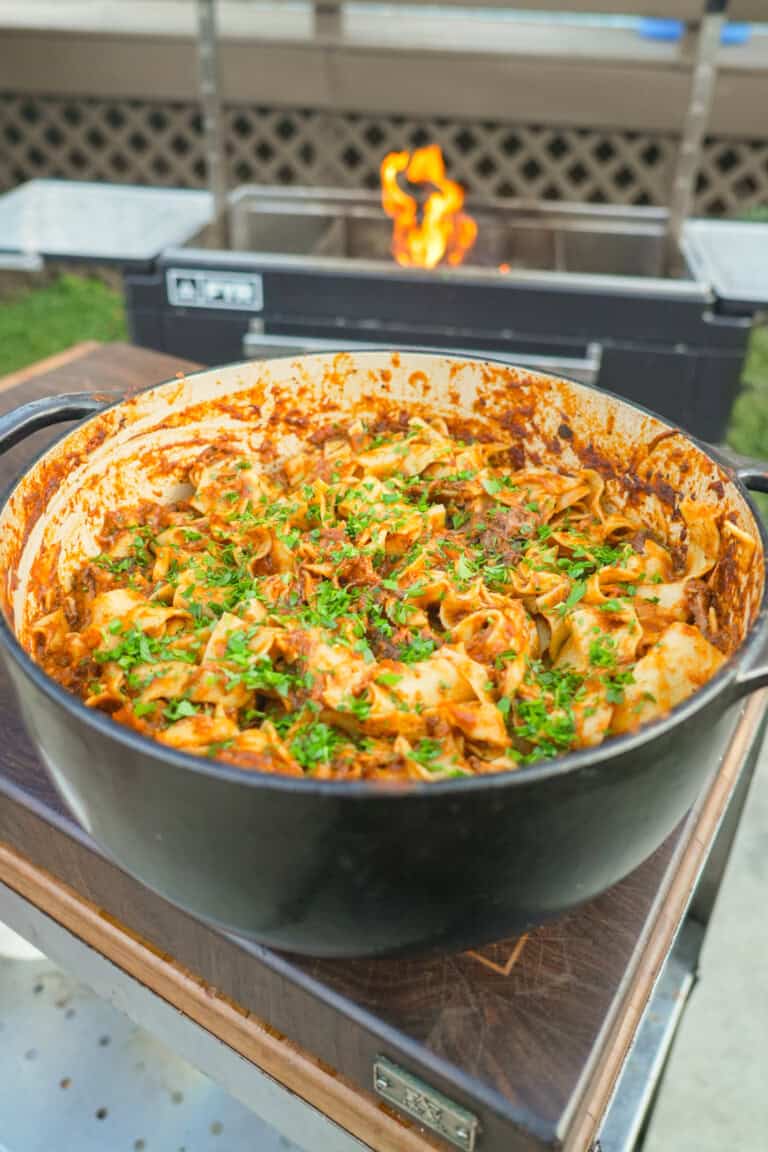
Here’s a Thanksgiving recipe for you that’s definitely not traditional, but most definitely so freakin’ delicious: braised beef ragu. There’s…
The post Beef Ragu appeared first on Over The Fire Cooking.

When you start with quality ingredients, you don’t have to do much to create a freakin’ delicious recipe. That’s why…
The post Grilled Salmon Fillets with Cowboy Butter appeared first on Over The Fire Cooking.
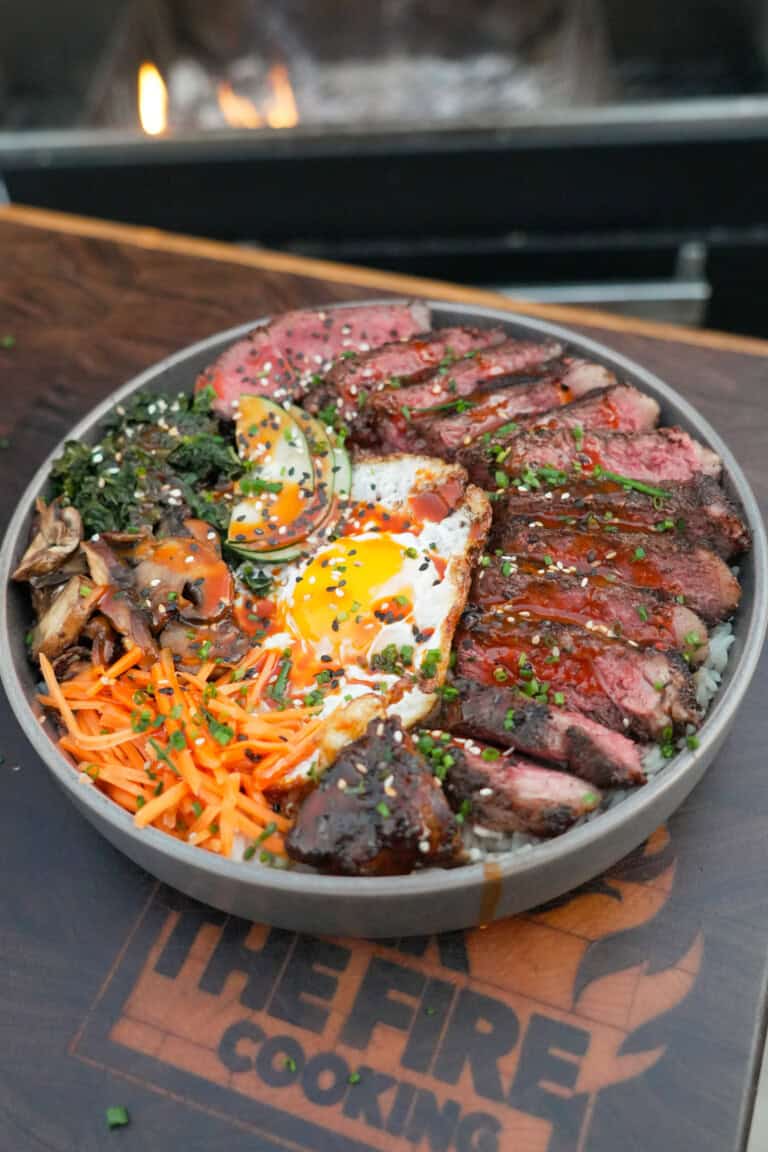
I’ve got something brand new for you: steak bibimbap! Not gonna lie, I’ve never done anything like this before. And…
The post Steak Bibimbap appeared first on Over The Fire Cooking.
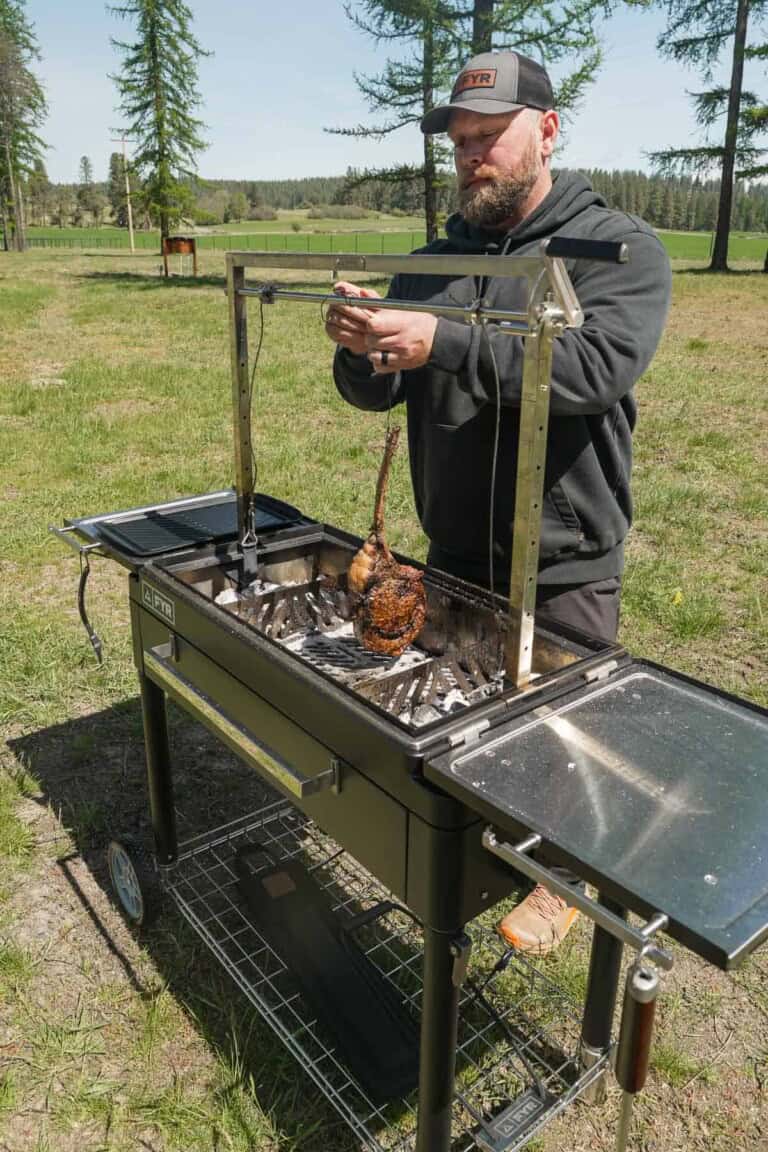
I have had a truly outrageous amount of fun cooking FYR Grill recipes over the last year. We spent so…
The post FYR Grill Recipes appeared first on Over The Fire Cooking.

Steak and potatoes are a classic pairing for all the right reasons. But every great classic needs an update every…
The post Jalapeño Popper Croquettes with Steak appeared first on Over The Fire Cooking.

This Cheeseburger Fondue takes the best parts of a cheeseburger and flips the script. Inspired by a famous Japanese dish,…
The post Cheeseburger Fondue appeared first on Over The Fire Cooking.
Diablo Steak one of my go to Halloween recipes, and trust me, it’s spooky in all the right ways. The…
The post Diablo Steak appeared first on Over The Fire Cooking.

This epic loaded quesadilla gets some extra flavor and nutrition thanks to a special ingredient: venison. Not only is a…
The post Venison Quesadilla appeared first on Over The Fire Cooking.
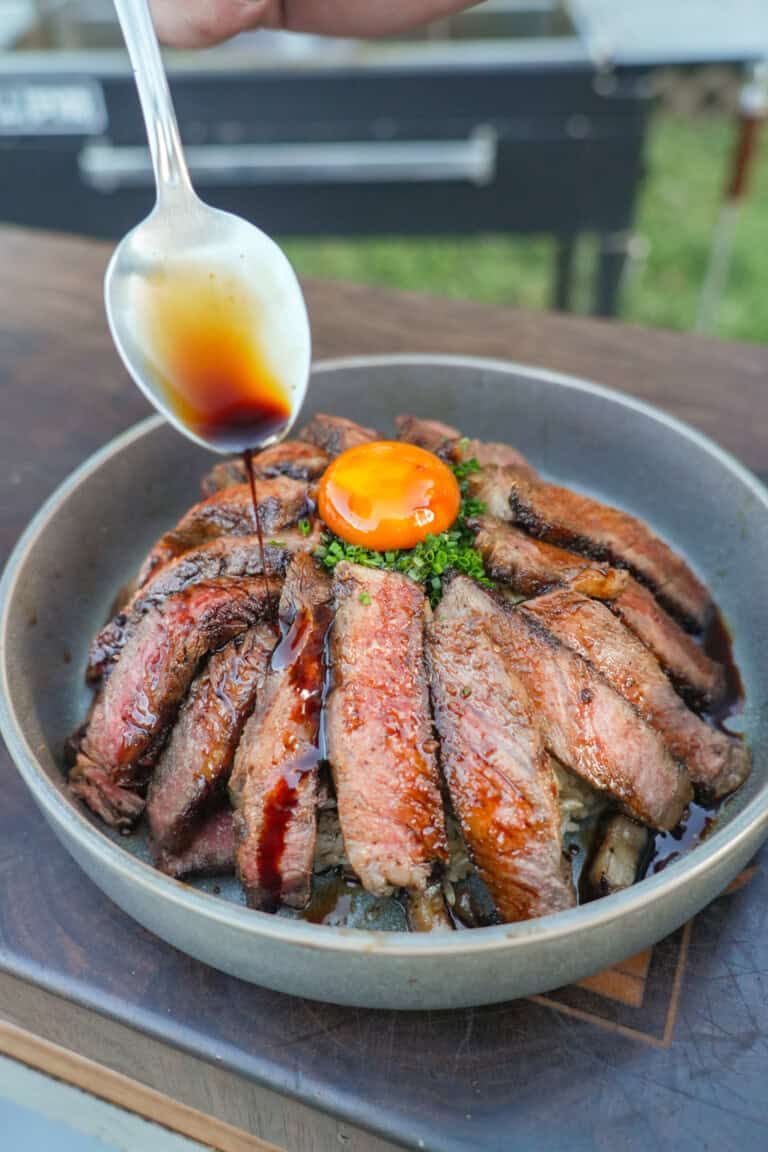
Steak Rice Bowl is my spin on the Japanese classic, Steak Donburi, and it’s got everything you’re craving tonight: sweet,…
The post Steak Rice Bowl appeared first on Over The Fire Cooking.
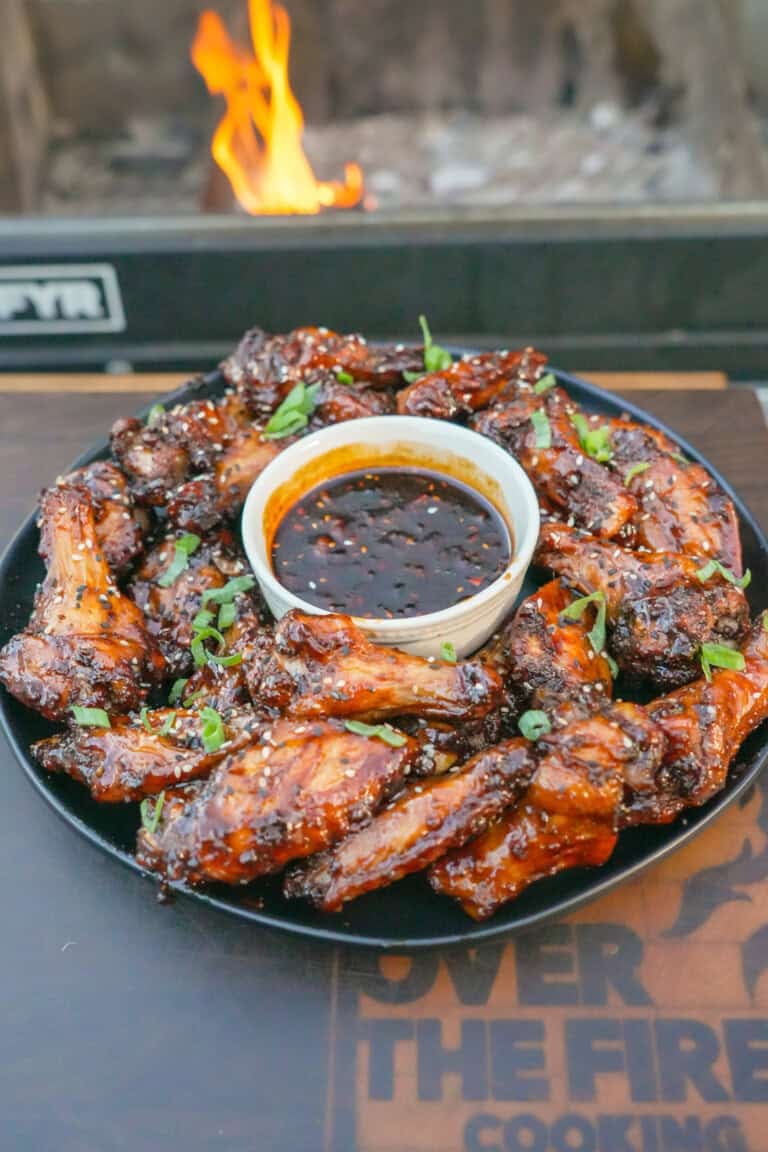
Change whatever plans you had for dinner tonight, because you’re going to want to put these honey Korean gochujang wings…
The post Honey Korean Gochujang Wings appeared first on Over The Fire Cooking.
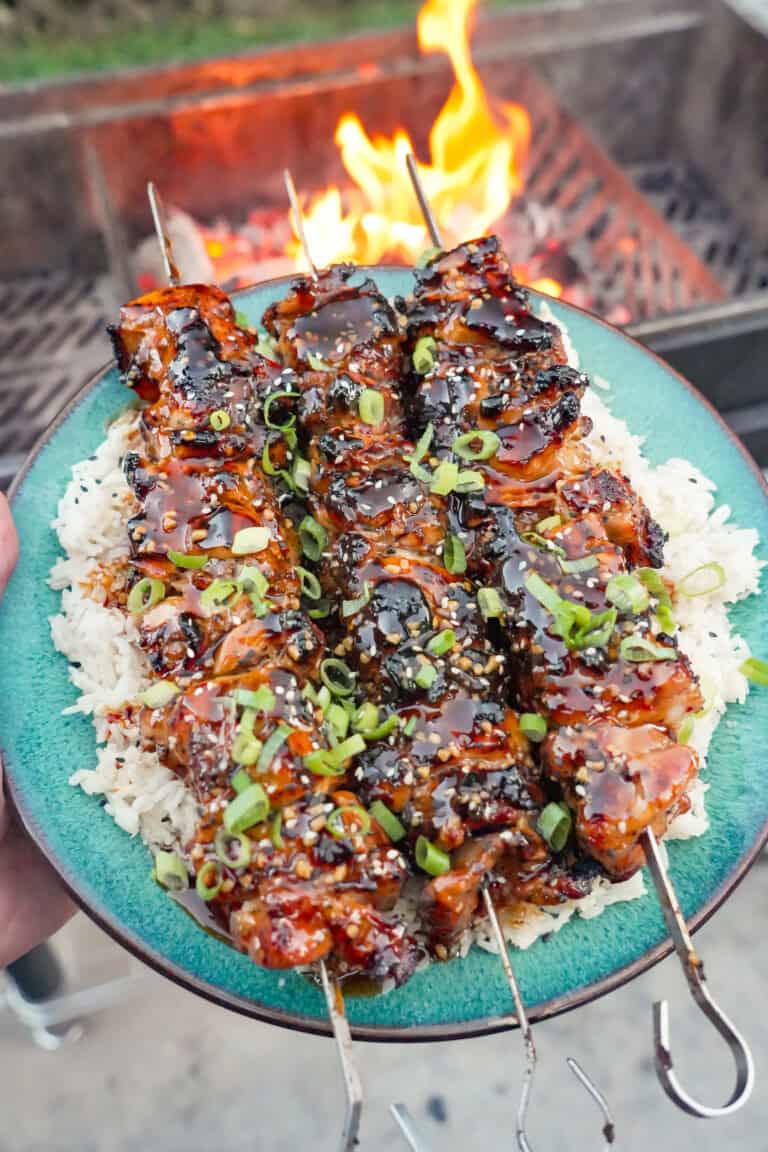
These teriyaki chicken skewers are my next frontier in skewer deliciousness. I’ve used this method — inspired by Turkish dishes…
The post Teriyaki Chicken Skewers appeared first on Over The Fire Cooking.
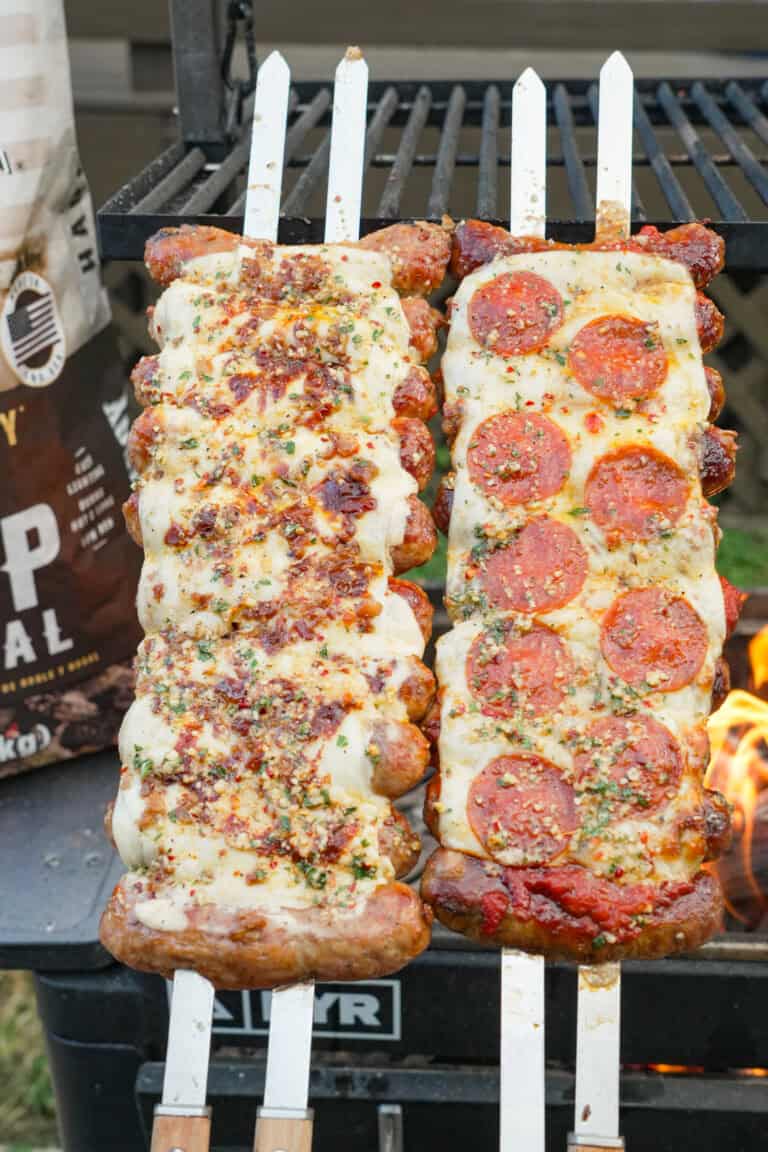
When it comes to pizza, are you a classic red sauce and pepperoni person? Or is white sauce more your…
The post Pizza Sausage Skewers appeared first on Over The Fire Cooking.
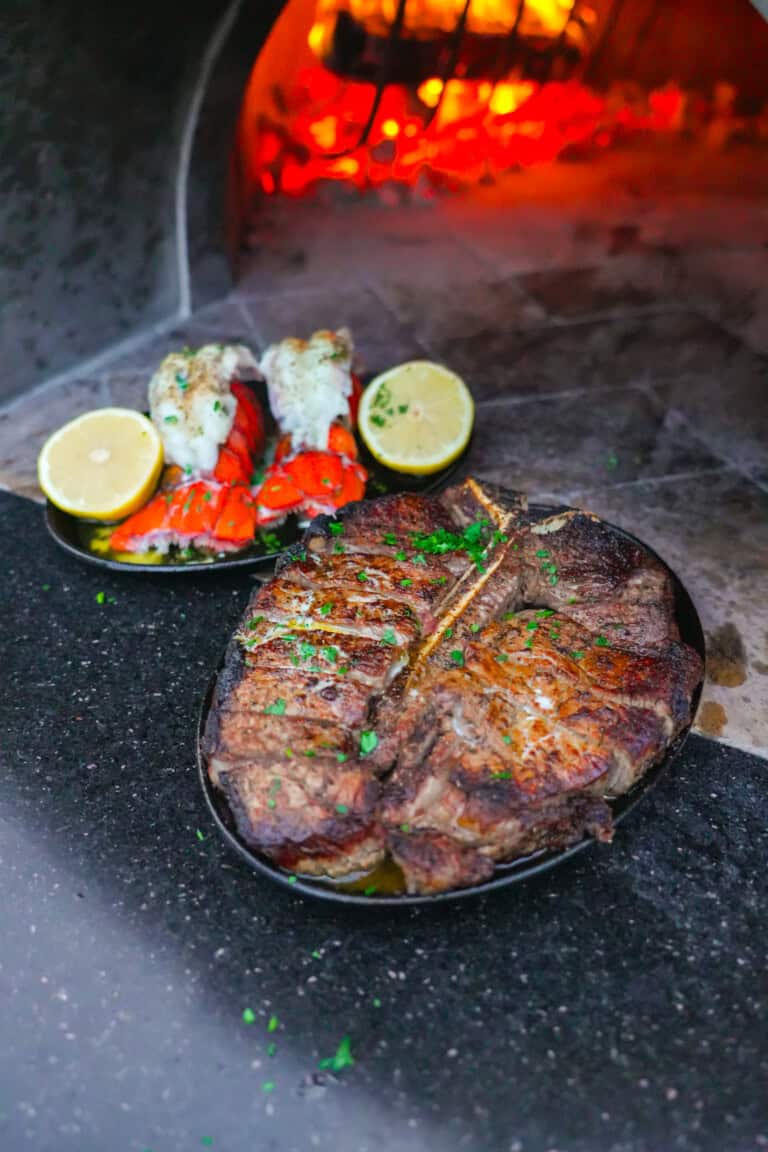
If you’ve ever dreamed about bringing that Brooklyn steakhouse experience home, this Peter Luger Surf and Turf will get you…
The post Peter Luger Surf and Turf appeared first on Over The Fire Cooking.
This Steak Breakfast Burrito is big, bold, and beautiful. Made with fresh ingredients with insane flavor, it’s perfect for mornings…
The post Steak Breakfast Burrito appeared first on Over The Fire Cooking.
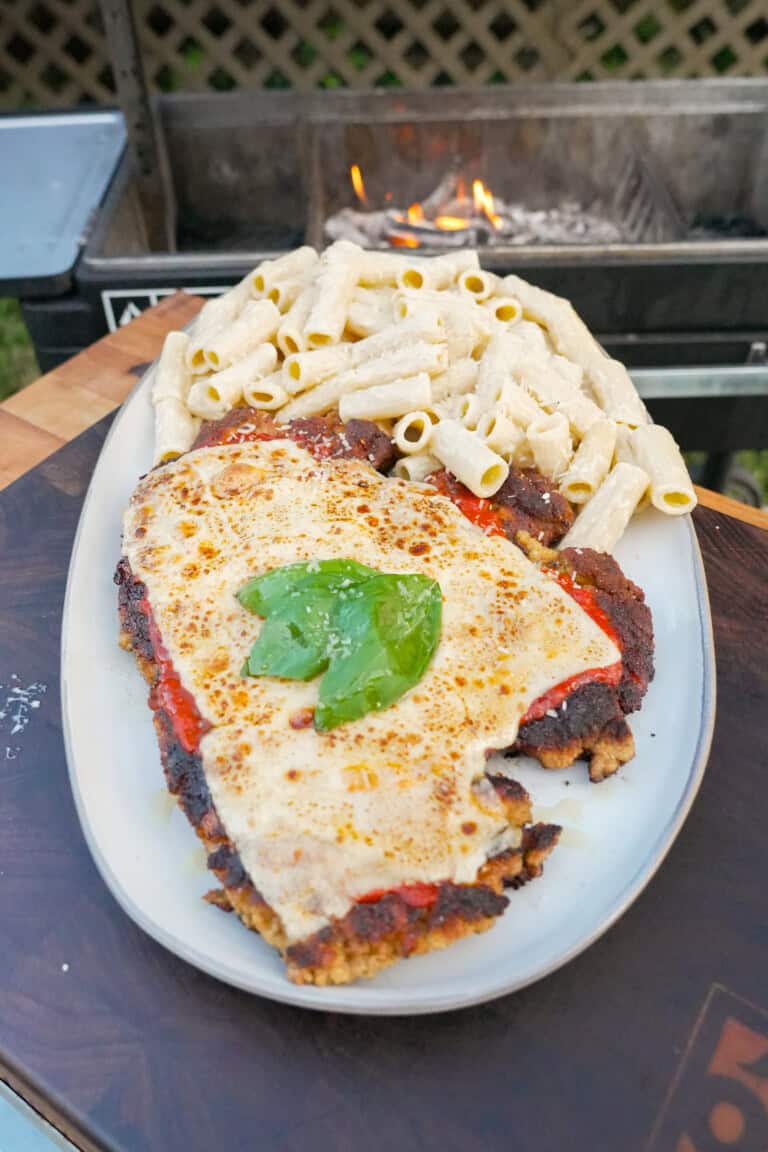
Chicken Parmesan is classic for a reason. Juicy chicken, golden brown breadcrumbs, and tons of umami from Parmesan cheese and…
The post Chicken Parmesan appeared first on Over The Fire Cooking.
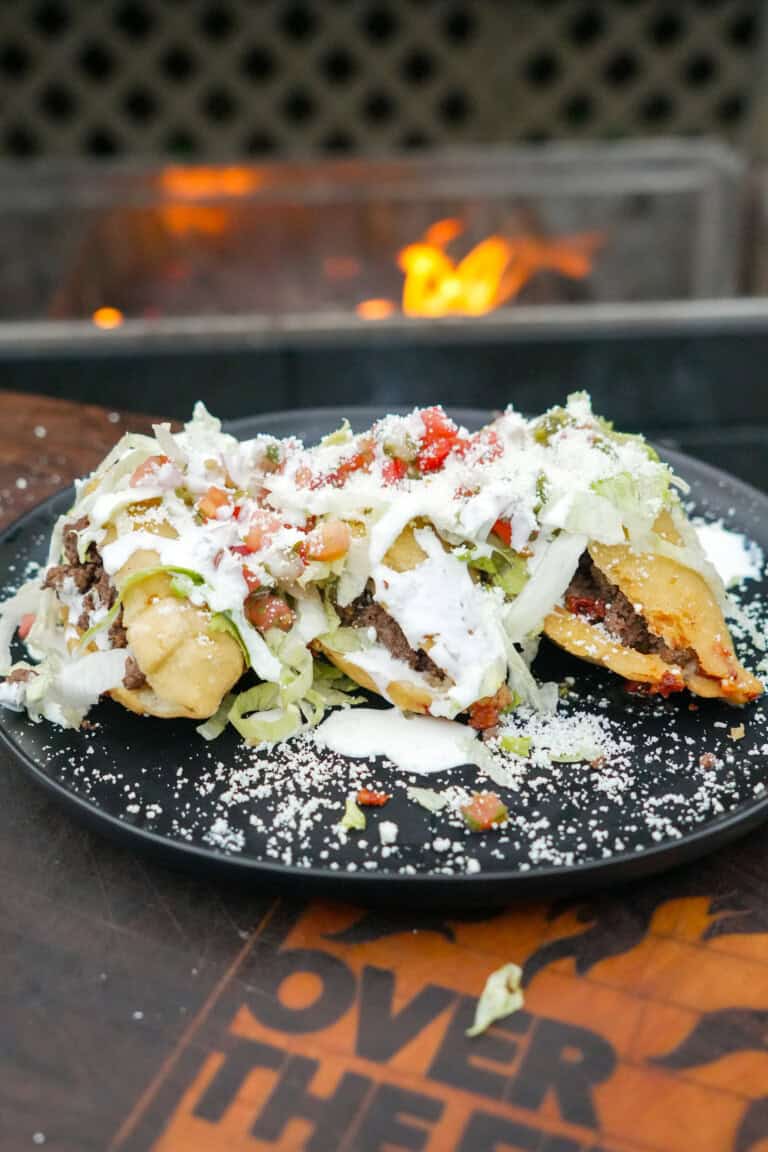
One of my favorite parts of traveling is picking up food inspiration from the different cities and countries we visit.…
The post Fried Quesadilla appeared first on Over The Fire Cooking.
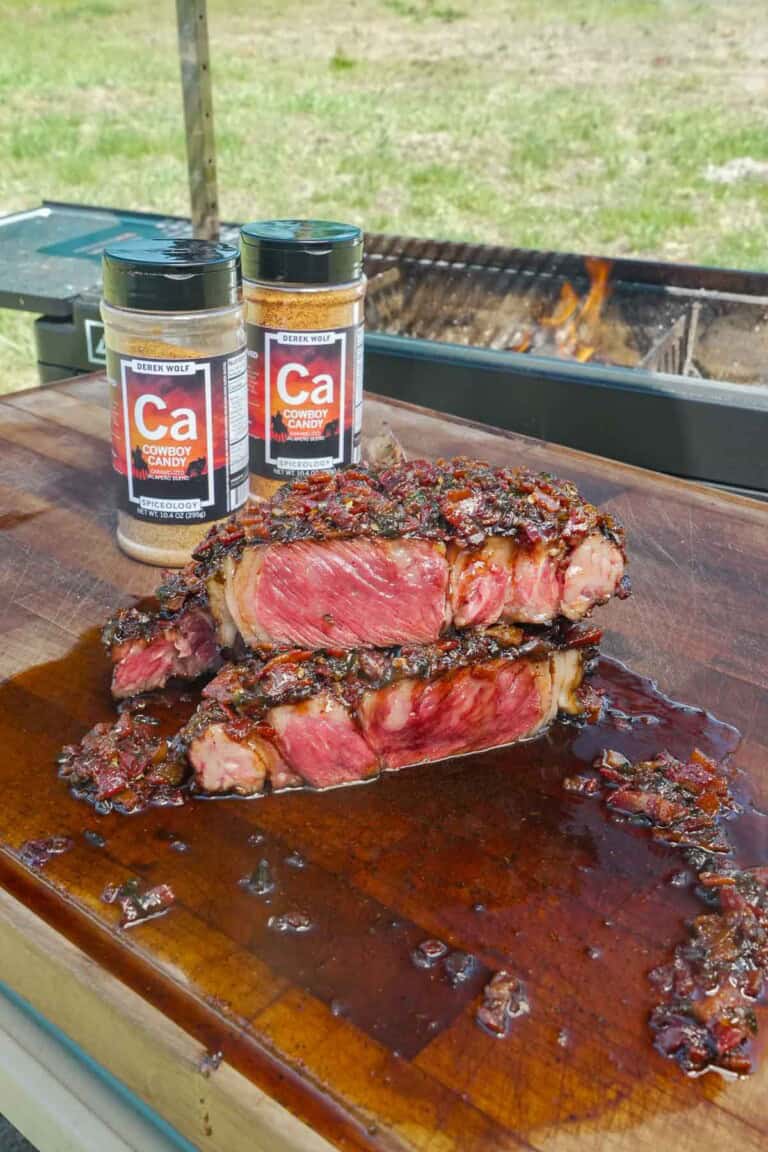
Cowboy Candy Rubbed Grilled Steak with Bacon Jam might be a mouthful to say—but it’s an even better mouthful to…
The post Cowboy Candy Rubbed Grilled Steak with Bacon Jam appeared first on Over The Fire Cooking.
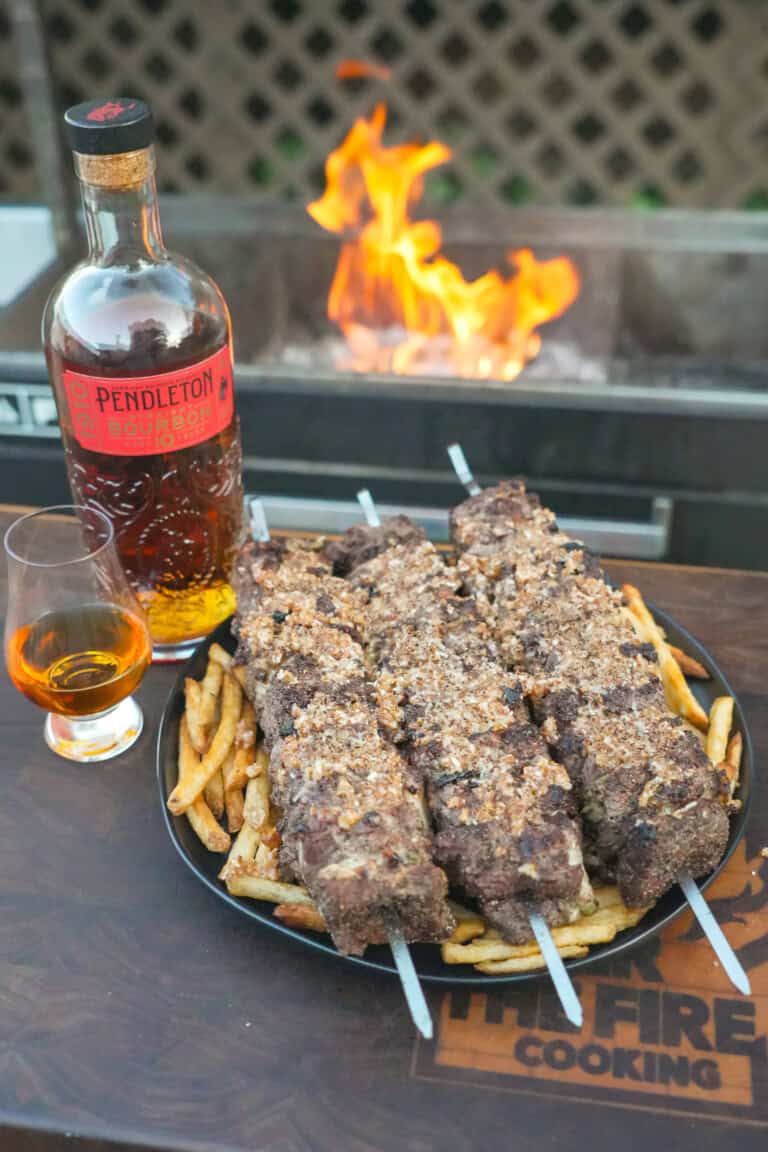
These French Onion Steak Skewers are high on my list of favorite things about outdoor grilling. Inspired by @salvalacocina and…
The post French Onion Steak Skewers appeared first on Over The Fire Cooking.
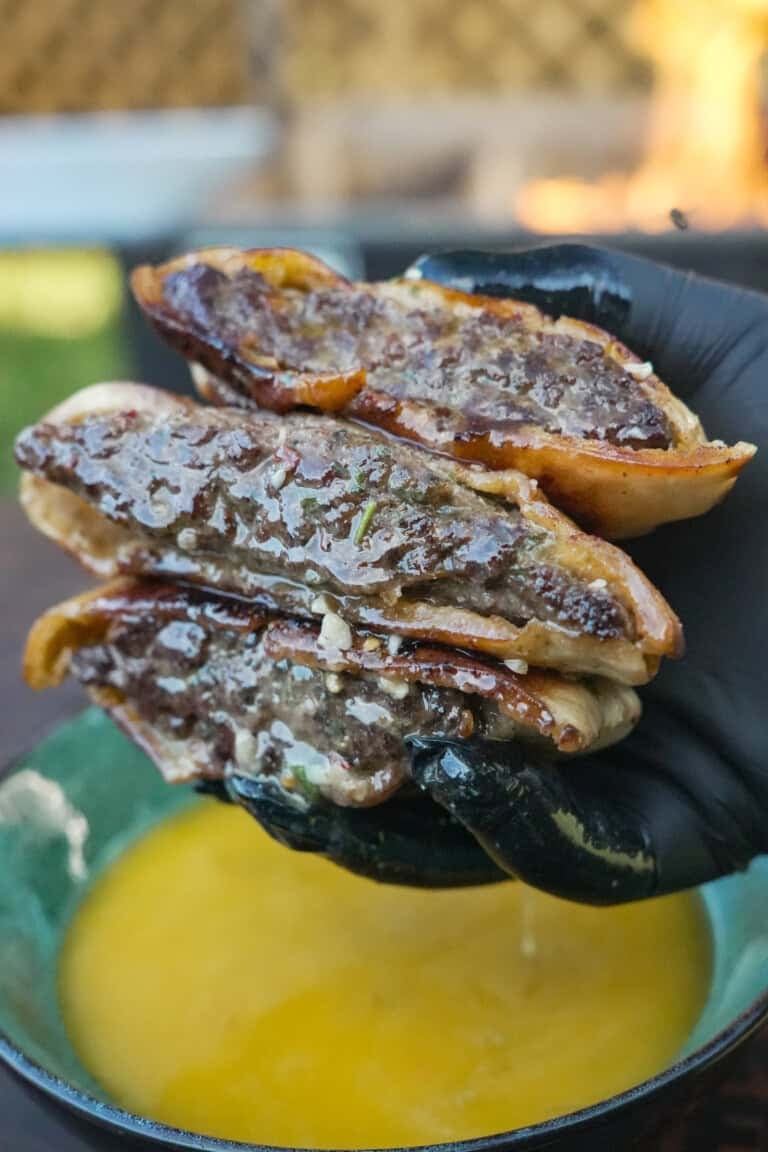
Cowboy Butter Arayes is the tasty grilled sandwich you didn’t know you needed in your life until right now. It’s…
The post Cowboy Butter Arayes appeared first on Over The Fire Cooking.
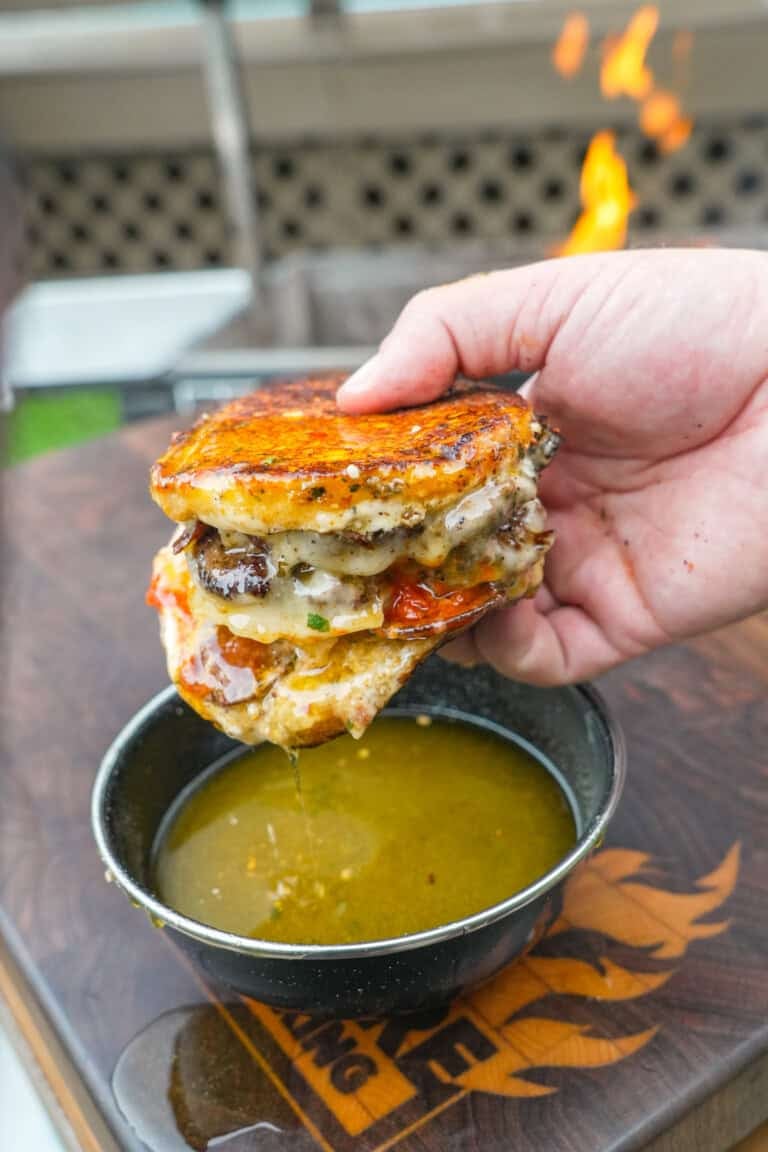
These pizza smashburgers are out. Of. This. World. We’re taking two of America’s most popular foods and smashing them together…
The post Pizza Smashburger appeared first on Over The Fire Cooking.
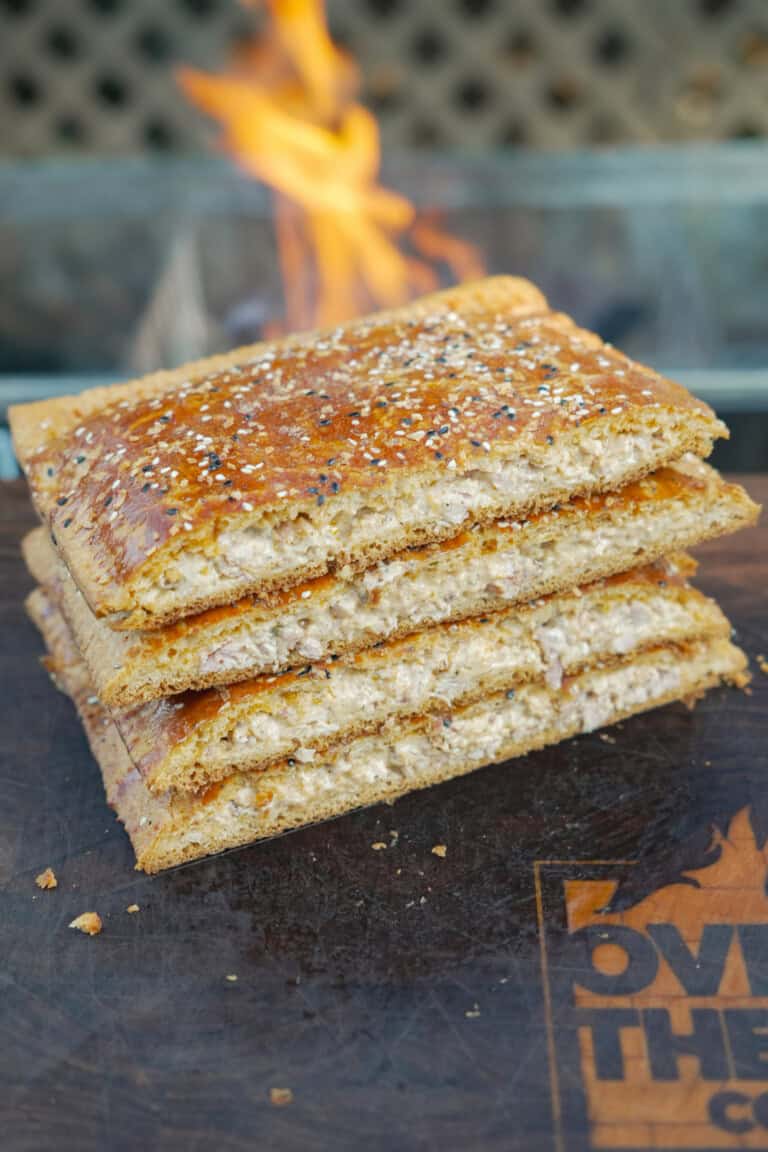
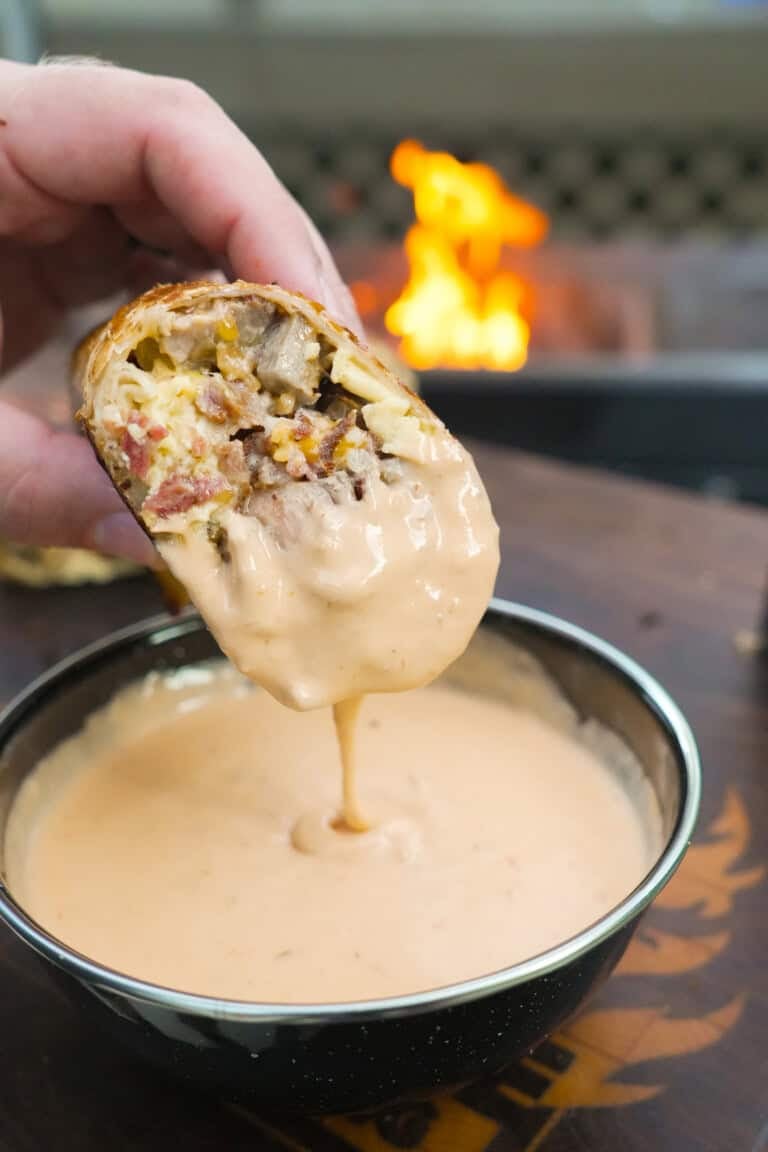
Hot pockets are an absolute nostalgia play. But, now that I’m not a kid microwaving them as a lunch snack…
The post Chicken Bacon Ranch Hot Pocket appeared first on Over The Fire Cooking.
If you’ve ever wanted to make a juicy Honey Cured Steak in your own home that tastes like premium restaurant…
The post Honey Cured Steak appeared first on Over The Fire Cooking.