Chicken Parmesan
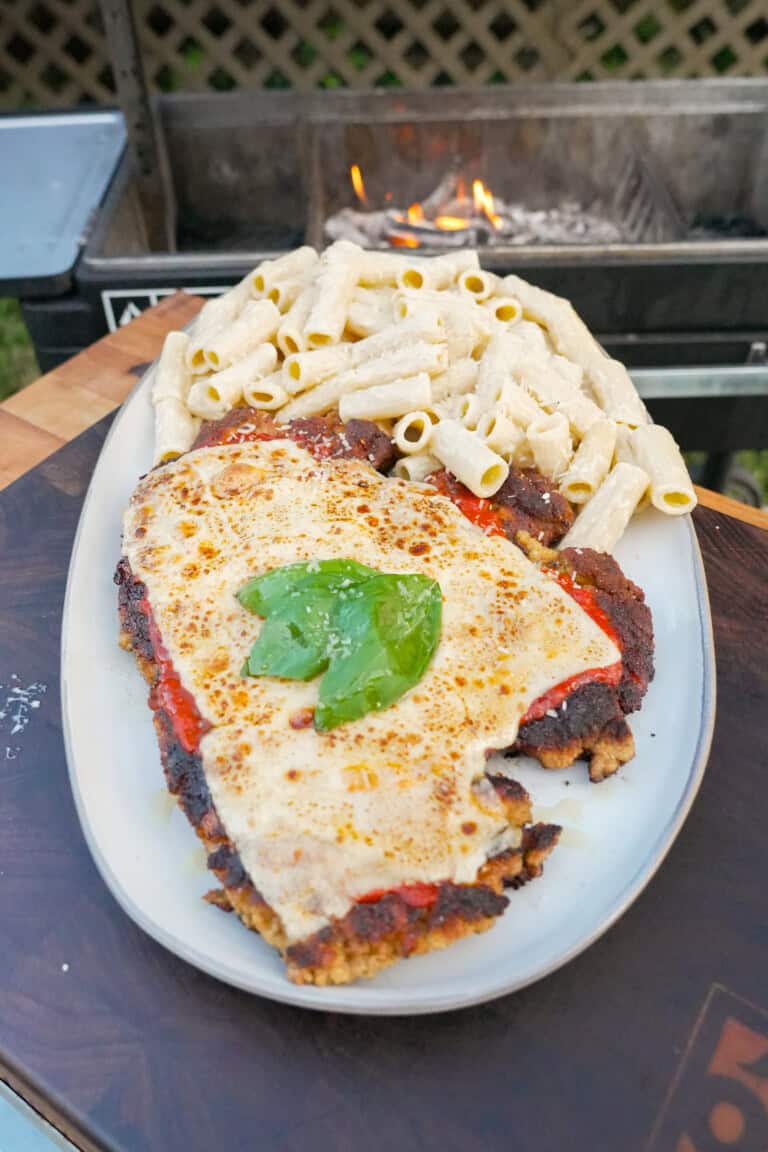
Chicken Parmesan is classic for a reason. Juicy chicken, golden brown breadcrumbs, and tons of umami from Parmesan cheese and…
The post Chicken Parmesan appeared first on Over The Fire Cooking.
Chicken Parmesan is classic for a reason. Juicy chicken, golden brown breadcrumbs, and tons of umami from Parmesan cheese and…
The post Chicken Parmesan appeared first on Over The Fire Cooking.
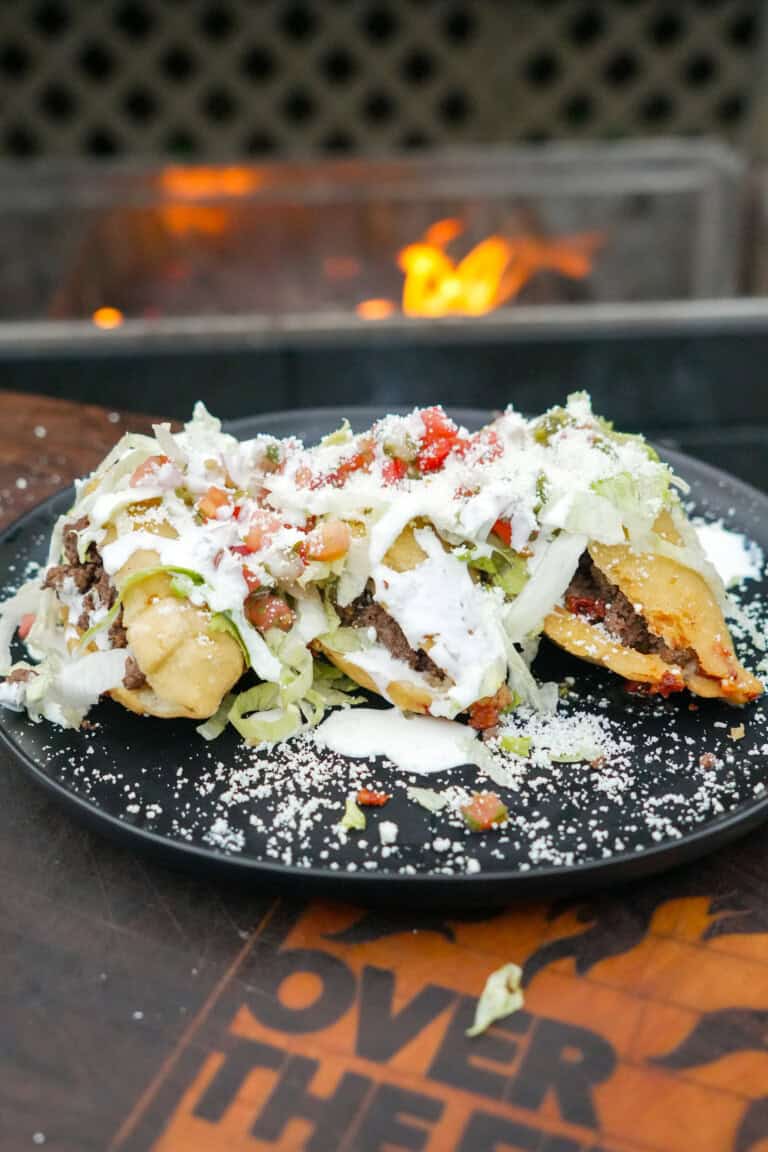
One of my favorite parts of traveling is picking up food inspiration from the different cities and countries we visit.…
The post Fried Quesadilla appeared first on Over The Fire Cooking.
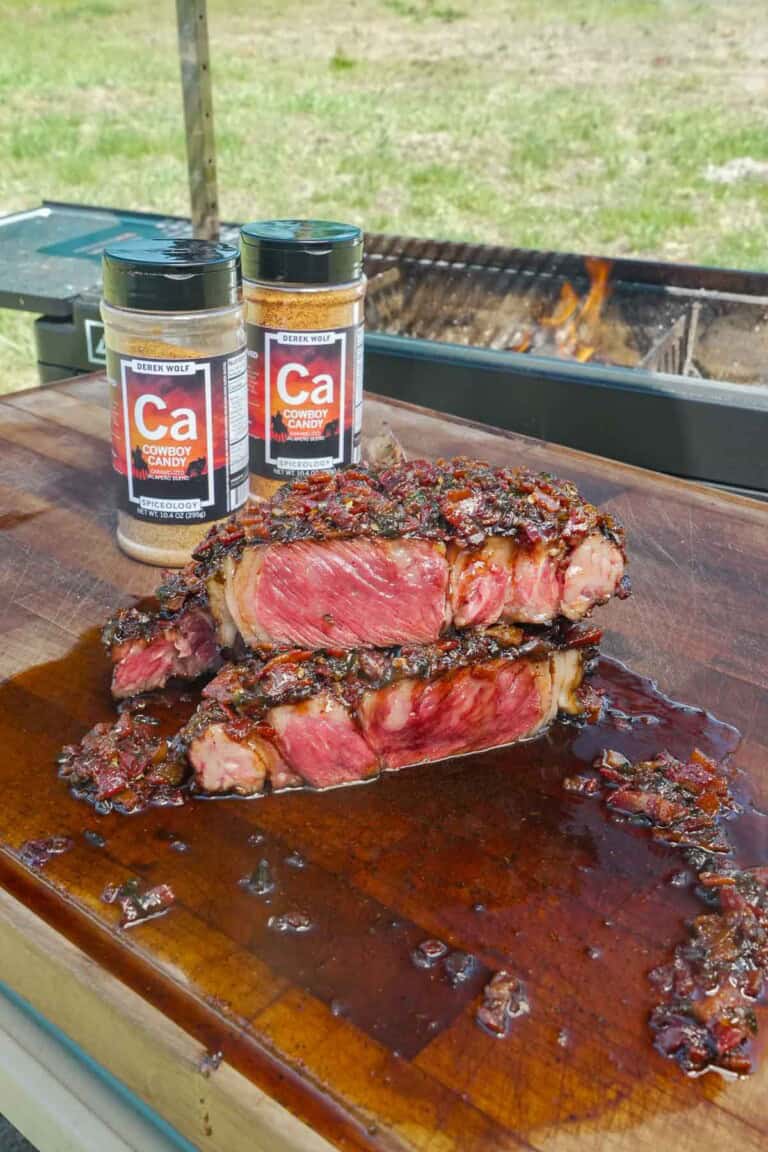
Cowboy Candy Rubbed Grilled Steak with Bacon Jam might be a mouthful to say—but it’s an even better mouthful to…
The post Cowboy Candy Rubbed Grilled Steak with Bacon Jam appeared first on Over The Fire Cooking.
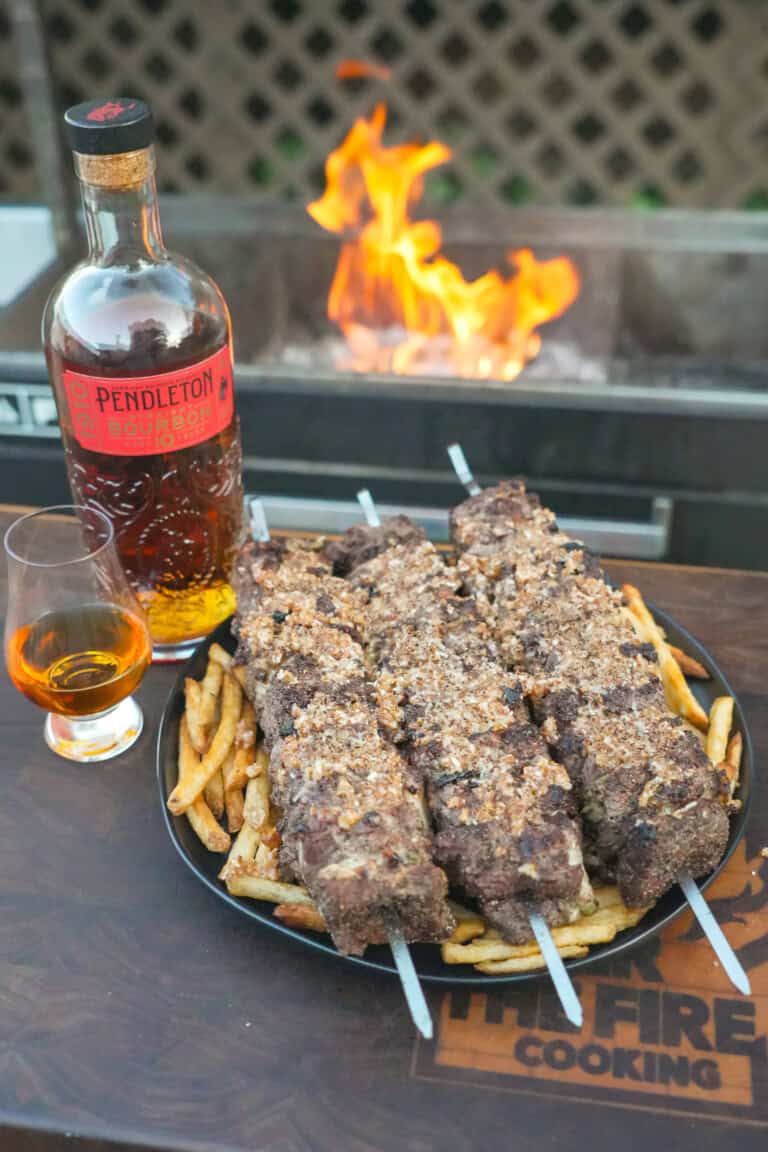
These French Onion Steak Skewers are high on my list of favorite things about outdoor grilling. Inspired by @salvalacocina and…
The post French Onion Steak Skewers appeared first on Over The Fire Cooking.
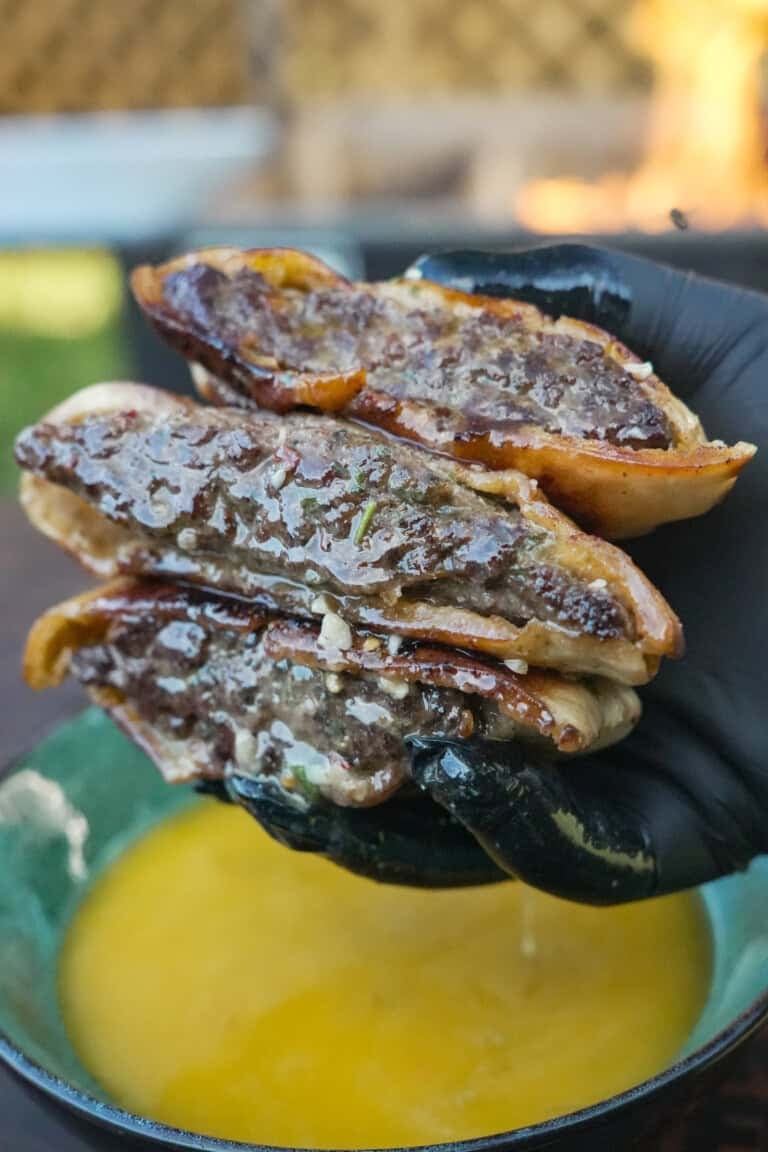
Cowboy Butter Arayes is the tasty grilled sandwich you didn’t know you needed in your life until right now. It’s…
The post Cowboy Butter Arayes appeared first on Over The Fire Cooking.
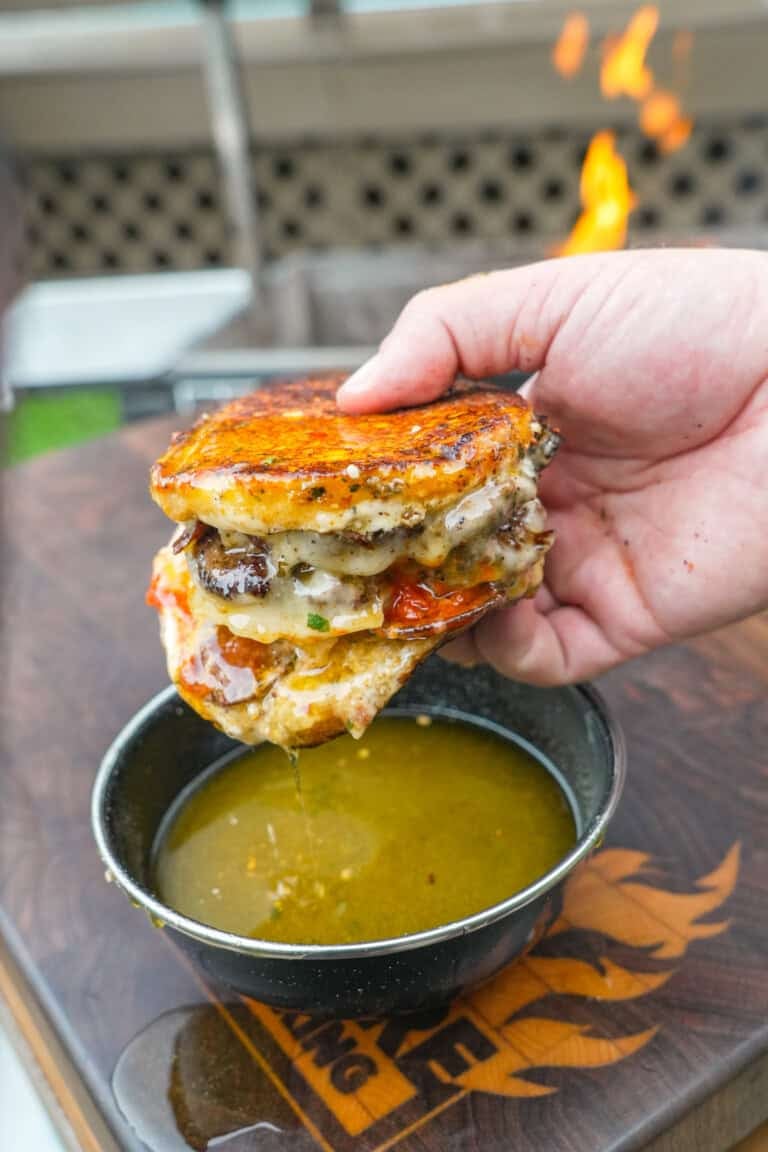
These pizza smashburgers are out. Of. This. World. We’re taking two of America’s most popular foods and smashing them together…
The post Pizza Smashburger appeared first on Over The Fire Cooking.

Ready to be the boss of your next tailgate? Behold: jalapeño popper pigs in a blanket. With this recipe, you’ll…
The post Jalapeño Popper Pigs in a Blanket appeared first on Over The Fire Cooking.
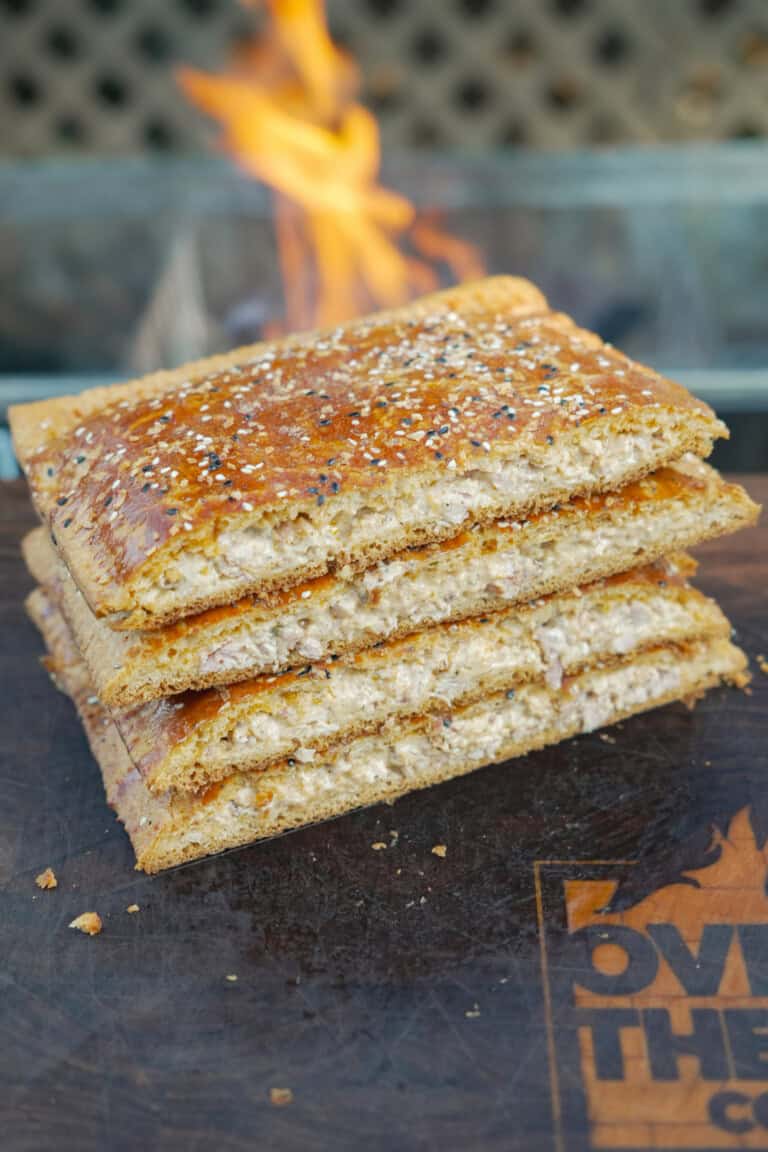
Hot pockets are an absolute nostalgia play. But, now that I’m not a kid microwaving them as a lunch snack…
The post Chicken Bacon Ranch Hot Pocket appeared first on Over The Fire Cooking.
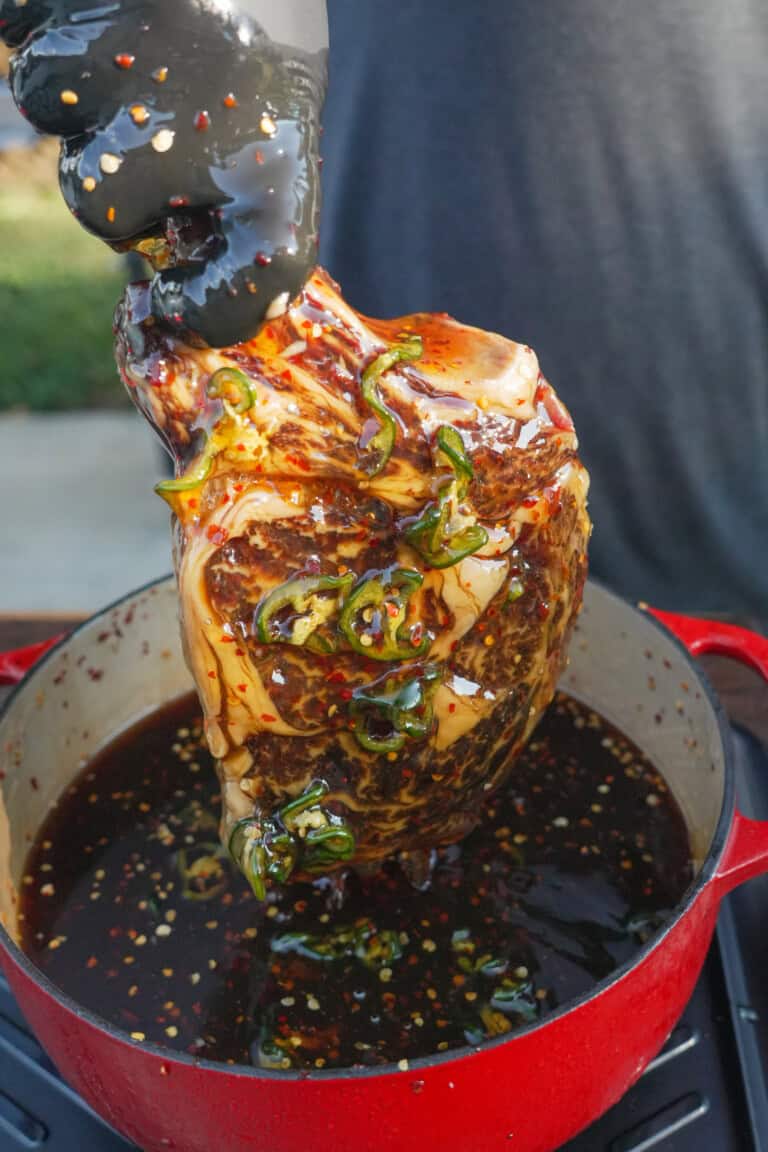
If you’ve ever wanted to make a juicy Honey Cured Steak in your own home that tastes like premium restaurant…
The post Honey Cured Steak appeared first on Over The Fire Cooking.
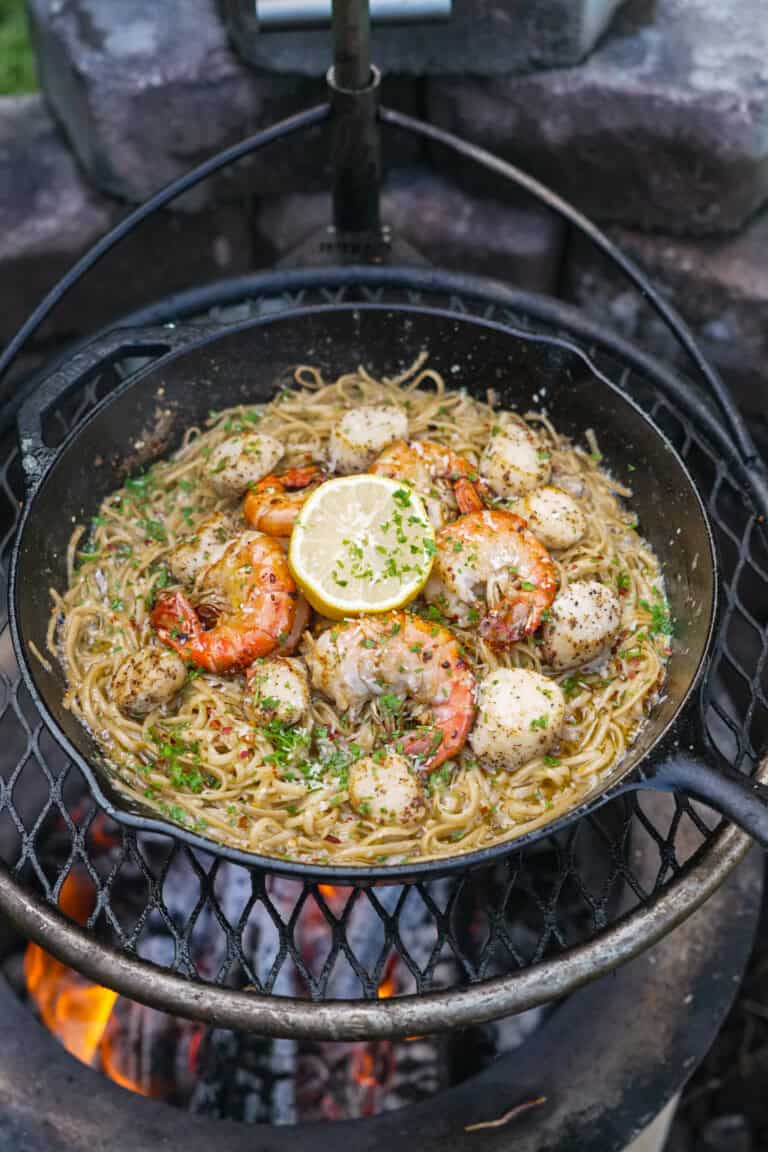
If you’re looking for an easy dinner that will seriously impress your guests, this seafood scampi is all you need.…
The post Seafood Scampi appeared first on Over The Fire Cooking.
Let’s just say it: Steak Mac and Cheese is the kind of dish that makes grown men tear up with joy. We’re…
The post Steak Mac and Cheese appeared first on Over The Fire Cooking.
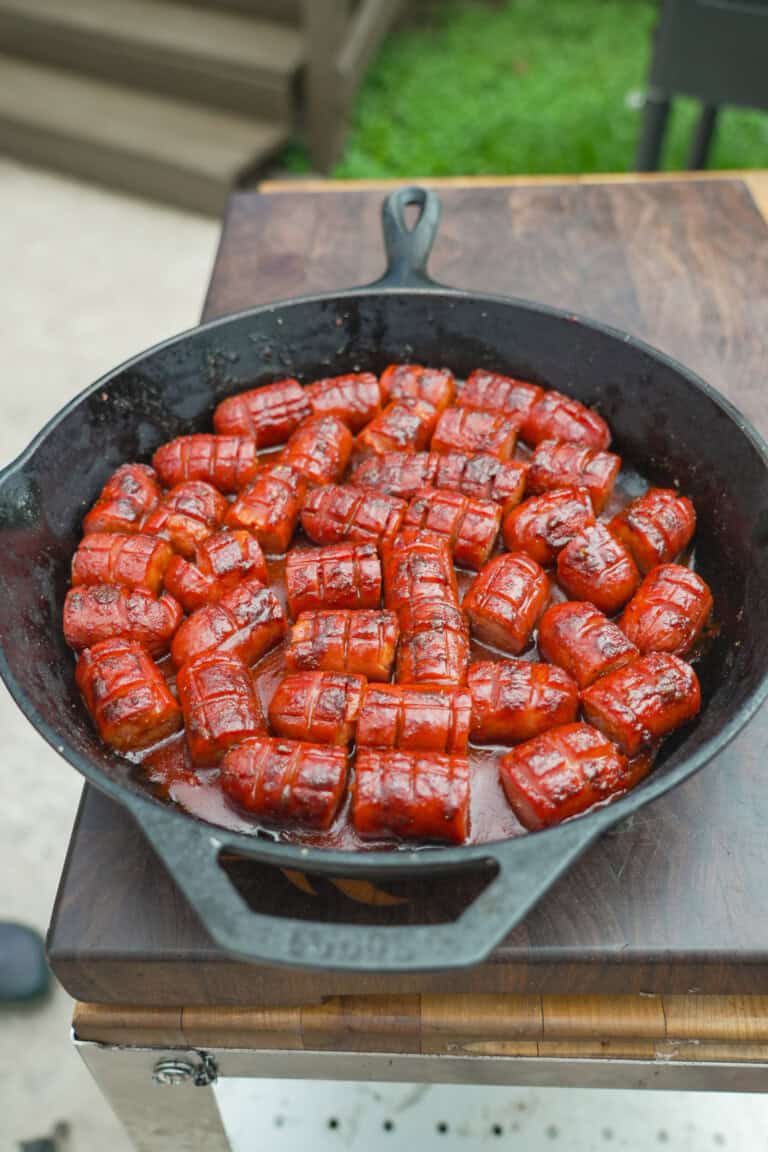
If you’re looking for a spicy, smoky, and bite-sized twist on the classic backyard frank, these Rattlesnake Hot Dog Bites…
The post Hot Dog Bites appeared first on Over The Fire Cooking.
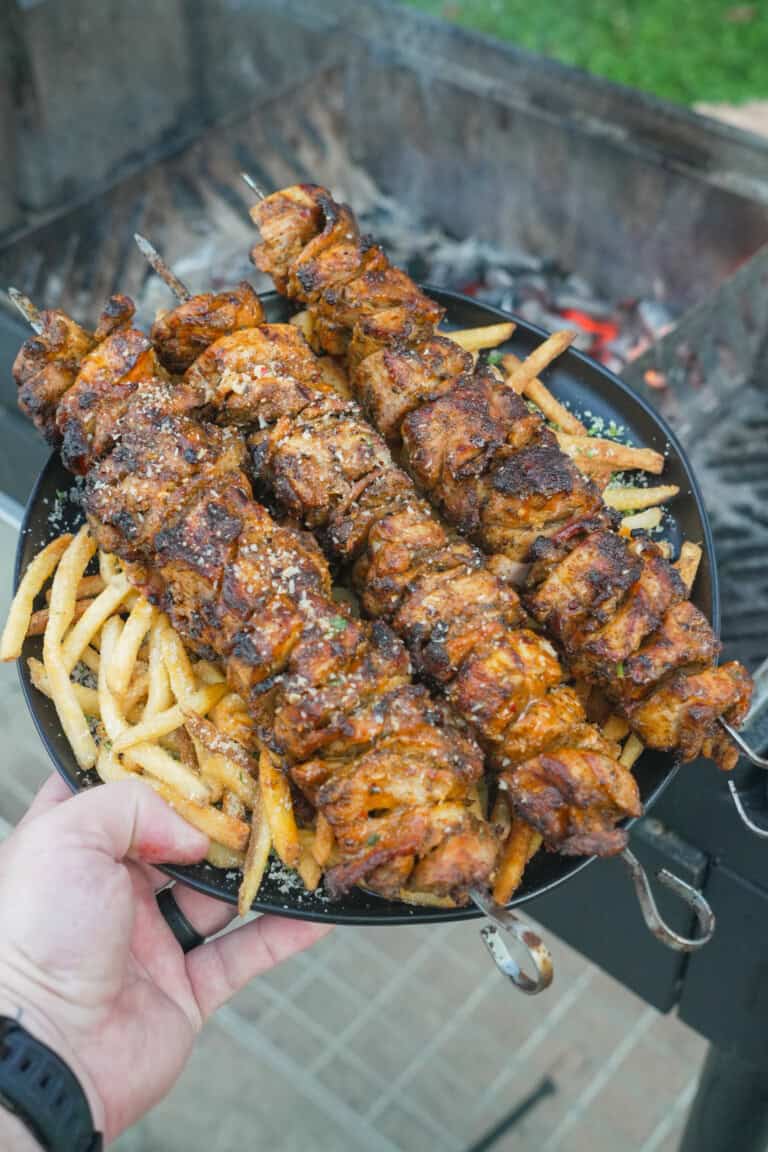
Garlic. Parmesan. Chicken. Sounds like the best dinner ever, right? And this garlic Parmesan chicken skewers recipe lives up to…
The post Garlic Parmesan Chicken Skewers appeared first on Over The Fire Cooking.
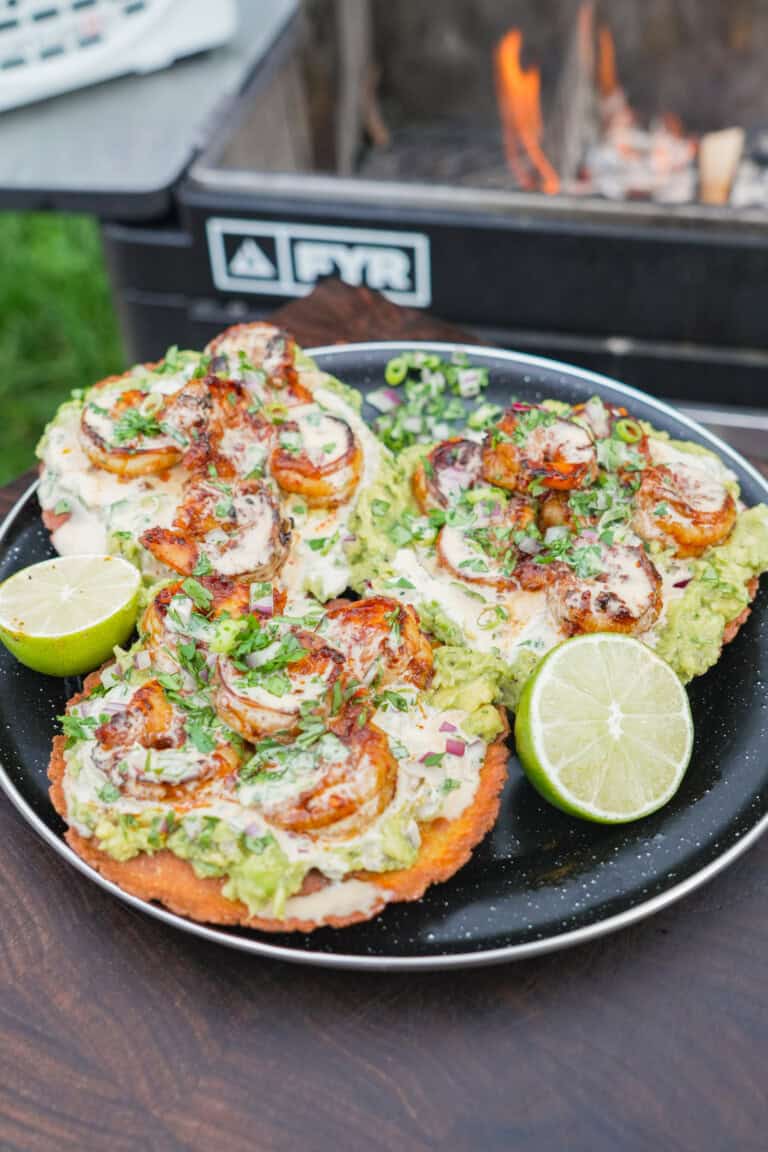
Want crunch from crispy tortillas, satisfaction from juicy shrimp and and incredible flavor from sauce and garnishes? Then I’ve got…
The post Shrimp Tostadas appeared first on Over The Fire Cooking.
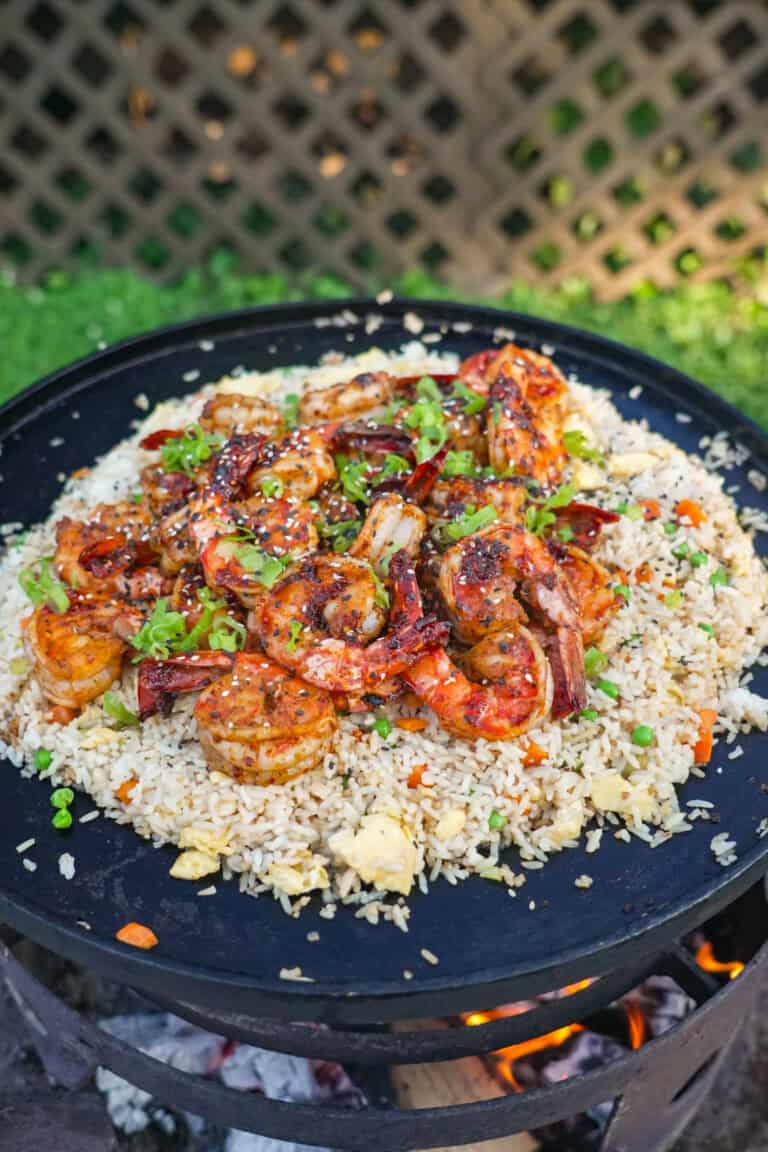
I love a good surf and turf. So, after I made this steak fried rice recipe, naturally the wheels started turning about…
The post Shrimp Fried Rice appeared first on Over The Fire Cooking.

Birria Stuffed Bread is what happens when you take everything you love about slow-cooked beef, fire cooking, and melty cheese—and…
The post Birria Stuffed Bread appeared first on Over The Fire Cooking.
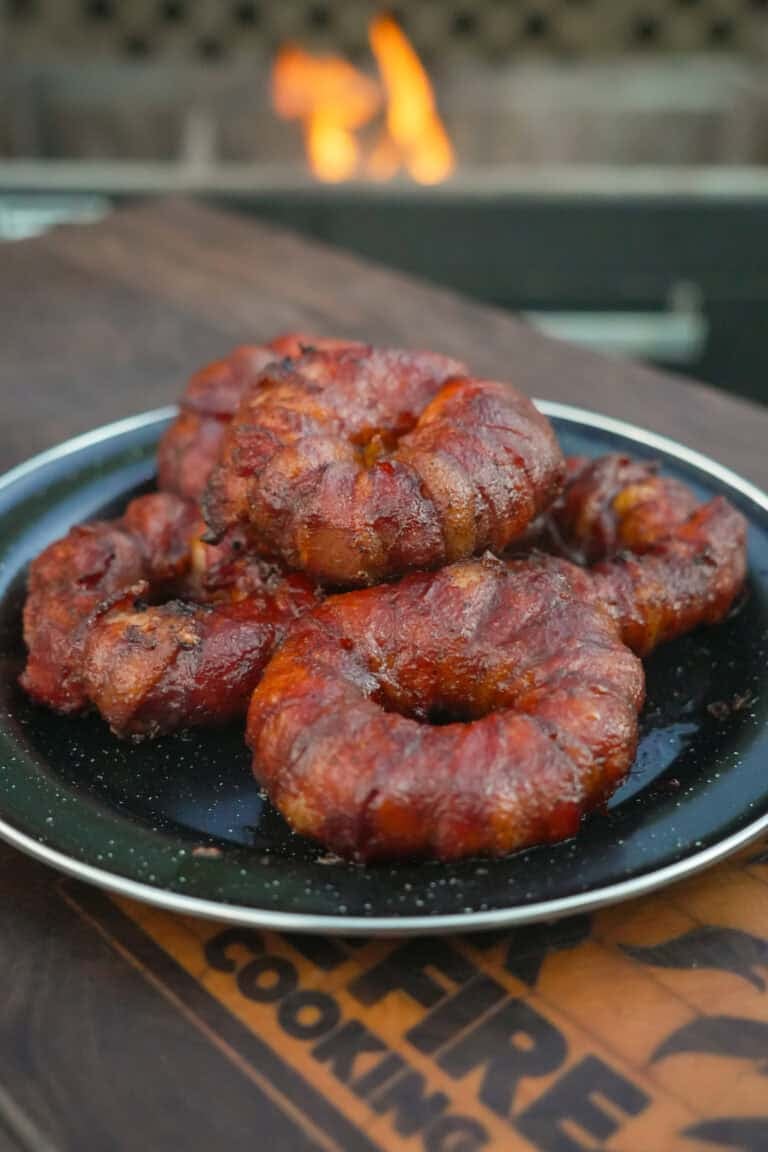
Let’s talk about the ultimate mash-up of BBQ greatness—Cowboy Candy Stuffed Onion Rings. That’s right. We’re stuffing sweet, spicy, smoky goodness into…
The post Cowboy Candy Stuffed Onion Rings appeared first on Over The Fire Cooking.
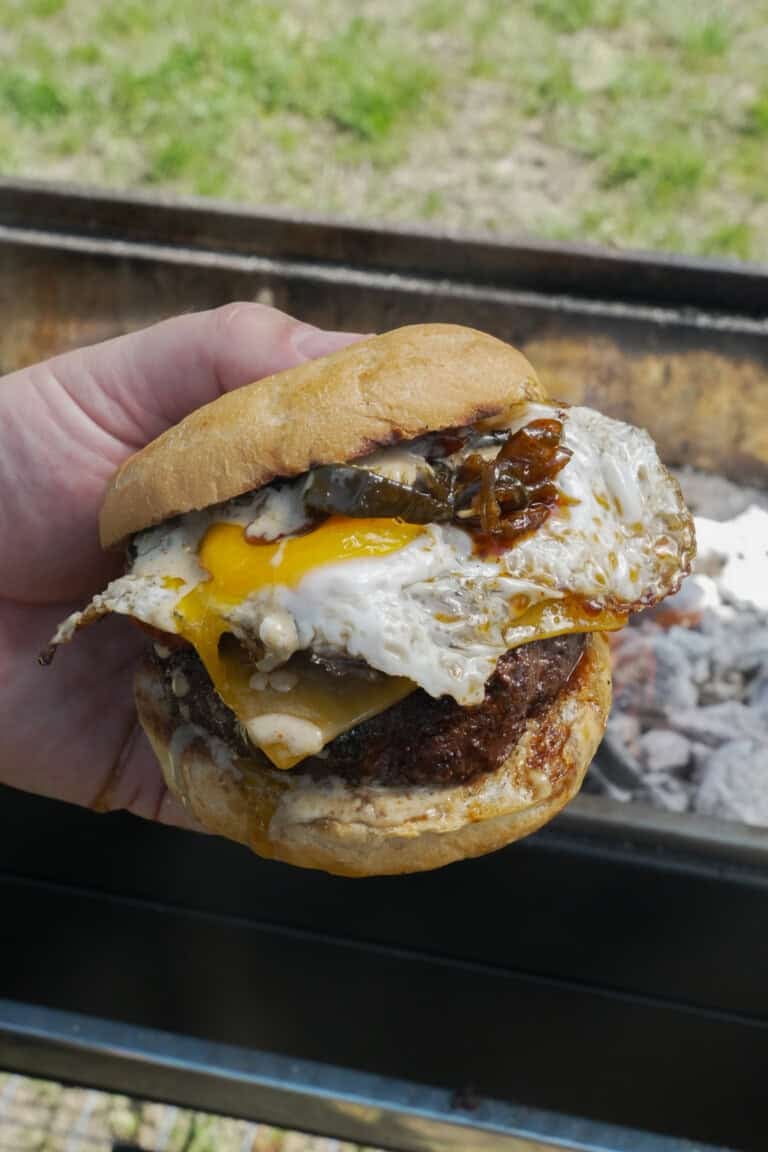
When it comes to burgers, I’m always chasing new favorite ways to take the bold and craveable to a whole…
The post Cowboy Candy Burger appeared first on Over The Fire Cooking.
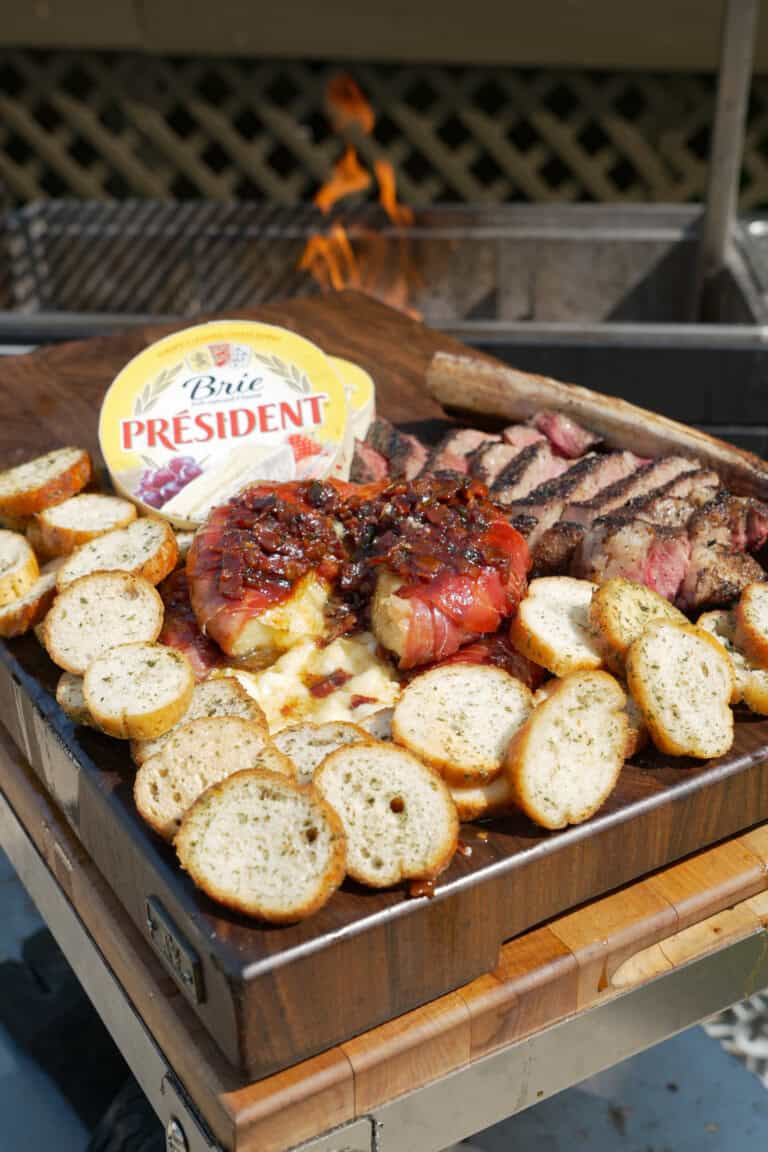
Salty prosciutto, melty brie, sweet and savory and spicy bacon jam? This prosciutto-wrapped brie with bacon jam has literally everything.…
The post Prosciutto-Wrapped Brie with Bacon Jam appeared first on Over The Fire Cooking.

When it comes to making the magic happen on the smoker, Cowboy Candy Party Ribs are an unbeatable recipe. They…
The post Cowboy Candy Party Ribs appeared first on Over The Fire Cooking.
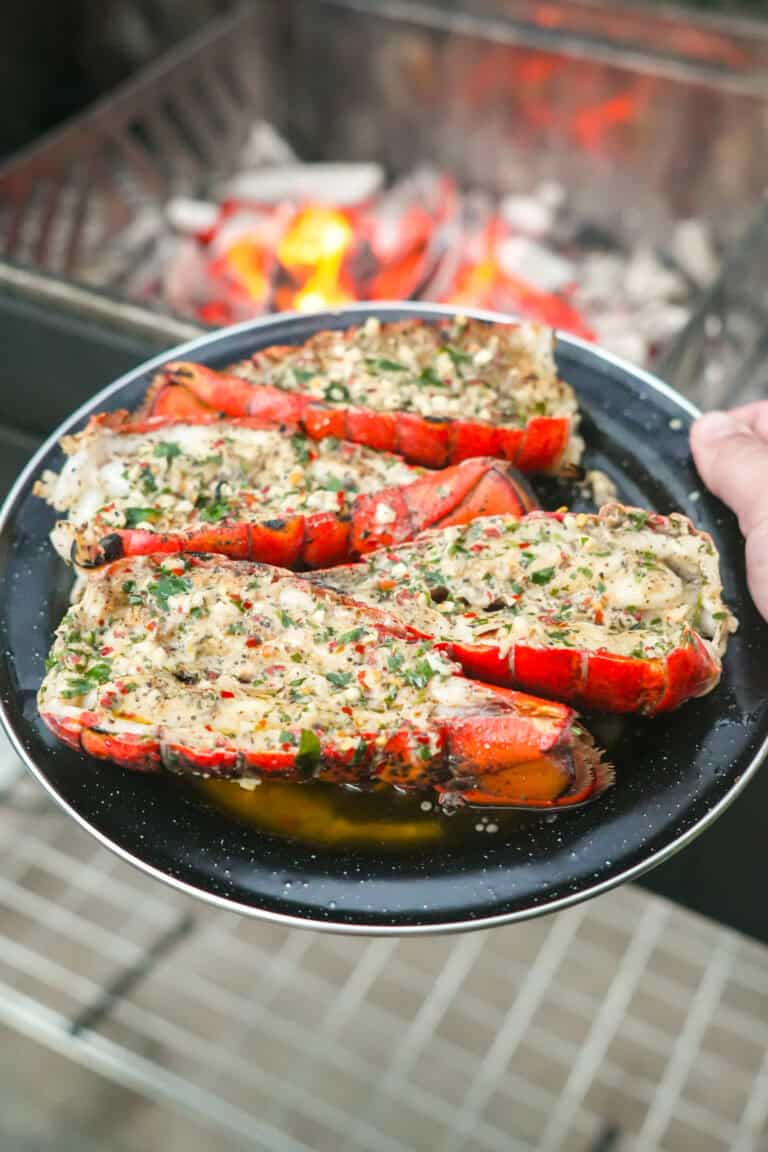
Grilled Lobster Tails with Beer Butter might just be the most freakin’ delicious way to celebrate summer. Fresh lobster tails…
The post Grilled Lobster Tails with Beer Butter appeared first on Over The Fire Cooking.
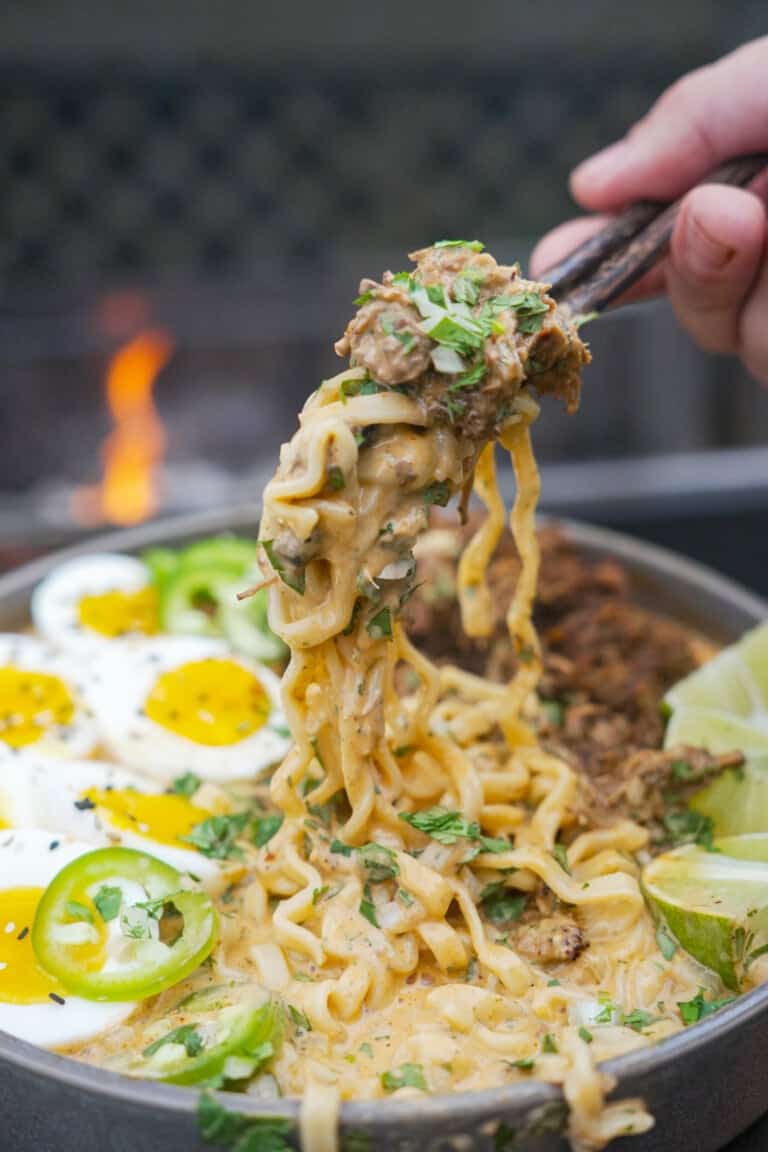
Looking to kick back next to your grill for the day and enjoy an absolutely freakin’ delicious meal at the…
The post Birria Ramen appeared first on Over The Fire Cooking.
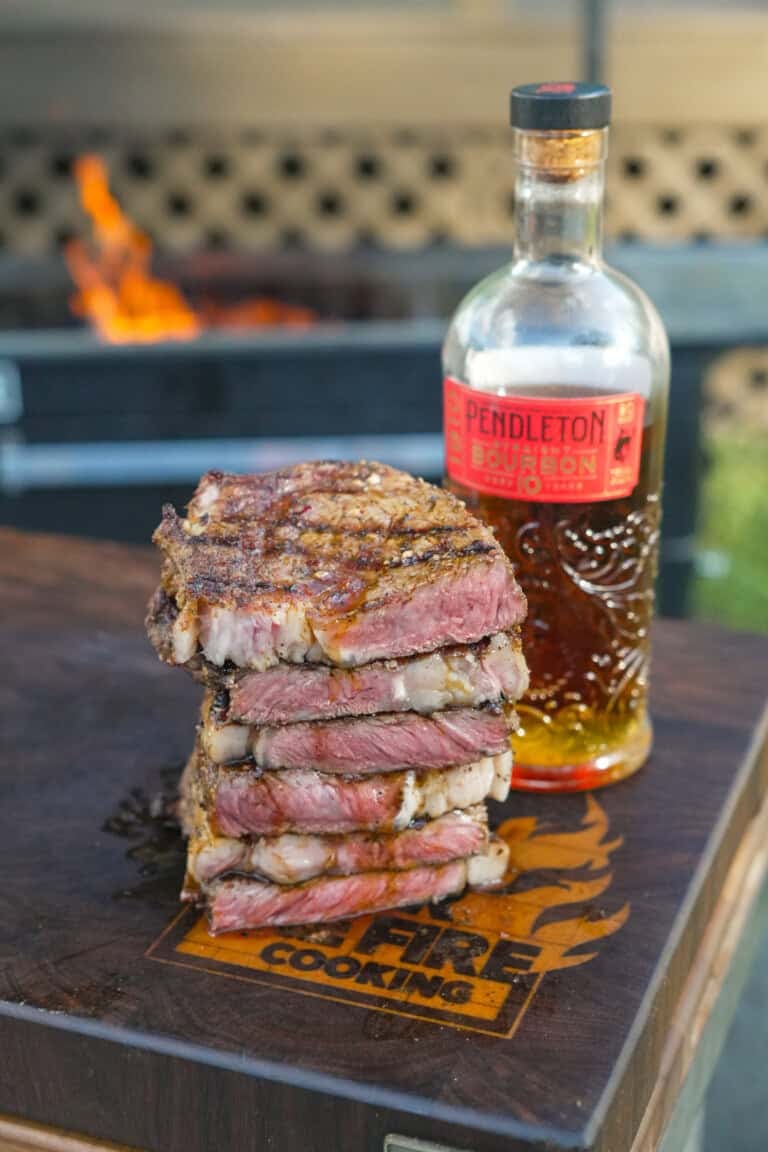
We recently hosted a big summer steak and fries party, which was absolutely epic — and exactly my type of…
The post Bourbon Butter for Grilled Steaks appeared first on Over The Fire Cooking.
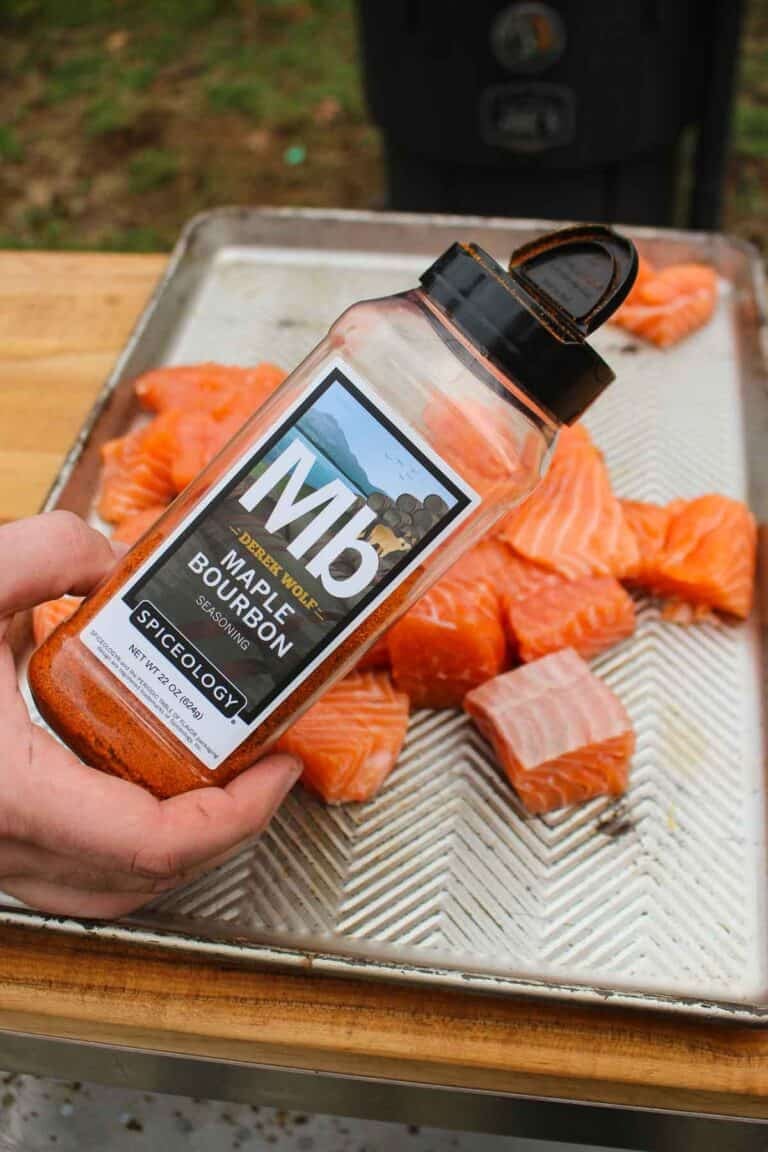
If you’re chasing bold flavor beyond table salt and black pepper, my Maple Bourbon BBQ Rub delivers. This spice mix…
The post How to Use Maple Bourbon BBQ Rub appeared first on Over The Fire Cooking.
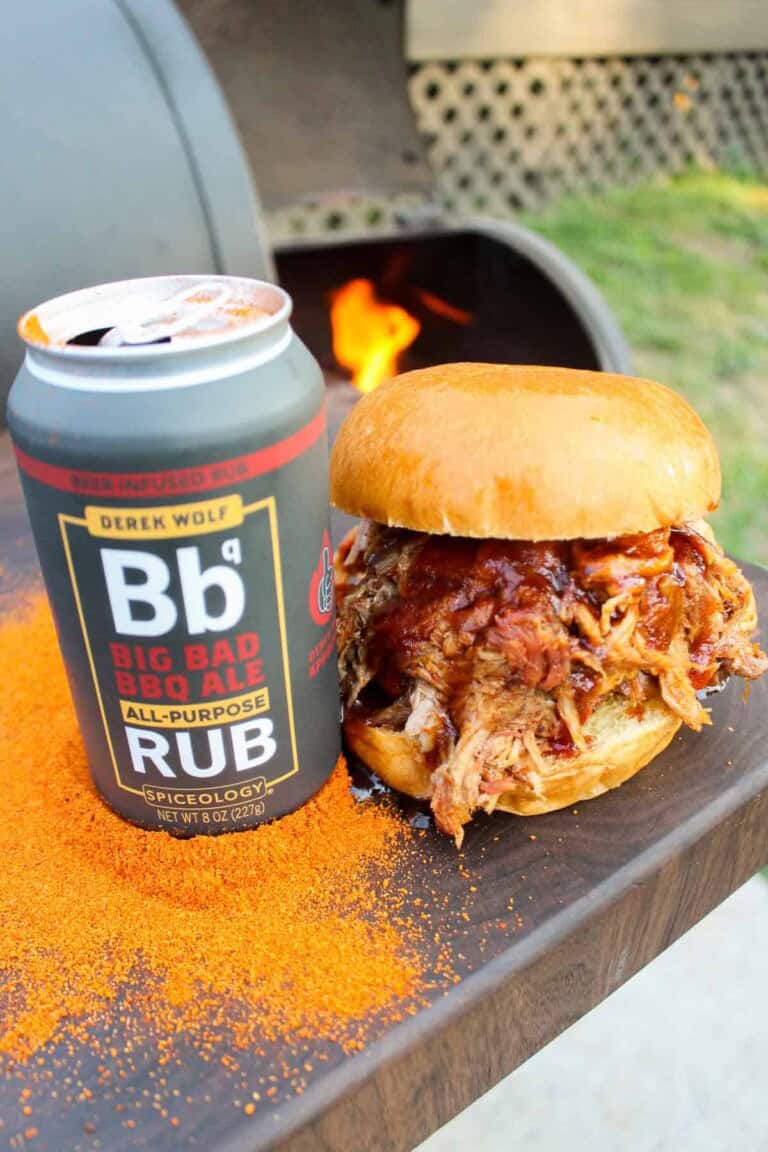
This isn’t my usual kind of post, but since it features some of my favorite beer rub recipes, let me hold your…
The post Beer Rub Recipes appeared first on Over The Fire Cooking.