Why Did My Cookies Spread Too Much?
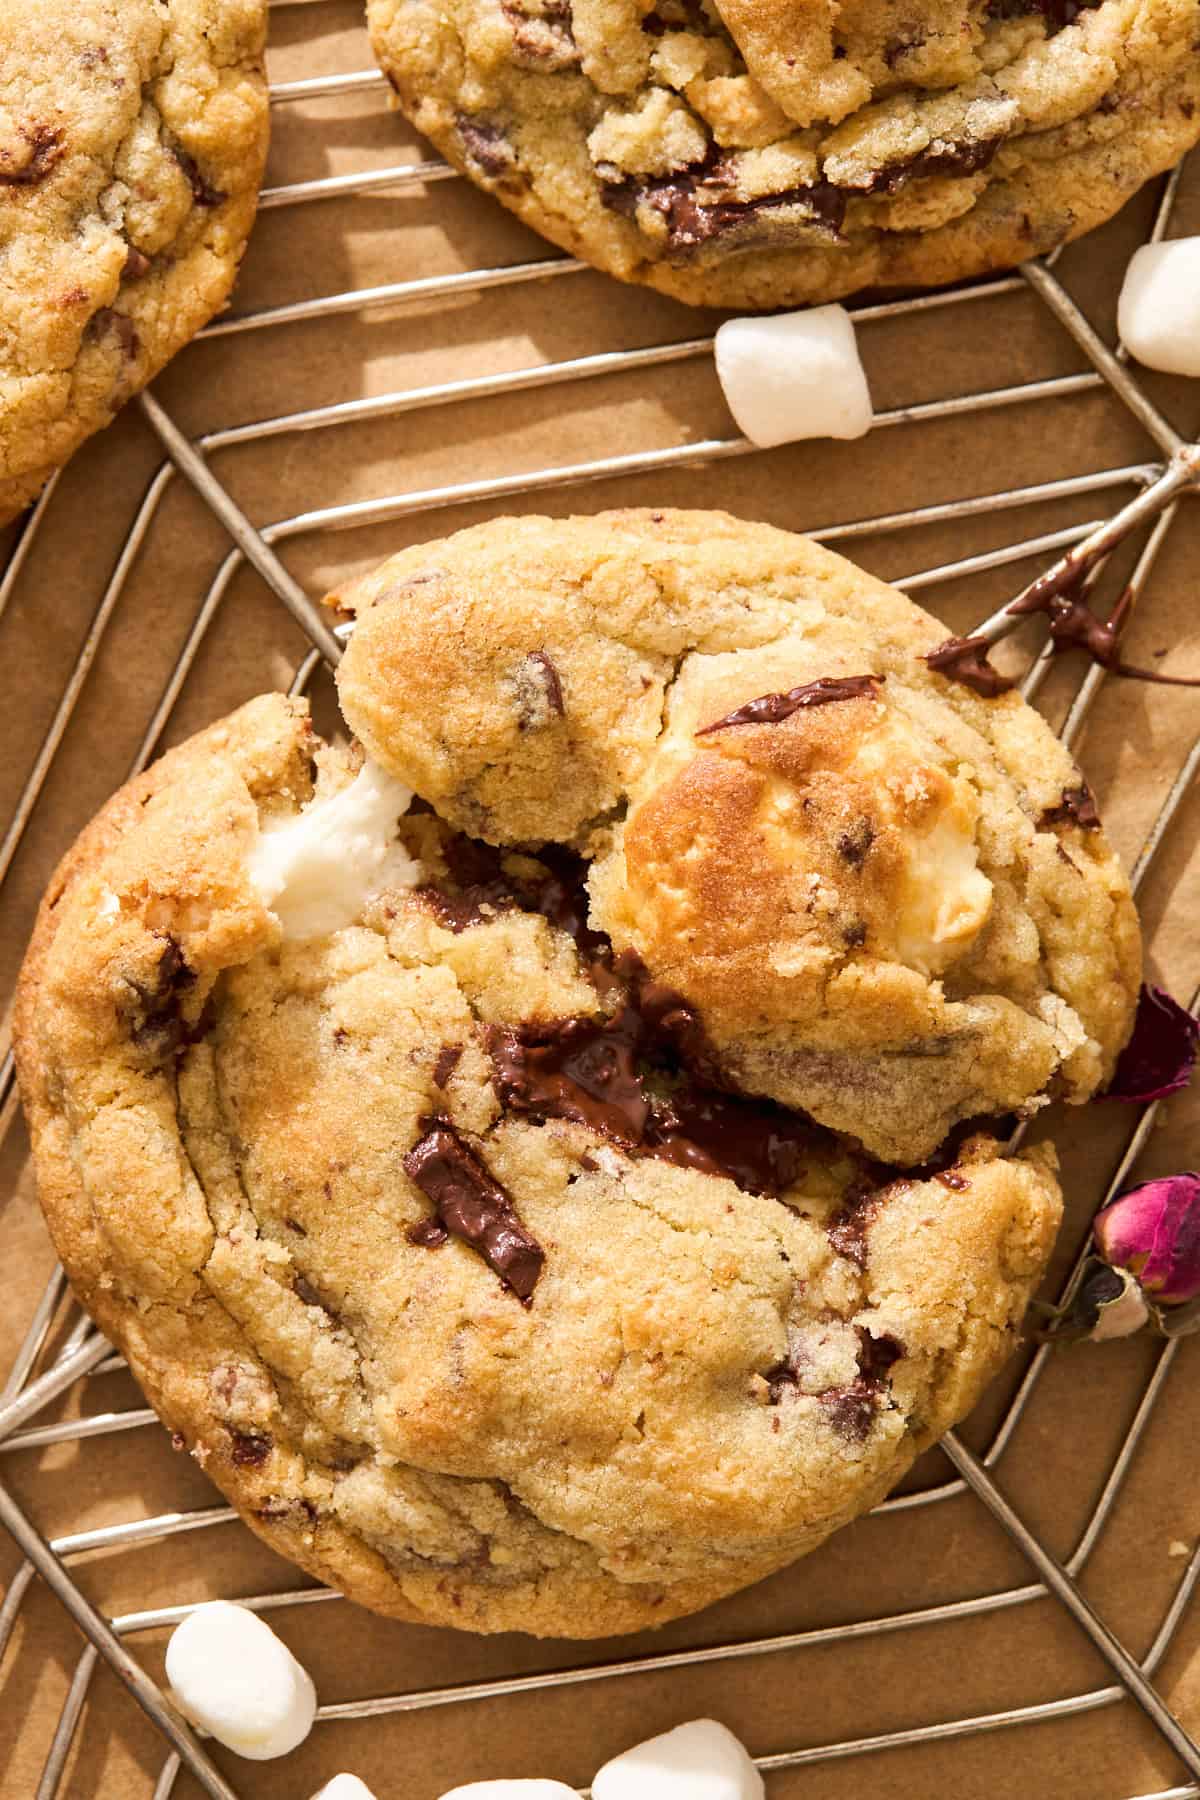 You pull a tray of cookies out of the oven, only to find them looking more like pancakes than the…
You pull a tray of cookies out of the oven, only to find them looking more like pancakes than the…
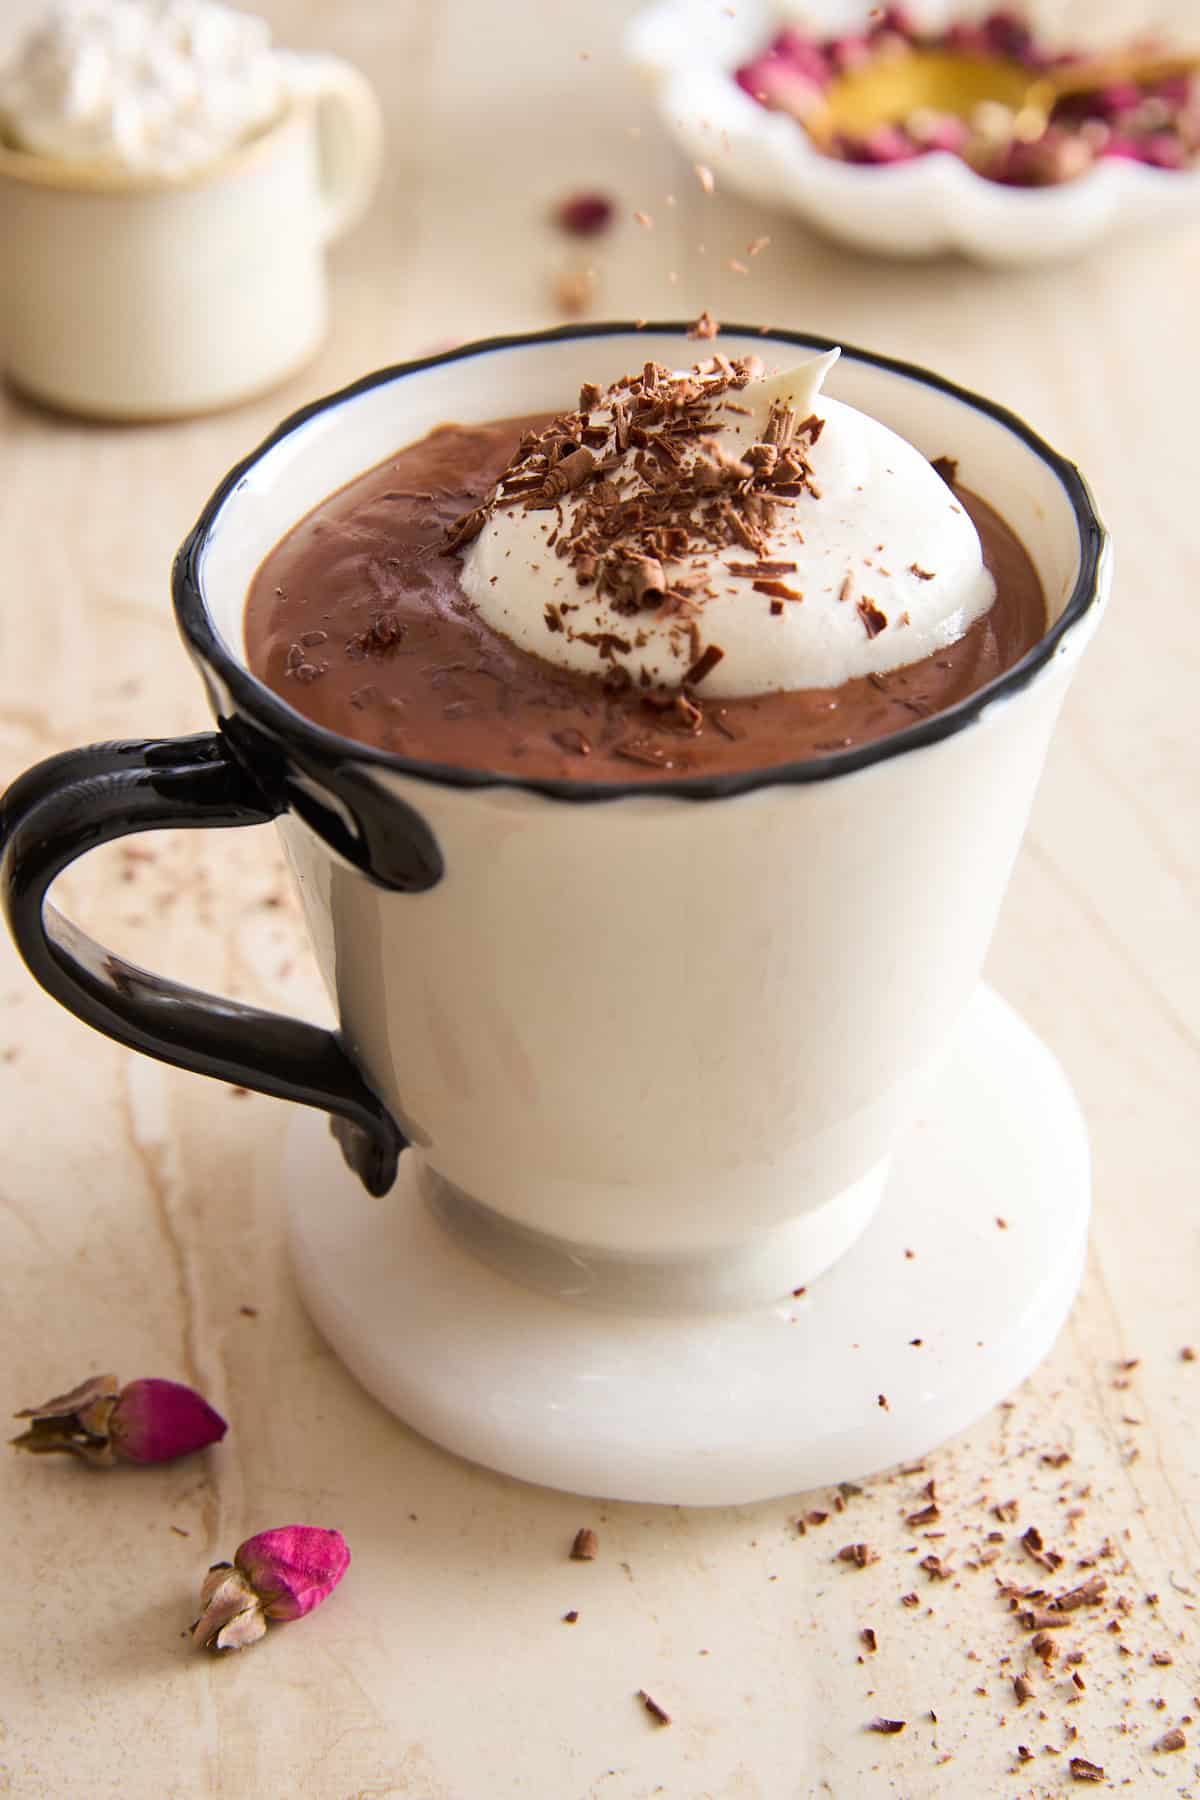 Sink into a warm mug of thick Italian hot chocolate and let it wrap you in silky-smooth chocolate bliss! This…
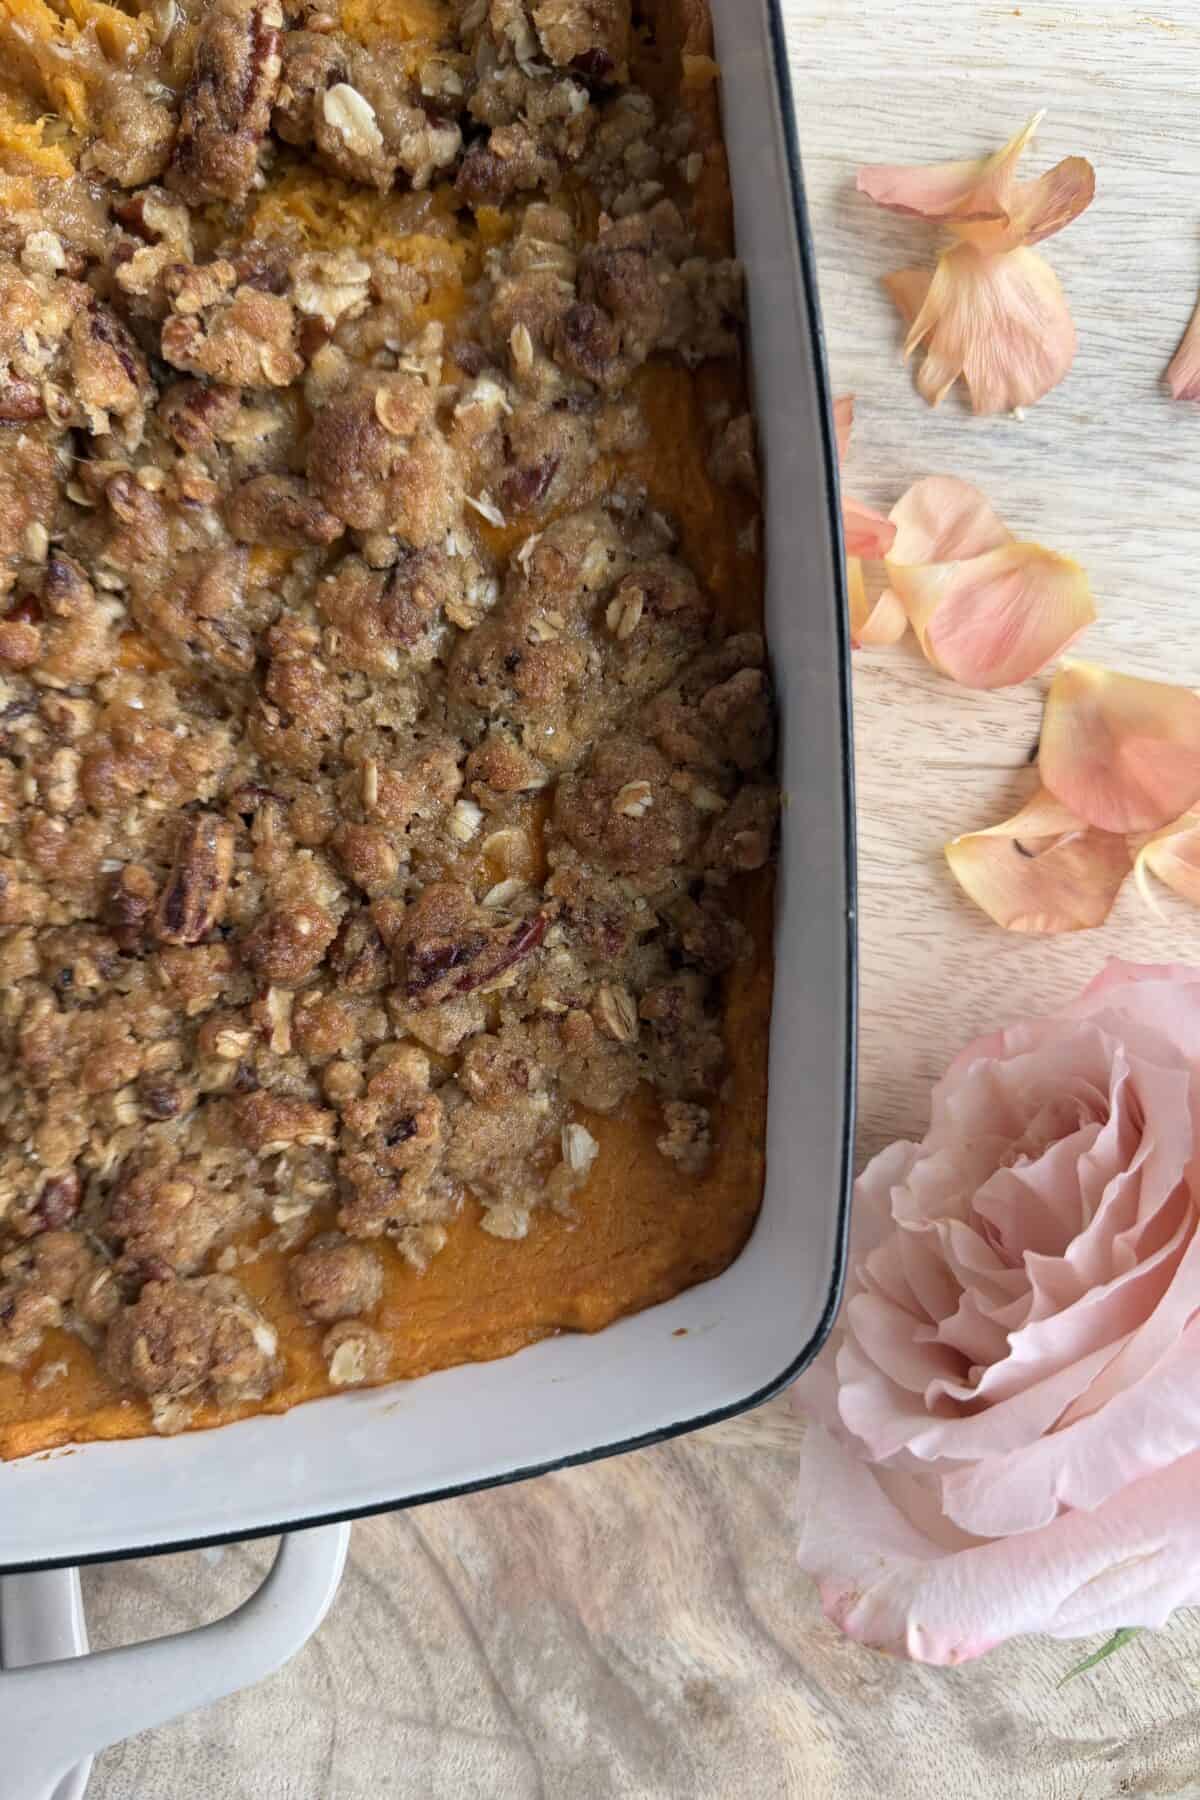 Sweet Potato Casserole with Oat Crumble is rich, cozy, and filled with warm flavor, with a buttery topping that bakes…
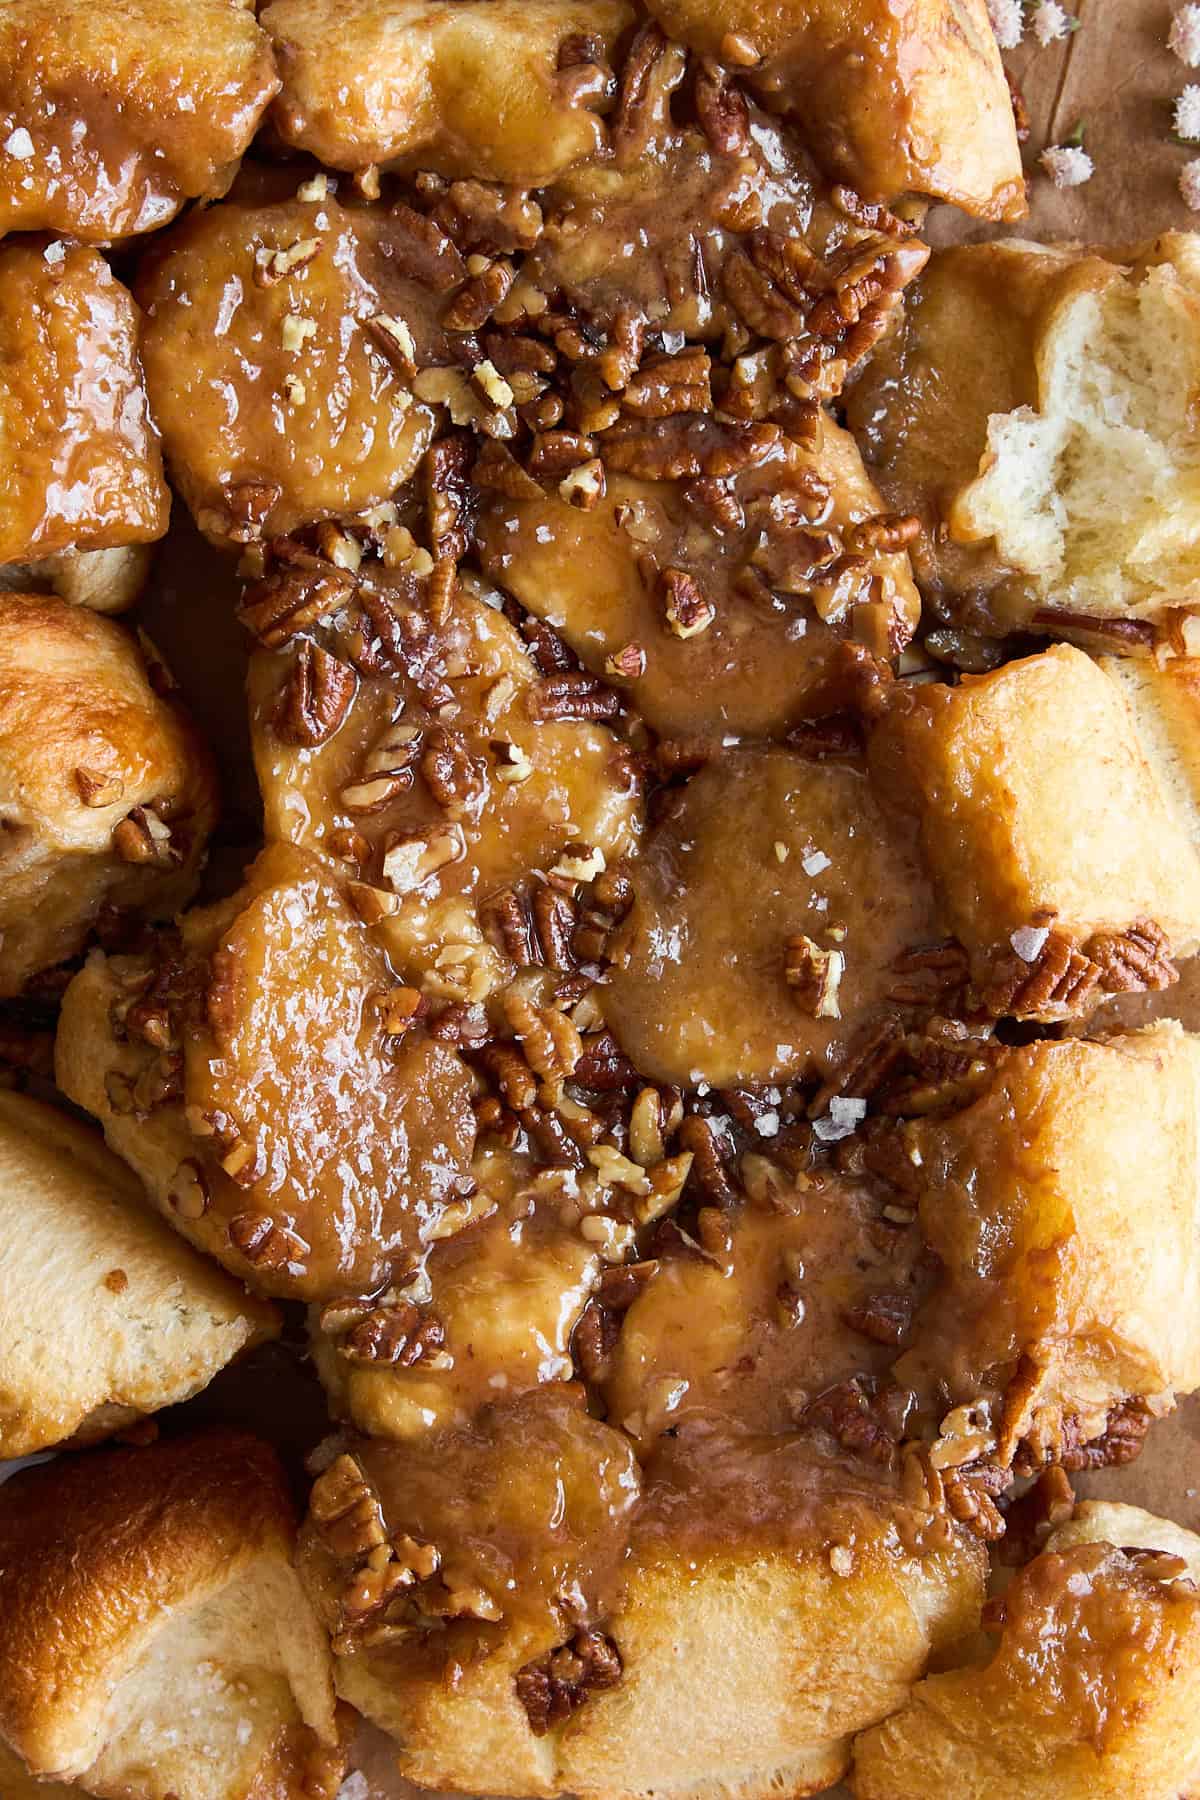 These Sticky Buns with Pecans are the kind of cozy, caramel-coated bake that instantly fills your kitchen with a warm,…
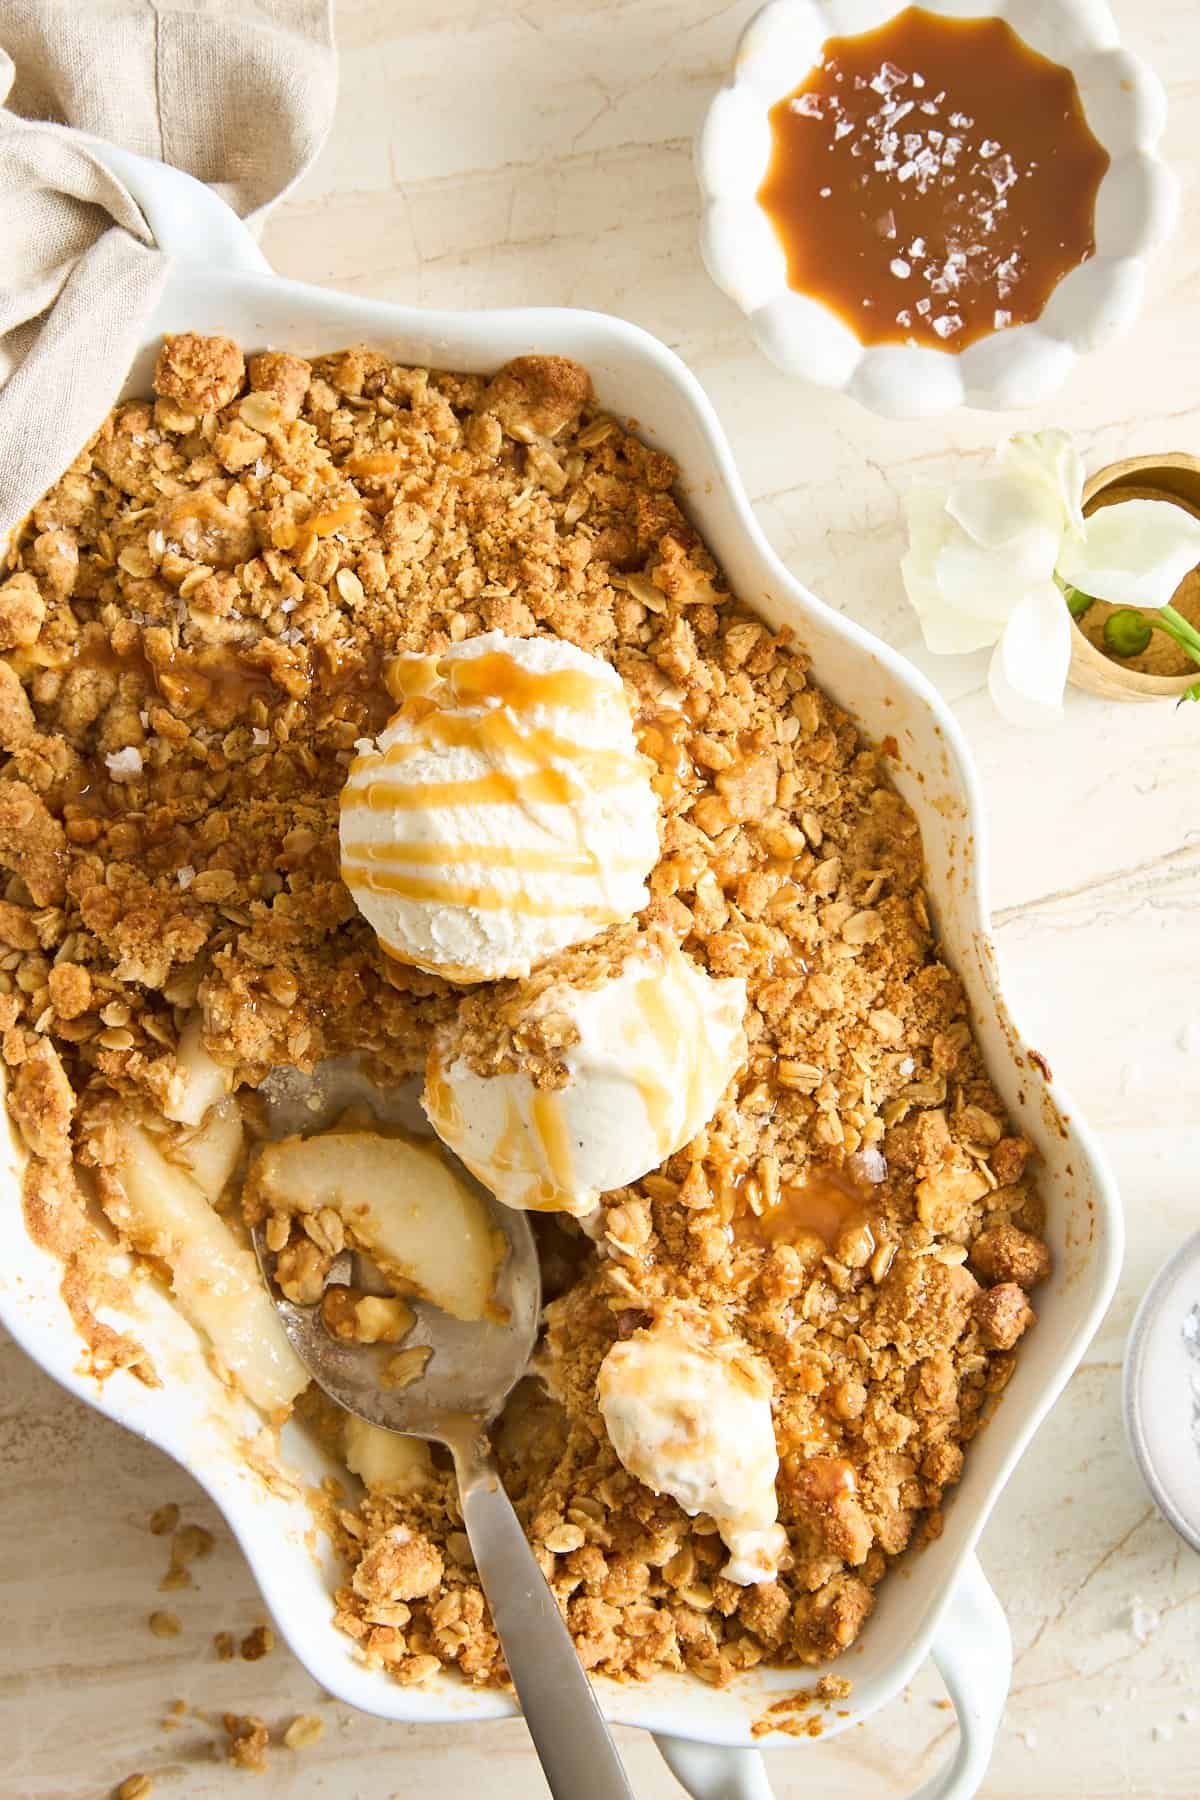 This Pear Crisp recipe transforms ripe pears into a soft, sweet filling topped with a golden, crunchy crumble that tastes…
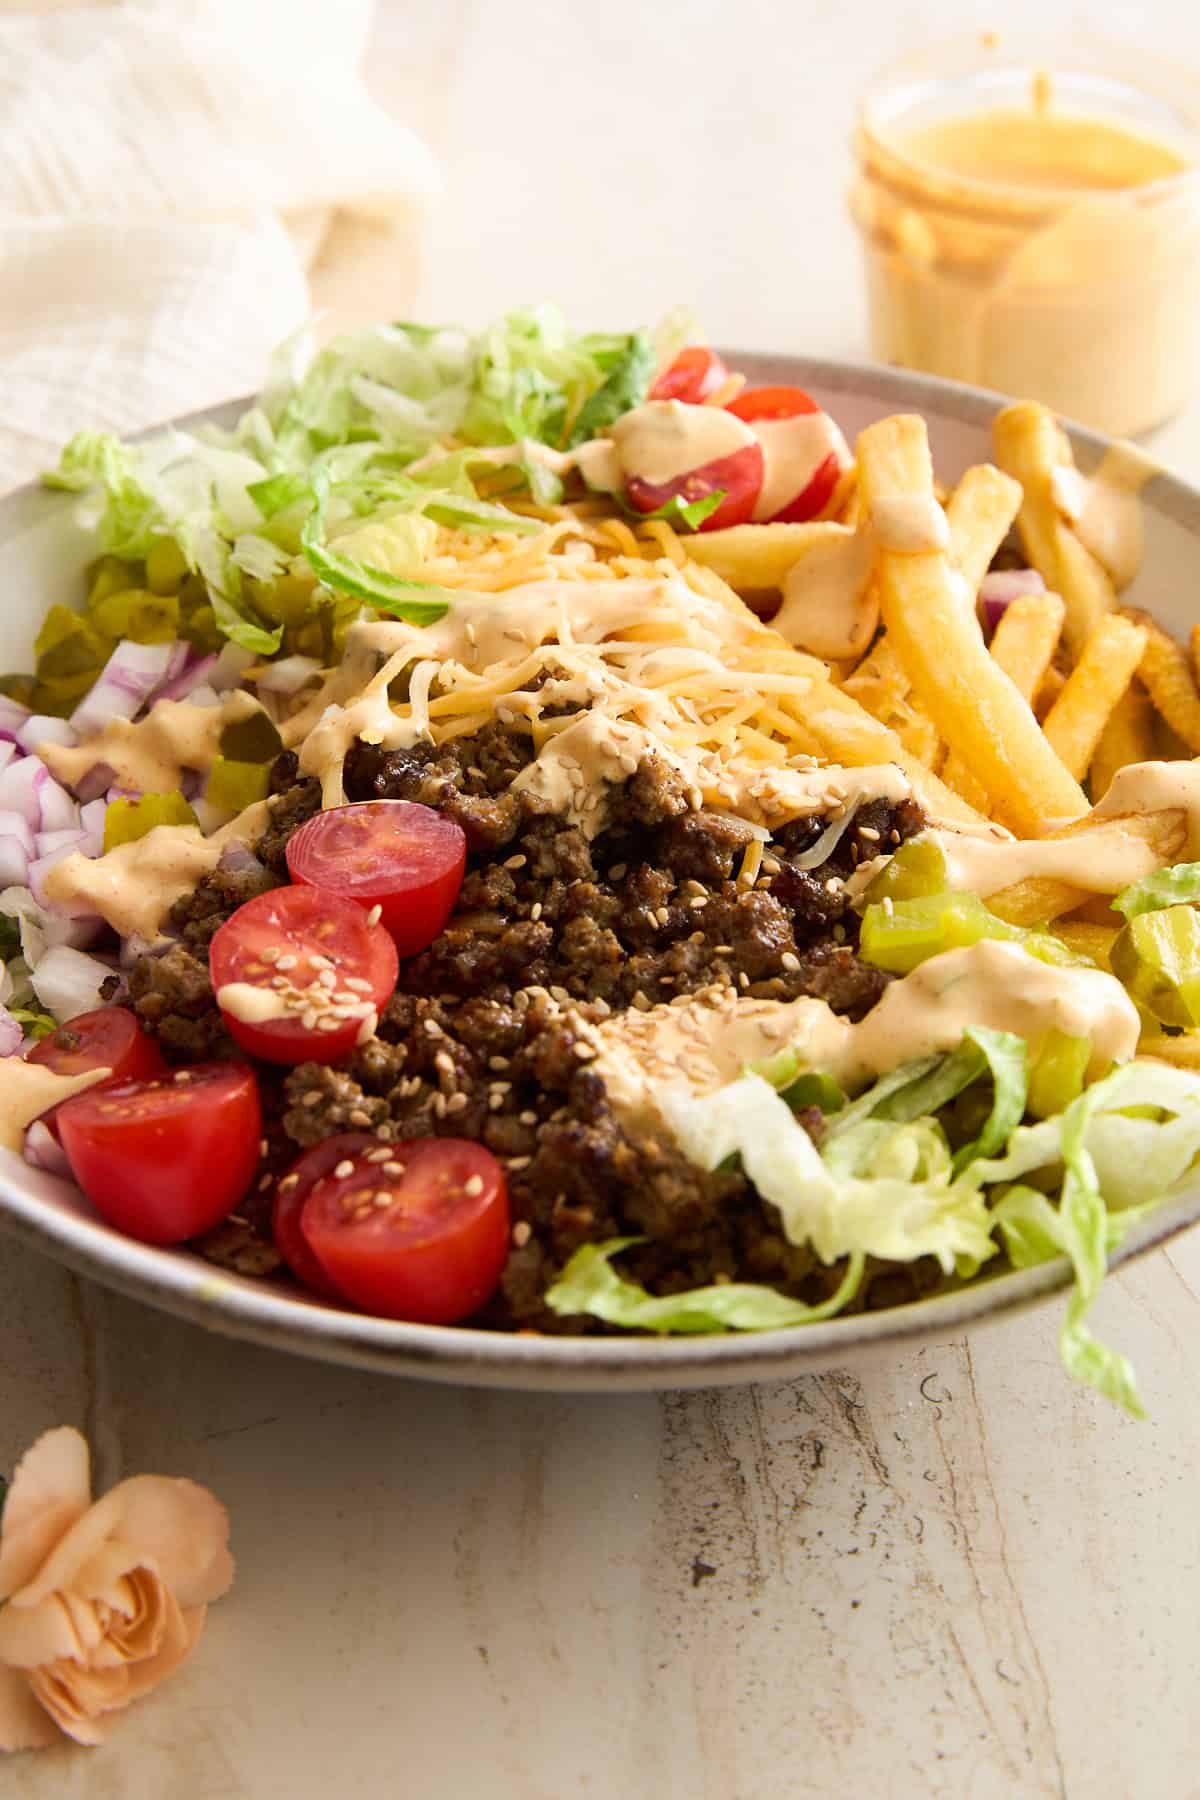 All the flavor of your favorite juicy burger—without the bun! These Cheeseburger Bowls with Big Mac sauce are hearty, customizable,…
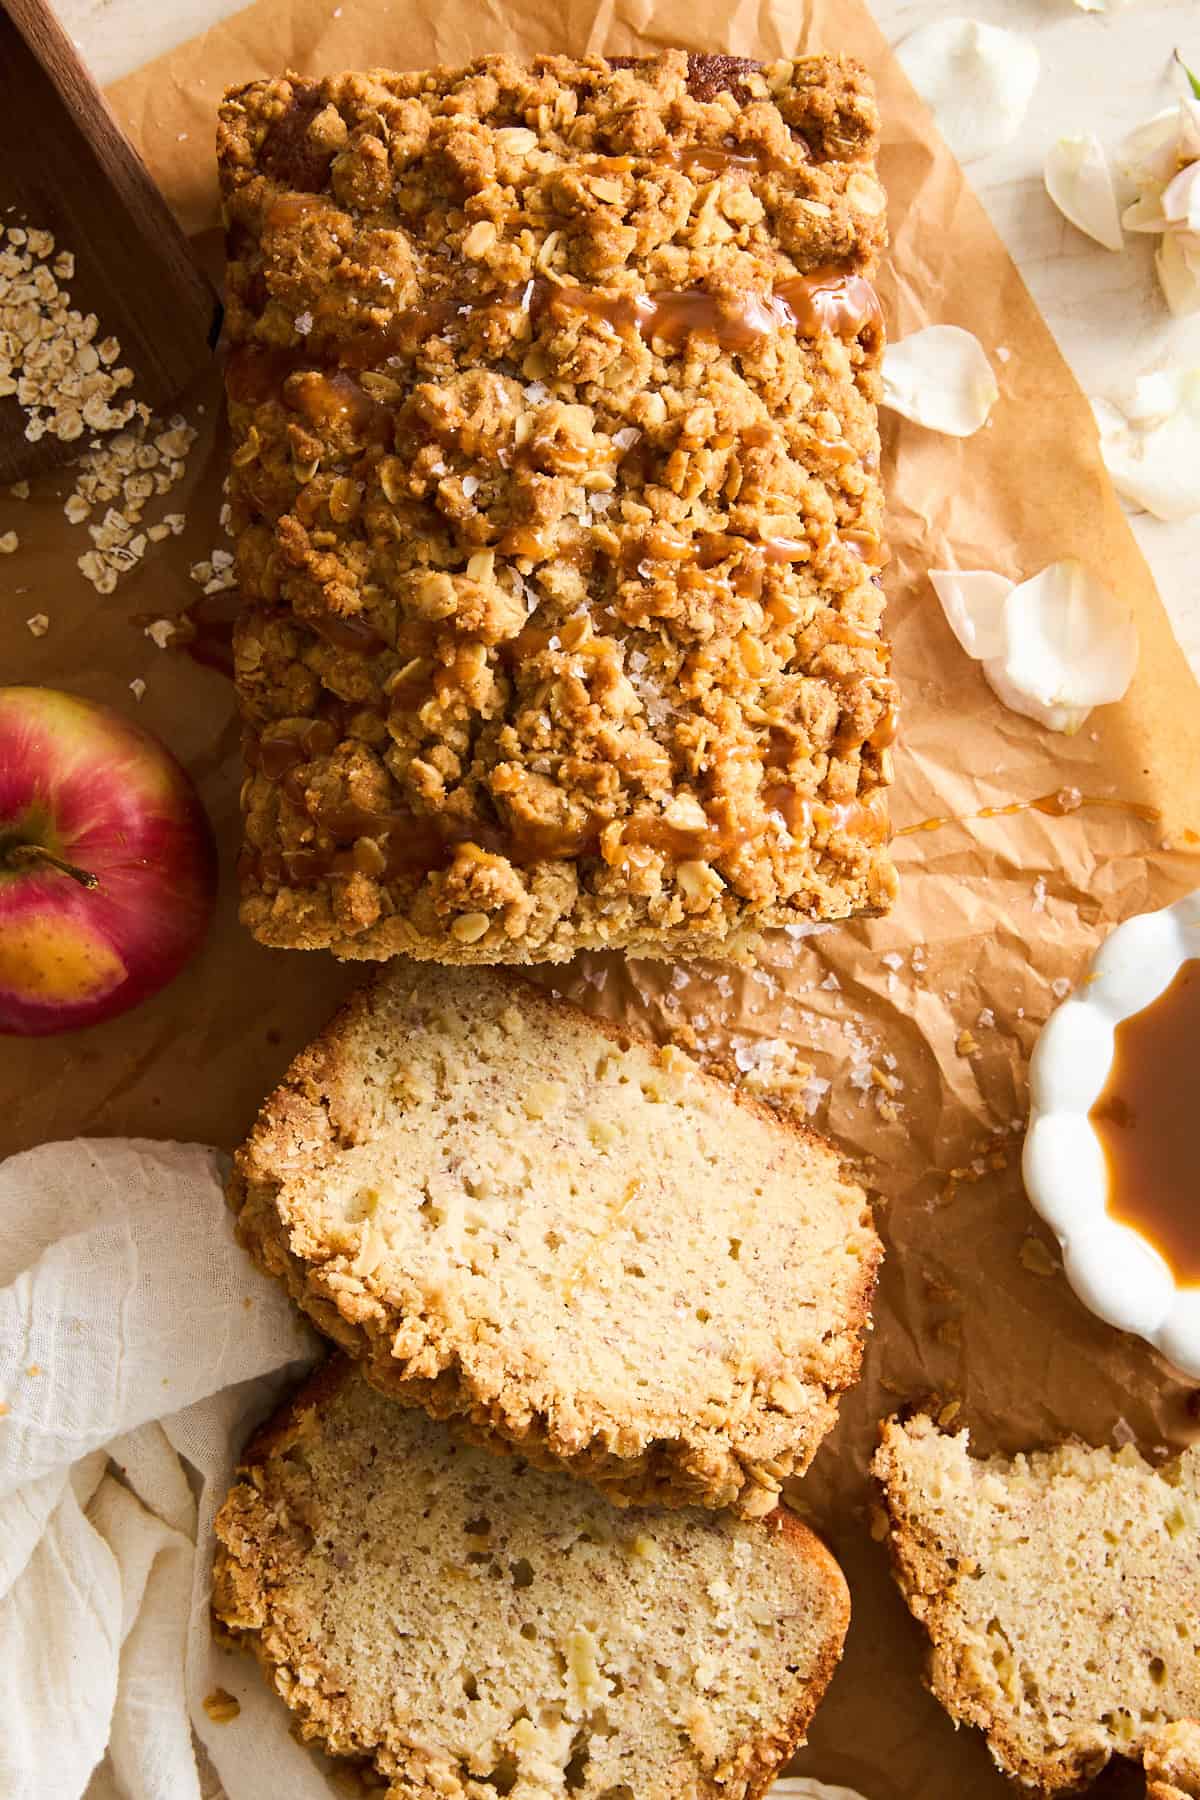 Banana bread just got a cozy fall upgrade. This Apple Banana Bread with Oat Crumble Topping is soft, perfectly sweet,…
 With warm, golden-baked cookie dough intertwined with juicy apple pieces and ribbons of caramel, this Caramel Apple Cookie Skillet offers…
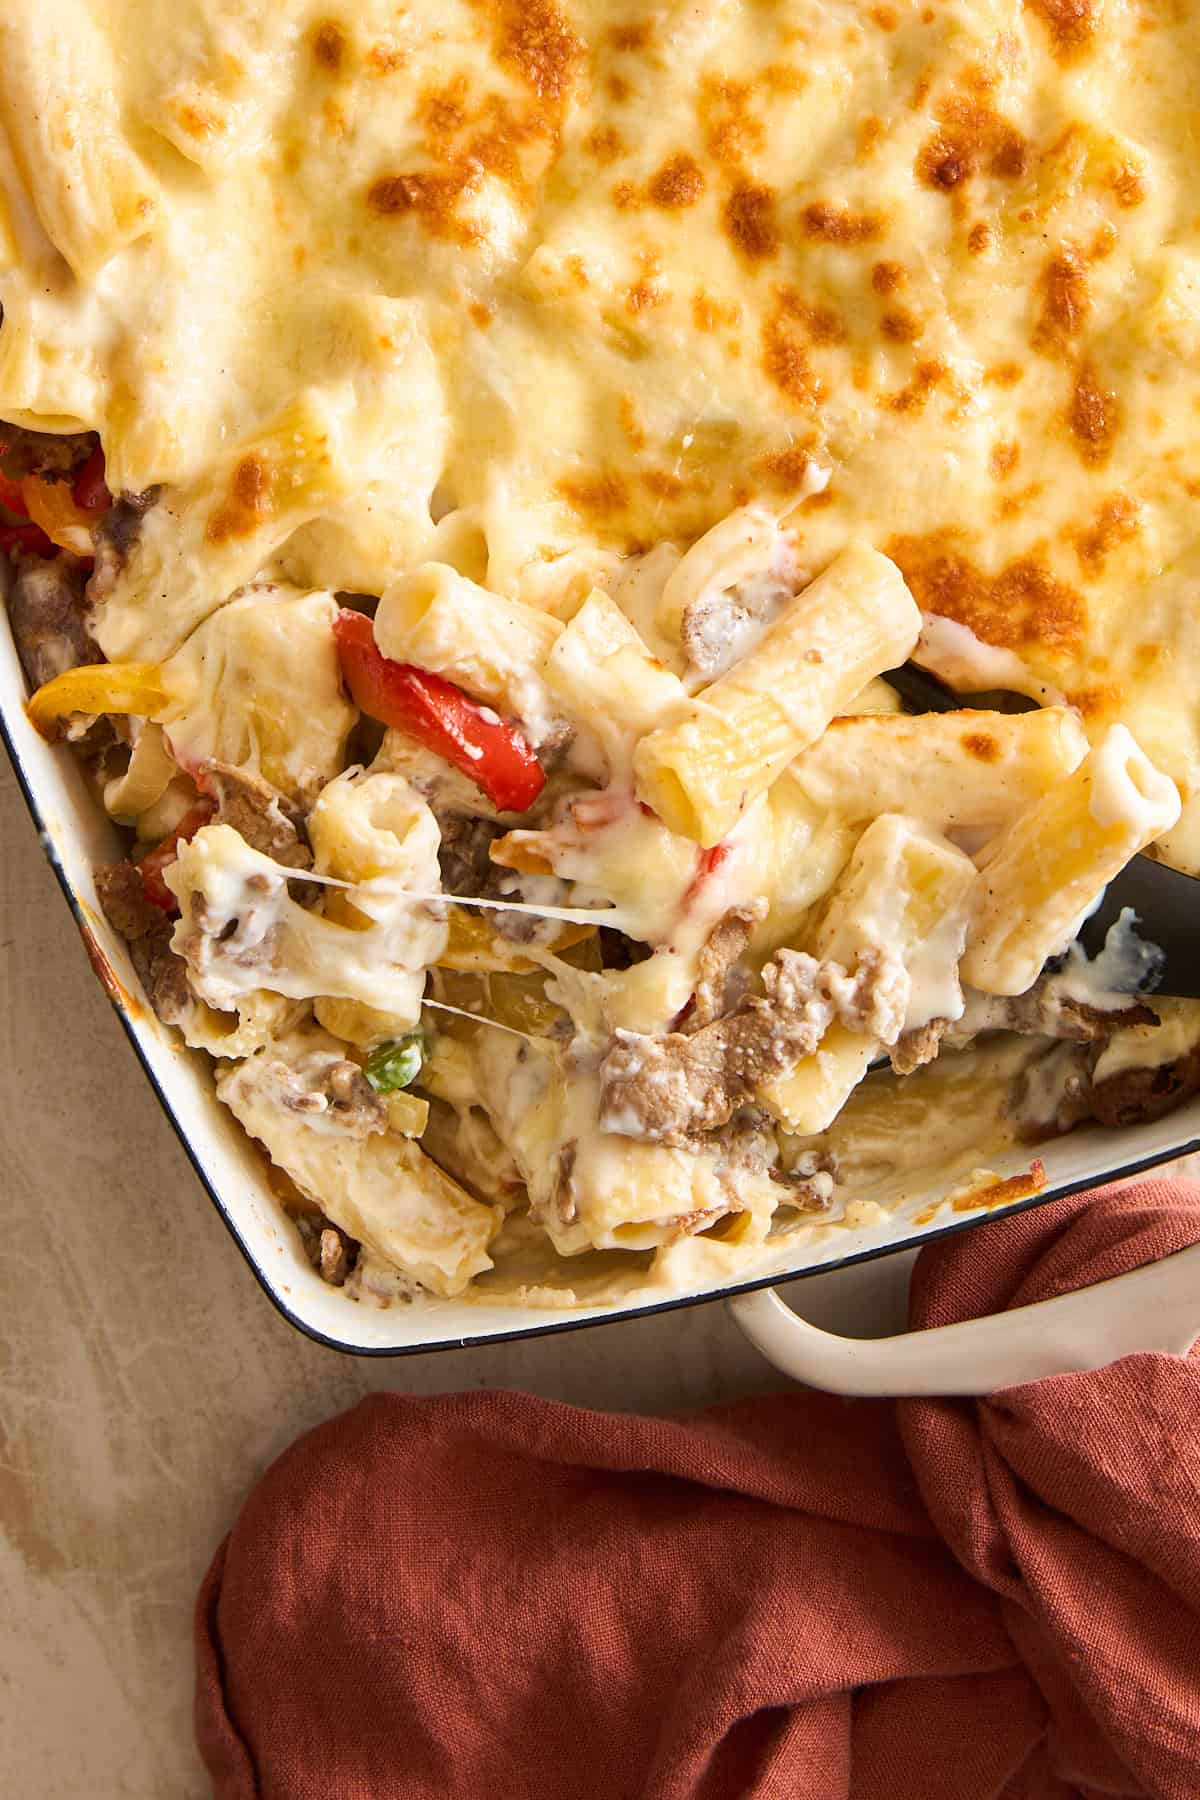 When you’re craving comfort food with serious flavor, this easy Philly Cheesesteak Pasta Bake recipe is the answer. It takes…
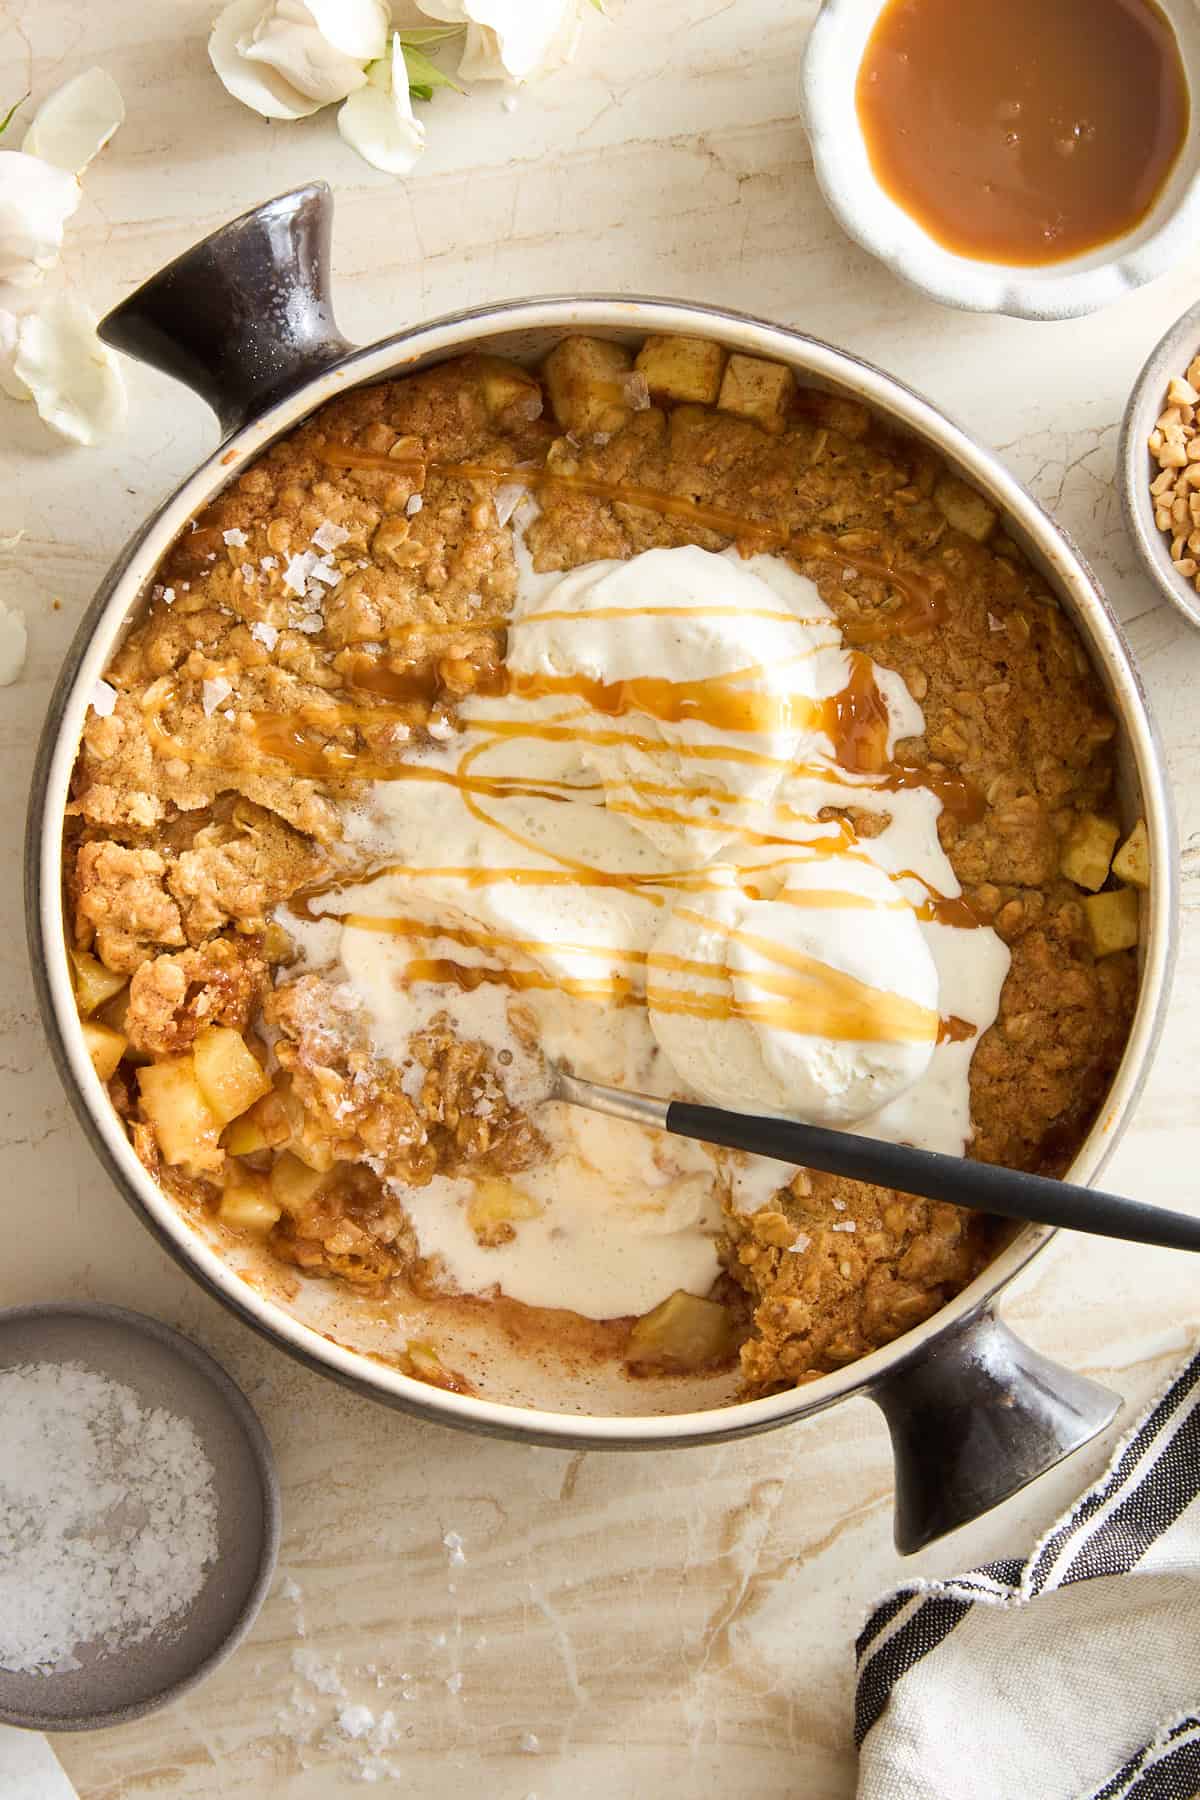
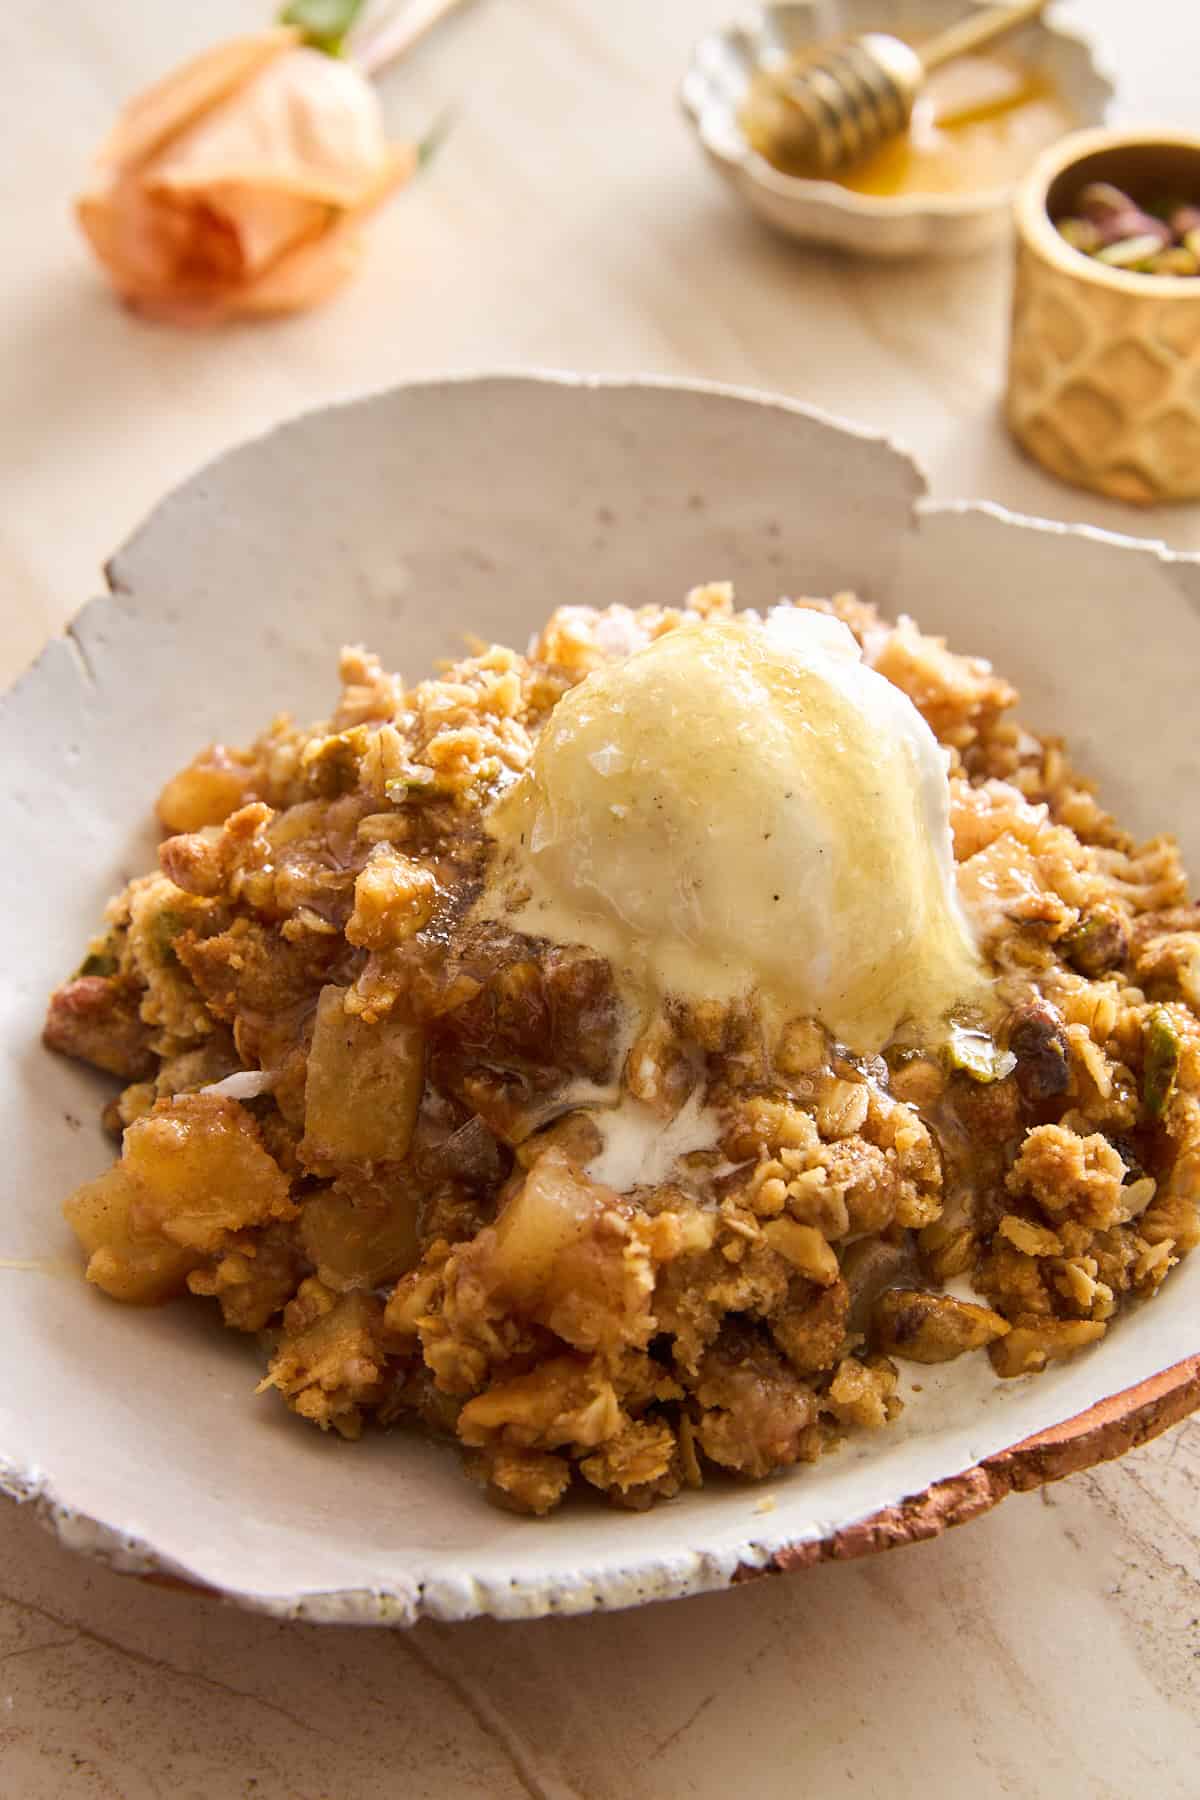 This Baklava Apple Crisp combines cozy fall flavors with a nutty, buttery crunch that tastes like a hug from your…
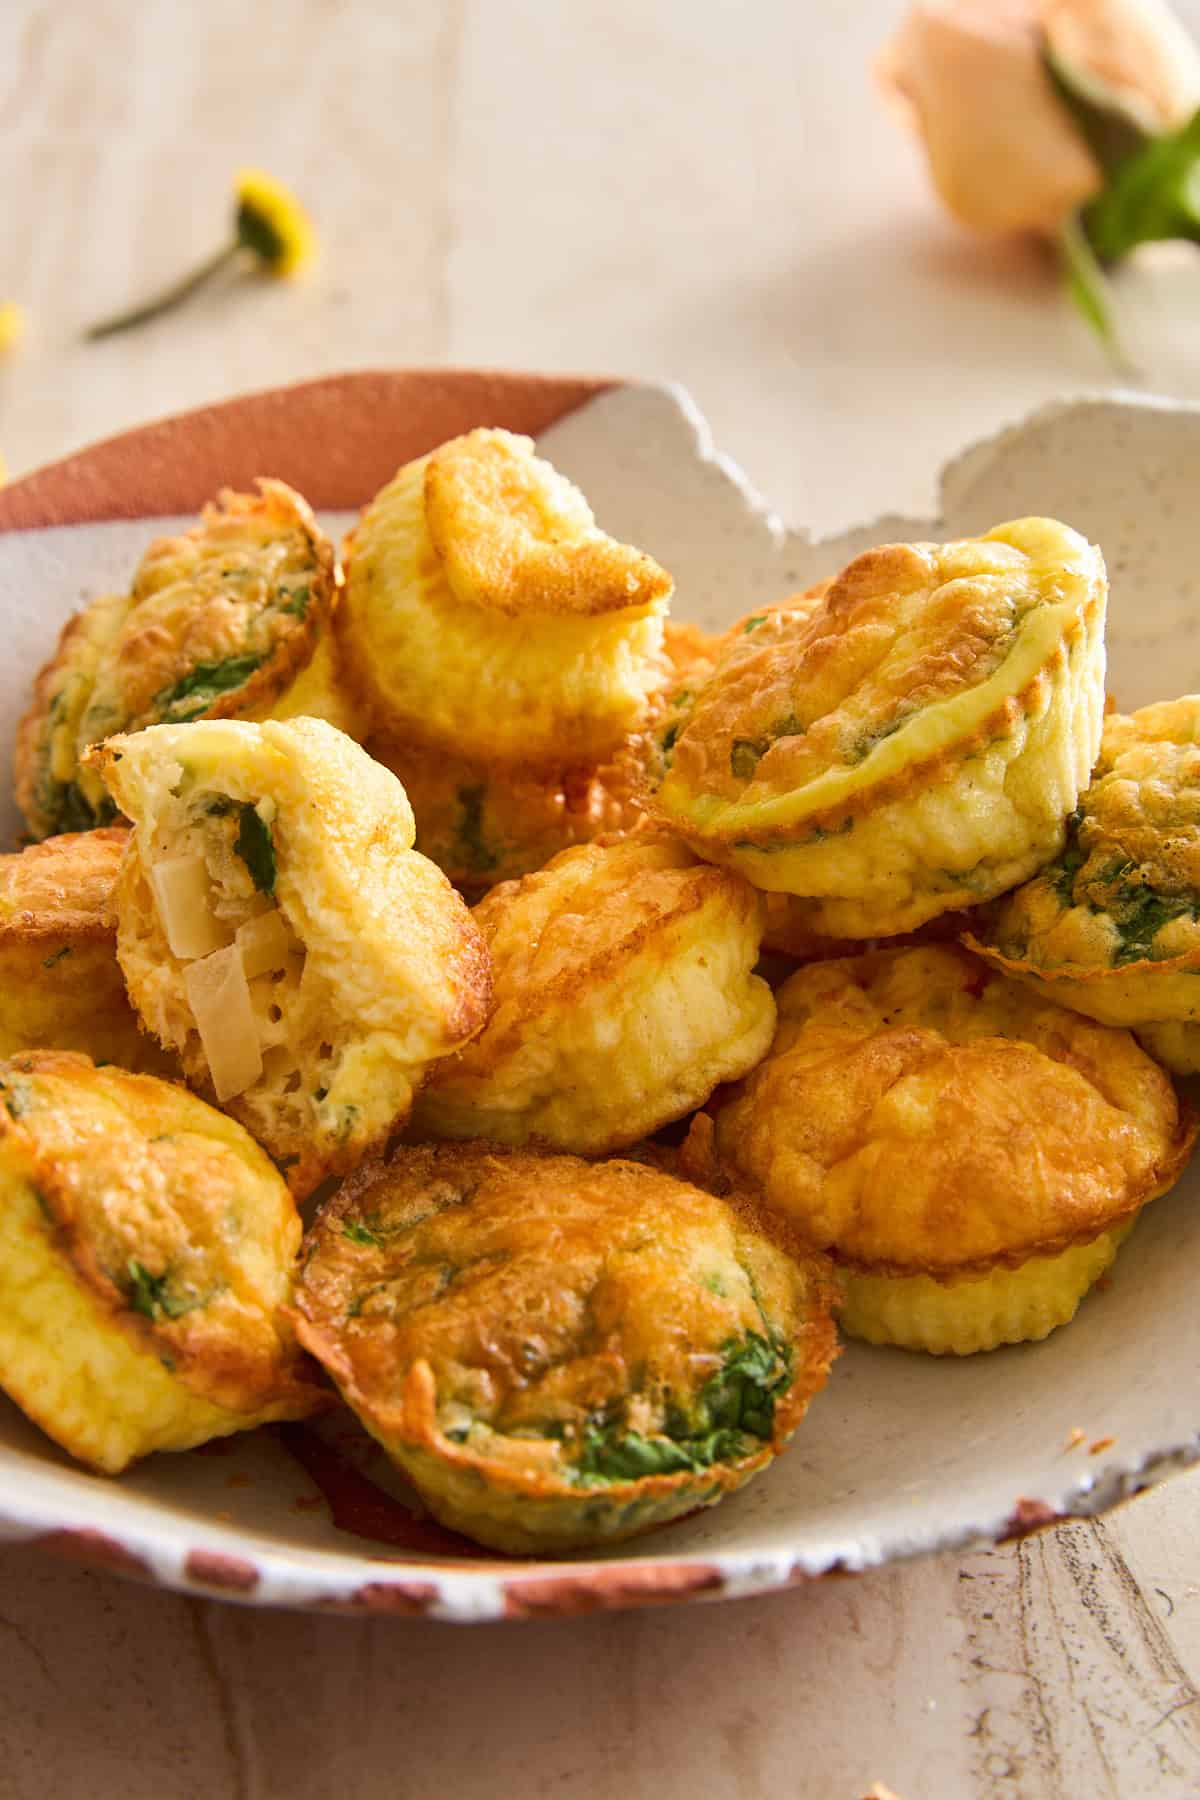 Start your morning with a cozy, homemade version of the famous egg bites from Starbucks. These Copycat Starbucks Egg Muffins…
 Juicy shaved steak, caramelized peppers, and melted cheese all wrapped in a soft tortilla—what could be better? This Philly Cheesesteak…
 Put your fresh produce to use this summer with this fruit-filled, sweet peach watermelon salad perfect for snacks, breakfast, or dessert!
 Make this creamy, refreshing, orange creamsicle drink using three simple ingredients and a single blender for a warm-weather treat!
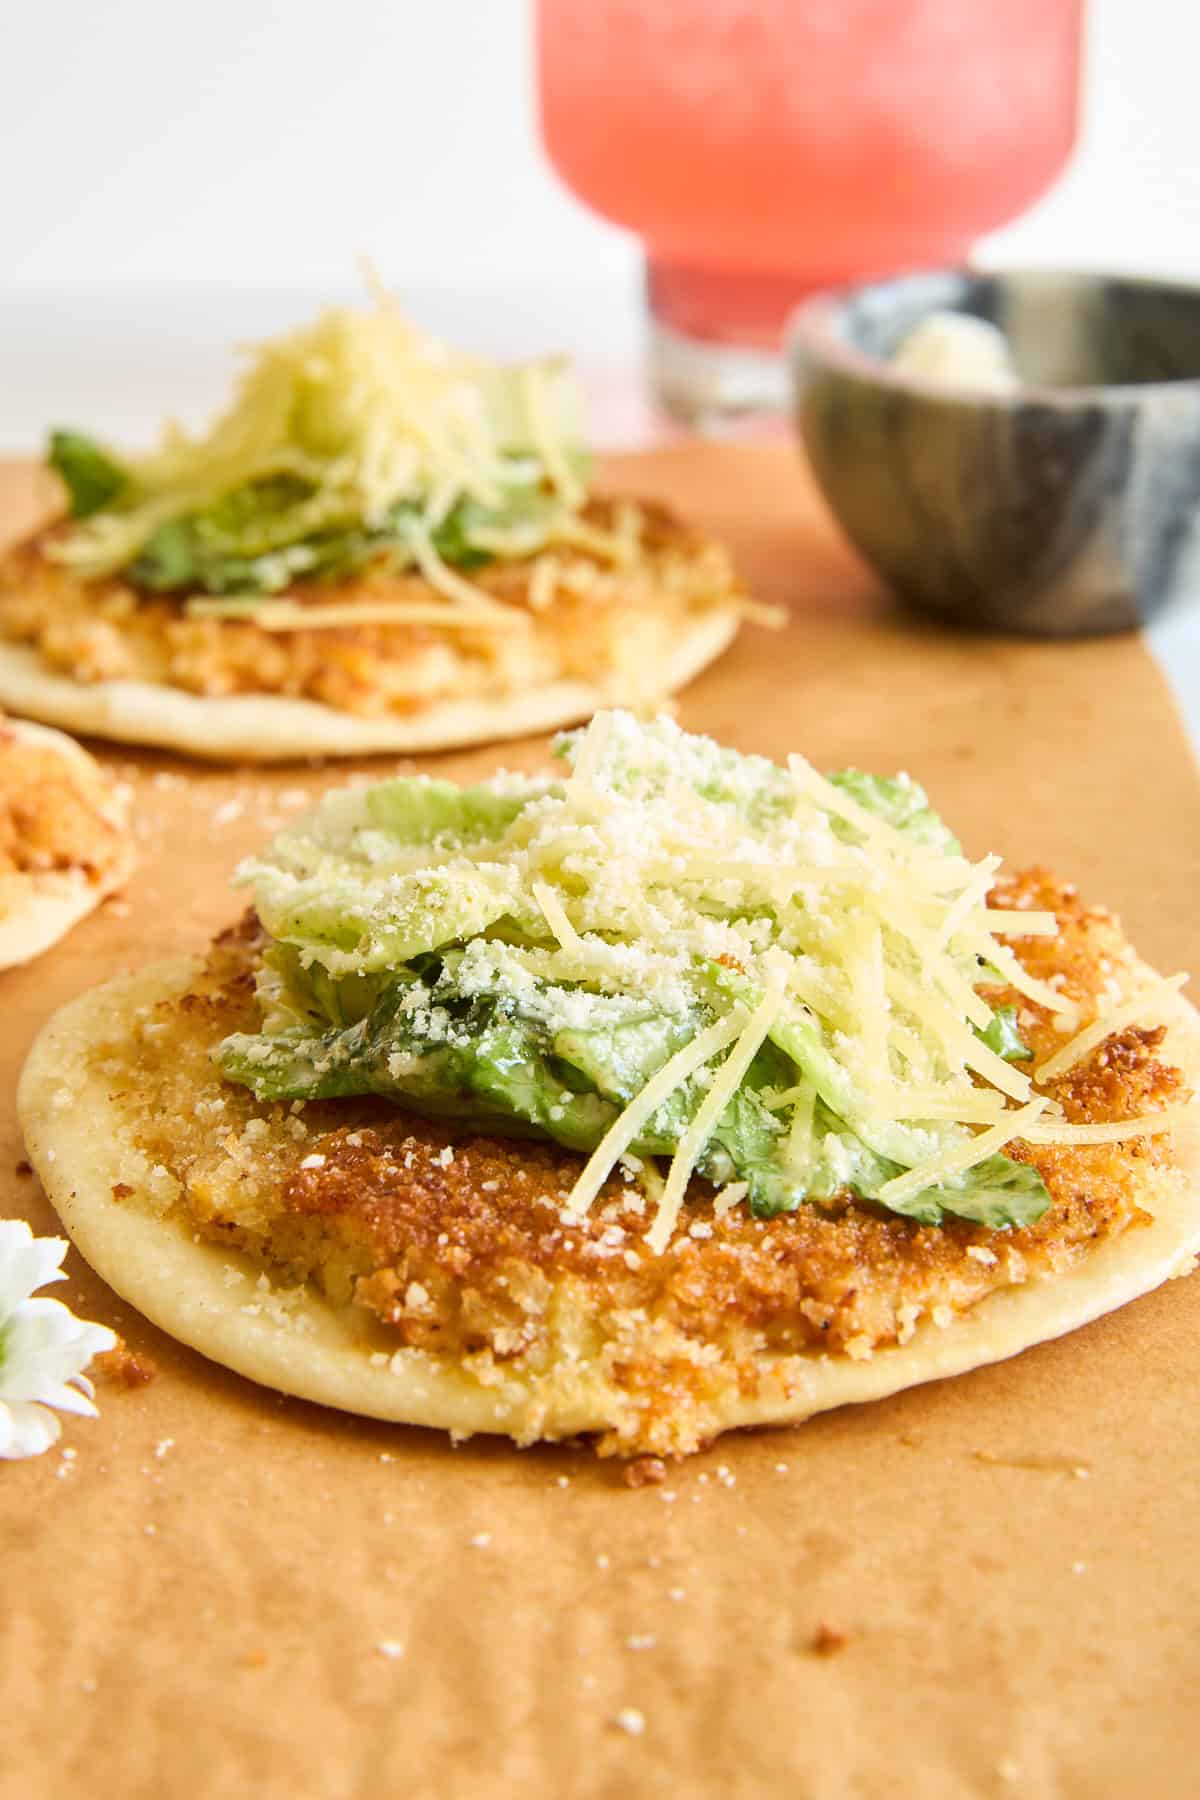 Enjoy all the flavors of your favorite salad in this hearty, crispy chicken Caesar wrap in 15 minutes or less!
 Filled with beef, beans, and plenty of cheese, these sheet pan quesadillas are a family-friendly recipe ready to eat in about an hour!
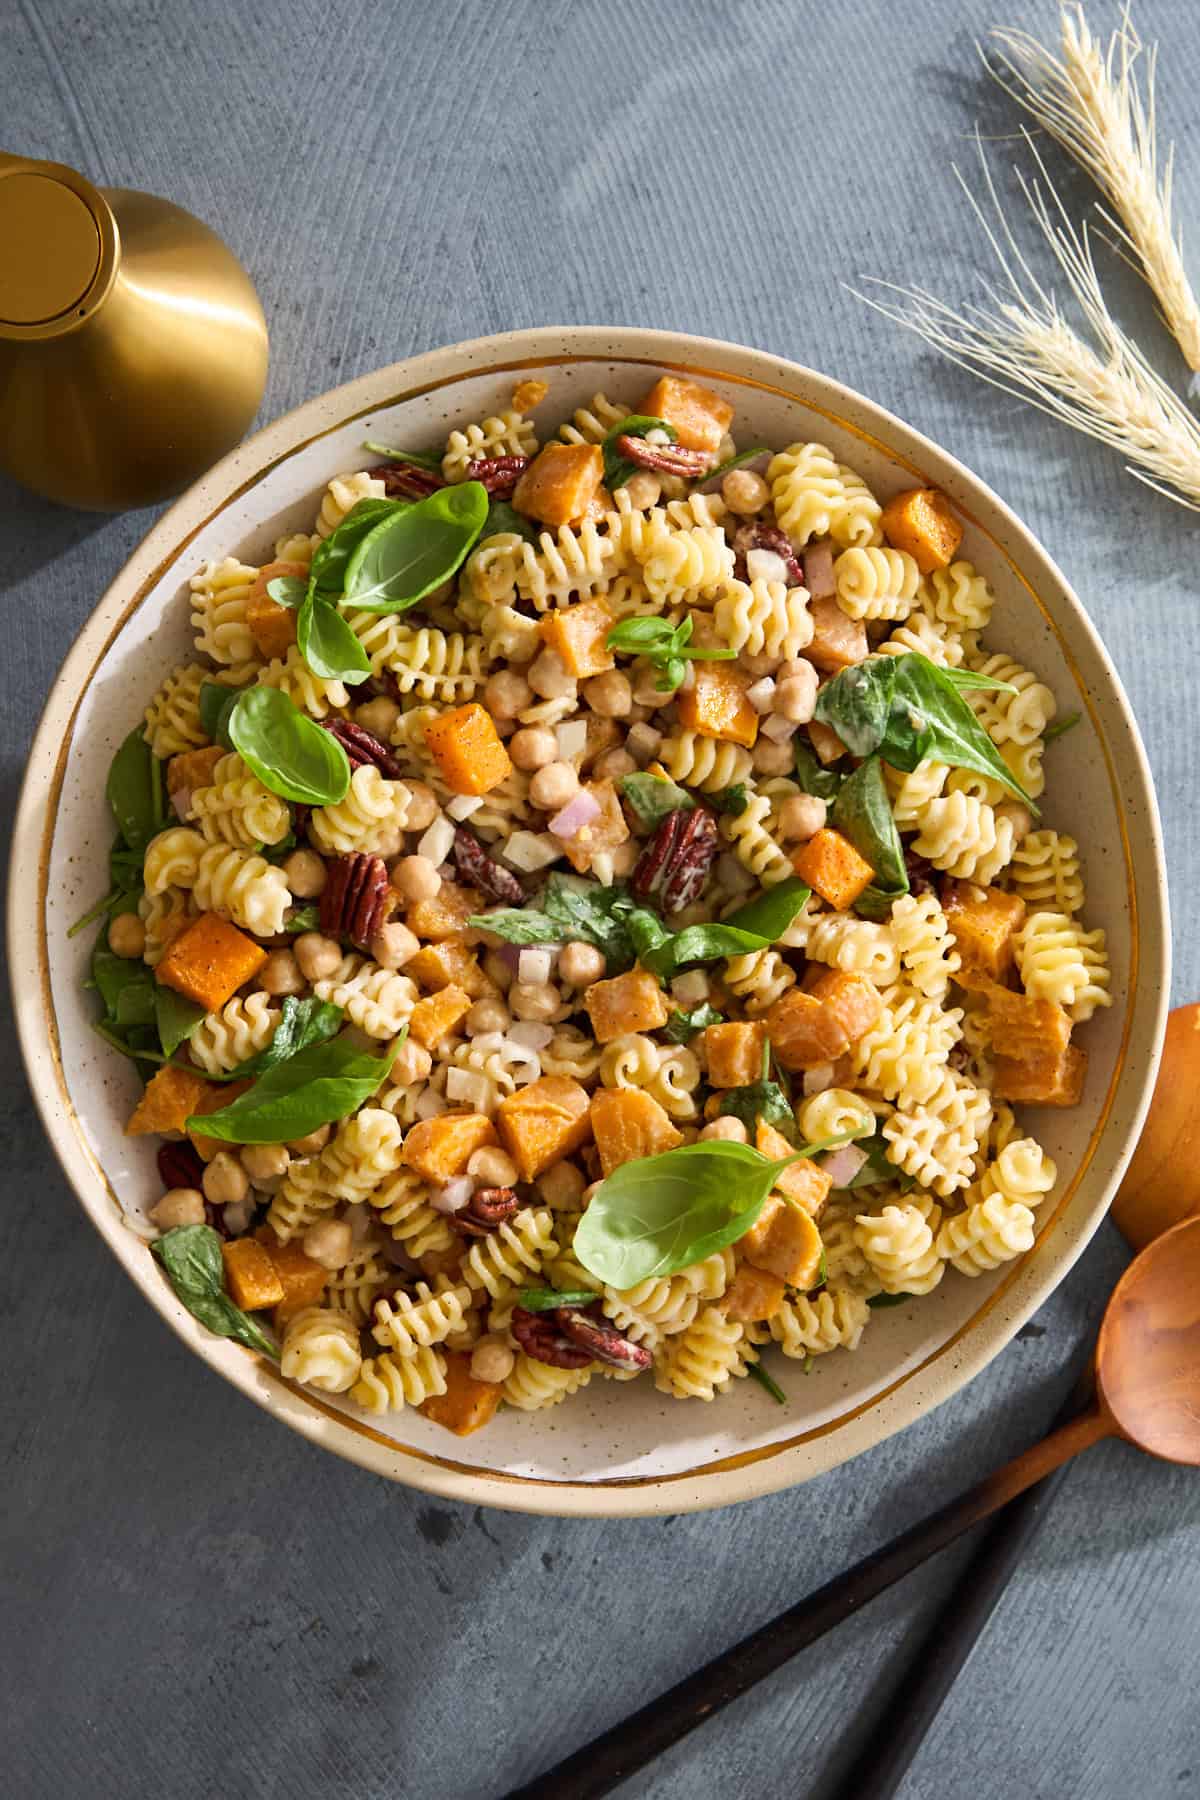 Enjoy all the flavors of fall in this sweet, savory, crunchy, veggie filled fall pasta salad paired with a tangy tahini dressing!
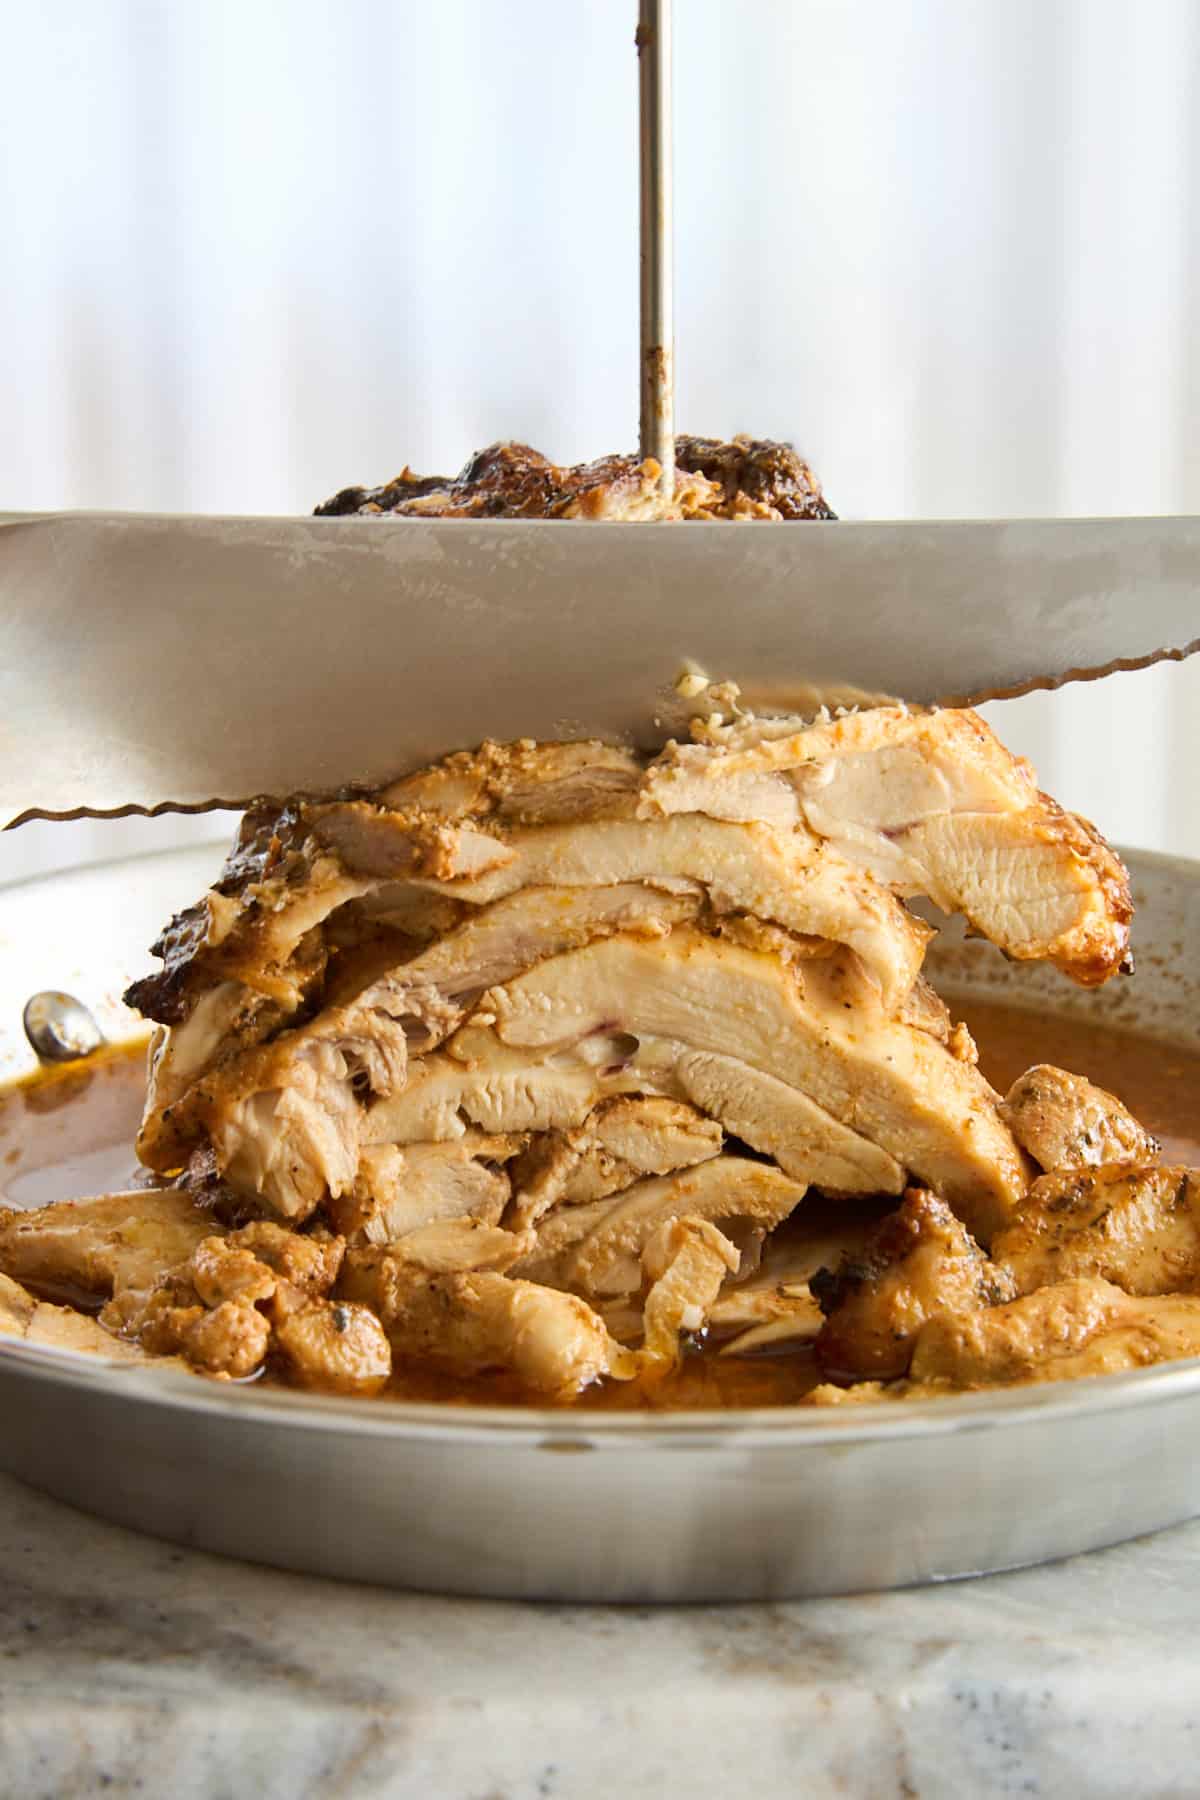 These Chicken Gyros bring the flavors of the Mediterranean straight to your kitchen. Juicy, spiced chicken pairs perfectly with anything…
 Crunchy, sweet, and warm, this air fryer granola recipe comes together with a handful of nutritious ingredients in about 20 minutes!
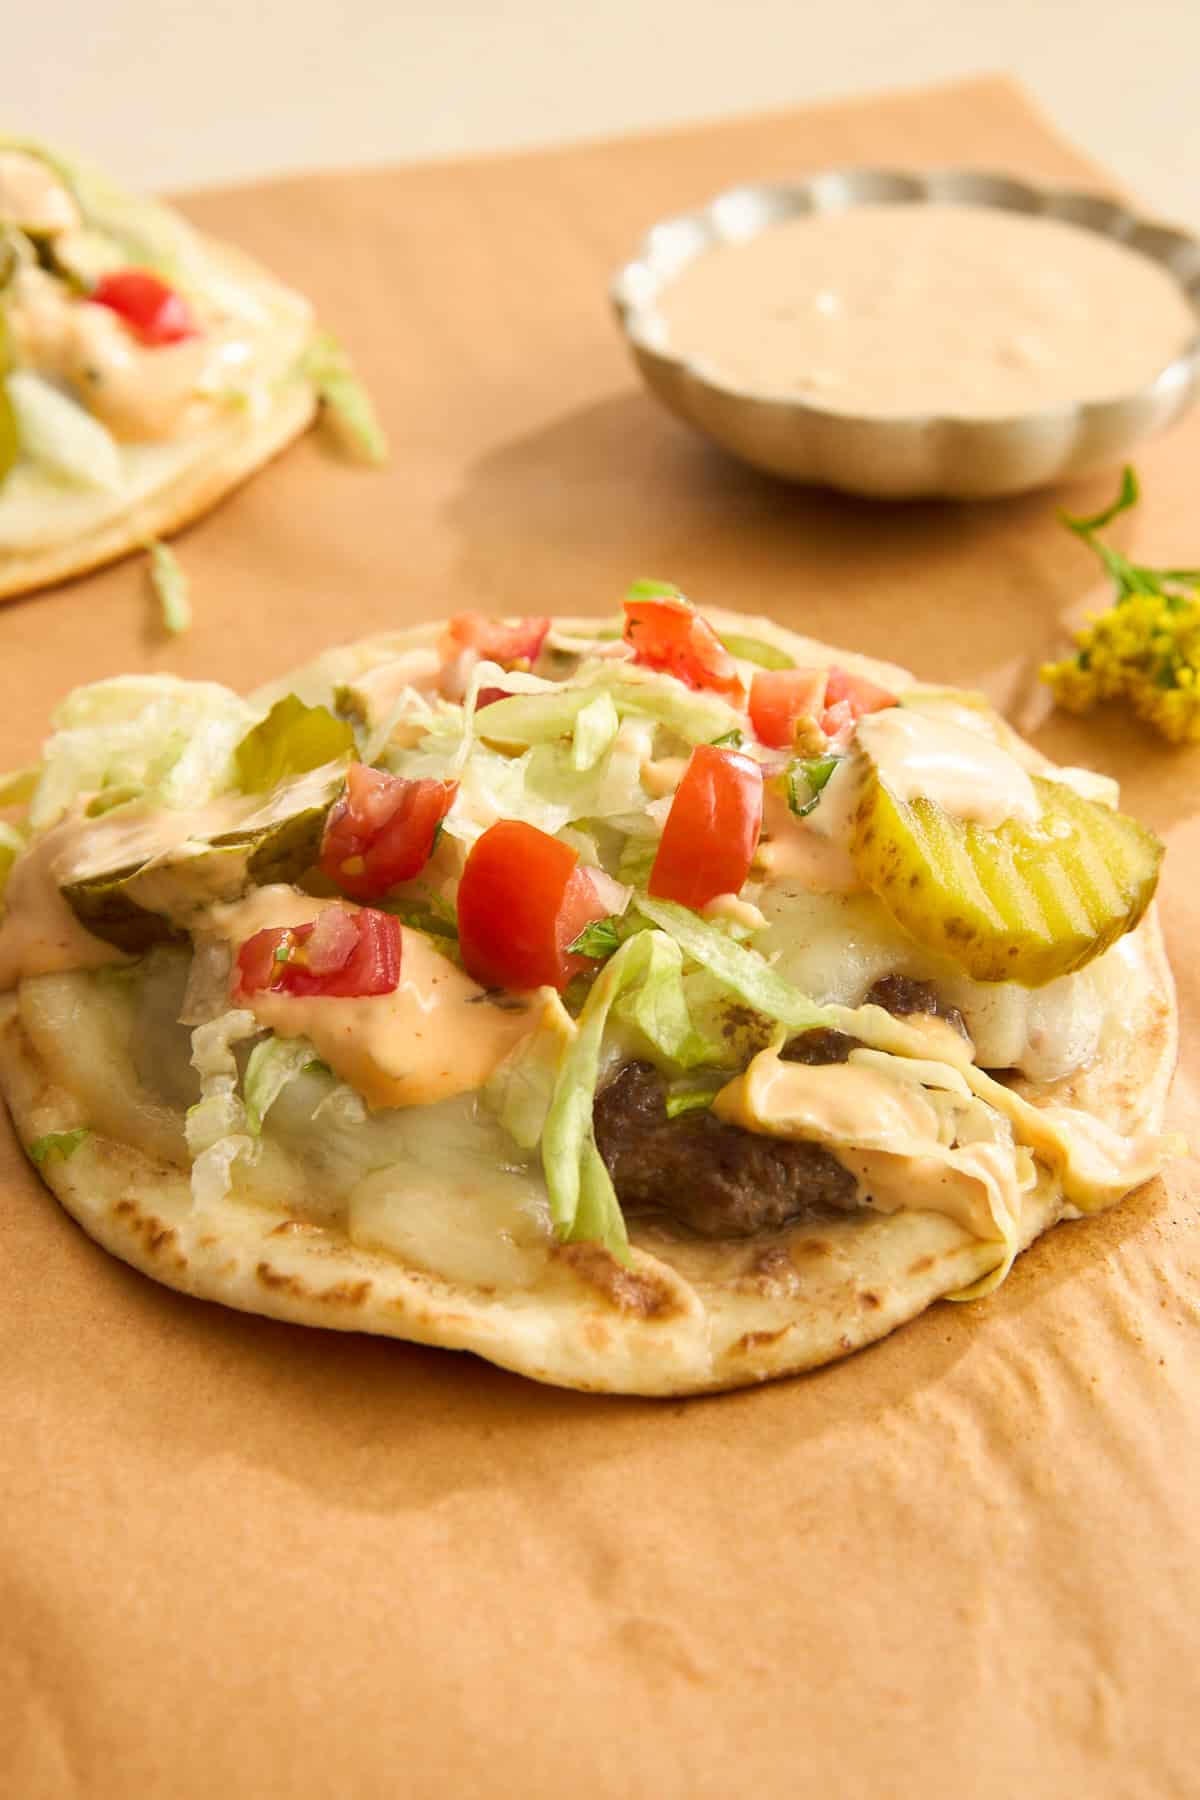 Enjoy all the flavors of your favorite fast food in the convenience of a crisp, savory smash burger tacos recipe!
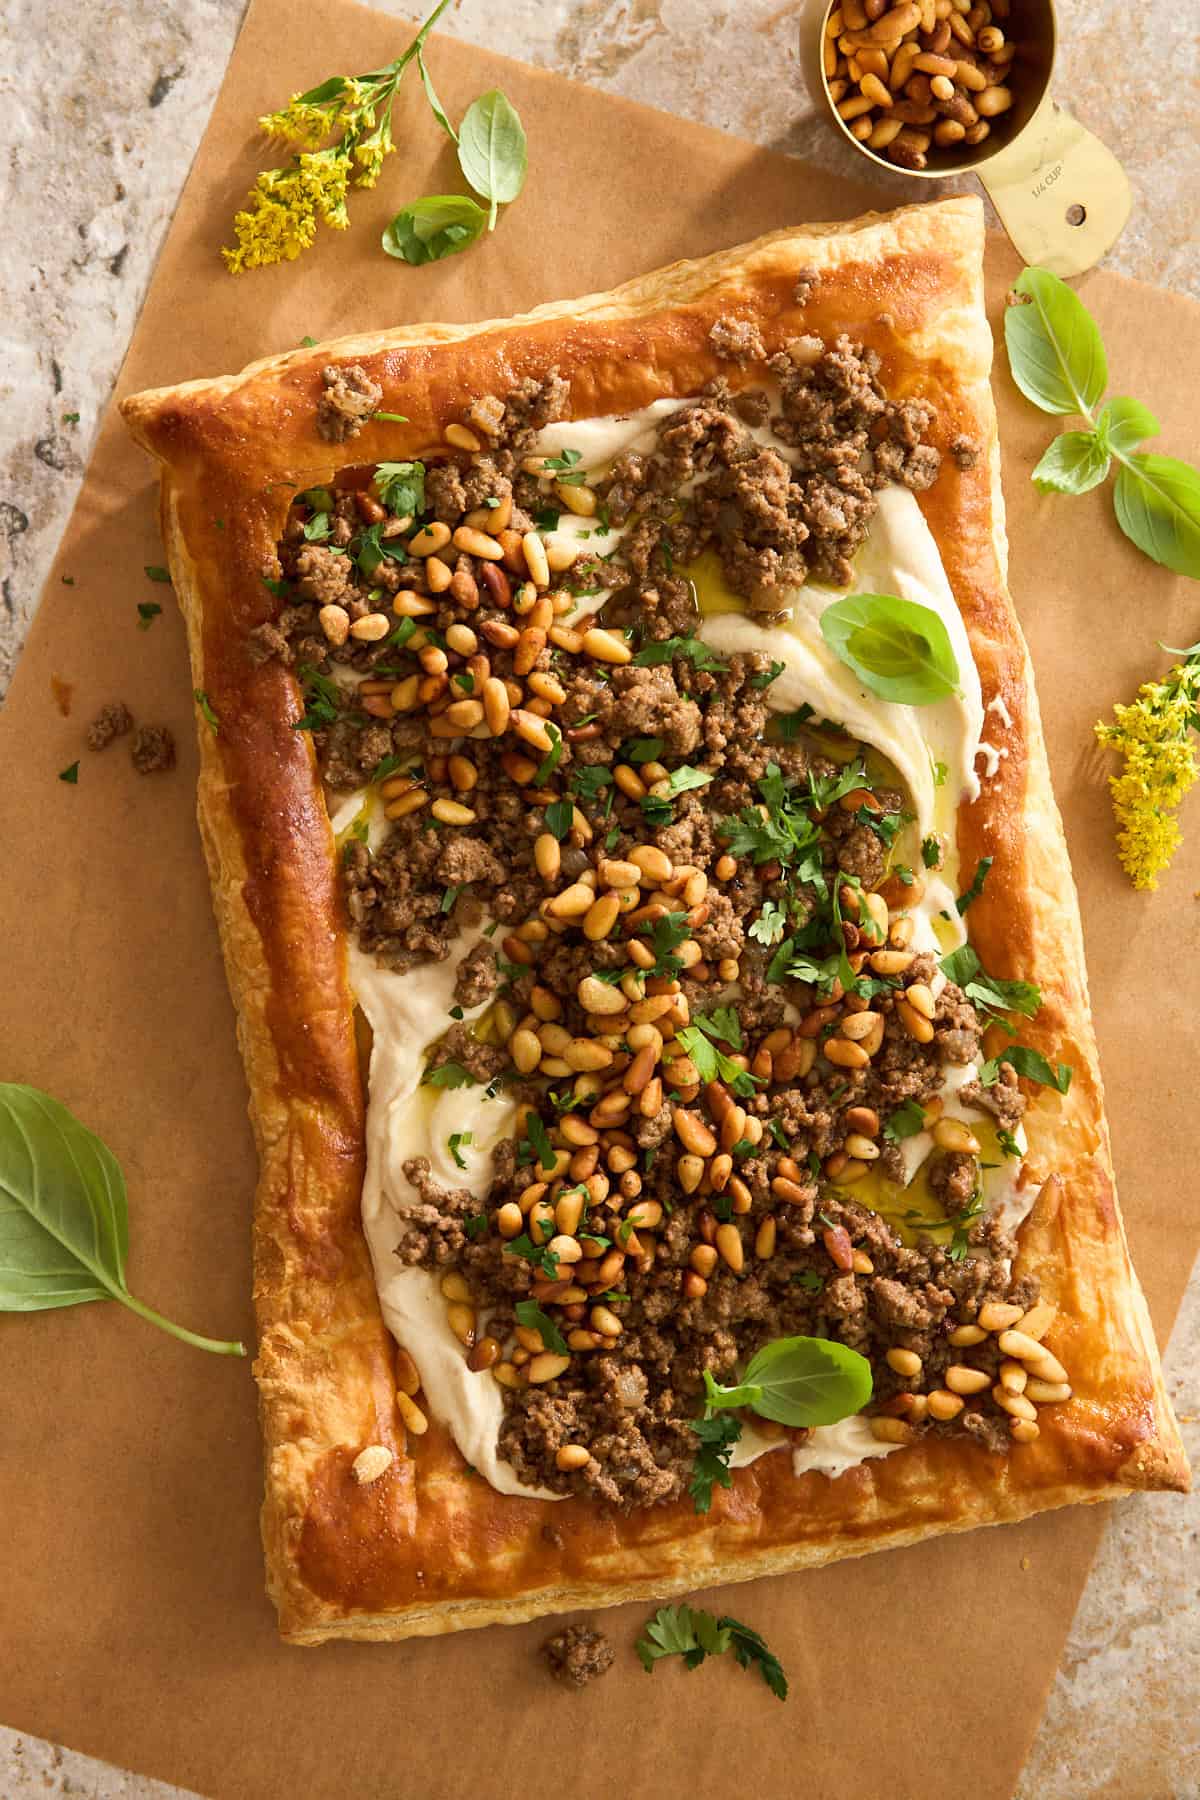 Impress your friends and family with the flaky, creamy, savory layers of this ground beef puff pastry layered with hummus!
 Crisp on the outside and soft and gooey in the center, this easy mixed berry galette recipe uses a handful of ingredients!
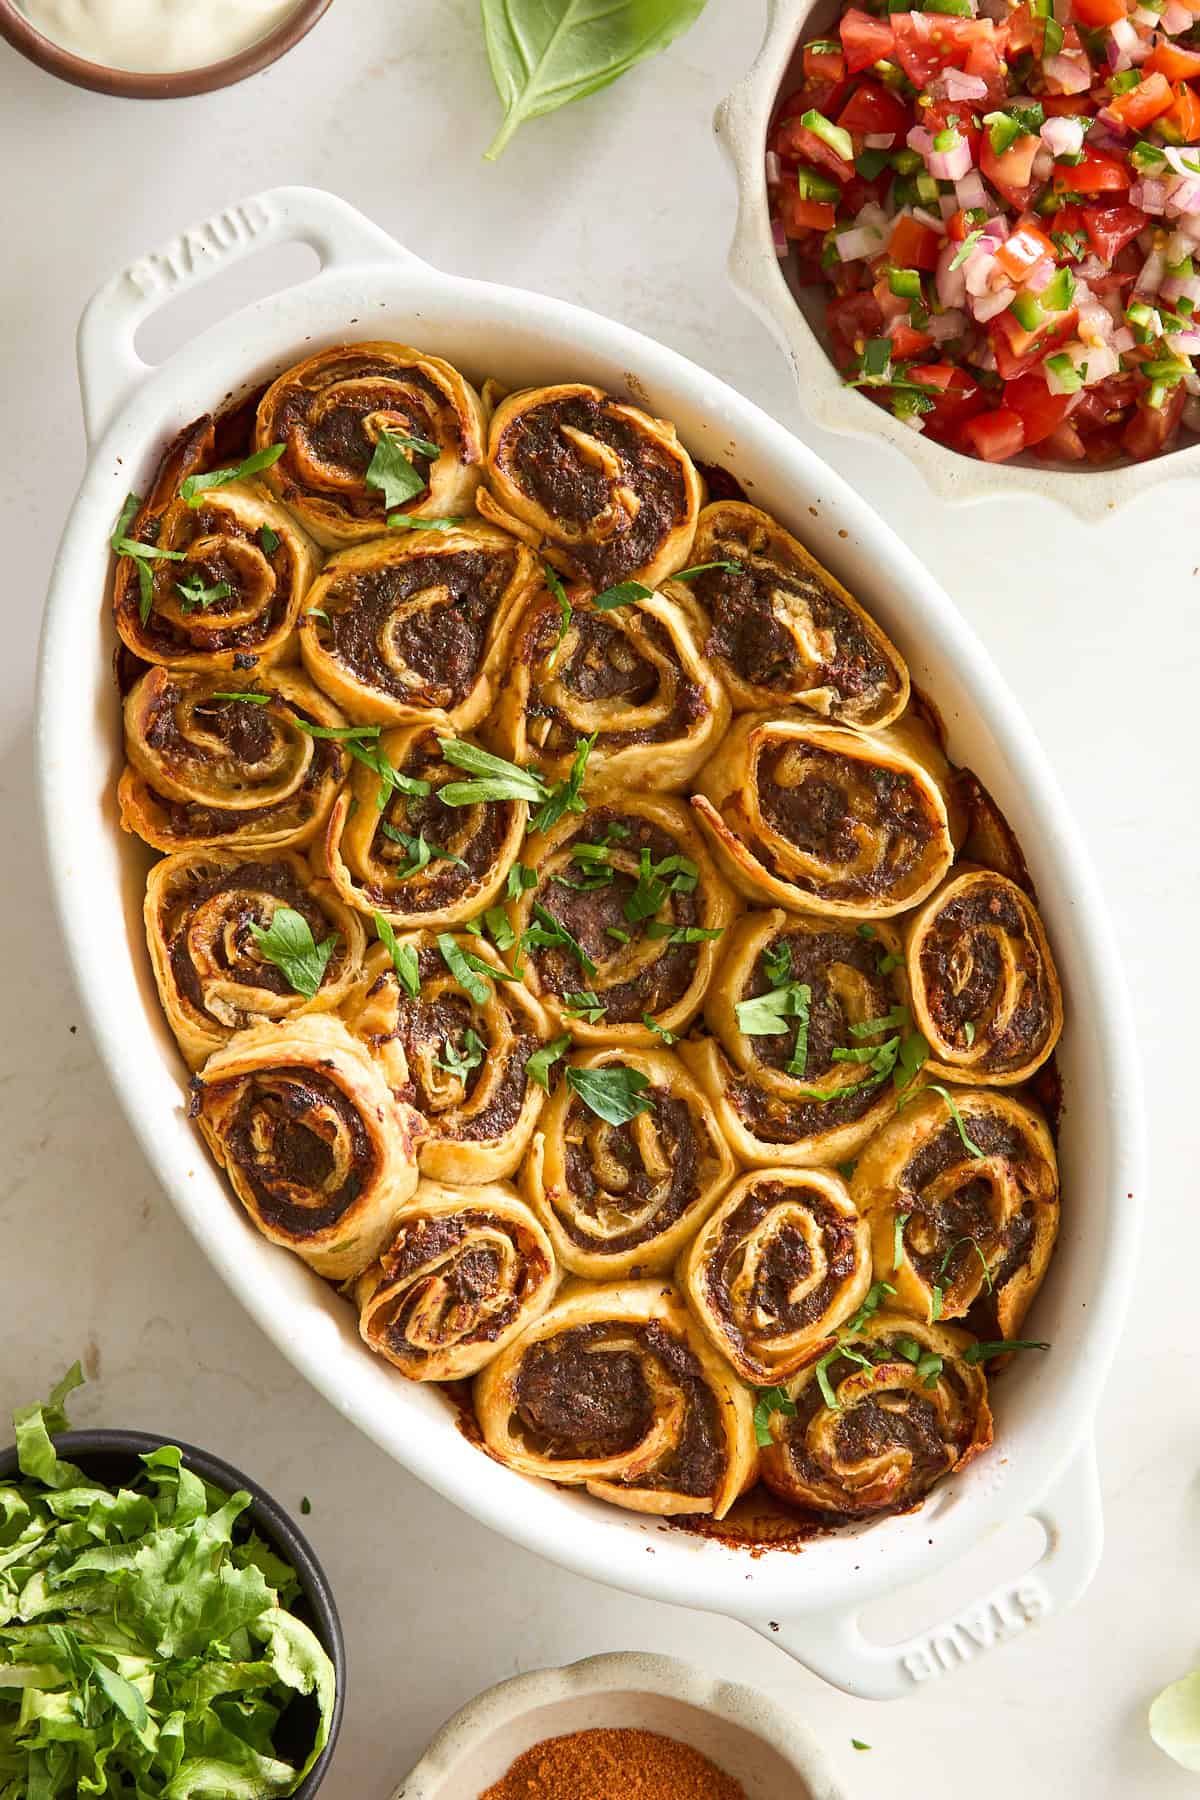 Easy baked taco pinwheels made with seasoned beef, onion, and parsley rolled in tortillas—crispy, flavorful, and perfect for dipping!
 Roasted garlic potatoes are crisp on the outside, soft and fluffy in the center, and loaded with bright savory flavor!
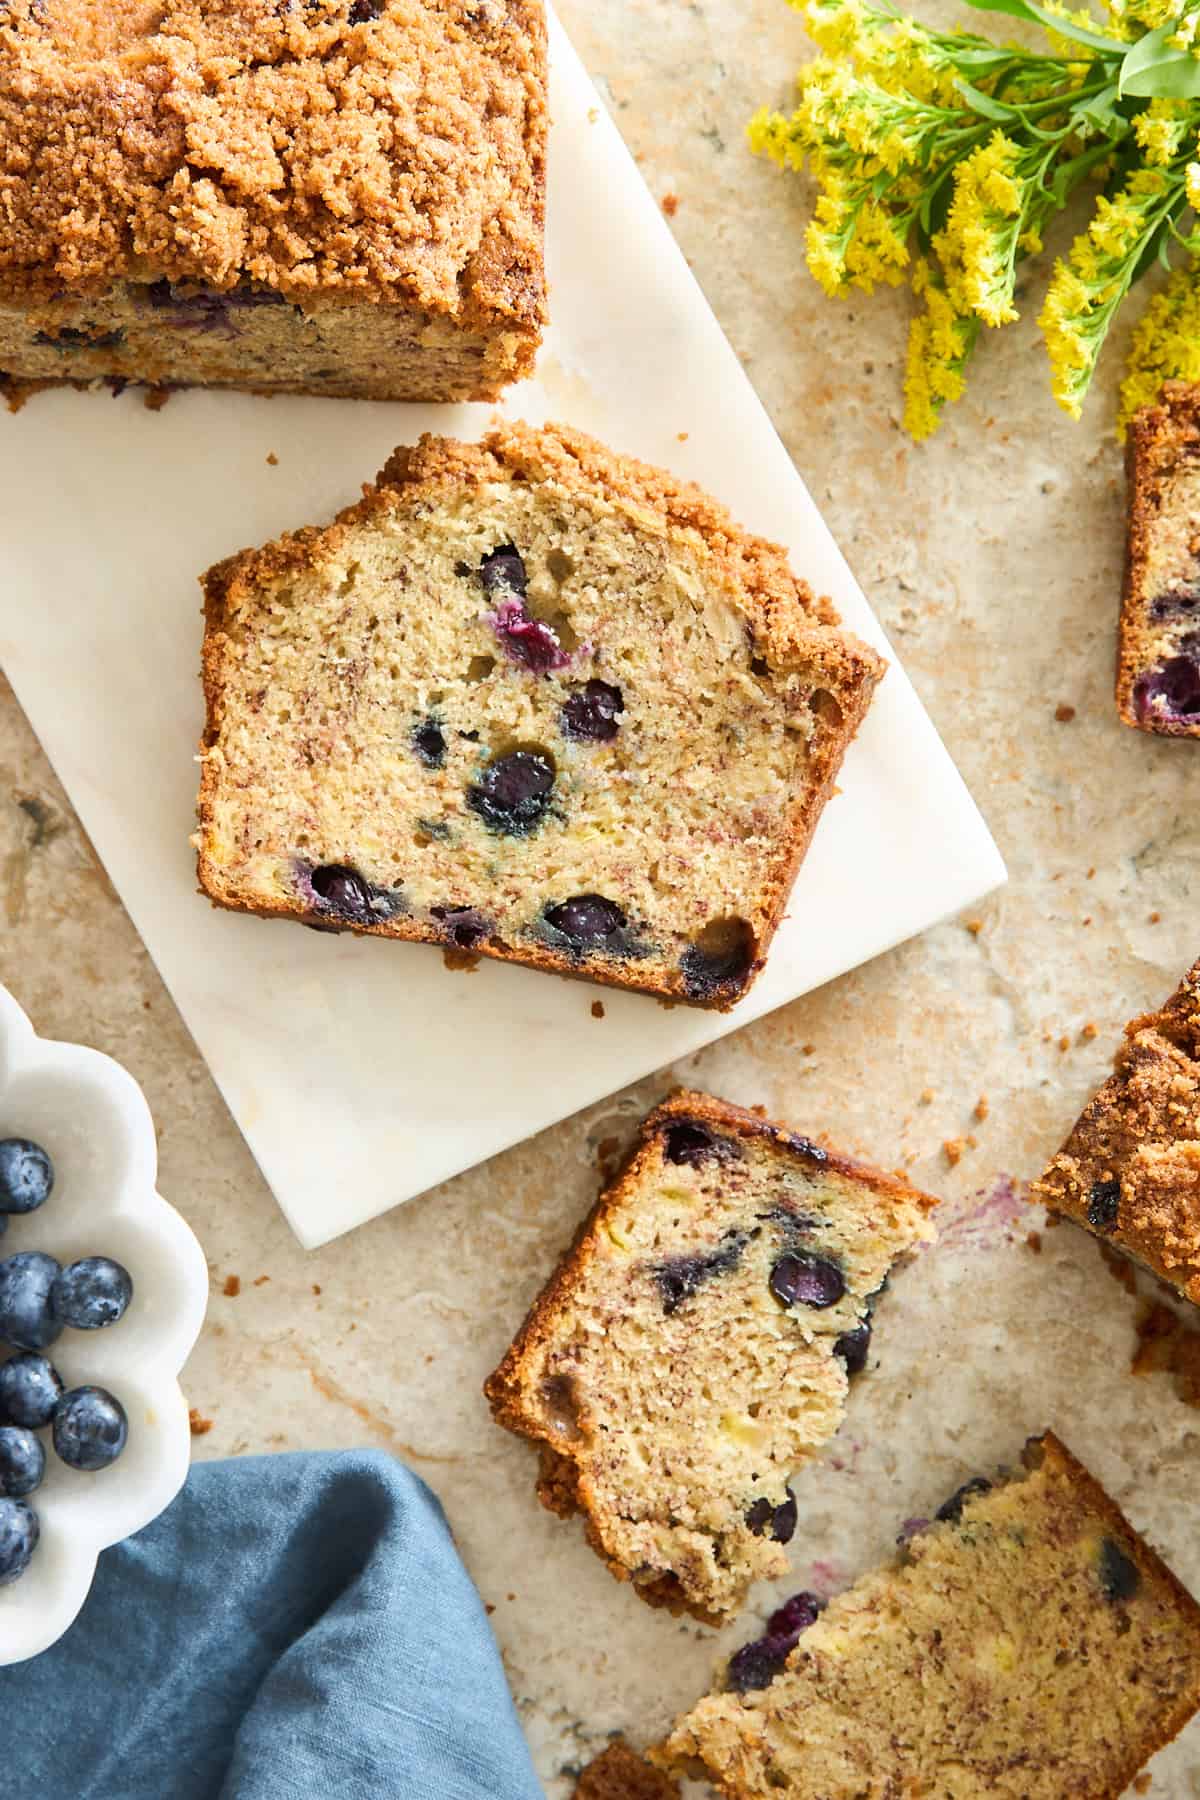 Soft, sweet, and moist, this banana blueberry bread is finished with a crumbly cinnamon streusel topping for a bakery-worthy snack!