15 Easy Weeknight Dinners for Busy Families 🍽️👨👩👧👦
 Short on time? These easy weeknight dinners are quick, family-friendly, and stress-free. Perfect for busy nights when everyone’s hungry fast!
Short on time? These easy weeknight dinners are quick, family-friendly, and stress-free. Perfect for busy nights when everyone’s hungry fast!
 Filled with beef, beans, and plenty of cheese, these sheet pan quesadillas are a family-friendly recipe ready to eat in about an hour!
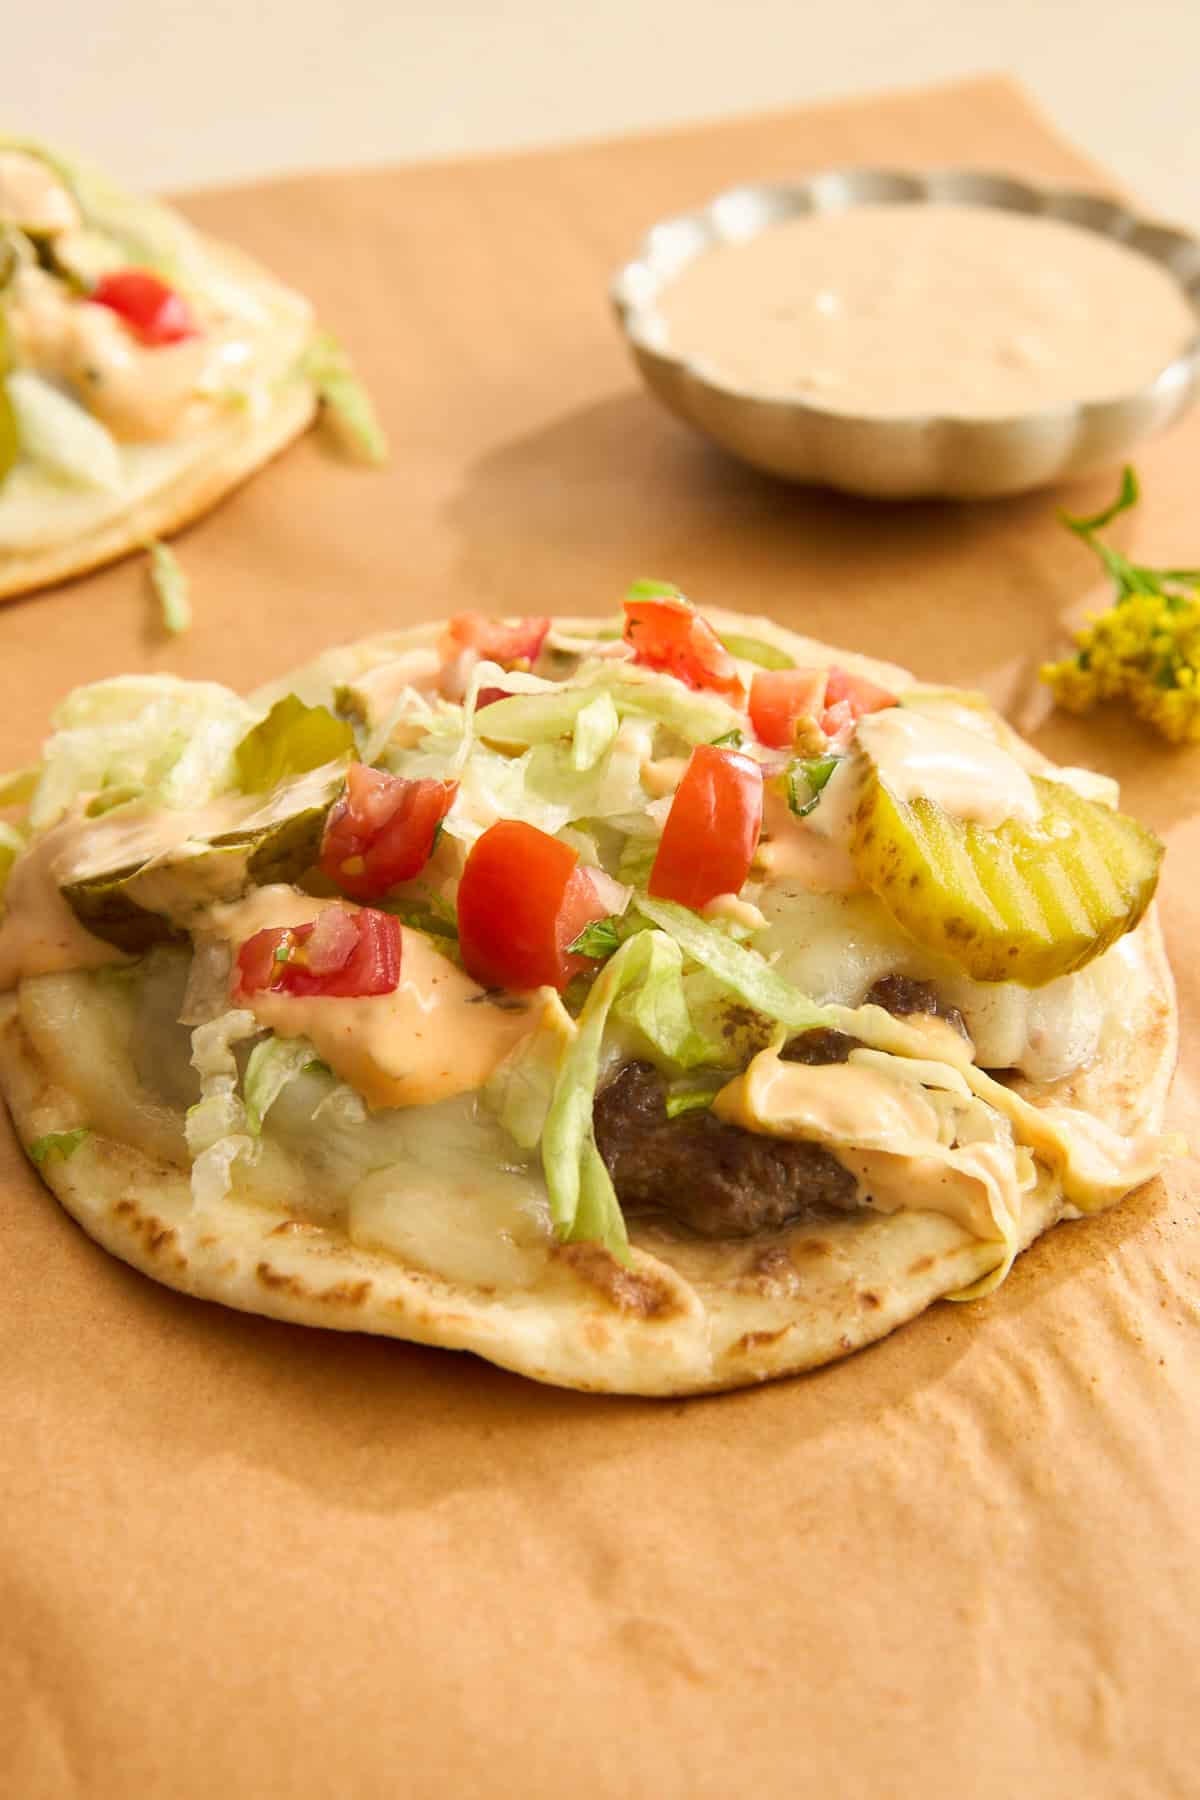 Enjoy all the flavors of your favorite fast food in the convenience of a crisp, savory smash burger tacos recipe!
 Impress your friends and family with the flaky, creamy, savory layers of this ground beef puff pastry layered with hummus!
 Skip the drive-thru, and make this easy copycat Raising Cane’s chicken recipe using simple ingredients for crisp, flavorful chicken instead!
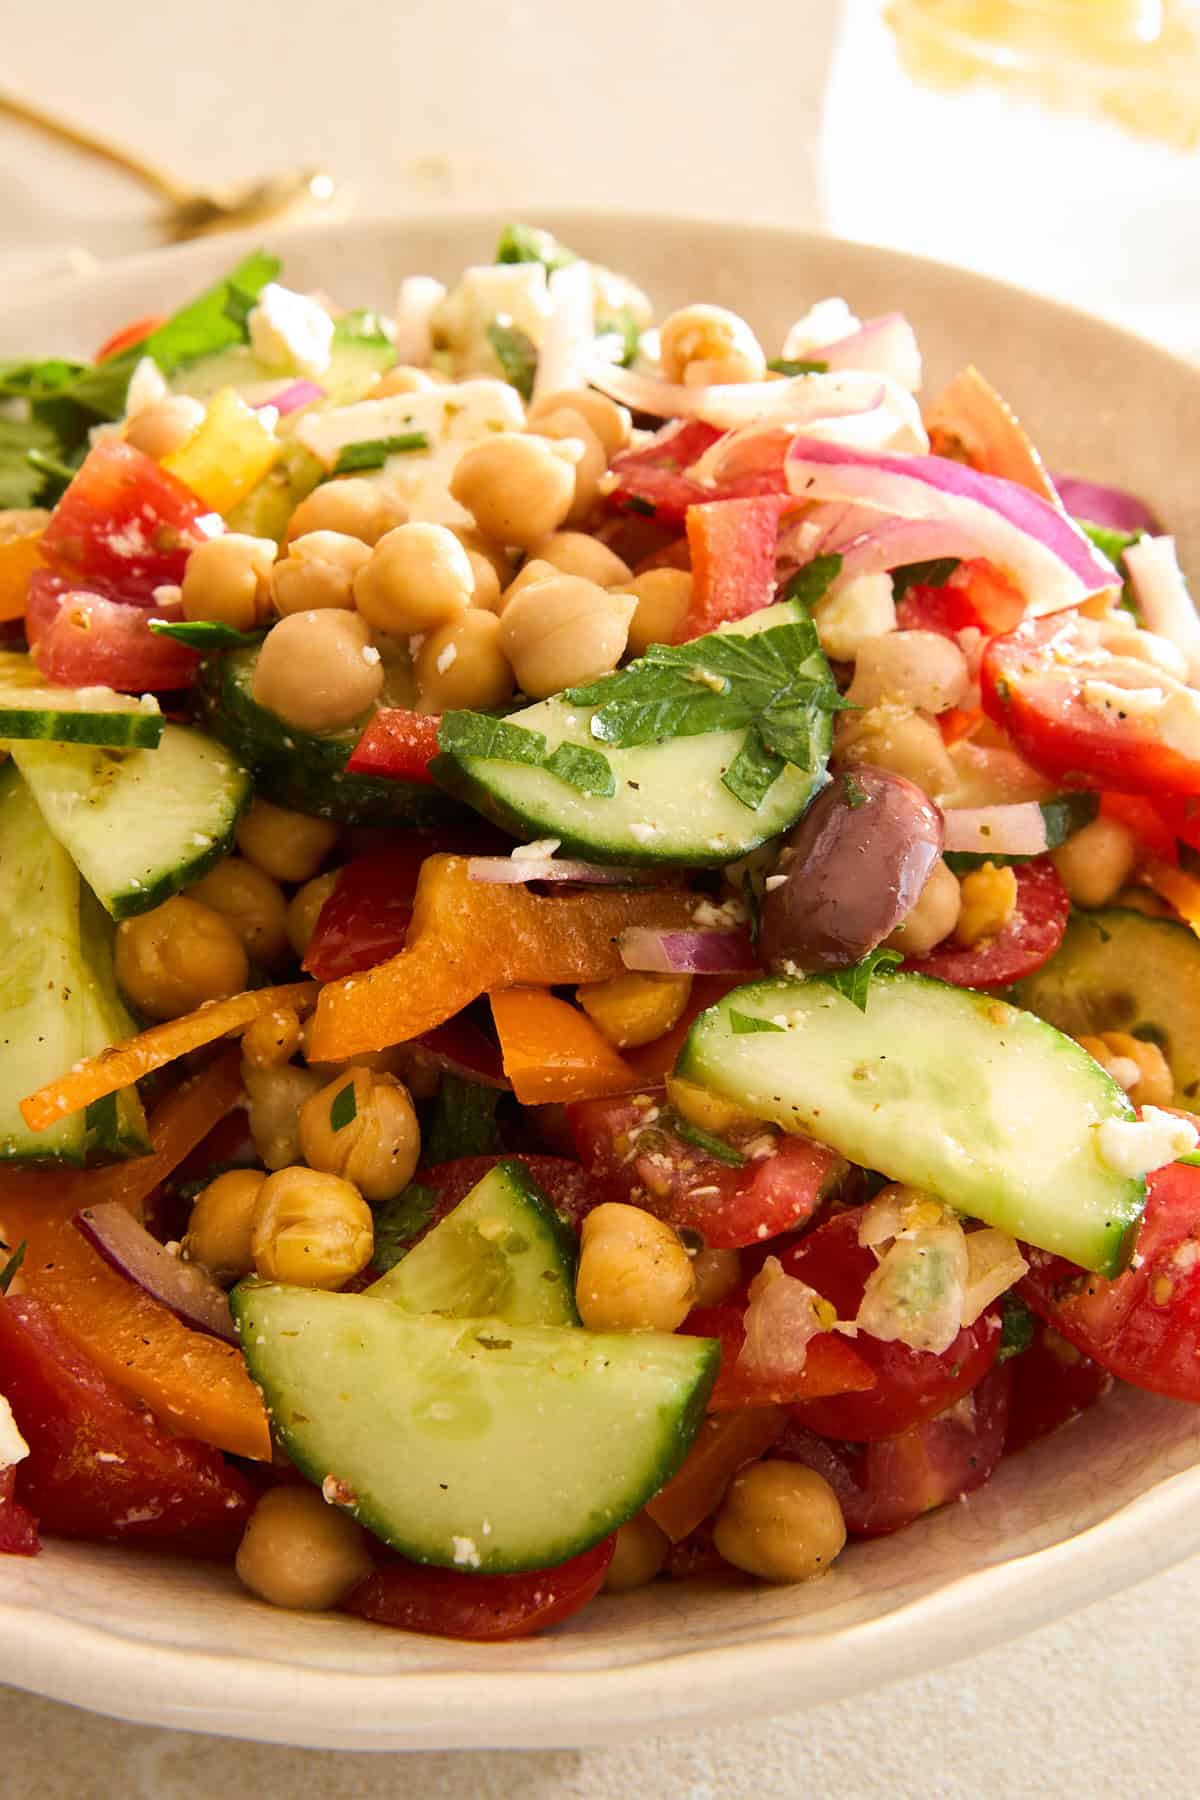 This Greek chickpea salad is savory, tangy, and quick to make. Full of nutrients and plant-based protein it’s a quick main course or side!
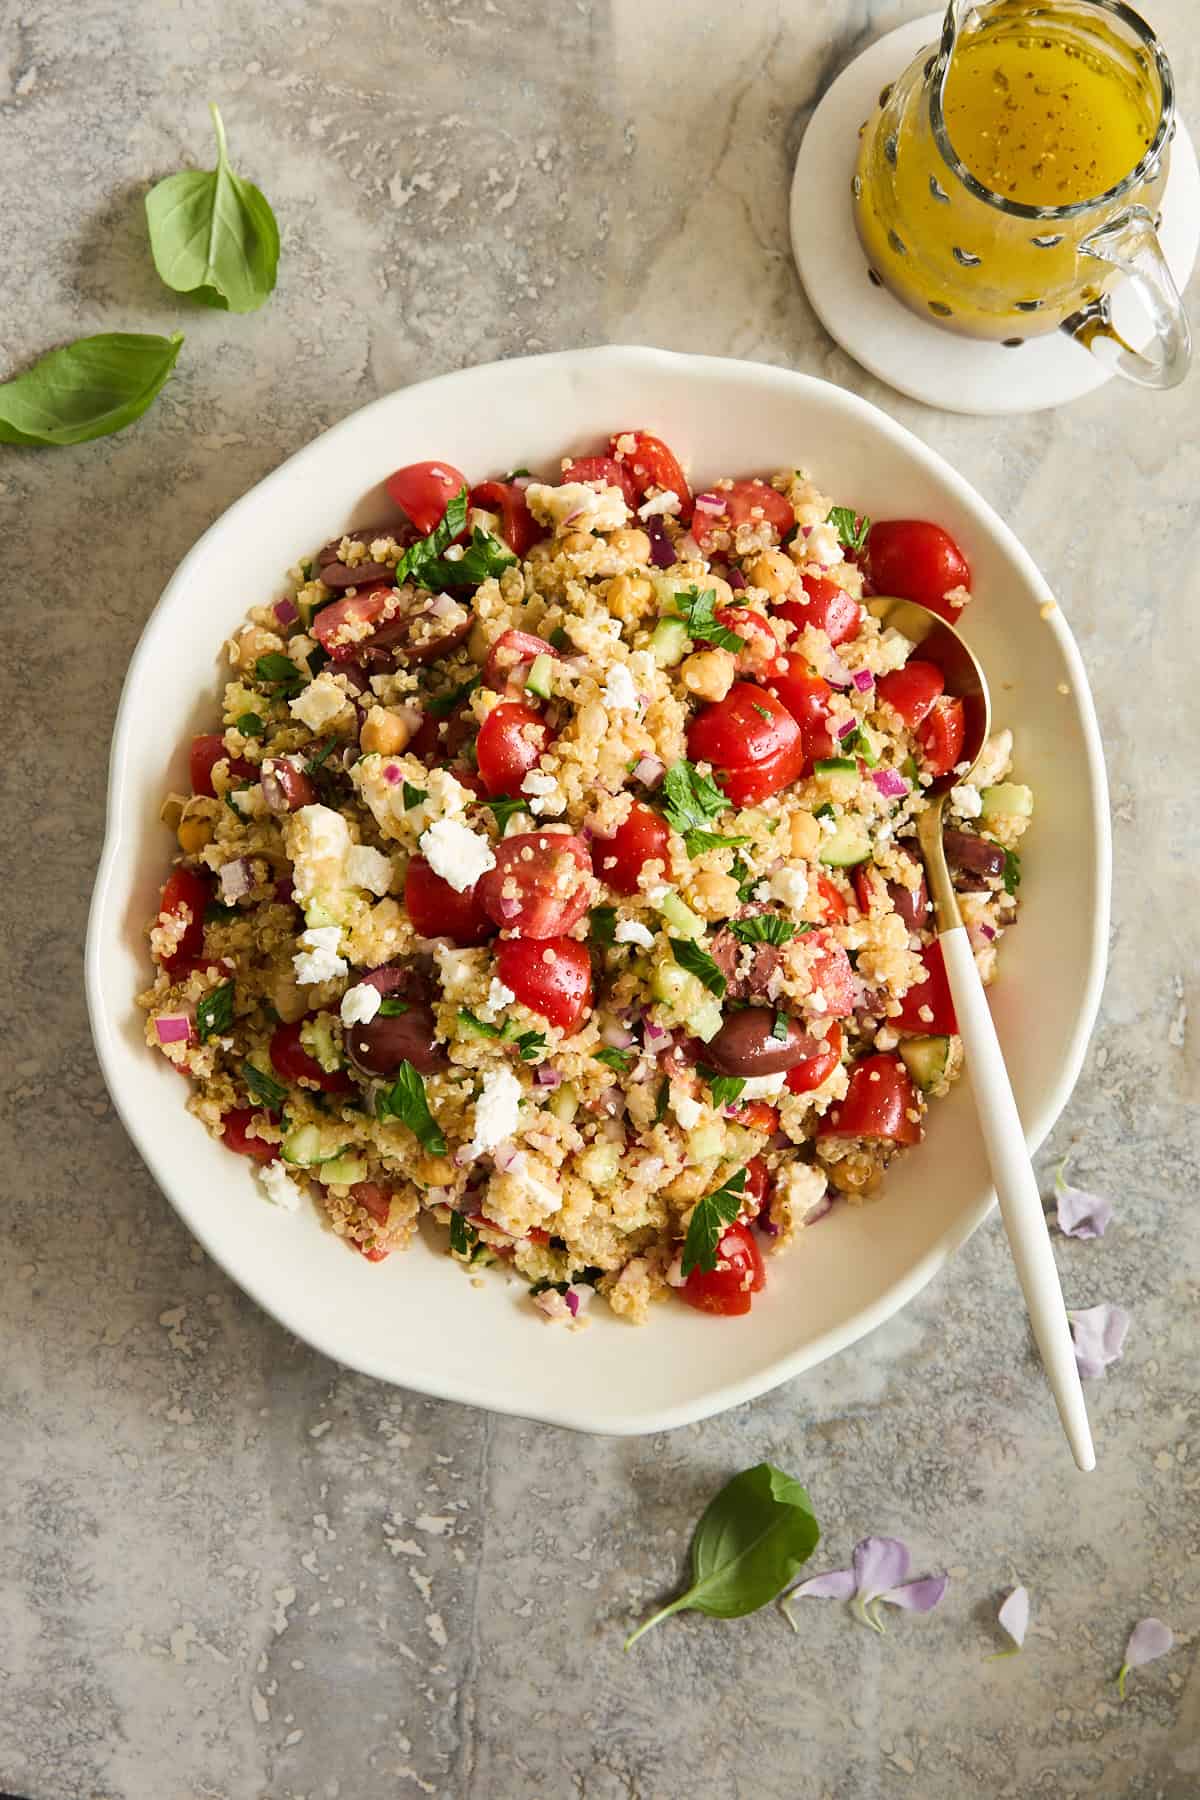 This quinoa chickpea salad is loaded with fresh produce and feta and tossed with a tangy vinaigrette for a vibrant side dish or main course!
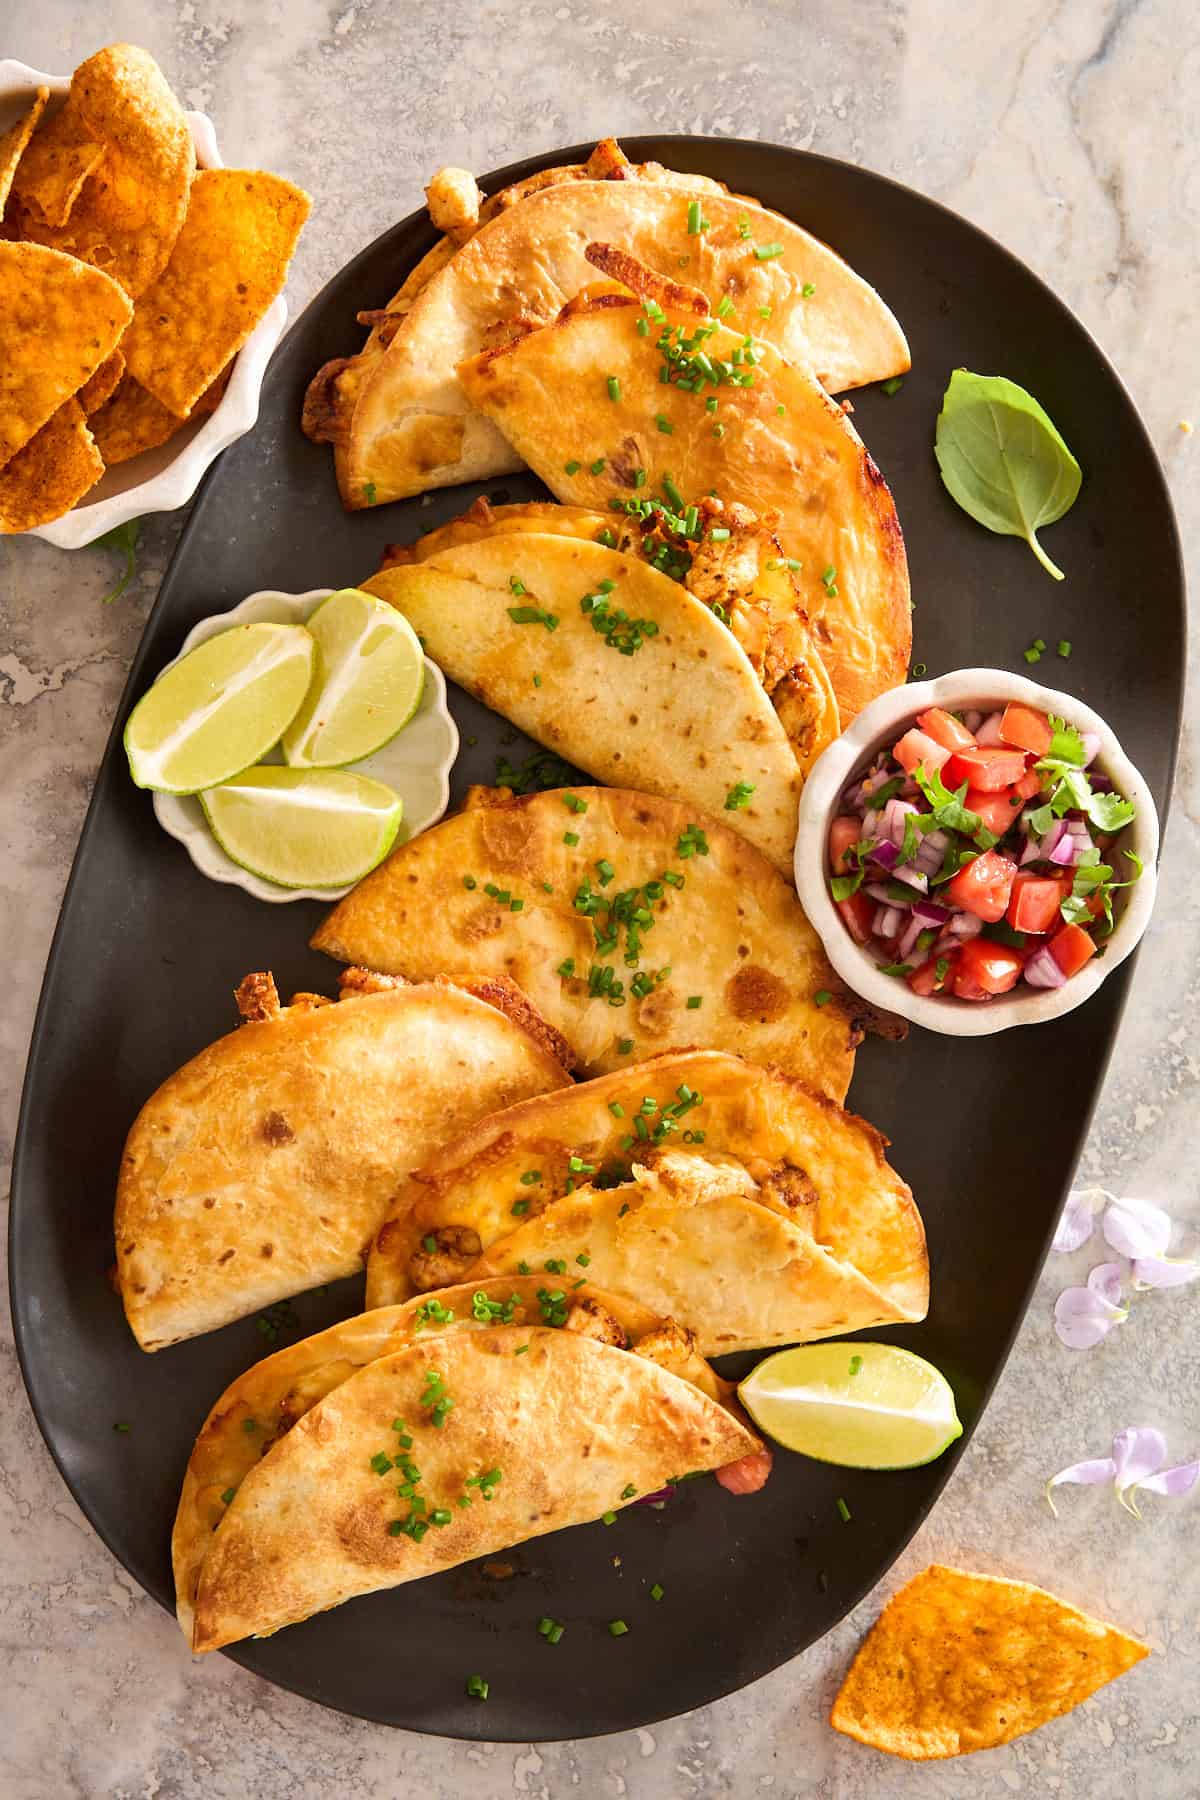 Make these easy chicken tacos with eight ingredients in less than 30 minutes using the air fryer or oven for a family friendly meal!
 Skip takeout, and make this air fryer beef and broccoli recipe using seven simple ingredients. It’s tender, flavorful, & cooks in 12 minutes!
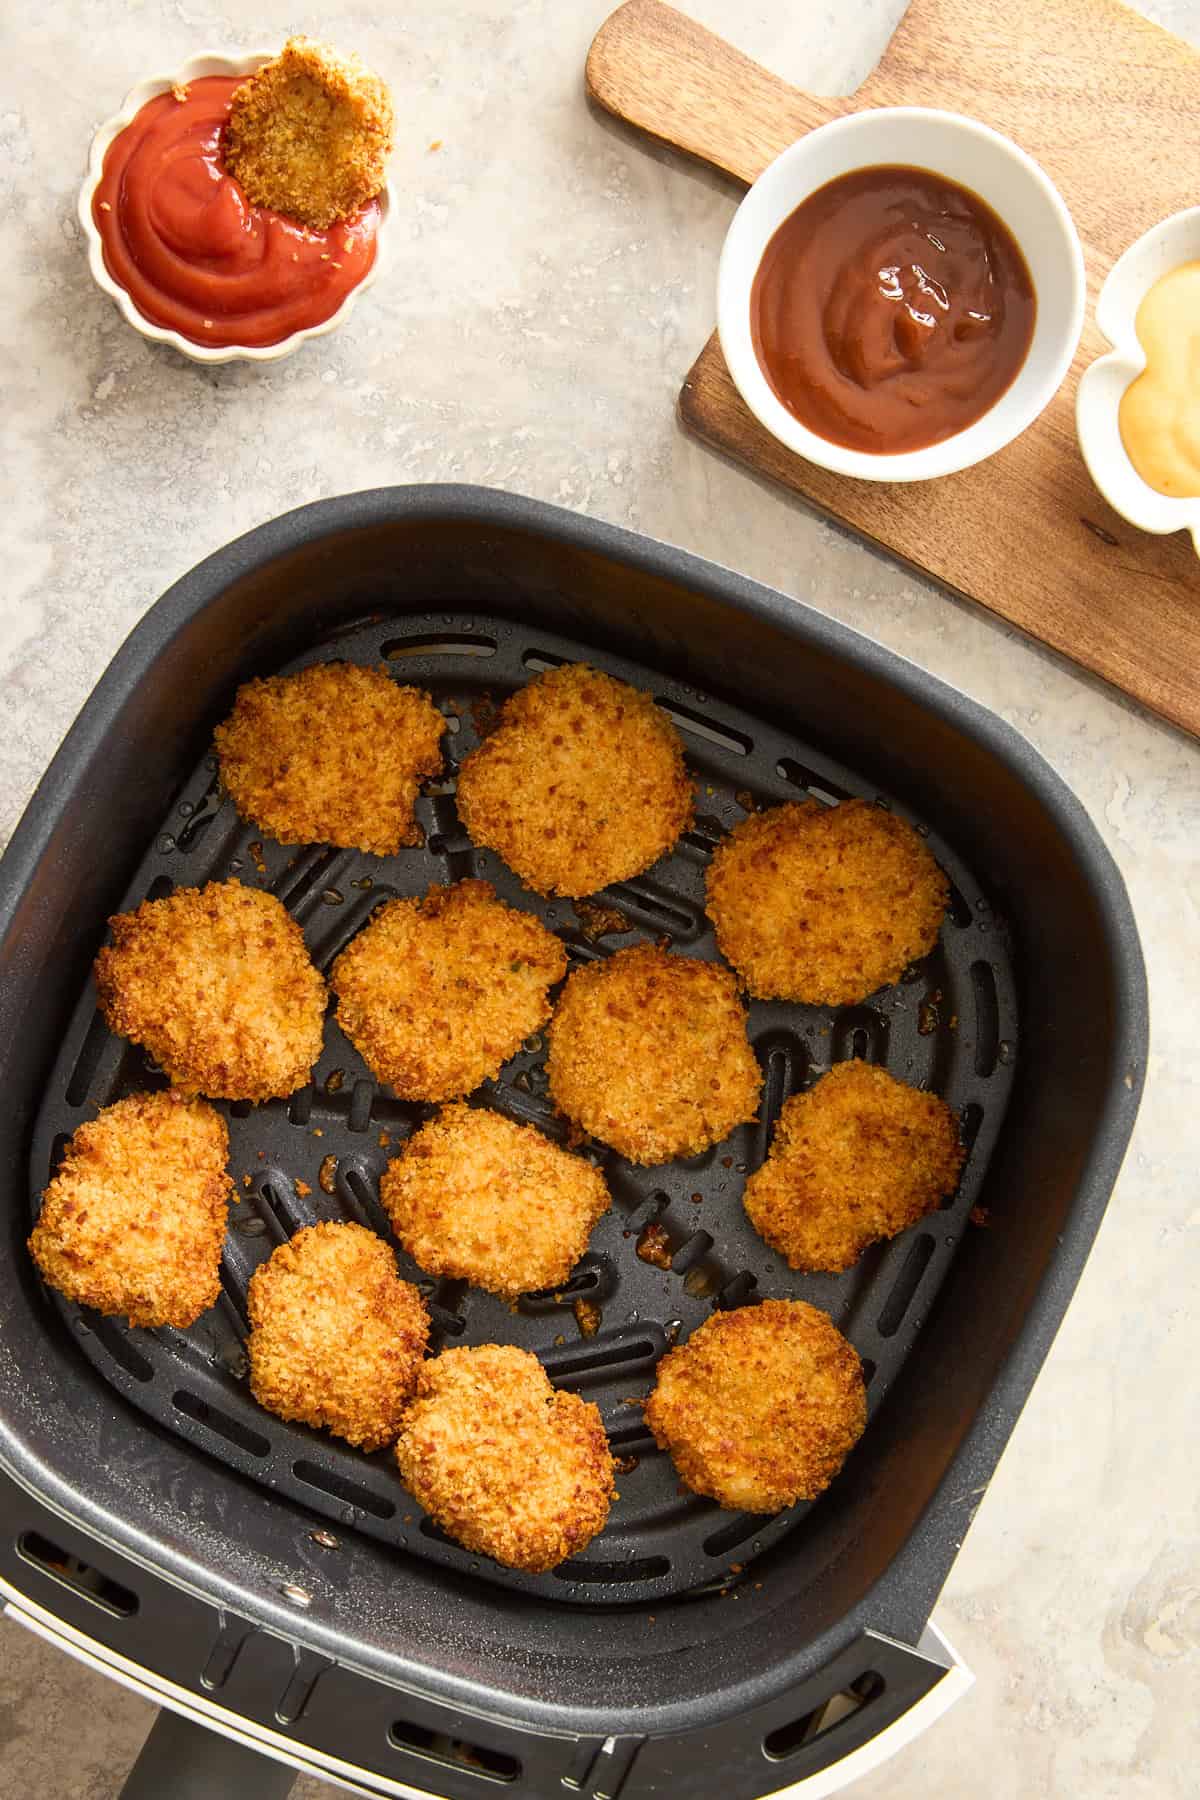 Skip the frozen options, and make these crispy, seasoned air fryer chicken nuggets with chicken and veggies instead!
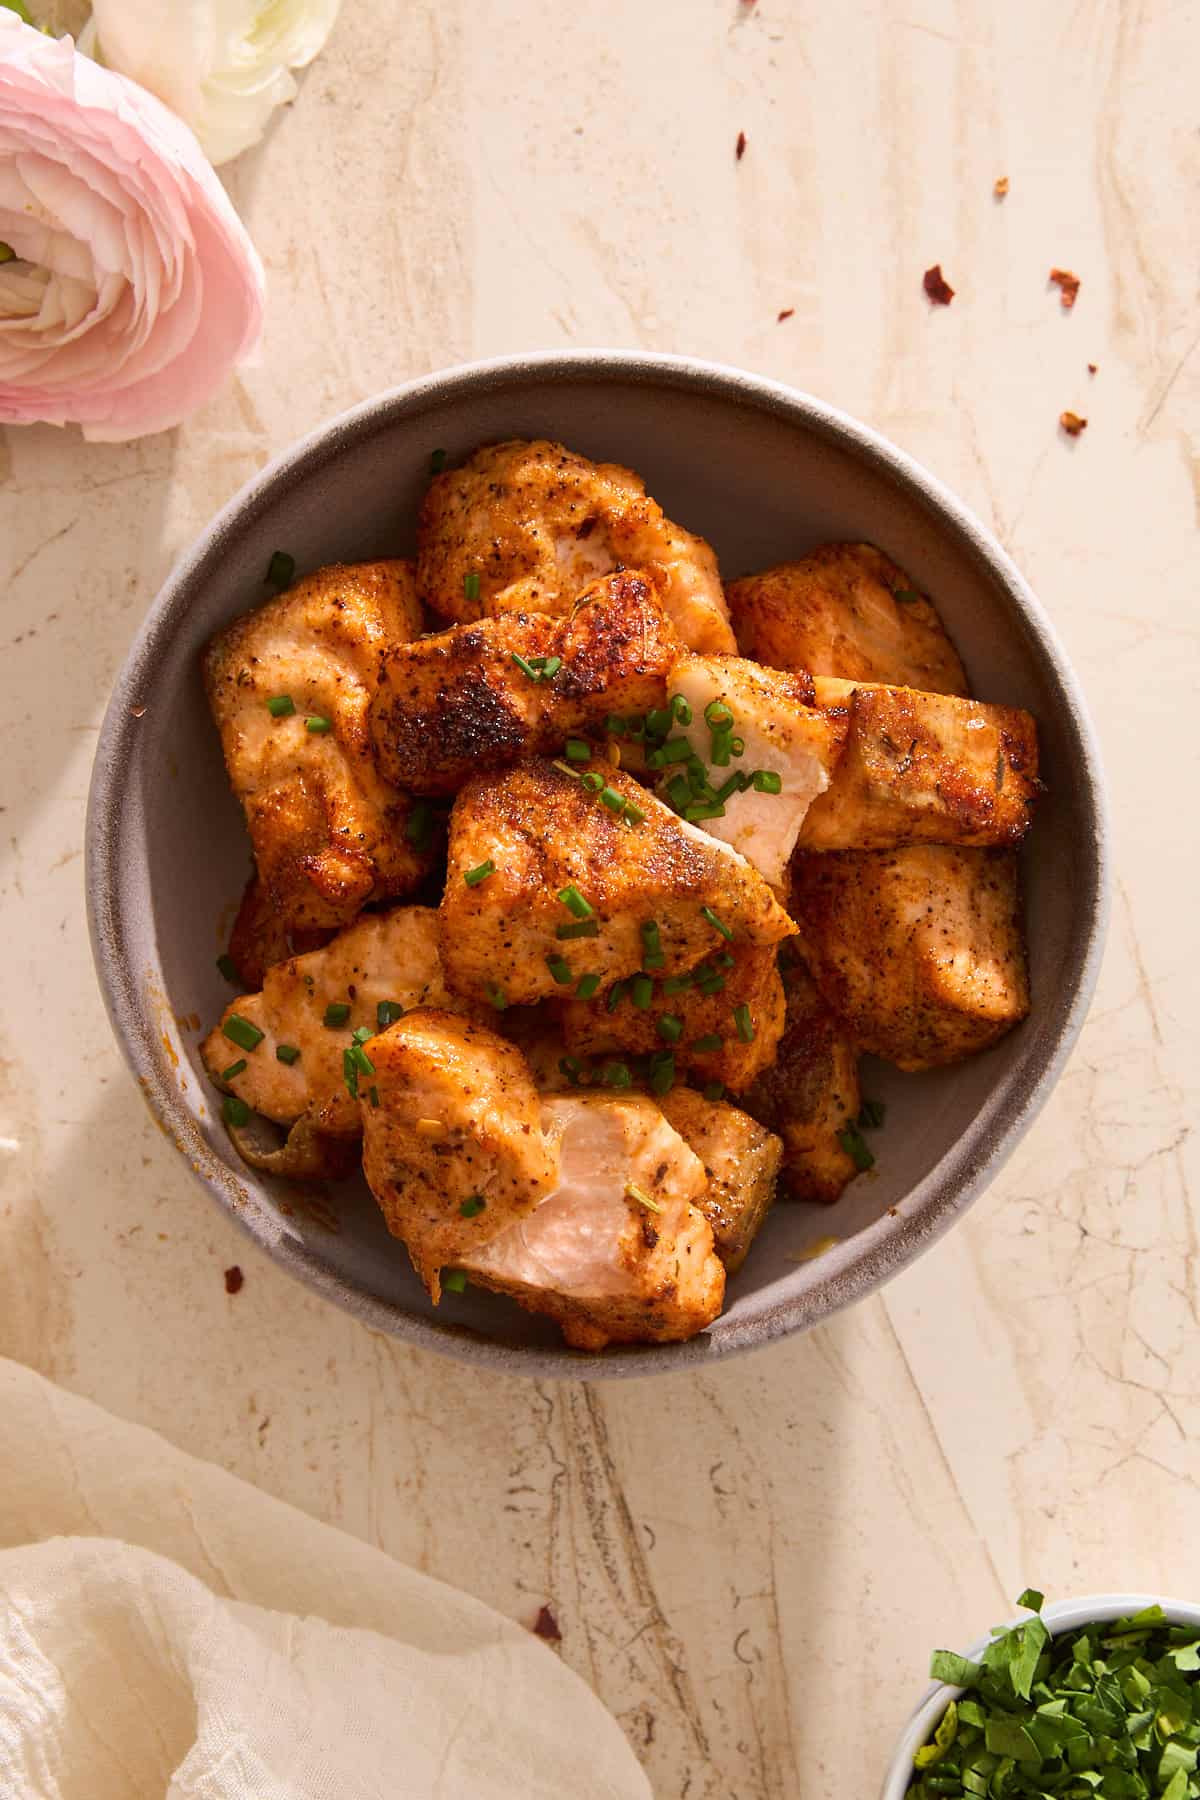
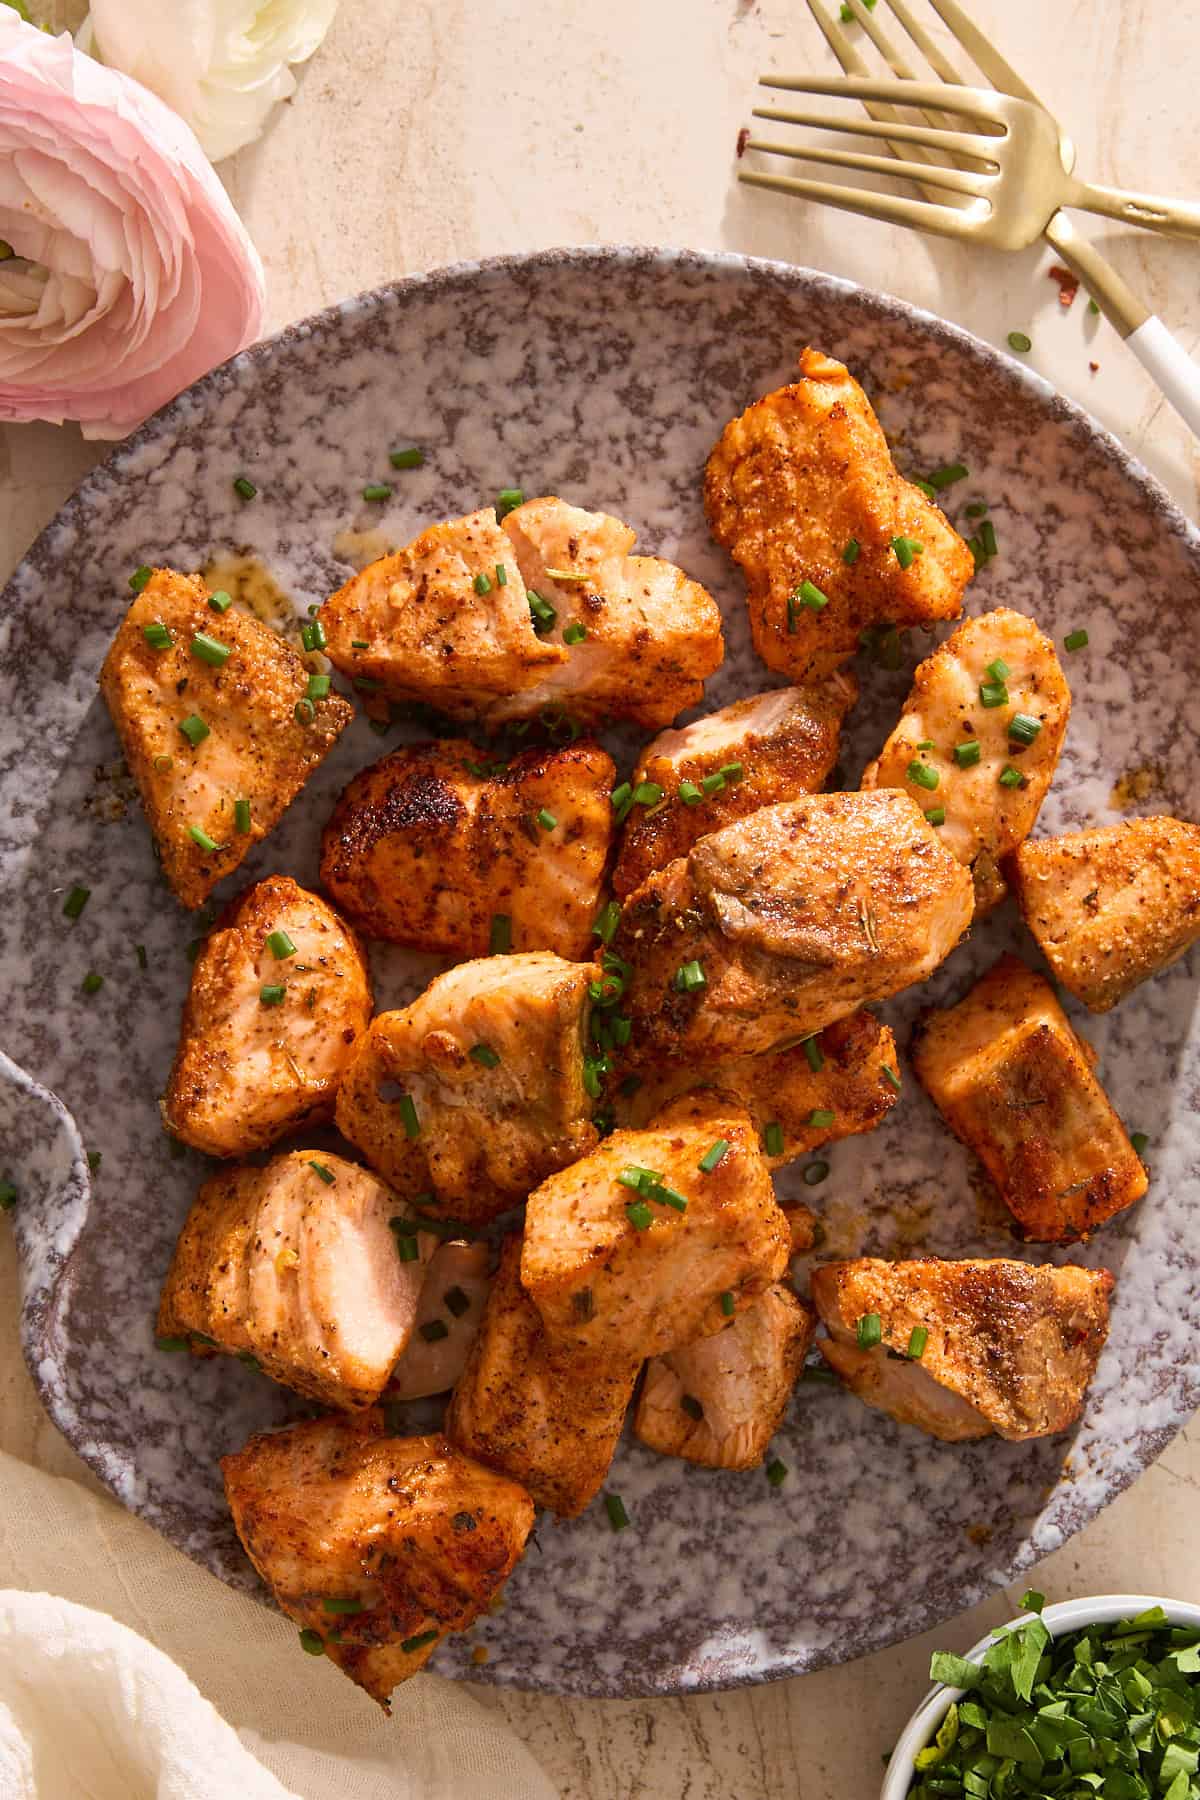 Make flaky, spiced air fryer salmon bites in less than 20 minutes using just 8 simple ingredients, and add them to all your meals!
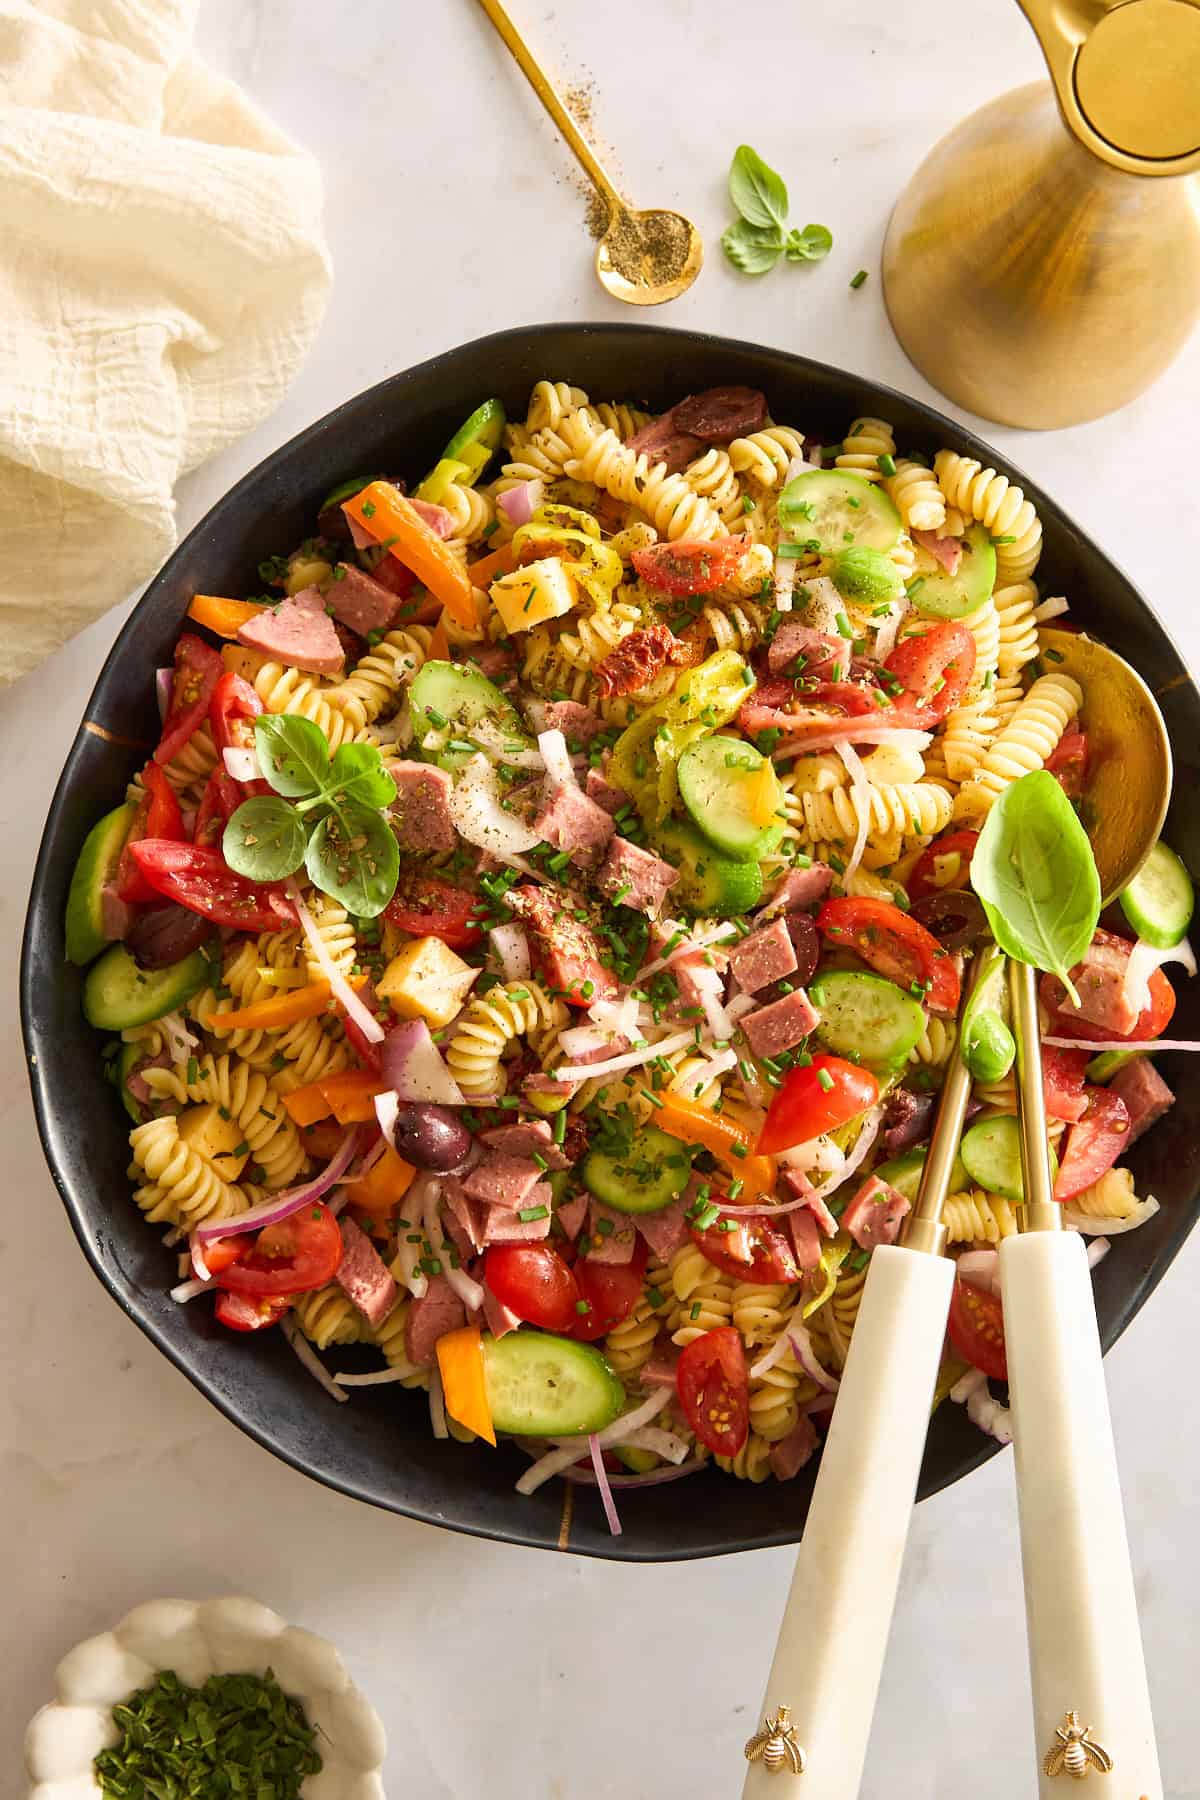 Make this easy cold Mediterranean pasta salad with fresh veggies, cheese, salami, and a homemade vinaigrette dressing!
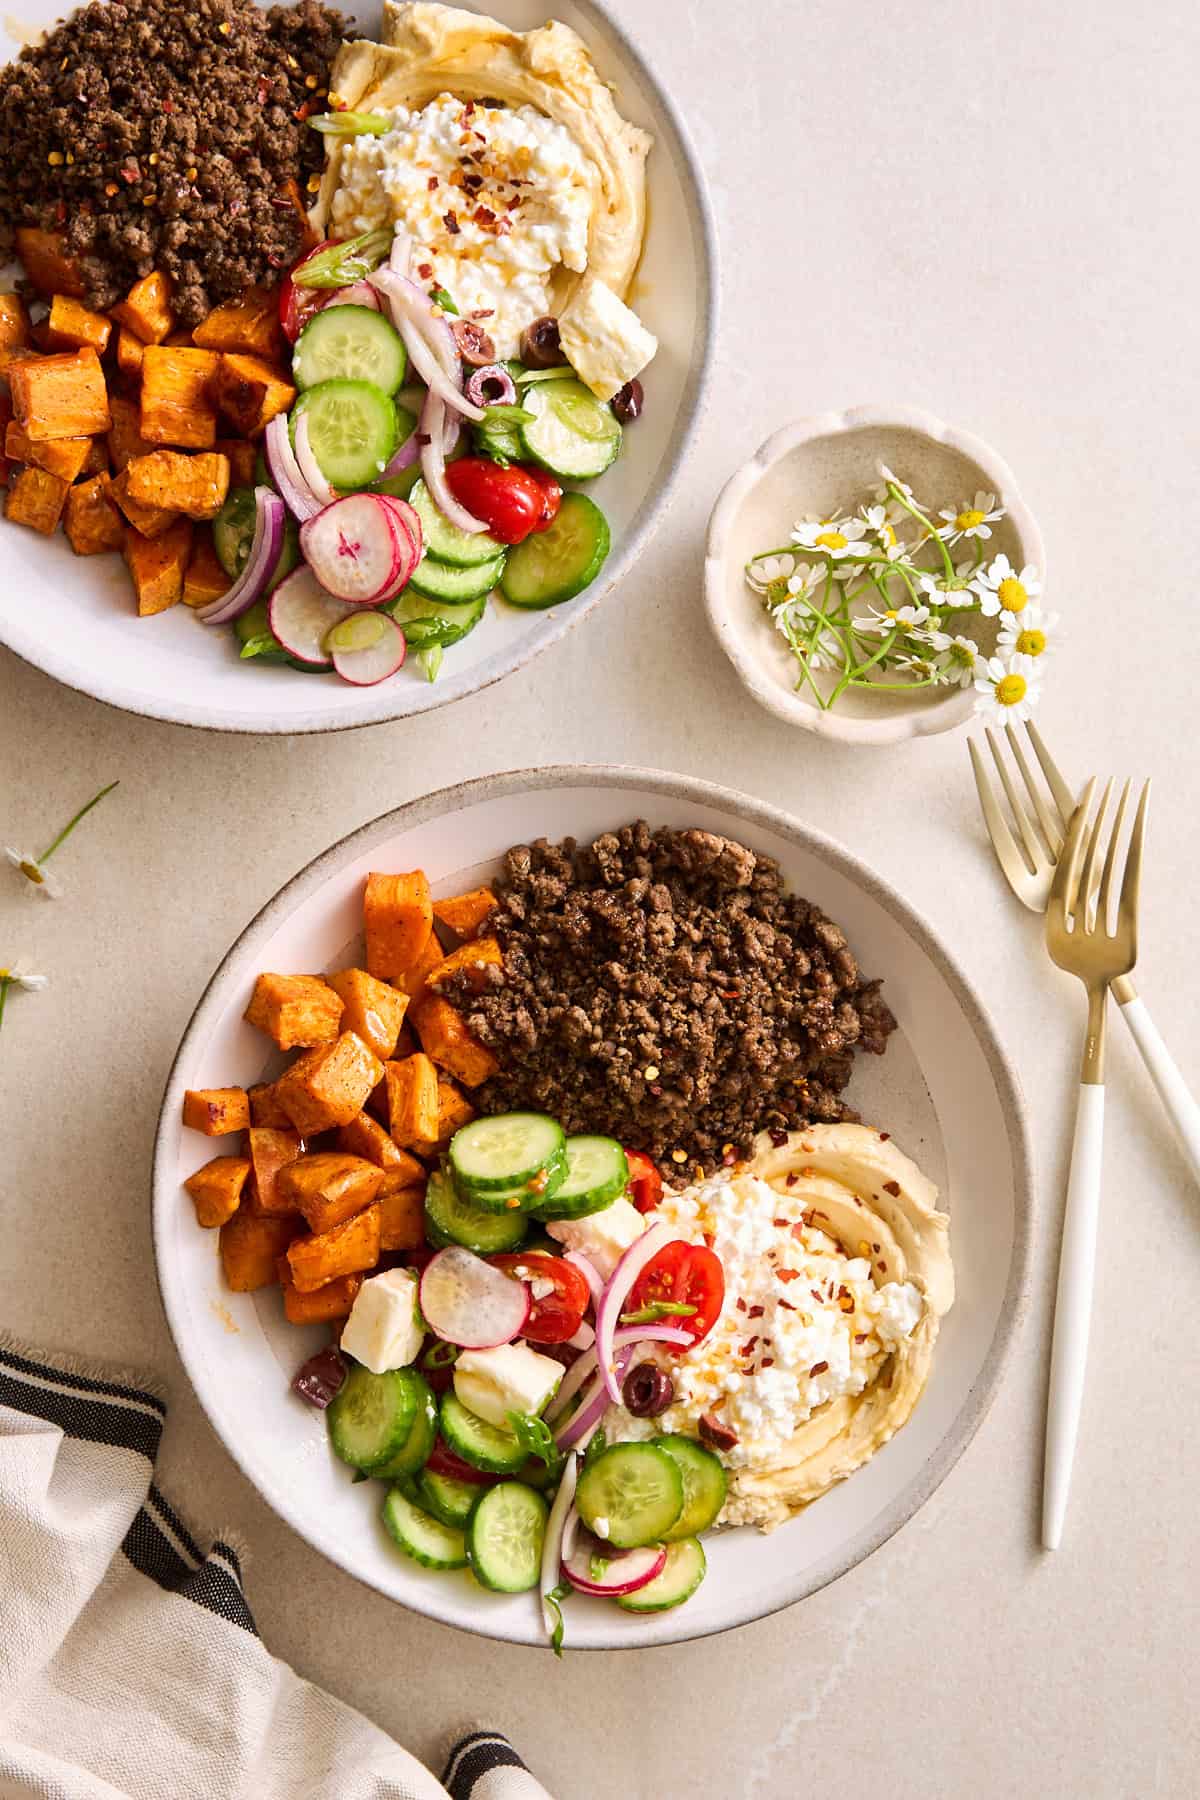 Make these Mediterranean-inspired ground beef bowls with cottage cheese, fresh veggies, and roasted sweet potatoes for a hearty meal!
 Answer the question, “What’s for dinner?” with confidence thanks to these fuss-free, flavorful, kid-friendly dinner recipes!
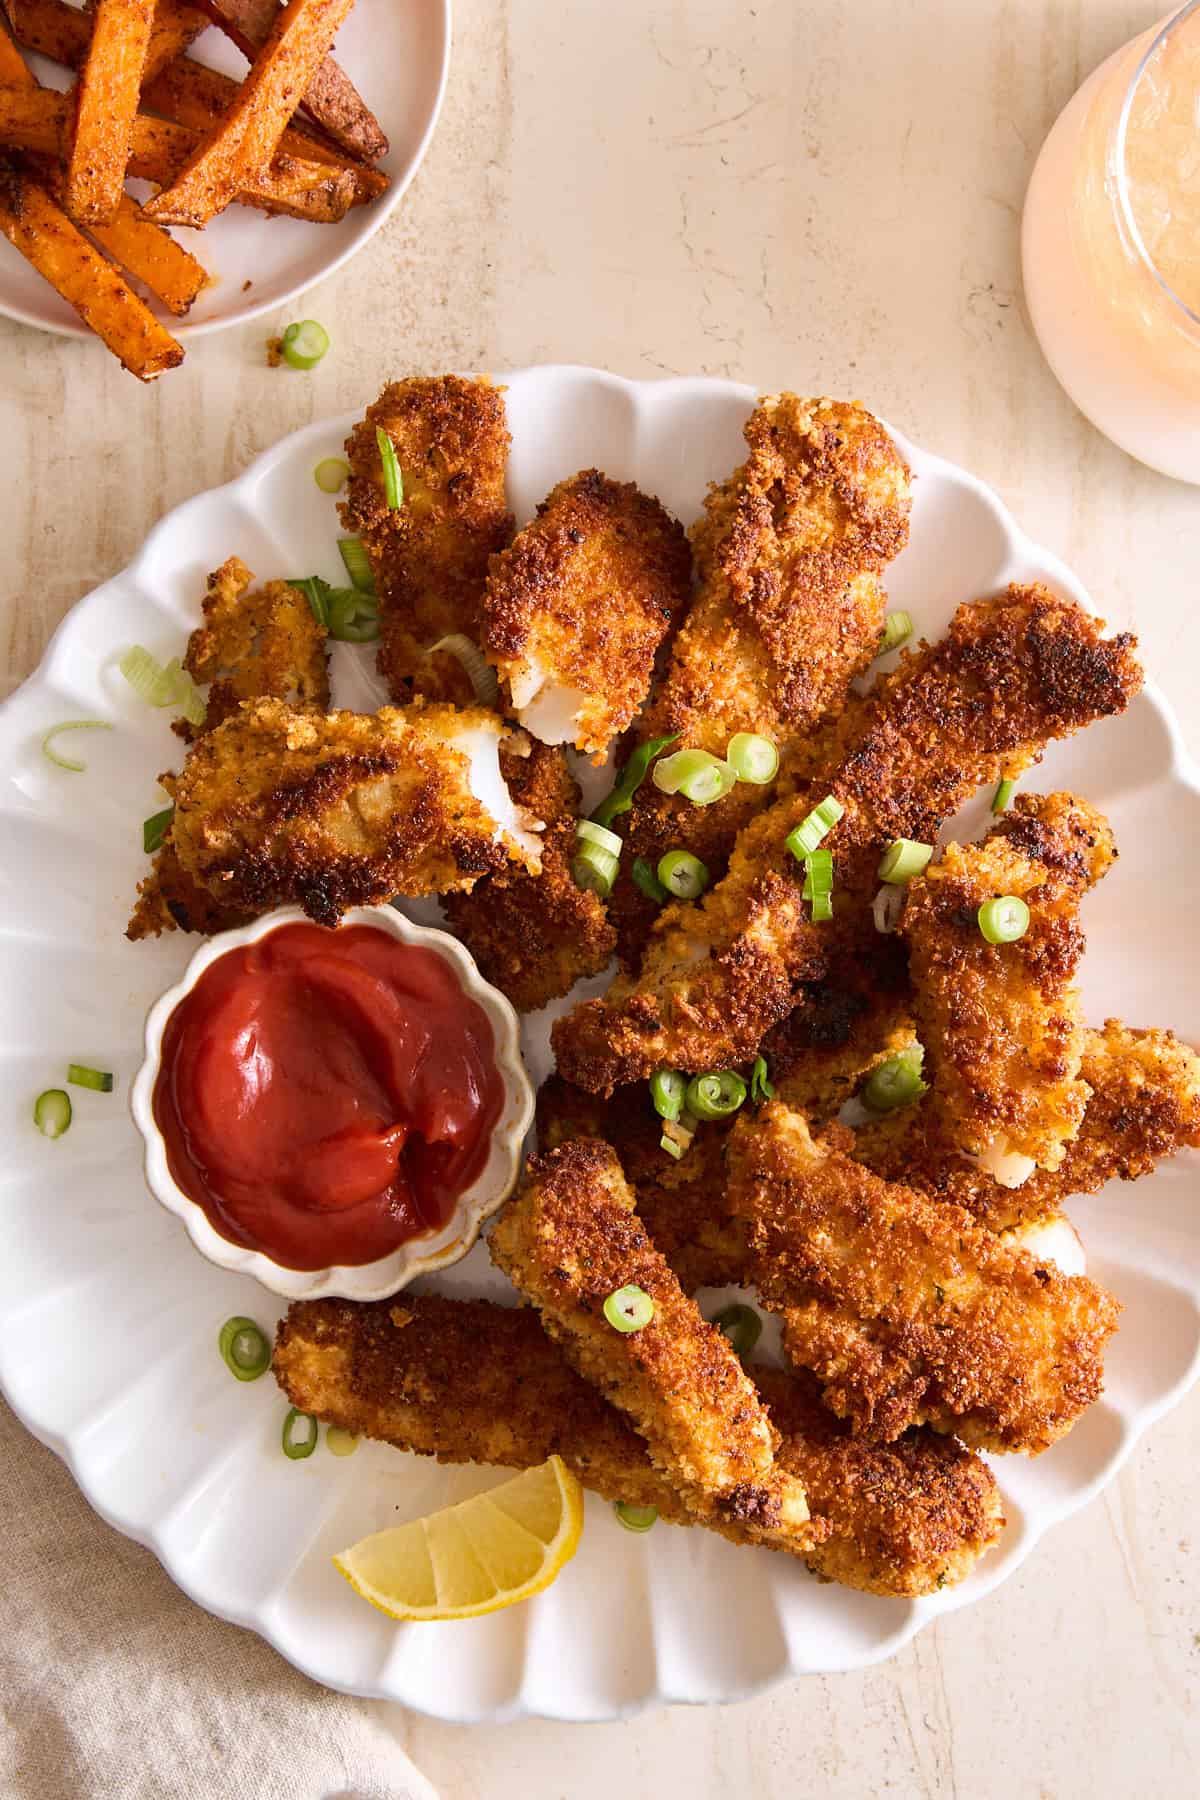 Skip the frozen store-bought options, and make this easy fish sticks recipe with a panko breading in less than ten minutes on the stove!
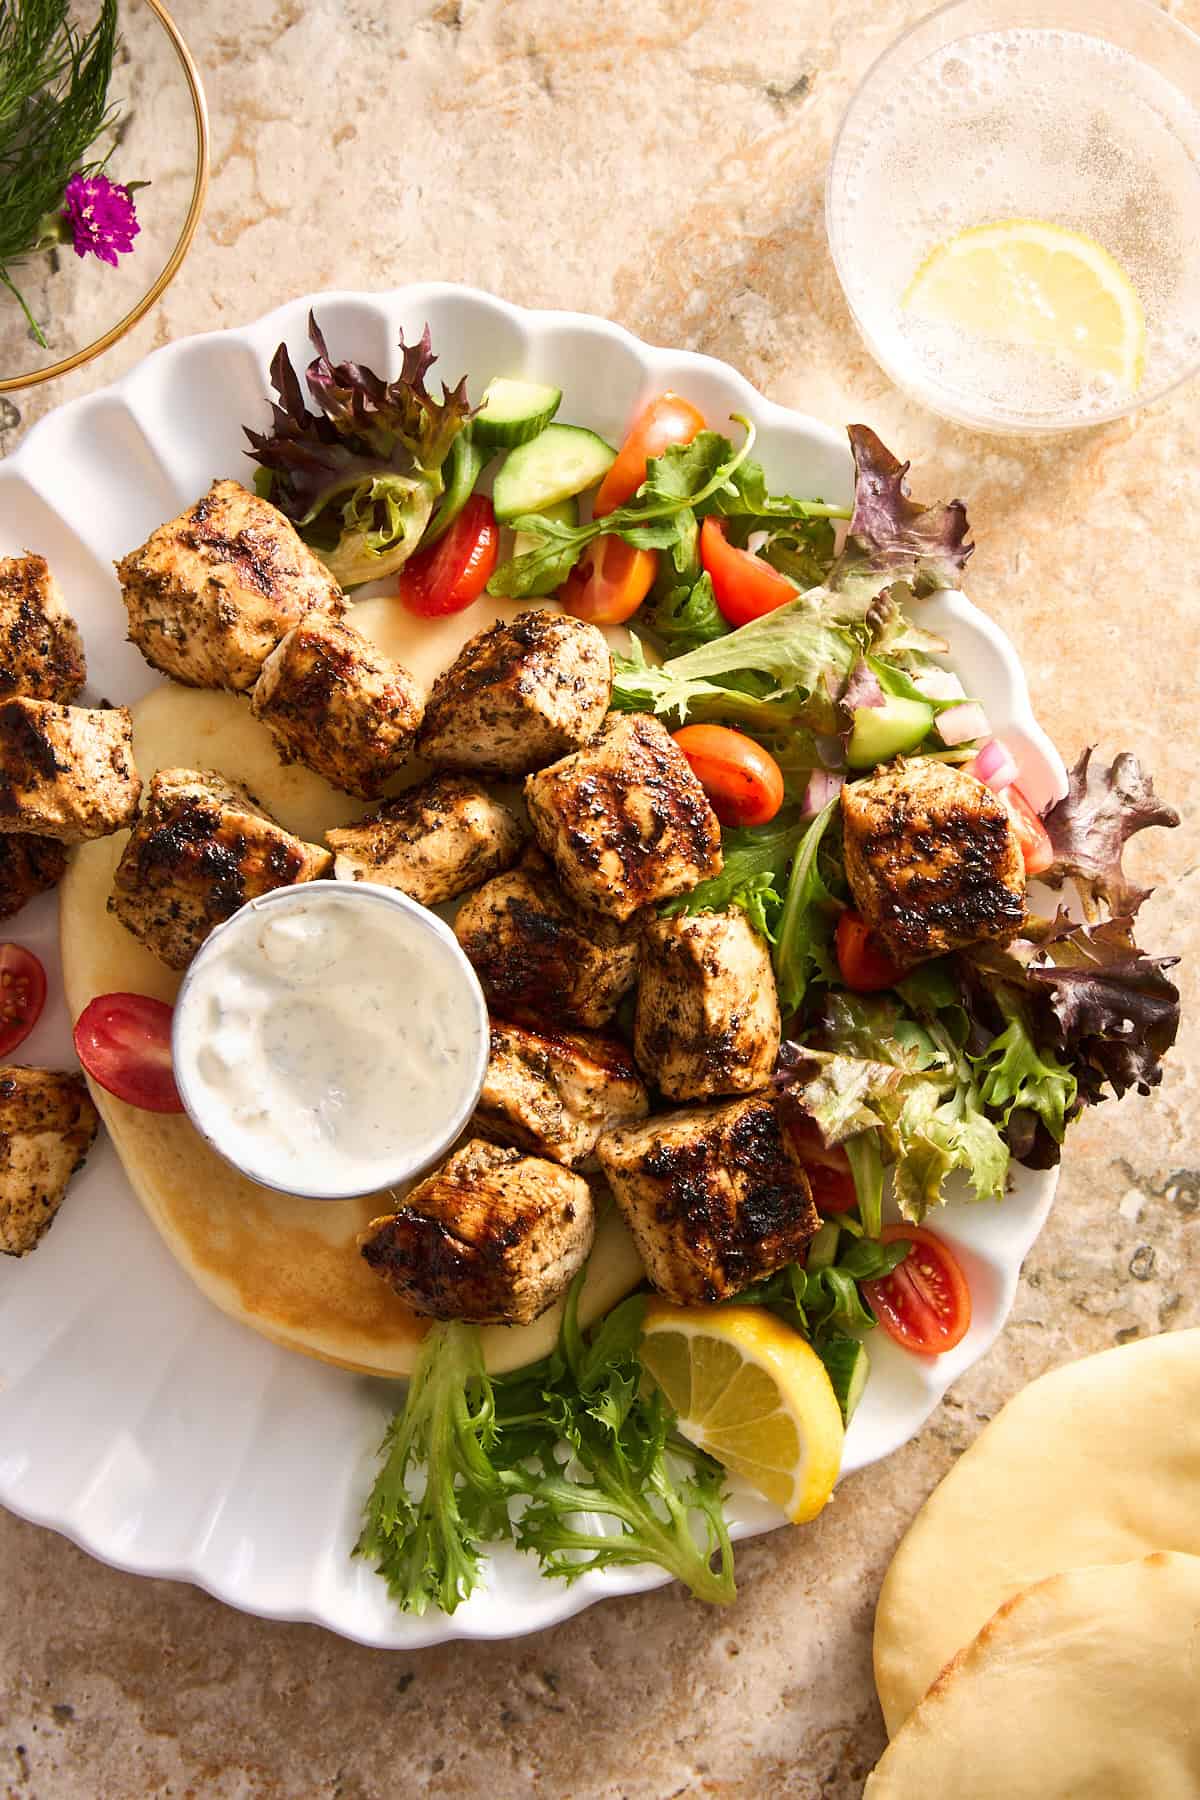 Make this marinated Mediterranean chicken breast recipe on the grill, in an air fryer, or in the oven for a juicy, flavorful protein source!
 Learn how to make the iconic one-pot Meghan Markle pasta recipe from the comfort of your kitchen with this easy copycat dish!
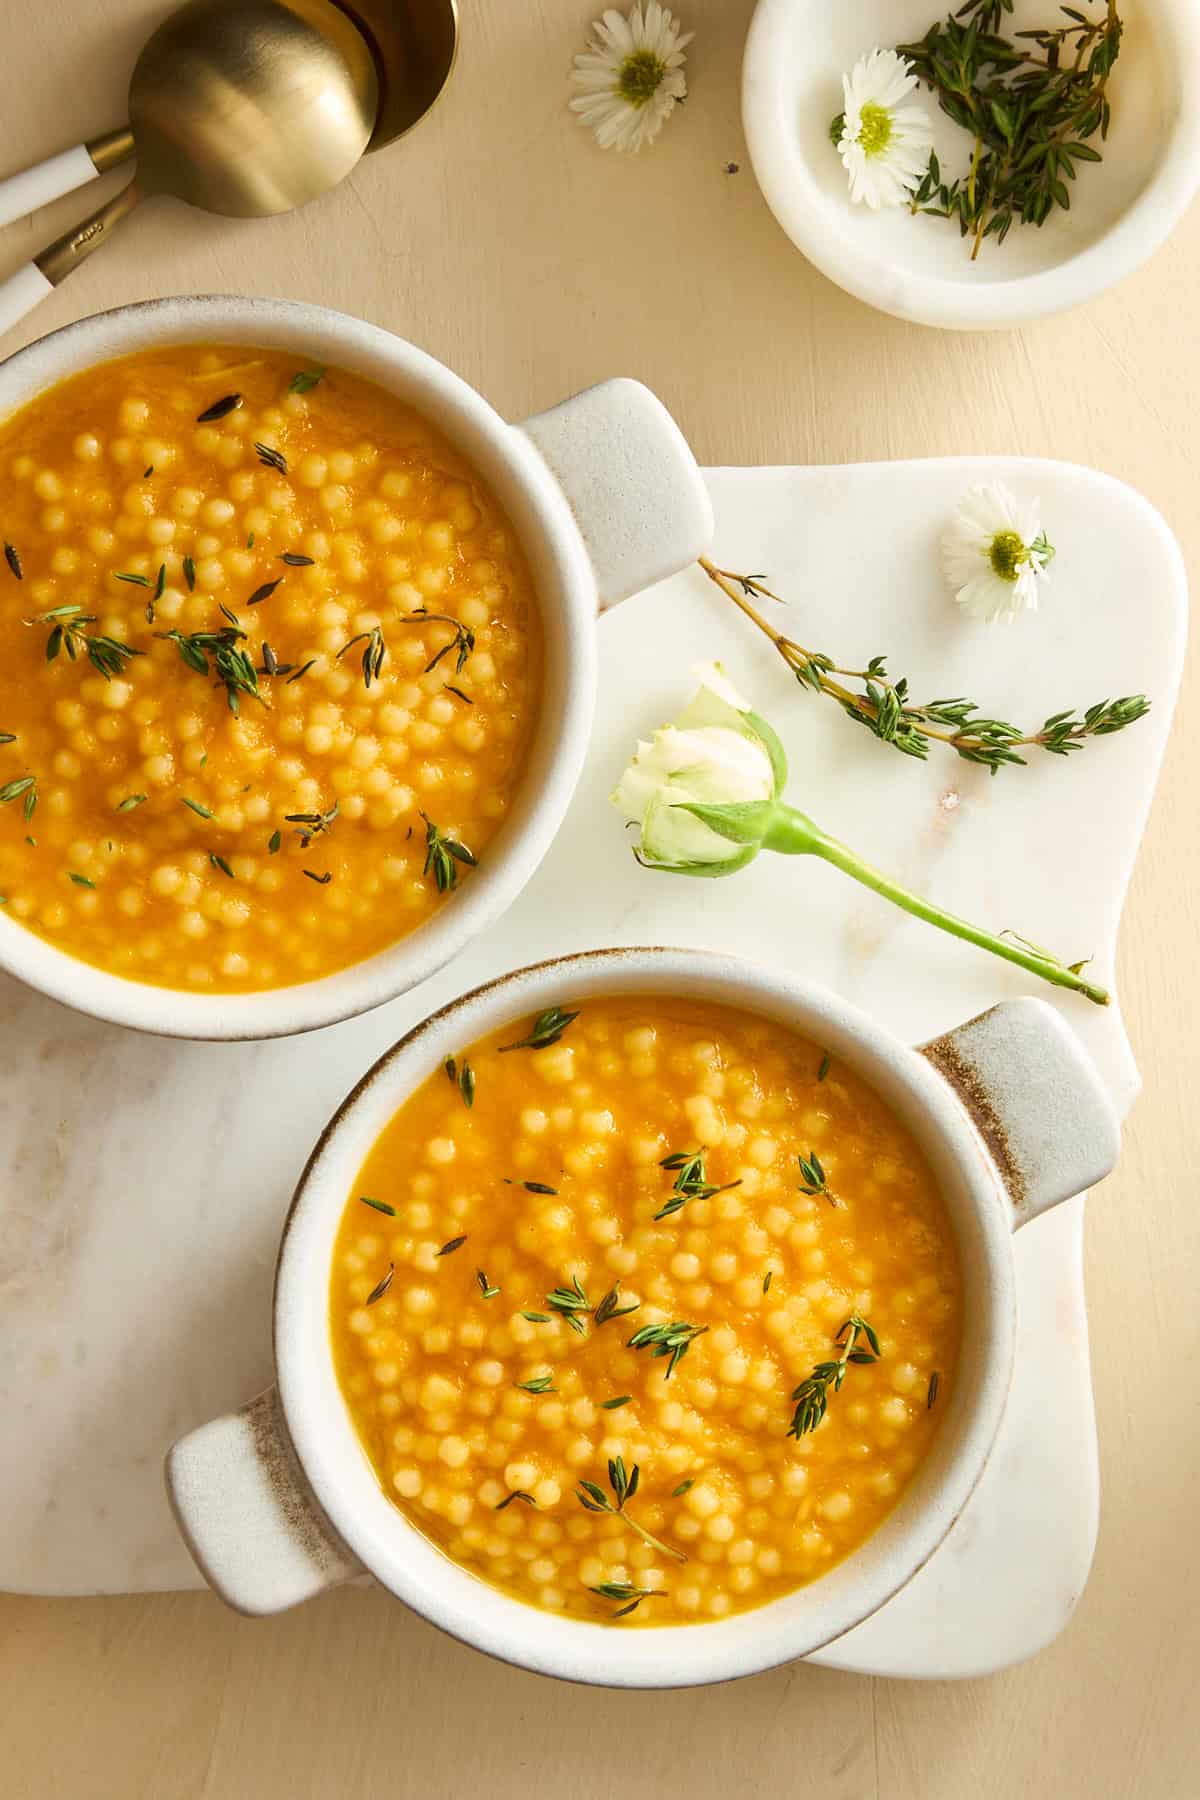 Make this easy, cheesy pastina soup recipe in under an hour for a rich, comfort food secretly full of veggies!
 Learn how to make restaurant-worthy fajitas in just 20 minutes with eight ingredients thanks to this air fryer steak fajitas recipe!
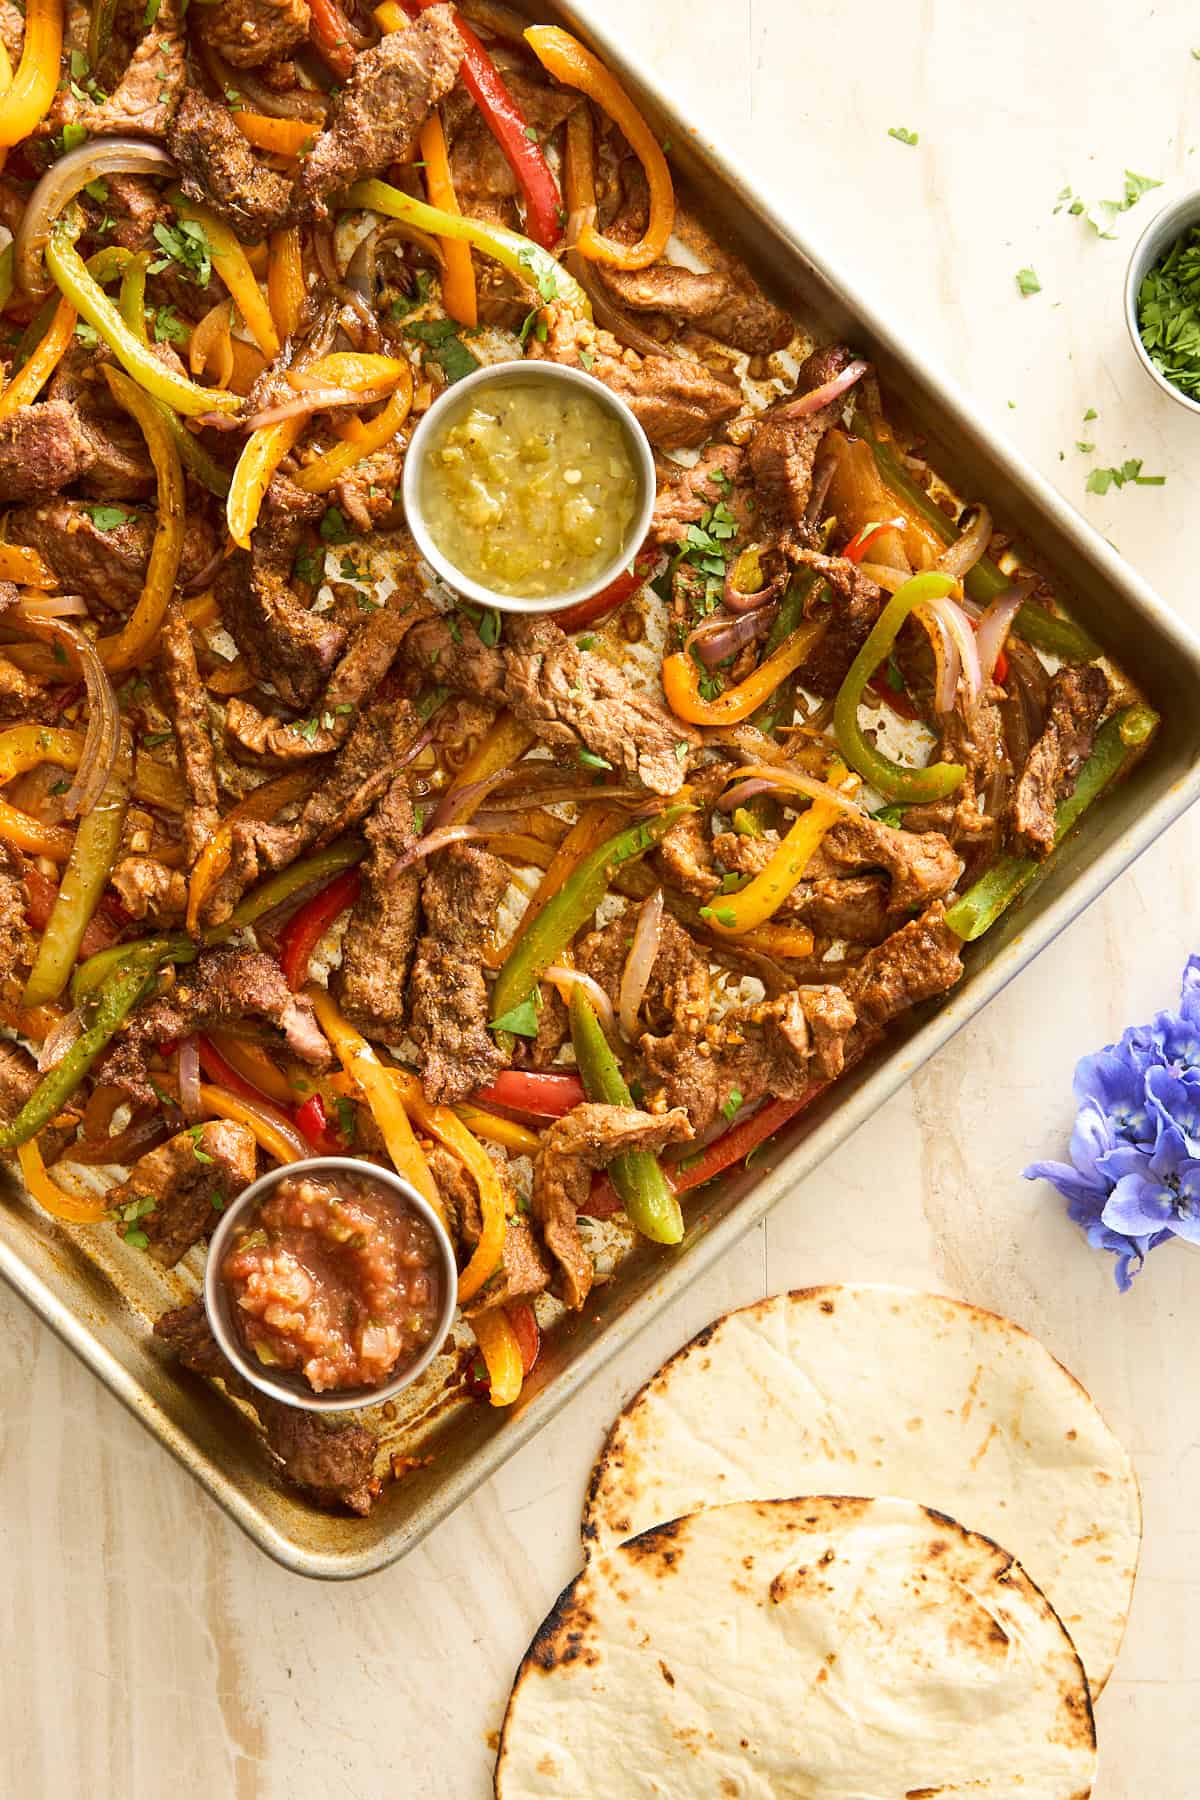 Skip the restaurant options, and make these easy sheet pan steak fajitas with eight ingredients in 30 minutes instead!
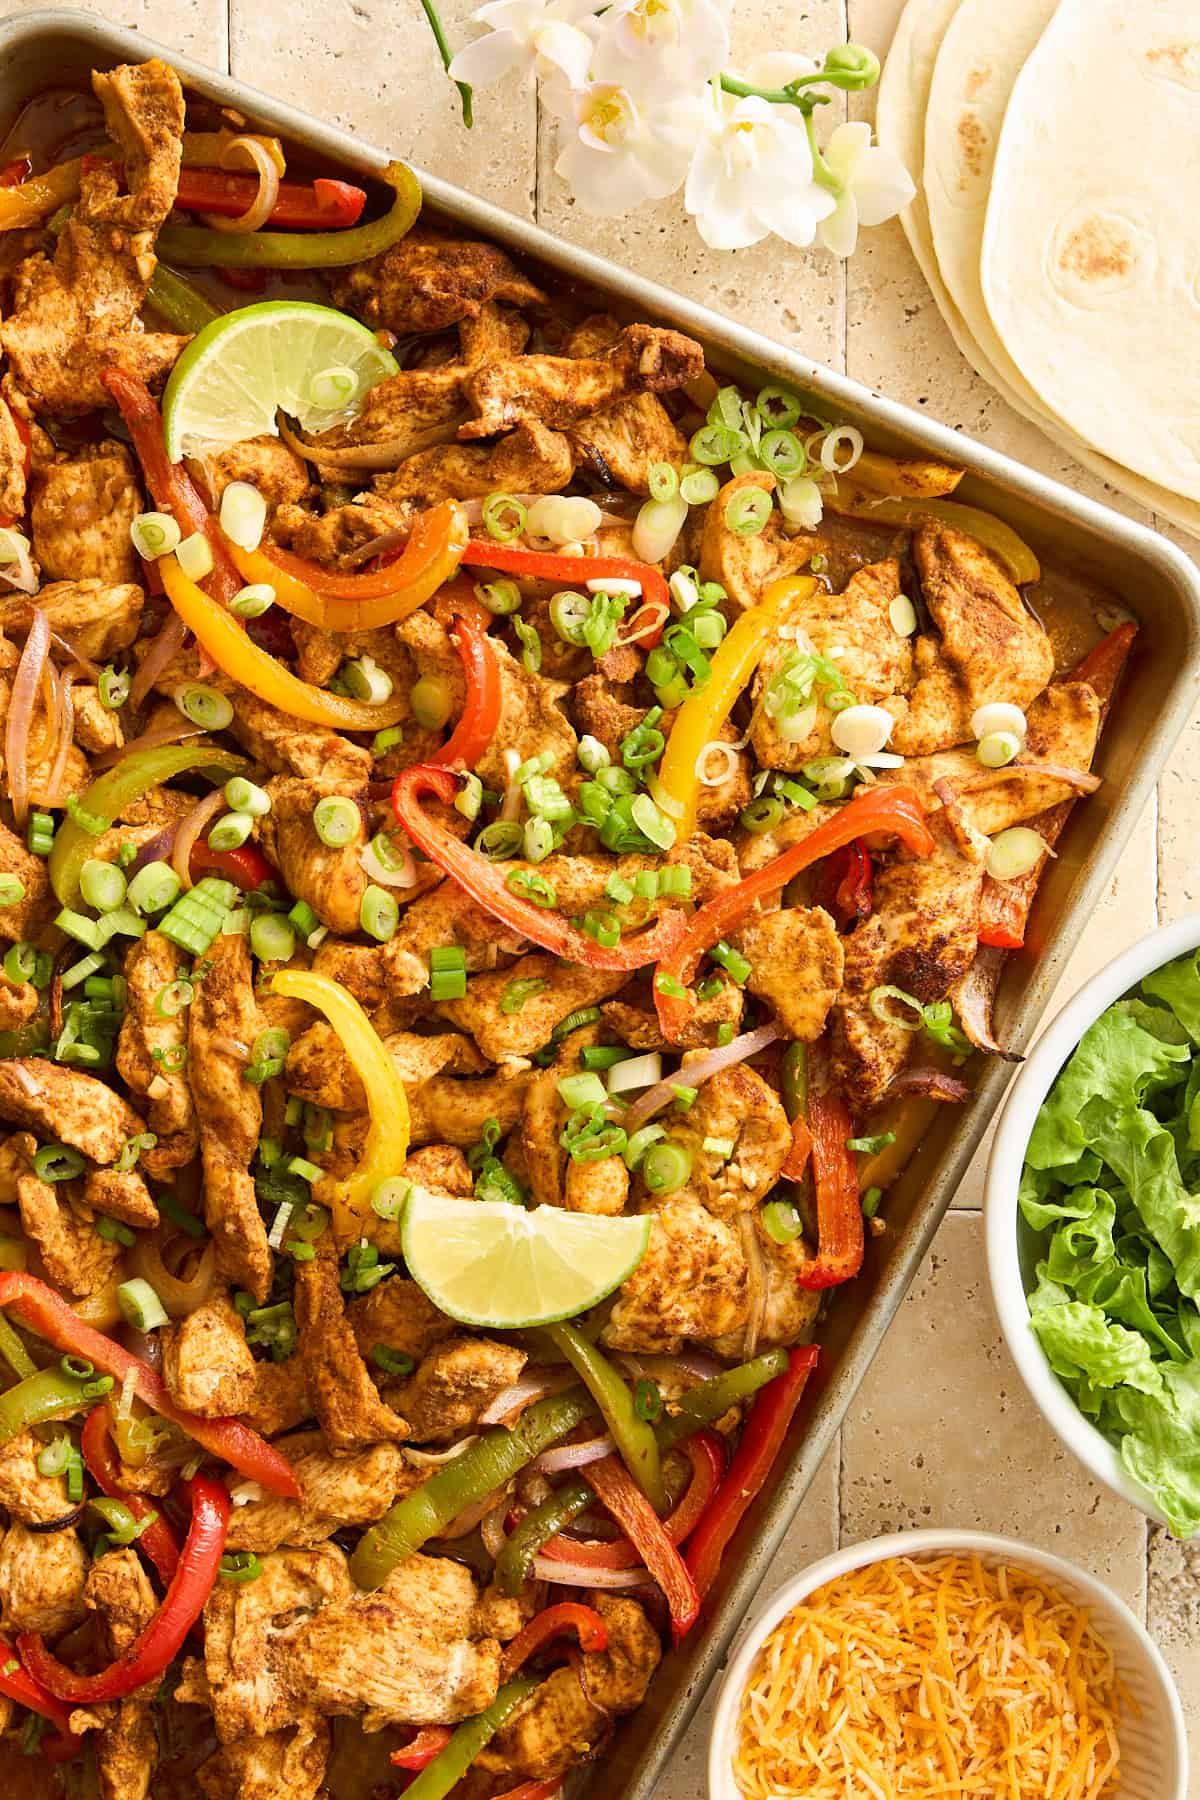 Skip the restaurant options, and make this homemade sheet pan chicken fajitas recipe with a homemade seasoning in 30 minutes instead!
 Make this cottage cheese pasta dish with grilled chicken for a creamy, protein-packed comfort food the whole family will love!
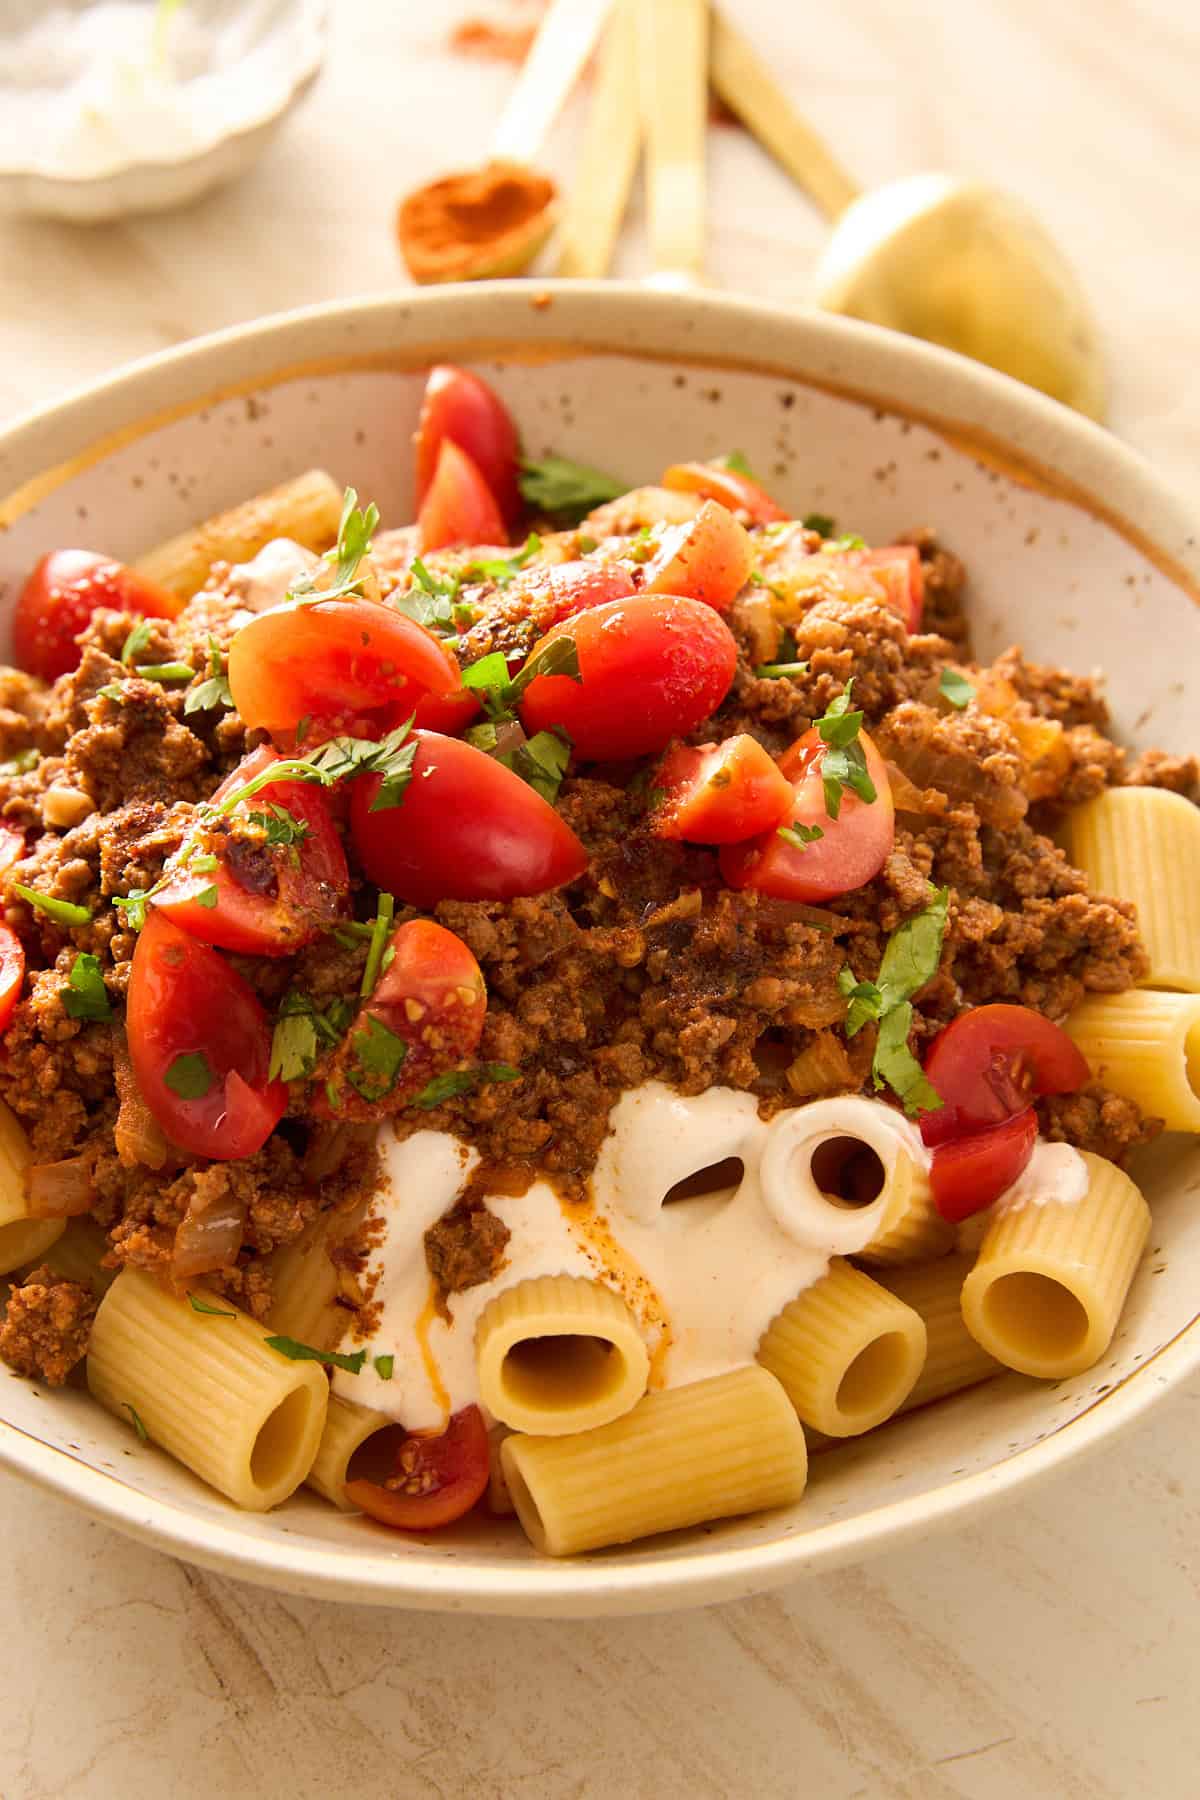
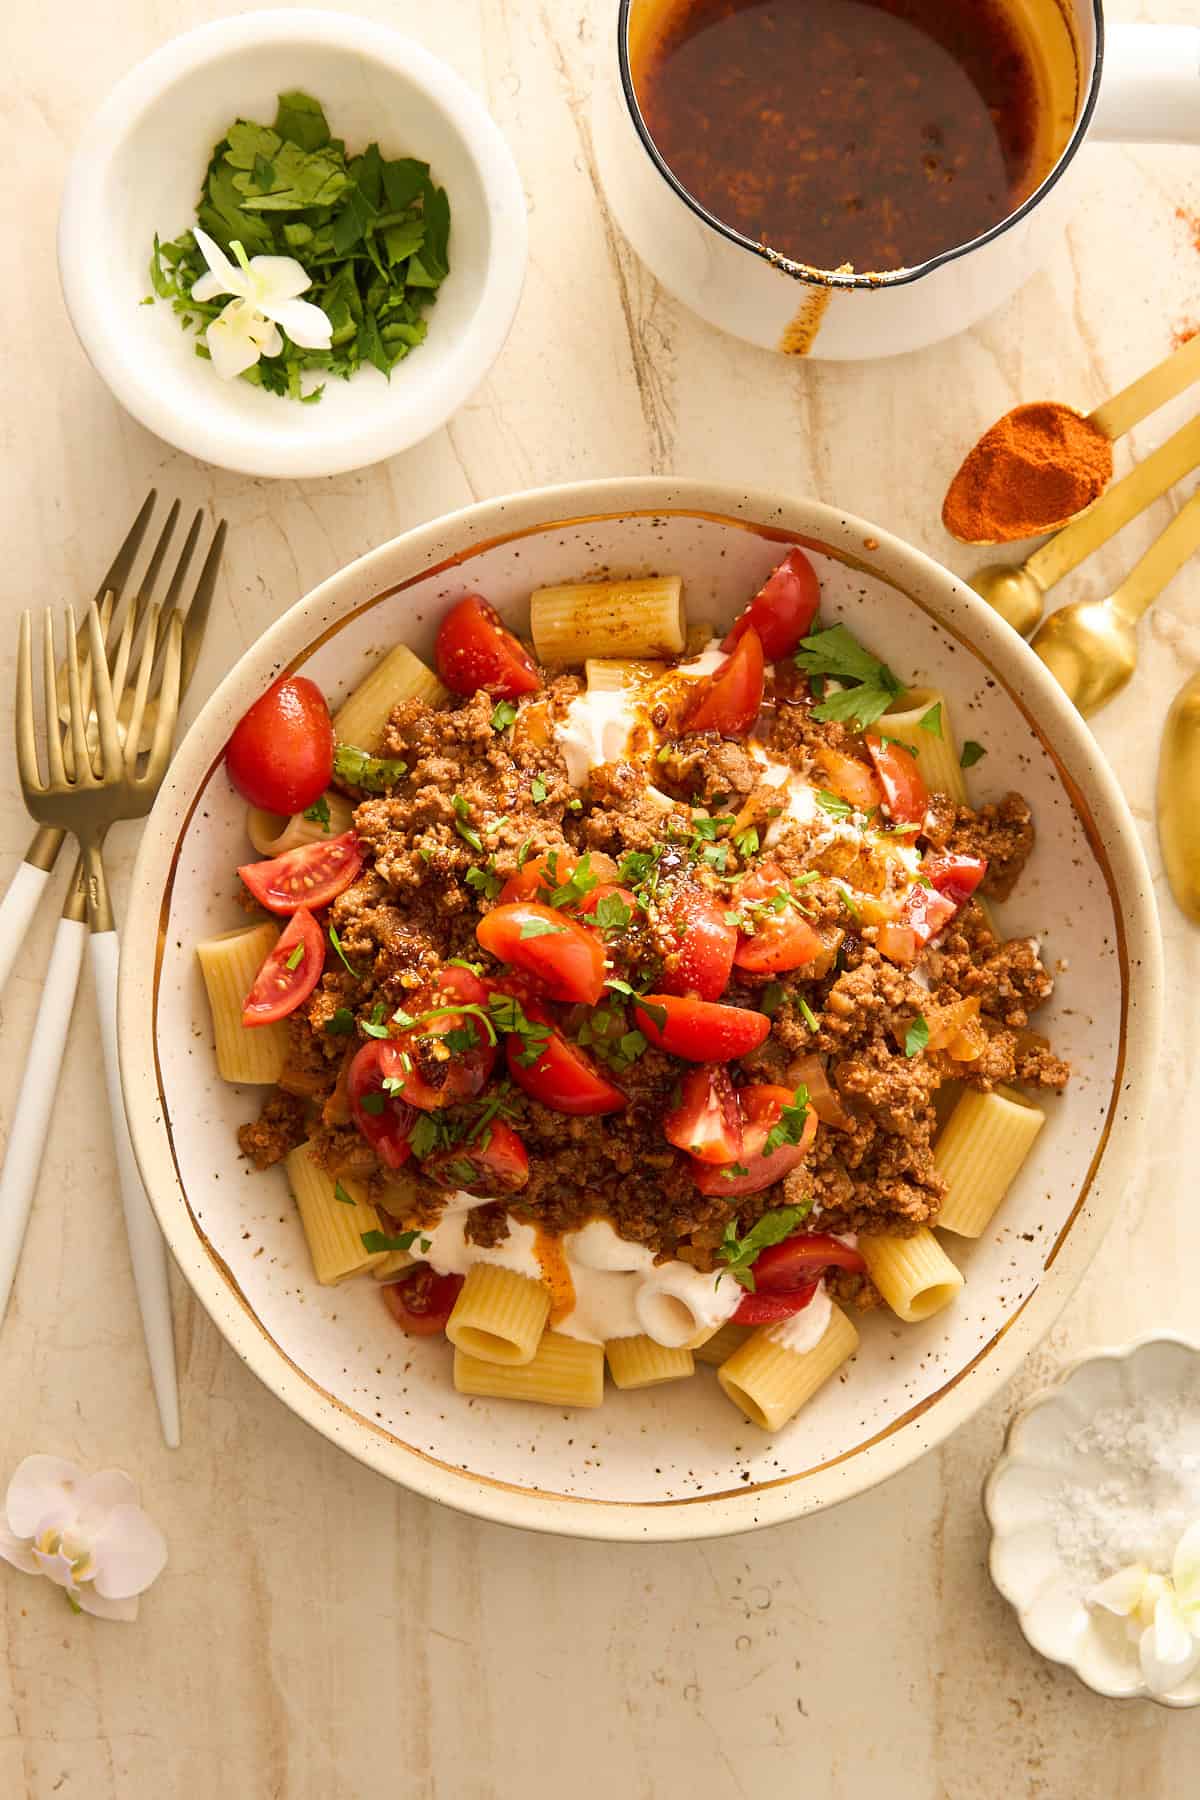 Learn how to make the best Turkish pasta with with garlic yogurt and a spiced butter sauce for a rich, hearty comfort food dinner!
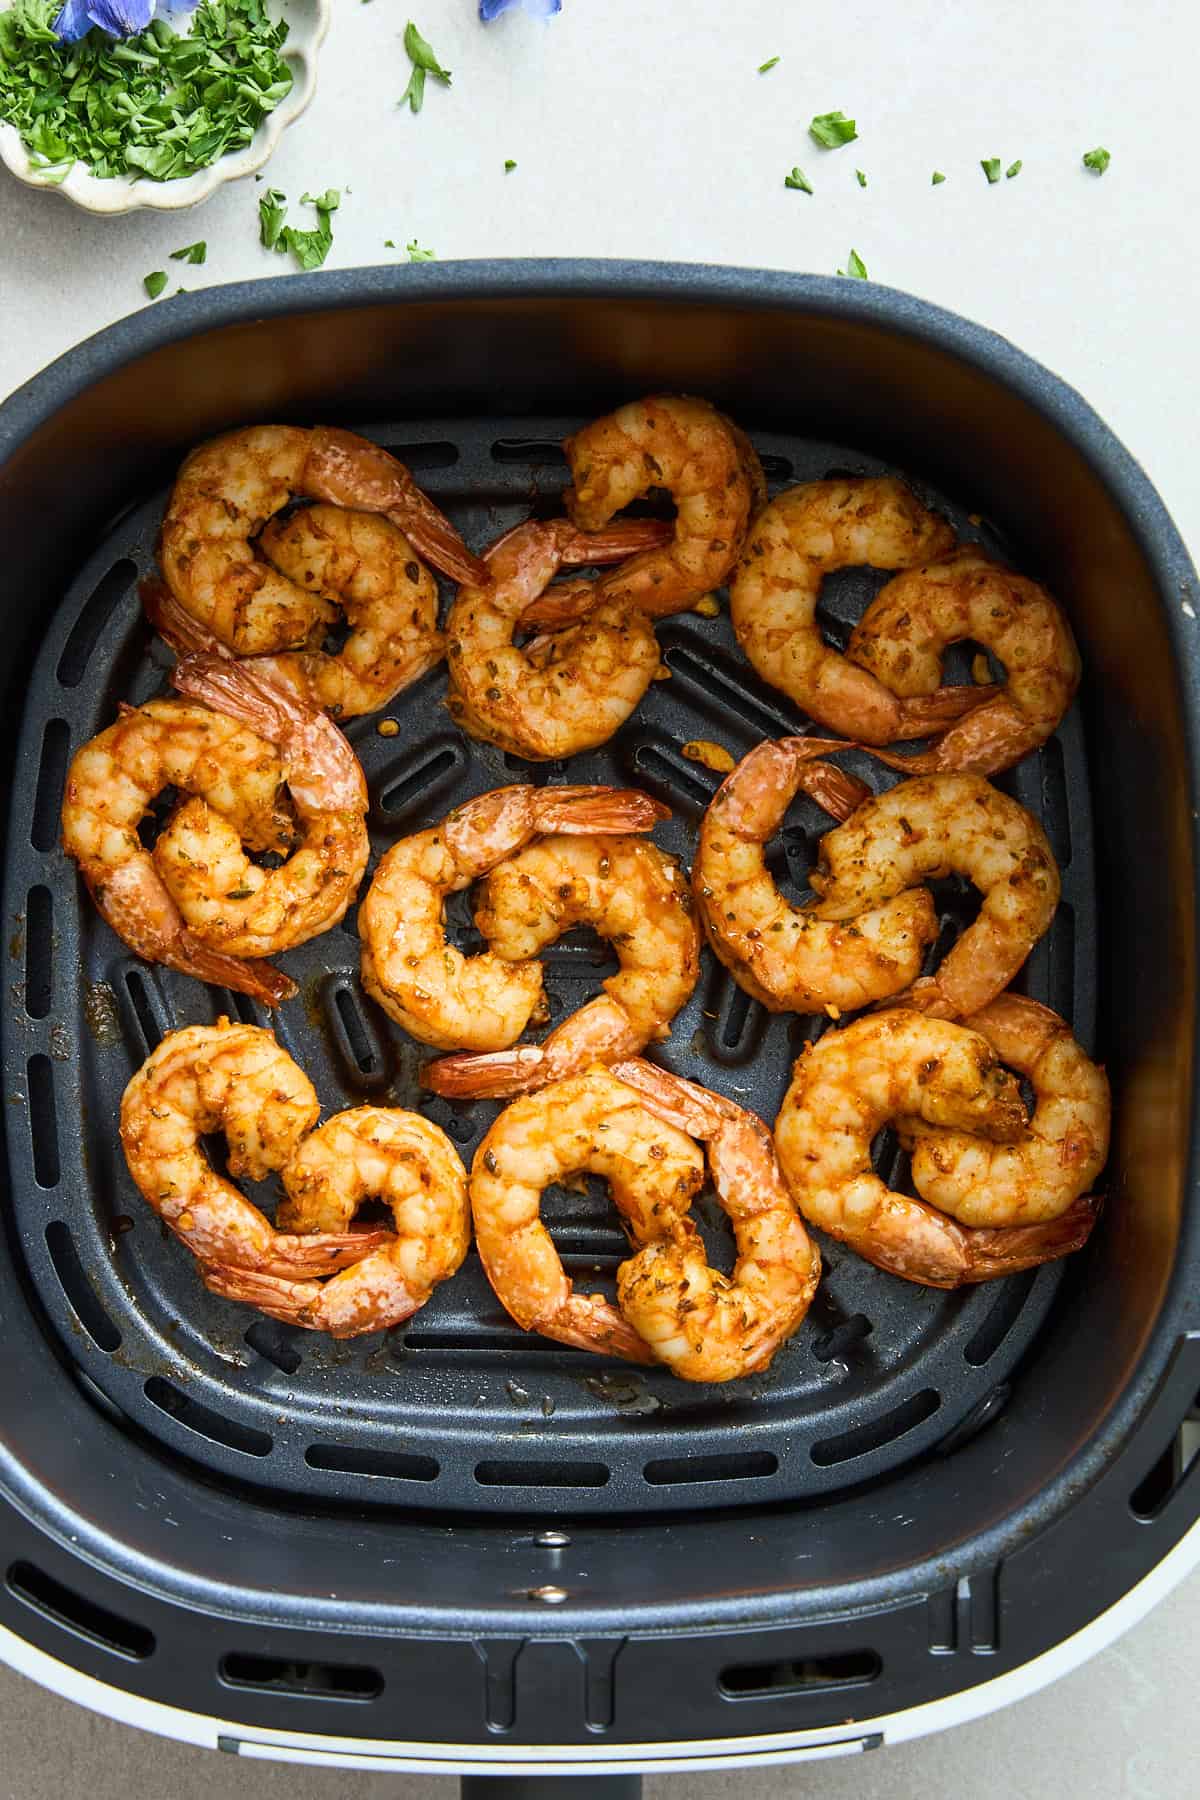 Learn how to make the best air fryer shrimp recipe with just a handful of ingredients in less than 10 minutes for an easy protein source!
 Skip takeout options, and make these flavor-packed salmon tacos with just five ingredients in less than 20 minutes instead!