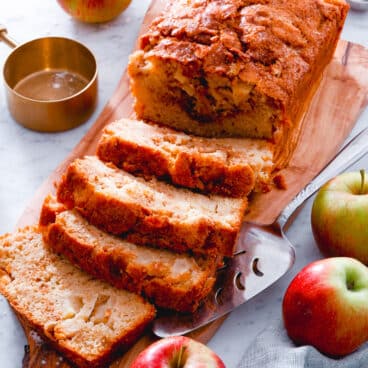
This easy banana bread recipe is simply the best! This moist, sweet, golden quick bread is a kitchen essential.

Banana bread is a kitchen staple, and we’re confident this one needs to make its way into your recipe rotation. This easy banana bread recipe uses just one bowl and common pantry ingredients to make the very best loaf. It bakes up golden, moist, perfectly sweet and scented with a hint of cinnamon. There’s no need for secret ingredients: just ripe bananas and 15 minutes. Here’s how to make banana bread and ideas for how to customize it with mix-ins, glazes, and more!
Ingredients in this easy banana bread recipe
Banana bread is an old American standard: it started appearing the 1930’s in cookbooks when home cooks had access to baking powder and bananas. It may have stemmed from the Great Depression as a way to use up ripe bananas. Over the years, it’s become as essential to American culture as apple pie. It’s the most popular way to use ripe bananas in baked goods.
This banana bread recipe uses common pantry ingredients to make a moist, sweet loaf. Some recipes include tricks like sour cream to add moisture, but this recipe doesn’t need it. Here’s what you need for the best banana bread:
- Very ripe bananas
- Eggs
- Granulated and brown sugar
- Melted butter or neutral oil
- Vanilla extract
- Baking soda
- Cinnamon
- Kosher salt

Use very ripe bananas
The key to the best banana bread is using very ripe bananas. Bananas with a blackened peel bring added moisture, sweetness, and pure fruity flavor to baked goods like bread, muffins, pancakes, cookies, cake, and more.
- Do not use unripe bananas! The peel should have a large amount of black spots, or be uniformly black in color.
- If the bananas have mold on the peel, do not use them. Bananas with mold or those leaking liquid should be discarded.
- You can freeze very ripe bananas and use them in baked goods later. If you don’t have time to us very ripe bananas, freeze them by peeling them and slicing into rounds. You can use them later for bread, muffins and more: just make sure to include the liquid that separates from the fruit in the batter.
Butter vs oil in banana bread
This banana bread recipe uses melted butter in the batter, which makes it easy to make in one bowl with no mixer required! Here are a few notes on butter versus oil in breads:
- Butter lends a richer flavor and makes a more even crumb. Using a dairy fat brings a tender, even crumb and texture to a quick bread.
- Oil makes it even moister, and works as a substitute. The texture is a little spongier with oil, but it works well! You can substitute a neutral oil like vegetable or grapeseed for the butter here.
- Or, you can use a combination of the two. Using half butter and half oil also has great results.
Another pro to using butter: cook it a few minutes longer when melting to make brown butter, which adds a toasty, caramel flavor to the bread. Vegan butter also works as a substitute.

Pan size variations
This banana bread recipe works for both 9 x 5″ and 8 x 4″ pan sizes with a slight modification. Here are a few notes:
- 8 x 4“ pan: This pan size works well if you only have 1 ½ cups mashed bananas (and not 2 cups, as called for in the recipe below). You can make this recipe in an 8 x 4″ loaf pan using 1 ½ cups bananas and 1 ½ cups all-purpose flour. Watch the bake time and adjust accordingly.
- 9 x 5″ pan: Make the recipe as written below for a 9 x 5″ loaf pan. You can also make it with 1 ½ cups bananas and flour, but it will not be as tall in shape. Again, adjust the bake time accordingly.
How to know when banana bread is done
The only tricky part about baking quick breads like this banana bread recipe is how to know when they are done. Here are a few visual cues to look for:
- Banana bread is done when the top is set and springs back, and a tooth pick inserted comes out with a few clinging crumbs. The toothpick test does not have to be fully clean! In fact, if it comes out clean the bread may be overdone.
- The bread is cooked when the internal temperature is 200°F. You can also insert the probe of a food thermometer to assess when the bread is cooked through.

Banana bread variations: mix-ins and toppings
Banana bread is a canvas for endless variations! Here are a few ideas for additions to this banana bread recipe:
- Toasted nuts: Fold ½ cup toasted pecans or toasted walnuts into the batter.
- Chocolate chips: Fold ¾ cup semi-sweet or dark chocolate chips into the batter, then top with another ¼ cup.
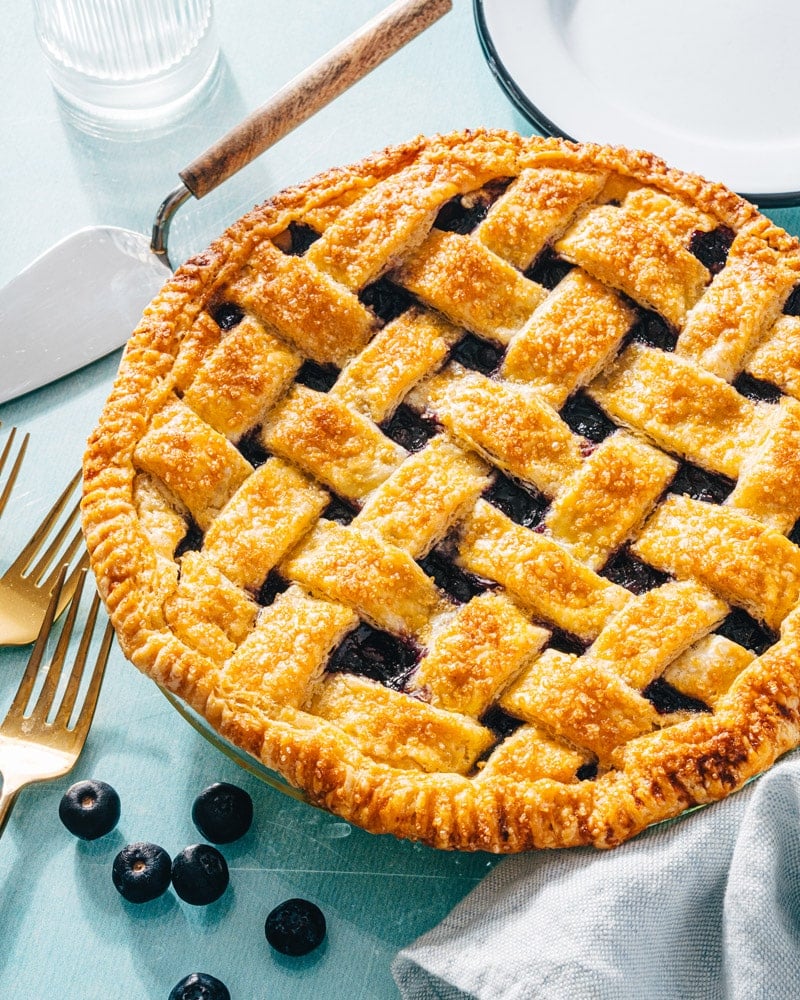
- Blueberries: Toss 1 ½ cups blueberries with 1 tablespoon flour, then fold them into the batter (the flour helps to prevent sinking).
- Cinnamon sugar topping: Mix 2 tablespoons granulated or brown sugar with ½ teaspoon ground cinnamon, and sprinkle it across the top.
- Streusel topping: Mix ¼ cup sugar, ¼ cup flour and 1 teaspoon cinnamon. Cut 2 tablespoons room temperature butter into small pieces, then use your fingers to rub it into the dry ingredients until crumbles form. Sprinkle over the bread and bake. Cover with foil at 30 to 45 minutes to prevent burning.
- Brown butter: Make the bread with brown butter instead of melted butter to add nutty and caramel notes.
- Glazes: Allow the bread to cool fully, then drizzle with vanilla glaze, cream cheese glaze or maple glaze.
- Frosting: Allow the bread to cool fully, then top with cream cheese frosting.

Ways to serve banana bread
There are a few creative ways to serve banana bread if you want to re-purpose leftovers. Try Banana Bread French Toast by cutting it into slices, then dipping it in an egg mixture and frying it for breakfast. Or serve it as a dessert “a la mode” by topping a slice with ice cream, salted caramel sauce, and chopped pecans.
Dietary swaps
There are a few ways to change up a banana bread recipe to make it vegan or gluten-free! Here are a few notes:
- Vegan: Use vegan butter or neutral oil in place of the butter, and substitute flax eggs for the eggs.
- Gluten free: Go to this Gluten Free Banana Bread.
Banana bread storage
Banana bread holds up well over time. It lasts 5 days at room temperature wrapped in aluminum foil or refrigerated for 10 days. You can also freeze it for up to 3 months: slice it into pieces and wrap it in plastic wrap then a freezer-safe bag or container.
Let us know what you think of this recipe in the comments below. We hope you love it as much as our family does!
More banana bread recipes
This classic recipe has many variations. Here are a few more banana bread recipes to try:
- Blueberries: Add berries for Blueberry Banana Bread
- Chocolate: Try Chocolate Chip Banana Bread or Easy Chocolate Banana Bread
- Pumpkin: Add puree for Pumpkin Banana Bread
- Zucchini: Fold in shredded zucchini for Banana Zucchini Bread
- Nuts: Go for Banana Nut Bread
- Sour Cream: Try Sour Cream Banana Bread


Our Best Banana Bread Recipe
-
 Prep Time: 15 minutes
 -
Cook Time: 60 minutes
-
Total Time: 1 hour 15 minutes
-
 Yield: 12
Description
This easy banana bread recipe is simply the best! This moist, sweet, golden quick bread is a kitchen essential.
Ingredients
- 2 cups* mashed ripe bananas (3 very large or 5 medium bananas)
- 2 large eggs
- ½ cup granulated sugar
- ½ cup brown sugar
- ½ cup melted butter** (or neutral oil)
- 1 teaspoon vanilla extract
- 1 teaspoon baking soda
- 1 teaspoon cinnamon
- ¾ teaspoon kosher salt
- 2 cups [280 g] all-purpose flour
- Optional mix ins: ½ cup chopped toasted pecans or toasted walnuts, ¾ cup chocolate chips
Instructions
- Preheat the oven to 350°F. Butter a 9 x 5″ loaf pan. Line the pan with a piece of parchment paper, cut so that it extends on two sides to easily remove the bread from the pan.
- Mash the bananas in the bottom of a large bowl, enough for 2 cups. Whisk in the eggs. Switch to a spatula and stir in the granulated sugar, brown sugar, butter, and vanilla extract.
- Stir in the baking soda, cinnamon, and kosher salt. Add the flour and gently stir until just combined and no streaks of flour remain.
- Pour the batter into the prepared loaf pan. Bake 55 to 60 minutes*, until the top is set and a toothpick inserted into the center of the loaf comes out with a few clinging crumbs (or the internal temperature is 200°F).
- Cool in the pan for 15 minutes. Then run a knife around the edge and invert the loaf onto a cooling rack. Serve warm or at room temperature. (If desired, allow to cool fully and top with a glaze.***)
- Storage info: The bread lasts 5 days at room temperature wrapped in aluminum foil, refrigerated for 10 days, or frozen for 3 months (slice it into pieces and wrap it in plastic wrap then a freezer-safe bag or container).
Notes
*If you only have 1 ½ cups mashed bananas, you can make this recipe in an 8 x 4″ loaf pan using 1 ½ cups bananas and 1 ½ cups all-purpose flour. You can also make it with 1 ½ cups bananas and flour in a 9 x 5″ pan, but it will not be as tall in shape. The bake time will vary based on pan size and batter amount, so watch and adjust accordingly.
**To make brown butter banana bread, brown the butter and then cool it in the freezer for 15 minutes before using in the bread.
***Try maple glaze, cream cheese glaze or vanilla glaze. See the section above for notes about cinnamon sugar or streusel toppings.
 Category: Bread
 Method: Baked
 Cuisine: American
- Diet: Vegetarian
Keywords: Banana bread recipe, banana bread, how to make banana bread, best banana bread, easy banana bread


 Using coconut sugar in the topping adds an incredible depth of flavour and complexity that I suggest you don’t miss out on – it brings so much more to the party than plain old brown sugar.


