Pickled Jalapeños

These quick pickled jalapeños are the perfect way to top all of your favorite foods, including nachos, sandwiches, pizza, chili, and more.

The post Pickled Jalapeños appeared first on Budget Bytes.

O.M.G. I thought I was obsessed with pickled red onions, but then I made these pickled jalapeños and I literally can’t stop eating them. Every time I go in the fridge I have to pop one or two in my mouth, in addition to adding a few on top of everything I’ve been eating. 😅 These little guys are addictive! So, if you’ve got a pepper plant that is still producing or are looking for a way to use up some leftover jalapeños from another recipe, trust me, you NEED to make these pickled jalapeños.
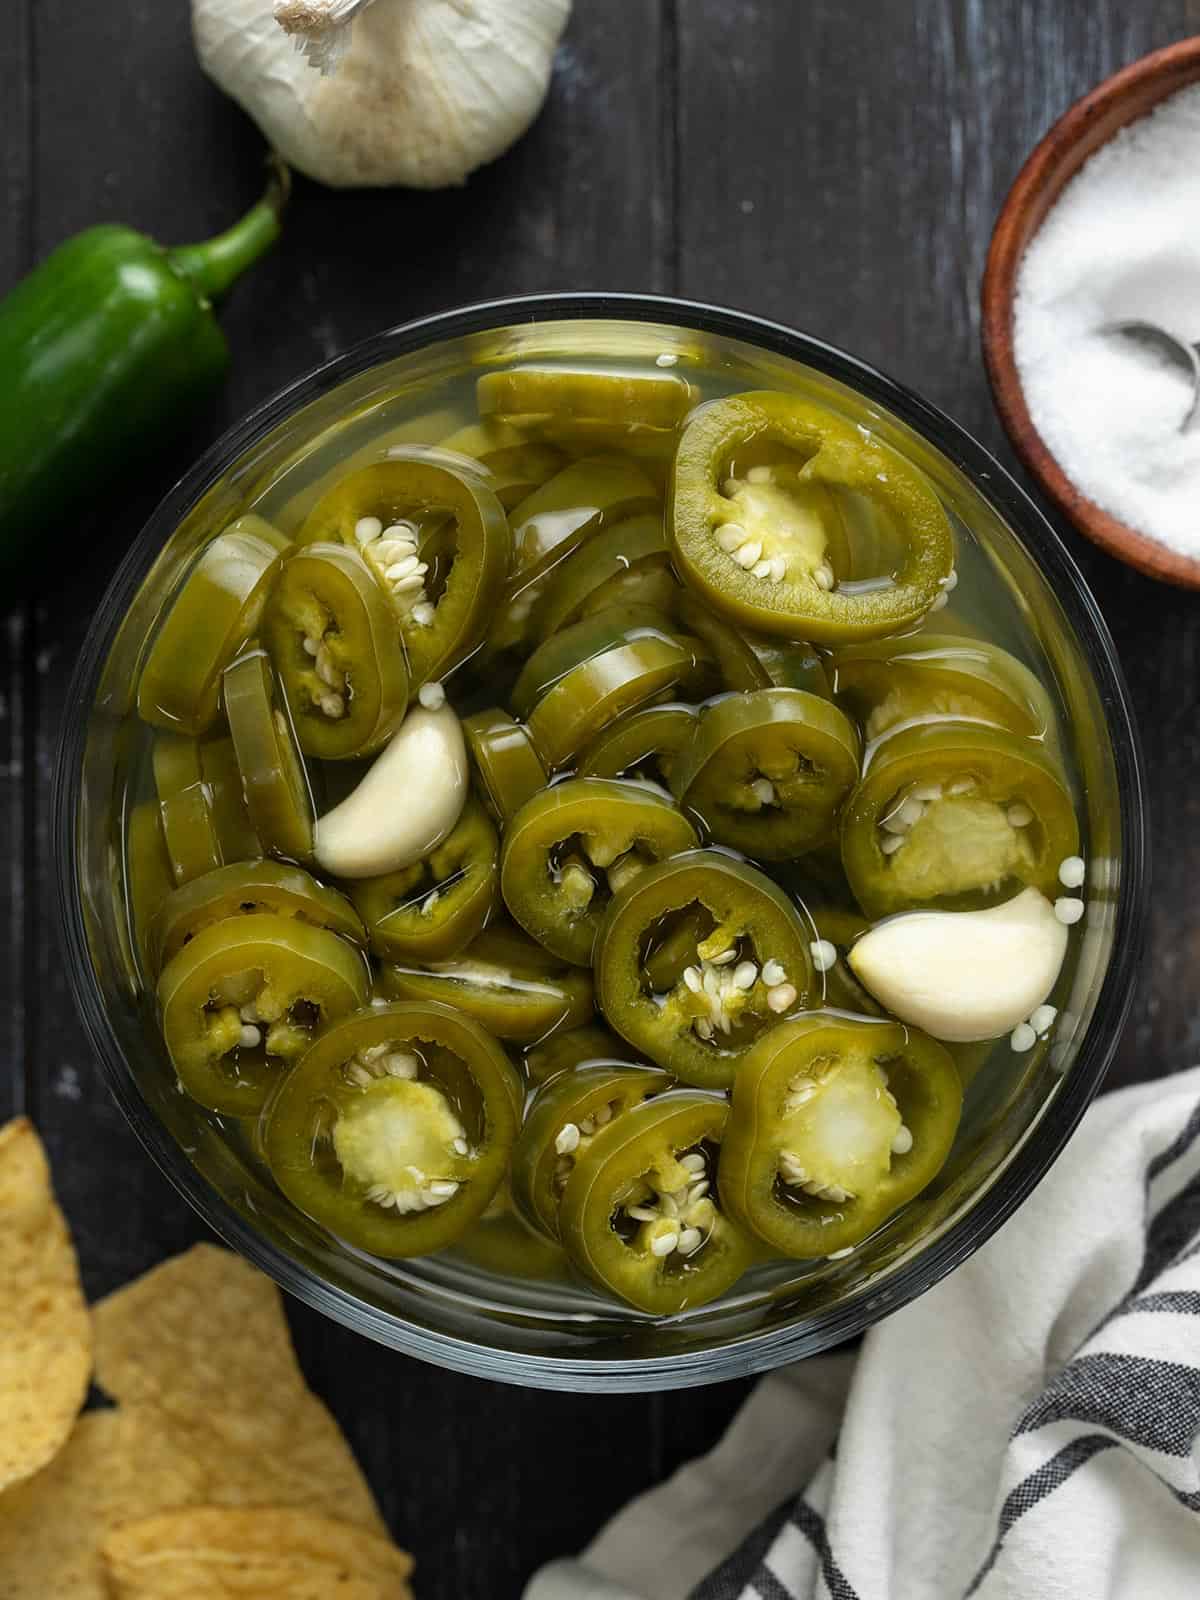
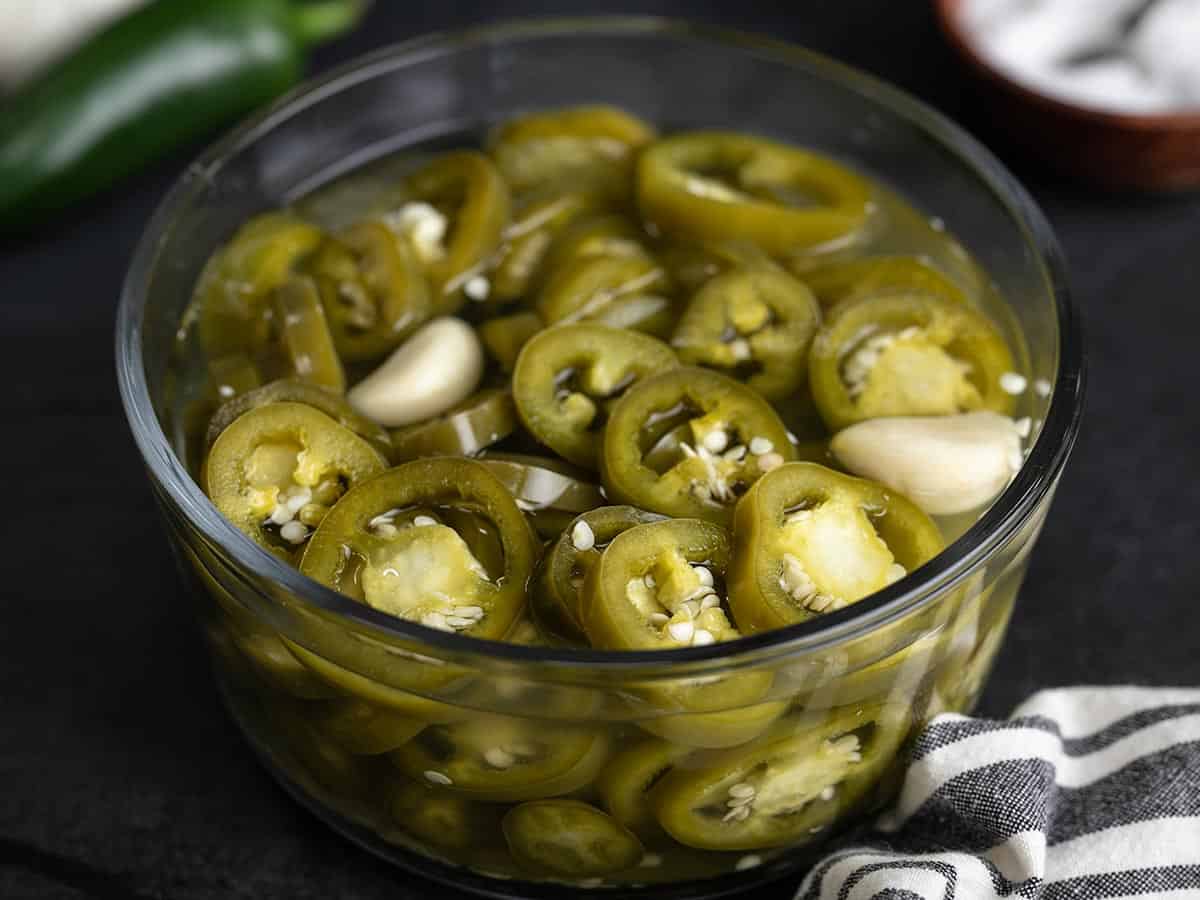
Overhead view of a bowl full of pickled jalapeños.

What are Quick Pickles?

There are two main ways to pickle vegetables: fermentation and quick pickling in a vinegar-based brine. Fermentation pickling takes days to weeks to accomplish, as natural bacteria produce acid that combines with added salt to create a brine. Quick pickles only take minutes because they start with a pre-made acidic brine made with vinegar and salt. The method I used for these pickled jalapeños is quick pickling, which I love because it’s so fast and convenient. Just keep in mind that quick pickles do not contain live cultures.

Ingredients for Pickled Jalapeños

Here’s what you’ll need to make quick pickled jalapeńos:

  • Fresh jalapeños: You can use green, red, or a combination of both! The recipe is written for one pound of jalapeños, but you can easily reduce the batch size if you don’t have that many peppers. Simply change the number of servings in the recipe card below and the amount of ingredients will auto-adjust for you.
  • Garlic: Adding a clove of garlic (or a few!) creates a nice depth to the flavor of the pickled jalapeños.
  • Vinegar: I used plain white vinegar to keep the flavor crisp and clean, but you can experiment with other flavors of vinegar like apple cider vinegar, red wine vinegar, or rice vinegar. I do not suggest using a sweet vinegar, like balsamic for this recipe.
  • Salt: Salt flavors the brine and aids the vinegar in preserving the jalapeños.
  • Sugar: A little bit of sugar helps balance the flavors in the pickled jalapeños, primarily the acidic vinegar. Don’t worry, we don’t use enough to make them sweet, just enough to provide balance.
  • Water: Adding a little bit of water to the brine softens the flavor of the brine just enough so you don’t feel like you’re eating straight vinegar, but not enough to reduce the preservation abilities of the vinegar.

What Else Can I Add?

If you want to experiment with your pickled jalapeños, you can try adding some of the following ingredients: a sliced carrot, whole peppercorns, ground cumin or cumin seeds, sliced shallots, or oregano.

How to Use Pickled Jalapeños

Aside from just sneaking one or two slices from the jar, here are some of my favorite foods to top with pickled jalapeños:

How Long Do Pickled Jalapeños Last?

Keep these pickled jalapeños in an air-tight glass or plastic container in the refrigerator for up to two months (if you don’t eat them all first!). Use a fork or tongs to remove the jalapeños from the container to keep the brine as sterile as possible.
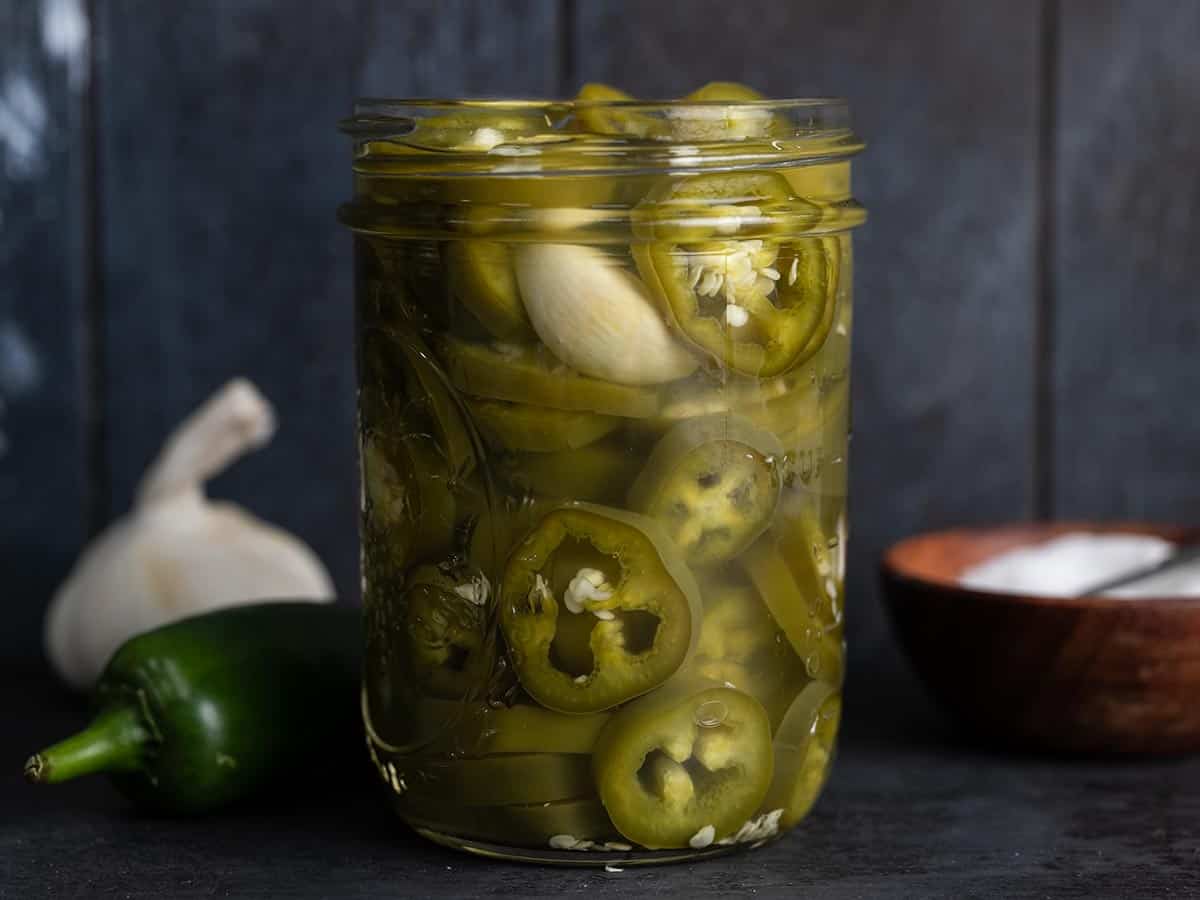
Side view of a jar full of pickled jalapeños.
Overhead view of a bowl full of pickled jalapeños.
Print

Pickled Jalapeños

These quick pickled jalapeños are the perfect way to top all of your favorite foods, including nachos, sandwiches, pizza, chili, and more.
Course condiment
Cuisine American
Total Cost $2.30 recipe / $0.29 serving
Prep Time 10 minutes
Cook Time 2 minutes
Marinate Time 30 minutes
Total Time 42 minutes
Servings 8 (¼ cup each)
Calories 32kcal

Ingredients

  • 1 lb. jalapeños $1.49
  • 2 cloves garlic $0.16
  • 1.5 cups white vinegar $0.52
  • 1/2 cup water $0.00
  • 1 Tbsp salt $0.10
  • 1 Tbsp sugar $0.03

Instructions

  • Wash and slice the jalapeños. Peel the garlic.
  • Add the vinegar, water, salt, and sugar to a medium sauce pot. Bring the mixture up to a boil over medium-high heat, stirring to dissolve the salt and sugar.
  • Once the brine reaches a boil, add the jalapeños and garlic. Turn the heat off, place a lid on the pot, and let the peppers marinate in the brine for 30 minutes. Stir them occasionally to make sure they all spend adequate time under the brine. Replace the lid each time.
  • After marinating in the brine for 30 minutes the peppers will change from bright green to olive green. Transfer the peppers to a non-reactive (glass or plastic) air-tight container, then store in the refrigerator for up to two months.

See how we calculate recipe costs here.

Notes

*The nutrition facts given include the brine, which is not usually consumed, so the sodium levels may be inflated.

Nutrition

Serving: 0.25cup | Calories: 32kcal | Carbohydrates: 5g | Protein: 1g | Fat: 0.2g | Sodium: 876mg | Fiber: 2g
Side view of a bowl full of pickled jalapeños.

How to Make Pickled Jalapeños – Step by Step Photos
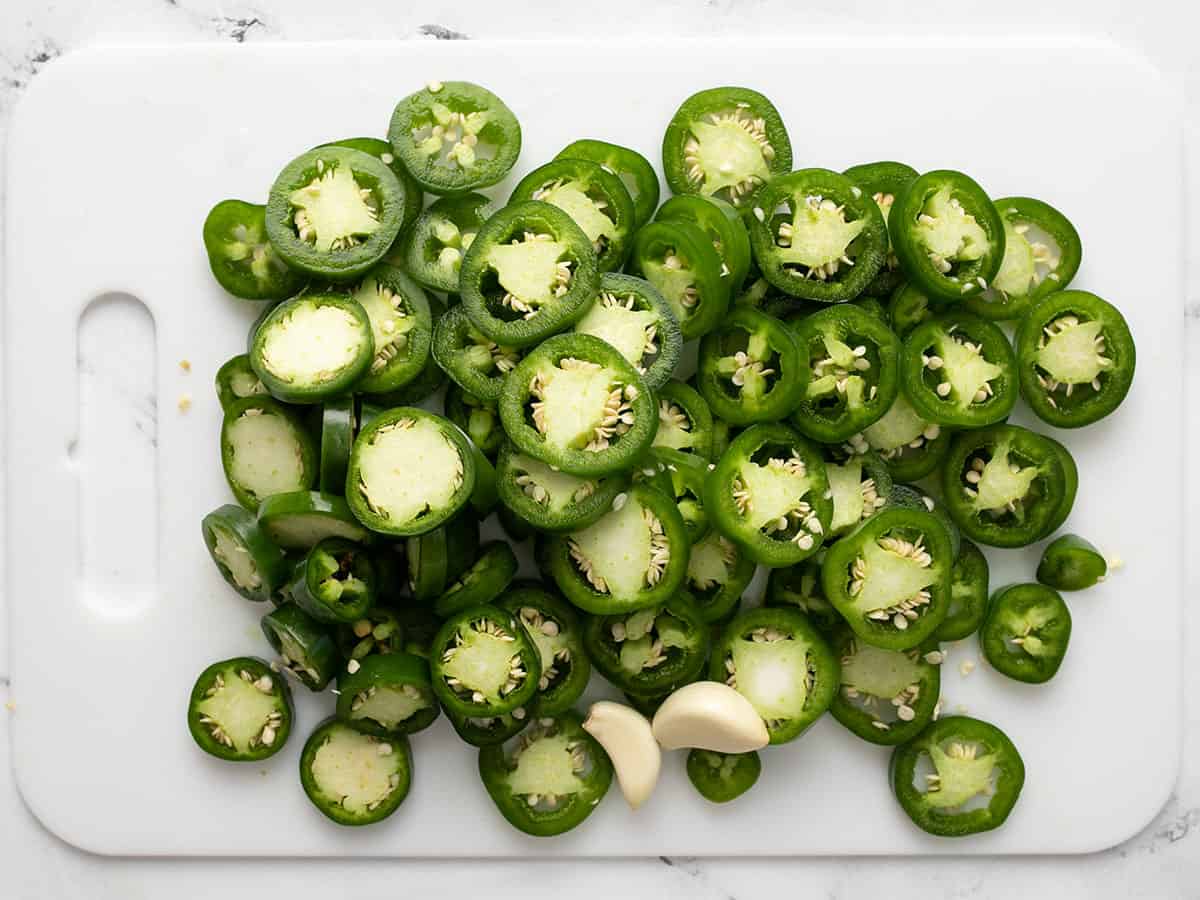
Sliced jalapeños and peeled garlic on a cutting board.

Wash then slice one pound of fresh jalapeños. Peel two (or more) cloves of garlic. Feel free to measure with your heart when it comes to the garlic!
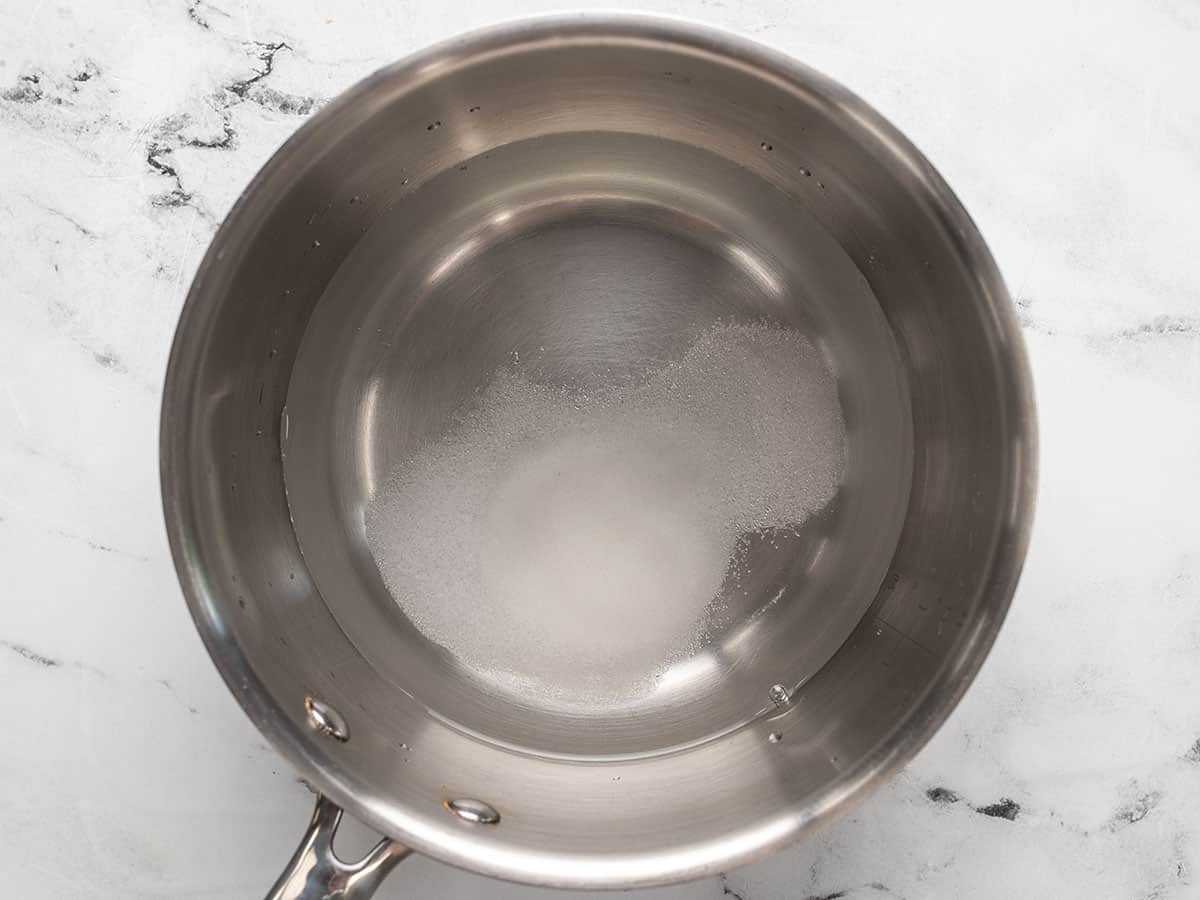
Vinegar, water, salt, and sugar in a sauce pot.

Add 1.5 cups white vinegar, ½ cup water, 1 Tbsp salt, and 1 Tbsp sugar to a medium saucepot. Bring the mixture up to a boil over medium-high heat, stirring to dissolve the salt and sugar.
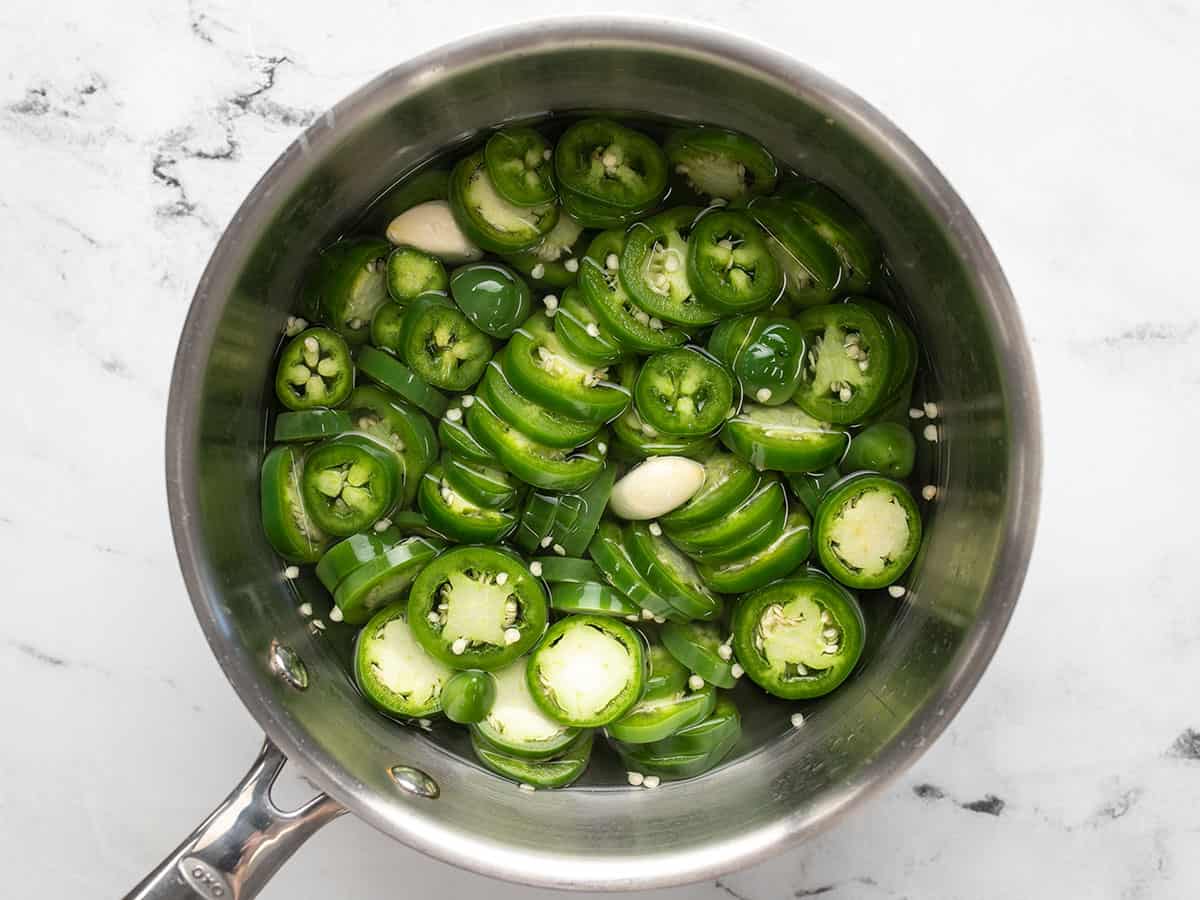
Sliced jalapeños and garlic added to the sauce pot with the brine.

When the brine reaches a full boil, add the sliced jalapeños and peeled garlic. Turn the heat off, place a lid on the pot, and let the jalapeños marinate in the brine for 30 minutes, stirring occasionally to make sure all of the peppers get submerged. Try to resist tasting them until they’ve soaked for at least 30 minutes!
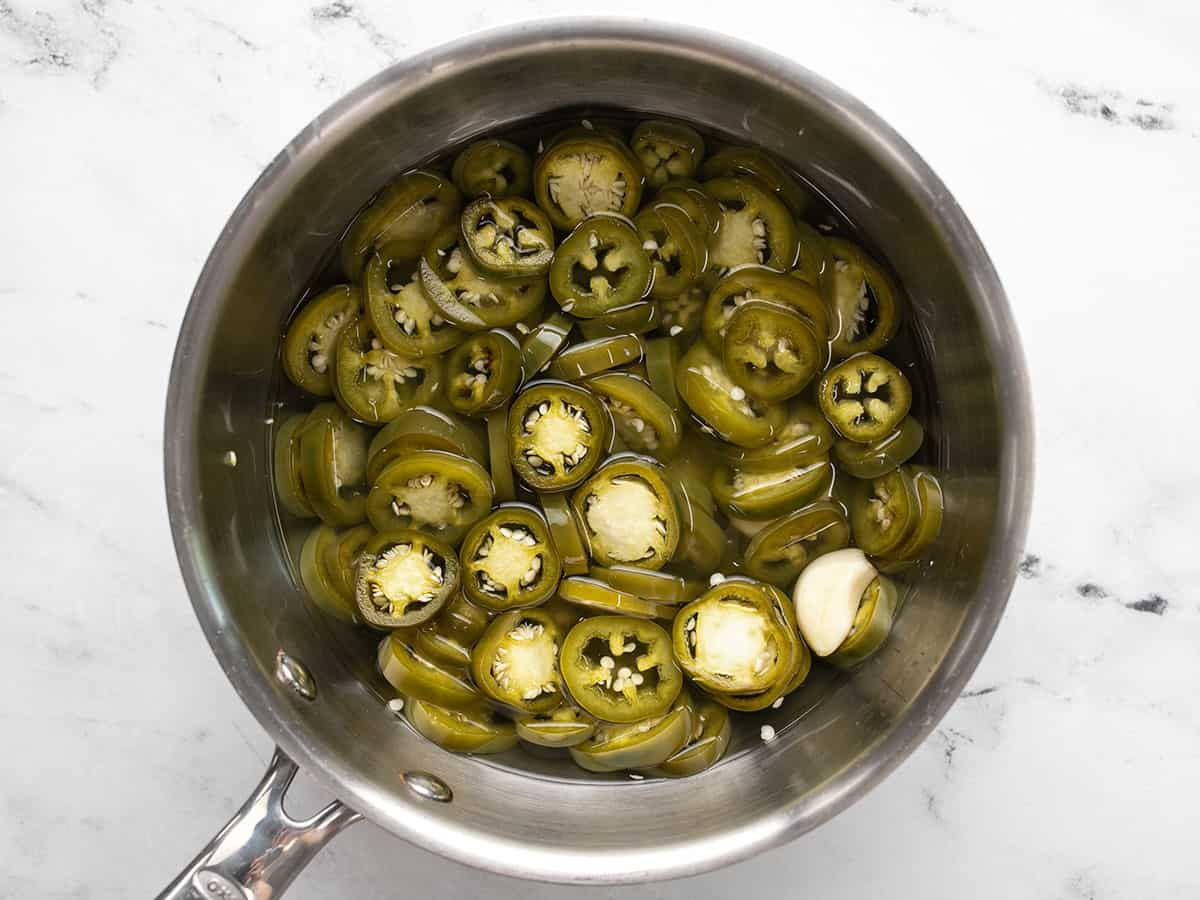
Pickled jalapeños in the brine in the sauce pot.

As the peppers soak in the hot brine they will change in color from bright green to the familiar olive green color of pickled jalapeños. Once they’ve marinated in the brine for 30 minutes, transfer the peppers and all of the brine to a non-reactive (glass or plastic) air-tight container, then transfer to the refrigerator for storage.
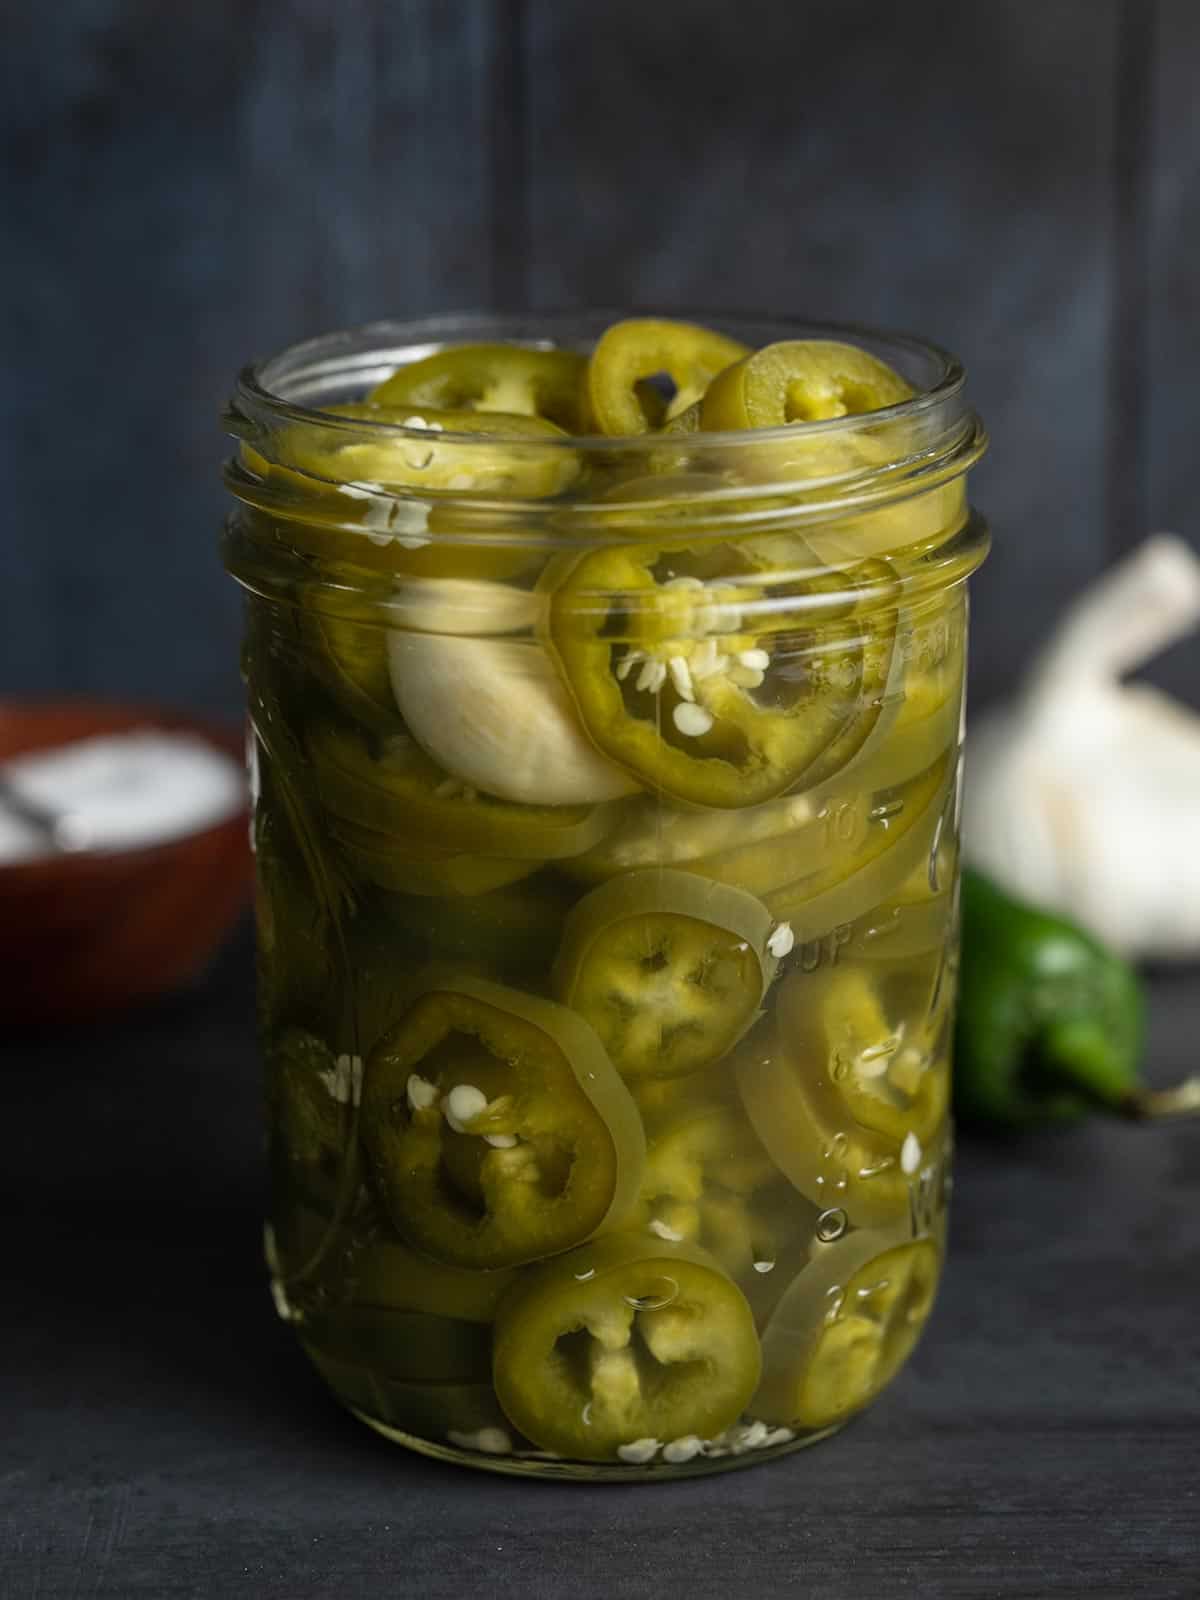
Side view of pickled jalapeños in a jar.

Store the jalapeños in the refrigerator for up to two months and enjoy them on all of your favorite foods! …Or just straight from the jar. 😏

The post Pickled Jalapeños appeared first on Budget Bytes.

Apple Slaw

This crisp and refreshing apple slaw is the perfect easy side dish for weeknight meals or potlucks during the fall season.

The post Apple Slaw appeared first on Budget Bytes.
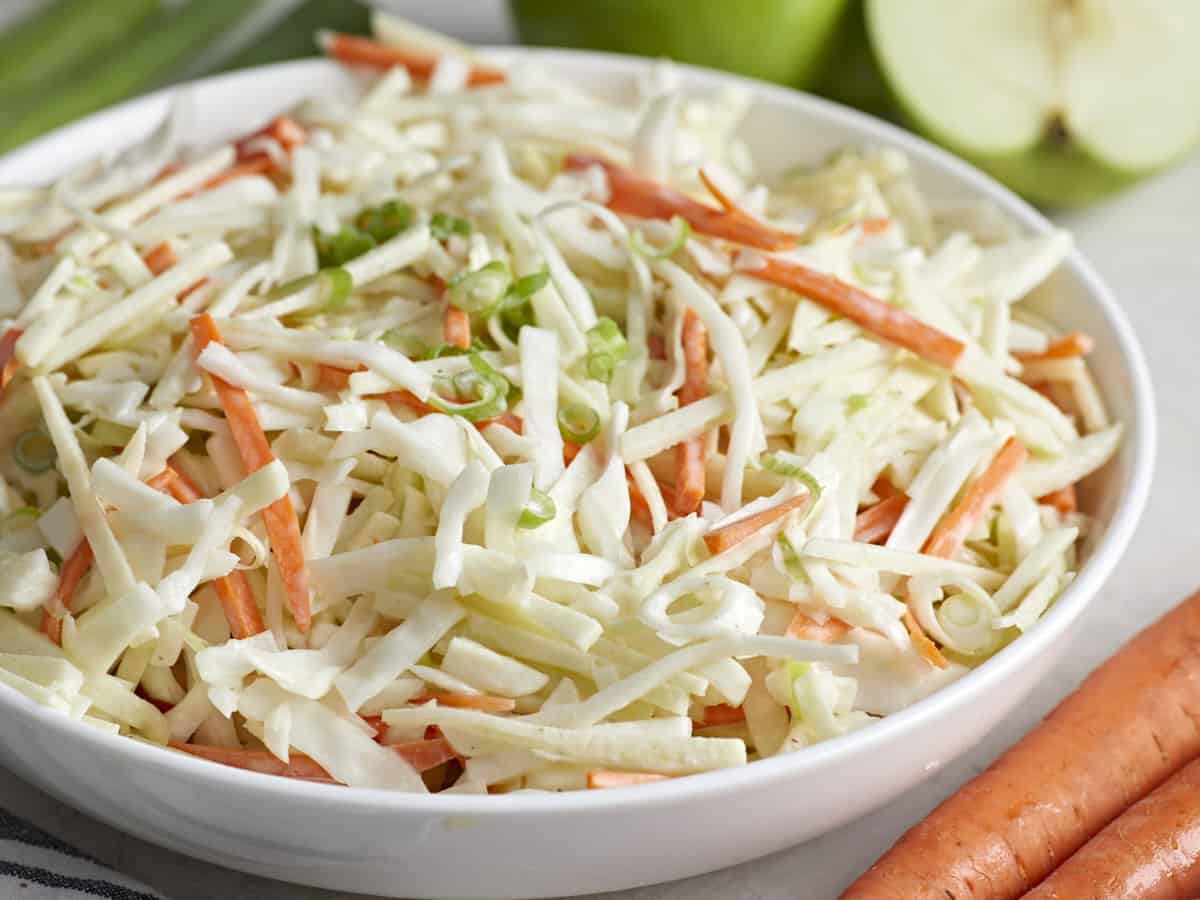
This light, crunchy, and refreshing Apple Slaw recipe takes just a few minutes to put together and makes a huge amount of slaw for well under a dollar a serving. It’s one of my favorite slaw recipes because it’s incredibly versatile and can be served as a main dish (I love it topped with Roasted Chicken) or as a side dish for a quick weeknight meal. It also travels really well, so it’s an excellent option for your next potluck. The best part? It holds up beautifully throughout the week. 

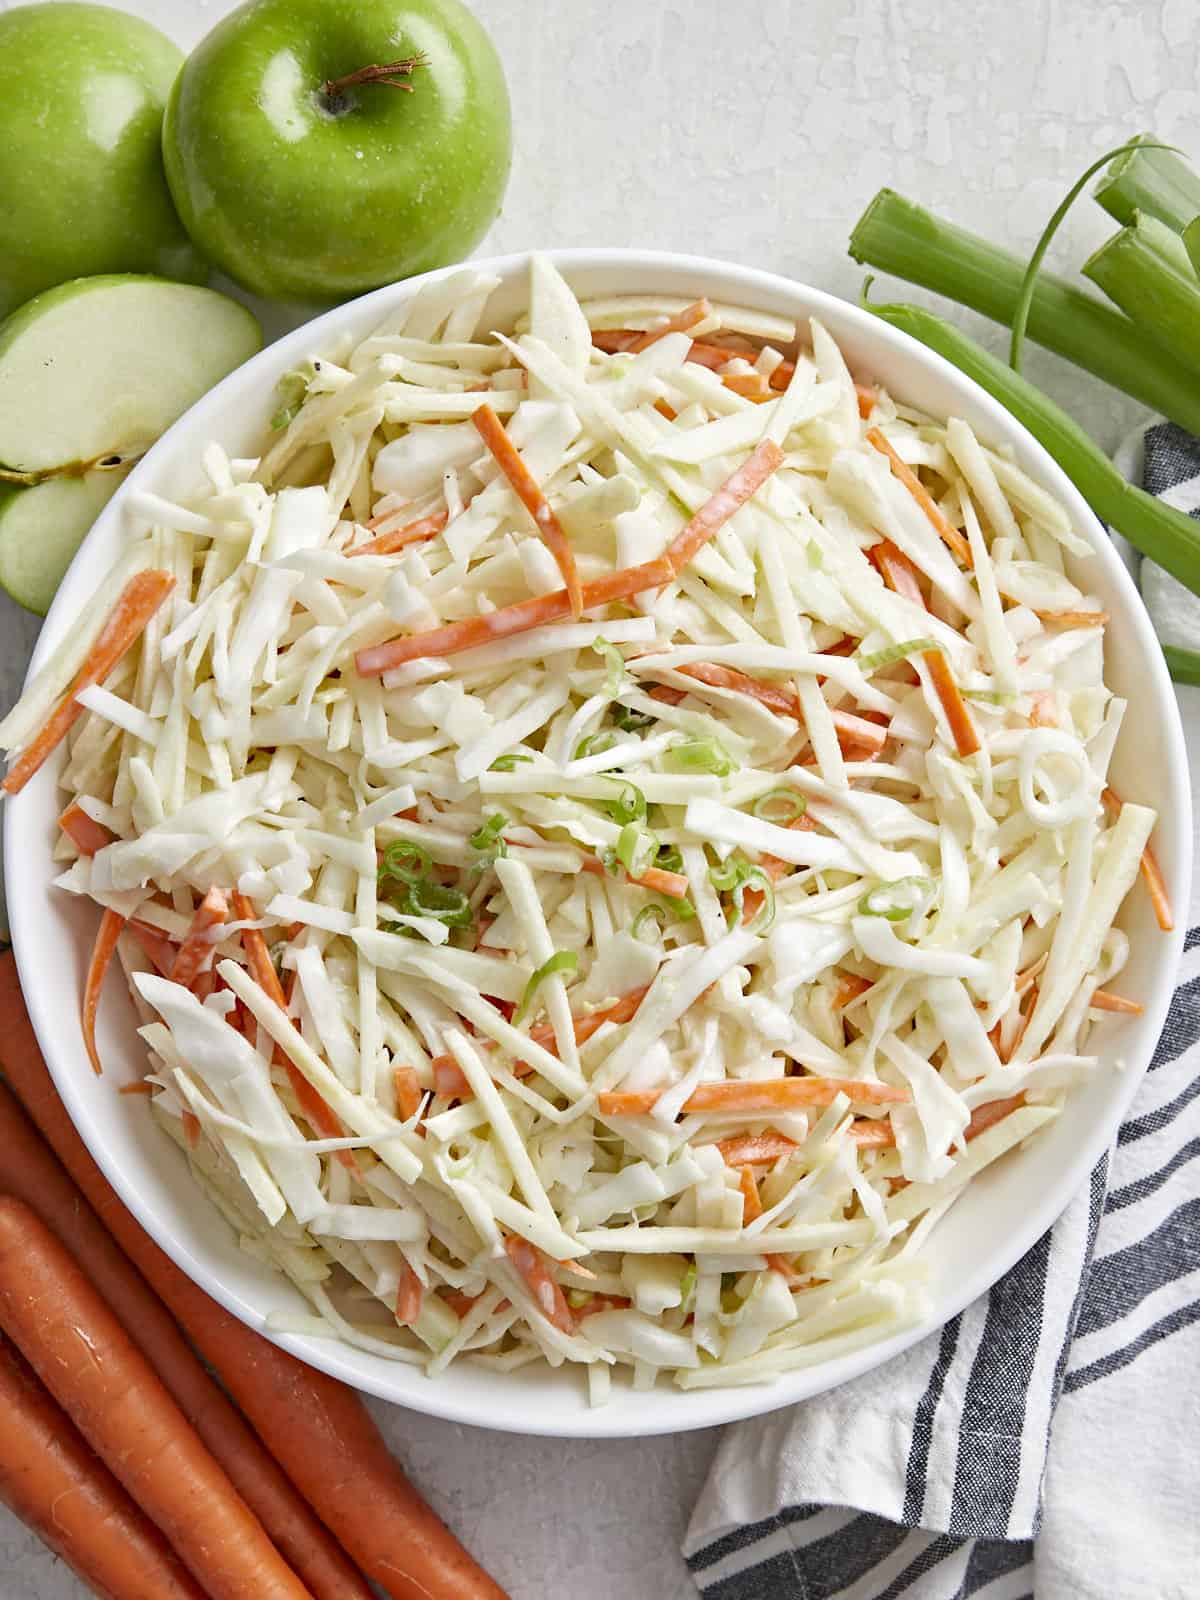
Overhead view of a bowl full of apple slaw with ingredients on the sides.

What Is Apple Slaw?

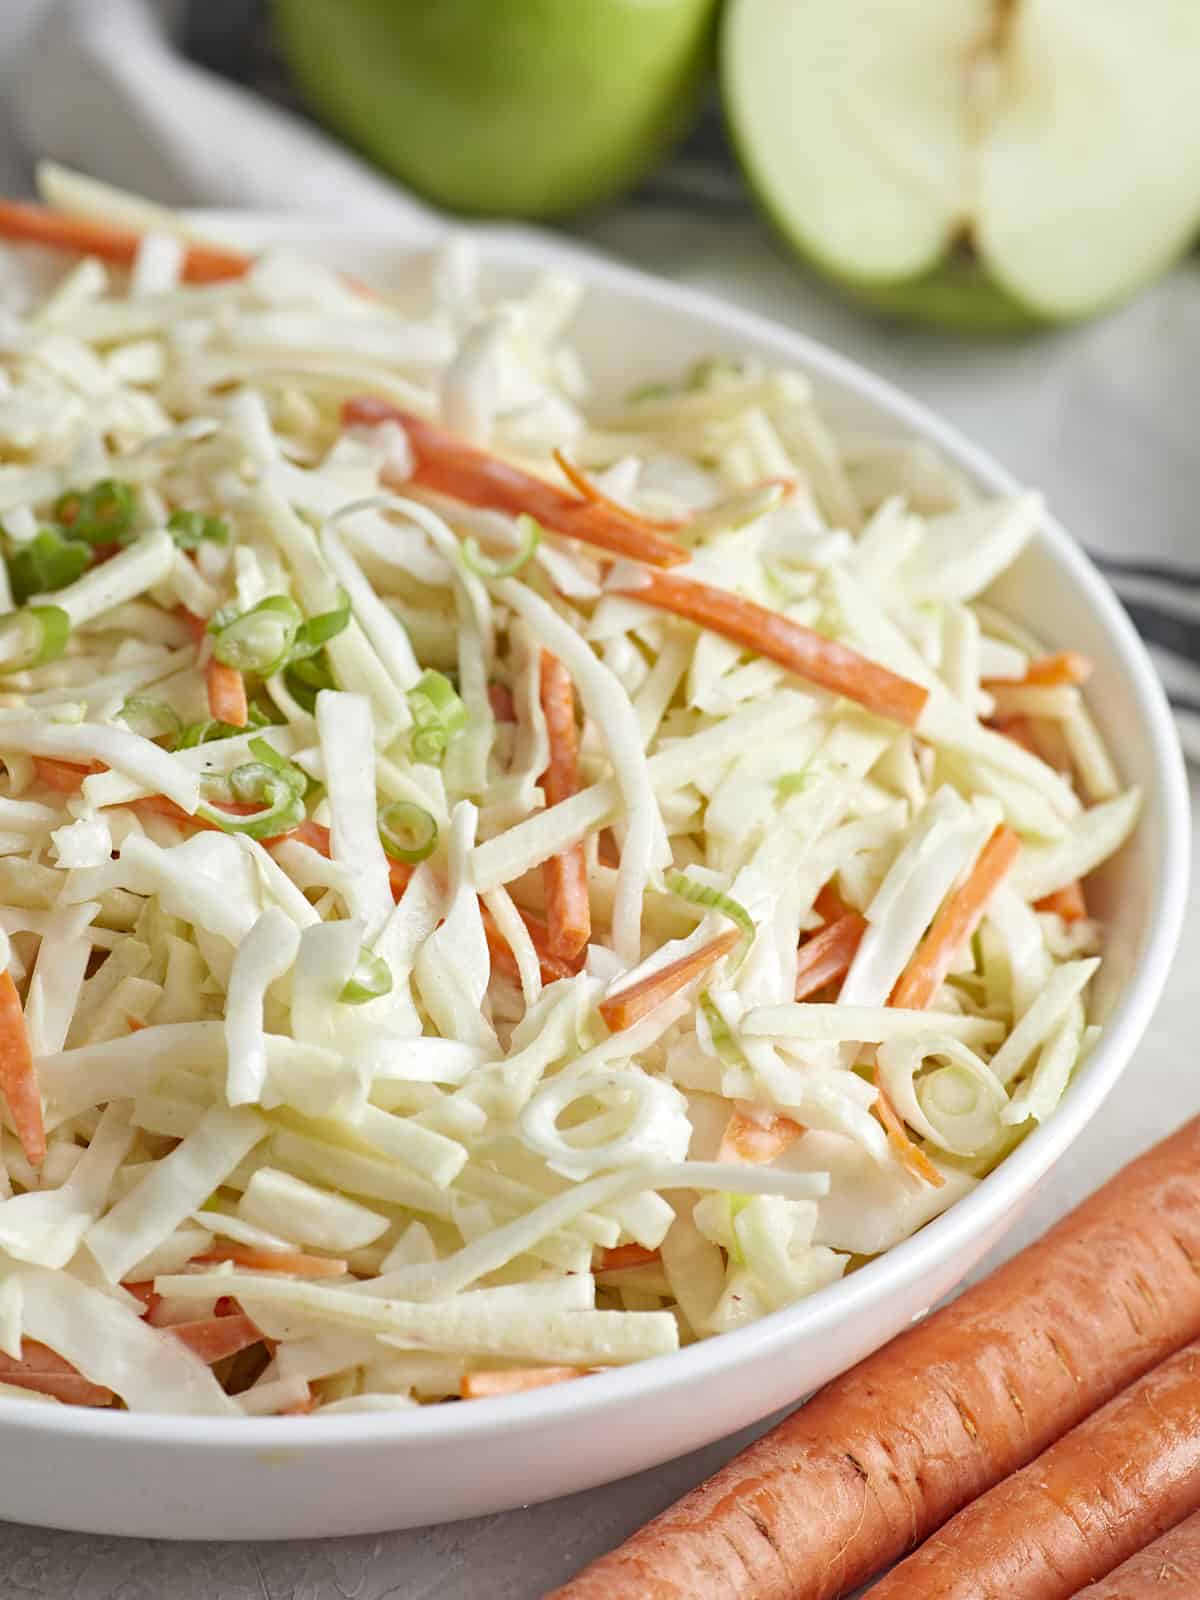
Apple Slaw is a cold chopped salad. Crunchy sliced apples, carrots, green onions, and shredded cabbage are tossed in a creamy dressing, creating the perfect addition to any weeknight meal or backyard BBQ.

Ingredients For Apple Slaw

  • Green Cabbage: Is the foundation of this slaw. Cabbage is hearty but loaded with water, so always taste your slaw before serving it and adjust the seasoning accordingly. You can substitute green cabbage with red cabbage or even kale.
  • Apples: I use Granny Smith, but if you really want to have fun with it, use a mixture of apples. My favorites to throw in are Fuji, Gala, and Honeycrisp (they’re affordable when they’re in season). Keep apples from turning brown by submerging them in water that has an acid added to it. For every cup of water, use 2 teaspoons of lemon juice or 1 teaspoon of distilled or apple cider vinegar.
  • Carrots: Bring sweetness and crunch to the salad and a pop of color. If you don’t have carrots, substitute with raw butternut squash, parsnips, or add an extra cup of cabbage to the mix.
  • Green Onions: Lends a mild onion flavor to the salad. You can substitute them with chives or sweet onions. If you only have white or red onions, soak them in water for a minute or two to help decrease their pungency. 
  • Mayonnaise: Is the backbone of the dressing and adds a tangy creaminess. Substitute it with Greek Yogurt or Sour Cream.
  • Dijon Mustard: Adds a peppery kick and a touch of color to the dressing. If you don’t have Dijon mustard, use brown or yellow mustard.
  • Honey: Creates a touch of sweetness in the dressing. If you don’t have honey, substitute it with one teaspoon of brown sugar. Just dissolve it well before adding the dressing to the salad.
  • Apple Cider Vinegar: Adds a tangy note to the dressing and keeps the apples from browning. 

What To Serve With Apple Slaw

Serve this tangy slaw topped with roasted chicken for a light lunch. Or use it as topping on a Pulled Pork or Pulled Chicken sandwich. I also love it served as a side for BBQ Ribs paired with Corn On The Cobb.

How To Store Leftovers

Store Apple Slaw in an airtight container and refrigerate up to 5 days. Do not freeze, as it will change the texture of the cabbage. Always mix the slaw a few times and taste for salt before serving.

Close up side view of a bowl of apple slaw.
Overhead view of a bowl full of apple slaw with the ingredients on the sides.
Print

Apple Slaw

This crisp and refreshing apple slaw is the perfect easy side dish for weeknight meals or potlucks during the fall season.
Course Dinner, Lunch, Side Dish
Cuisine American
Total Cost $6.46 recipe / $0.65 serving
Prep Time 15 minutes
Total Time 15 minutes
Servings 10 (1 cup each)
Calories 109kcal

Ingredients

  • 1/3 cup mayonnaise $0.63
  • 2 tsp Dijon mustard $0.05
  • 2 tsp honey $0.11
  • 2 Tbsp apple cider vinegar $0.09
  • 1/4 tsp salt (plus more to taste) $0.01
  • 1/8 tsp black pepper $0.01
  • 1 small cabbage, thinly sliced (about 5 cups) $2.23
  • 3 Granny Smith apples, julienned (about 2 cups)* $2.55
  • 2 carrots, julienned (about 2 cups)* $0.42
  • 3 green onions, sliced (about 1 cup)* $0.36

Instructions

  • Mix the mayonnaise, Dijon, honey, vinegar, salt, and pepper to make a dressing.
  • Shred or thinly slice the cabbage into 2-inch by ¼-inch strips. Shred or slice the carrots into 2-inch by ⅛-inch strips. Peel and core the apples. Shred or slice them into 2-inch by ⅛-inch strips and keep them in water with lemon juice or vinegar added, so they don't brown.** Cut the green onions on the diagonal into 1/8-inch thick slices.
  • Mix the apples and vegetables with the dressing in a large bowl. If necessary, add more salt to taste.
  • Keep the salad refrigerated until ready to serve. Mix before serving, and add more salt to taste.

See how we calculate recipe costs here.

Notes

*If finely slicing vegetables is difficult for you, use the slicing or shredding attachment on a food processor, a mandoline, or a large-holed cheese grater.
**For every one cup of water add 2 tsp lemon juice or 1 tsp distilled or apple cider vinegar.

Nutrition

Serving: 1cup | Calories: 109kcal | Carbohydrates: 14g | Protein: 1g | Fat: 6g | Sodium: 139mg | Fiber: 4g

How to Make Apple Slaw – Step by Step Photos

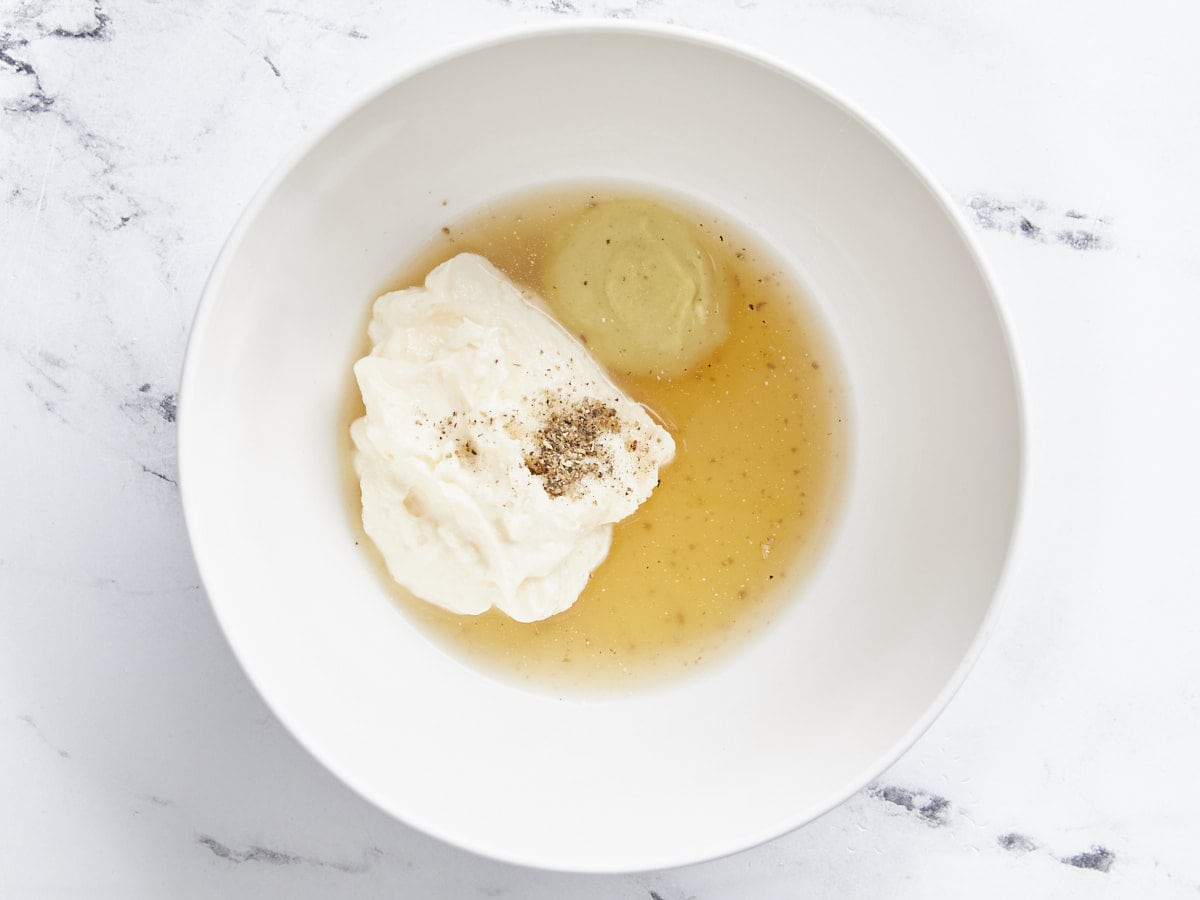
Ingredients for dressing in a bowl, not mixed.

Mix 1/3 cup mayonnaise, 2 tsp Dijon mustard, 2 tsp honey, 2 Tbsp apple cider vinegar, 1/4 tsp salt, and 1/8 tsp pepper to make a dressing.

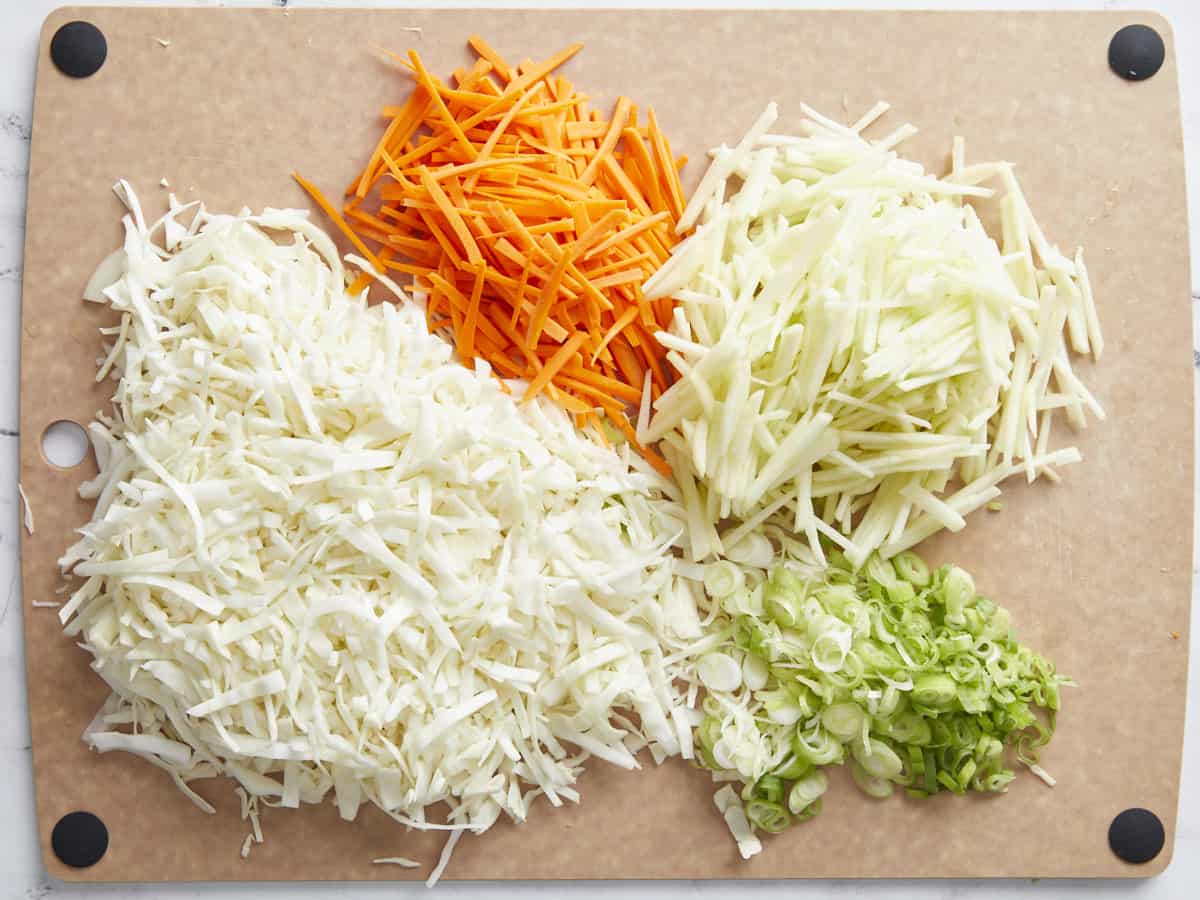
Prepared vegetables on a cutting board.

Shred or slice one small cabbage into 2 by ⅛-inch strips. Shred or slice two carrots into 2 by ¼-inch strips. Peel and core two apples, then shred or slice them into 2 by ⅛-inch strips and keep them in water with lemon juice or vinegar added, so they don’t brown. Cut three green onions on the diagonal into 1/8-inch thick slices.

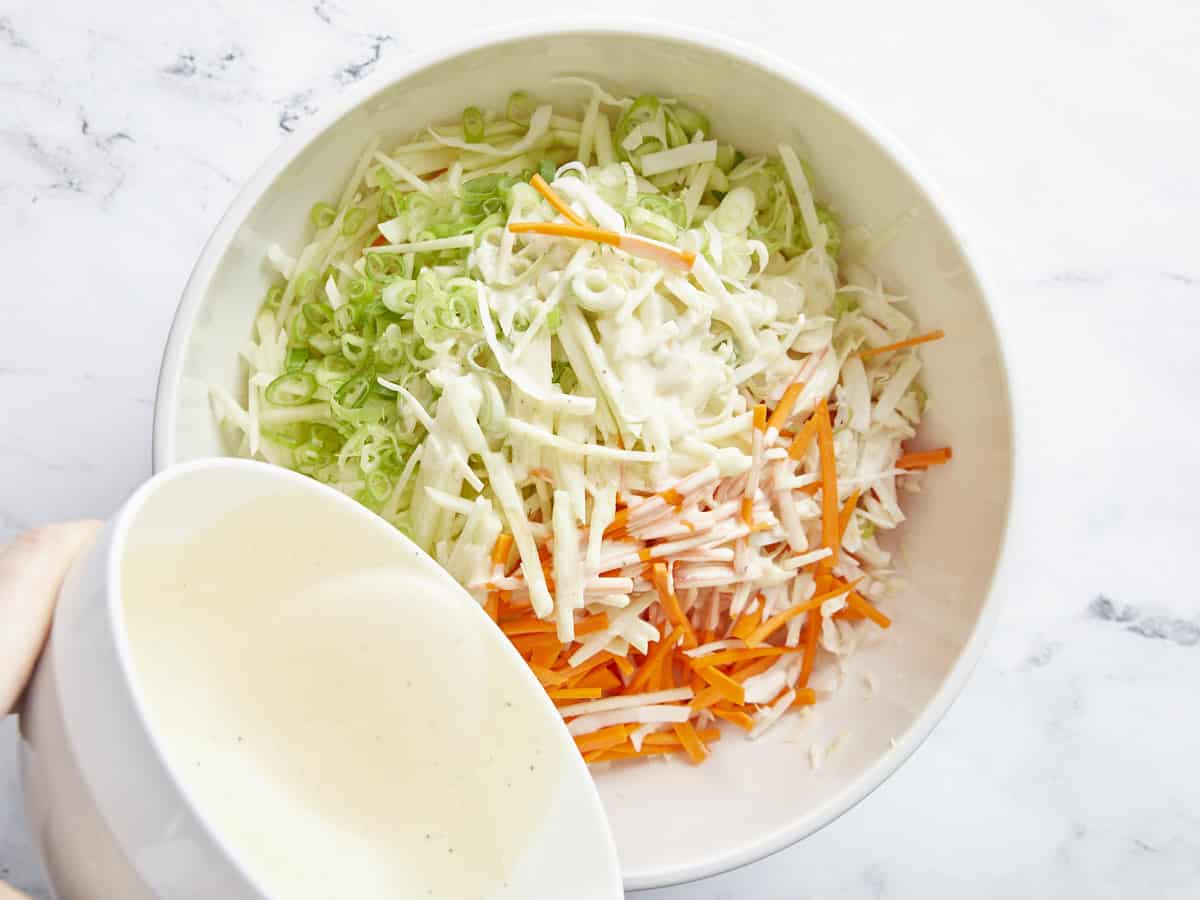
Dressing being poured over the bowl of shredded vegetables.

Mix the apples and vegetables with the dressing in a large bowl. If necessary, add more salt to taste.

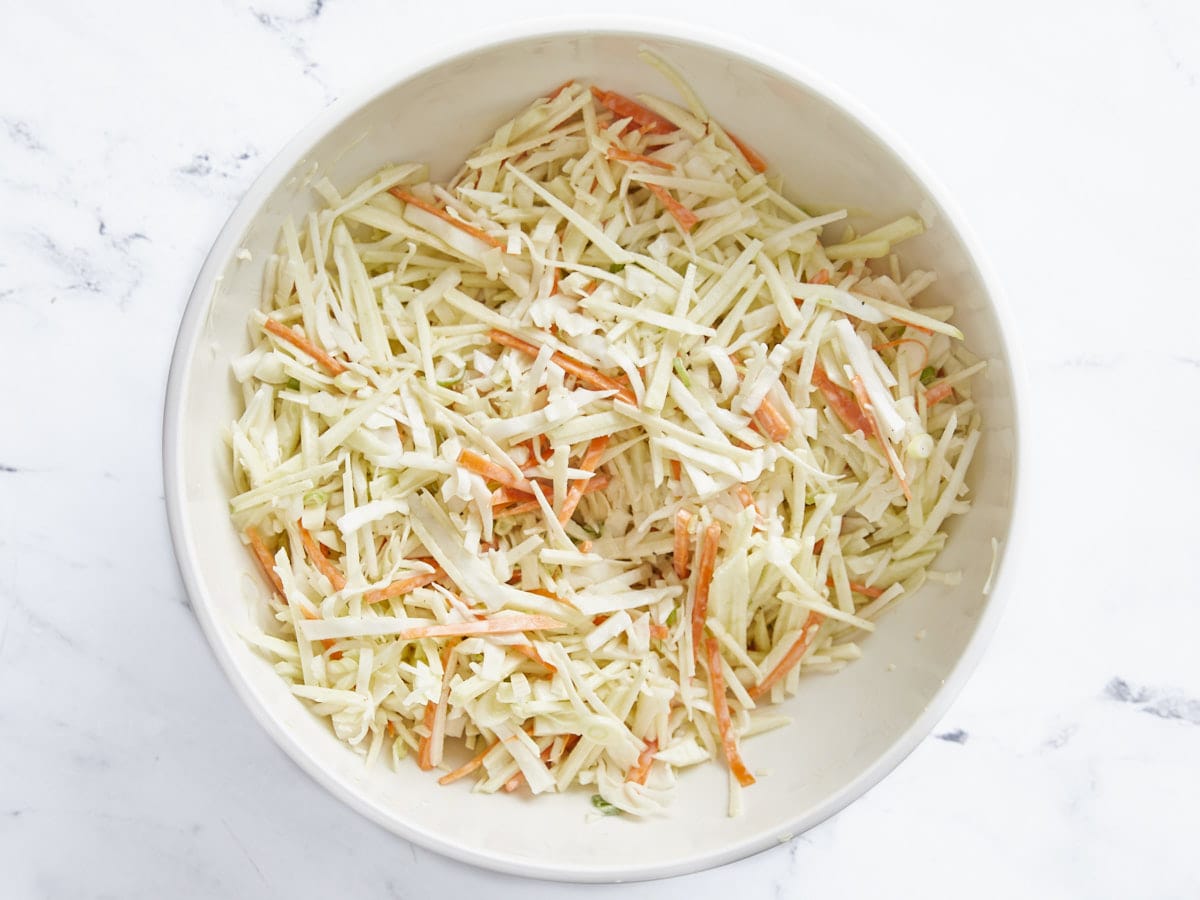
Finished apple slaw in a bowl.

Keep the apple slaw refrigerated until ready to serve. Mix before serving, and add more salt to taste.

Close up side view of a bowl of apple slaw.

The post Apple Slaw appeared first on Budget Bytes.
Roasted Tomato Soup

Roasted tomato soup is made with fresh tomatoes, onions, and garlic that are slowly roasted until the flavors are deep, sweet, and cozy!

The post Roasted Tomato Soup appeared first on Budget Bytes.
Roasted tomato soup is the perfect transition recipe to usher us from summer into the fall season. This simple soup gives me just enough cozy vibes to get me excited for fall without being too heavy for these last few warm days of summer. Plus, it’s the perfect way to use up those last few juicy tomatoes of summer, whether you score them from your local farmer’s market or your backyard. Don’t let any of those gorgeous ‘maters go to waste!

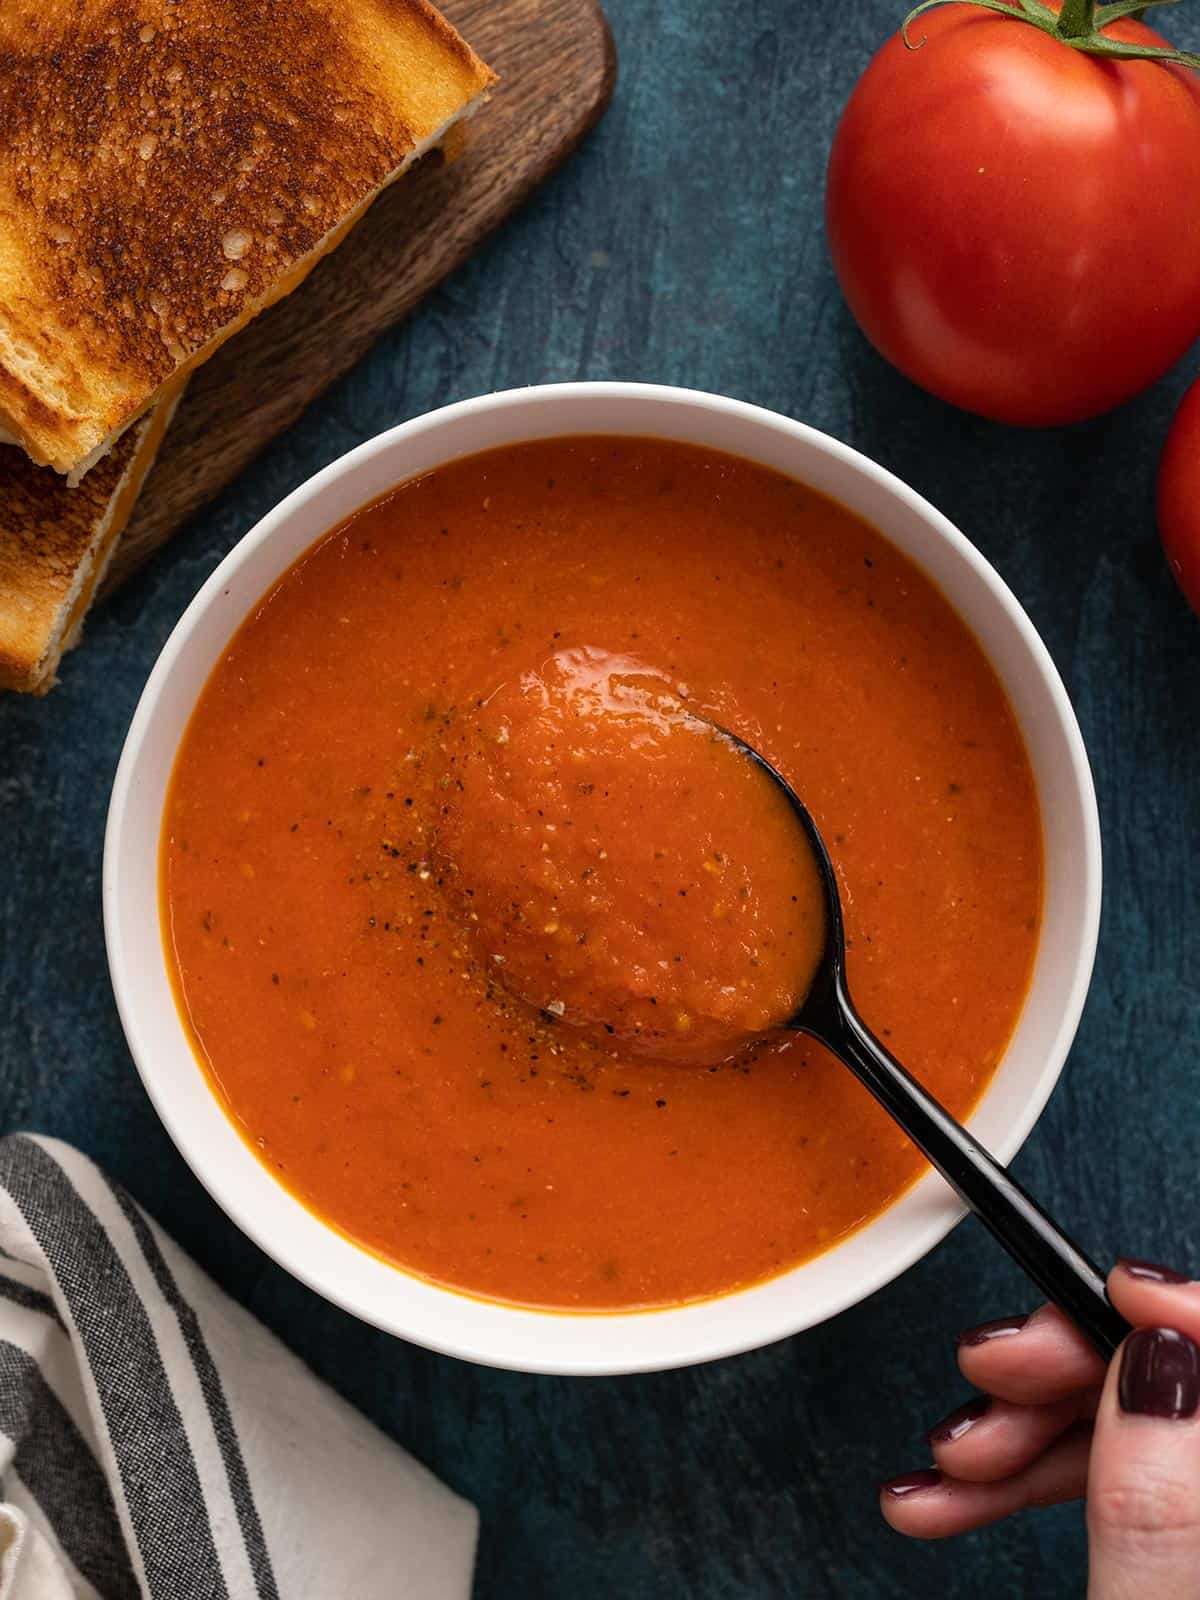
Overhead view of a bowl of roasted tomato soup with a spoon and grilled cheese on the side.

What’s in Roasted Tomato Soup

I love this Roasted Tomato Soup because it’s incredibly simple, yet totally elegant. It’s the type of recipe that really makes you feel pampered even though it doesn’t take a lot of work. You’ll need these ingredients to make tomato soup:

  • Fresh tomatoes: The fresher the better when it comes to this homemade tomato soup! If you can score some home-grown or locally-grown tomatoes, that will give you the best flavor.
  • Onion: The natural sugars in the onion caramelize while roasting, giving this soup a natural sweetness to balance the acidity of the tomatoes, as well as a nice savory base note.
  • Garlic: Garlic gives the soup depth and I just can’t do tomato without it’s best friend, garlic. ;)
  • Olive oil: Olive oil helps the vegetables caramelize without drying out and it adds some body to the soup, so it doesn’t feel quite so thin on the palate.
  • Vegetable broth: Adds both volume and flavor to the soup. You can substitute chicken broth if preferred.
  • Basil: The seasoning is simple in this soup so that the natural flavors of the tomatoes really shine. Just a little basil does the trick!
  • Salt and pepper: It’s all about balance! Salt helps flavors pop and pepper adds just a little sparkle of flavor.

The Best Tomatoes for Tomato Soup

Tomatoes are the main ingredient in this easy soup, so picking the best tomatoes is key to making the soup really great. Here are some tips for choosing the best tomato for the job:

  • Fresh, vine-ripened tomatoes will give the best flavor and color to the soup. If you grow your own tomatoes or have a neighbor with a green thumb, take advantage! Or, try to source from a farmer’s market, when possible.
  • If tomatoes are not in season and you have to source from the grocery store, smaller varieties, like grape, cherry, plum, or Roma tomatoes will provide the best flavor. Roma tomatoes tend to be the most budget-friendly, but can sometimes be the least fresh, so make sure to check for freshness.
  • Avoid tomatoes that are large, pale, or grown in a hothouse. While these tomatoes may be great for slicing or dicing, they won’t provide much flavor to the soup.

What Else Can I Add?

The recipe below is elegantly simple, but you can jazz it up if you have some of the following ingredients on hand:

  • Fresh basil – blend into the soup when puréeing the vegetables, or top each bowl with fresh leaves
  • Parmesan – either use to top each bowl of soup or simmer a Parmesan rind in the soup
  • Cream – Swirl in a ½ cup to the pot for a deliciously creamy finish
  • Red bell pepper – roast with the tomato, onion, and garlic for a sweeter soup
  • Flavored olive oil – drizzle a little extra over each bowl just before serving for more depth of flavor
  • Pesto – add a shot of herbs, Parmesan, and flavorful oil all in one spoonful!

What to Serve with Tomato Soup

Grilled cheese, of course! If you want something truly epic, try making an air fryer grilled cheese, spinach and feta grilled cheese, or pesto grilled cheese. Or, if you’re looking for something on the lighter side, try pairing this tomato soup with a veggie sandwich or a classic cucumber sandwich. Or just serve it with some garlic bread on the side.

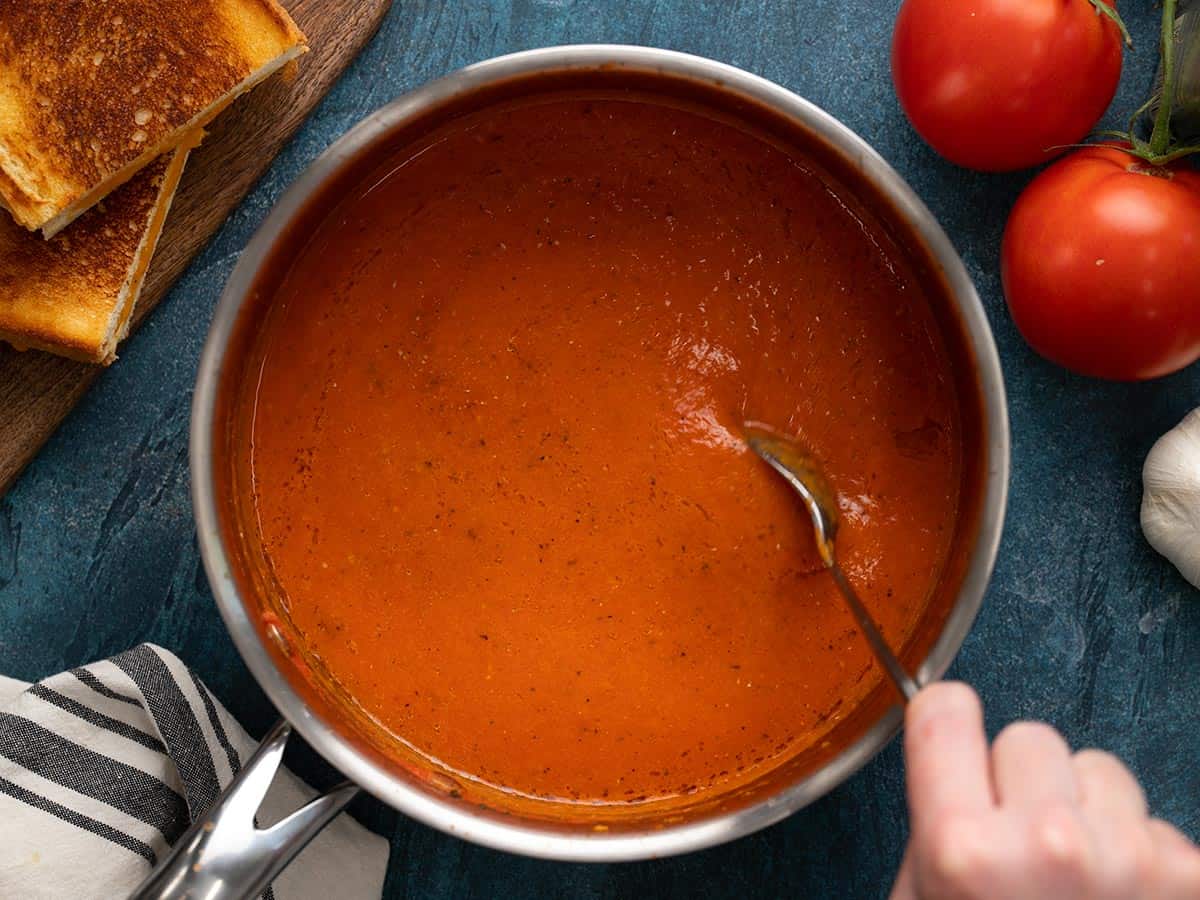
A pot of roasted tomato soup being stirred with a spoon.
Overhead view of a bowl of roasted tomato soup with a spoon dipping into the center.
Print

Roasted Tomato Soup

Roasted tomato soup is made with fresh tomatoes, onions, and garlic that are slowly roasted until the flavors are deep, sweet, and cozy!
Course Dinner, Lunch, Soup
Cuisine American
Total Cost $8.62 recipe / $2.16 serving
Prep Time 10 minutes
Cook Time 55 minutes
Total Time 1 hour 5 minutes
Servings 4 (1.5 cups each)
Calories 145kcal

Ingredients

  • 3 lbs. fresh tomatoes $7.18
  • 1 yellow onion $0.36
  • 4 cloves garlic $0.32
  • 2 Tbsp olive oil $0.32
  • 1/2 tsp salt, divided $0.03
  • 1/8 tsp freshly cracked pepper $0.02
  • 1/2 tsp dried basil $0.05
  • 2 cups vegetable broth $0.34

Instructions

  • Preheat the oven to 400ºF. Cut the tomatoes into quarters or halves, depending on the size of the tomatoes. Slice the onion into 1-inch wide wedges. Peel the garlic.
  • Place the tomatoes, onions, and garlic on a large sheet pan. Sprinkle with ¼ tsp salt and tsp pepper, then drizzle with the olive oil. Toss to coat everything in oil.
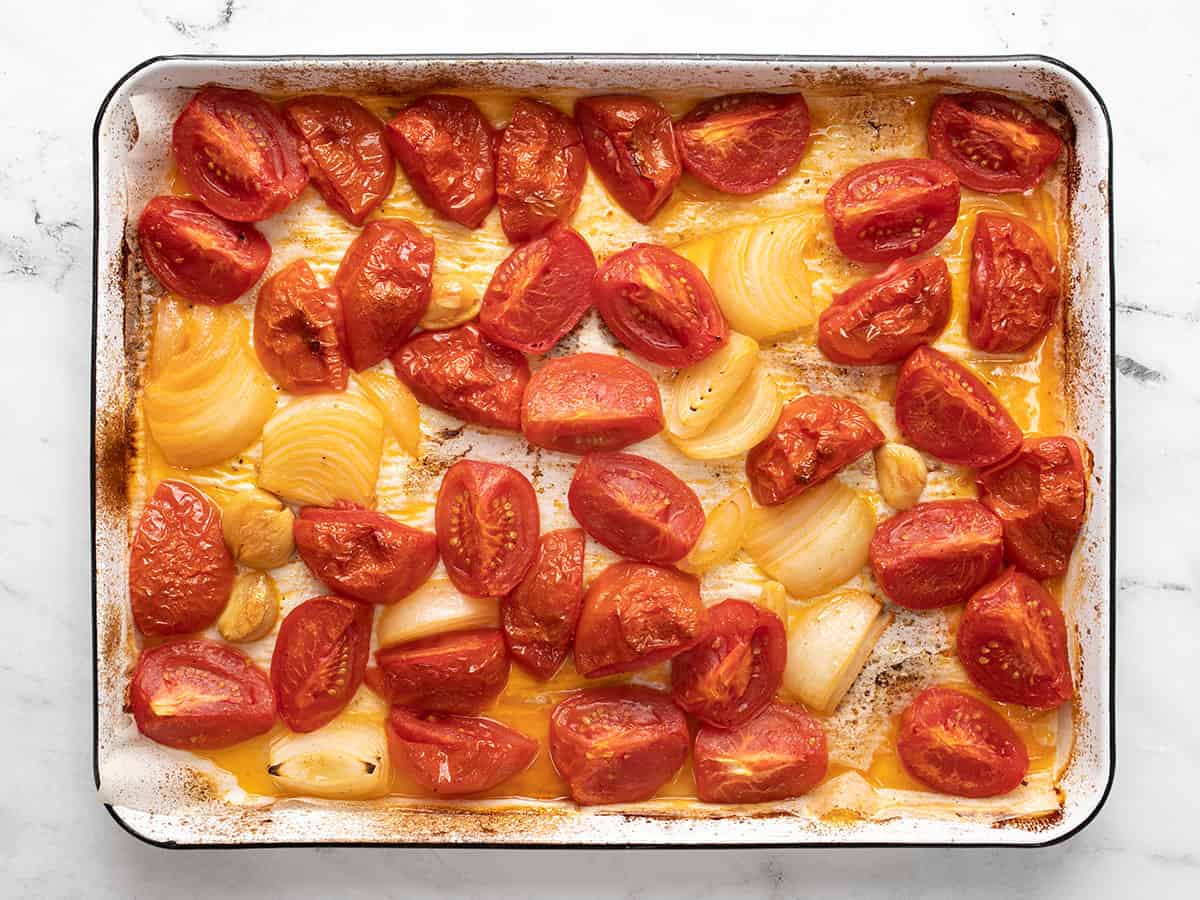
  • Roast the vegetables in the oven for 40-45 minutes or until they become slightly browned on the edges.
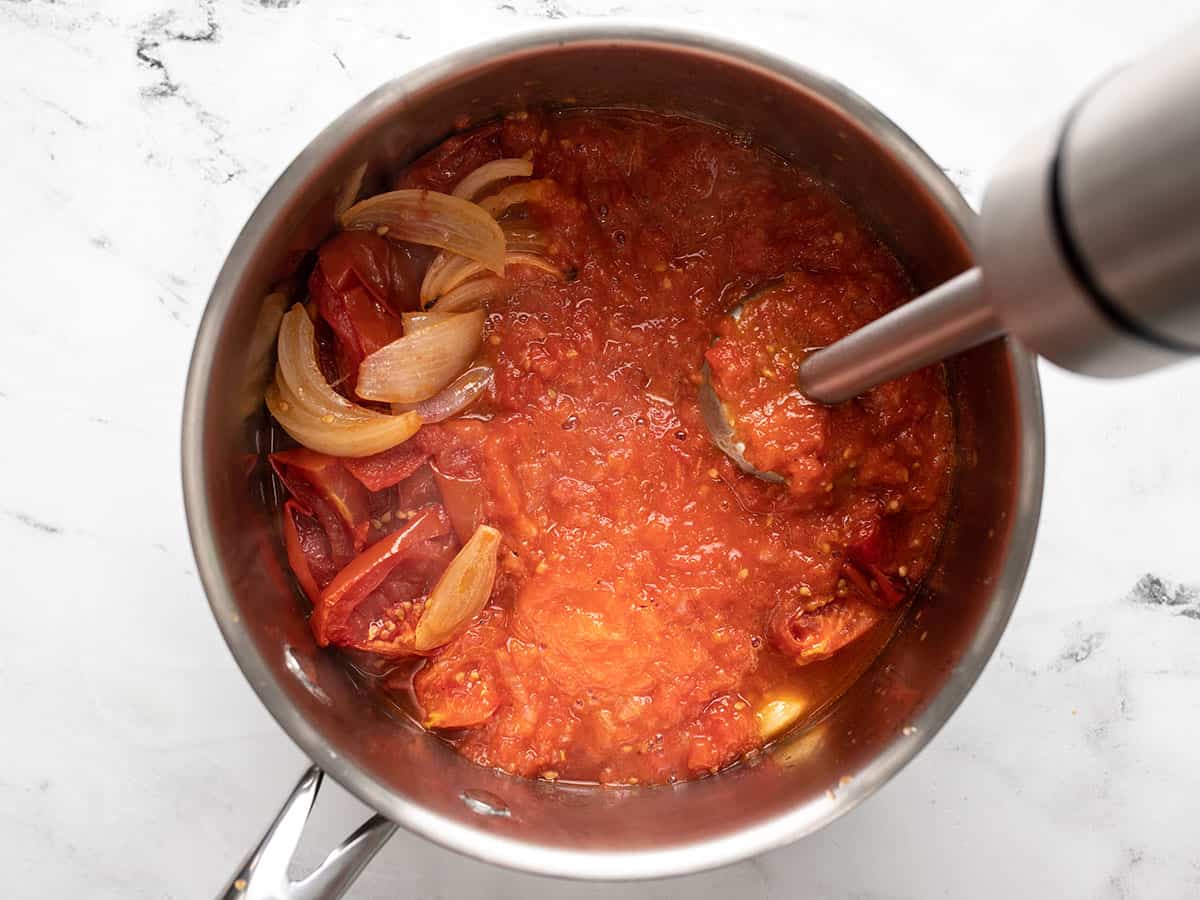
  • Transfer the vegetables and all of the juices to a soup pot and purée with an immersion blender. Or, transfer to a blender, add the vegetable broth, and purée.
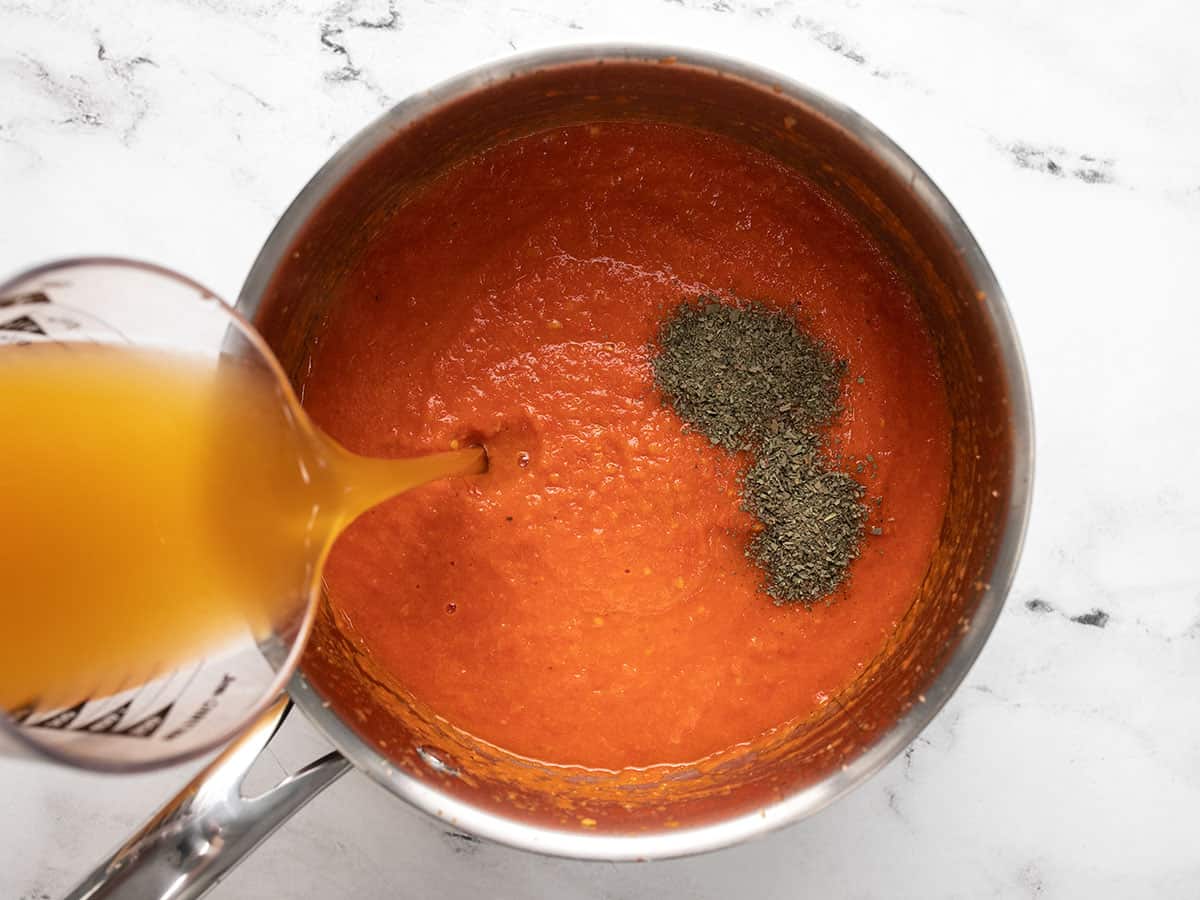
  • Add the basil and vegetable broth (if not already combined) to the soup pot and heat over medium. Allow the soup to come up to a simmer, then continue to simmer, stirring occasionally for 10 minutes.
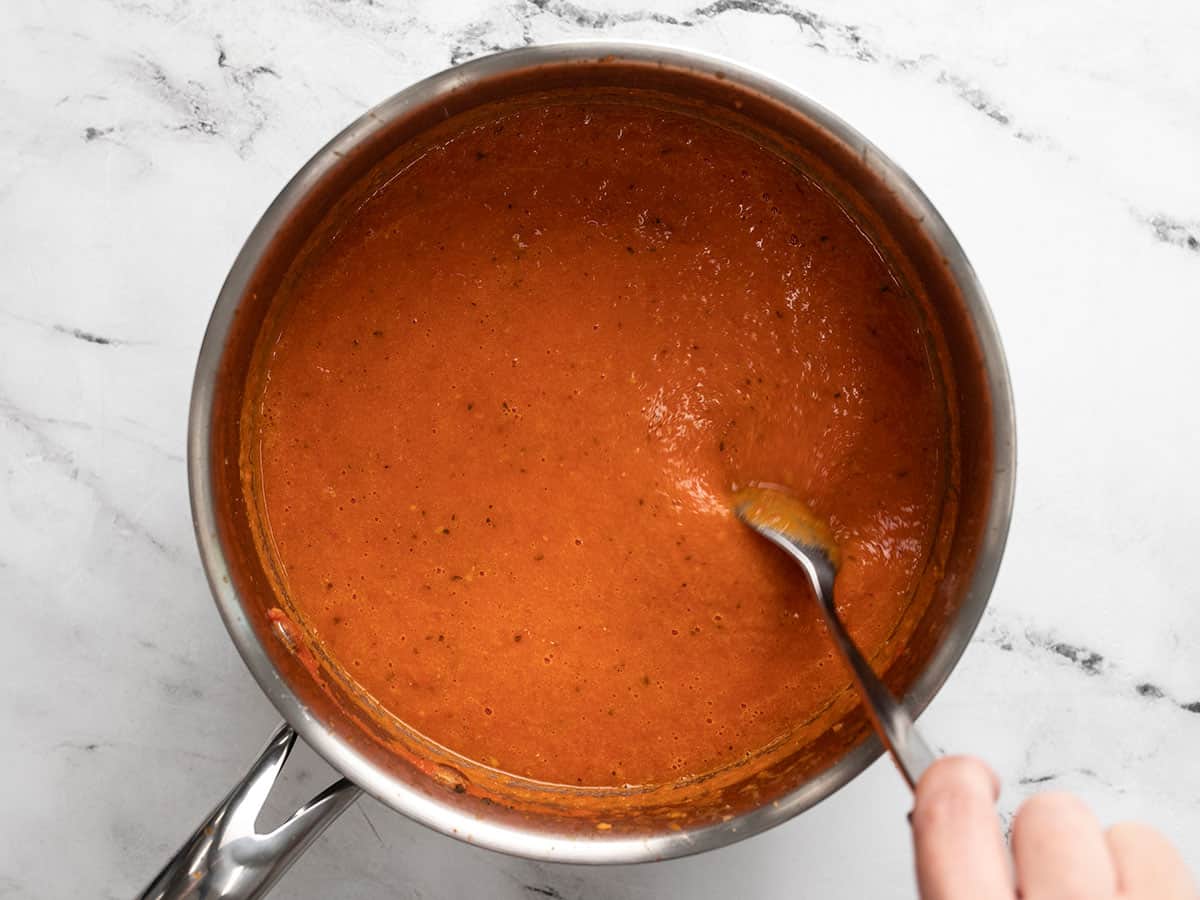
  • After simmering for 10 minutes, add salt to taste. The total amount of salt needed with depend on the salt content of the broth used, so start with ¼ tsp and add more until the flavors are vibrant. Serve hot with a grilled cheese or garlic bread for dipping!

See how we calculate recipe costs here.

Nutrition

Serving: 1.5cups | Calories: 145kcal | Carbohydrates: 18g | Protein: 4g | Fat: 8g | Sodium: 780mg | Fiber: 5g
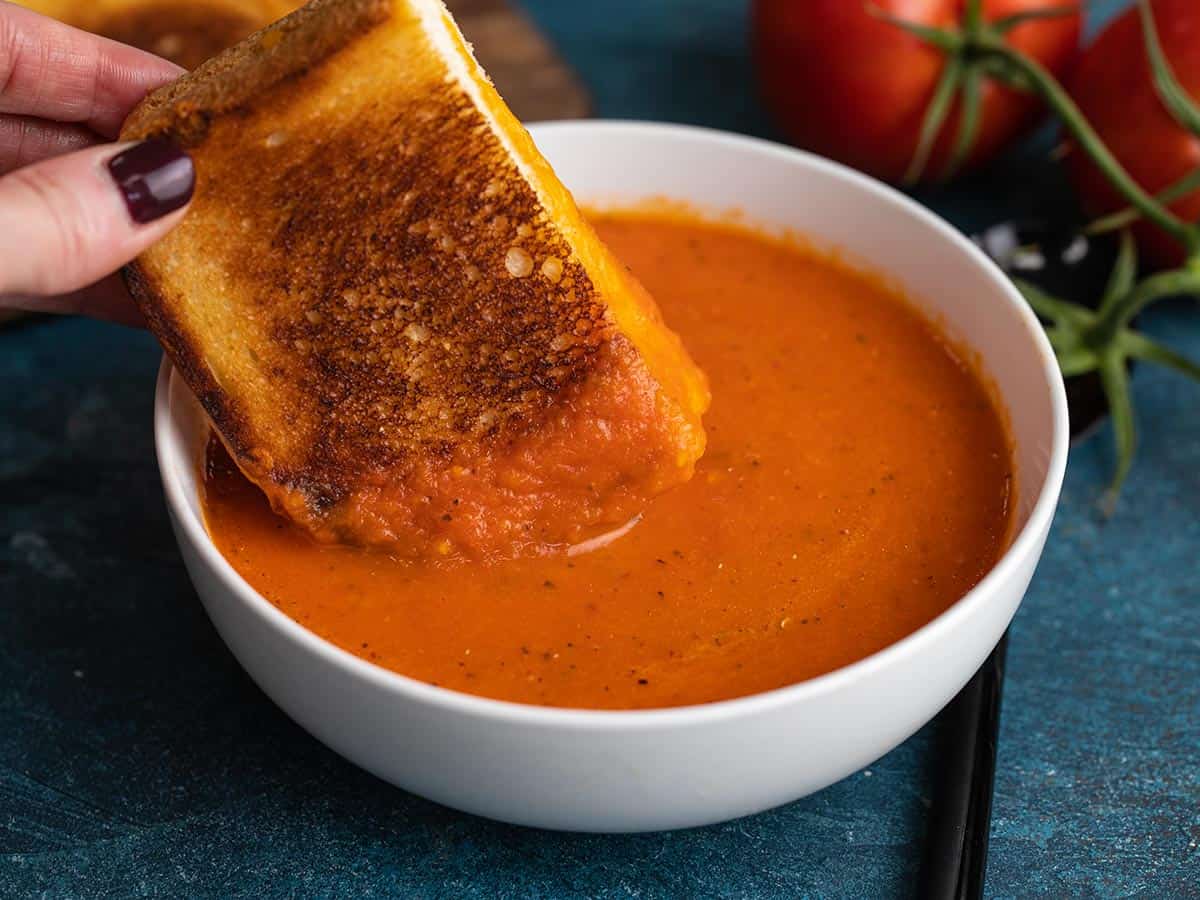
Grilled cheese being dipped into a bowl of roasted tomato soup.

How to Make Roasted Tomato Soup – Step by Step Photos

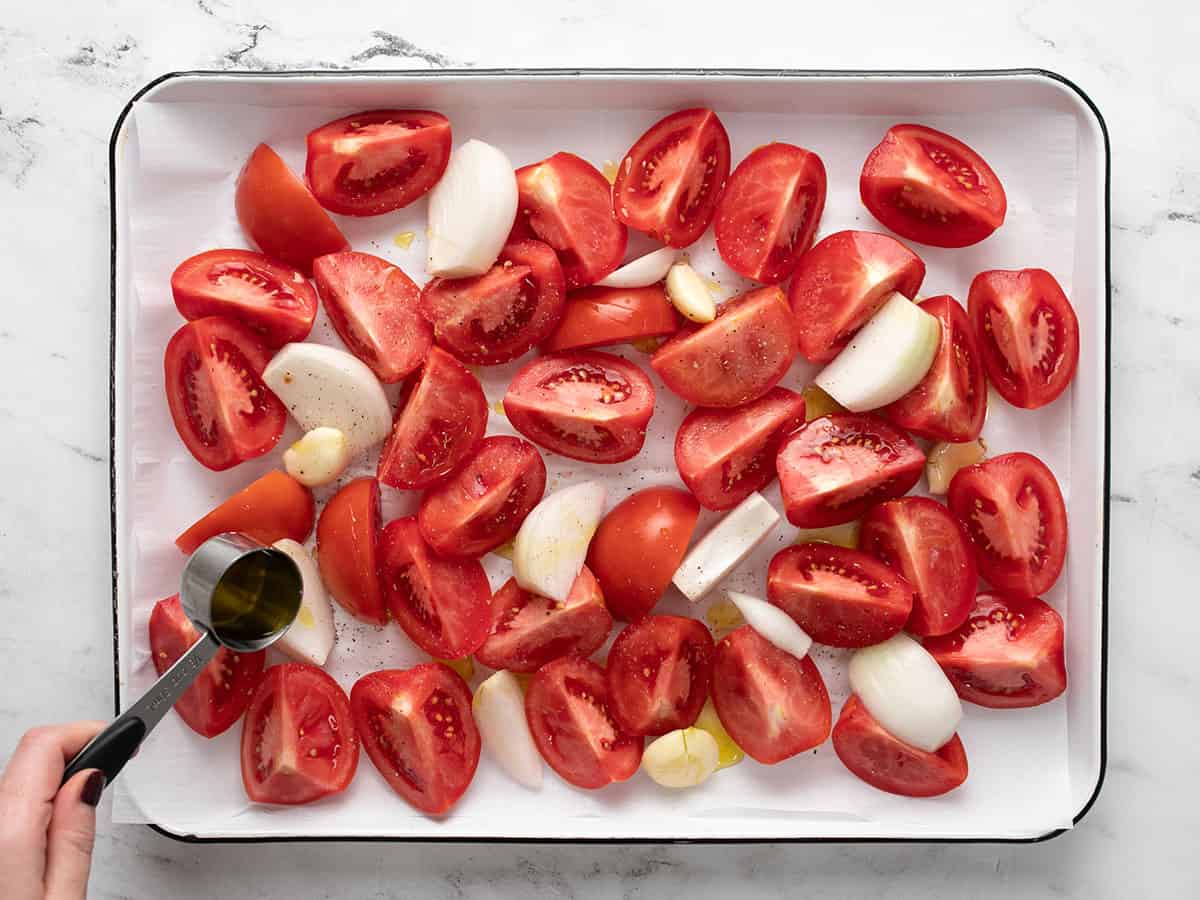
Tomatoes, onions, and garlic on a sheet pan being drizzled with olive oil.

Preheat the oven to 400ºF. Cut 3 lbs. of fresh, ripe tomatoes into quarters (or, if using a small variety, cut in half). Slice one yellow onion into 1-inch wide wedges and peel four cloves of garlic. Add the tomatoes, onions, and garlic to a large sheet pan. Add ¼ tsp salt, ⅛ tsp pepper, and 2 Tbsp olive oil, then toss to coat.

Roasted tomatoes, onions, and garlic on the sheet pan.

Roast the tomatoes, onions, and garlic in the preheated 400ºF oven for 40-45 minutes, or until there is some browning on the edges of the tomatoes and onions.

Vegetables being blended in the soup pot with an immersion blender.

Transfer the vegetables and all their juices to a soup pot and use an immersion blender to purée. Or, transfer them to a blender and the broth to cool them down, then purée.

Basil and broth added to the soup pot.

Add ½ tsp dried basil and 2 cups of vegetable broth to the pot with the puréed vegetables. Place the pot over medium heat and allow it to come up to a simmer. Simmer the soup, stirring occasionally, for about 10 minutes.

Finished roasted tomato soup in the soup pot being stirred with a spoon.

After simmering for about 10 minutes, give the soup a taste and add salt to help the flavors pop. The amount of salt needed will depend greatly on the salt content of the broth used, so start with ¼ tsp and add more until the soup tastes vibrant.

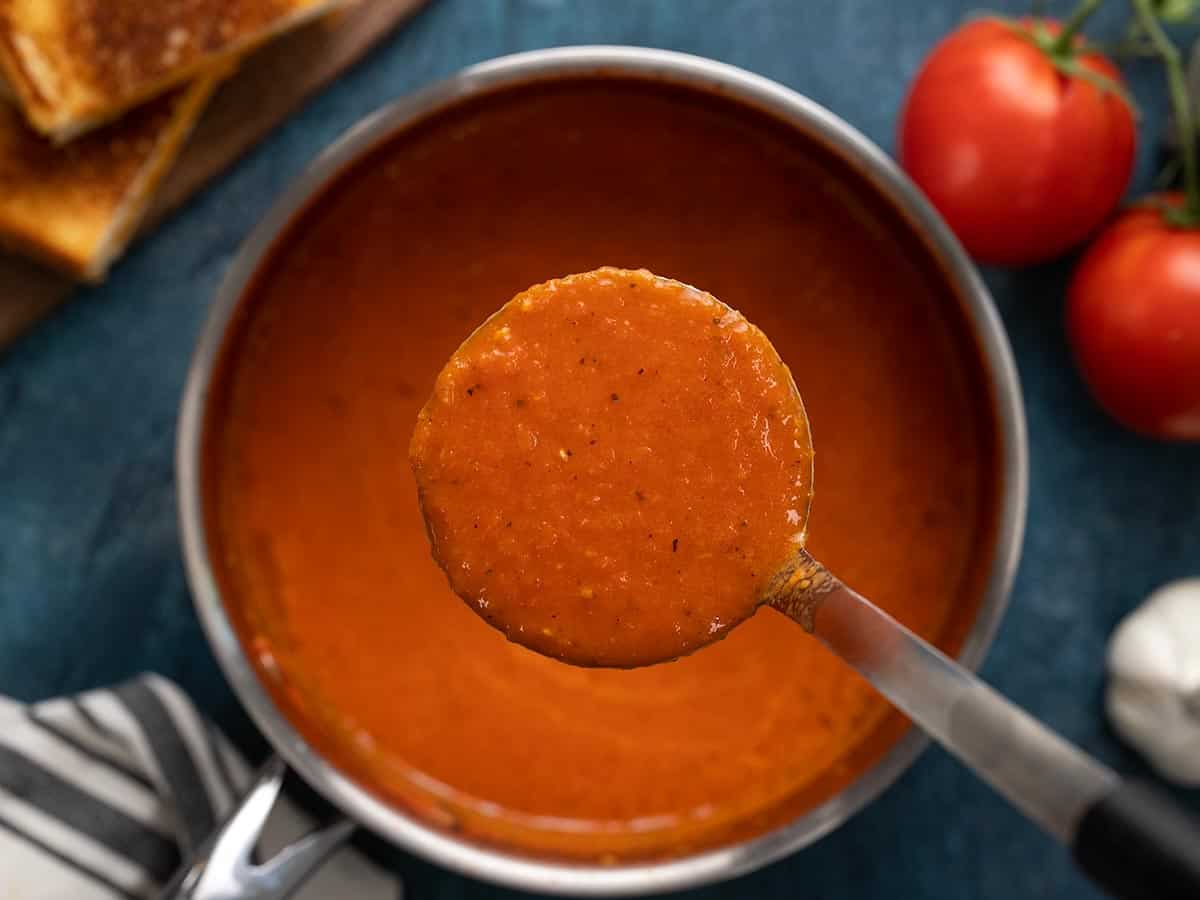
Close up of roasted tomato soup in a ladle over the pot.

Don’t forget to make an epic grilled cheese to go along with your fresh homemade tomato soup!

The post Roasted Tomato Soup appeared first on Budget Bytes.