12 One-Pot Meals That Practically Cook Themselves 🙌
 Busy nights? These 12 one-pot meals are cozy, flavorful, and foolproof. Minimal dishes, maximum flavor—weeknight dinners just got way easier!
Busy nights? These 12 one-pot meals are cozy, flavorful, and foolproof. Minimal dishes, maximum flavor—weeknight dinners just got way easier!
 Make this easy three ingredient air fryer pita bread recipe using dinner rolls – no kneading, proofing, or shaping!
 Skip the drive-thru, and make this easy copycat Raising Cane’s chicken recipe using simple ingredients for crisp, flavorful chicken instead!
 Skip complicated desserts, and make this easy peach galette recipe using seven simple ingredients including puff pastry!
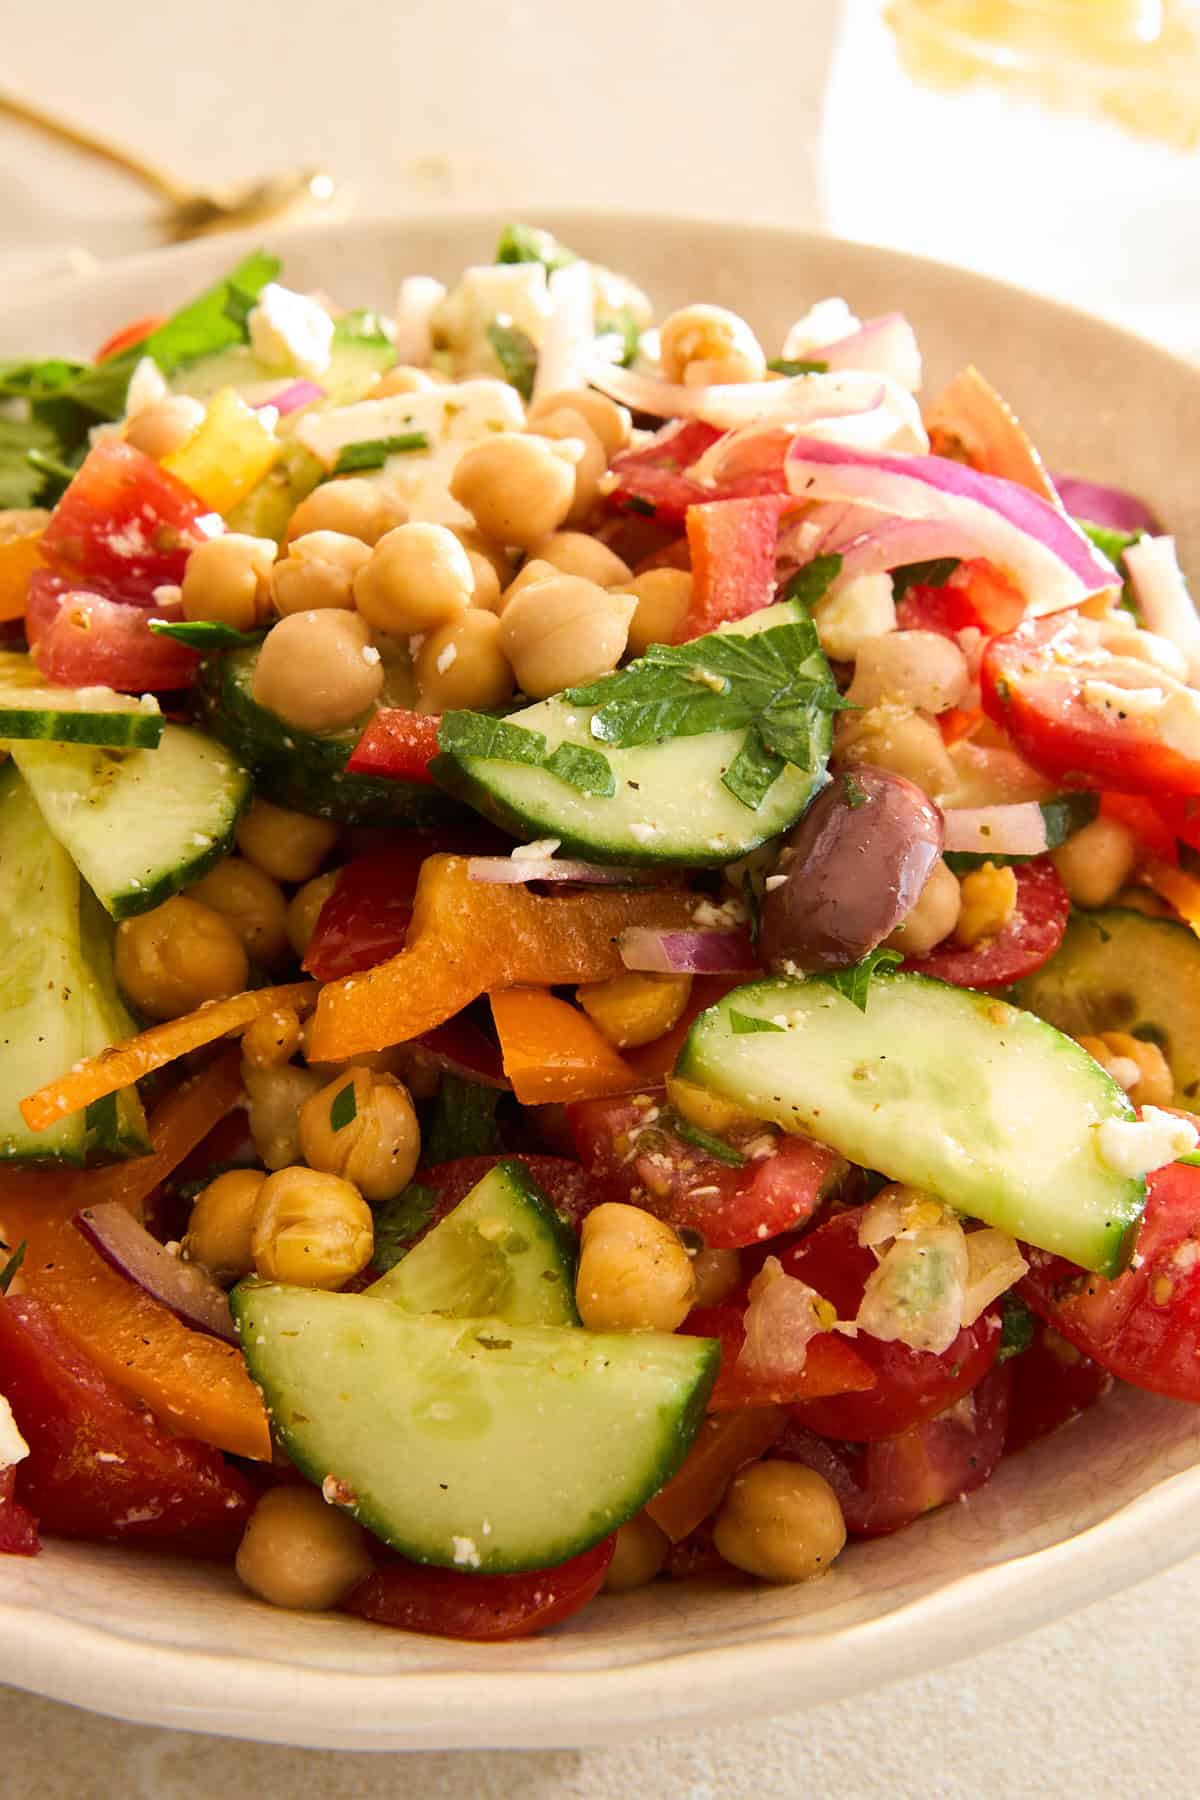 This Greek chickpea salad is savory, tangy, and quick to make. Full of nutrients and plant-based protein it’s a quick main course or side!
 Learn how to make the best sweet, tart, homemade strawberry lemonade recipe using just four simple ingredients!
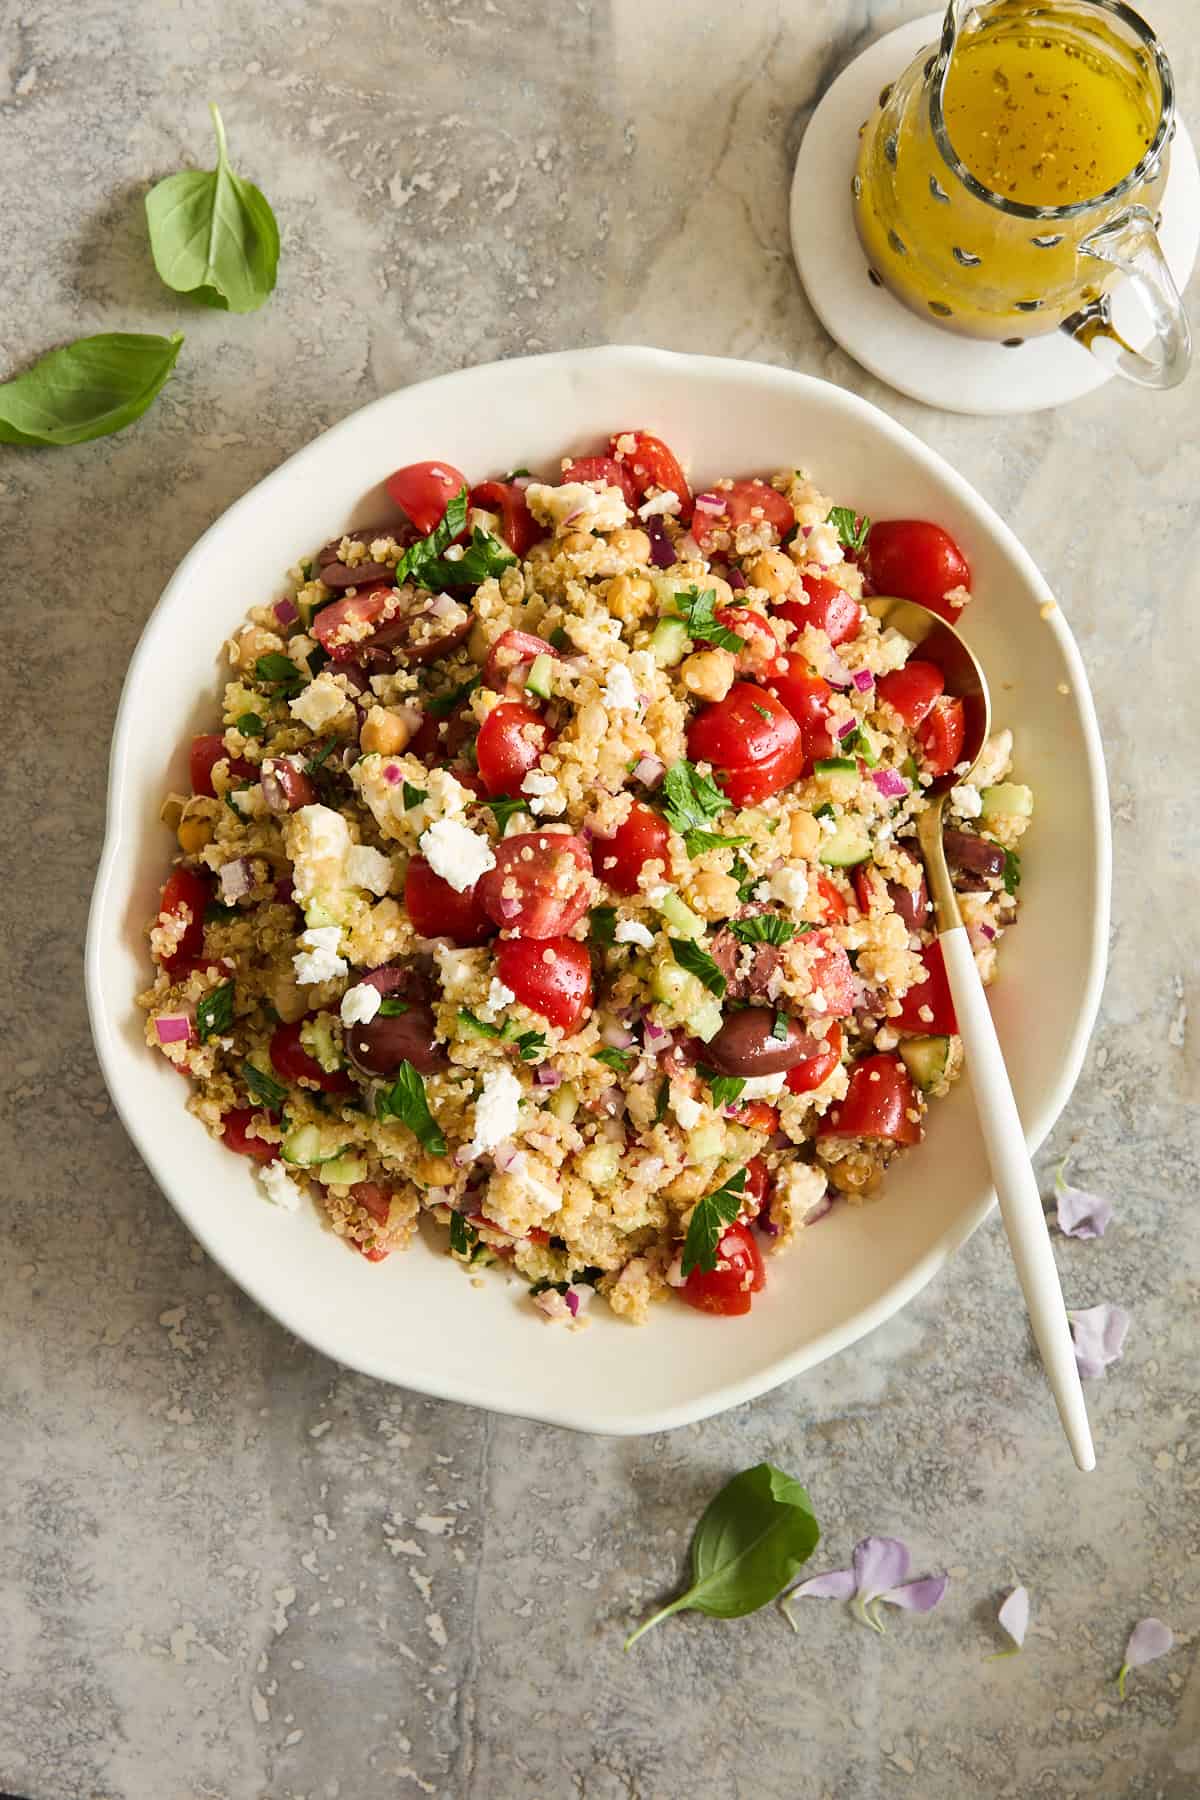 This quinoa chickpea salad is loaded with fresh produce and feta and tossed with a tangy vinaigrette for a vibrant side dish or main course!
 Make these easy chicken tacos with eight ingredients in less than 30 minutes using the air fryer or oven for a family friendly meal!
Eat like an Egyptian with the bold flavors of these simplified recipes offering all the warm and comforting flavors of Egyptian cuisine!
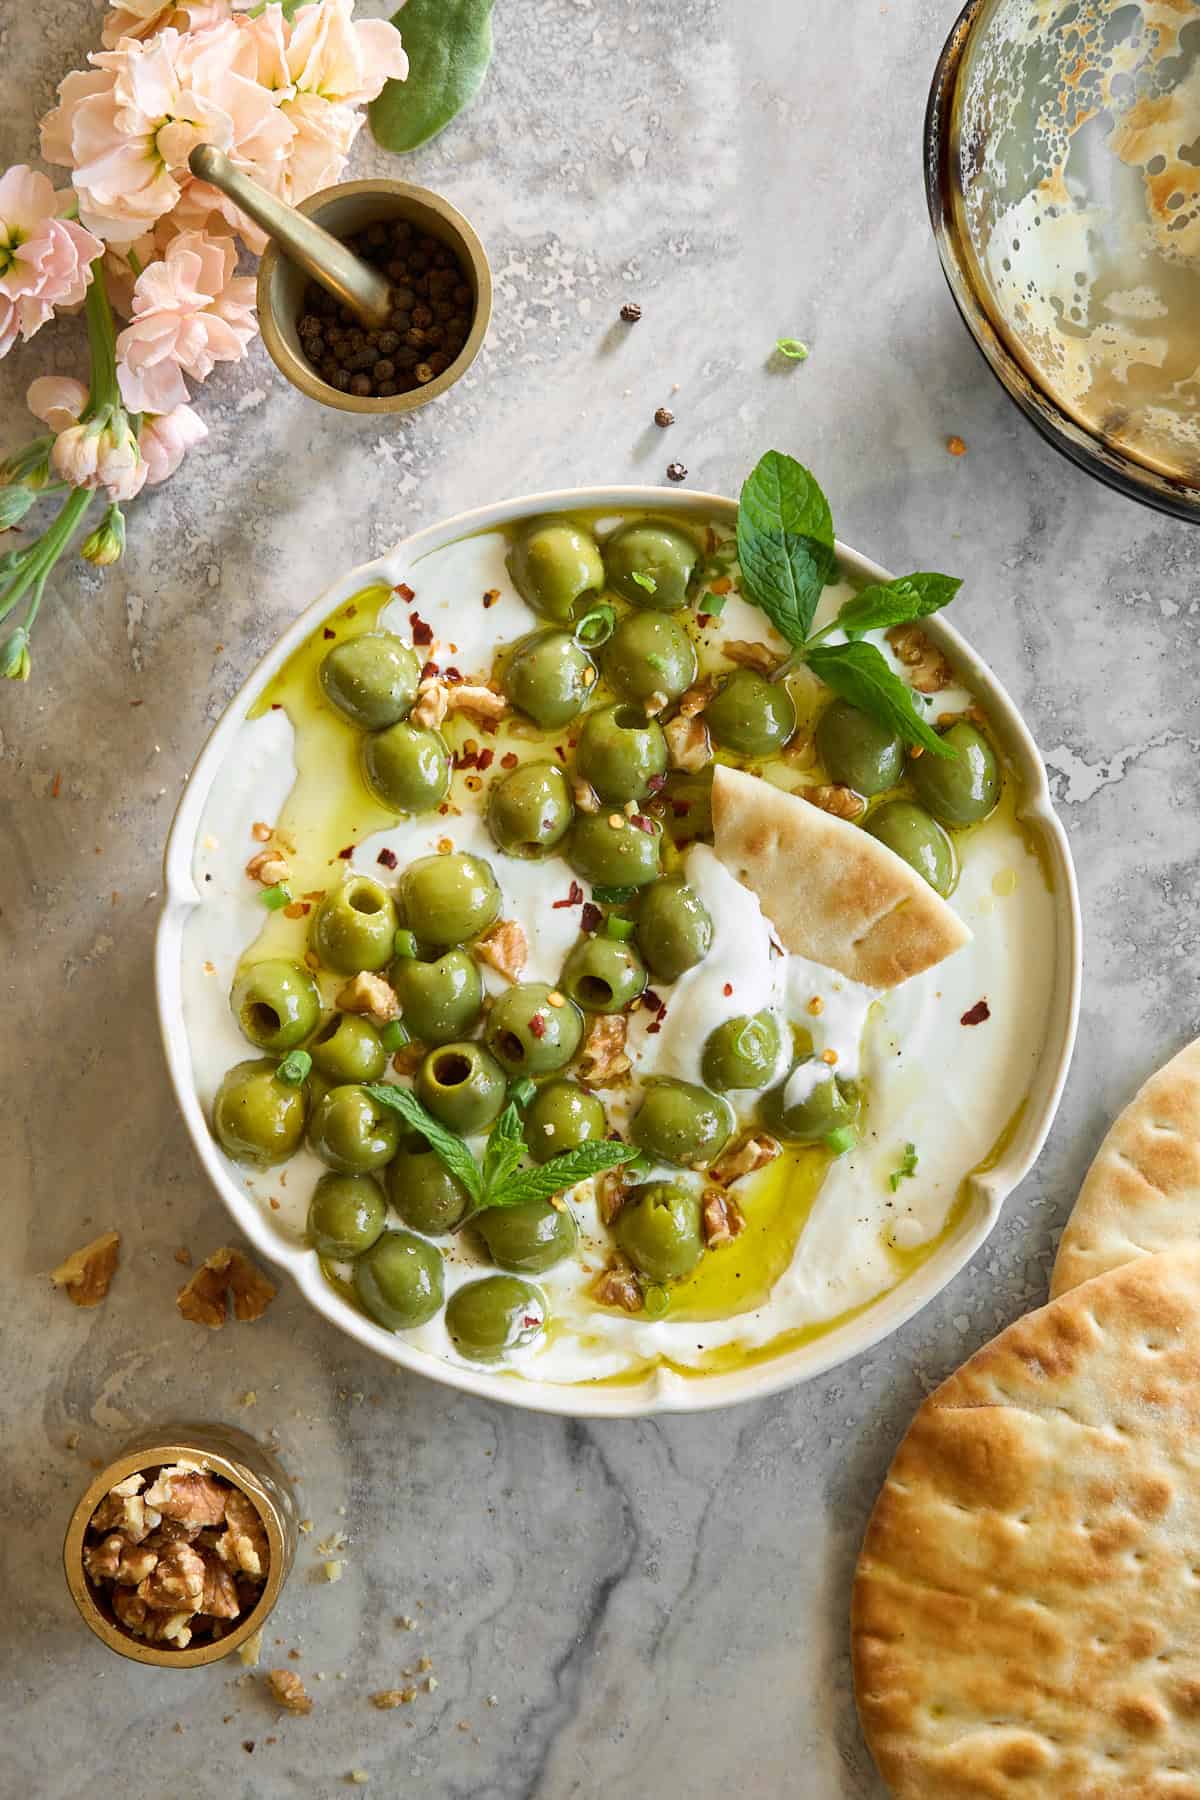 Enjoy the flavors of the Mediterranean with this creamy, tangy, marinated olive dip with whipped cottage cheese!
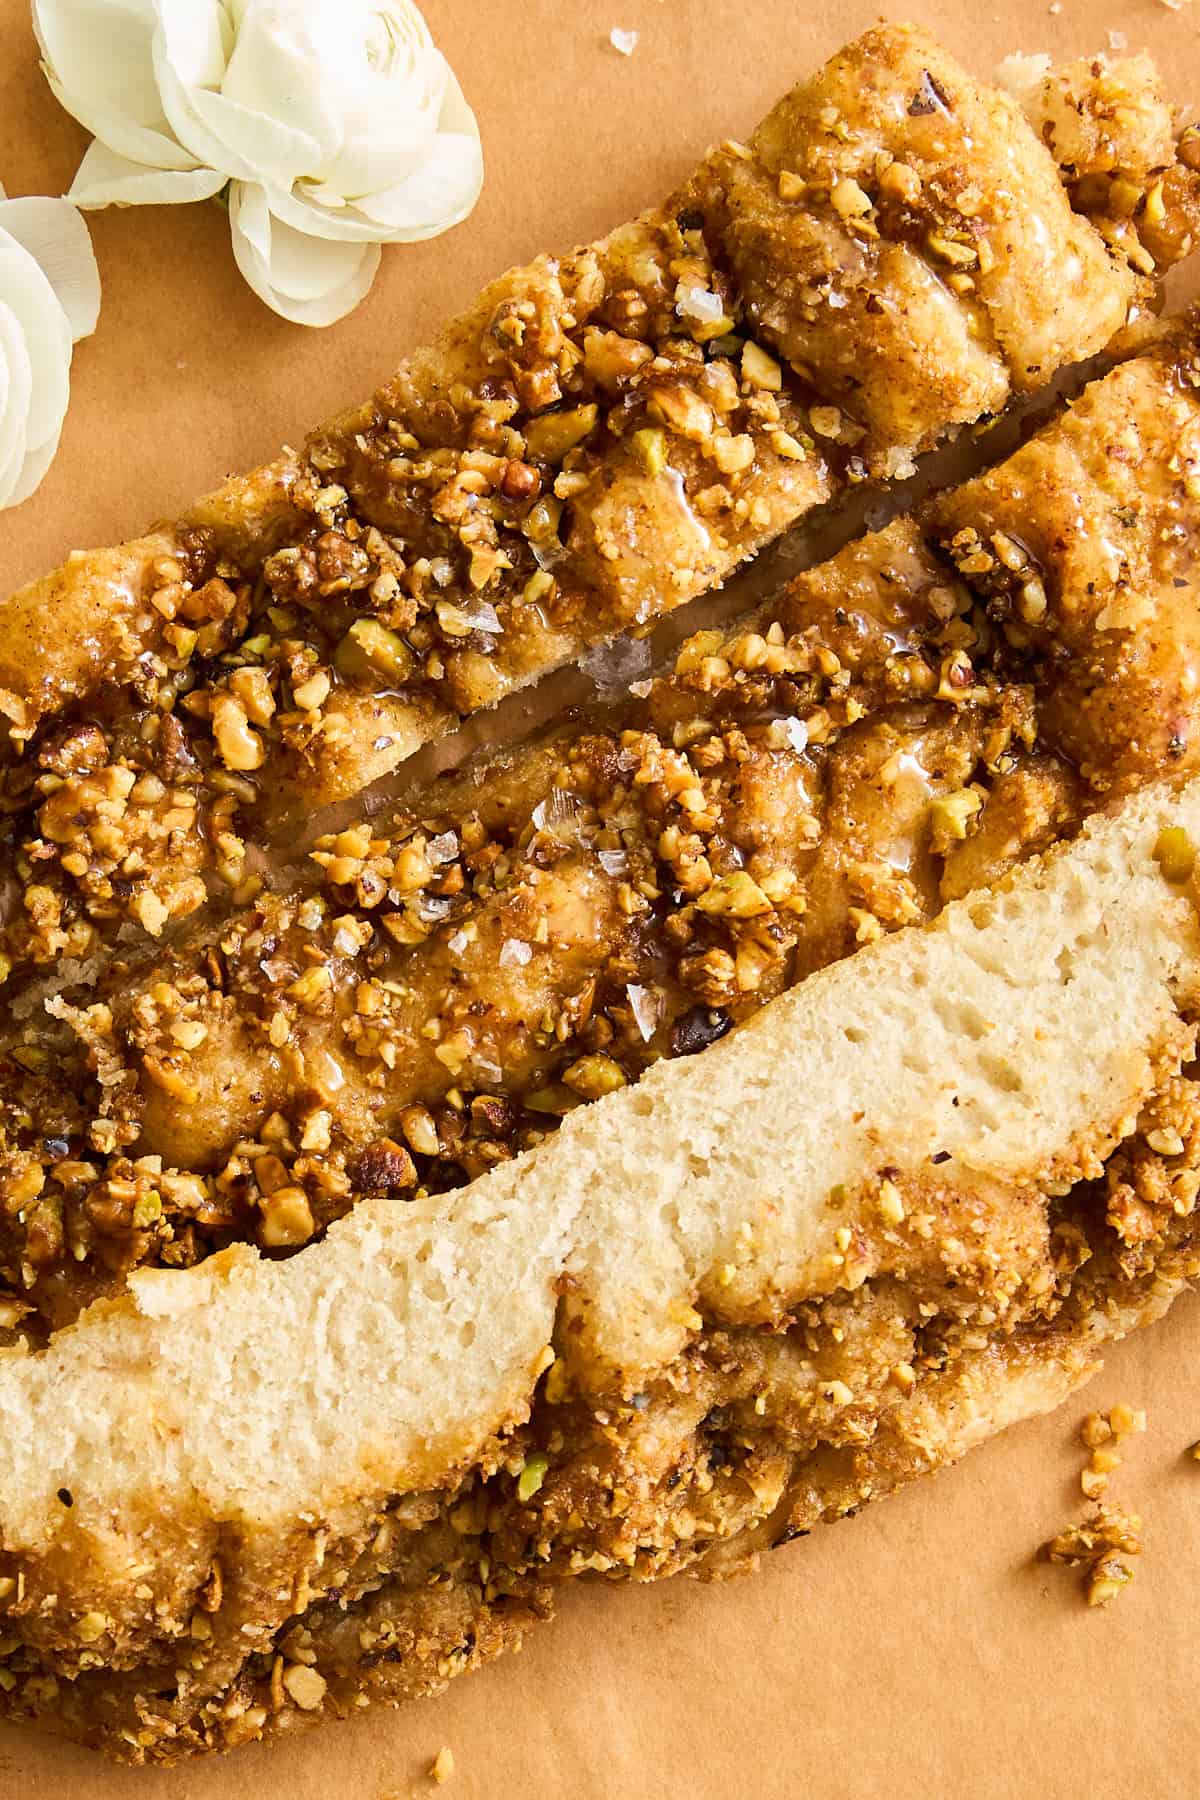 Enjoy the flavors of your favorite treat with this rich, nutty dessert focaccia that tastes just like classic focaccia!
 Cannoli Tiramisu A dreamy no-bake dessert that’s part cannoli, part tiramisu — and 100% irresistible. Creamy ricotta and mascarpone, espresso-soaked…
 Skip takeout, and make this air fryer beef and broccoli recipe using seven simple ingredients. It’s tender, flavorful, & cooks in 12 minutes!
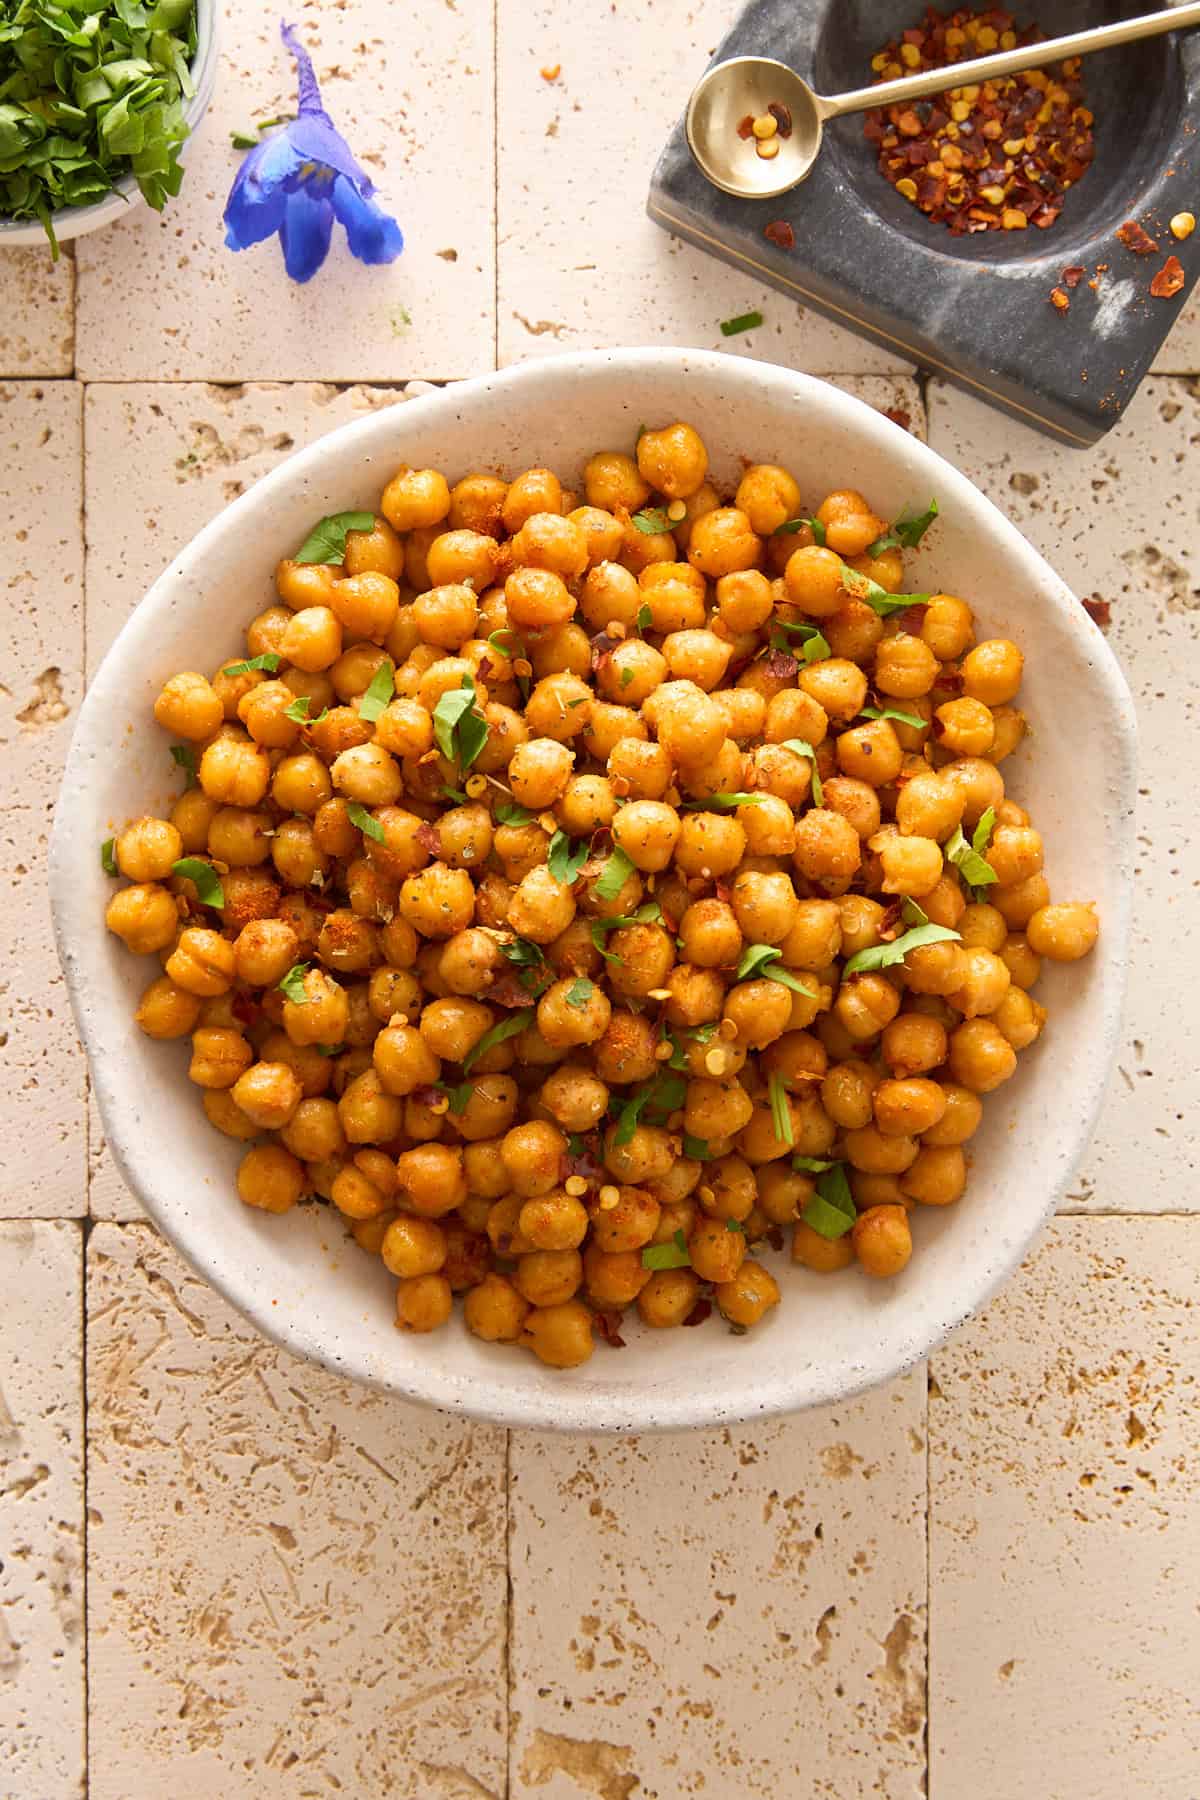 Learn how to make savory, spicy, crispy air fryer chickpeas in minutes for a tasty snack or fun topping to add to all your meals!
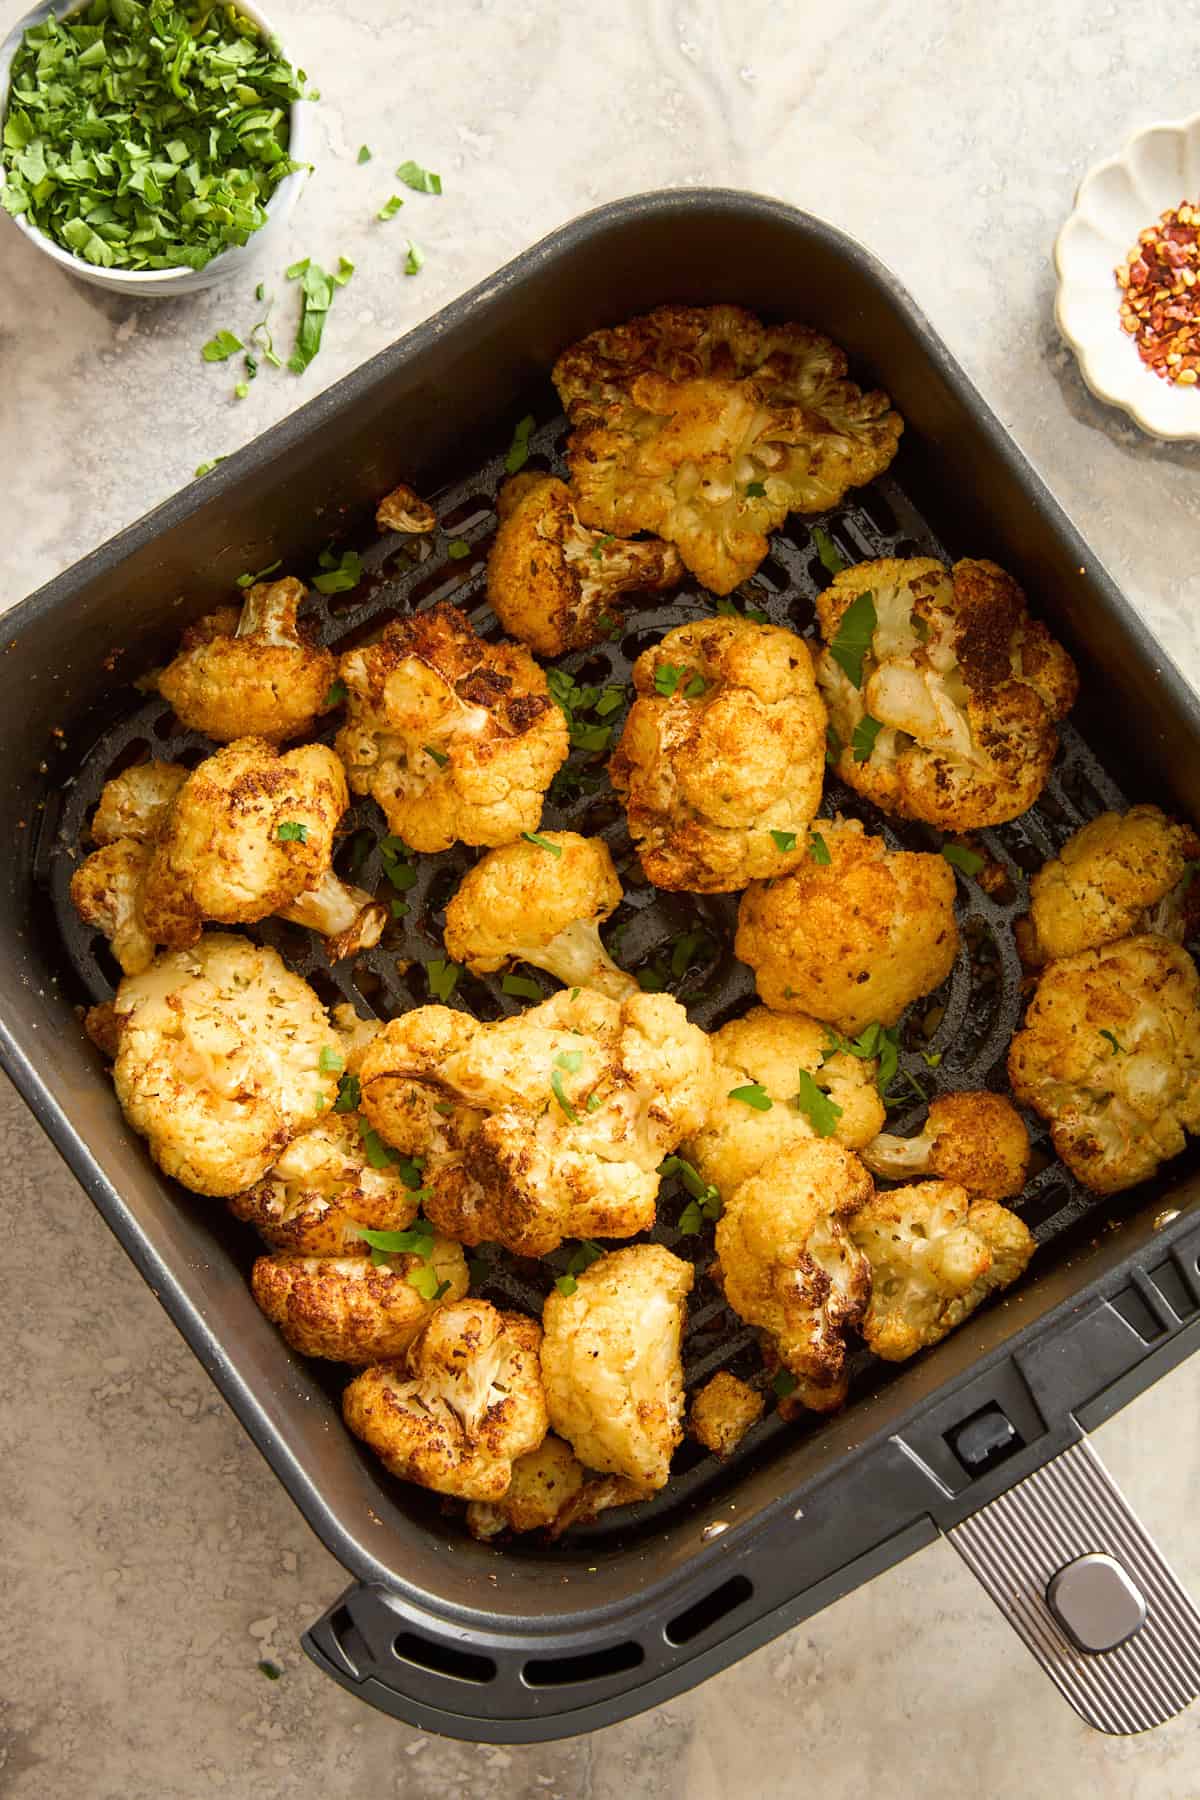 This air fryer cauliflower is seasoned with warm spices and cooked until tender with crisp edges for a veggie you’ll actually want to eat!
Elevate a breakfast staple with the bold, savory flavors of this garlic and Boursin cheesy scrambled eggs recipe – baked in the oven!
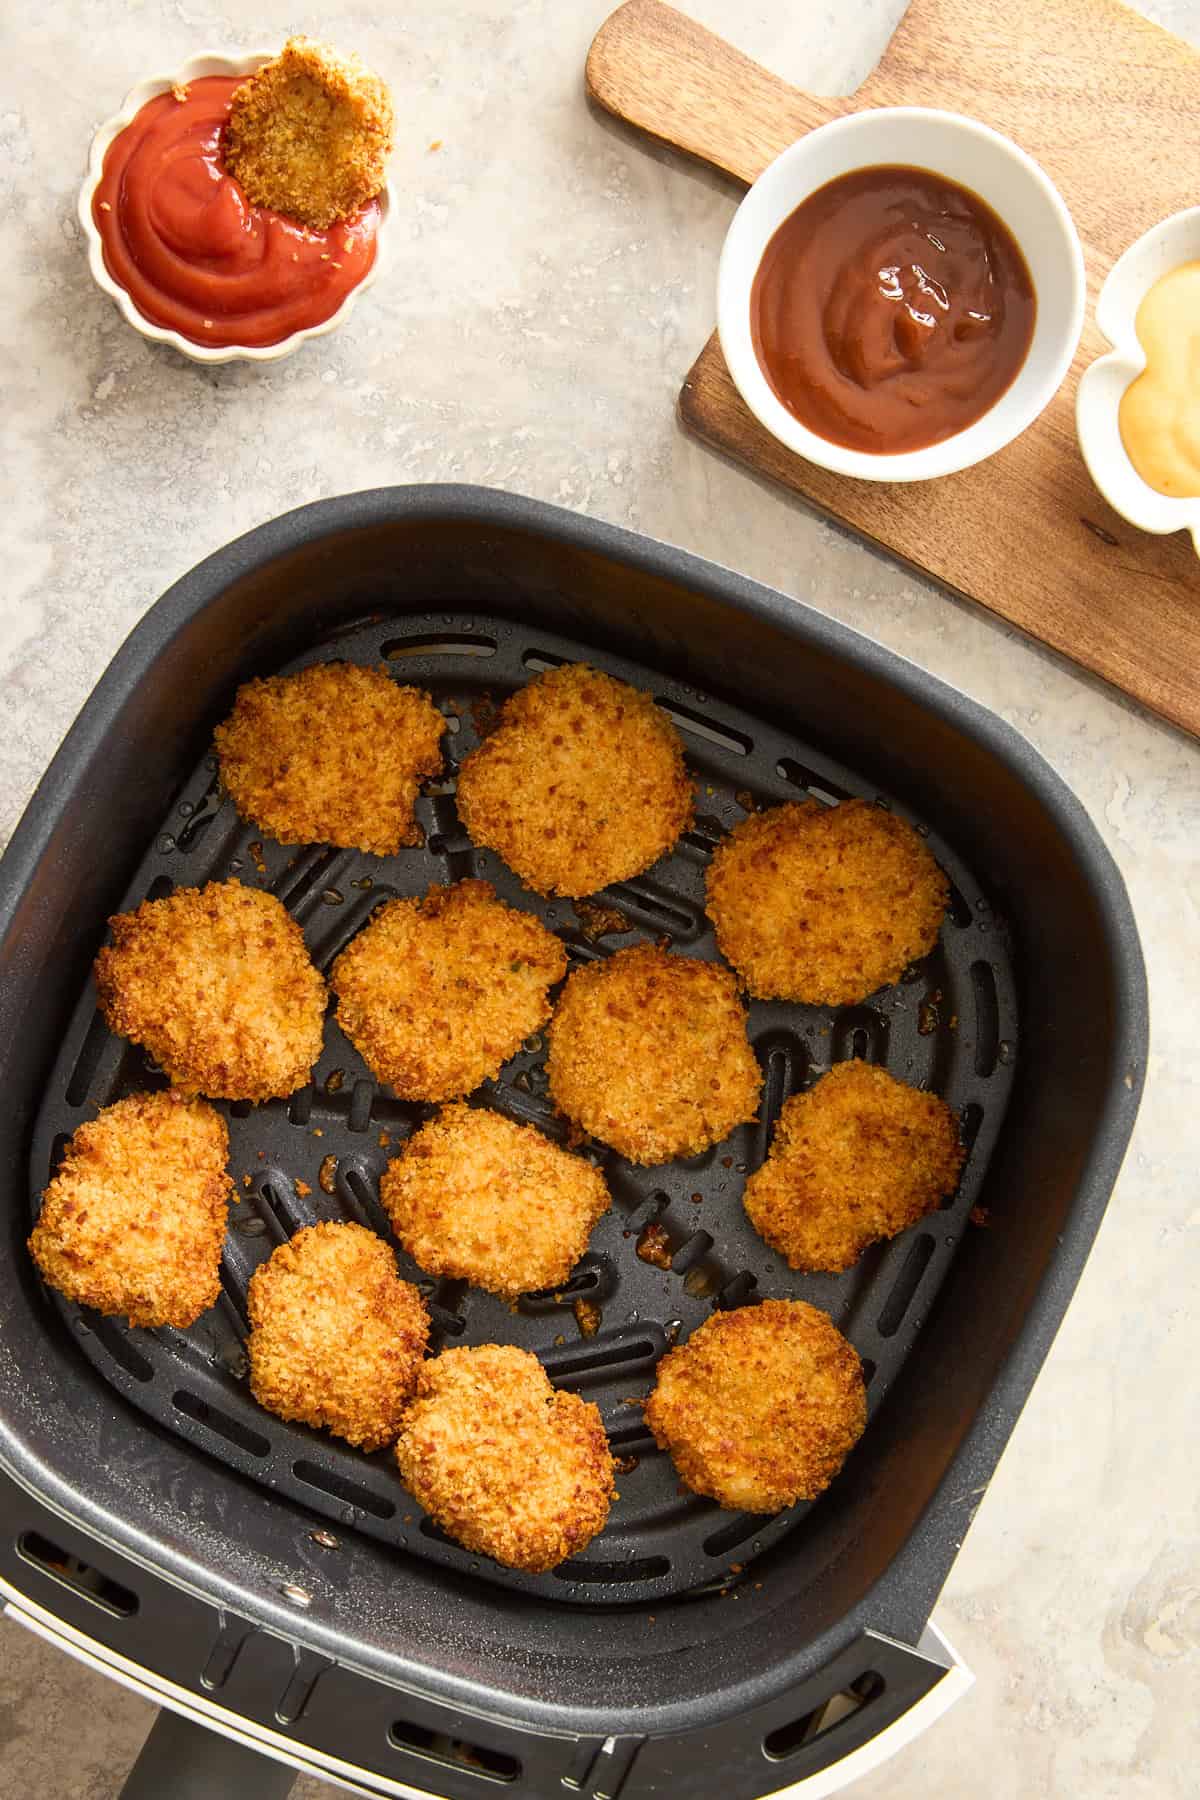 Skip the frozen options, and make these crispy, seasoned air fryer chicken nuggets with chicken and veggies instead!
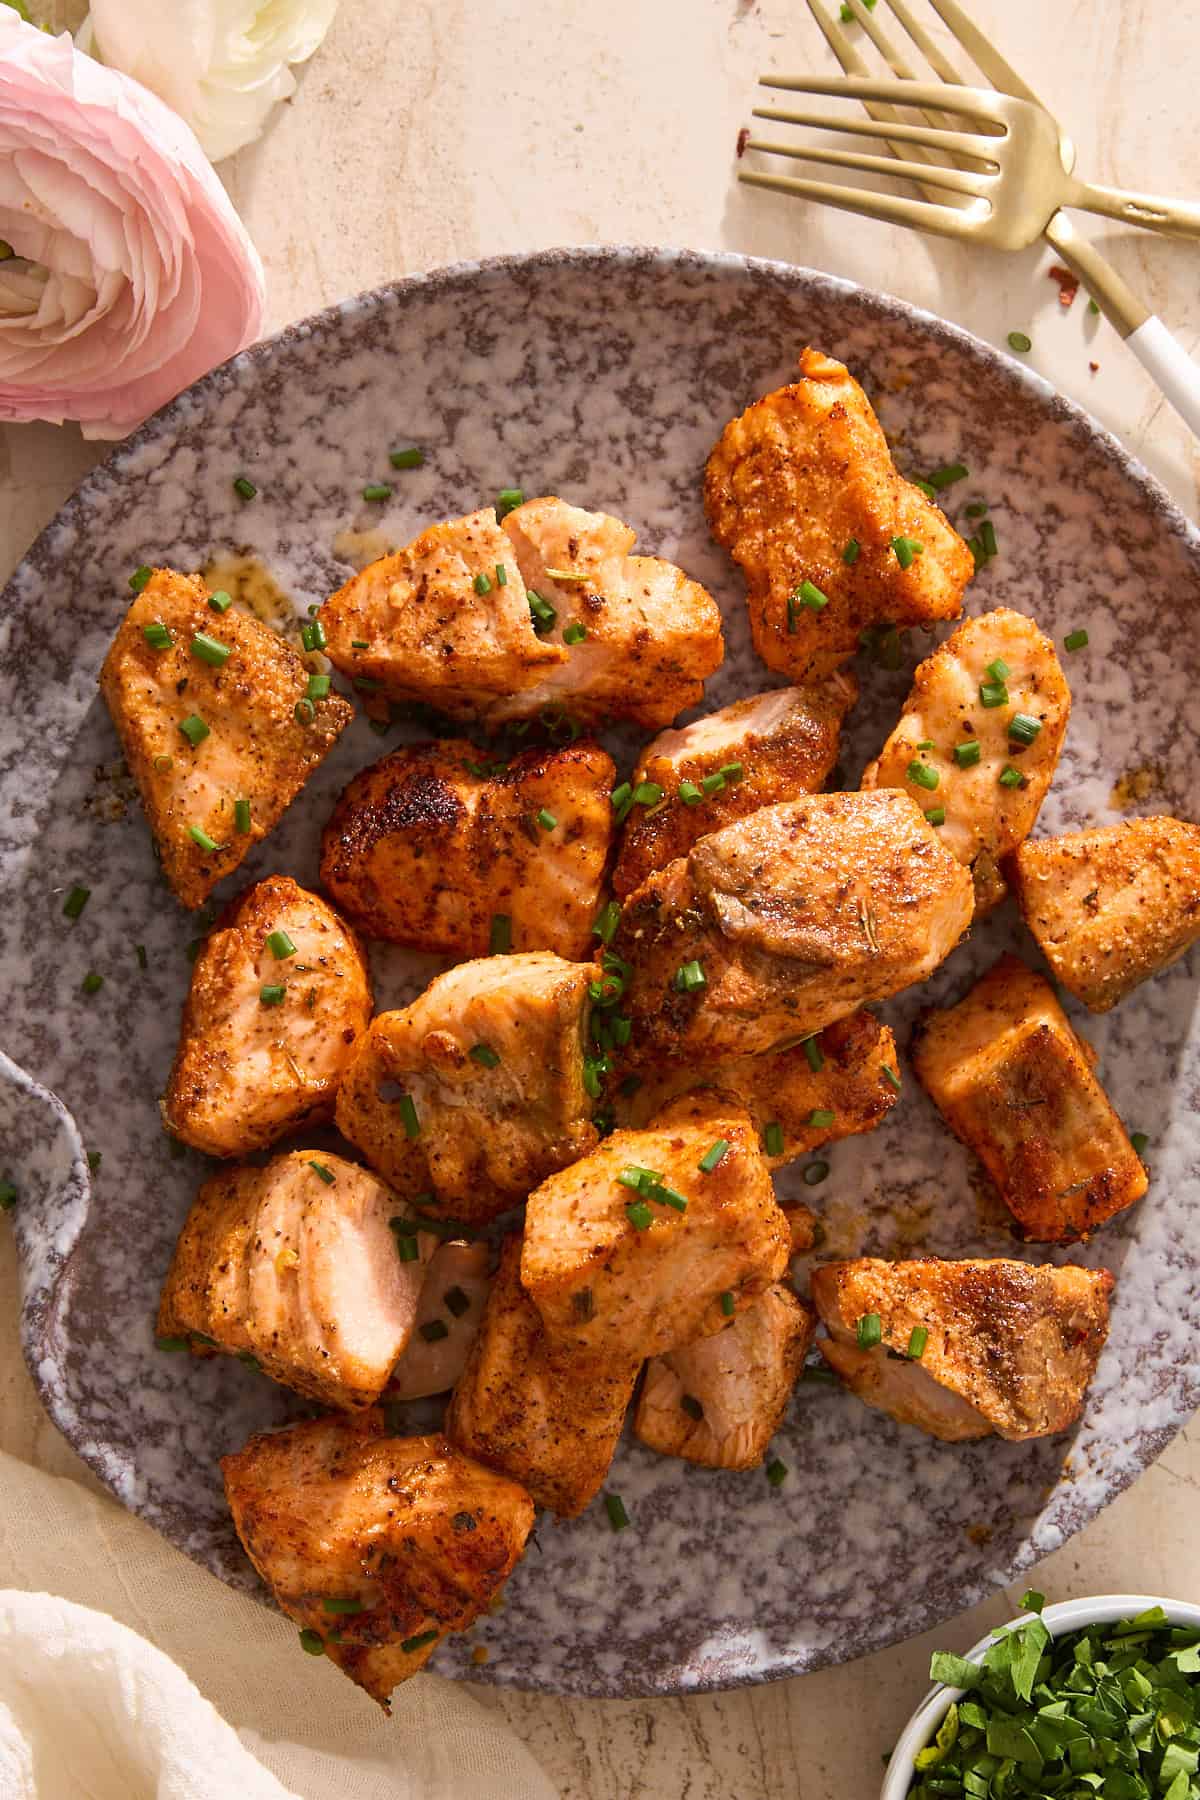 Make flaky, spiced air fryer salmon bites in less than 20 minutes using just 8 simple ingredients, and add them to all your meals!
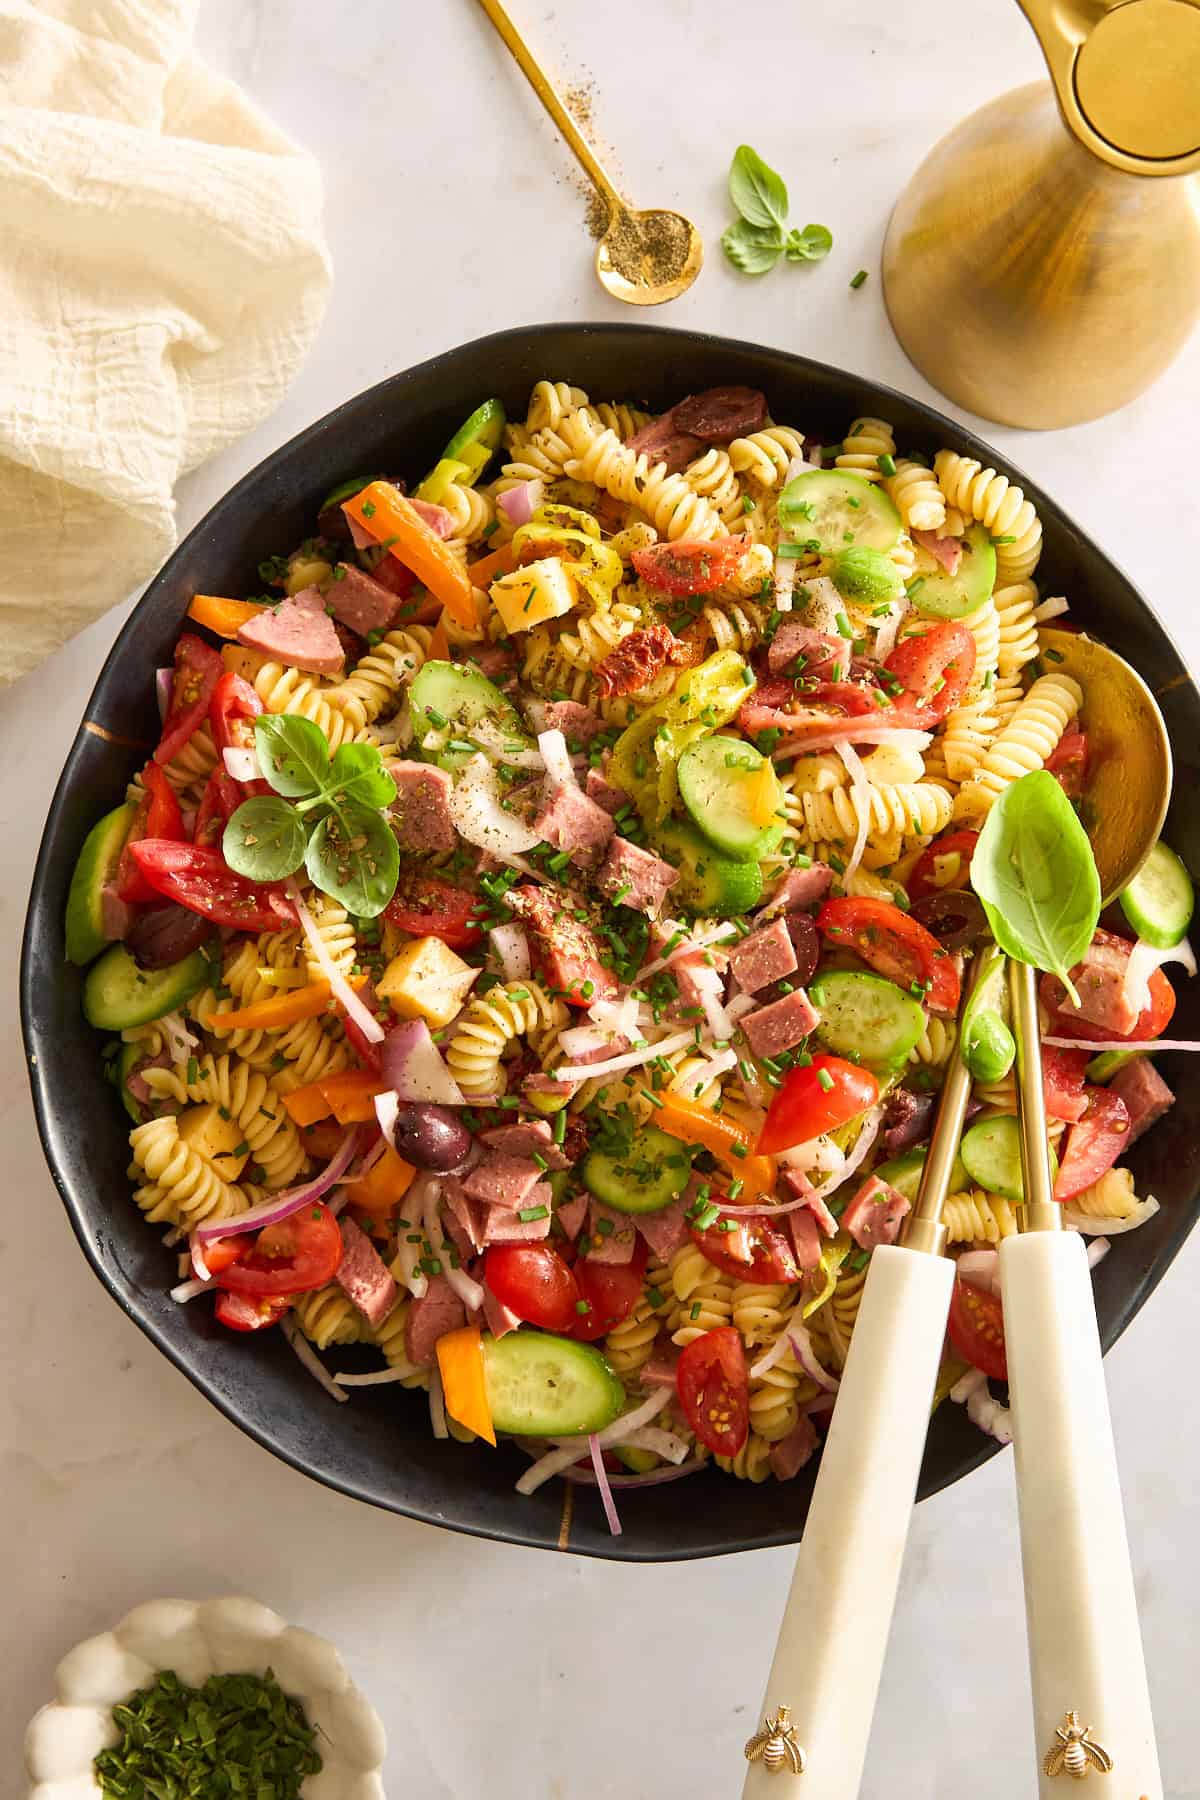 Make this easy cold Mediterranean pasta salad with fresh veggies, cheese, salami, and a homemade vinaigrette dressing!
 Explore a collection of the best tiramisu recipes from classic versions to fruity variations to satisfy all your cravings!
 Enjoy two of your favorite desserts at once with these rich, tiramisu brownies complete with a creamy mascarpone topping!
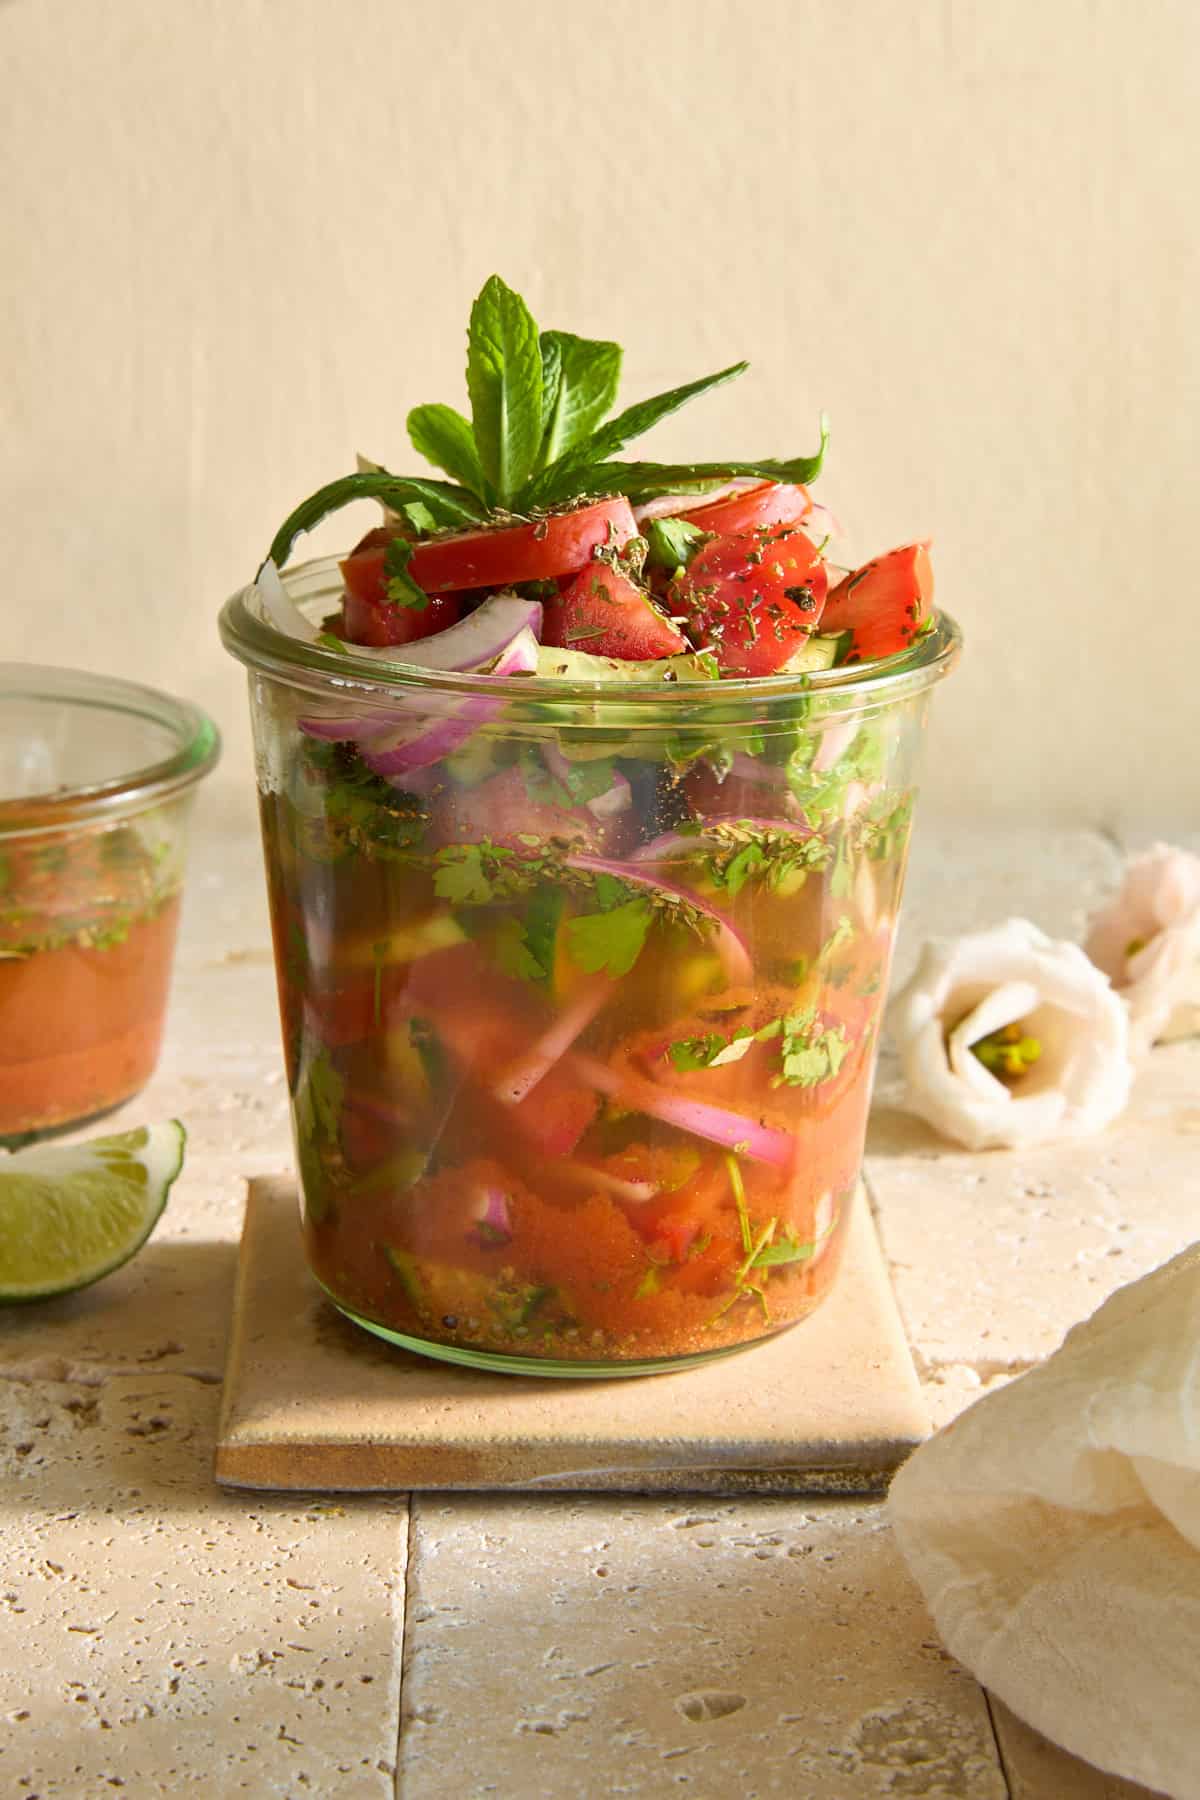 Enjoy a common restaurant salad from the comfort of home with this Egyptian cucumber and tomato salad with vinegar!
 Transform your favorite dessert into a refreshing warm weather treat with the bright, citrusy flavors of this layered lemon tiramisu!
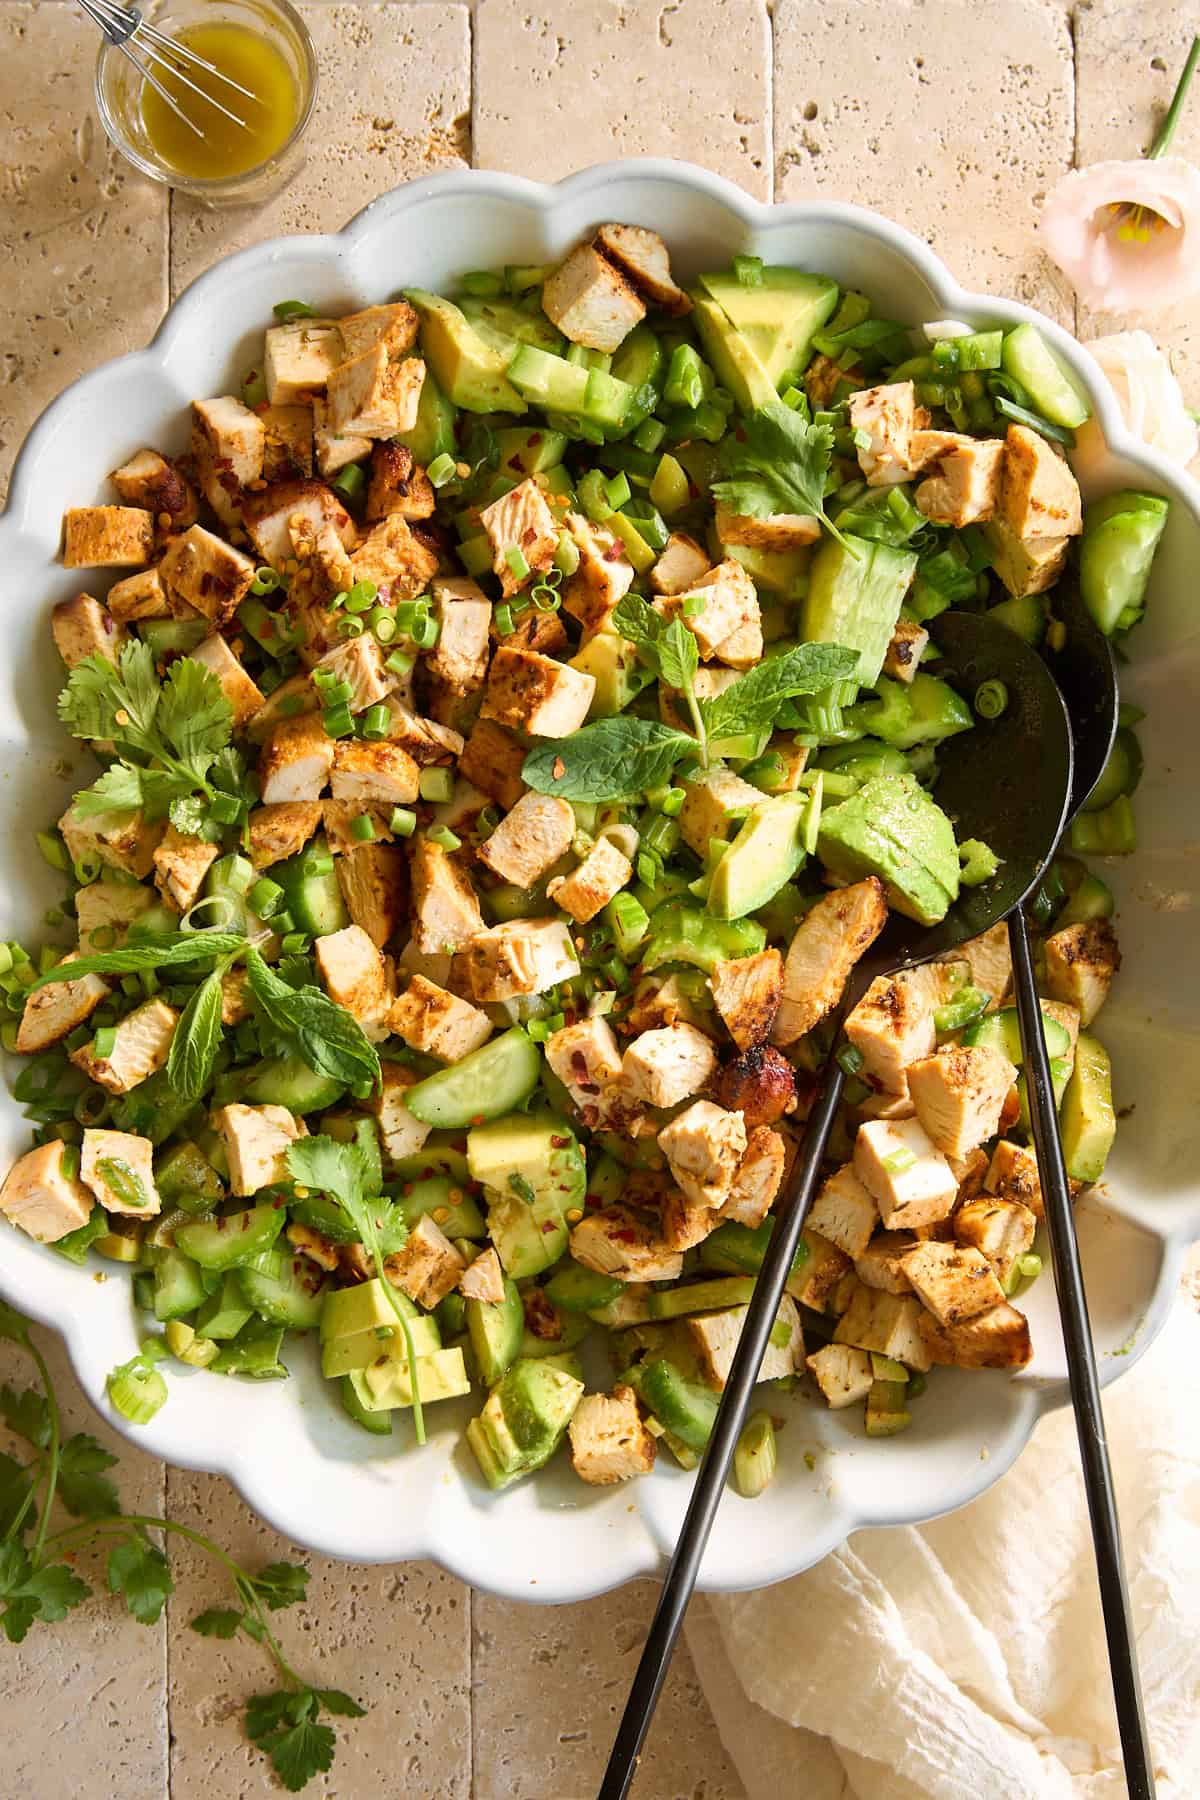 This avocado chicken salad combines tender chicken, fresh veggies, and a sweet and tangy homemade dressing!
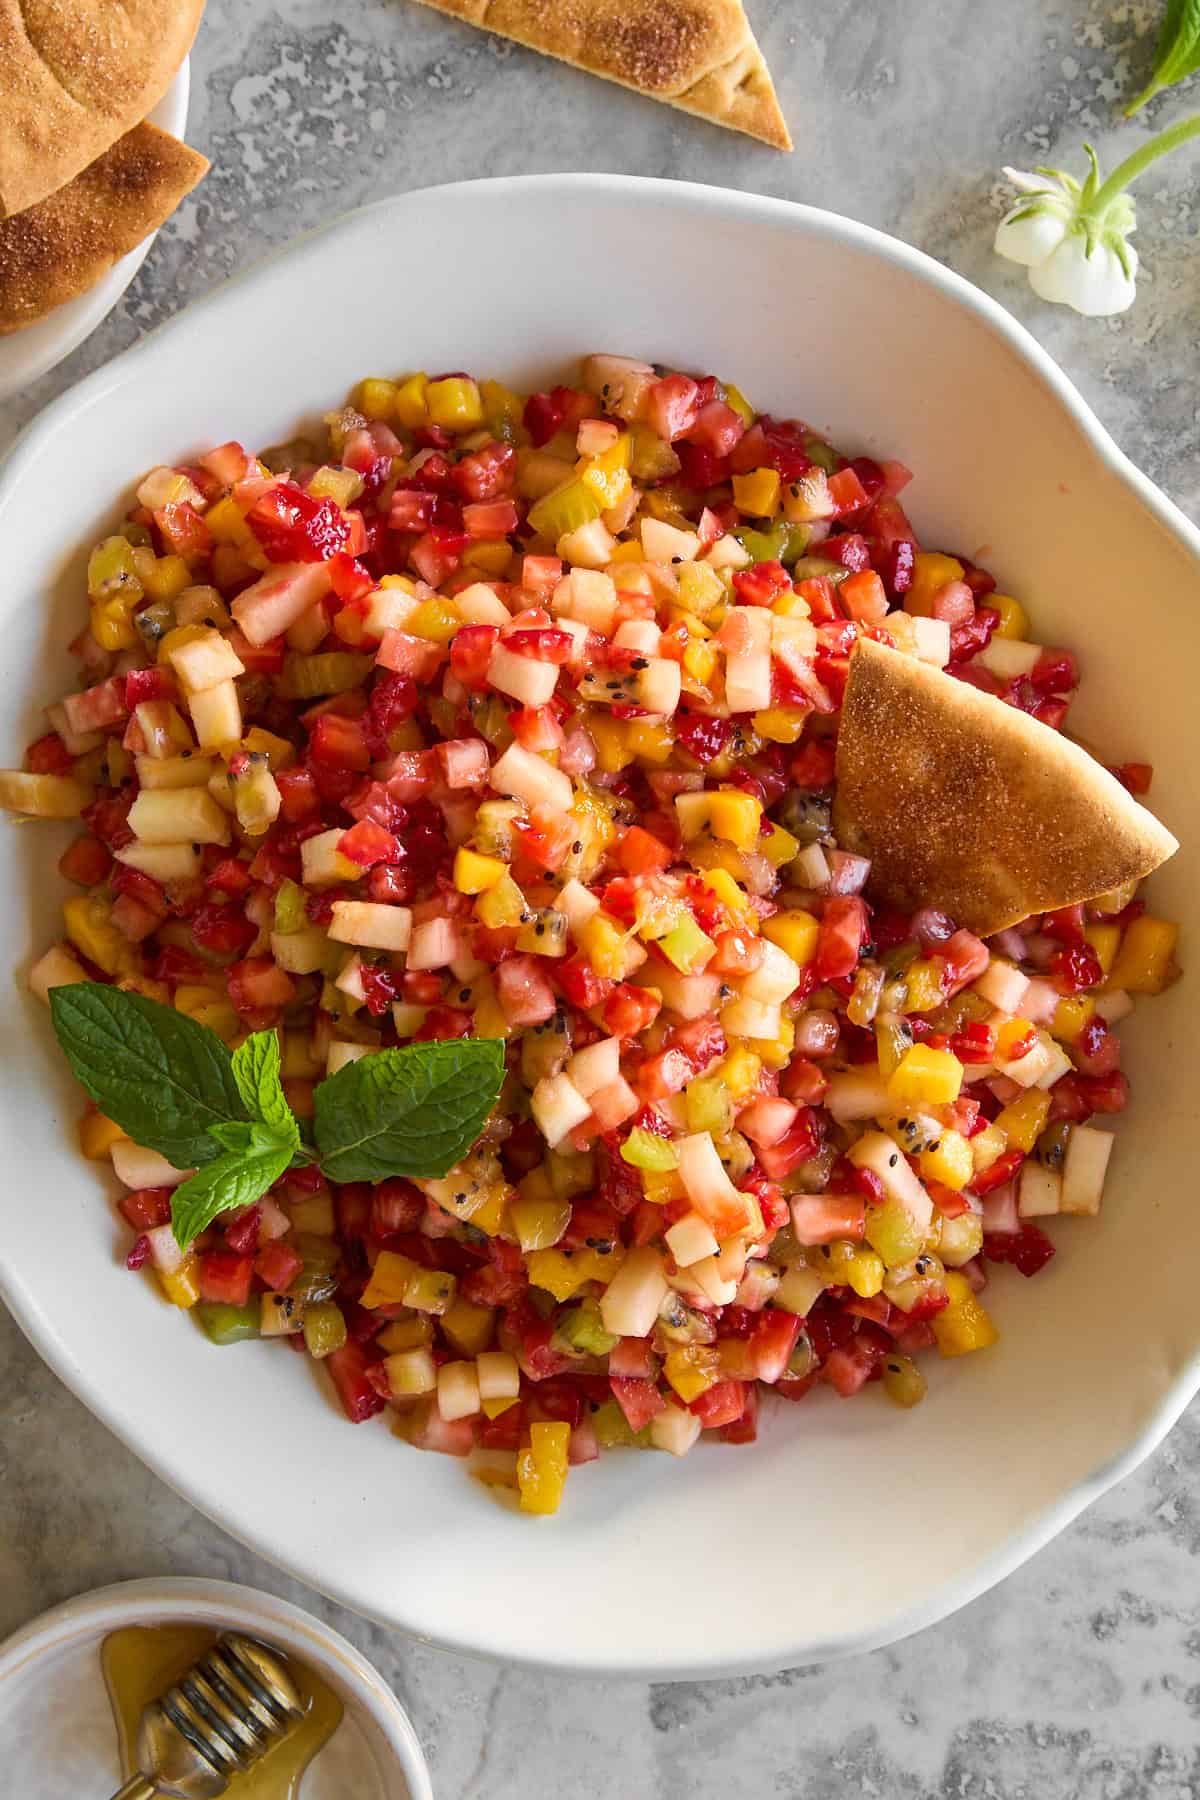 Fresh fruit salsa is sweet, refreshing, and perfect for dipping with sweet cinnamon sugar pita chips for an easy snack or dessert!