French Onion Steak Crostini
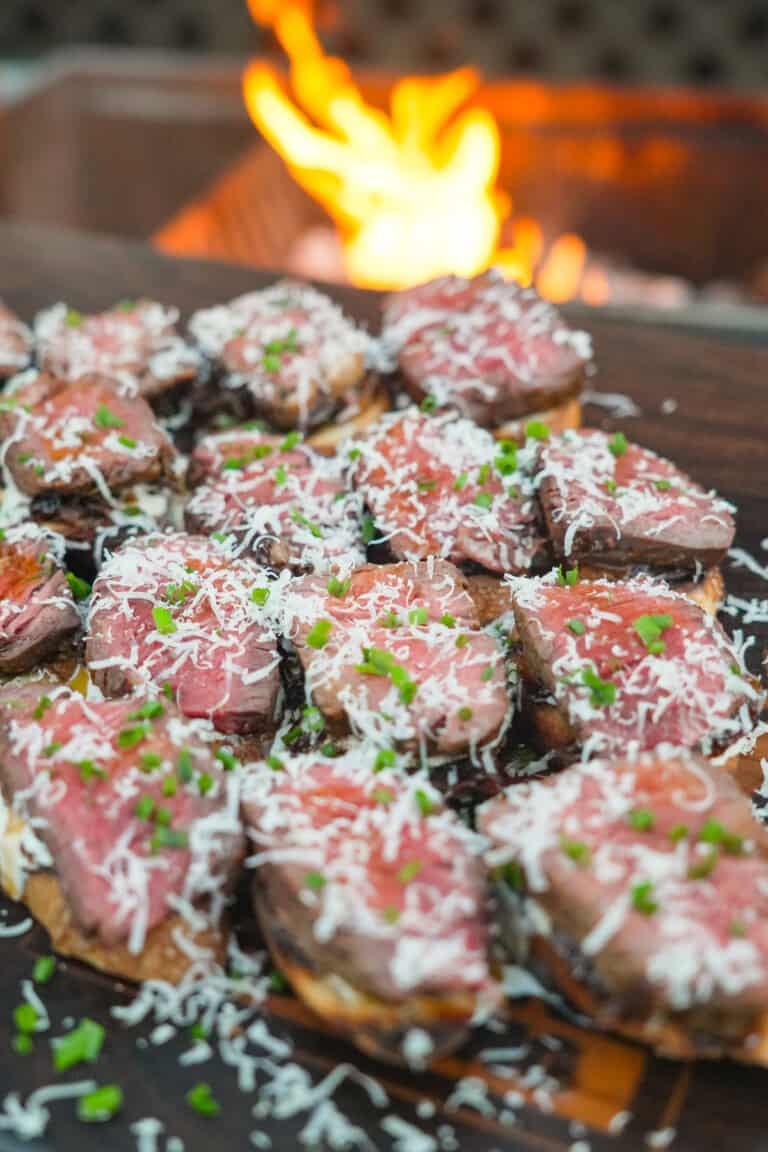
Just in time for the holidays, when cozy and comforting are must-haves on the menu, these French Onion Steak Crostini…
The post French Onion Steak Crostini appeared first on Over The Fire Cooking.
Just in time for the holidays, when cozy and comforting are must-haves on the menu, these French Onion Steak Crostini…
The post French Onion Steak Crostini appeared first on Over The Fire Cooking.
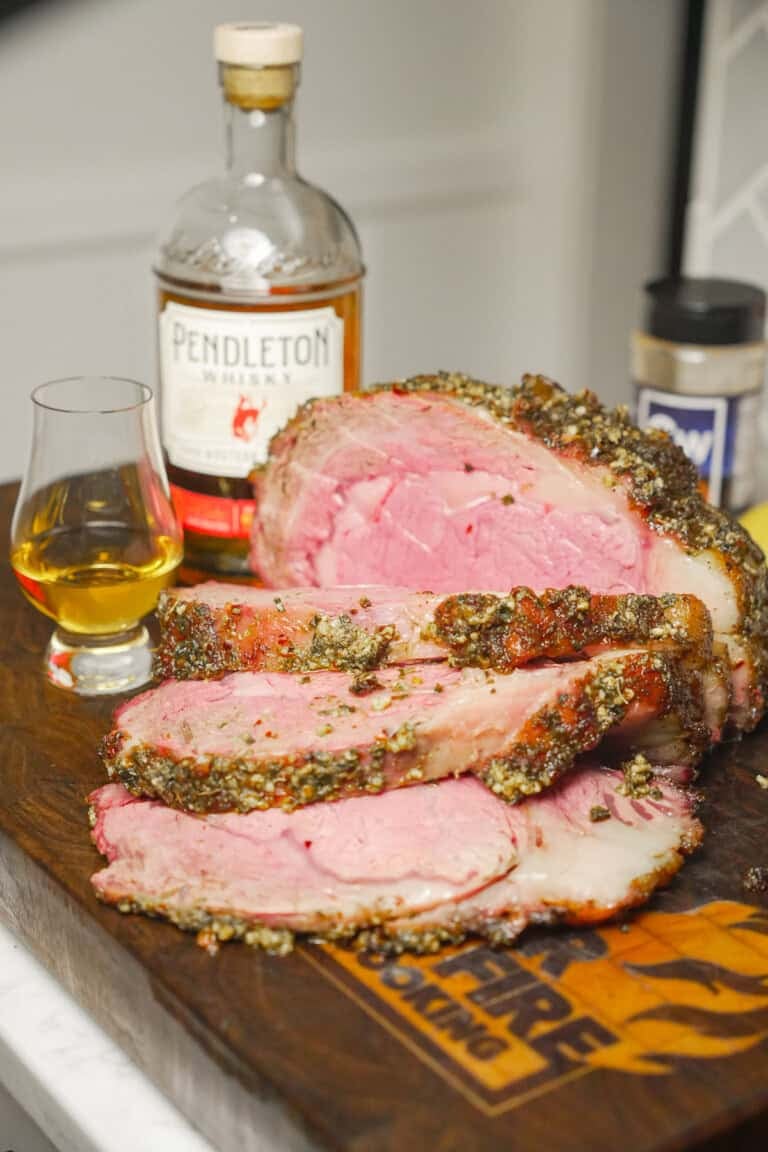
Just in time for the holidays, we’re firing up something bold, smoky, and a little experimental: a Whisky Injected Prime…
The post Whisky Injected Prime Rib appeared first on Over The Fire Cooking.
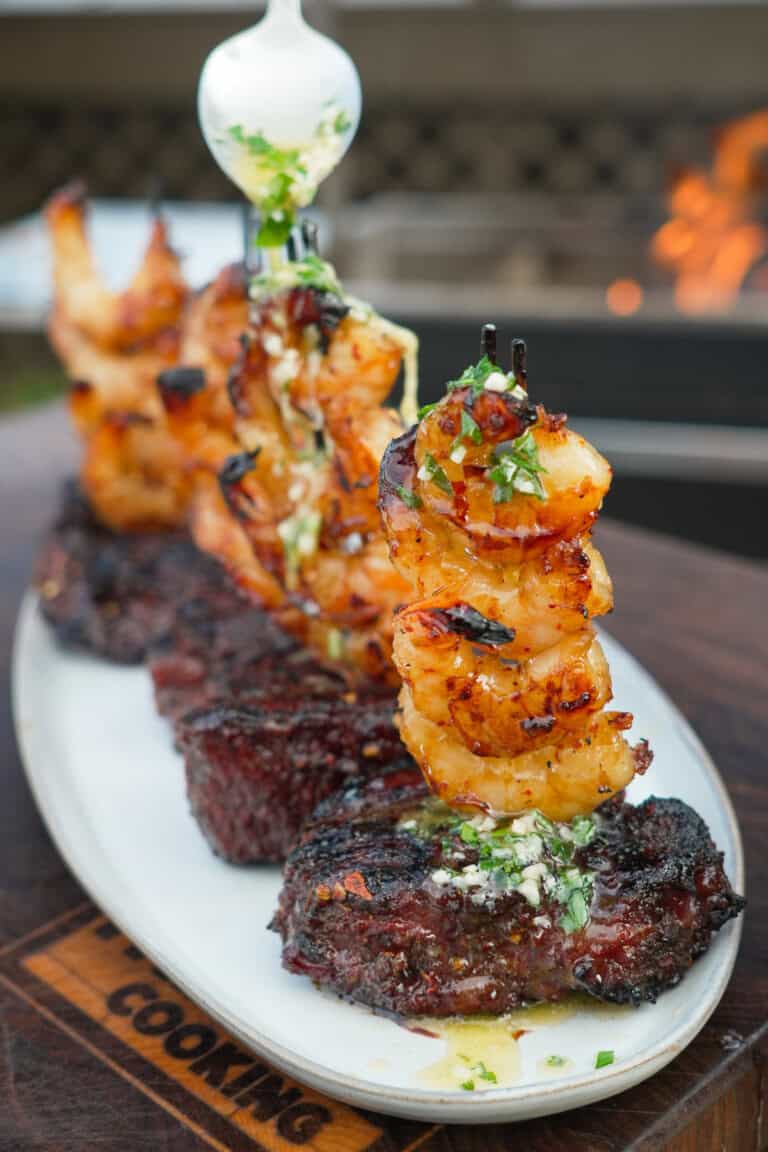
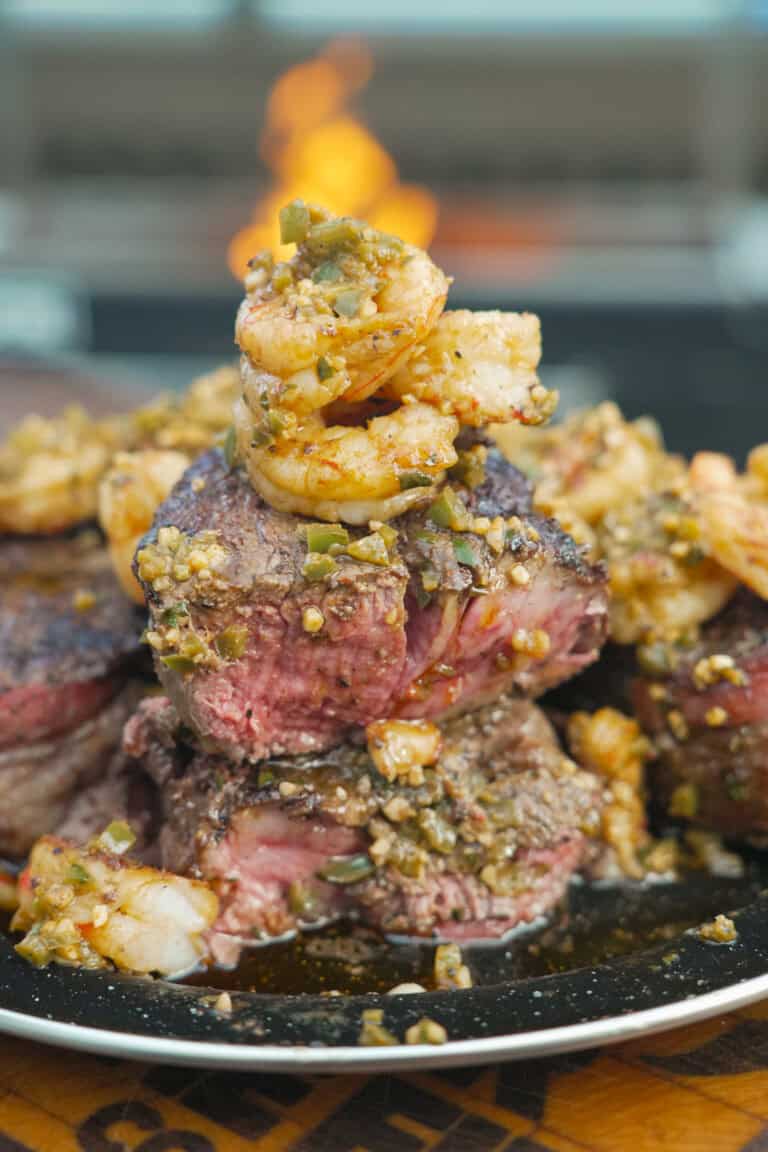
My current hot honey obsession has come for surf and turf! This hot honey steak and shrimp is so freakin’…
The post Hot Honey Steak and Shrimp appeared first on Over The Fire Cooking.
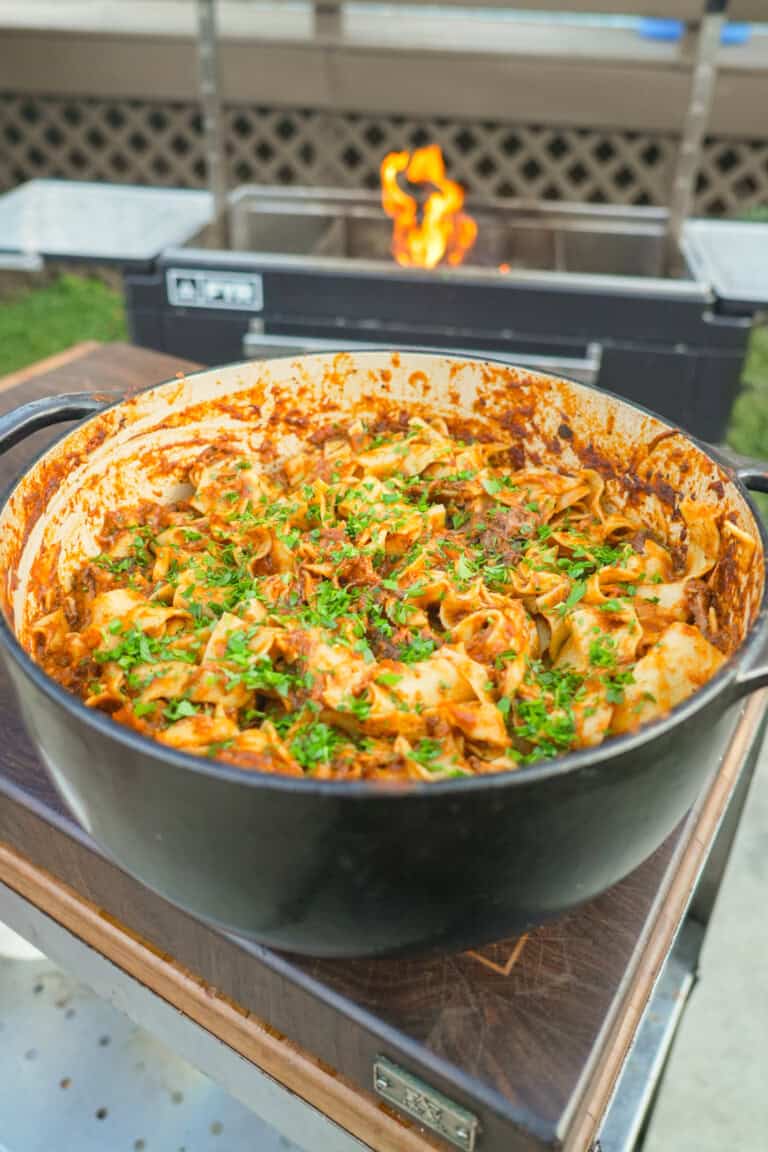
Here’s a Thanksgiving recipe for you that’s definitely not traditional, but most definitely so freakin’ delicious: braised beef ragu. There’s…
The post Beef Ragu appeared first on Over The Fire Cooking.
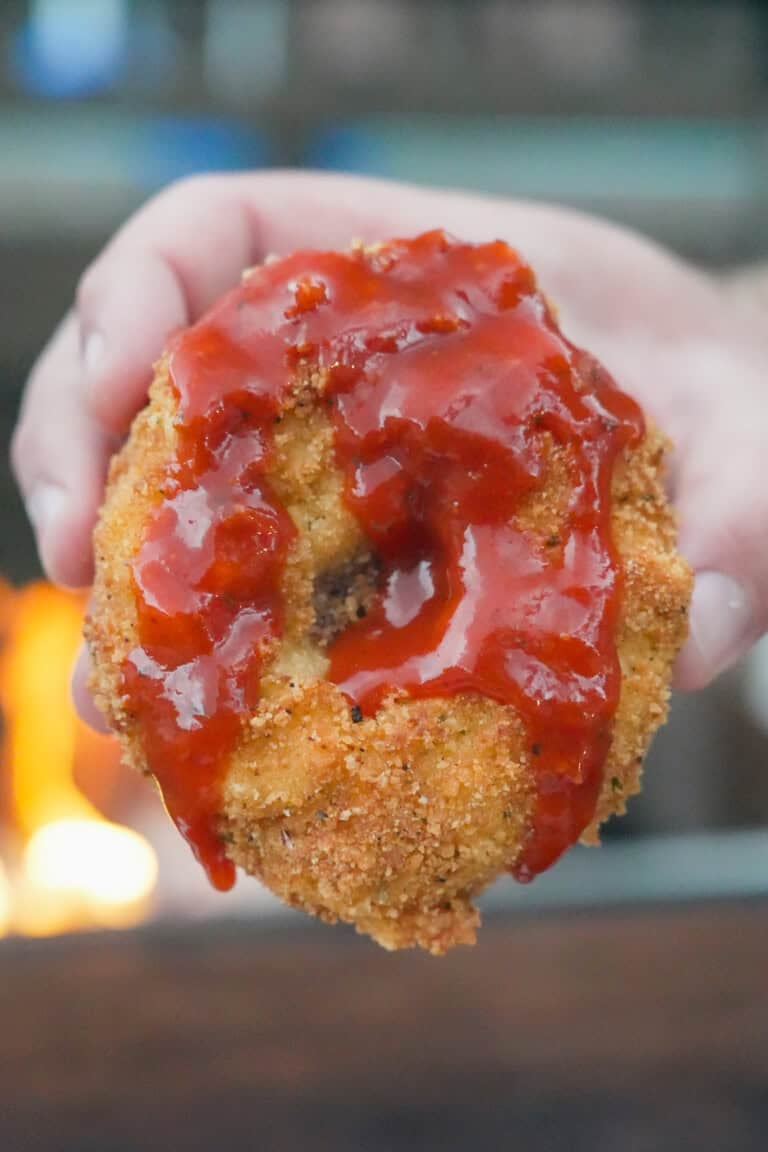
The Thanksgiving Onion Ring is not your average holiday appetizer. It marries everyone’s love of crispy onion rings with Thanksgiving…
The post Thanksgiving Onion Ring appeared first on Over The Fire Cooking.

When you start with quality ingredients, you don’t have to do much to create a freakin’ delicious recipe. That’s why…
The post Grilled Salmon Fillets with Cowboy Butter appeared first on Over The Fire Cooking.
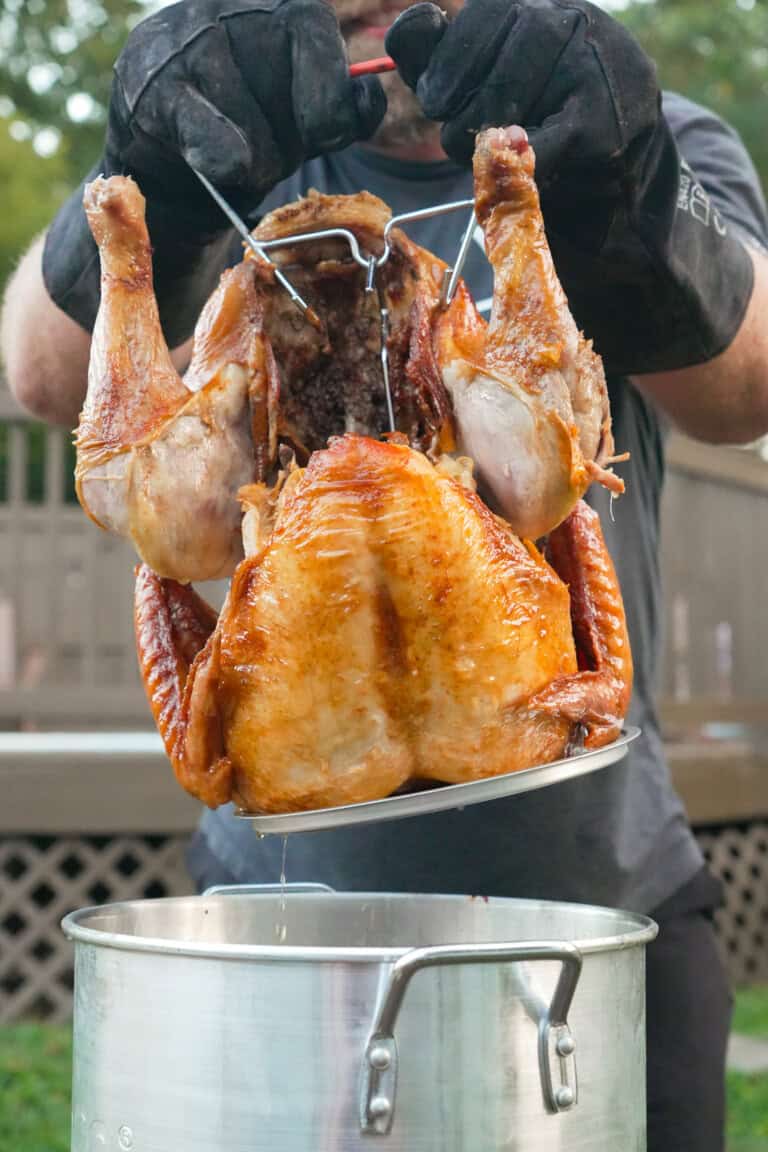
Deep Fried Turkey isn’t just a passing fad—it’s possibly the best and most flavorful way to Thanksgiving turkey perfection. The…
The post Deep Fried Turkey appeared first on Over The Fire Cooking.
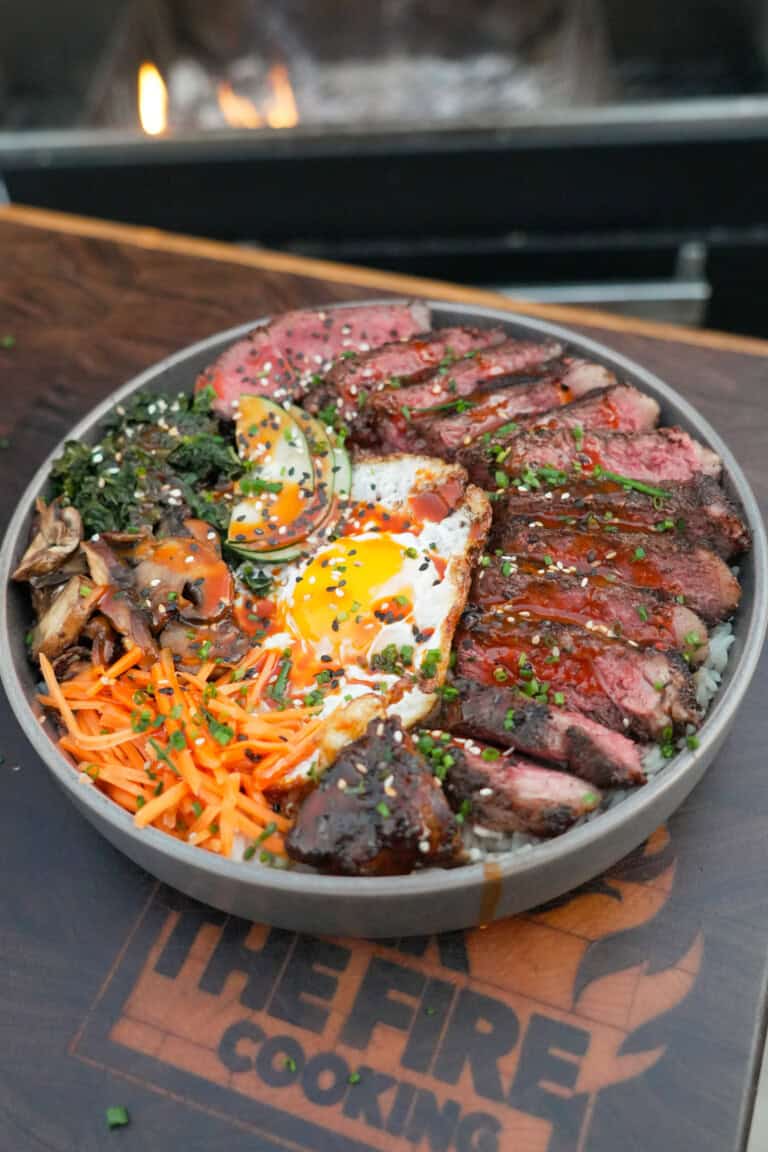
I’ve got something brand new for you: steak bibimbap! Not gonna lie, I’ve never done anything like this before. And…
The post Steak Bibimbap appeared first on Over The Fire Cooking.
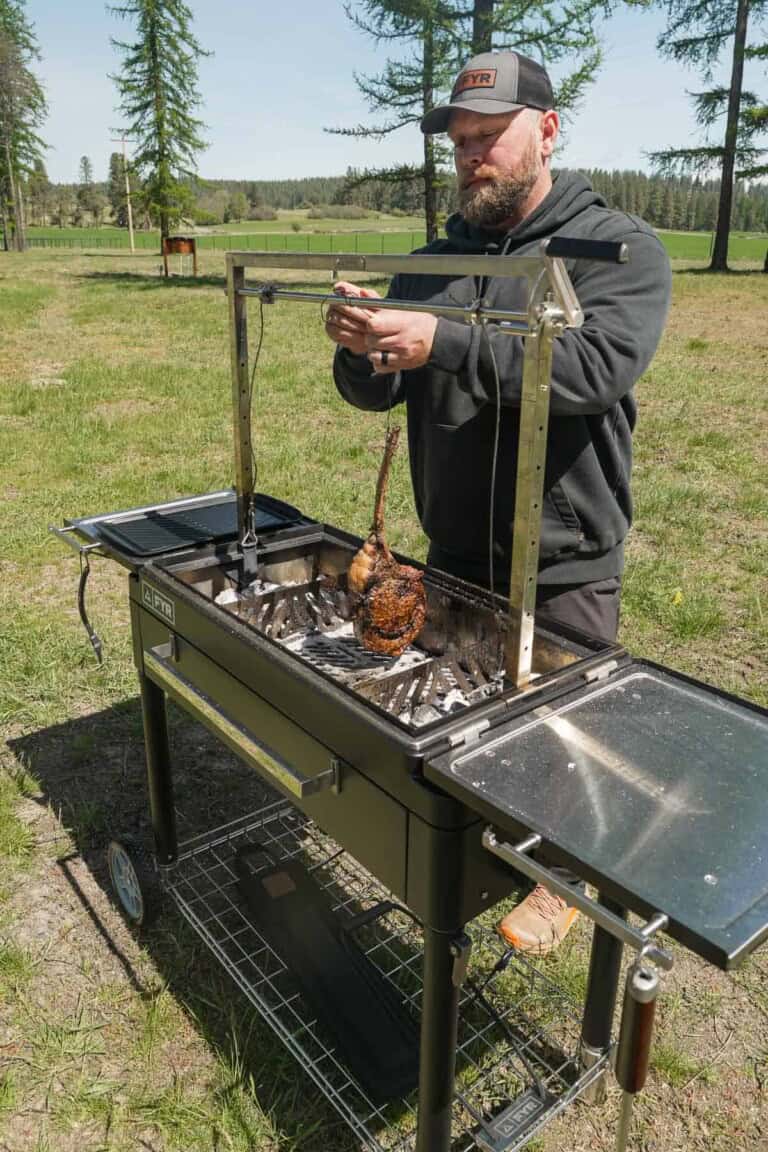
I have had a truly outrageous amount of fun cooking FYR Grill recipes over the last year. We spent so…
The post FYR Grill Recipes appeared first on Over The Fire Cooking.
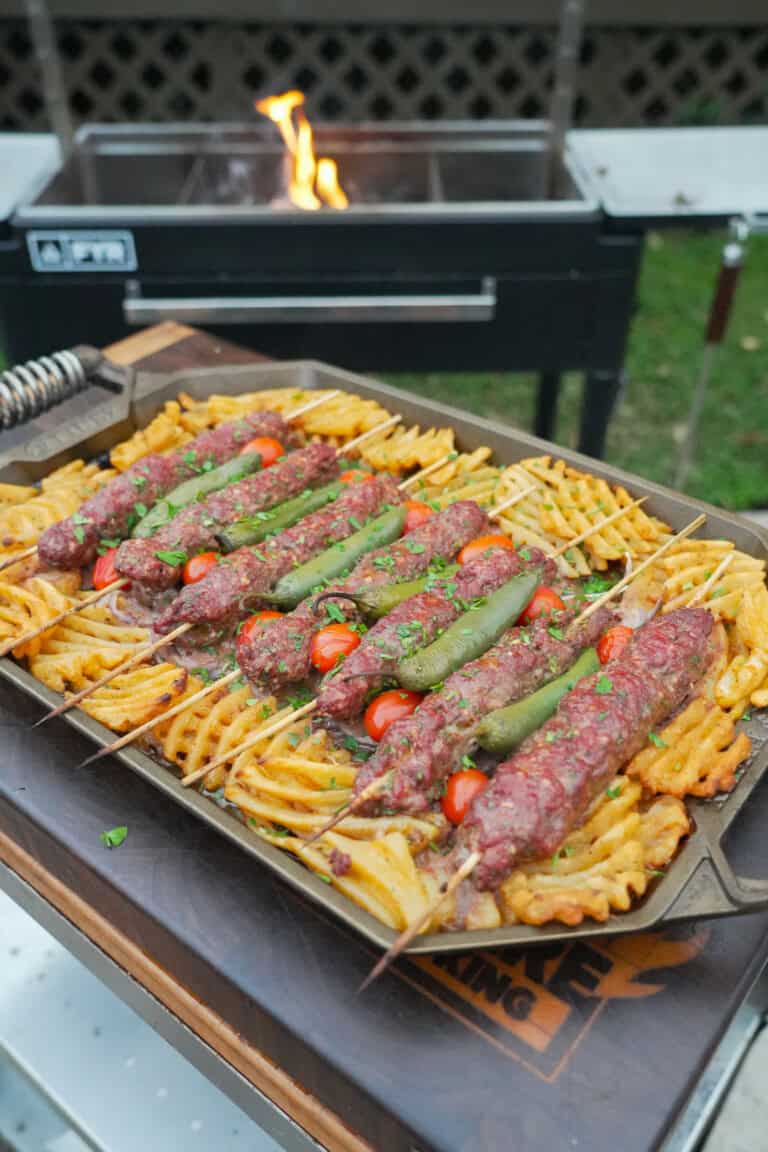
These grilled beef kebabs are going to blow your mind, both in terms of flavor and technique. I got the…
The post Beef Kebabs appeared first on Over The Fire Cooking.

Steak and potatoes are a classic pairing for all the right reasons. But every great classic needs an update every…
The post Jalapeño Popper Croquettes with Steak appeared first on Over The Fire Cooking.

This Cheeseburger Fondue takes the best parts of a cheeseburger and flips the script. Inspired by a famous Japanese dish,…
The post Cheeseburger Fondue appeared first on Over The Fire Cooking.
Diablo Steak one of my go to Halloween recipes, and trust me, it’s spooky in all the right ways. The…
The post Diablo Steak appeared first on Over The Fire Cooking.
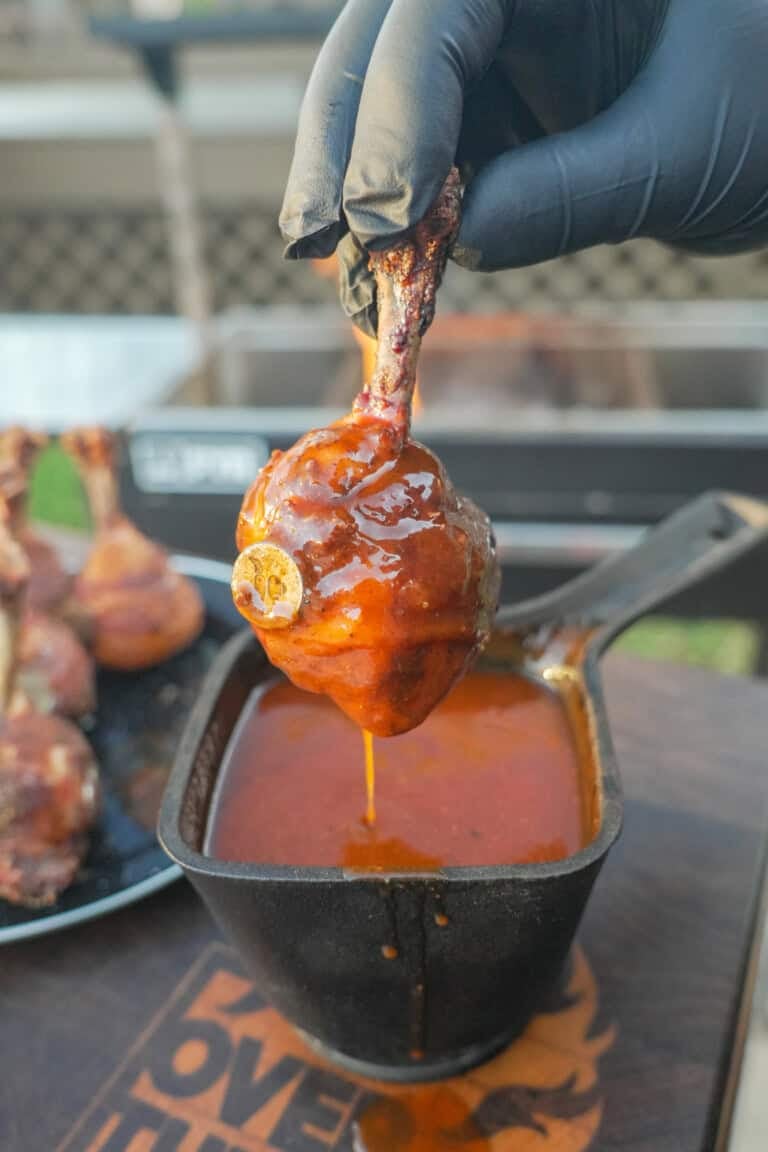
These honey bacon BBQ chicken lollipops are better than any candy. Bacon, beer and barbecue sauce create the perfect flavor…
The post Honey Bacon BBQ Chicken Lollipops appeared first on Over The Fire Cooking.

This epic loaded quesadilla gets some extra flavor and nutrition thanks to a special ingredient: venison. Not only is a…
The post Venison Quesadilla appeared first on Over The Fire Cooking.

Looking for the perfect appetizer that’s lean and loaded with flavor? Stop your scrolling because Smoked Venison Jalapeño Poppers might…
The post Venison Jalapeño Poppers appeared first on Over The Fire Cooking.
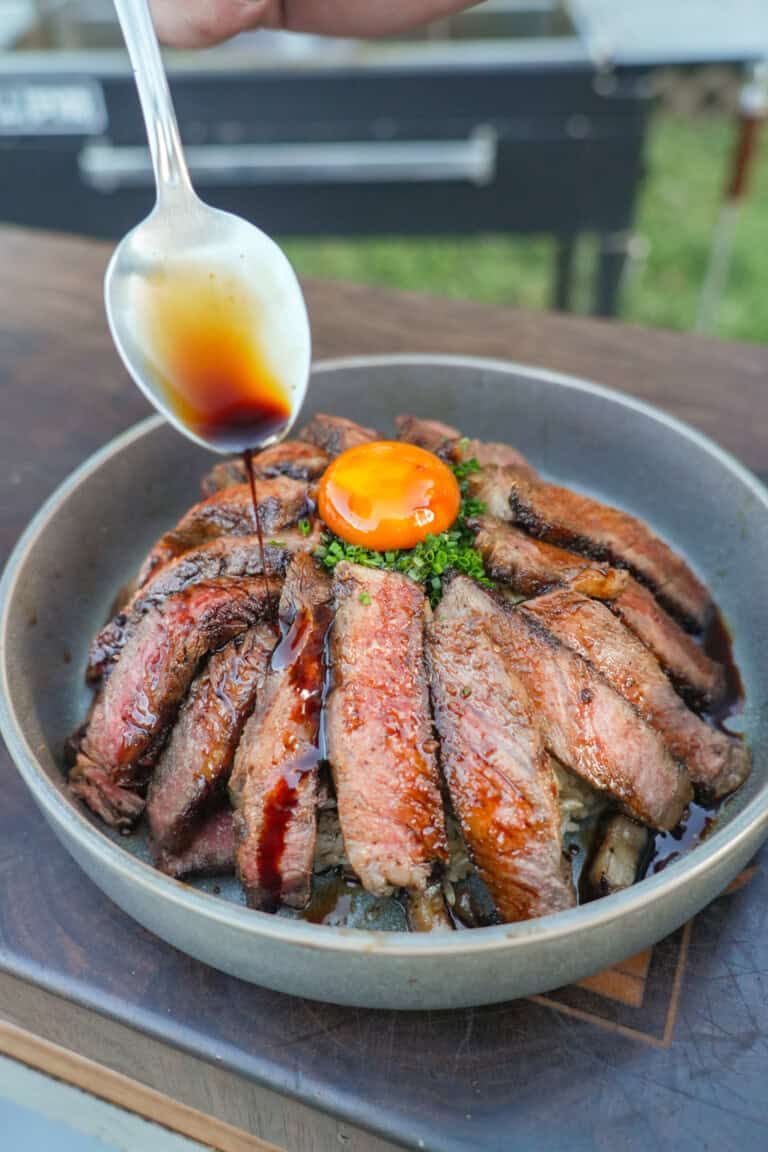
Steak Rice Bowl is my spin on the Japanese classic, Steak Donburi, and it’s got everything you’re craving tonight: sweet,…
The post Steak Rice Bowl appeared first on Over The Fire Cooking.
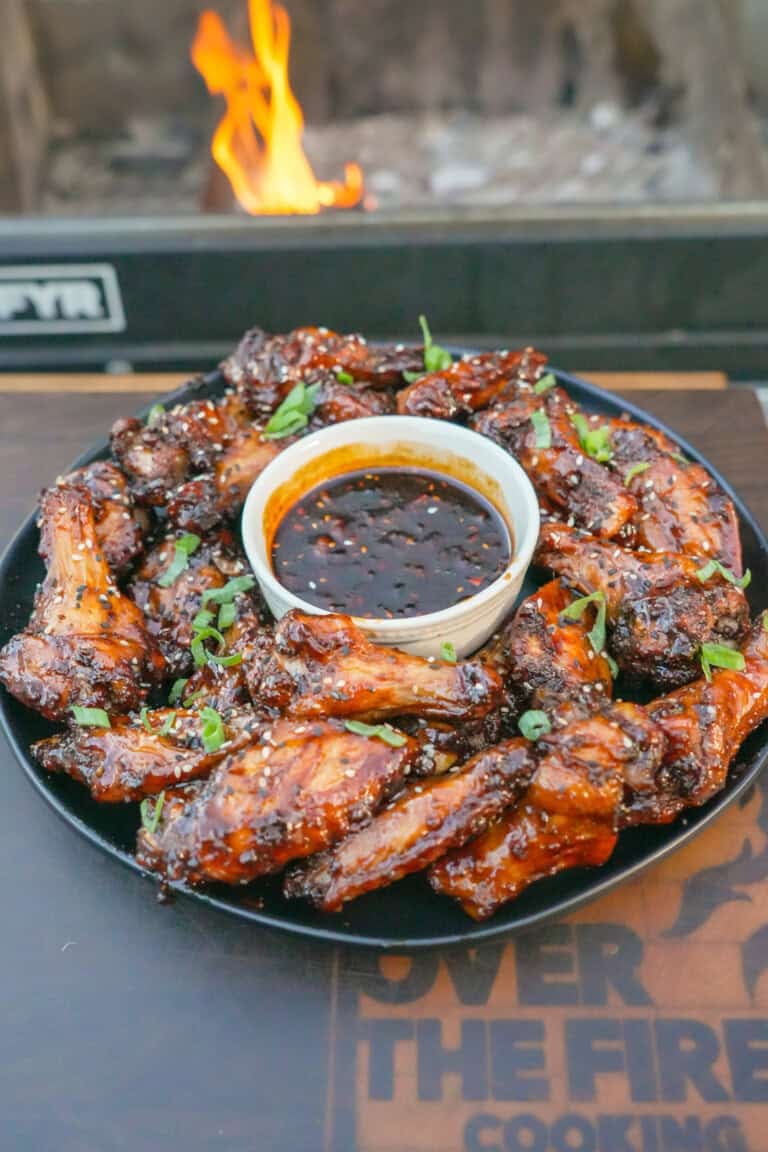
Change whatever plans you had for dinner tonight, because you’re going to want to put these honey Korean gochujang wings…
The post Honey Korean Gochujang Wings appeared first on Over The Fire Cooking.
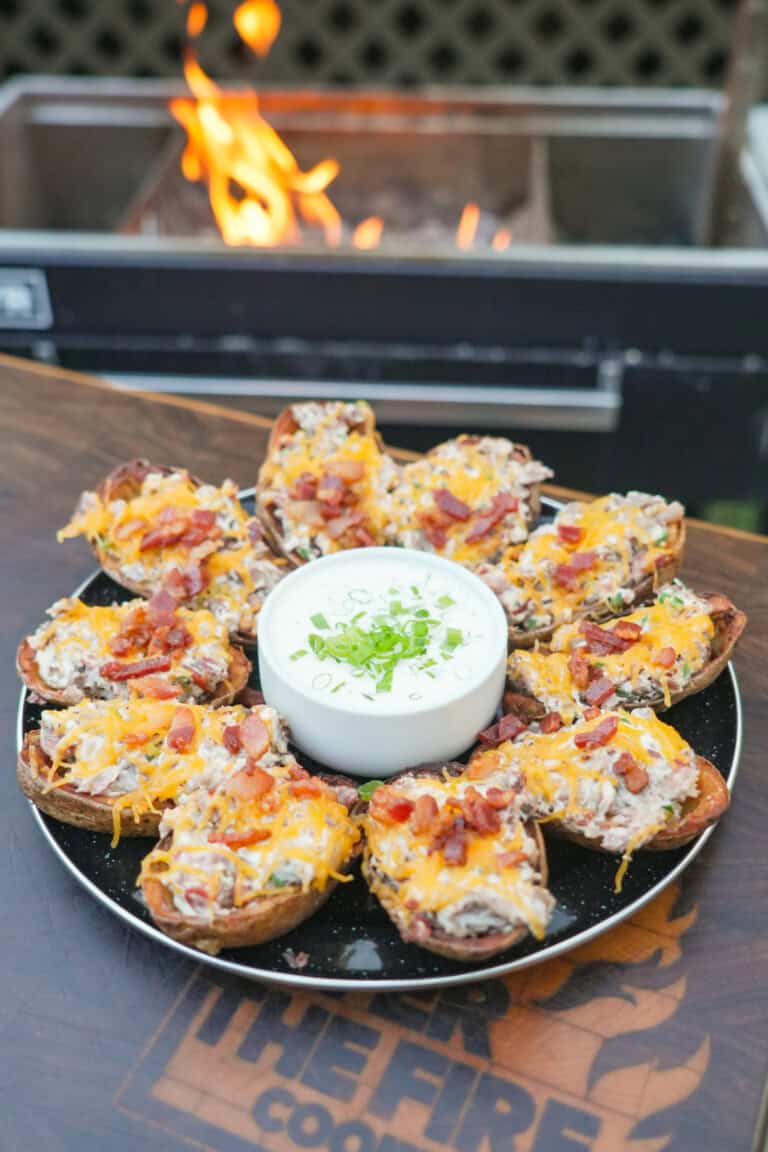
We’re at peak football food season here in Tennessee, which means I’m busting out all my tailgating favorites. And I’m…
The post Fried Potato Skins appeared first on Over The Fire Cooking.
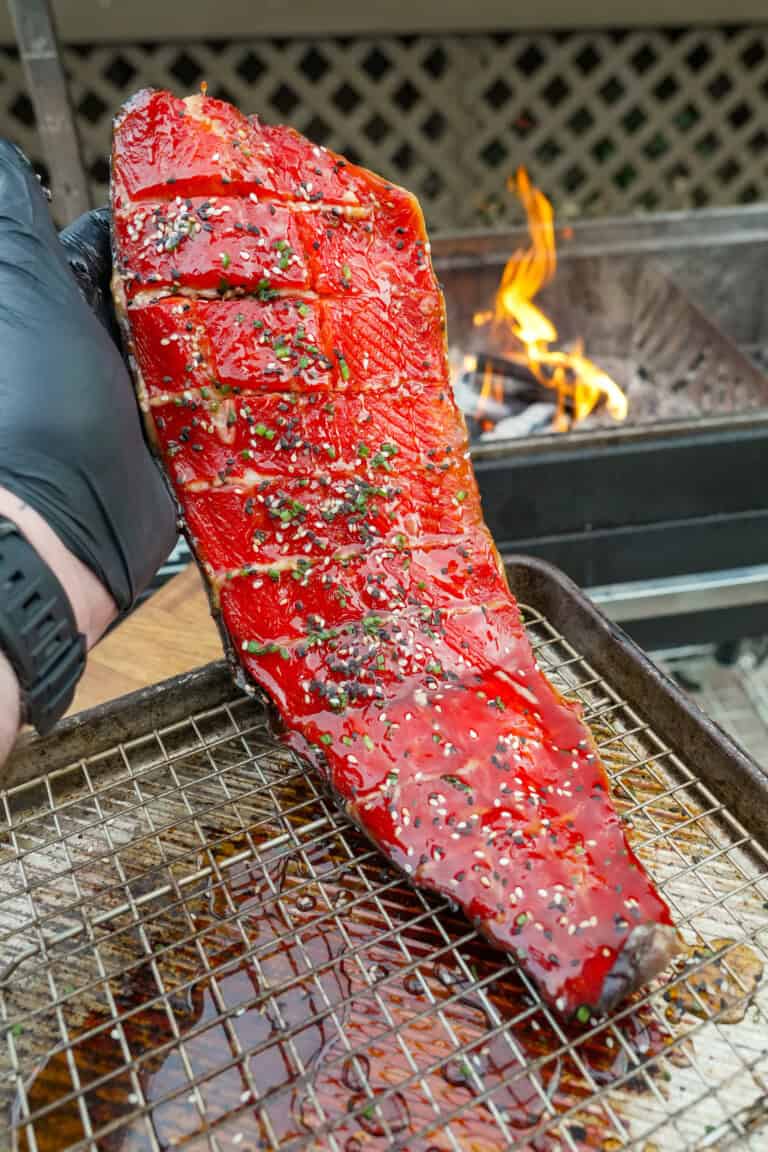
If you’re hunting for a smoked salmon recipe that’s easy and epic, this Smoked Candied Salmon is it. We’re talkin’…
The post Smoked Candied Salmon appeared first on Over The Fire Cooking.
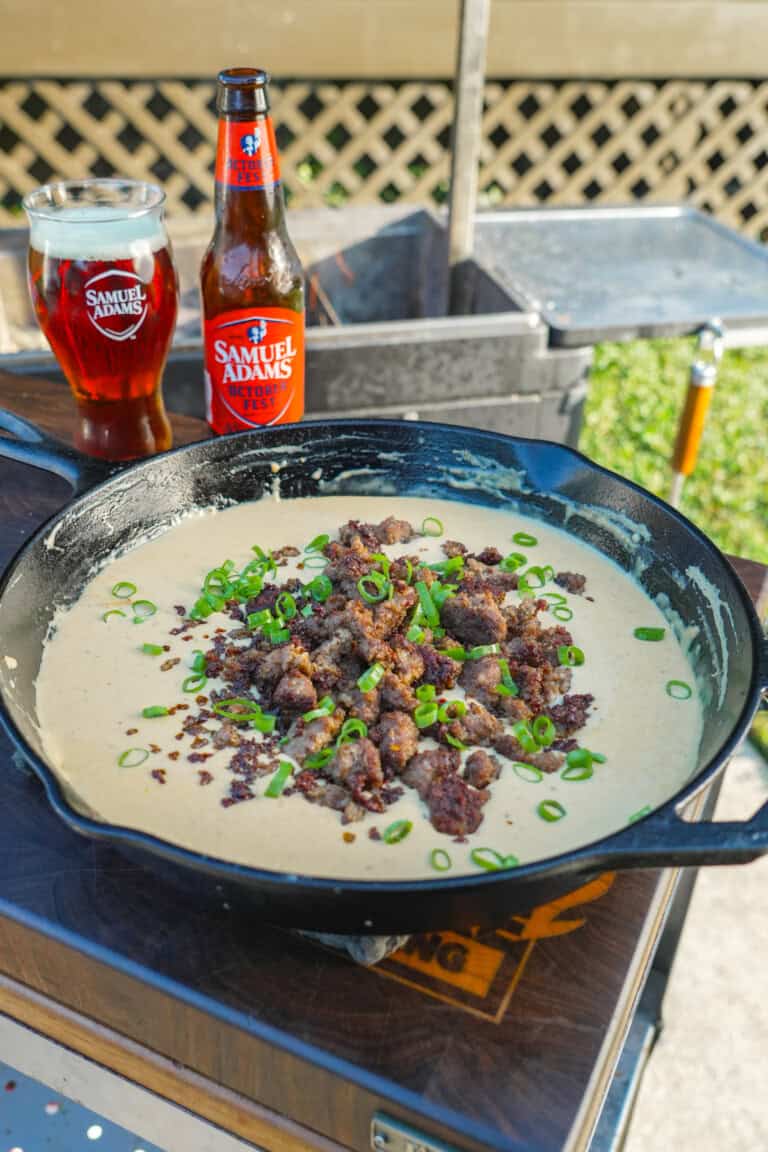
When the air turns crisp, the fire’s crackling in the pit, and leaves start piling up in the yard, nothing…
The post Beer Cheese Dip with Sausage appeared first on Over The Fire Cooking.
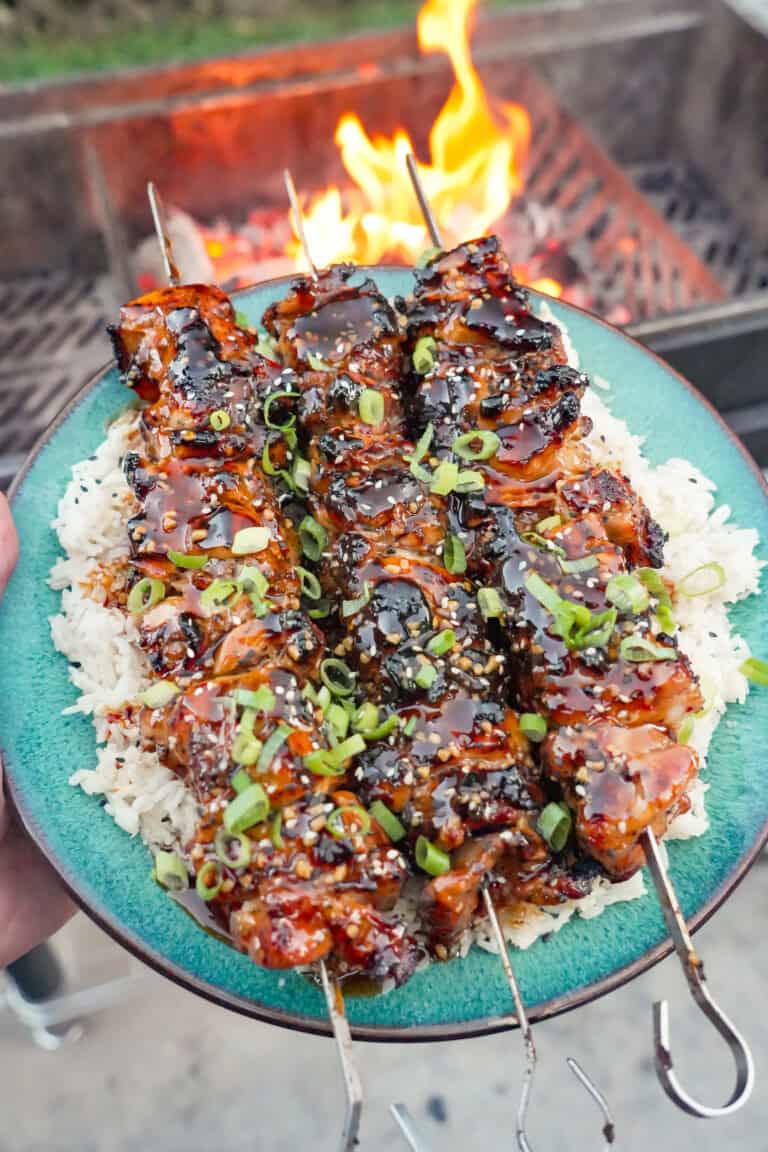
These teriyaki chicken skewers are my next frontier in skewer deliciousness. I’ve used this method — inspired by Turkish dishes…
The post Teriyaki Chicken Skewers appeared first on Over The Fire Cooking.
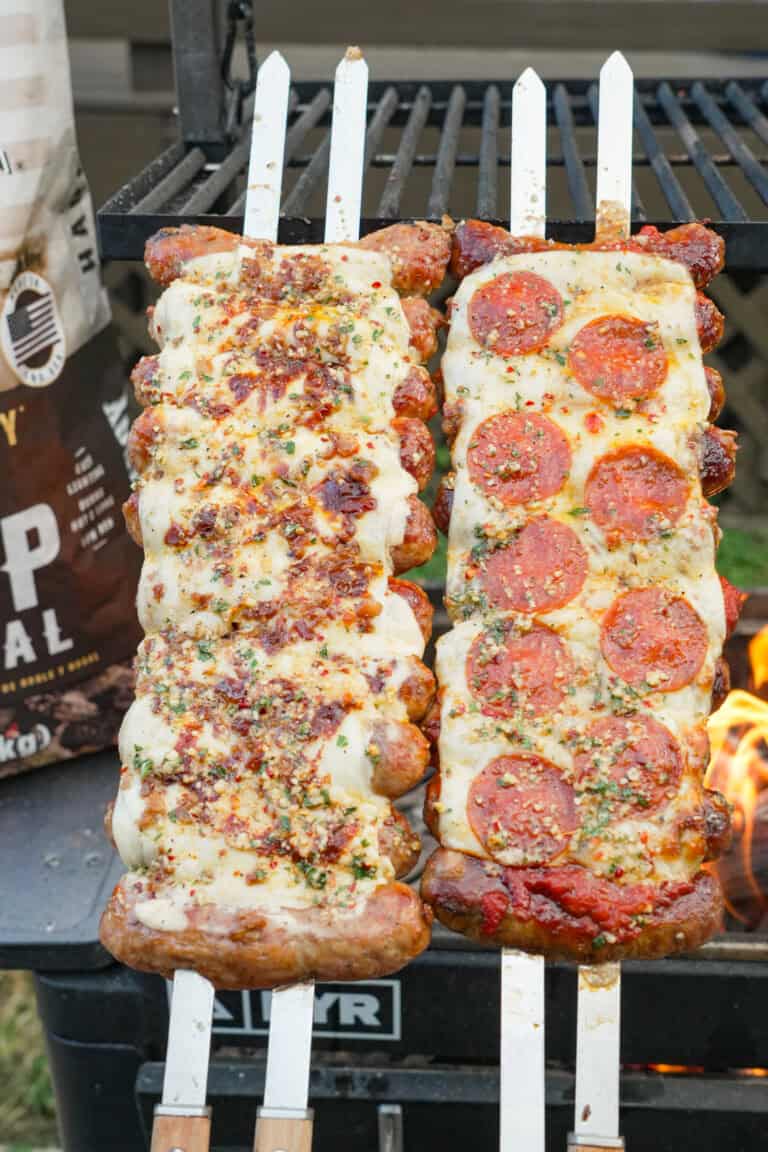
When it comes to pizza, are you a classic red sauce and pepperoni person? Or is white sauce more your…
The post Pizza Sausage Skewers appeared first on Over The Fire Cooking.
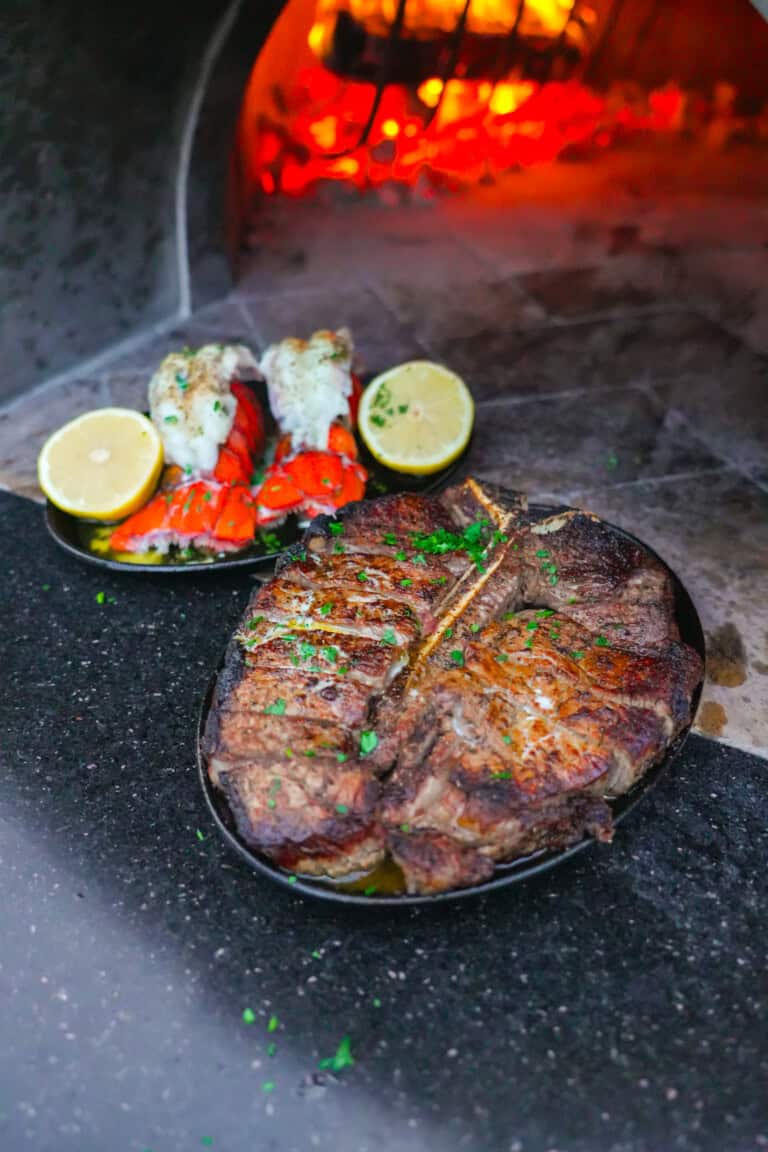
If you’ve ever dreamed about bringing that Brooklyn steakhouse experience home, this Peter Luger Surf and Turf will get you…
The post Peter Luger Surf and Turf appeared first on Over The Fire Cooking.
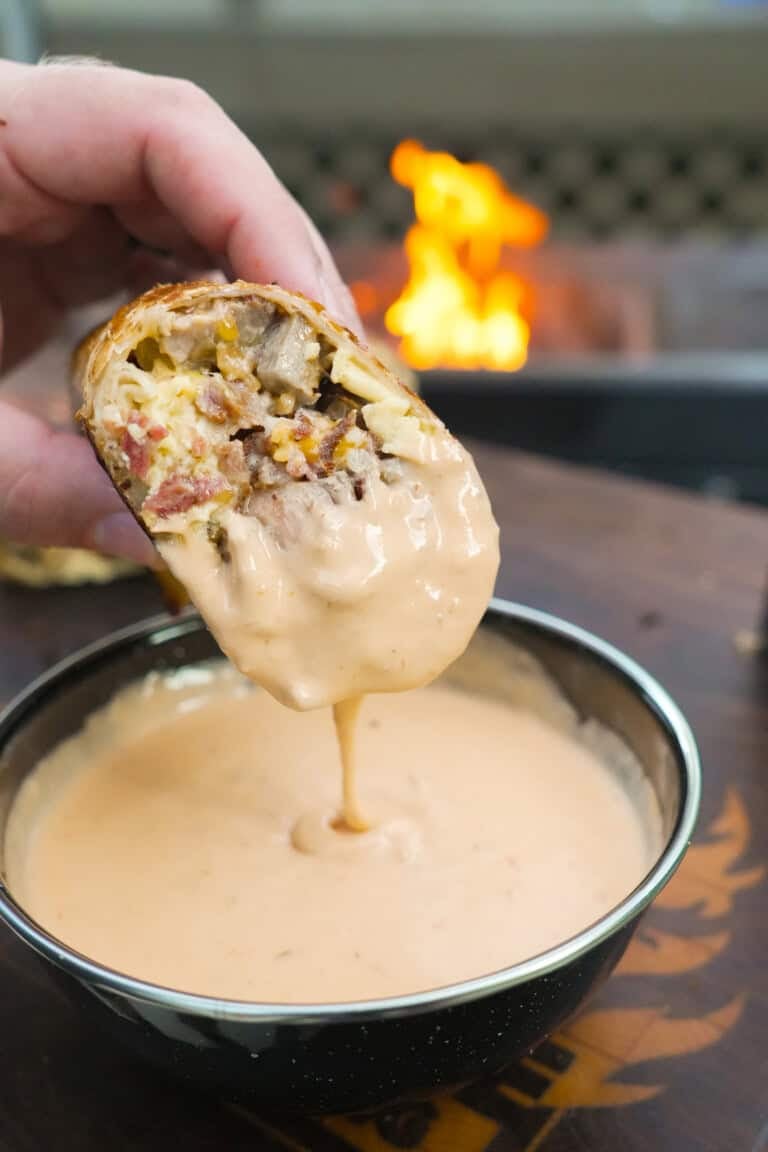
This Steak Breakfast Burrito is big, bold, and beautiful. Made with fresh ingredients with insane flavor, it’s perfect for mornings…
The post Steak Breakfast Burrito appeared first on Over The Fire Cooking.