How to Freeze Tomato Paste: Tomato Paste Hack
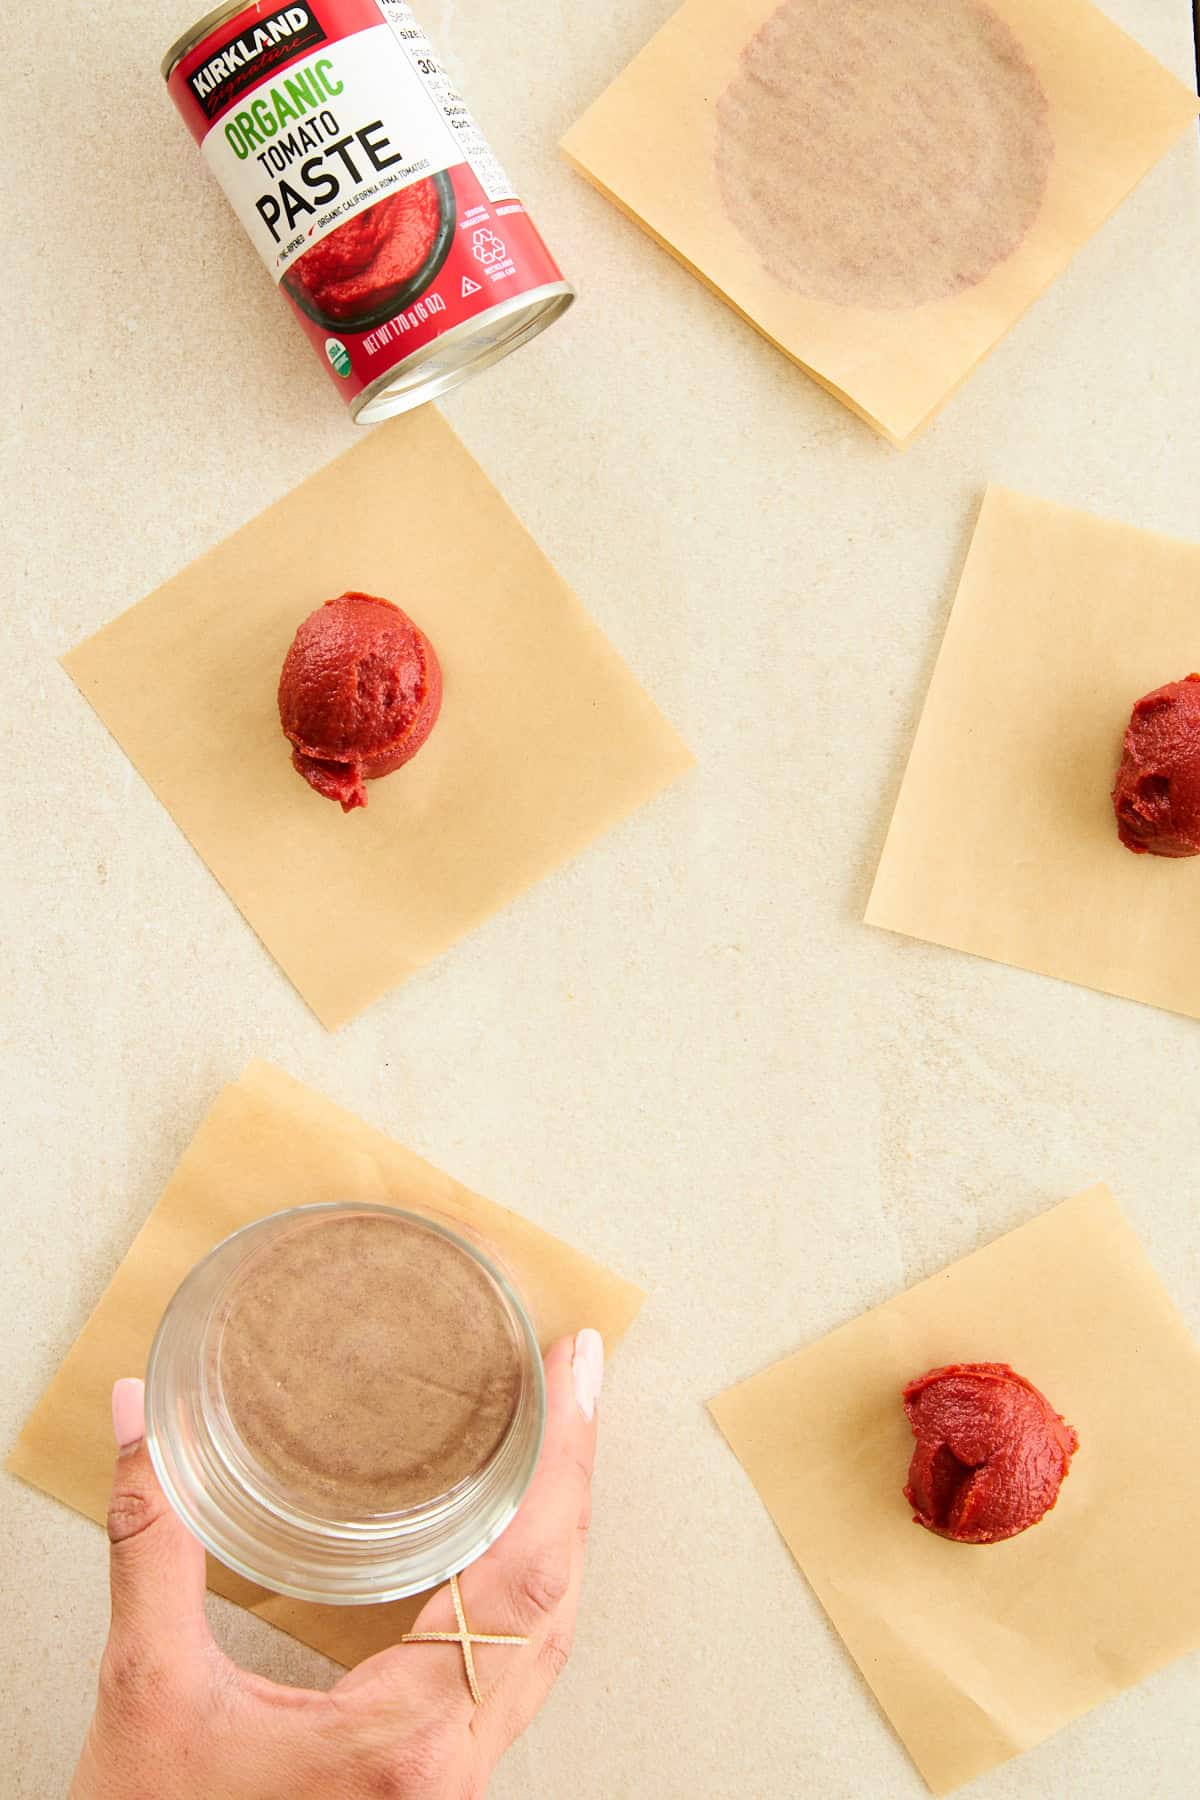 Learn how to freeze tomato paste in single portions to prevent any waste, and make cooking easy thanks to this tomato paste hack!
Learn how to freeze tomato paste in single portions to prevent any waste, and make cooking easy thanks to this tomato paste hack!
 Enjoy all the warm, sweet flavors of cinnamon rolls with the convenience of an easy baked focaccia for a delicious breakfast or dessert!
 Bright, savory, and tangy, this crisp, refreshing panzanella salad recipe is a quick and easy appetizer that makes enough to feed a crowd!
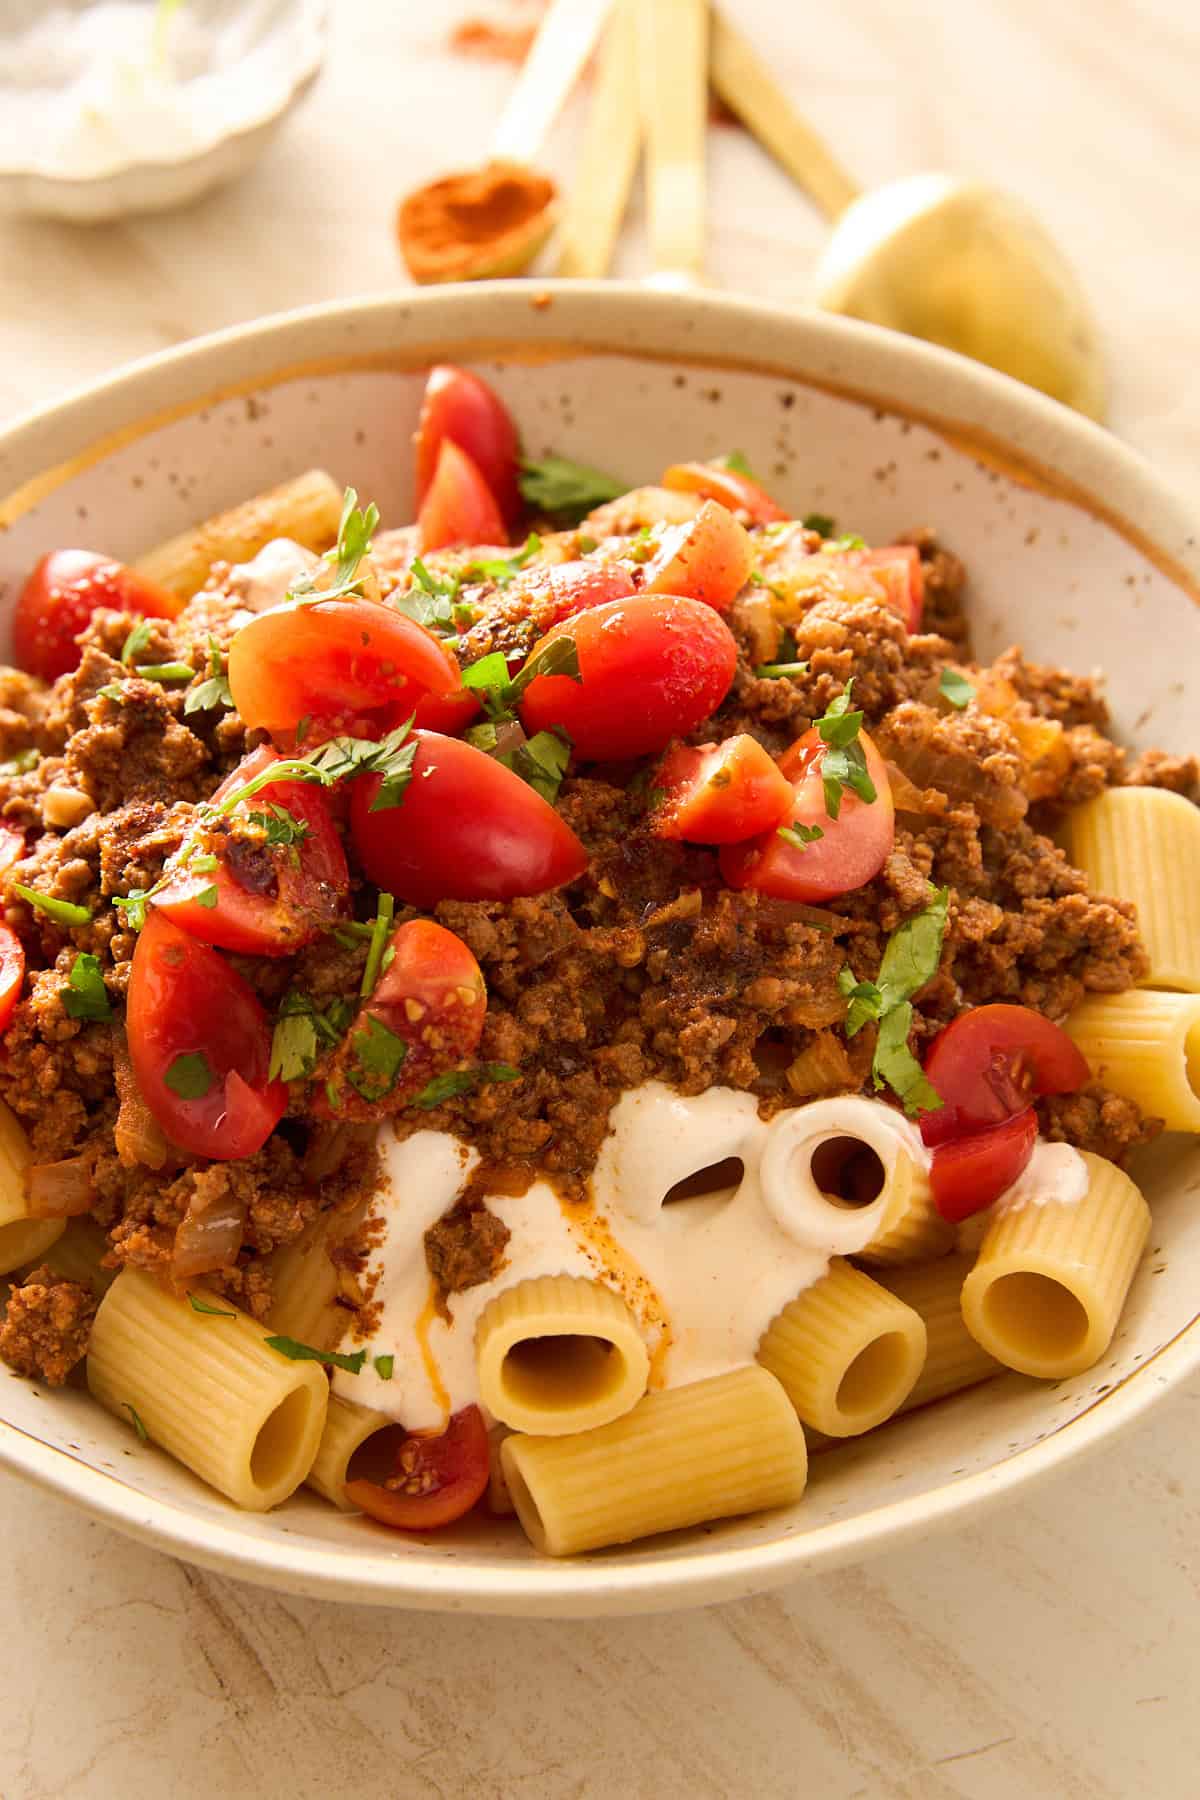
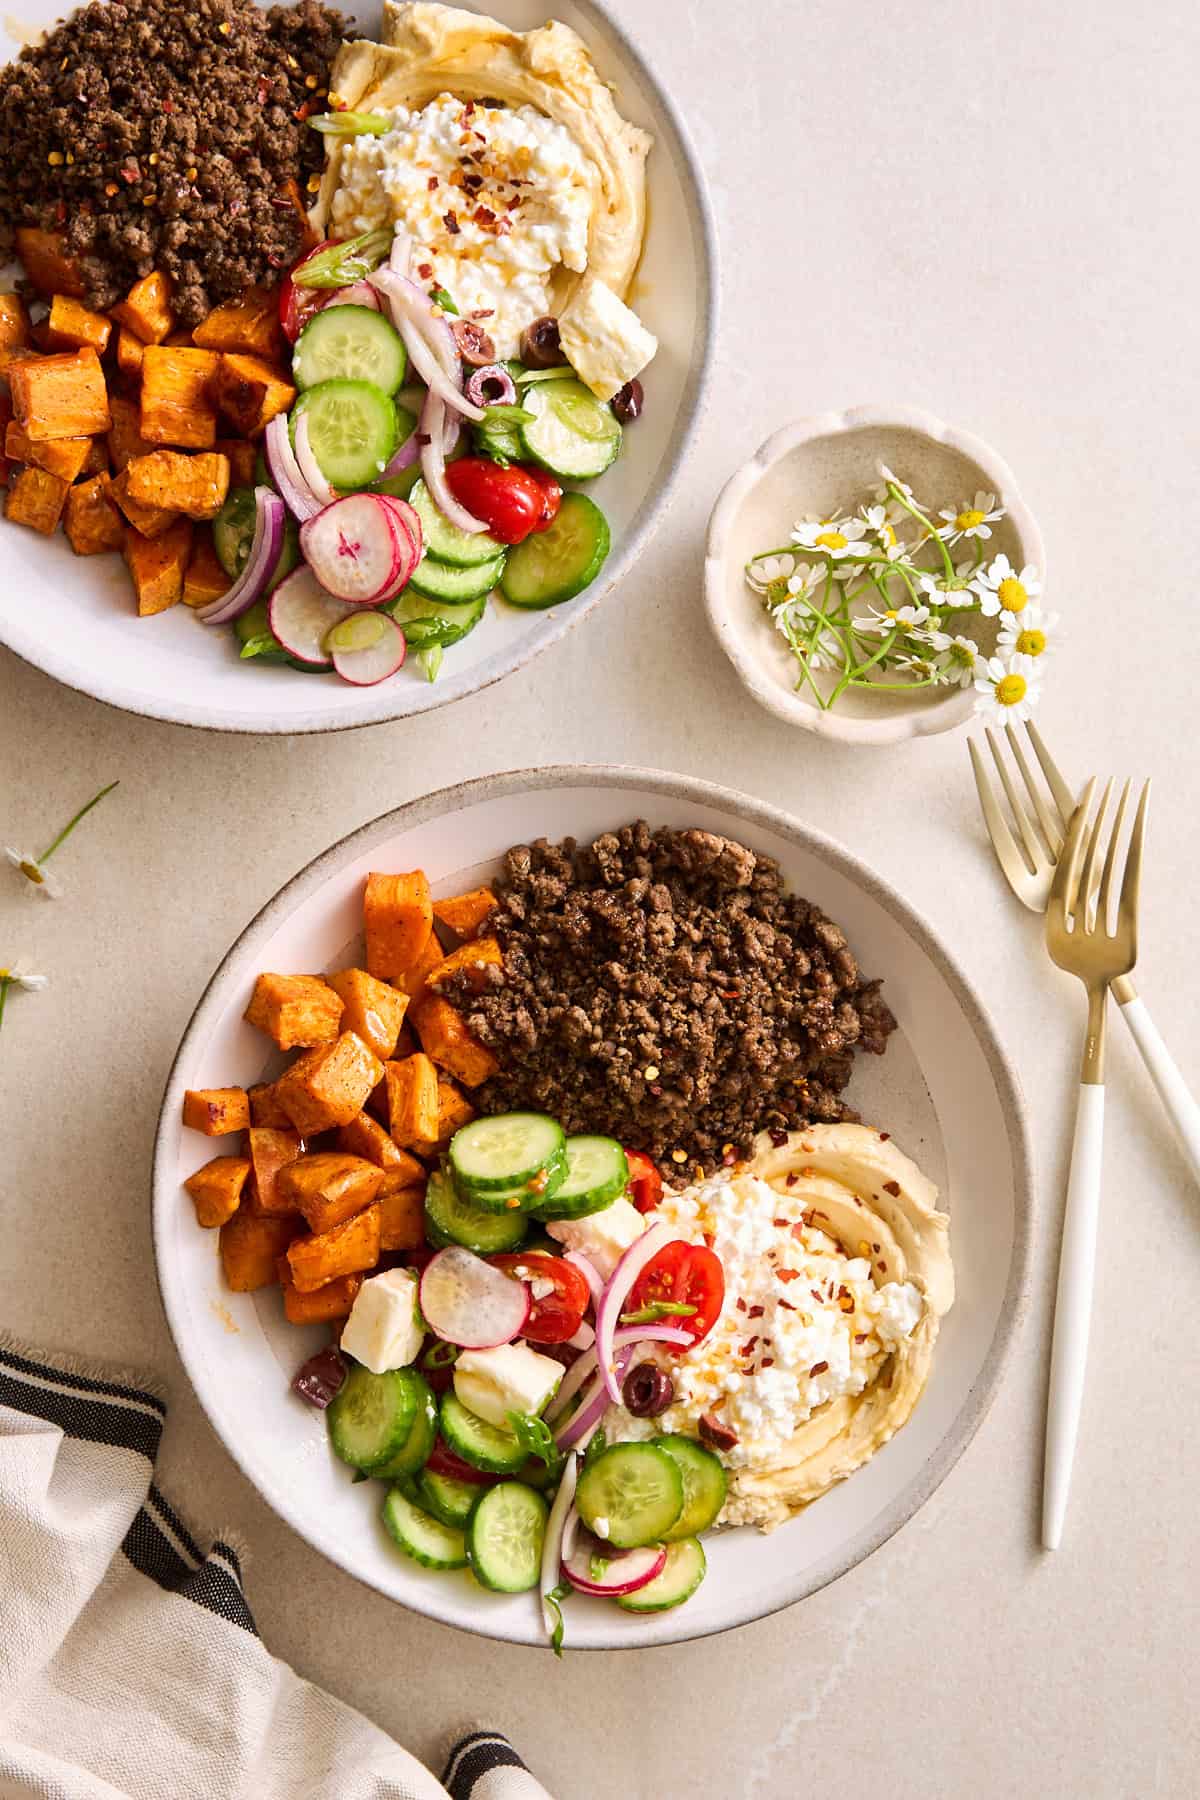 Make these Mediterranean-inspired ground beef bowls with cottage cheese, fresh veggies, and roasted sweet potatoes for a hearty meal!
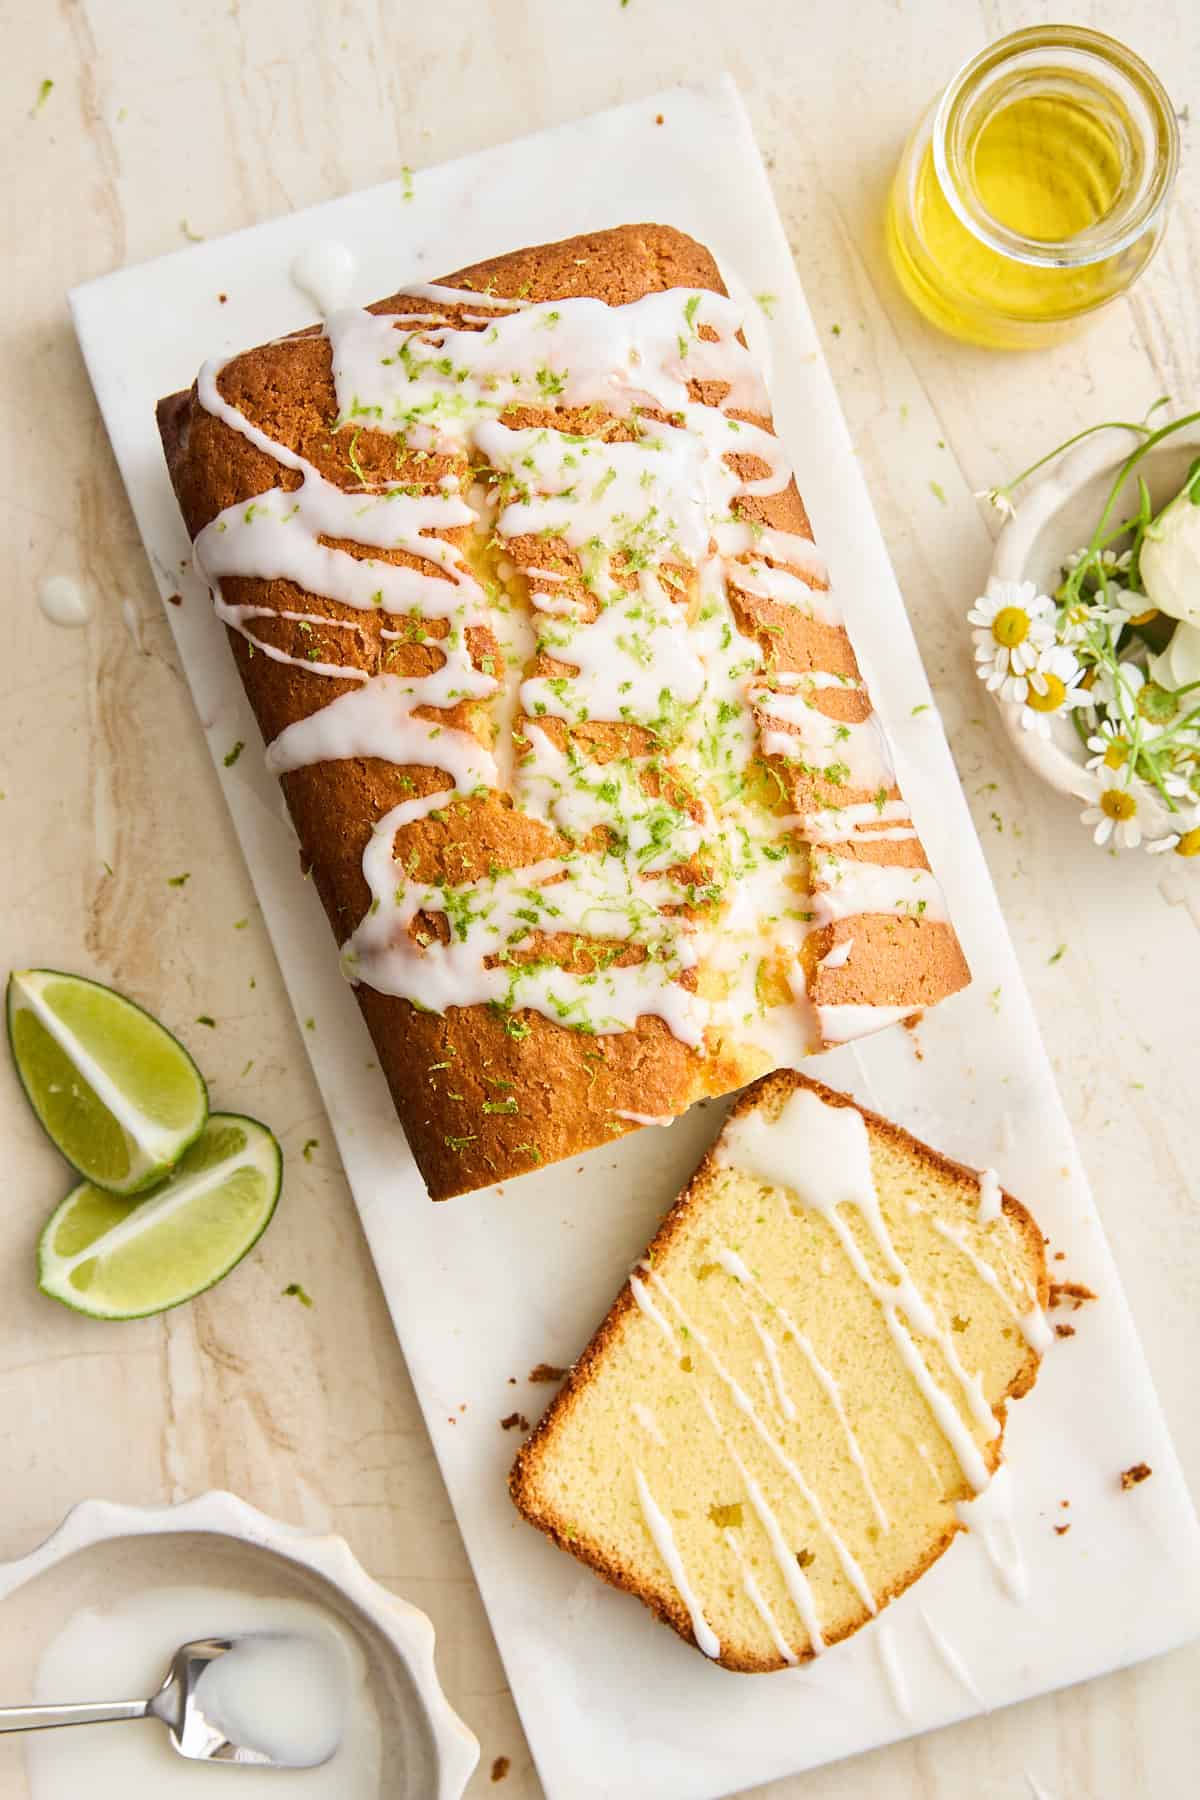 Enjoy all the flavors of your favorite pie with a lot less work, thanks to this quick and easy key lime bread topped with lime glaze!
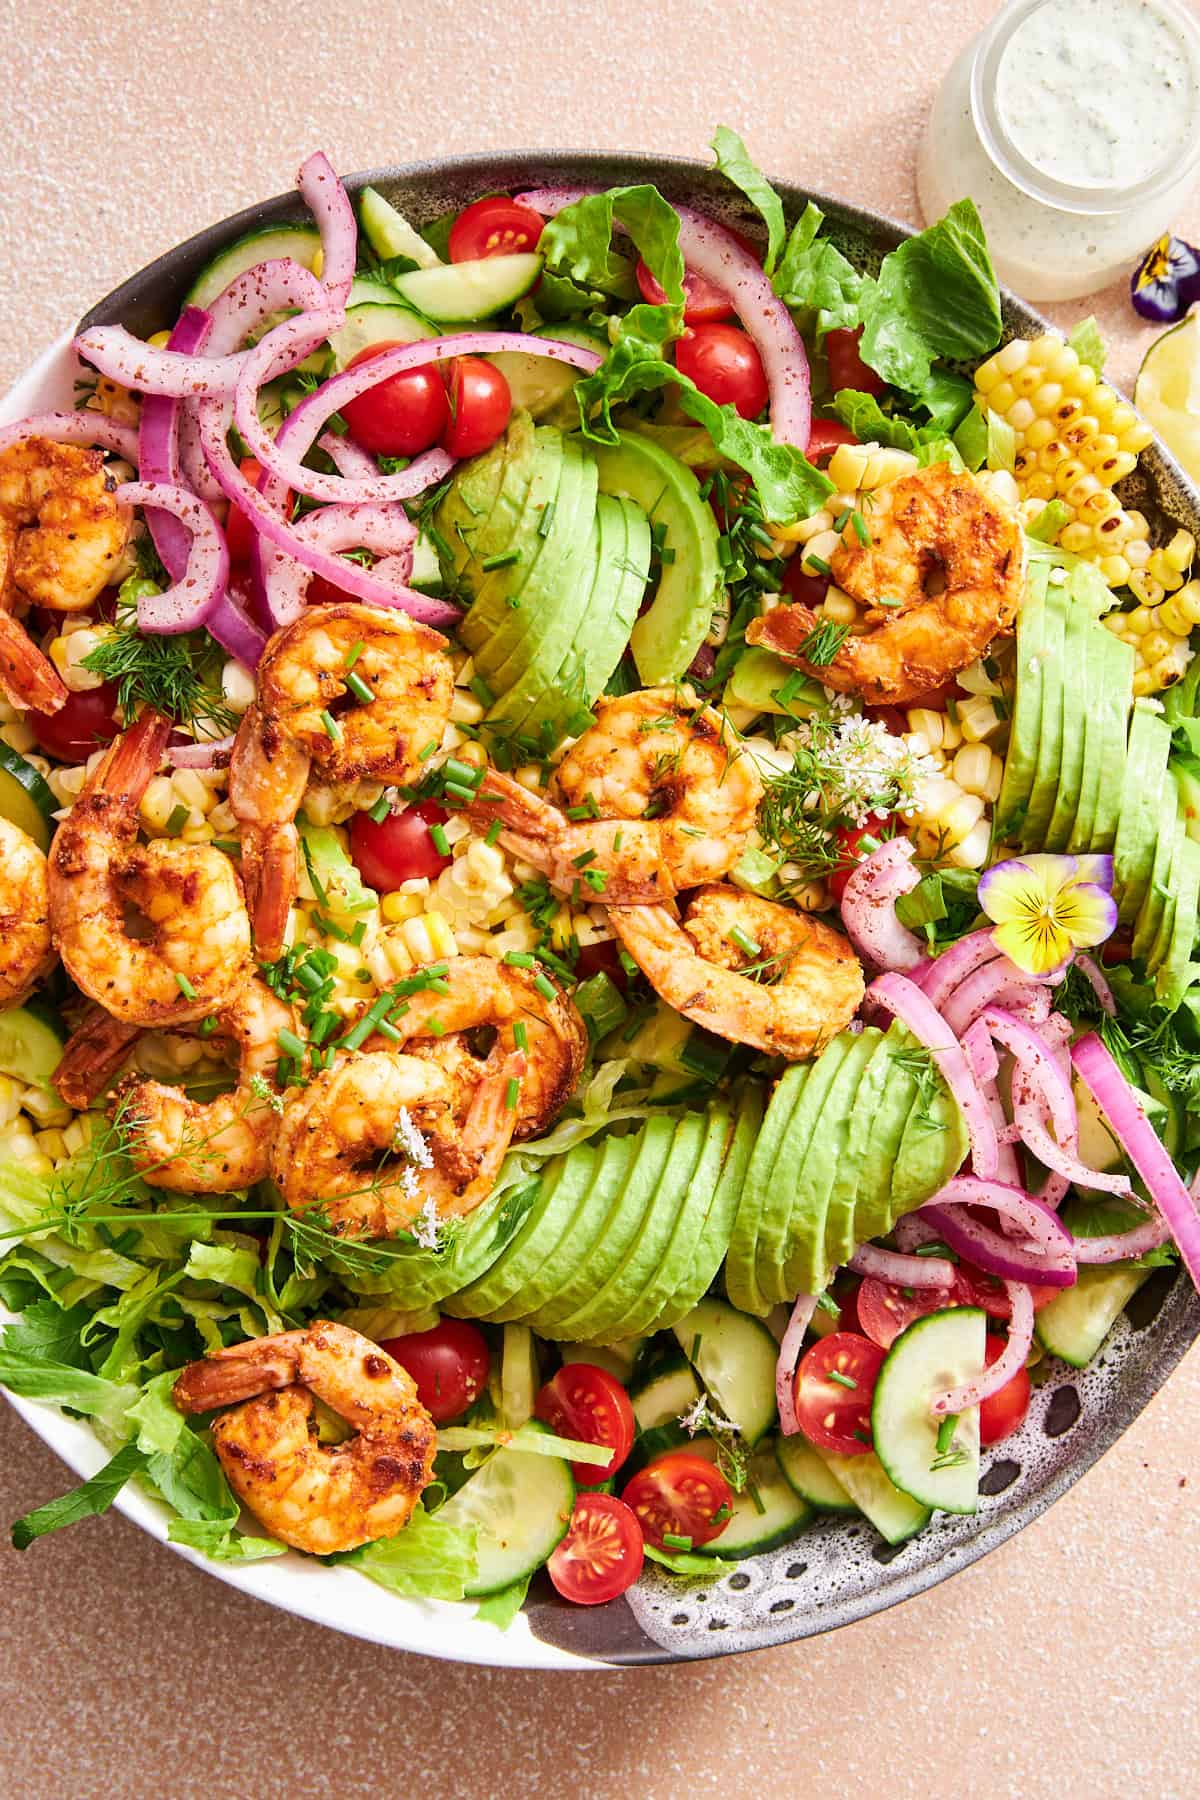 Find a list of the best savory salads for hearty, nutritious appetizers or main courses that are anything but boring!
 Answer the question, “What’s for dinner?” with confidence thanks to these fuss-free, flavorful, kid-friendly dinner recipes!
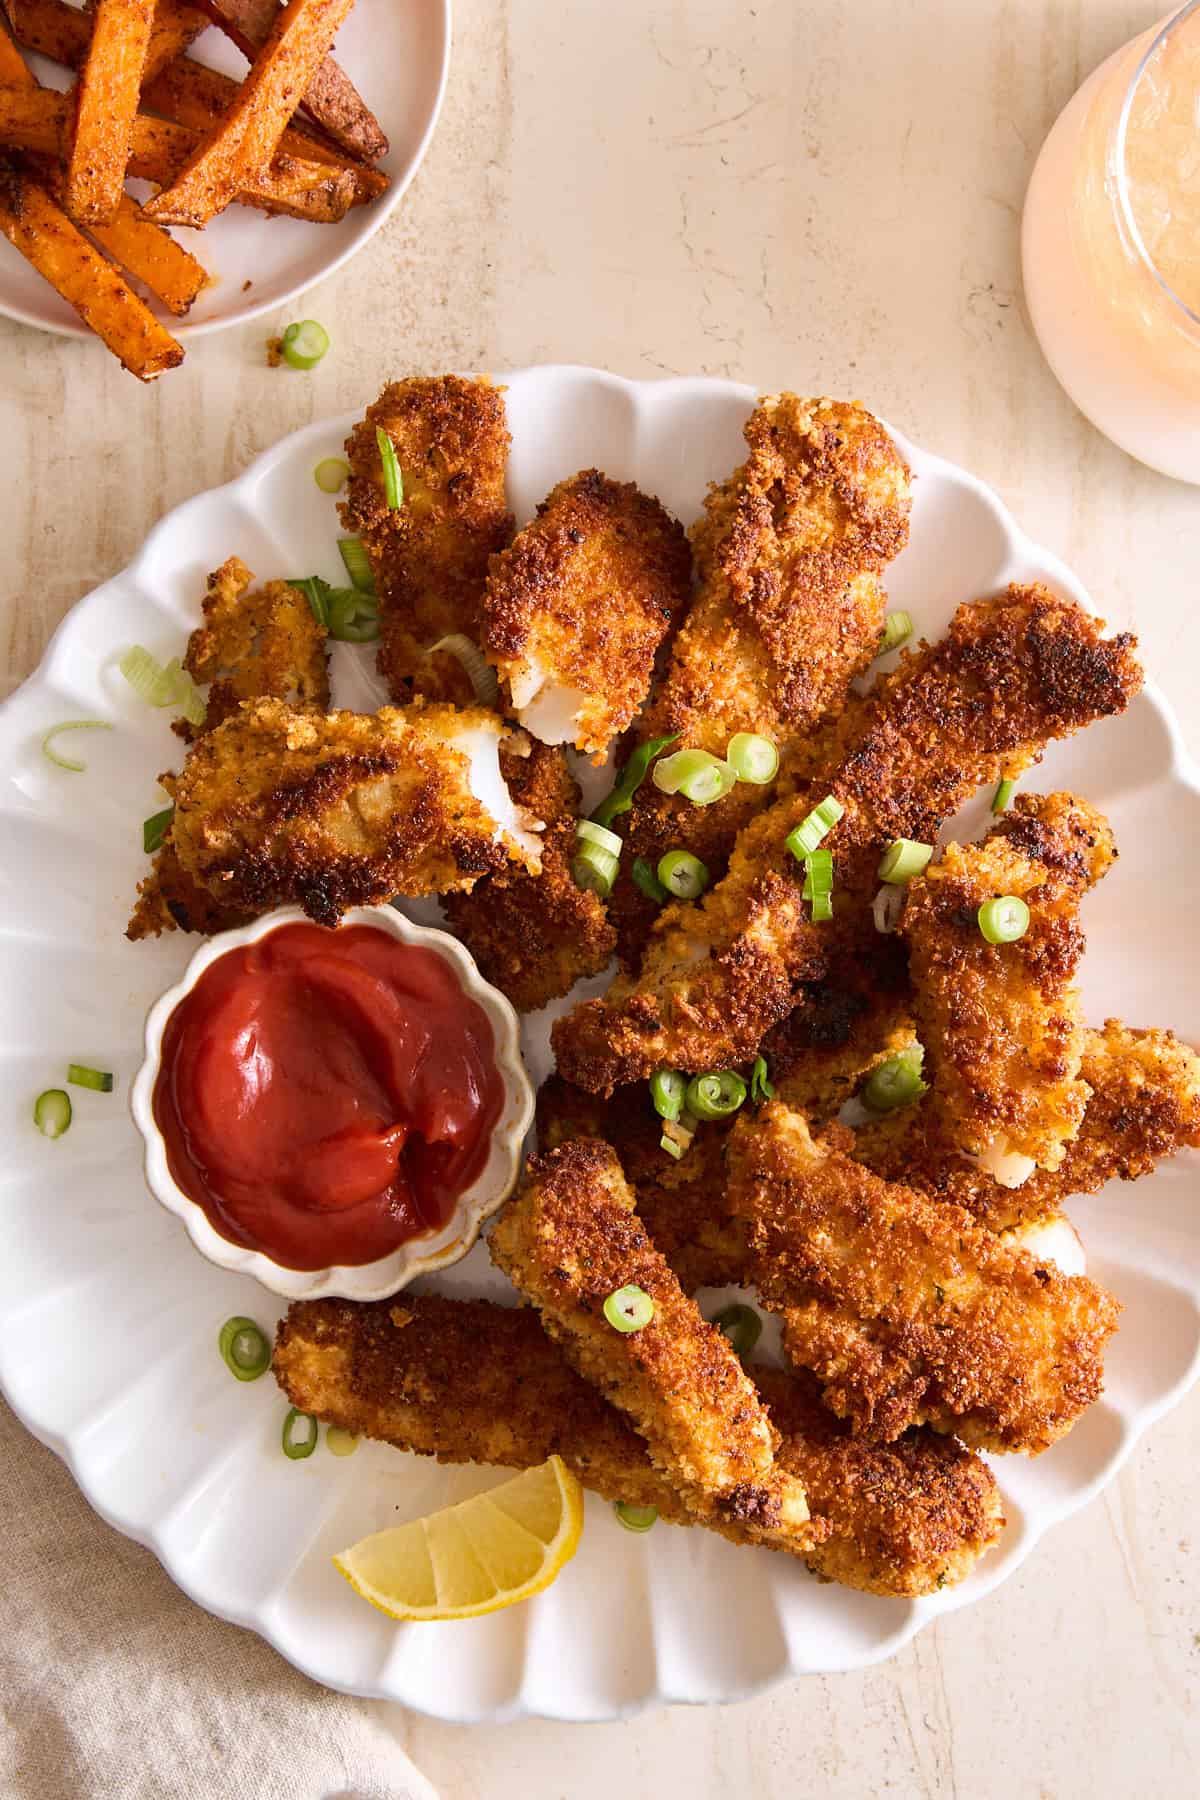 Skip the frozen store-bought options, and make this easy fish sticks recipe with a panko breading in less than ten minutes on the stove!
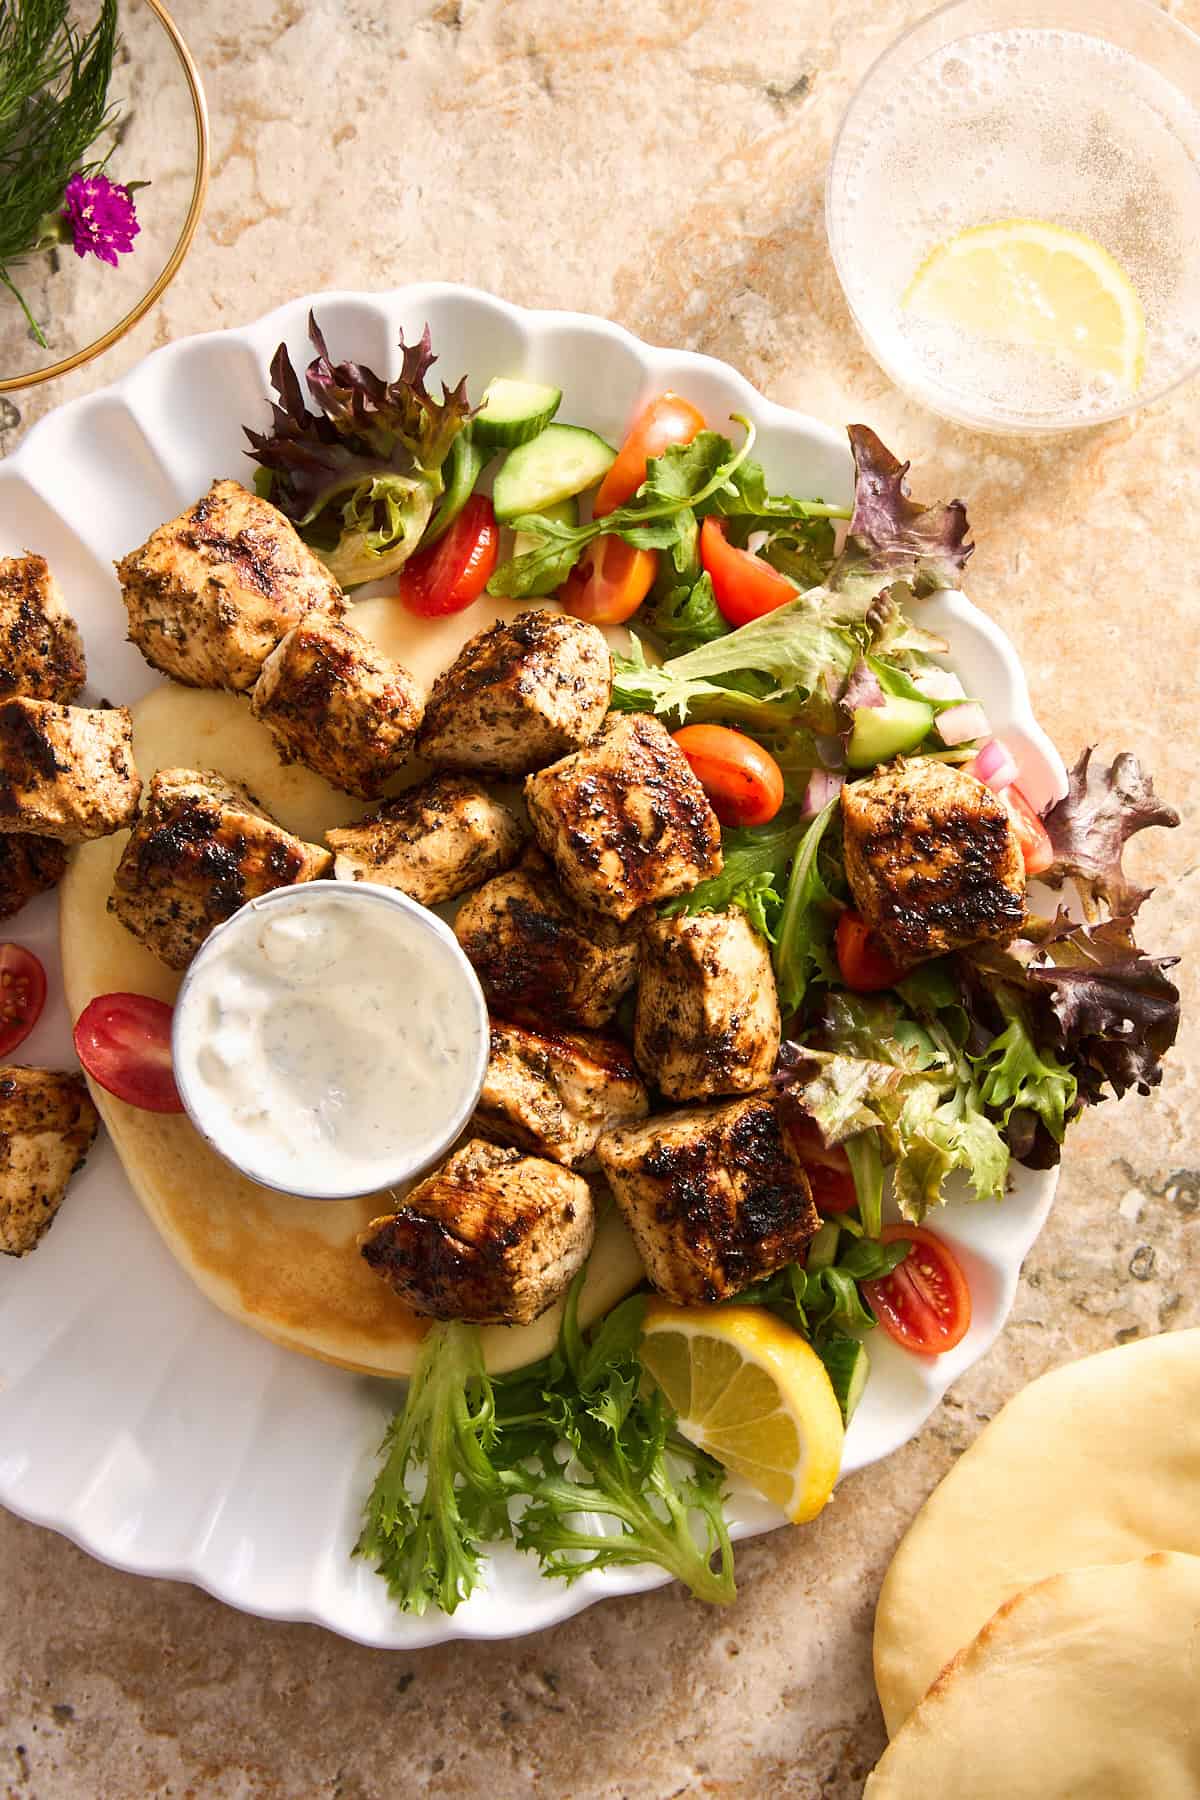 Make this marinated Mediterranean chicken breast recipe on the grill, in an air fryer, or in the oven for a juicy, flavorful protein source!
 Skip the store-bought options, and make this everything but the bagel seasoning recipe with six ingredients you likely already have on hand!
 Serve this cucumber and tomatoes with cottage cheese recipe for a quick and easy appetizer, snack, or light lunch!
 Learn how to make the iconic one-pot Meghan Markle pasta recipe from the comfort of your kitchen with this easy copycat dish!
 Make this sweet grape salad recipe with two flavor variations for a quick and easy side dish or dessert perfect for every occasion!
 Skip frozen options, and make these easy mini waffles at home with less than ten basic ingredients in minutes instead!
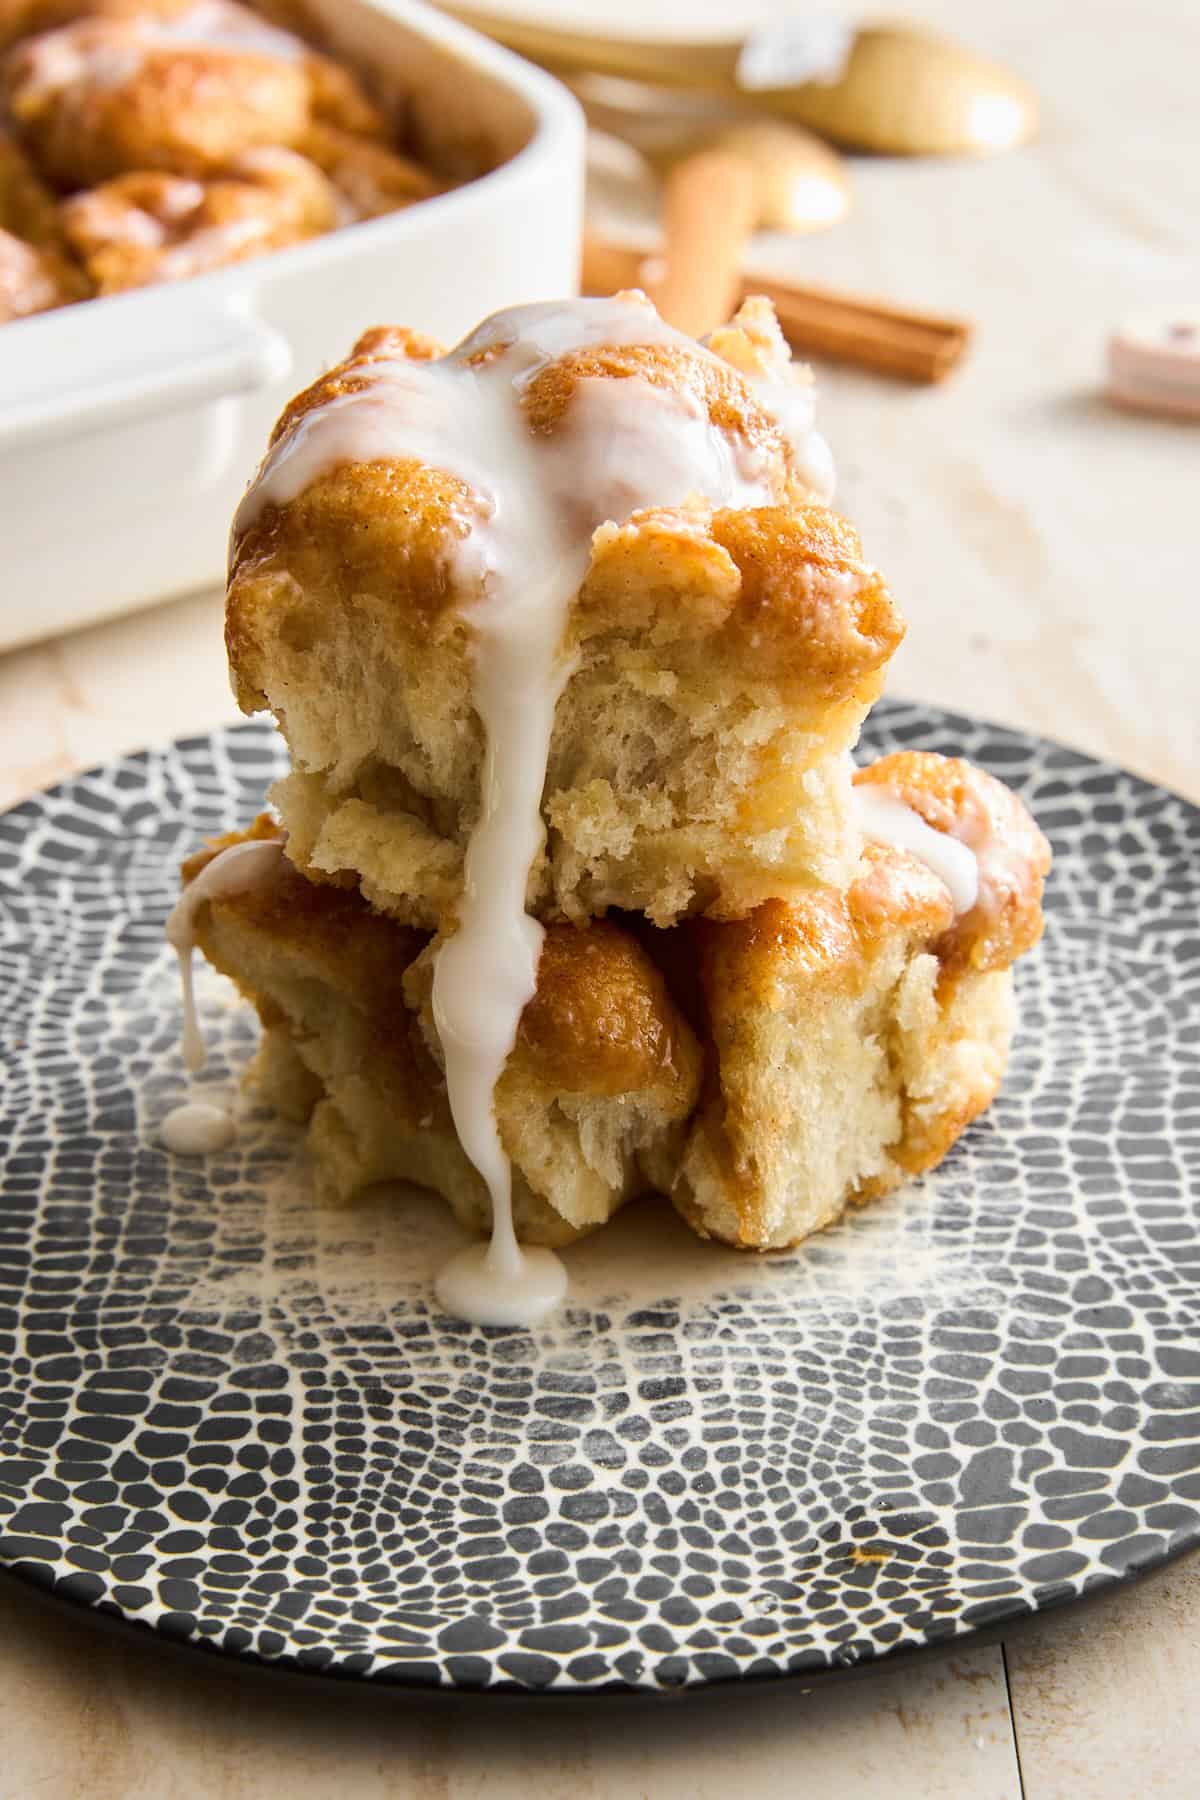
 Prepare this cinnamon sugar pull apart bread using dinner rolls, butter, cinnamon, and sugar for a 30 minute breakfast or dessert you’ll love!
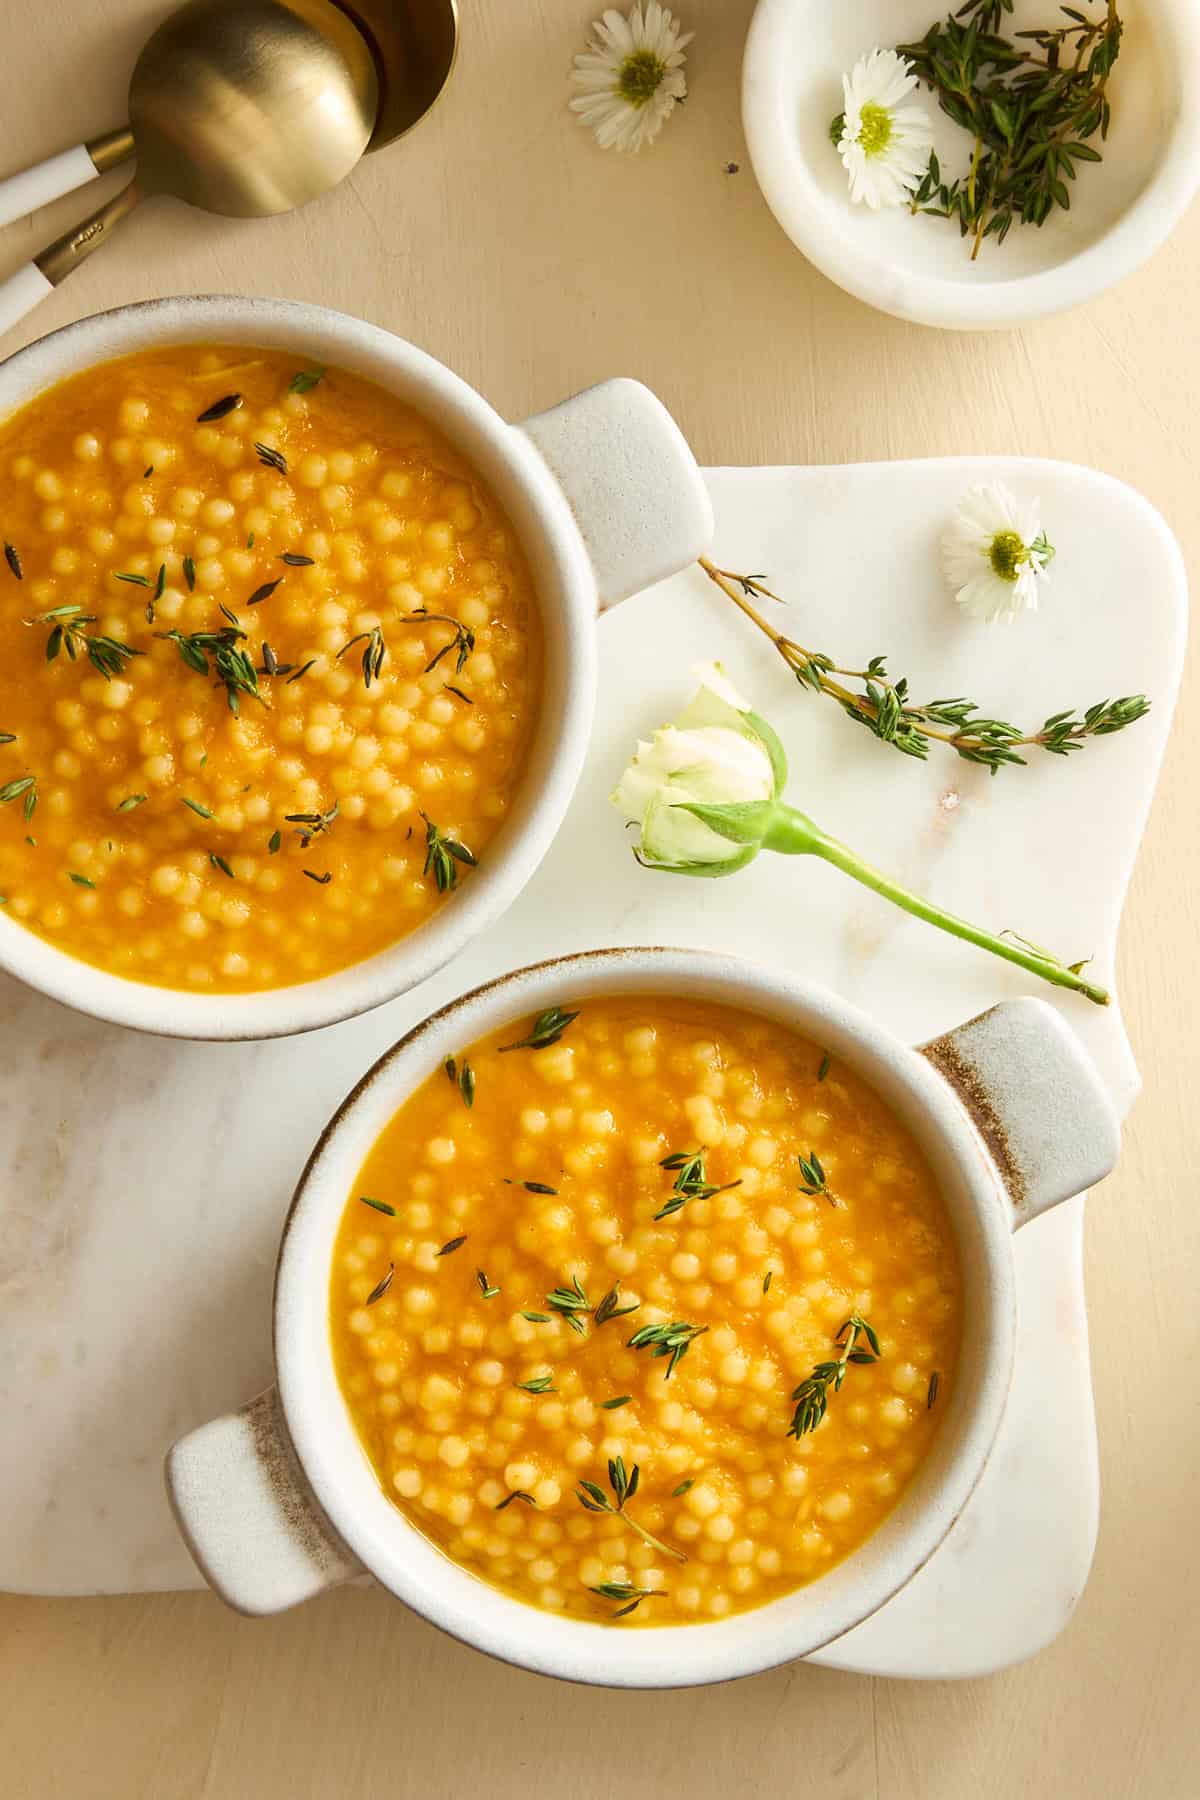 Make this easy, cheesy pastina soup recipe in under an hour for a rich, comfort food secretly full of veggies!
 Learn how to make restaurant-worthy fajitas in just 20 minutes with eight ingredients thanks to this air fryer steak fajitas recipe!
 Put a fun twist on a traditional holiday treat with this easy Nutella thumbprint cookies recipe filled with rich, hazelnut chocolate flavor!
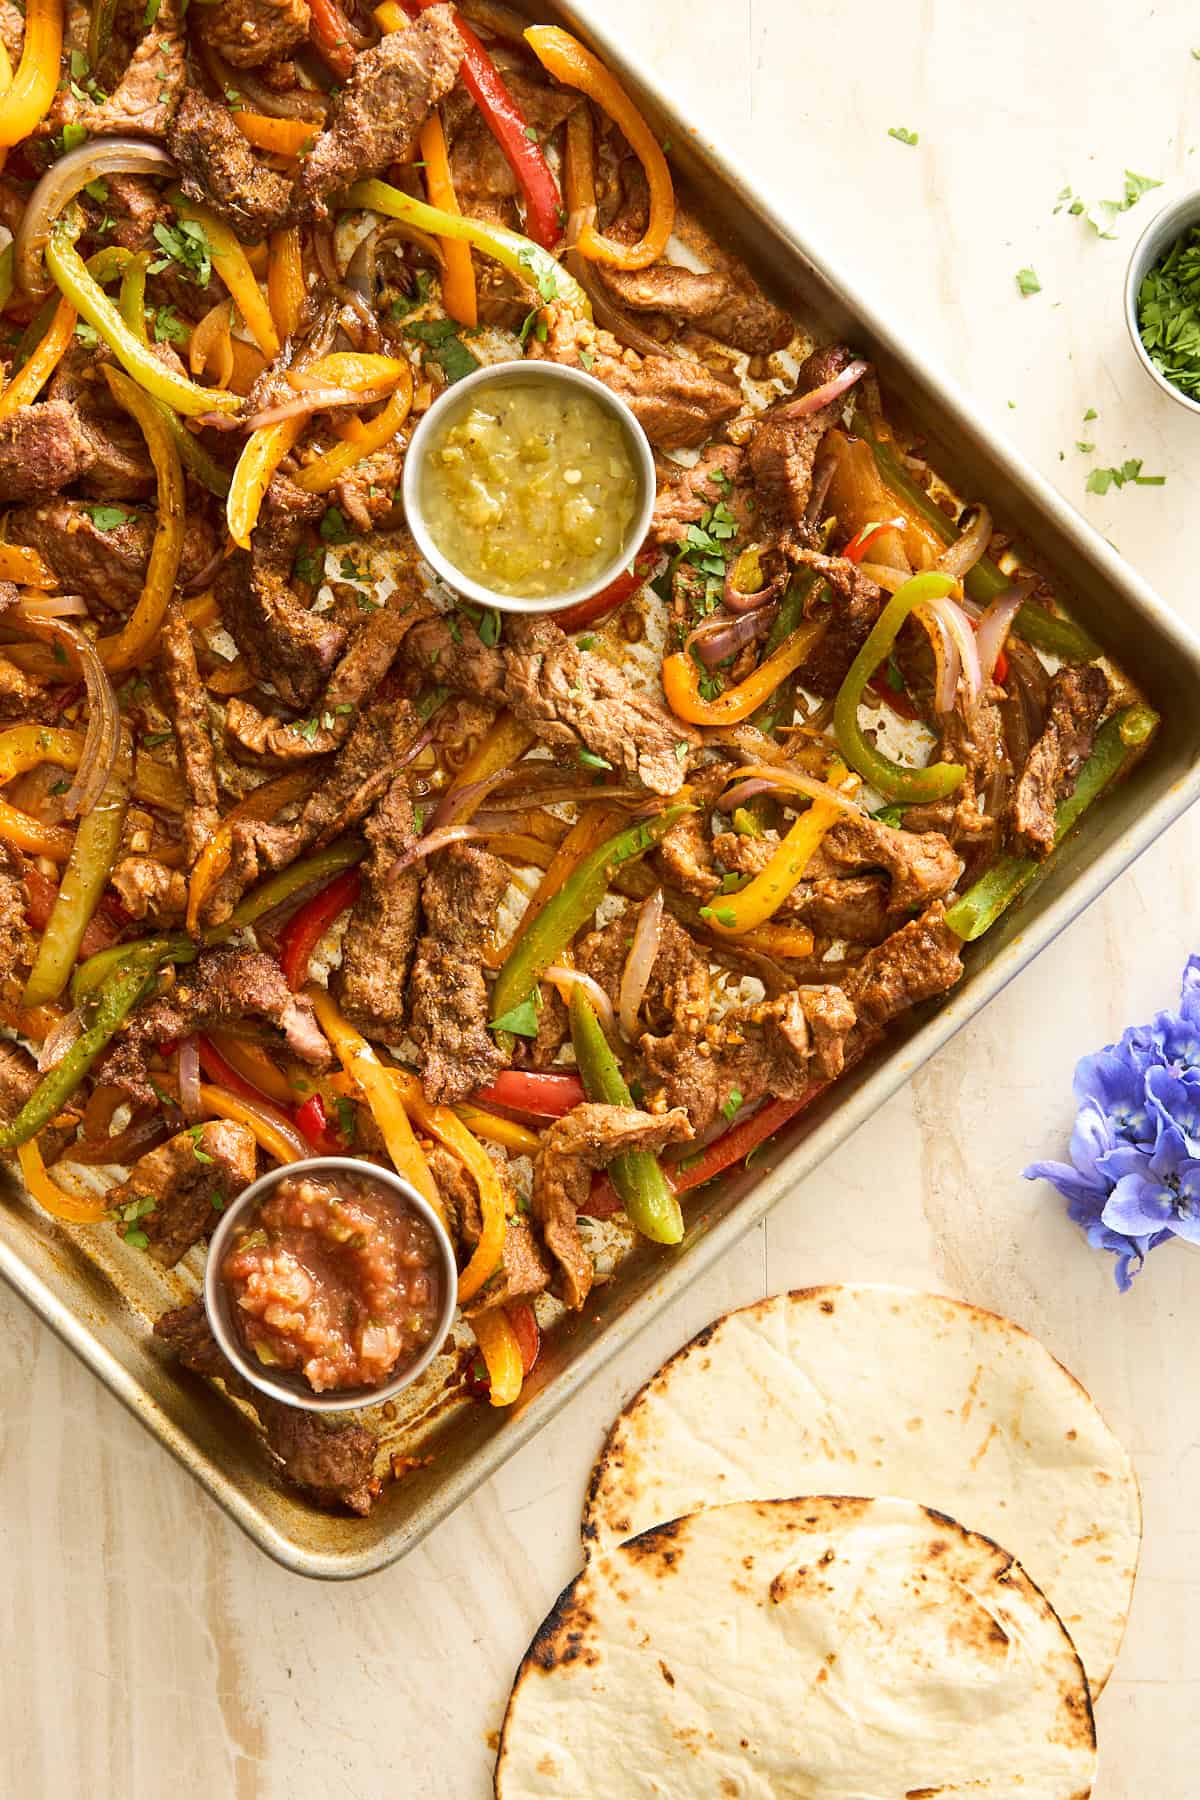 Skip the restaurant options, and make these easy sheet pan steak fajitas with eight ingredients in 30 minutes instead!
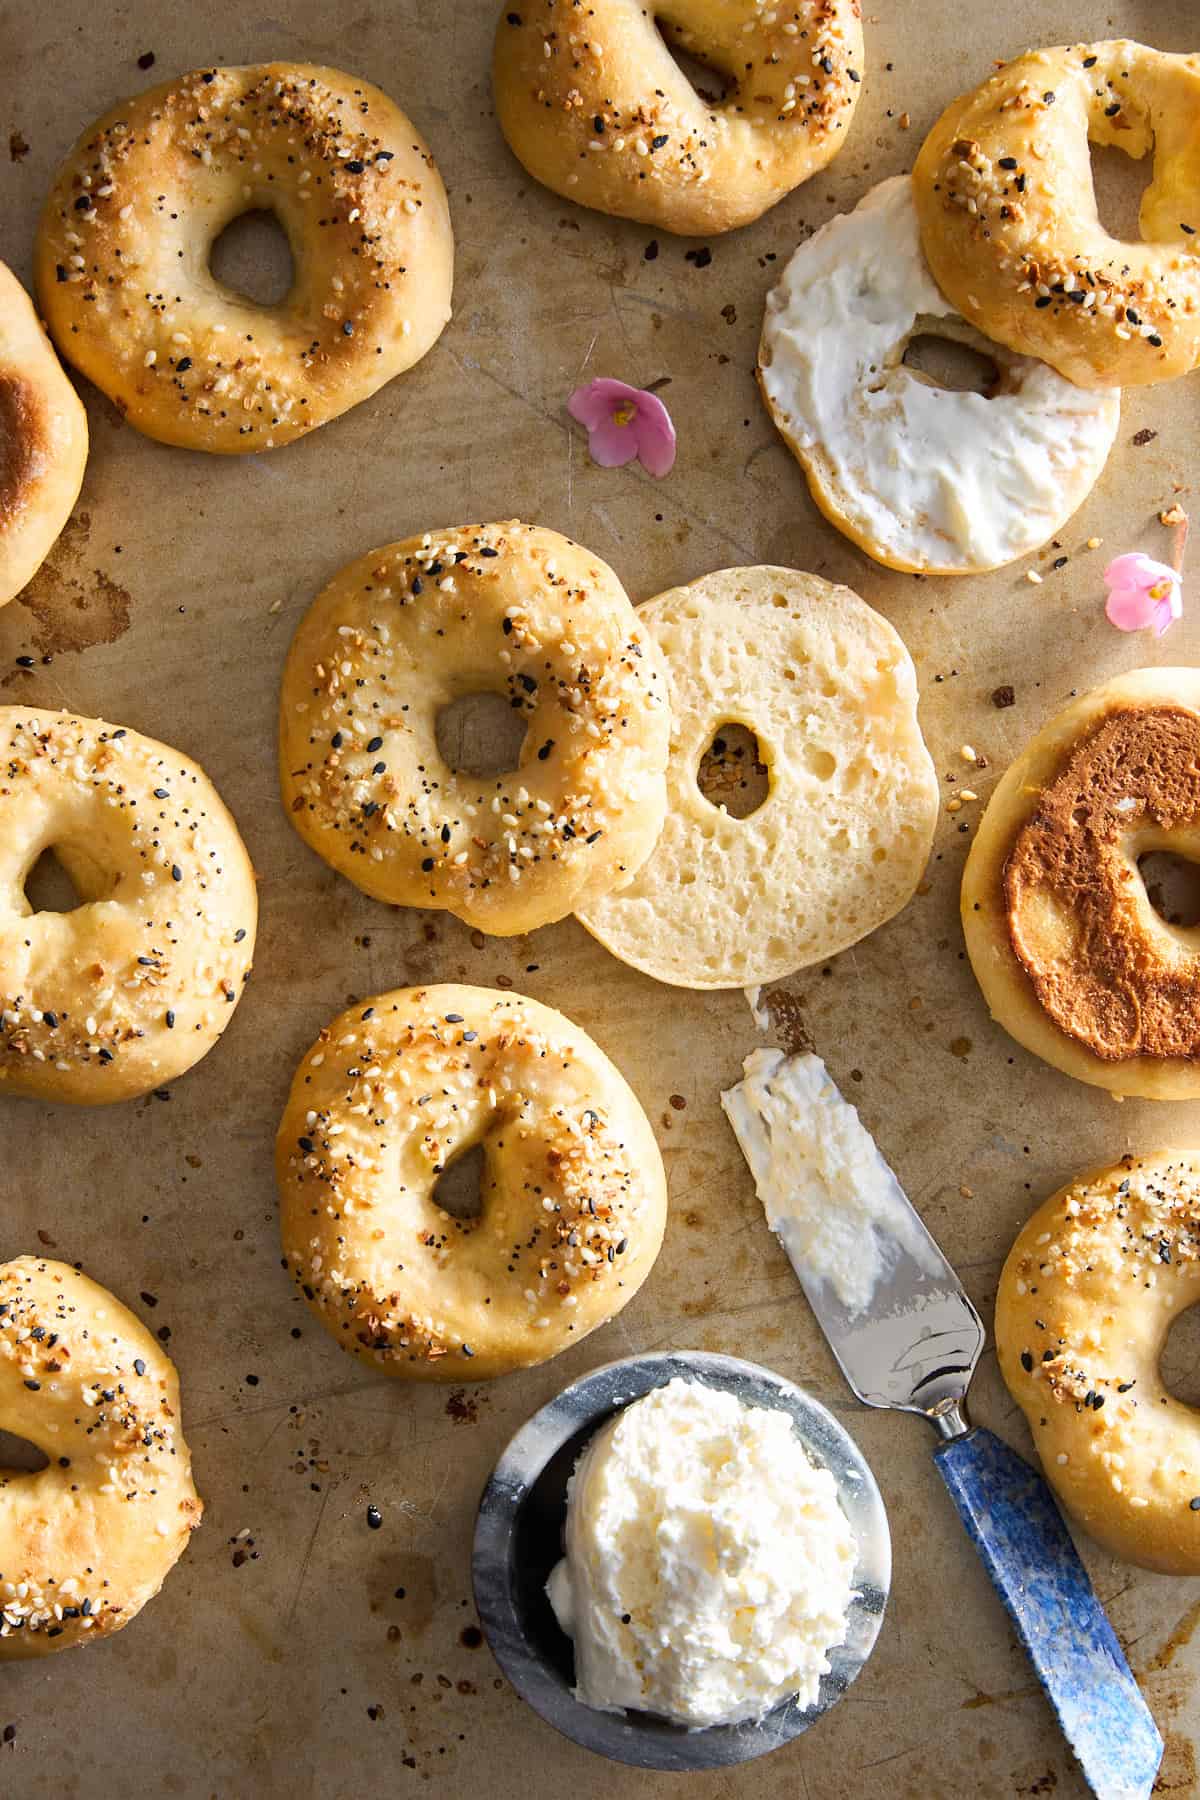 Skip store-bought options, and make cottage cheese bagels with just two ingredients in about 30 minutes instead!
 Make this easy, no-bake Nutella tiramisu for a rich, decadent twist on a classic recipe all your guests are sure to love!
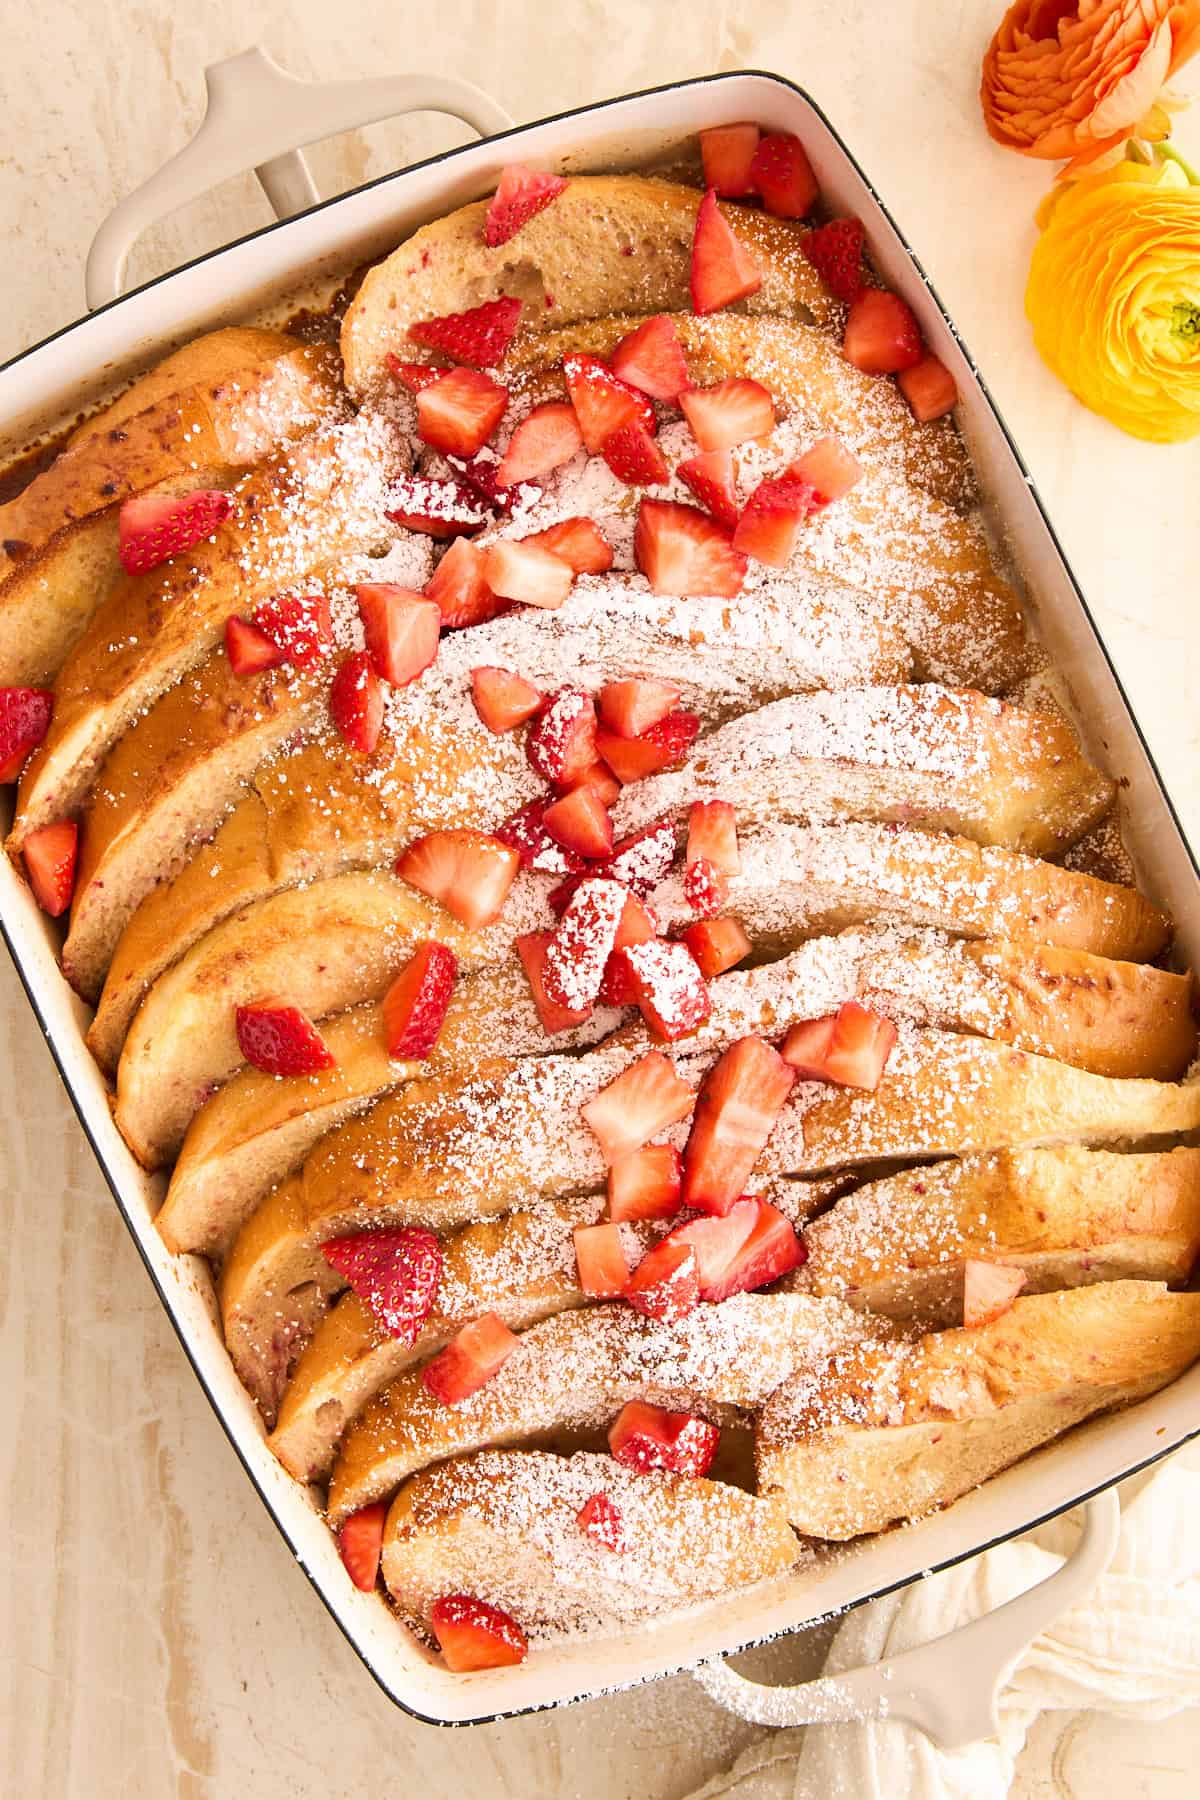 Make this strawberry french toast recipe with a creamy strawberry custard for a sweet breakfast you can prep a day in advance!
 Make these yogurt filled granola cups with just five simple ingredients for a nutritious breakfast or snack that’s almost too cute to eat!
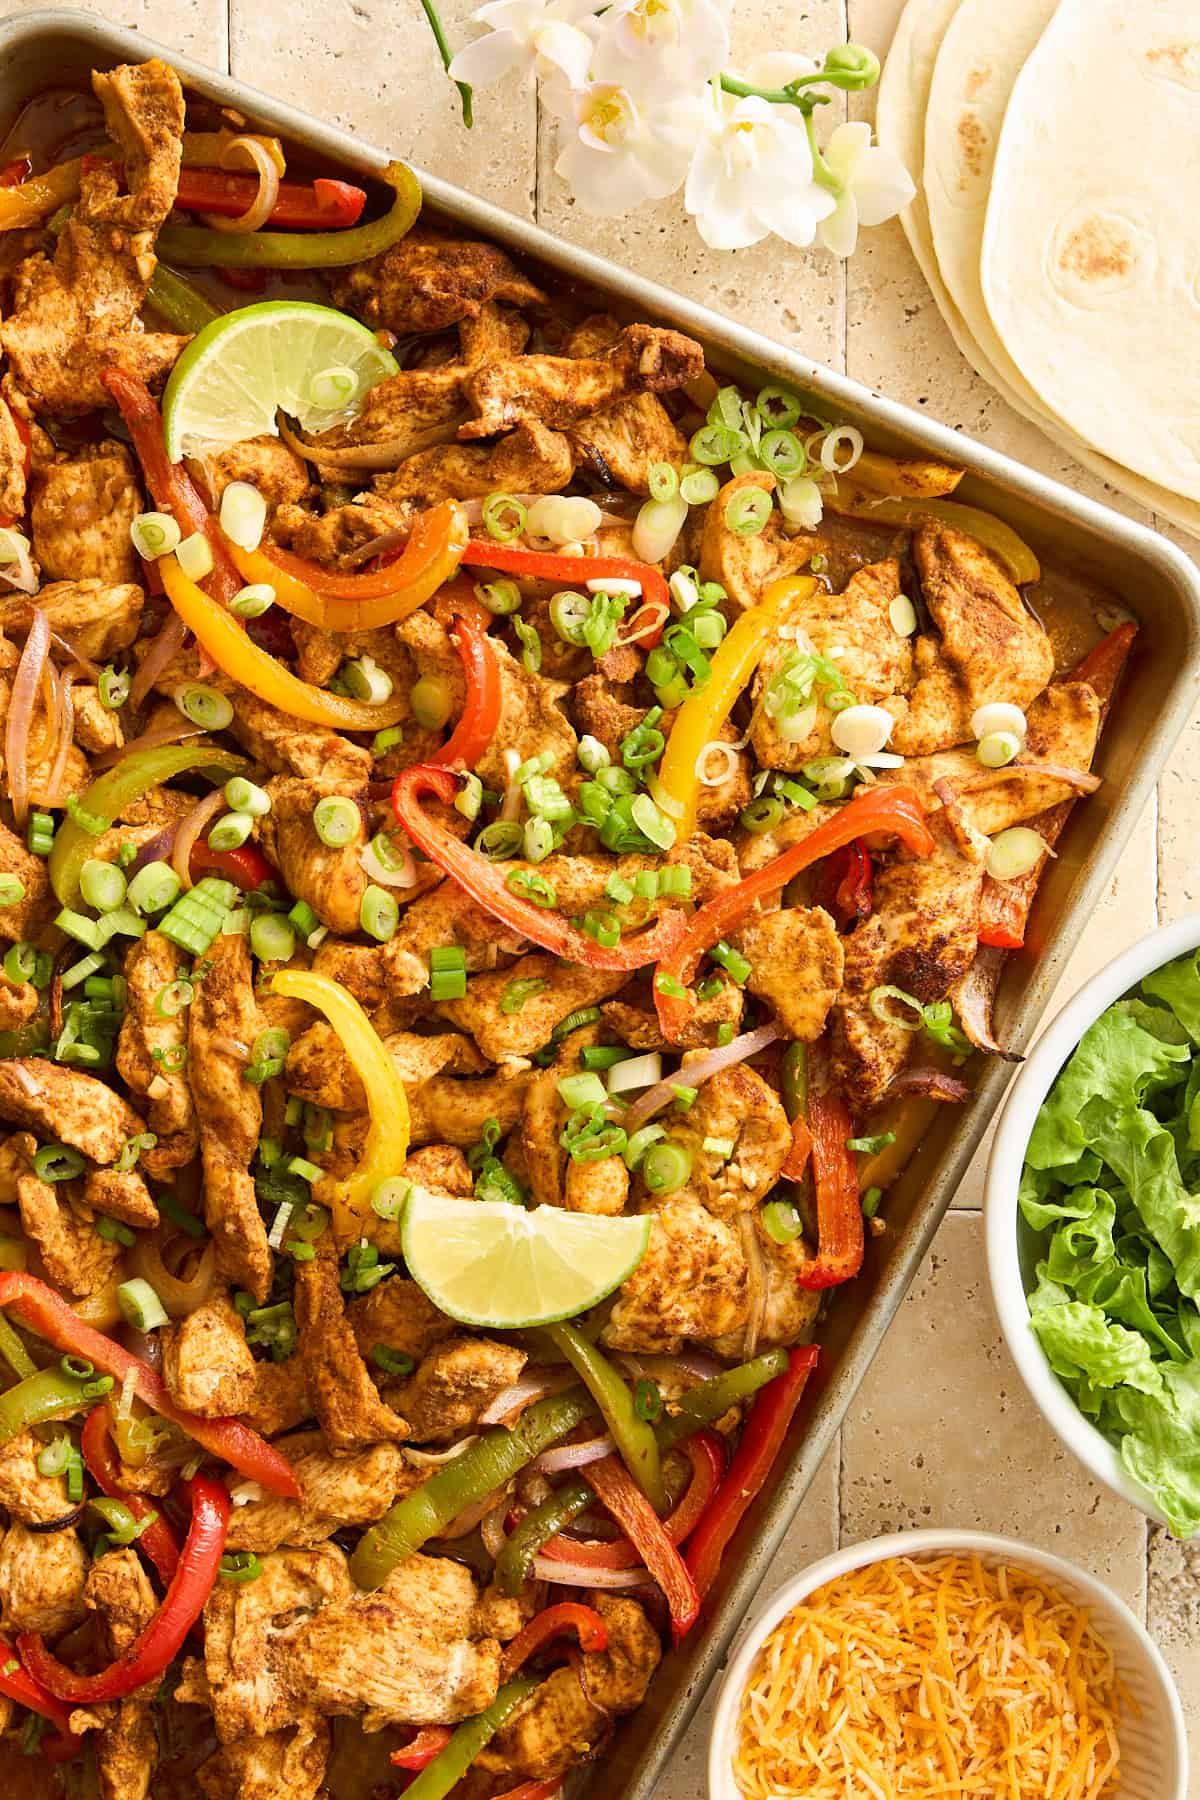 Skip the restaurant options, and make this homemade sheet pan chicken fajitas recipe with a homemade seasoning in 30 minutes instead!
 Make this cottage cheese pasta dish with grilled chicken for a creamy, protein-packed comfort food the whole family will love!