Best Lobster Tail Recipes
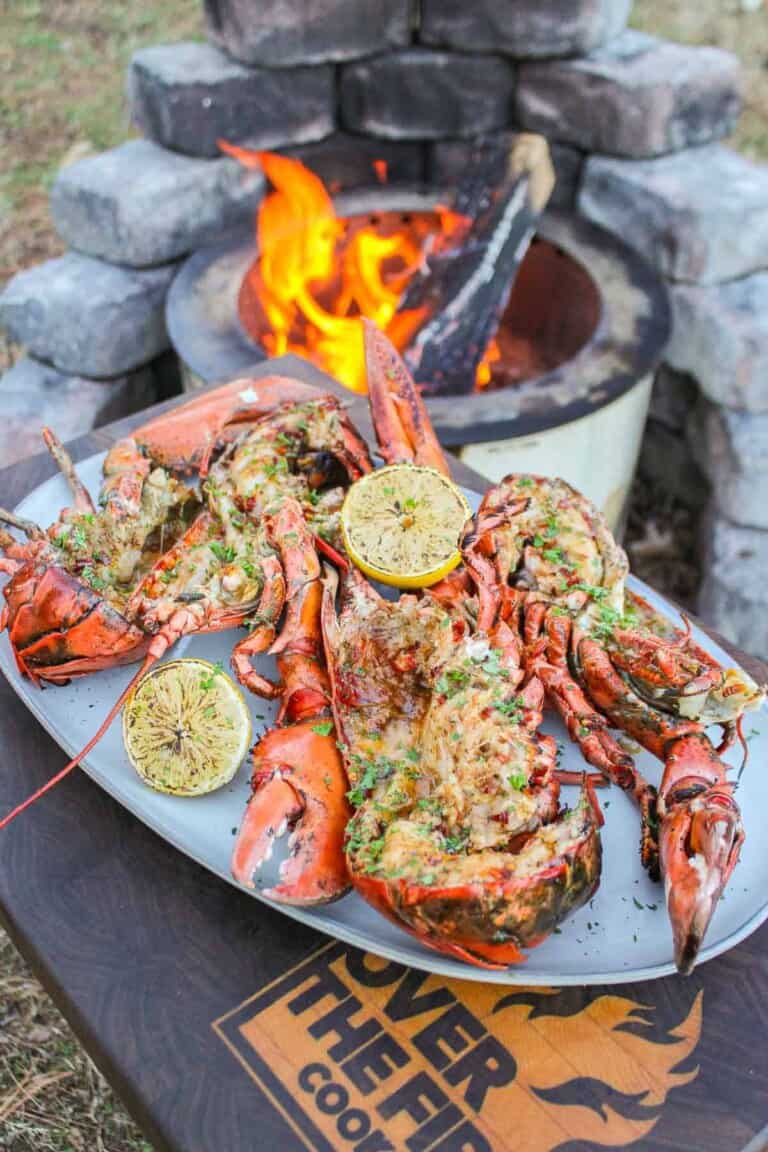
If you’re a lobster fan looking for an epic lobster tail recipe, stop scrolling and discover what kind of steakhouse-level magic you can…
The post Best Lobster Tail Recipes appeared first on Over The Fire Cooking.
If you’re a lobster fan looking for an epic lobster tail recipe, stop scrolling and discover what kind of steakhouse-level magic you can…
The post Best Lobster Tail Recipes appeared first on Over The Fire Cooking.
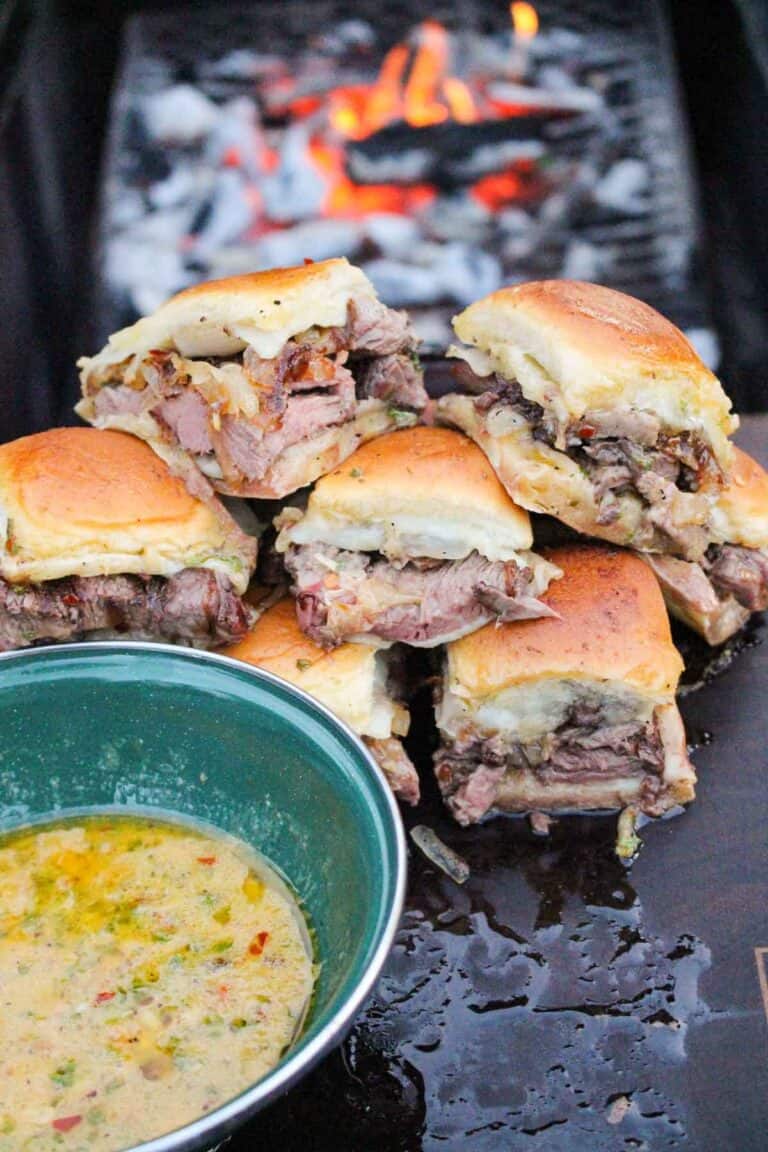
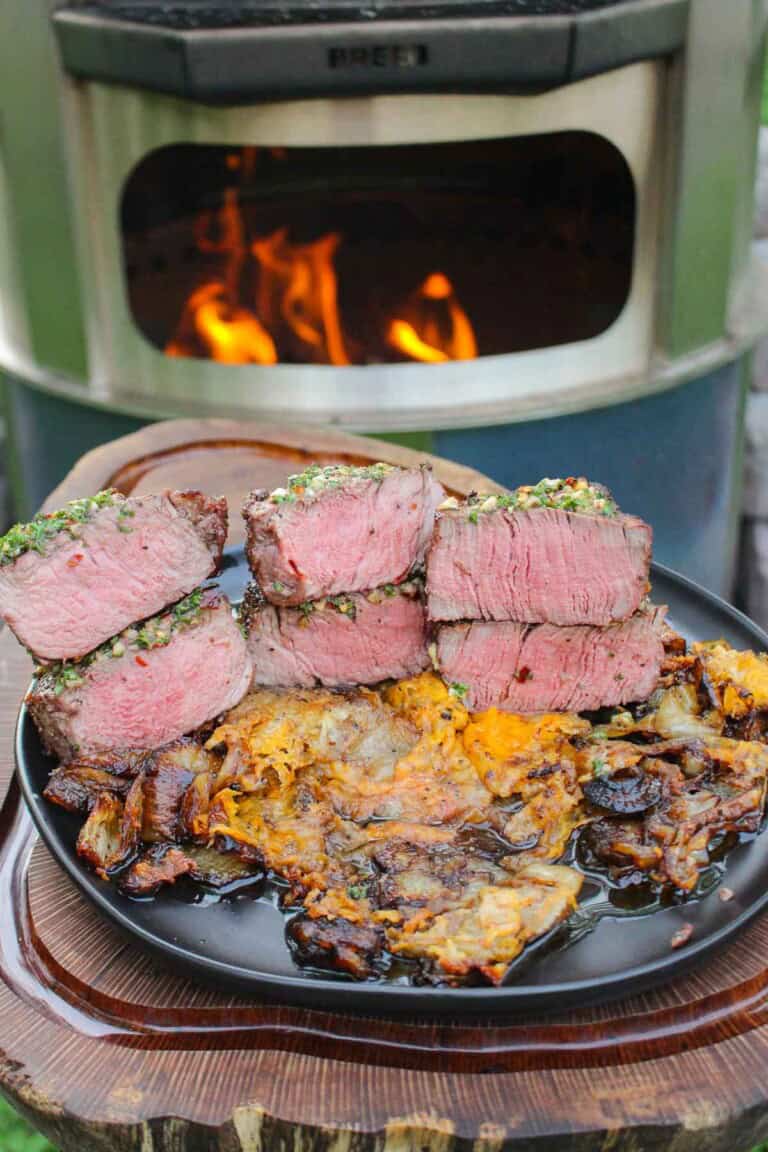
Cowboy Butter Sliders are not your average cheeseburger sliders. I mean the best tender steak, as in filet mignon, is…
The post Cowboy Butter Sliders appeared first on Over The Fire Cooking.
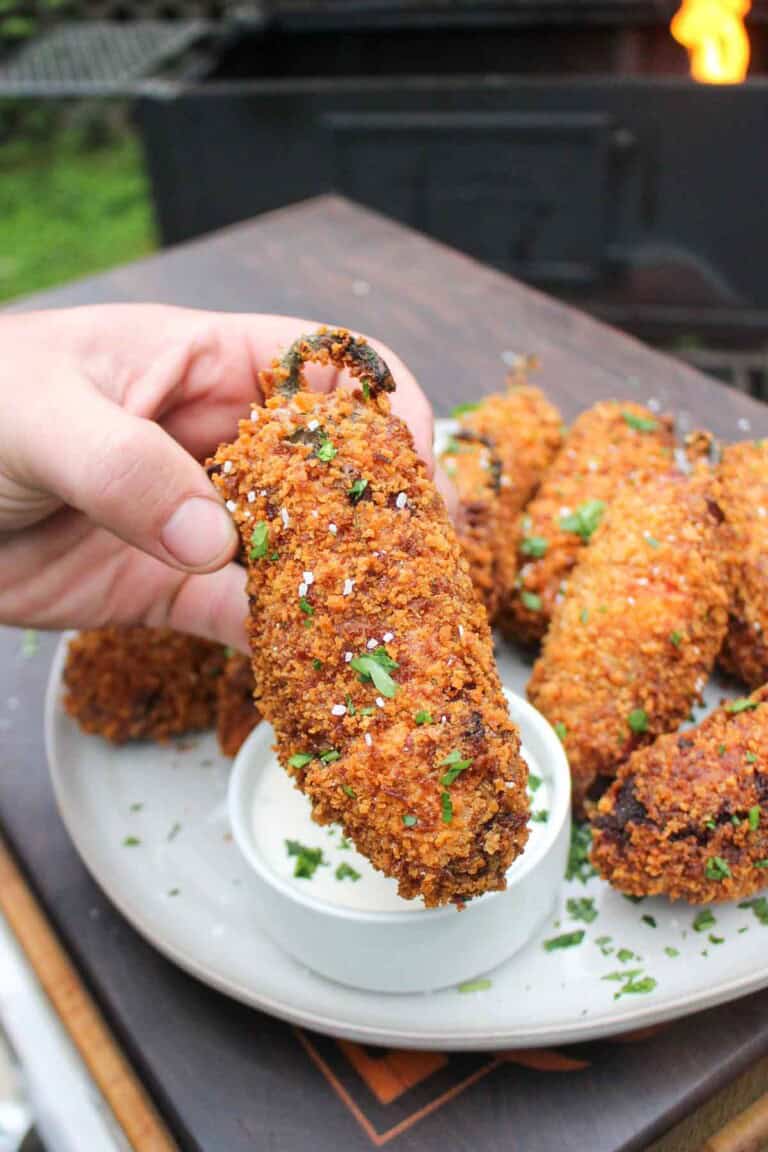
Smoked jalapeño poppers are a classic appetizer, so here’s our delicious twist on perfection. We still smoke the jalapeño poppers…
The post Smoked Fried Jalapeño Poppers appeared first on Over The Fire Cooking.
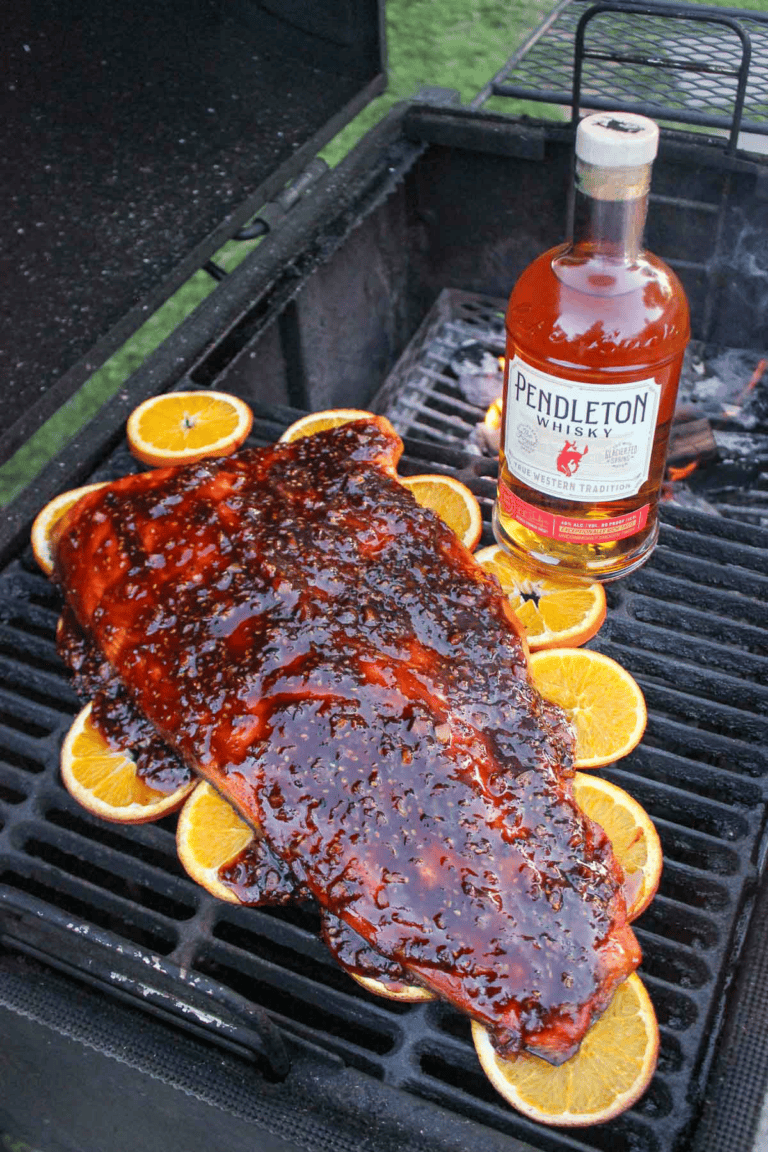
Get your grill out, ’cause we’re making the best Hot Smoked Salmon with some Pendleton Rye Whisky. It’s an epic recipe…
The post Hot Smoked Salmon appeared first on Over The Fire Cooking.
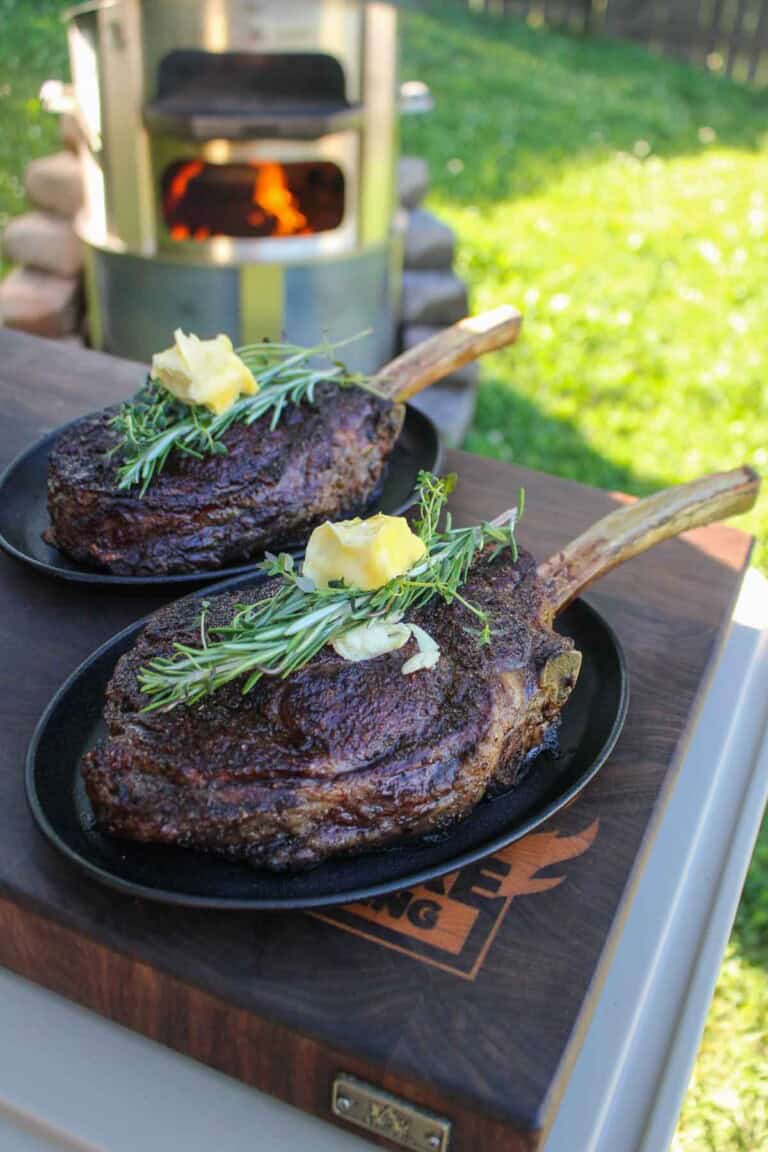
I’m not exaggerating: this is the best tomahawk steak recipe I’ve ever made. The flavor is just next level insane.…
The post The Best Tomahawk Steak appeared first on Over The Fire Cooking.

Nothing says summer like sitting outside during golden hour, the smell of charcoal in the air, a juicy burger in…
The post BBQ Bacon Burger appeared first on Over The Fire Cooking.
I’ve lived most of my life in Tennessee and I had never heard of steak with Tennessee onions, but this dish…
The post Steak with Tennessee Onions appeared first on Over The Fire Cooking.

The Oklahoma Onion Burger is a classic all-American recipe. During the hard times of the Great Depression, when jobs were…
The post Oklahoma Onion Burger appeared first on Over The Fire Cooking.
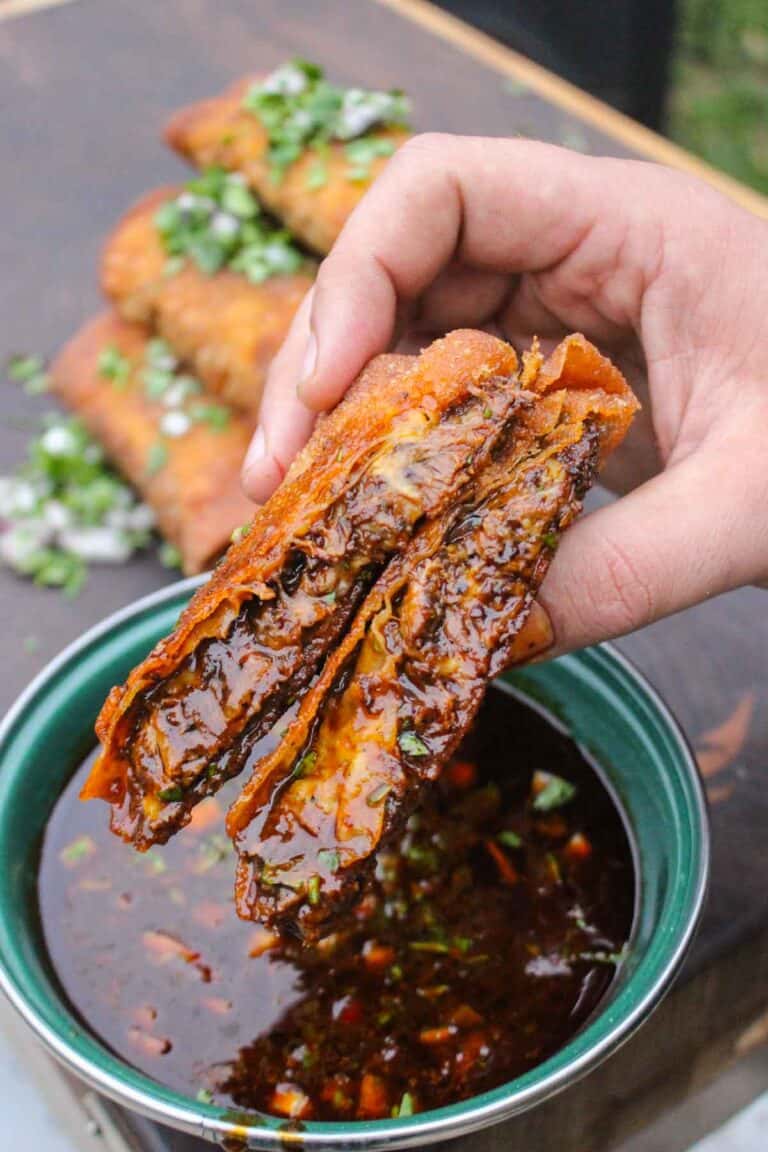
Your taste buds are about to do a mariachi dance because we’re grilling up the most epic Birria Egg Rolls…
The post Birria Egg Rolls appeared first on Over The Fire Cooking.
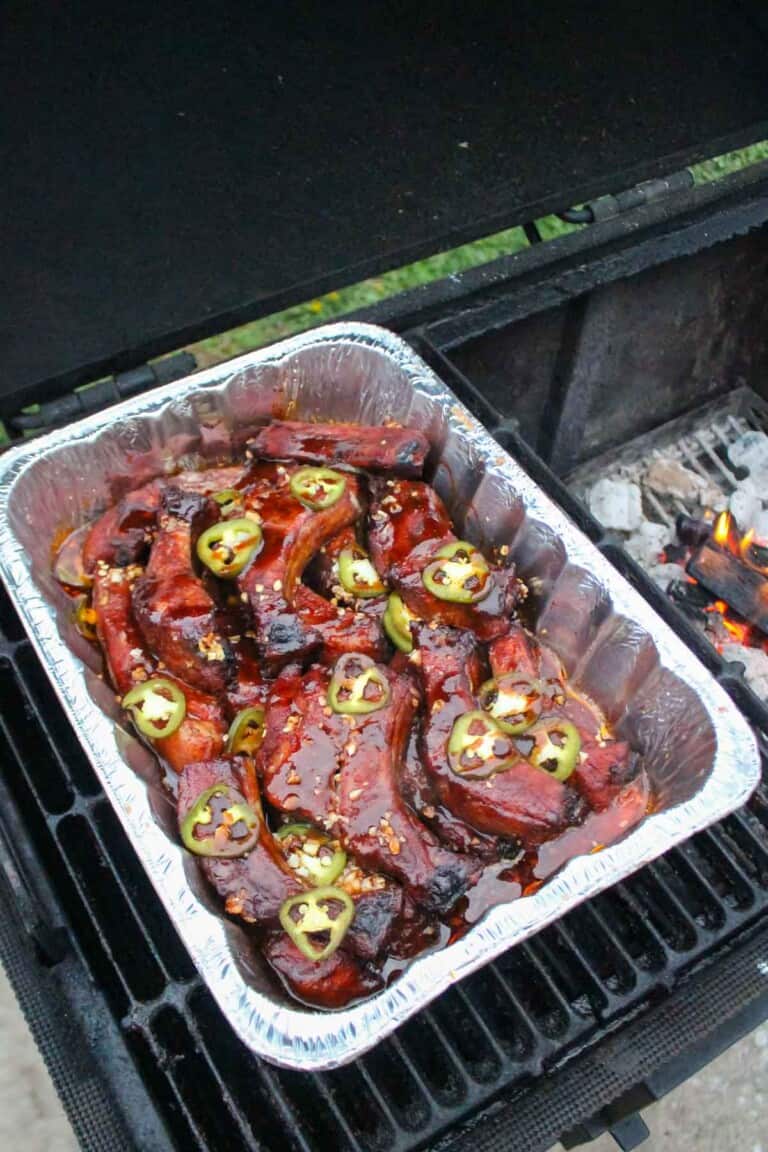
Our recipe for smoked party ribs was such a hit, so we decided to kick things up a notch. Say…
The post Honey Fire Party Ribs appeared first on Over The Fire Cooking.
Steak pinwheels are so fun, easy and freakin’ delicious that I just can’t stop making them. There are so many…
The post Fajita Steak Pinwheels appeared first on Over The Fire Cooking.
Welcome to the Best Grilled Steak Recipes Round Up! At Over the Fire Cooking, we’re all about creating memorable moments over epic…
The post The Best Grilled Steak Recipes appeared first on Over The Fire Cooking.