20 Top Thanksgiving Salad Ideas
These vibrant Thanksgiving salad ideas featuring seasonal produce like apples, pears, butternut squash, and pomegranate. These fresh, flavorful salads balance…
These vibrant Thanksgiving salad ideas featuring seasonal produce like apples, pears, butternut squash, and pomegranate. These fresh, flavorful salads balance…
This cranberry Christmas cocktail blends sweet-tart cranberry juice, vibrant blood-orange, and smooth vodka for a festive drink that shines at any holiday celebration.
This brown sugar syrup comes together in 5 minutes and is full of rich caramel flavor. Perfect for sweetening coffee…
This festive Grinch cocktail combines melon liqueur, vodka, and lemon-lime soda with a red sugar rim and cherry garnish for a fun and colorful holiday drink.
Here are the most popular pizza toppings that make crowd-pleasing homemade pizzas! From classic Margherita to creative combinations, find inspiration…
These honey glazed carrots are tender, glossy, and perfectly caramelized. A quick stovetop side dish with the perfect balance of…
This easy Creamed Spinach uses fresh spinach, cream cheese, and half-and-half for a rich, flavorful side dish perfect for weeknight dinners or holiday meals.
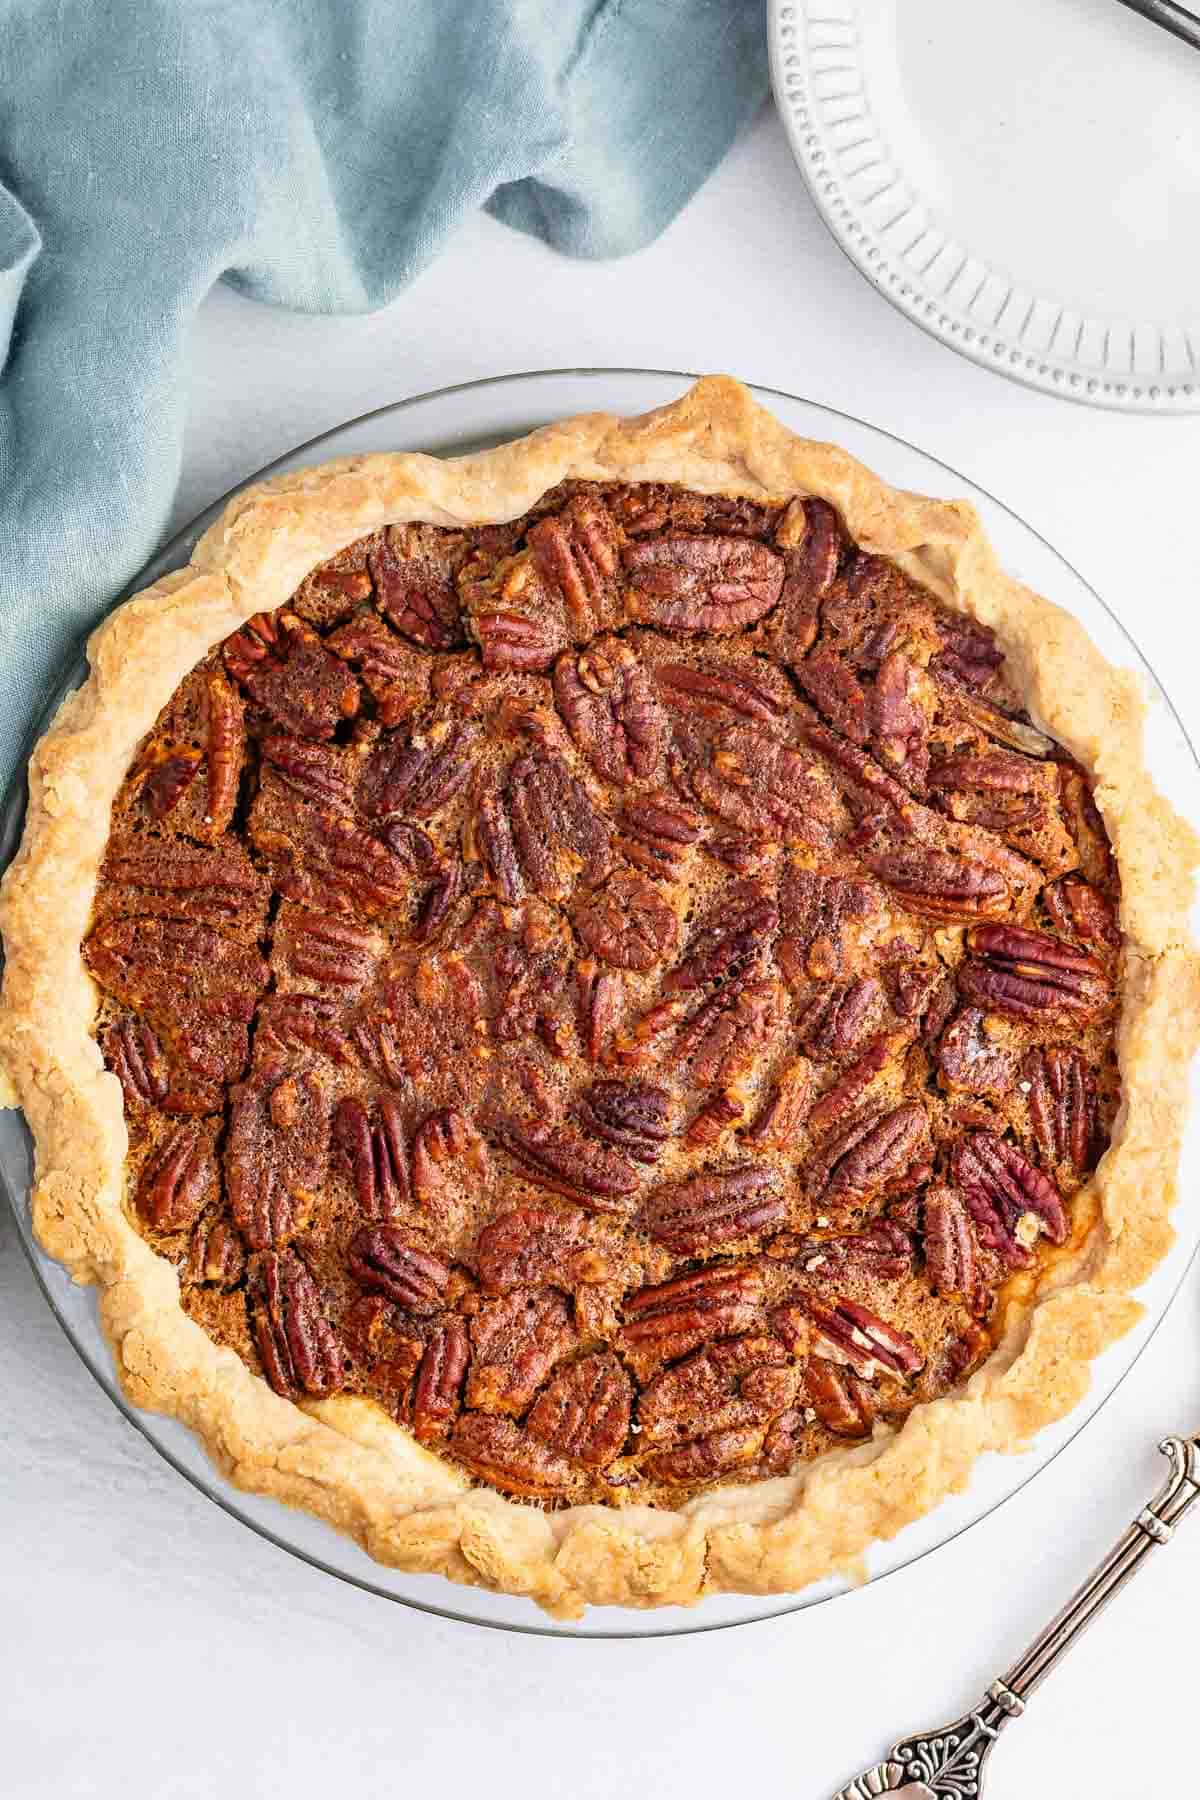 My Mom’s Classic Easy Pecan Pie Recipe is one of our favorite traditional pies. It really is easy as pie – just a few ingredients and 10 minutes prep time. It has a rich creamy pecan pie filling with crunchy pecans and the perfect easy crust! This recipe is my mom’s famous recipe. My mom…
This baked eggplant parmesan recipe is crispy, cheesy, and full of flavor! It’s an easy vegetarian dinner that’s perfect for…
Here’s how to make steamed carrots and get crisp-tender perfection in 10 minutes! This healthy side dish method keeps carrots…
This apple nachos recipe turns the fruit into a healthy snack that kids and adults crave! This 10-minute recipe makes…
Learn how to make Ooni pizza sauce that won’t make your crust soggy at high temperatures! This 5-minute no-cook recipe…
These easy fall appetizers highlight seasonal ingredients like cranberries, apples, pumpkin, and sweet potatoes! They’re crowd-pleasing recipes ideal for fall…
This Fireball and apple cider cocktail combines cinnamon whisky with fresh apple cider for a delicious fall drink. Ready in…
This fresh mango salad recipe stars sweet tropical fruit and crisp vegetables in a zingy honey-lime dressing! Ready in just…
The Vampire’s Kiss cocktail is a blood-red vodka martini with a sweet-tart berry flavor! It’s perfect for Halloween parties and…
This baked apples recipe is an easy dessert that’s lighter than apple crisp and makes your kitchen smell amazing! Ready…
Here’s the perfect perfect apple cider and whiskey pairing! This versatile cocktail can be served cold as a lowball drink…
These healthy fall dinner ideas feature the flavors of the season, like squash, pumpkin, and sweet potatoes. From cozy chili…
Try these best fall bourbon cocktails, starring seasonal flavors like apple cider, maple, and cranberry! These cozy whiskey drinks are…
This Witches Brew drink is a spooky cocktail with a bright green color and sweet-tart flavor! Step it up with…
These fun fall vodka cocktails feature seasonal flavors like apple, pumpkin, pear, and cranberry! From the Apple Cider Martini to…
Here’s how to make a mudslide cocktail with vodka, Kahlua, and Irish cream! This creamy mudslide recipe can be served…
This creamy cottage cheese dip tastes like ranch but is protein-packed and takes only 5 minutes to make with pantry…
Creamy peppermint bark features layers of chocolate, white chocolate and peppermint to create a delicious holiday treat.