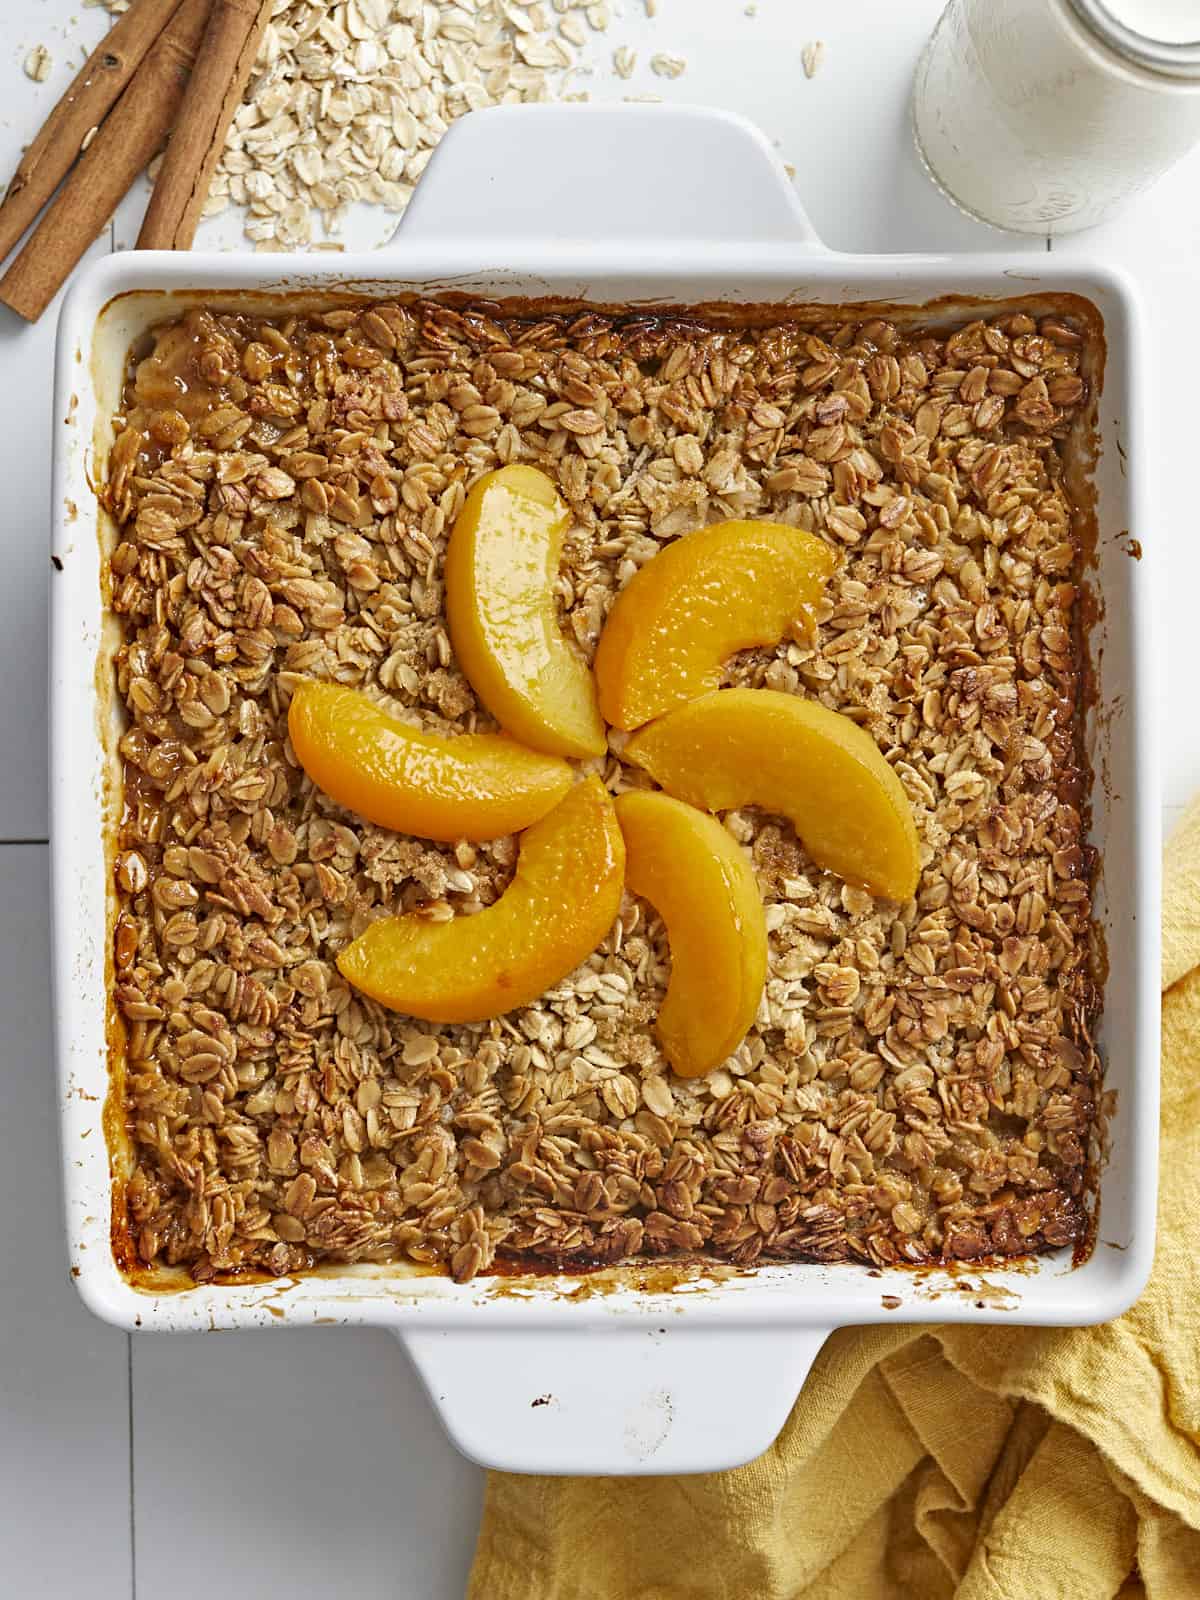
I know this recipe for buttery Peach Baked Oatmeal is awesome because everyone in the studio got quiet when they were eating it, a rare moment with our lively group! Crispy and caramelized on the outside and velvety on the inside, this easy breakfast dish will become a morning favorite. Did I mention this baked oatmeal comes in at a little over a dollar per serving?? You’ve got to make this recipe!
What is Baked Oatmeal?
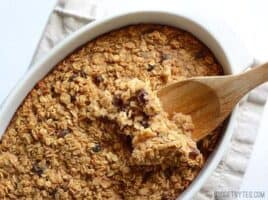
Baked oatmeal is exactly what it sounds like. It’s oats mixed with a liquid, a binder (like eggs), a sweetener, a fat (like butter), and other ingredients to add flavor and texture, like fruit, nuts, and spices. The oatmeal absorbs all of the flavors that were mixed into it so it blossoms when you taste it. My recipe is less custardy than our website’s other baked oatmeal recipes. It has more of a bite, like pasta. That’s because I use less liquid, so the oats retain their shape and get these crispy golden edges… OMG, I have to stop writing about it cause I’m going to end up in my kitchen making baked oatmeal at 10 o’clock at night like a crazy person. Just trust. It’s fantastic.
Ingredients For Baked Oatmeal
The best thing about baked oatmeal is that it’s endlessly customizable. You can use any fruit, nuts, or spices you like. This is what you’ll need to make my favorite combination:
- Oatmeal– Skip the instant oats which turn to mush in a heartbeat and stick to old-fashioned, which will give you a better texture. While you can bake steel-cut oats, the liquid-to-oats ratio is different, and I haven’t tested that, so I can’t give you any direction.
- Peaches– Canned in their own juices is my go-to, as I use the juices in the recipe. If using fresh or frozen, you’ll need to add a cup of water to the mix. You can substitute peaches with apples, pears, or bananas, also adding a cup of water to the mix.
- Butter– because you can’t get those crispy edges without it and those crispy edges are EVERYTHING. Substitute with vegan butter if you’re dairy-free.
- Cream– helps create a velvety texture. You can use whole milk as well, though I’d add an additional tablespoon of butter. Use coconut cream if you want to skip the dairy. Just make sure it’s full fat. You need it.
- Eggs– will help bind the oatmeal. If you want to skip the eggs you can try using 2 ripe bananas as a binder.
- Brown Sugar– mixes with the butter to develop deep caramel notes. You can substitute it with your preferred sweetener.
- Cinnamon and Vanilla– season and scent the oatmeal. They also pair exquisitely with peaches and help elevate the fruit’s flavors.

Tips For The Best Baked Oatmeal
- Use old-fashioned oats instead of quick oats. Old-fashioned oats will give your baked oatmeal a chewier texture.
- Don’t overmix the batter. Overmixing will make your baked oatmeal tough. Fold the ingredients in and mix until they are barely combined.
- Bake the oatmeal until it’s cooked through. Underbaked oatmeal will be mushy. You want the oatmeal to have a slight bite.
Baked Oatmeal Toppings
If you’re looking to add a little extra oomph to your Peach Baked Oatmeal, it pairs beautifully with our Homemade Whipped Cream. You can also top it with Strawberry Syrup, Blueberry Sauce, or our Lemon Curd. Or you can go wild and use all four! ( Editor’s Note: I know it seems like too much sugar, Beth- but think of how amazing it would be to start your day with such decadence! Don’t fight it. )
Storing and Reheating Leftovers
Cool leftovers completely before storing them so the oatmeal doesn’t get soggy. Store baked oatmeal in an airtight container. It will keep in the refrigerator for up to three days and in the freezer for three months. To reheat, microwave it for a few minutes until steaming.

Peach Baked Oatmeal
Ingredients
- 2 15oz. cans sliced peaches in their juices $3.18
- 1/2 cup brown sugar, divided $0.24
- 8 Tbsp salted butter, divided $1.12
- 1/2 tsp vanilla, divided $0.25
- 1/2 tsp cinnamon, divided $0.05
- 1 pinch salt $0.01
- 3 cups oats (old-fashioned or rolled) $0.54
- 1/2 cup heavy cream $0.69
- 2 large eggs, beaten $0.22
Instructions
- Set an oven rack in the middle of your oven and preheat it to 375°F. Drain the cans of peaches, reserving the juices. Add the drained peaches to a 13×9 inch baking dish, reserving six slices for garnish. Add 1/4cup brown sugar to the peaches. Dice 4 tablespoons of butter and sprinkle over the peaches. Finish with 1/4 teaspoon of vanilla. Mix thoroughly.
- Add the old-fashioned or rolled oats to a large bowl. Add 1/4teaspoon cinnamon and the remaining 1/4cup brown sugar and mix well.
- Mix 1 cup of peach juices with the cream and the remaining 1/4 teaspoon of vanilla. Add the beaten eggs and mix. Add the wet mixture to the oatmeal and stir just until incorporated.
- Dollop the oats over the peaches. Dice the remaining 4 tablespoons of butter and sprinkle over the top. Garnish with peach slices.
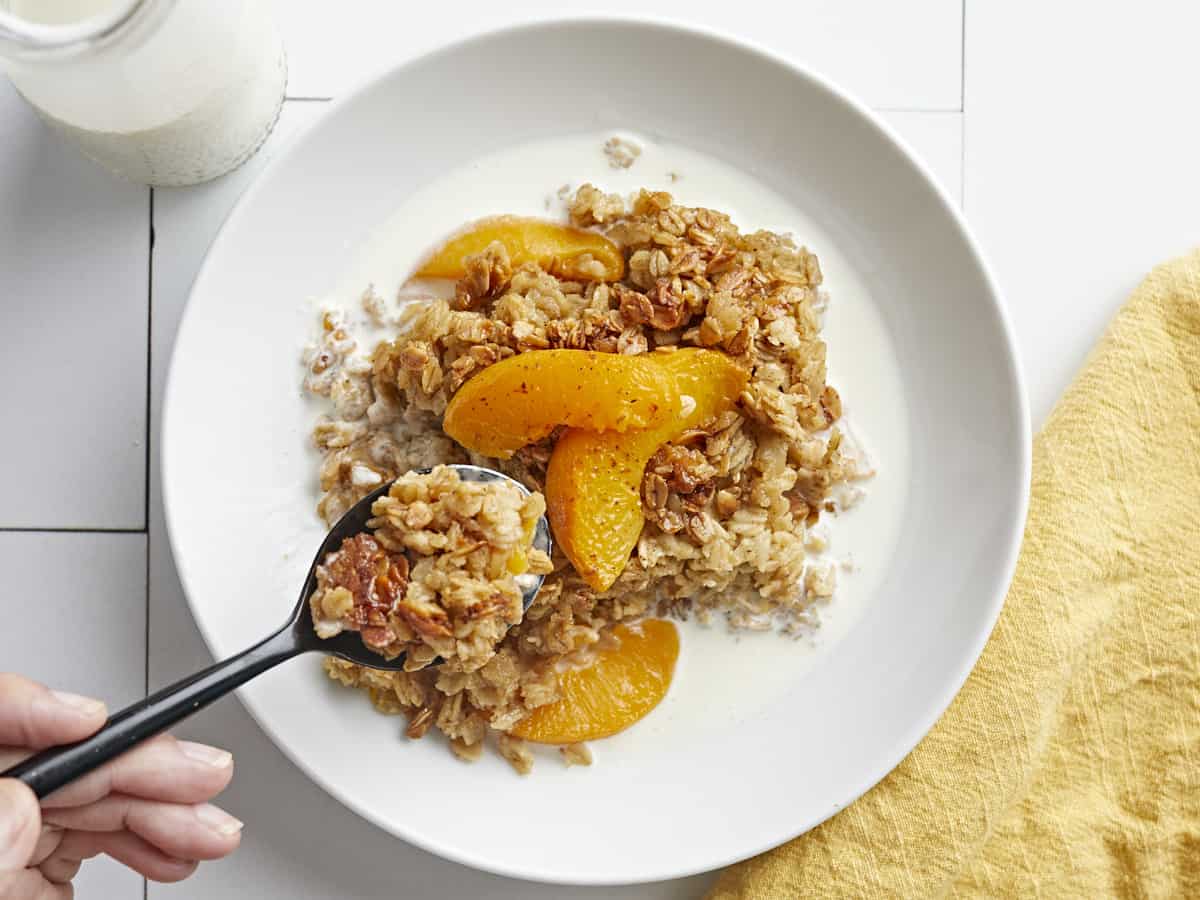
- Bake until it is golden brown and crispy, about 45 minutes. Cool for 15 minutes. Enjoy as is or serve with a little cream!
See how we calculate recipe costs here.
Nutrition
How to Make Peach baked Oatmeal – Step by Step Photos
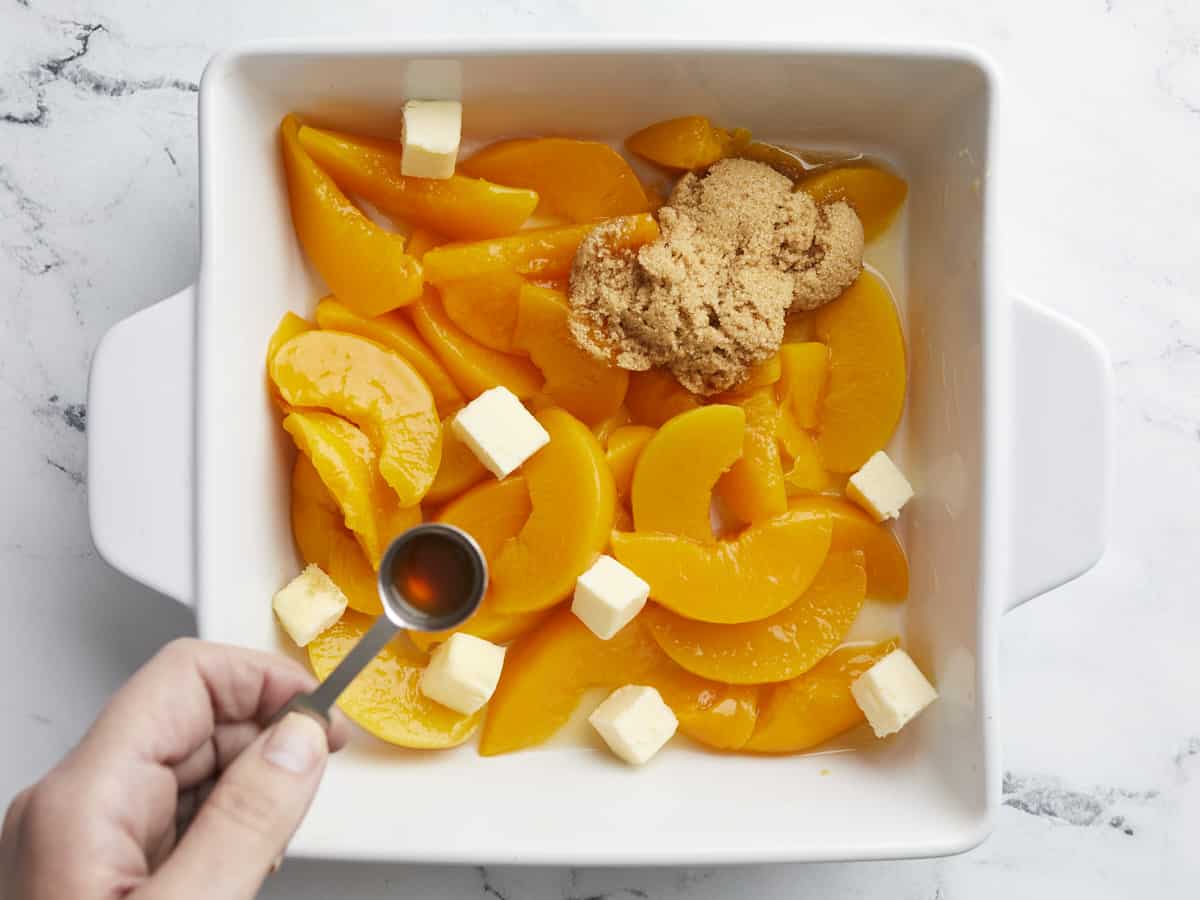
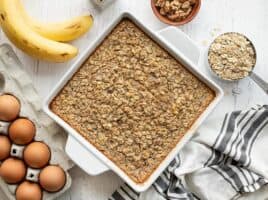
Set a rack in the middle of your oven and preheat it to 375°F. Drain the 2 (15oz) cans of peaches, reserving the juices. Add the drained peaches to a 13 x 9 baking dish, reserving six slices for garnish. Add 1/4 cup brown sugar to the peaches. Dice 1/2 stick of butter and sprinkle it over the peaches. Finish with 1/4 teaspoon of vanilla.
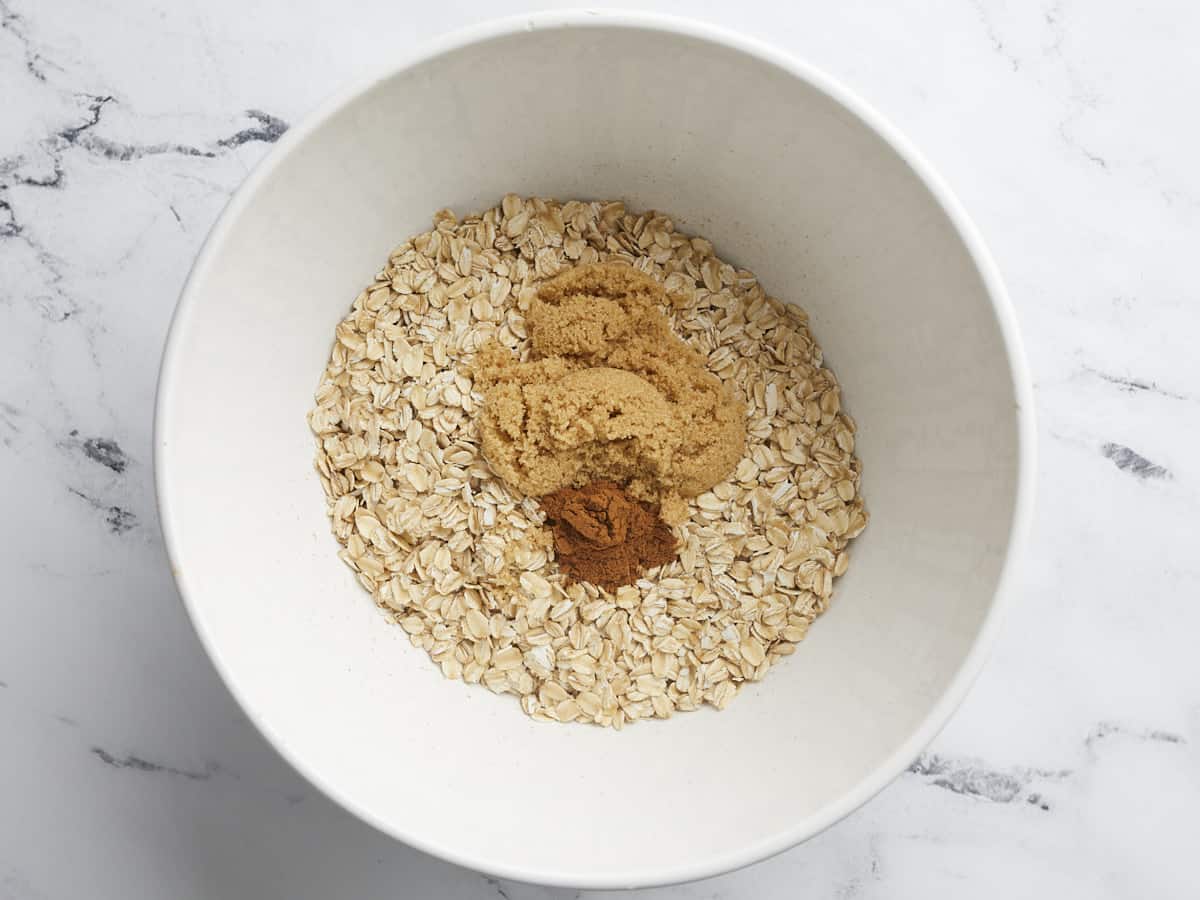
Add 3 cups of old-fashioned or rolled oats to a large bowl. Add 1/4 teaspoon cinnamon and the remaining 1/4 cup brown sugar and mix well.
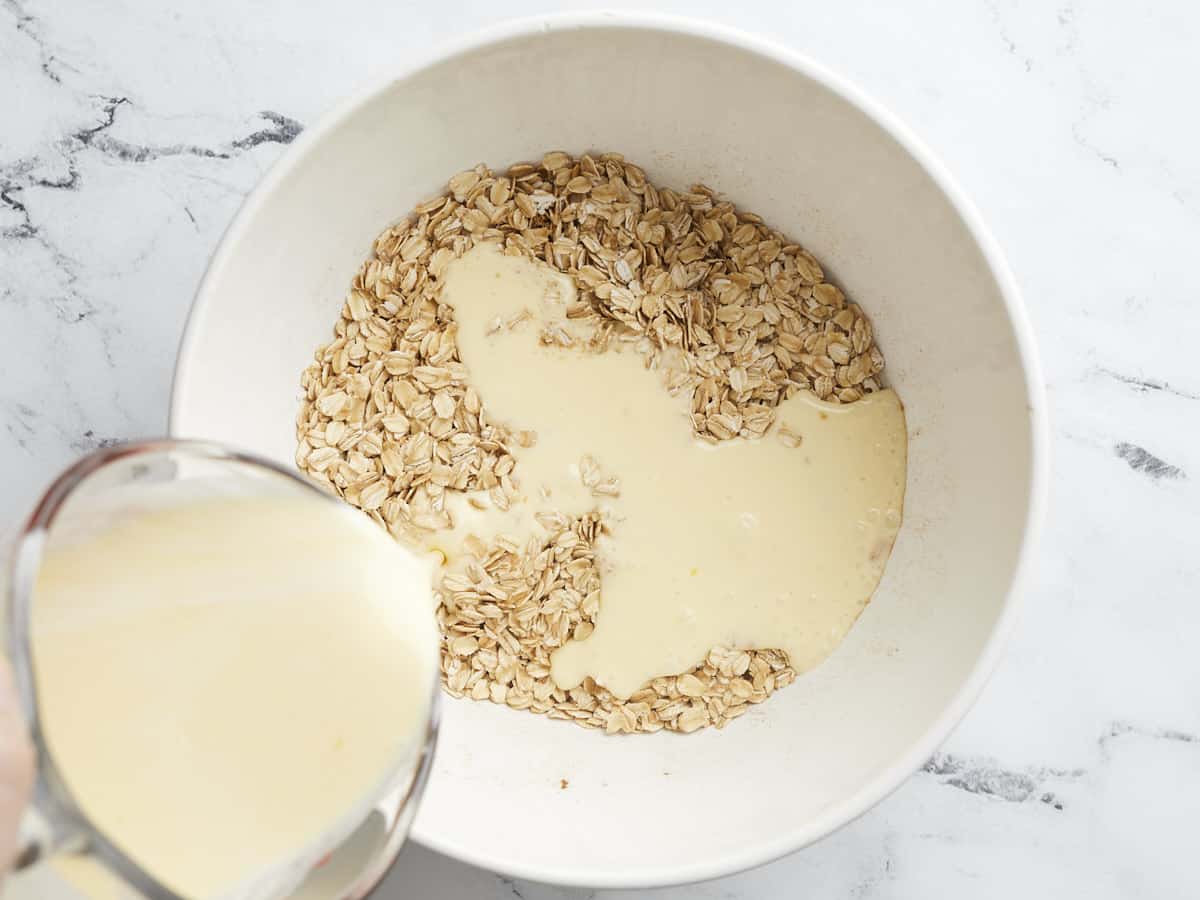
Mix 1 cup of peach juice with the 1/2 cup of heavy cream and the remaining 1/4 teaspoon of vanilla. Add the 2 beaten eggs and mix. Add the wet mixture to the oatmeal and stir just until incorporated.
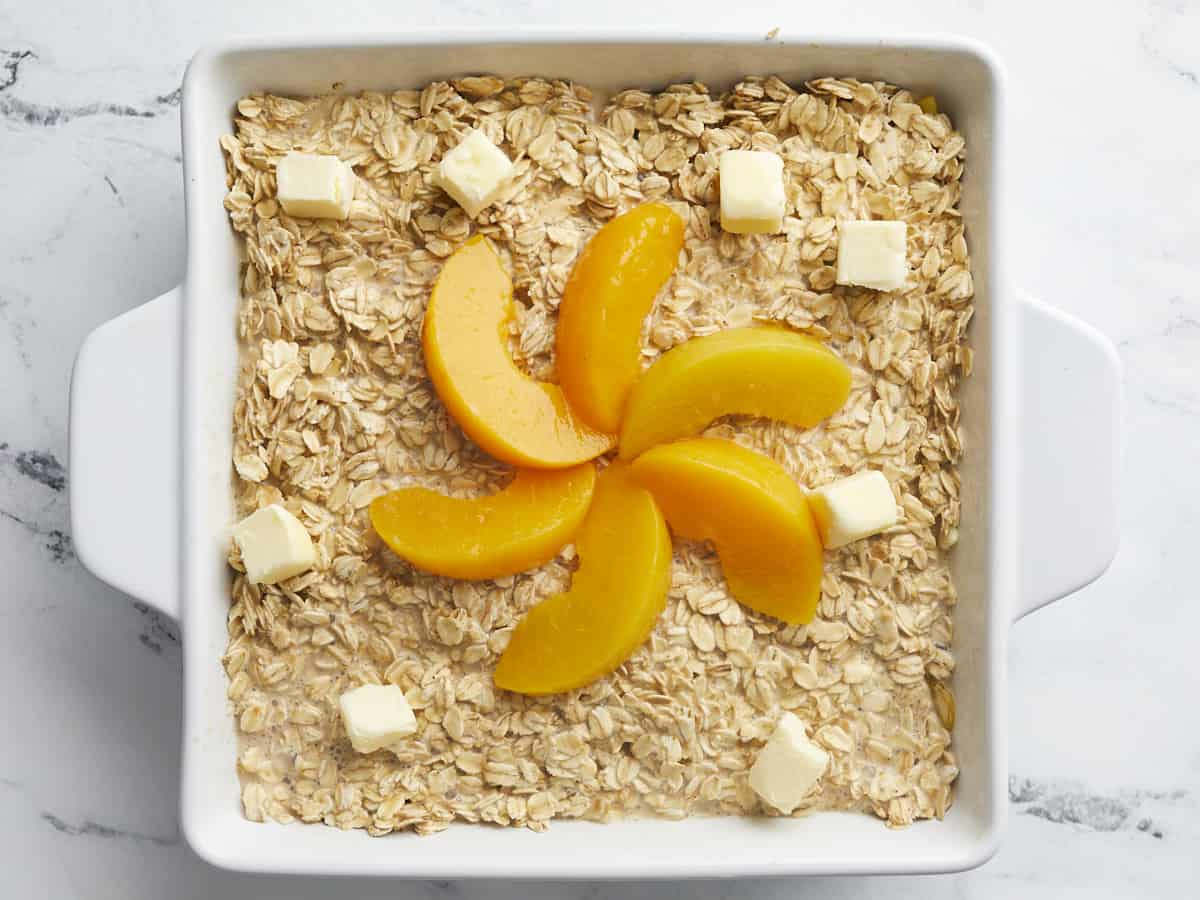
Dollop the oats over the peaches. Dice the remaining 4 tablespoons of butter and sprinkle over the top. Garnish with peach slices.
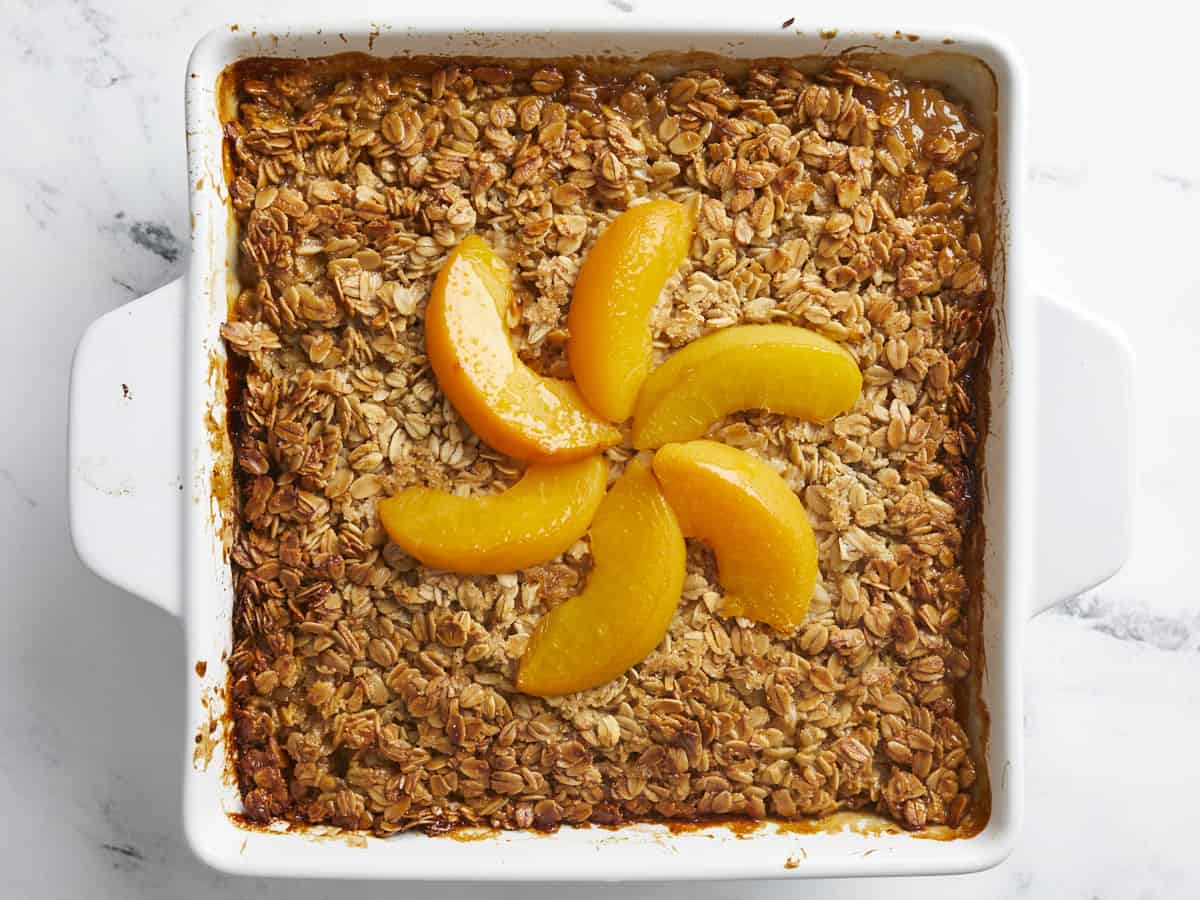
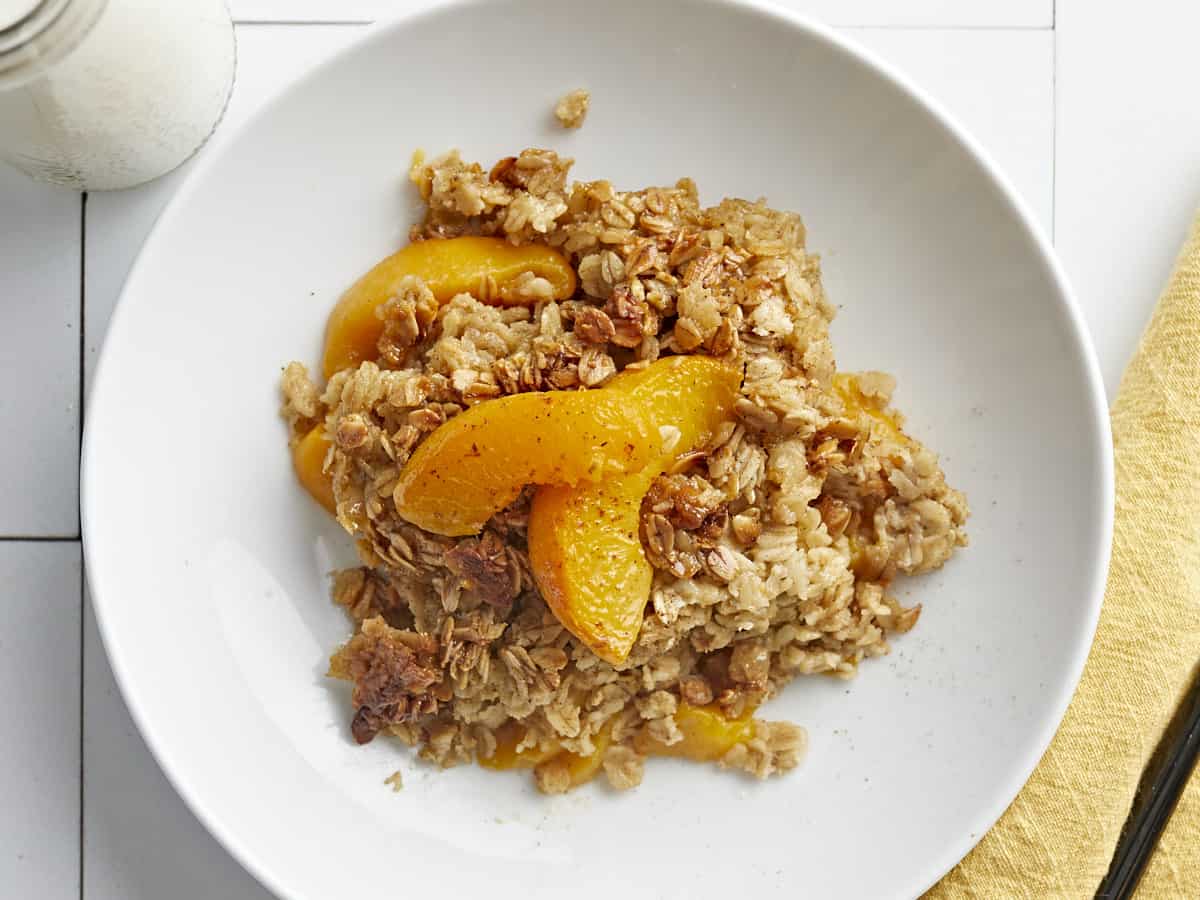
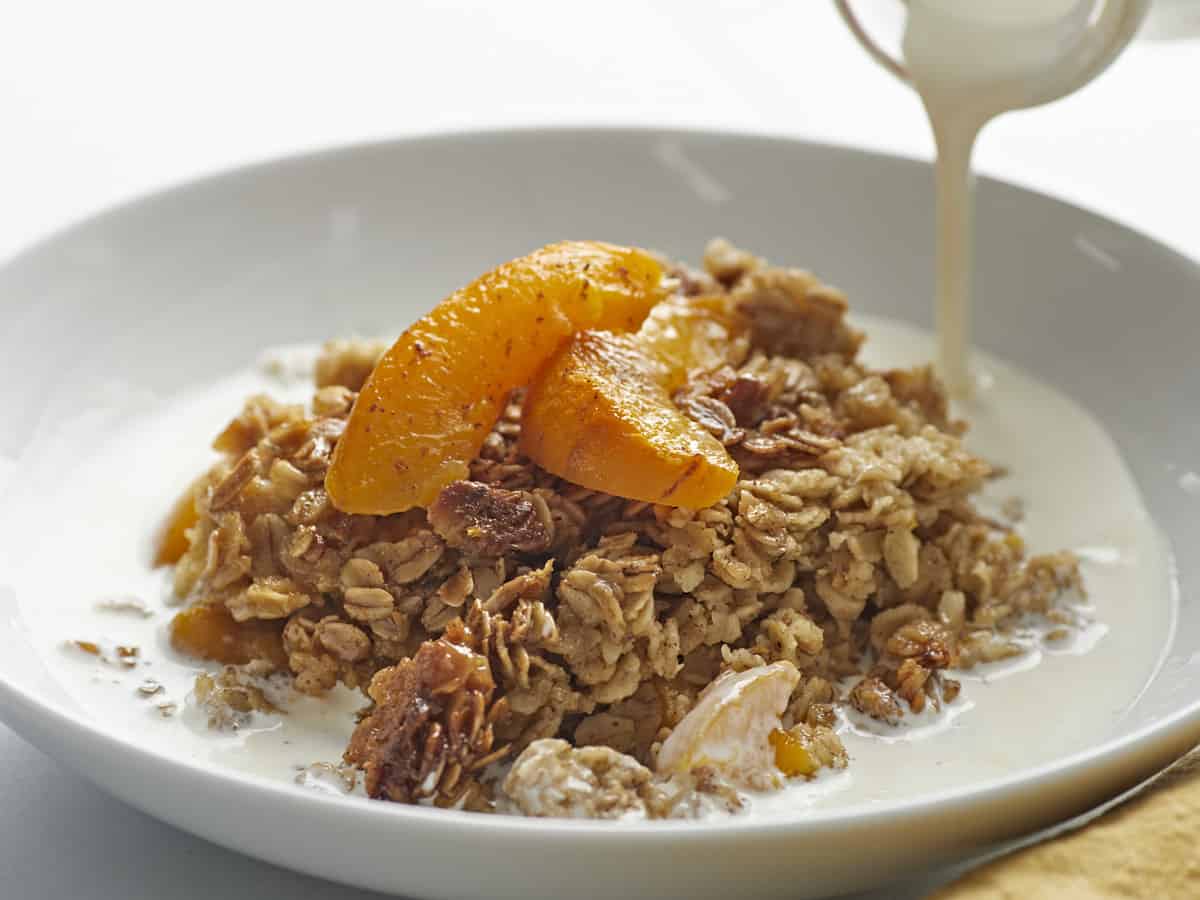
Bake until it is golden brown and crispy, about 45 minutes. Cool for 15 minutes before serving! (If you can wait for that long. I’ve yet to accomplish this feat. But I don’t mind eating peach-flavored lava. You do you.) I like to serve it with a little cream in a bowl that I refill over and over and over again. Enjoy!
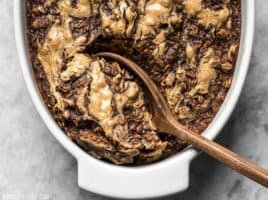
More Baked Oatmeal Recipes

The post Peach Baked Oatmeal appeared first on Budget Bytes.