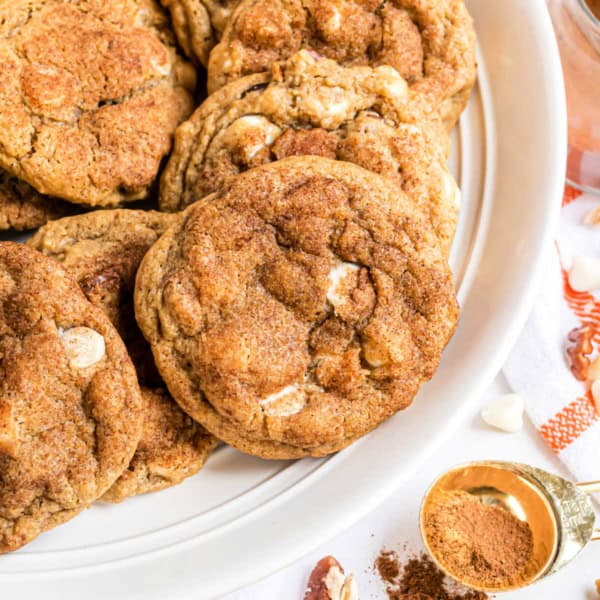
Cinnamon Coffee Cake Cookies
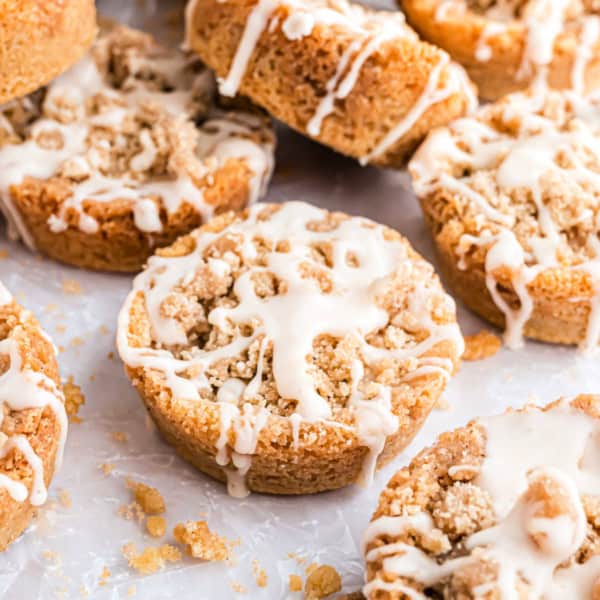 Coffee Cake Cookies pair a buttery cookie base with crumbly brown sugar cinnamon streusel and sweet vanilla icing. They are…
Coffee Cake Cookies pair a buttery cookie base with crumbly brown sugar cinnamon streusel and sweet vanilla icing. They are…
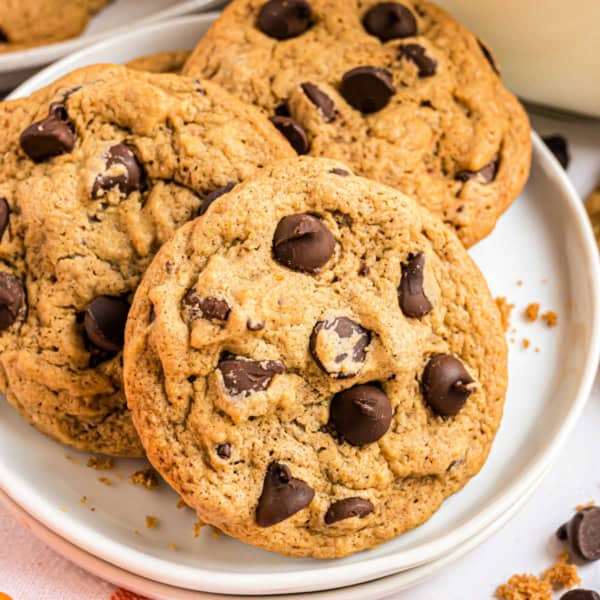 These Pumpkin Chocolate Chip Cookies give everyone’s favorite chocolate chip cookies recipe a fun fall twist! Pumpkin puree and warm…
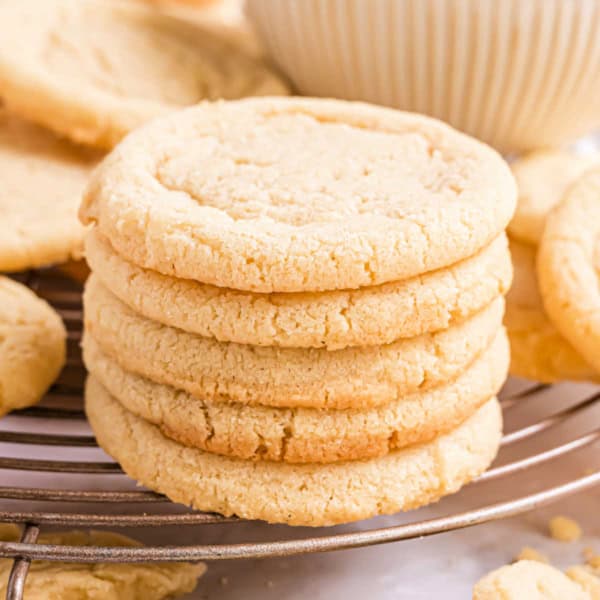 Drop Sugar Cookies are the easiest sugar cookies you’ll ever make! No cookie cutters or slicing needed. Just drop the…
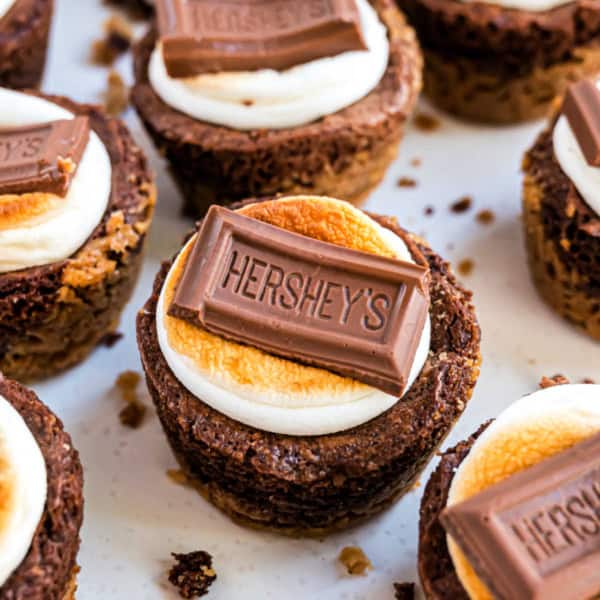 S’mores Brownies have a graham cracker base, toasted marshmallows, and melted chocolate. They also include a layer of rich, chewy…
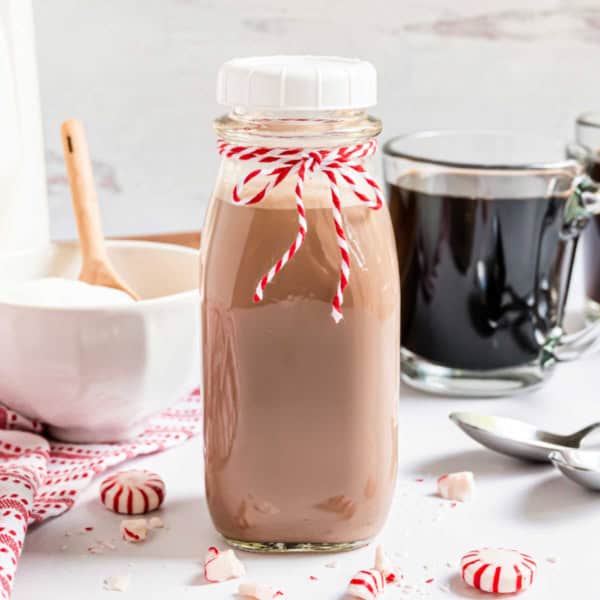 Make this homemade Peppermint Mocha Coffee Creamer and you’ll never use store-bought again! This recipe is incredibly easy and you’ll…
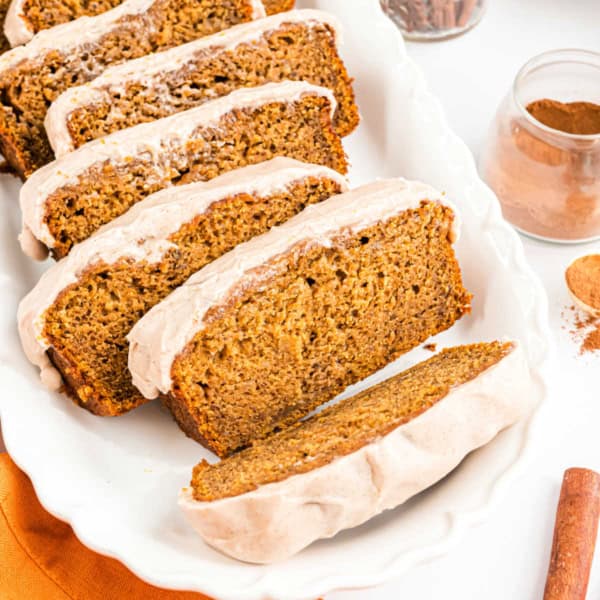 Pumpkin Banana Bread is the answer when you just can’t decide between these two classic quick bread recipes. Super moist,…
 These Chewy Pumpkin Cookies are perfect for fall. They have warm, cozy spices and real pumpkin in the cookie dough.…
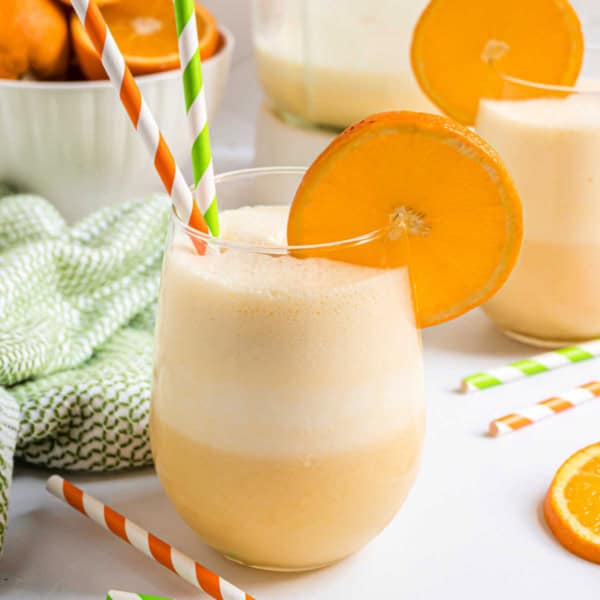 Orange Julius is a popular drink that’s simple to make at home! It’s frosty and creamy. This copycat recipe is…
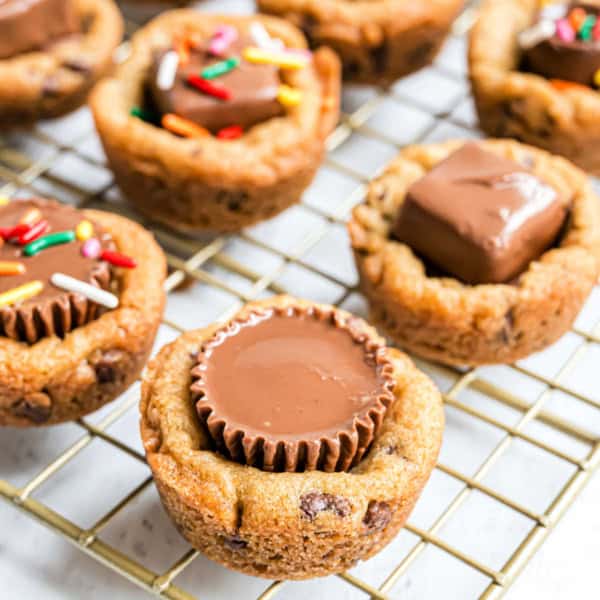 Chocolate Chip Cookie Cups are chewy cookies filled with your favorite candies, making them easy to make and hard to…
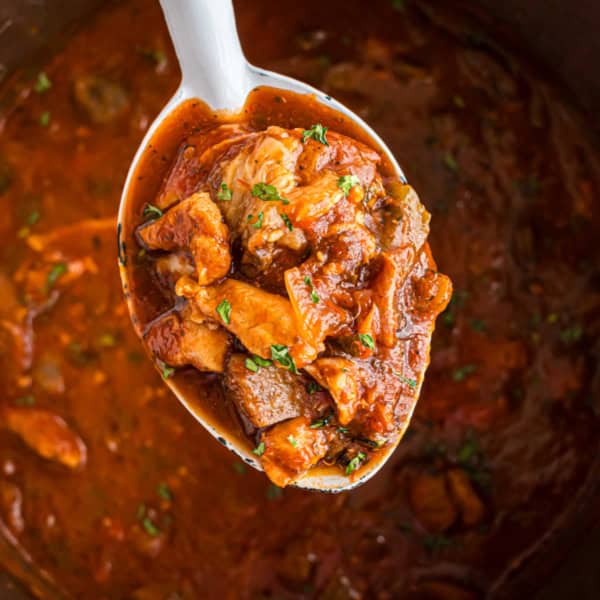 This hearty Instant Pot Chicken Cacciatore Recipe is perfect for an easy weeknight dinner. Packed with flavor from tomato based sauce, mushrooms,…
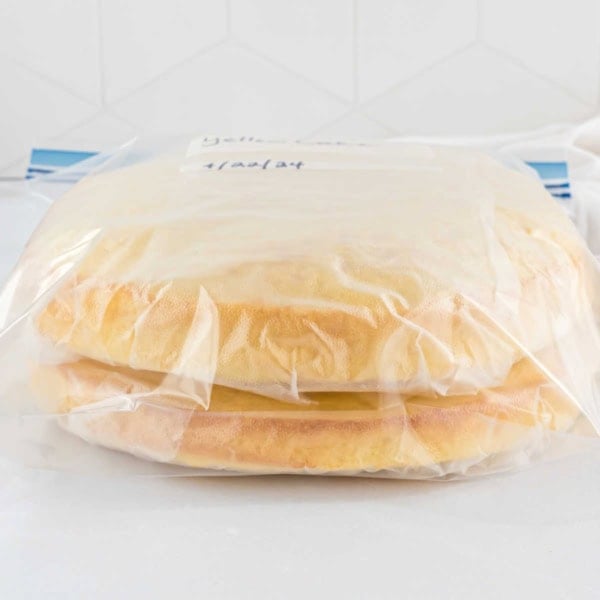 Learn the proper way to freeze cake. These tips will help you keep your cake tasting delicious when you thaw…
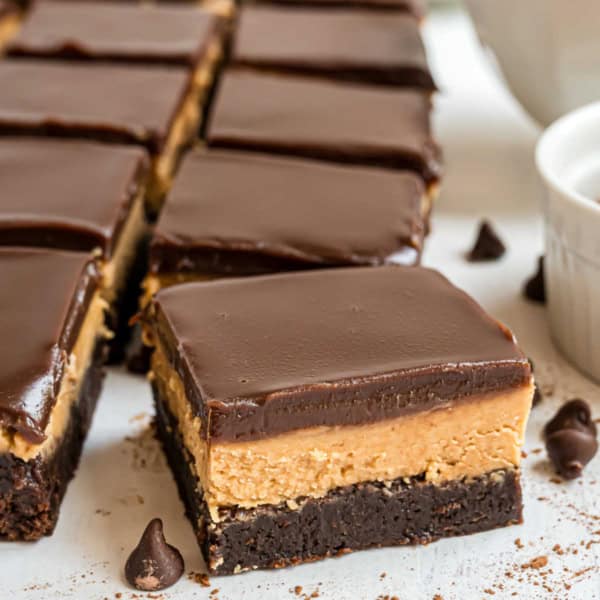 Rich chocolate Buckeye Brownies topped with a homemade peanut butter filling and chocolate ganache. You’ll love how easy and fudgy…
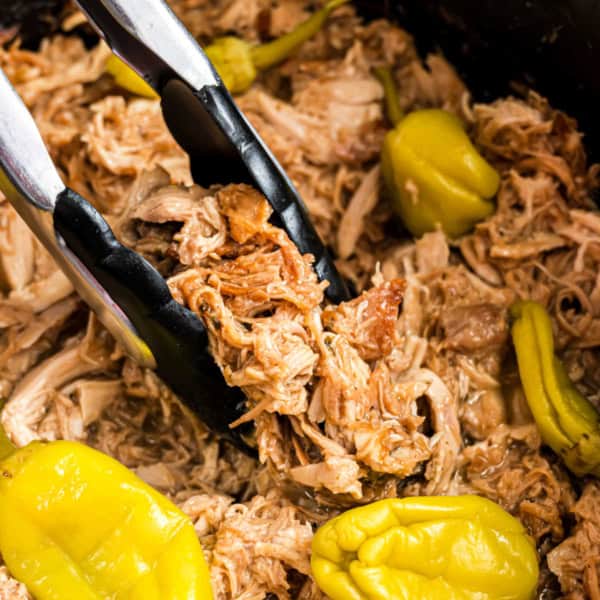 Try this simple crockpot Mississippi Chicken recipe for flavorful, tender meat that you’ll love. Simple to make and tasty. Enjoy…
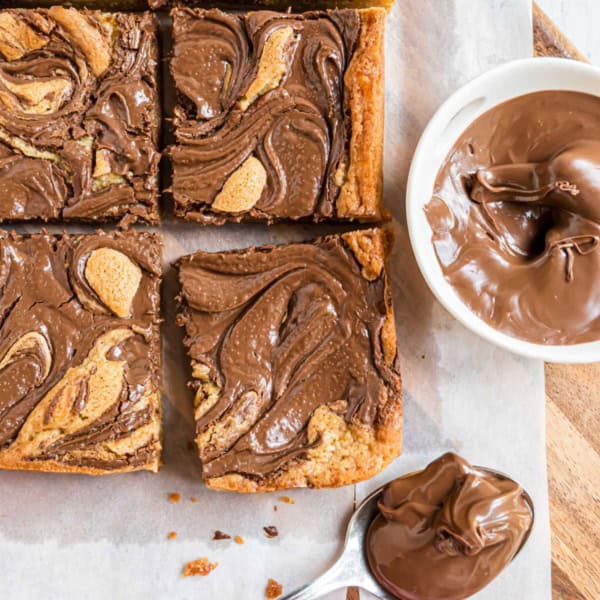 Nutella Swirled Blondies are decadence at its finest. Topped with vanilla ice cream and drizzled with melted Nutella, these blondies…
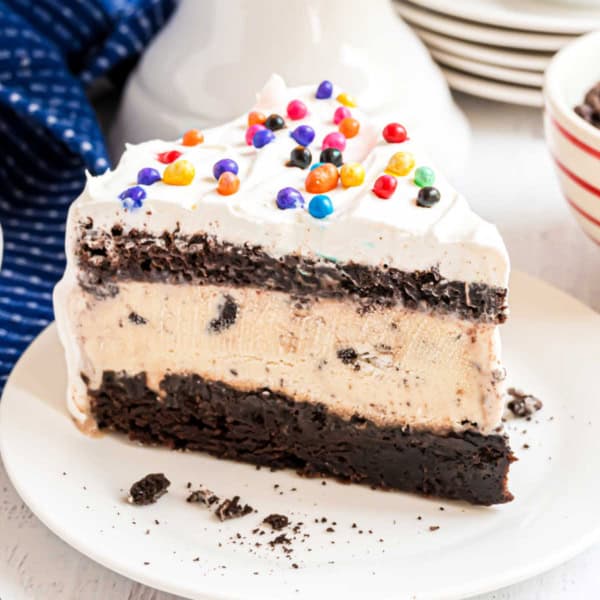 Brownie Ice Cream Cake has layers of fudgy brownie, cookies and cream ice cream, and hot fudge sauce. Make this…
 The best Cream Puff Cake recipe, featuring a fluffy crust, easy vanilla filling, and of course, chocolate. This cream puff recipe will…
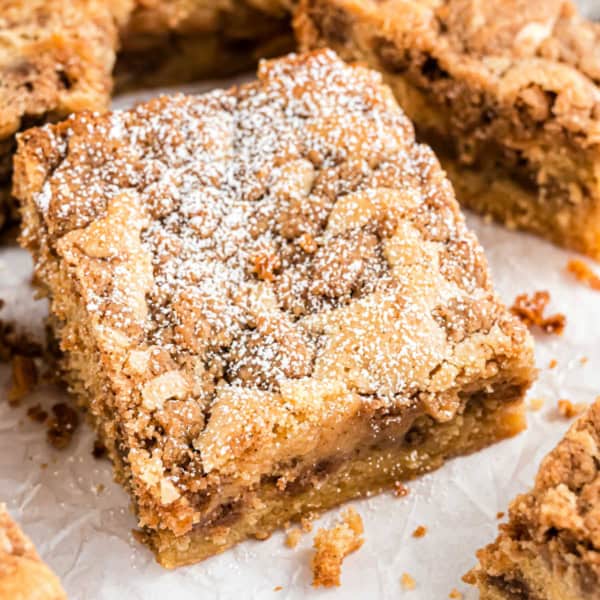 Cinnamon Sour Cream Coffee Cake is a tender coffee cake filled with a cinnamon swirl and topped with a delicious…
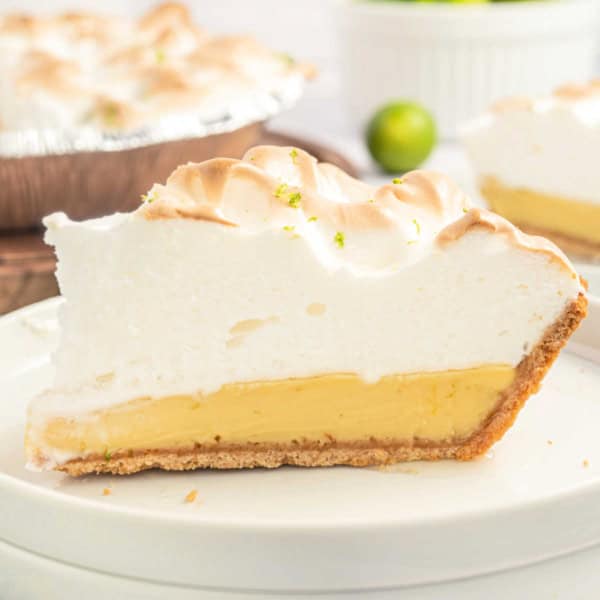 Key Lime Meringue Pie is creamy, dreamy, and delightfully tangy dessert! The fluffy, cloud-like layer of meringue on top is…
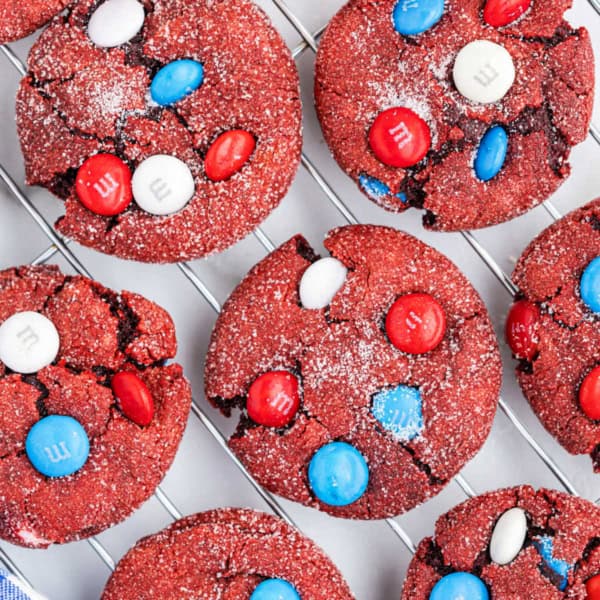 Meet your new favorite cookie recipe. These Red Velvet Cake Mix Cookies are pretty to look at, and they taste…
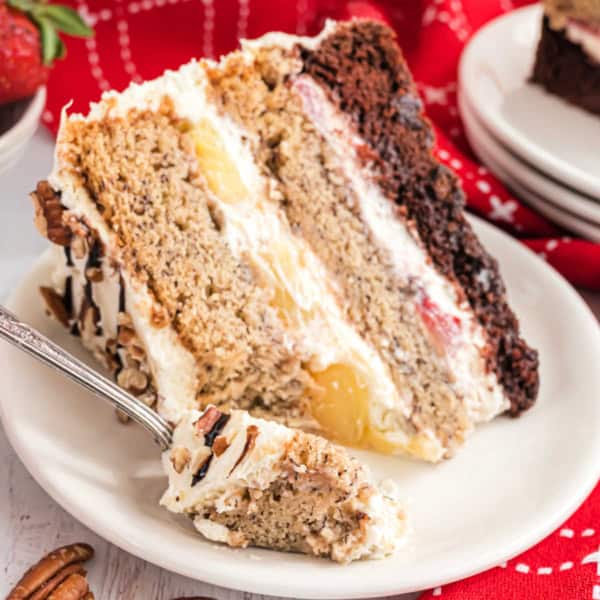 This Banana Split Cake recipe truly has everything! Fresh pineapple and strawberry slices sandwiched between chocolate and banana cake. Perfect…
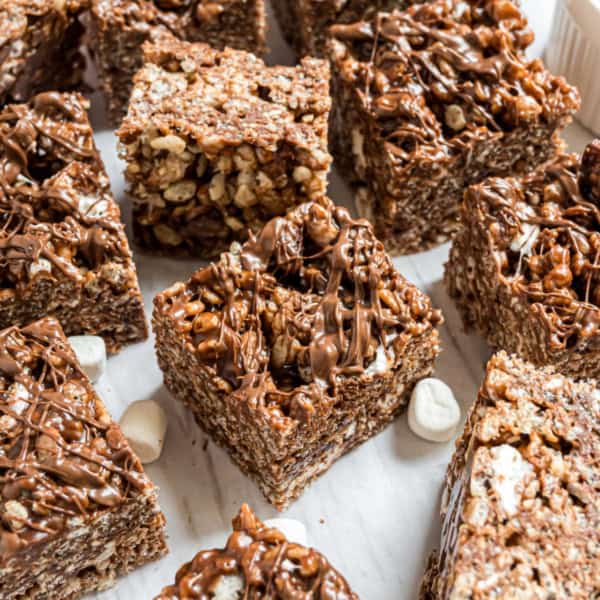 Nutella Rice Krispie Treats combine my favorite rice krispie treats with creamy chocolate hazelnut spread. Soft and chewy, you’ll love…
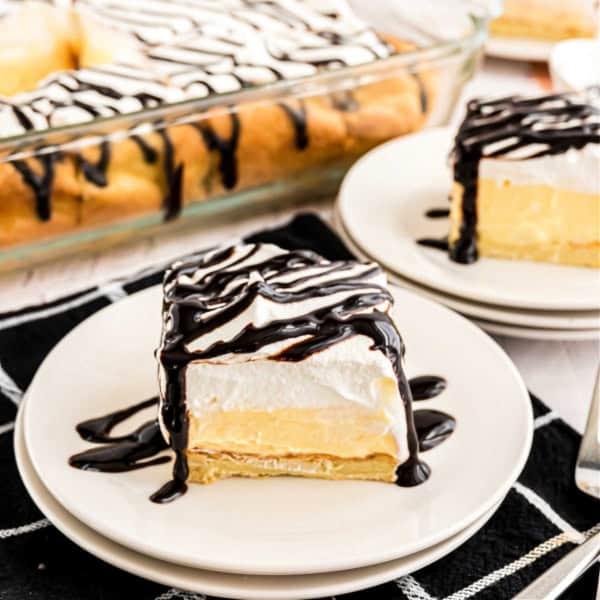
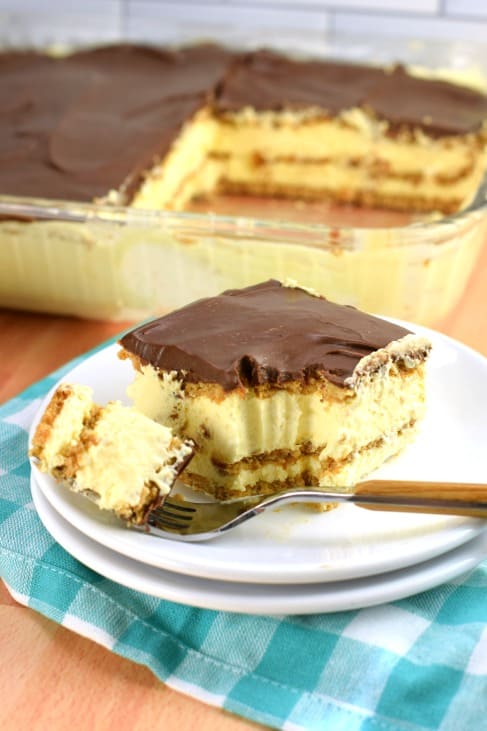 This recipe for Chocolate Eclair Cake is a classic no-bake dessert made with graham crackers, pudding, and chocolate frosting. Everyone…
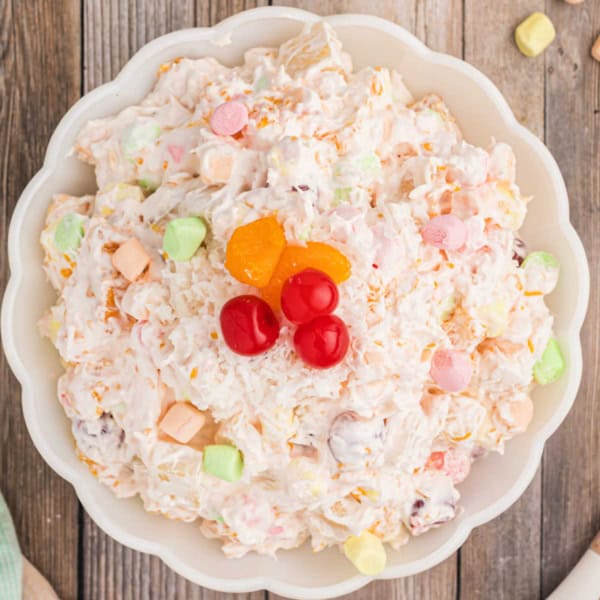 Bring extra sweetness to your holiday table with this Ambrosia Salad recipe! Toss canned fruit with whipped cream and marshmallows…
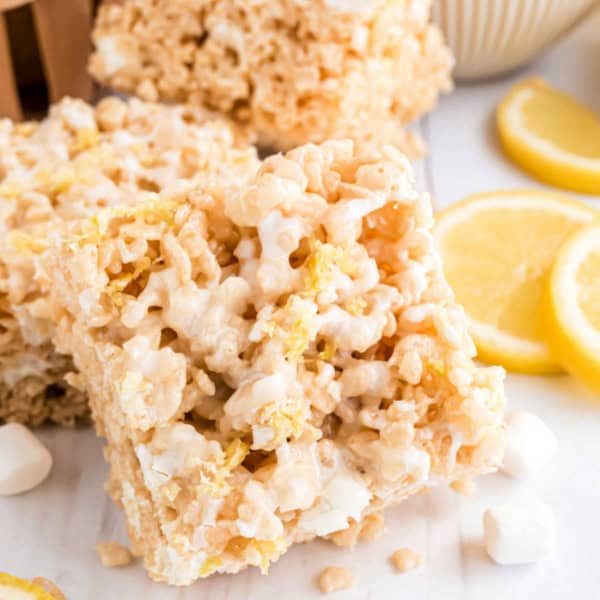 Lemon Rice Krispie Treats have a chewy texture and buttery marshmallow flavor, plus a zesty lemon twist for extra flavor.…
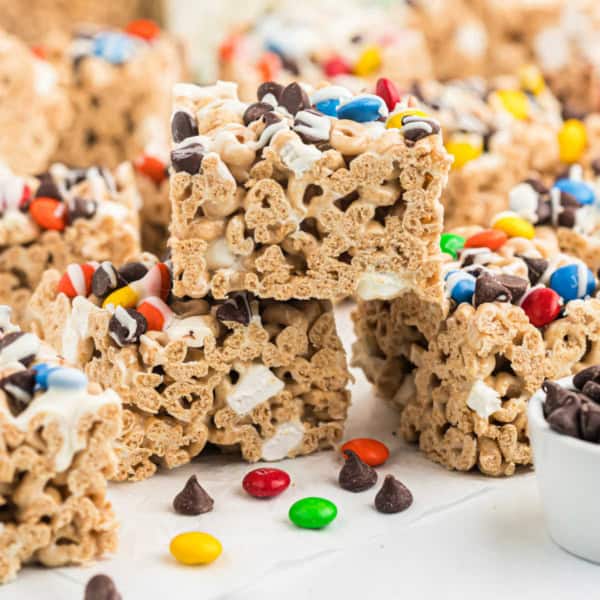 No-Bake Cheerio Bars are an easy and versatile dessert everyone loves! Grab a box of cheerios and your favorite candies…