What are two of my favorite budget-friendly ingredients? Beans and eggs! And they come together perfectly to create a really simple and filling meal that’s great for breakfast, brunch, or just any time of the day (eggs all day every day, please!). And you really can’t beat the cost of this dish. Even with a few fancier toppings, my price per serving came in just over a dollar. 🙌
I love turning an inexpensive can of beans into a delicious meal, so the other day I was thinking, “Hey, I wonder if you could cook eggs in some saucy beans like you do shakshuka?” So I tried it out and it worked! This recipe is super simple, satisfying, and you can make it as simple or as extravagant as you’d like, depending on how you top it.
Ingredients for Black Beans with Eggs
Here’s all you’ll need to make this super budget-friendly meal:
- Garlic and Jalapeño: Sautéed fresh garlic and jalapeño create a super flavorful base for the beans, adding depth and a little spicy kick. If you don’t like spicy, you can skip the jalapeño. And you can totally “measure with your heart” for the garlic. ;)
- Black Beans: Beans provide the bulk for this recipe, making it super filling while staying super cheap, AND adding tons of fiber and nutrients. Win! While you could potentially use any bean for this recipe, black beans definitely fit this flavor profile the best and have the best visual appeal.
- Eggs: I used four large eggs, but you could certainly add more if you prefer. I chose to cook the eggs so the yolks were still a bit runny, but you can cook them longer if you prefer a solid yolk. Or, you could even scramble them separately and simply top your bowl of beans and rice after the fact!
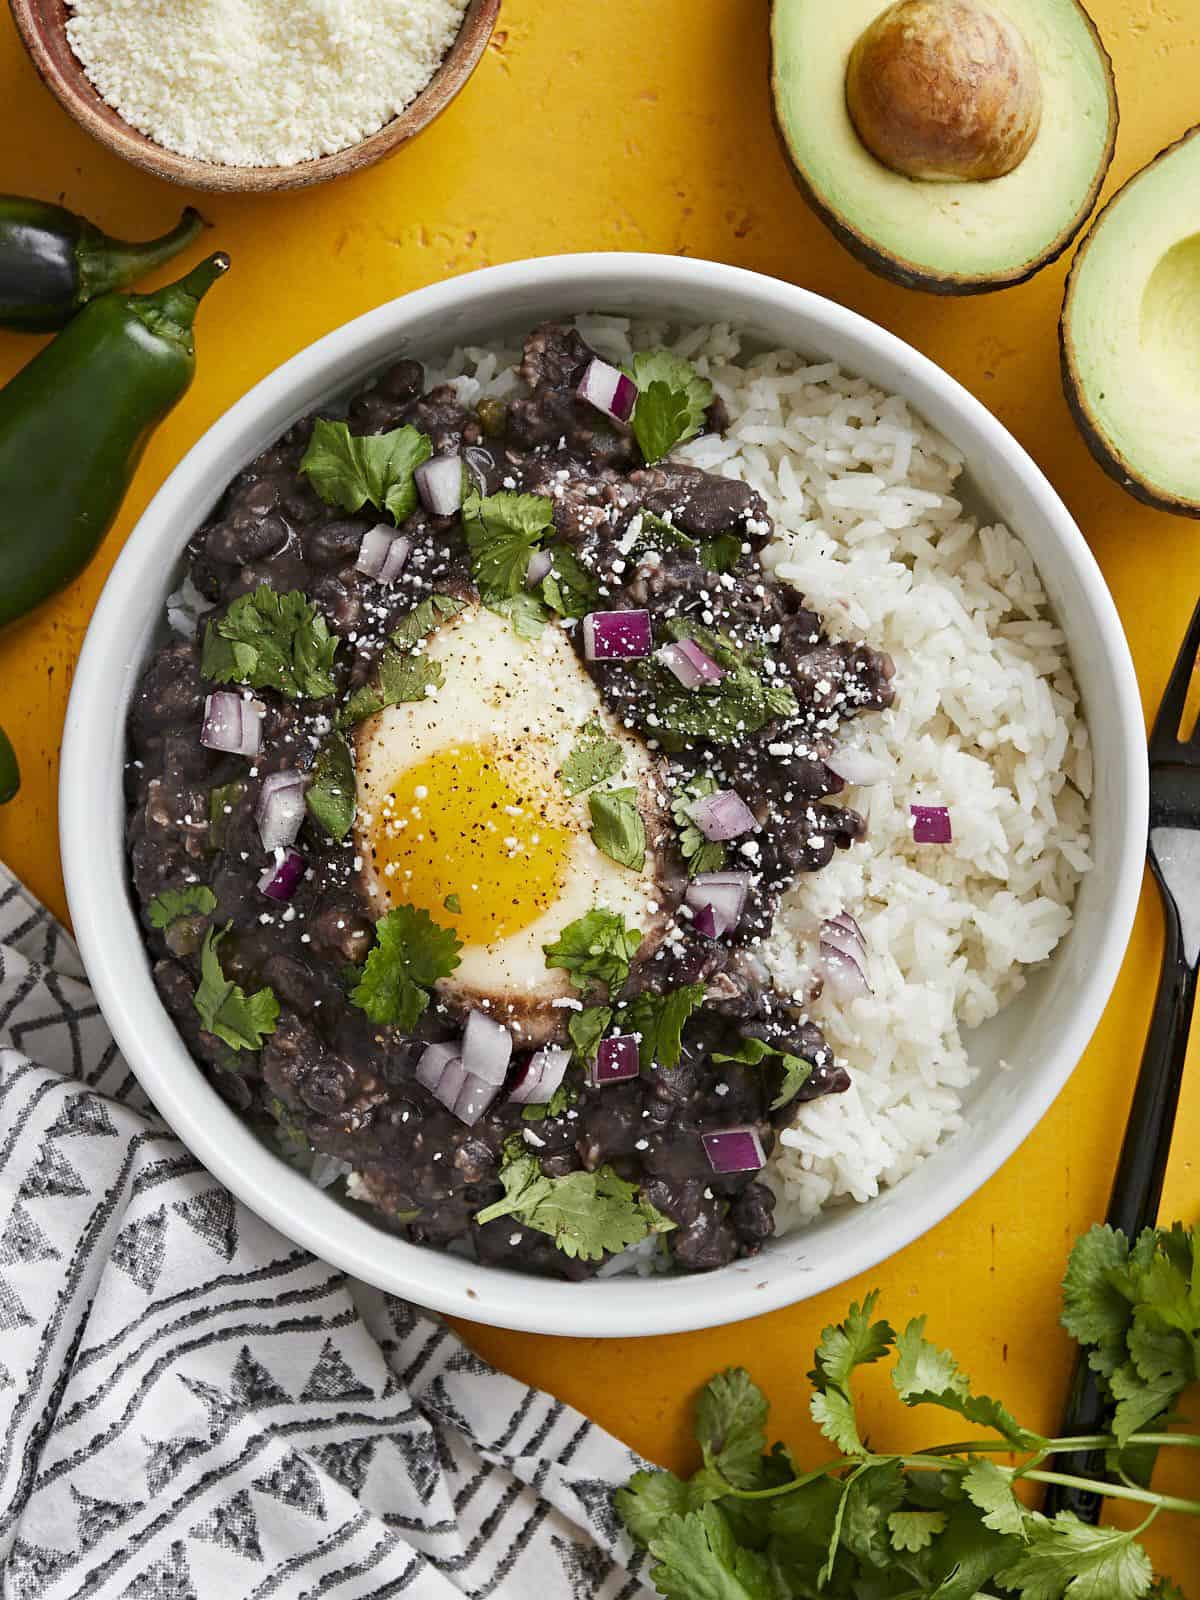
- Toppings: The toppings are totally customizable and can make this recipe super fancy or very simple. We used a combination of onion, cilantro, avocado, and Cotija cheese. See our list of other topping ideas below for more inspo!
- Rice: I served the black beans and eggs over a bed of cooked rice, but you could also scoop them into a tortilla and enjoy them like an enchilada or burrito.
How to Store Leftovers
If you plan to eat your black beans and eggs over the course of a few days, do not pre-poach the eggs in the beans. Simply cook the seasoned beans and store the beans, rice, and toppings separately. Then cook a fresh egg each day to top the beans and rice. You can cook the egg using any method: scrambled, fried, soft-boiled, or hard-boiled.
Topping Ideas
This recipe is just asking for all sorts of fun toppings. You can really dress it up with tons of flavor and color, or keep it super simple and budget-friendly by drizzling some store-bought salsa over top. Here are some ideas for toppings other than what we used below:
- Salsa
- Hot sauce
- Crushed tortilla chips
- Shredded cheddar or pepper jack cheese
- Pico de Gallo
- Sliced green onion
- Kimchi
- Hummus
- Cooked chorizo
- Pickled red onion
- Pickled Jalapeños

Black Beans with Eggs
Ingredients
- 2 cloves garlic $0.16
- 1 jalapeño $0.25
- 1 Tbsp olive oil $0.12
- 2 15oz. cans black beans $1.58
- 1 tsp cumin $0.10
- 1/4 cup water $0.00
- 4 large eggs $0.42
For Serving (optional)
- 3 cups cooked rice $0.32
- 1/4 red onion, diced $0.12
- 1/4 cup chopped cilantro $0.20
- 1 avocado, sliced $0.99
- 1 oz. cotija, crumbled $0.46
Instructions
- Mince the garlic and dice the jalapeño (seeds removed). Add the garlic and jalapeño to a large skillet with the olive oil and sauté over medium heat for about one minute, or just until the garlic softens a bit and becomes fragrant.
- Add the canned beans (without draining) to the skillet along with the water and cumin. Stir to combine, then allow the beans to come up to a simmer.
- Let the beans simmer, stirring often, for about five minutes. After the beans have softened slightly from simmering, use the back of a large spoon to smash some of the beans to thicken.
- Turn the heat down to medium-low. Crack the eggs onto the beans. Partially cover the skillet with a lid and allow the eggs to simmer in the beans for 7-10 minutes, or until the eggs are cooked to your liking.
- Top the skillet with your favorite ingredients (we used onion, cilantro, avocado, and cotija), and serve over a bed of warm rice. Enjoy!
See how we calculate recipe costs here.
Nutrition
How to Make Black Beans with Eggs – Step by Step Photos

Mince two cloves of garlic (or more, if you’d like!) and one jalapeño (seeds removed). Add the garlic and jalapeño to a large skillet with 1 Tbsp olive oil and sauté over medium heat for 1-2 minutes, or just until the garlic softens a bit and becomes very fragrant. Don’t let the garlic brown.
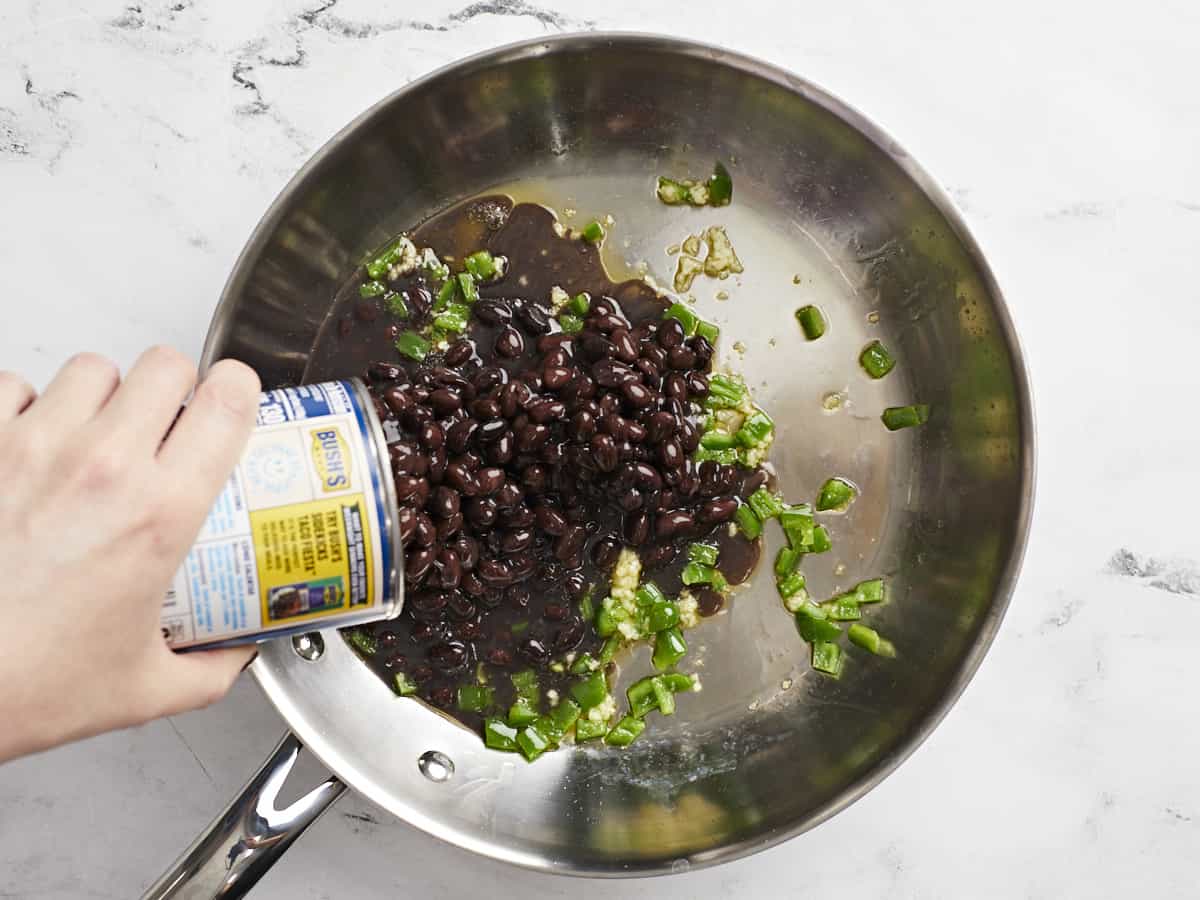
Add two undrained cans of black beans to the skillet along with ¼ cup water and 1 tsp cumin.

Stir everything to combine, then let the beans simmer over medium for about 5 minutes, stirring often to prevent the beans from sticking to the bottom of the skillet. After simmering for five minutes, use the back of a large spoon to smash some of the beans and thicken the sauce.
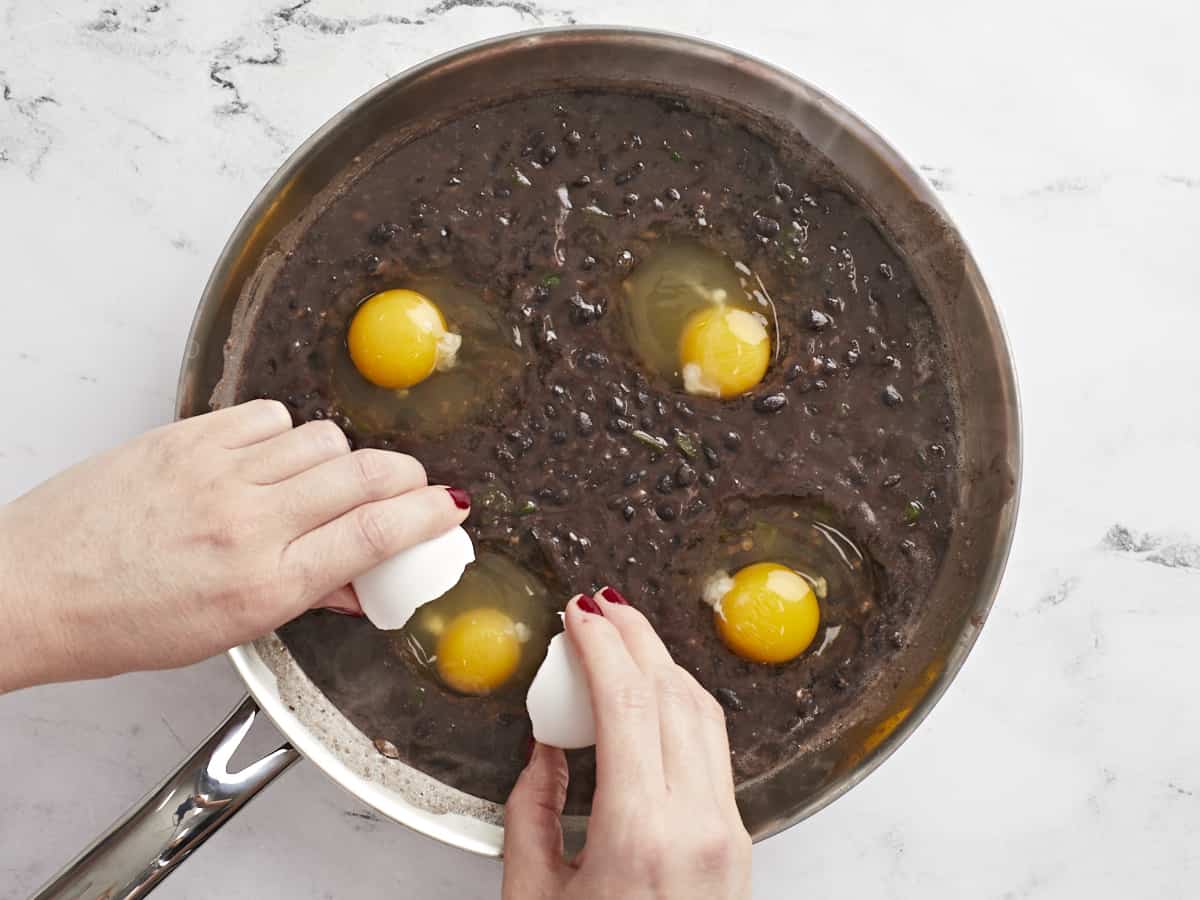
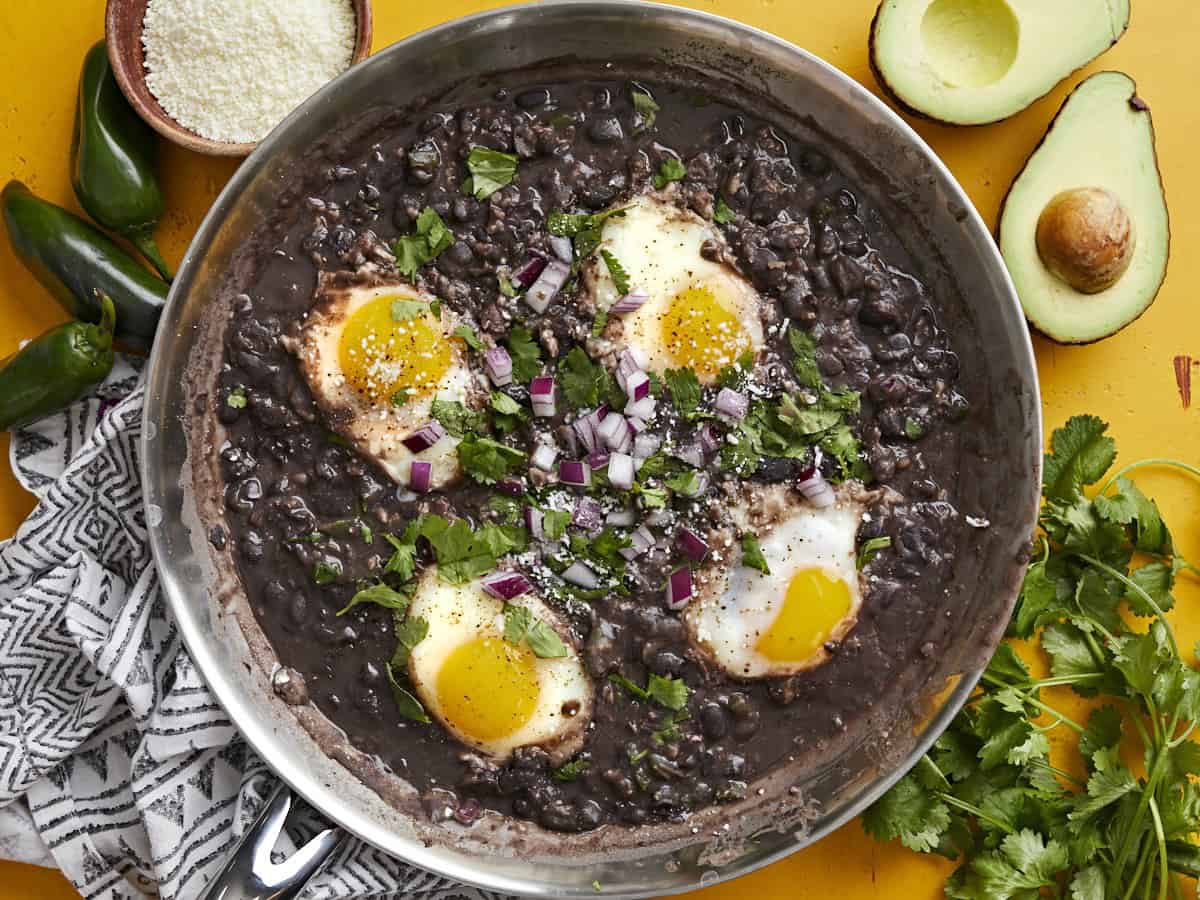
Turn the heat down to medium-low and crack four large eggs onto the surface of the black beans.
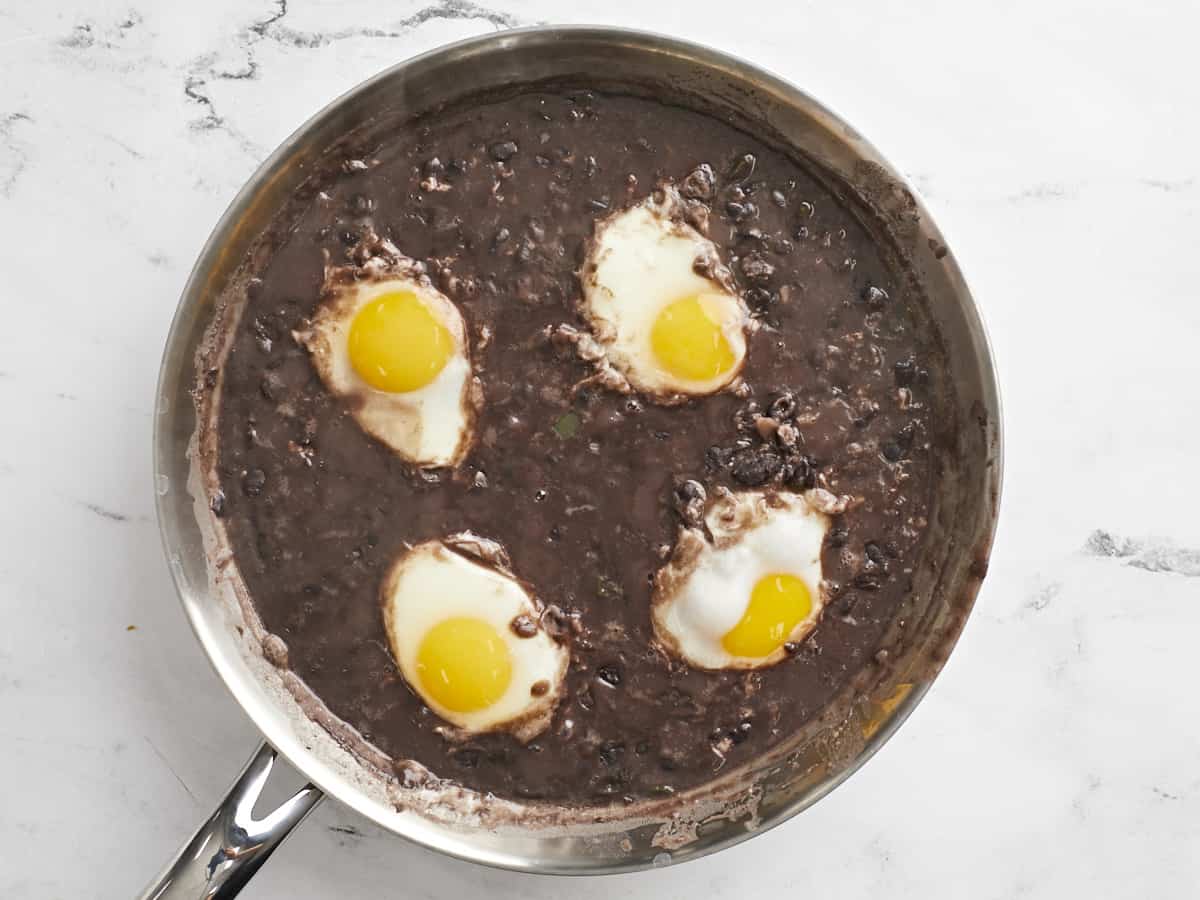
Partially cover the skillet with a lid and allow the eggs to simmer in the beans for 7-10 minutes, or until they are cooked to your liking (less time for runny yolks, more time for solid yolks). Cook time can vary depending on how hot the beans are and how cold the eggs are, so watch them closely.
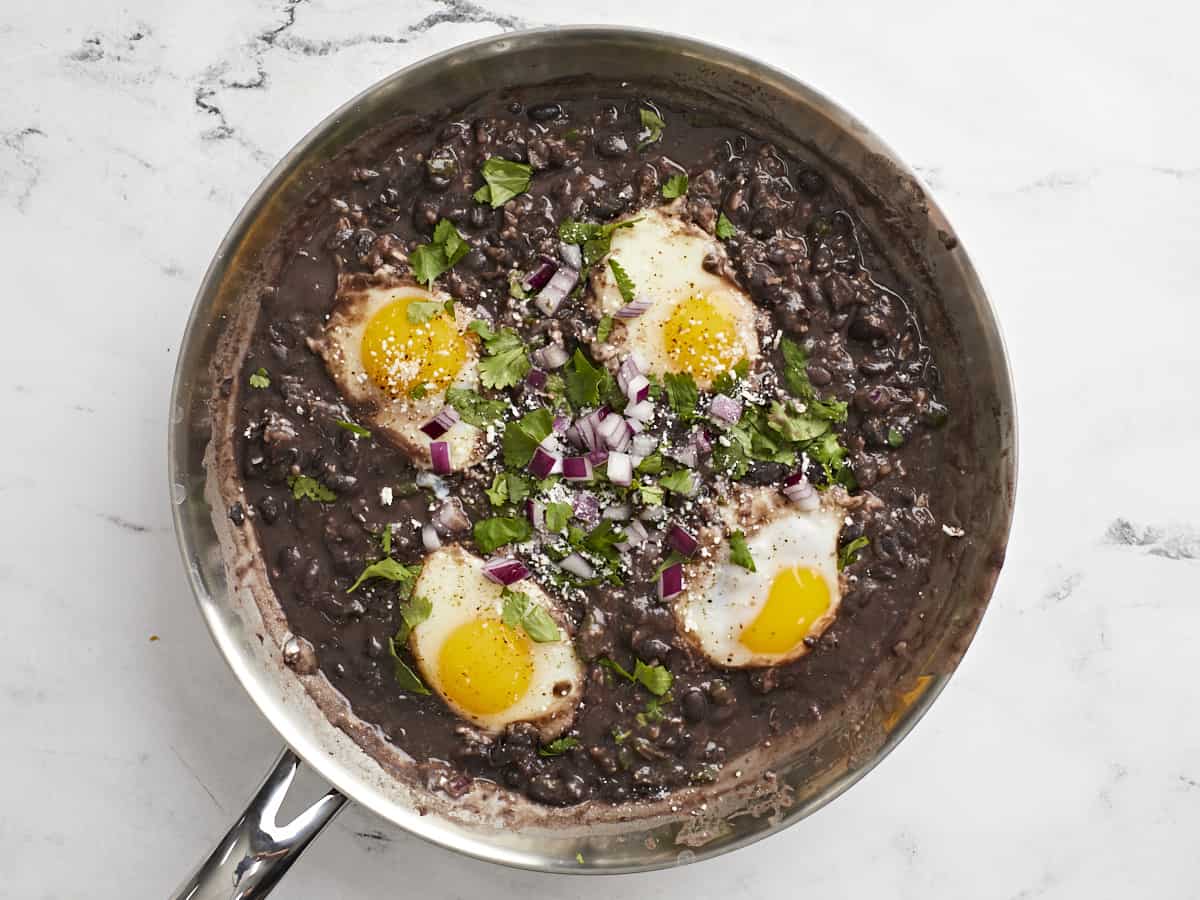
Top the eggs and black beans with chopped cilantro, diced red onion, and crumbled cotija cheese, or the toppings of your choice.
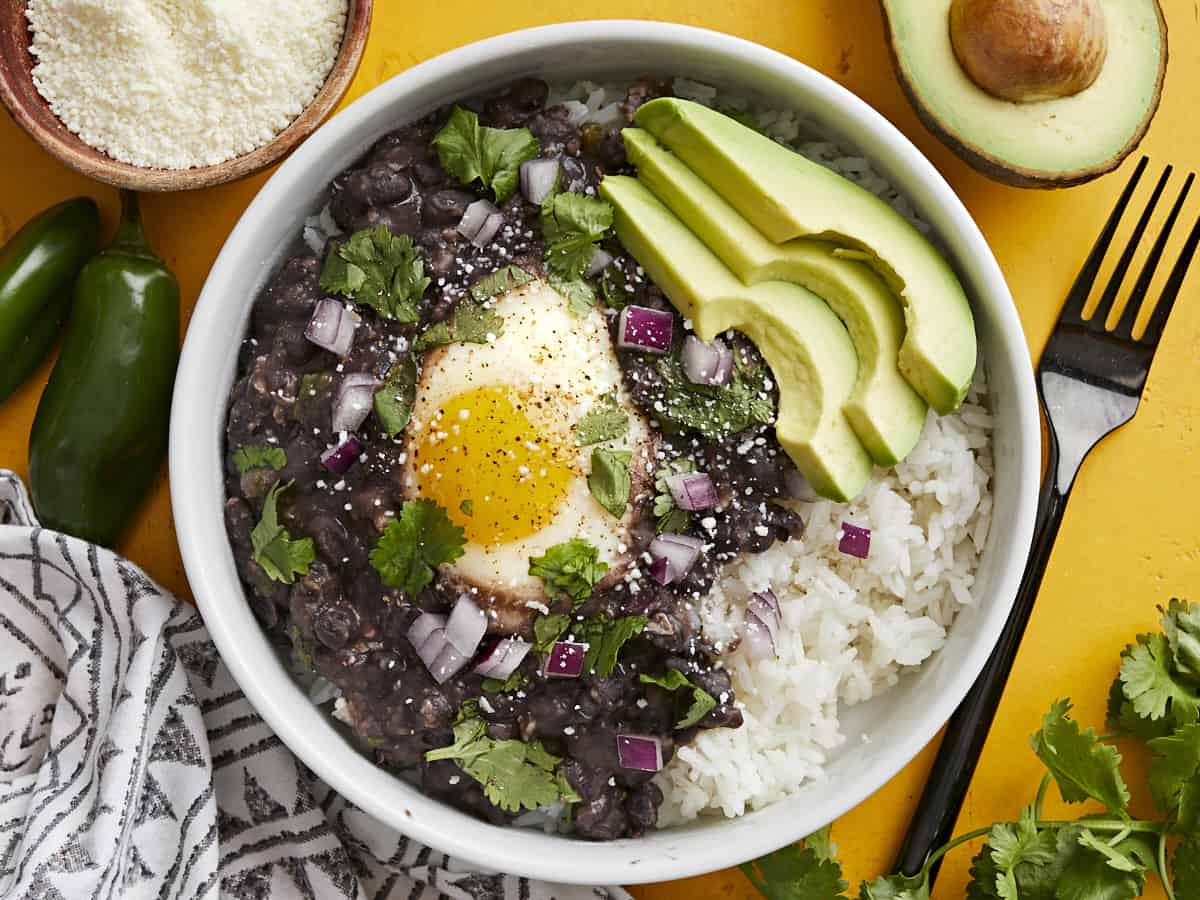
Serve over cooked rice and enjoy!
More Black Bean Recipes


The post Black Beans with Eggs appeared first on Budget Bytes.

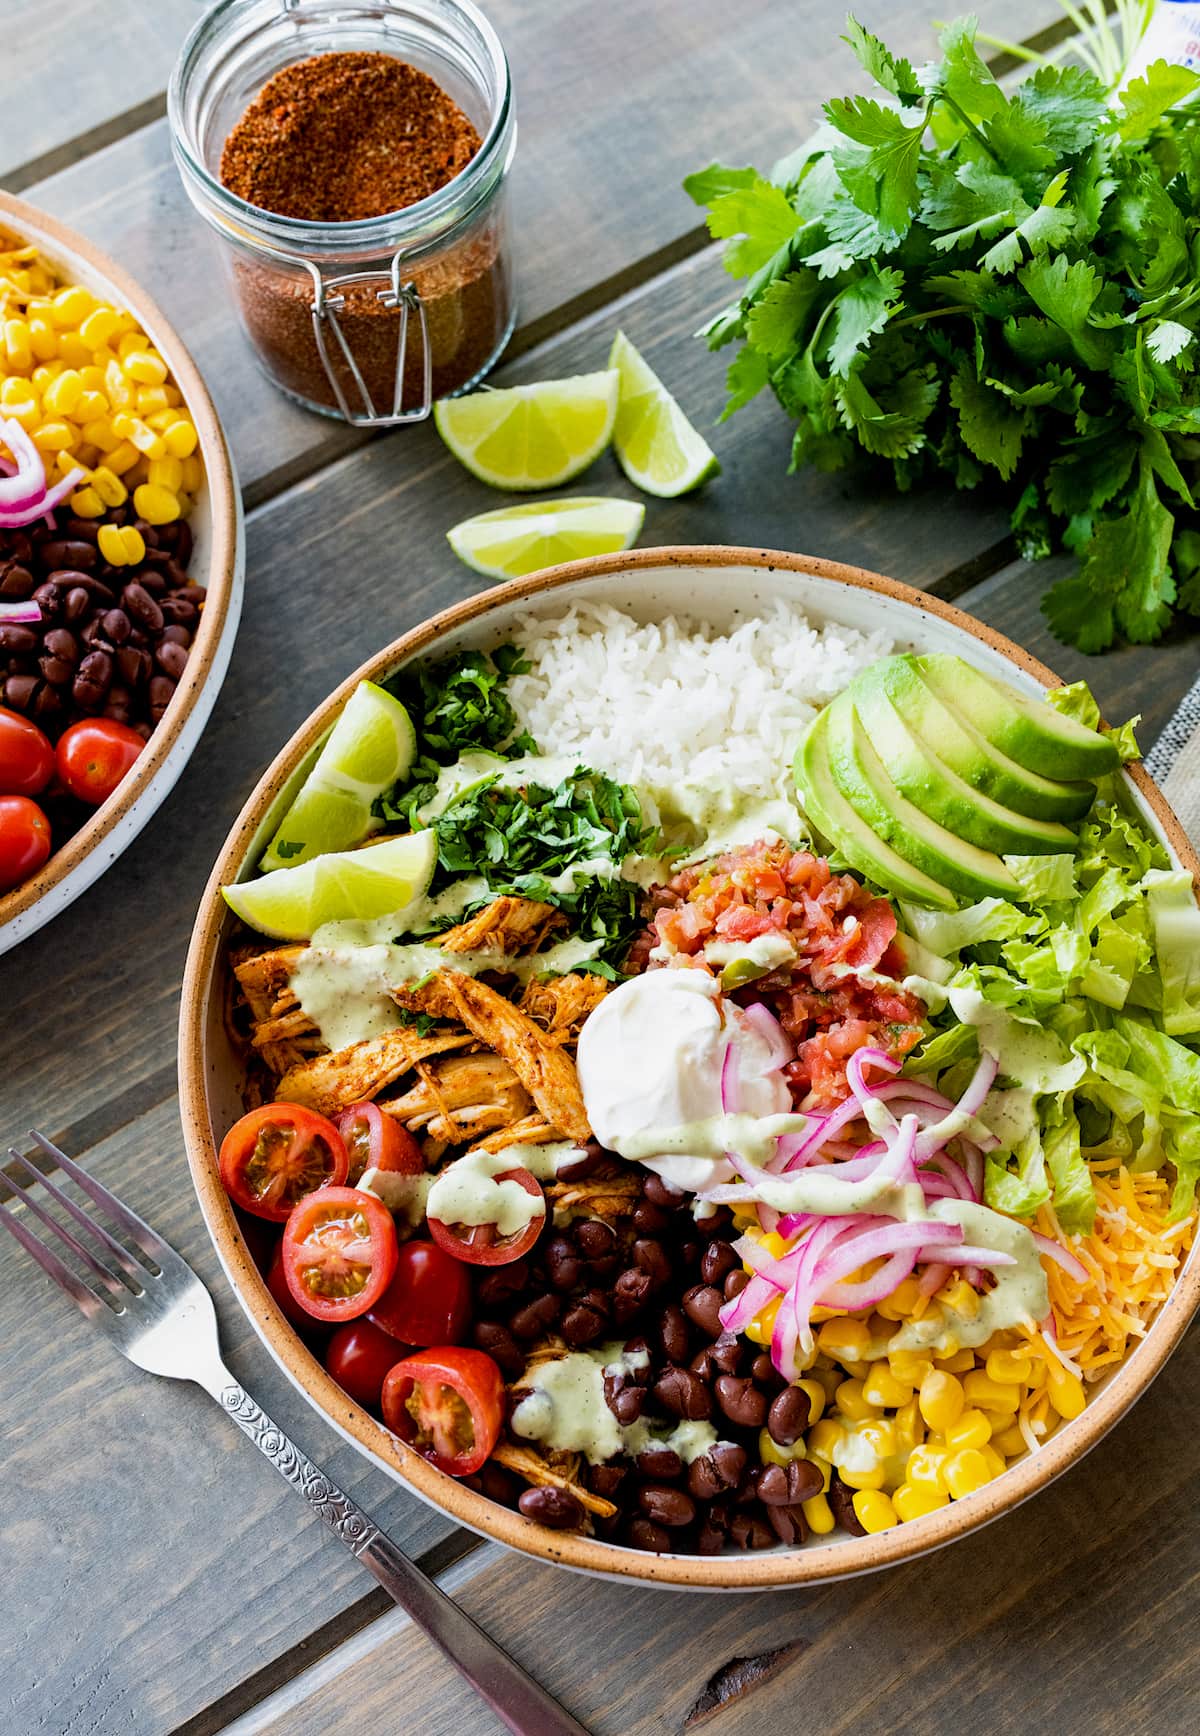 We love making Burrito Bowls because they are easy, fresh, healthy, can be made in advance, and DELICIOUS! A burrito bowl is a deconstructed burrito without the tortilla. You get all of your favorite burrito fillings in ONE bowl: seasoned chicken, beans, rice, cheese, corn, pico de gallo, sour cream, guacamole, and more! You can…
  Breakfast is my favorite meal of the day and I love mixing it up so I can enjoy all of my favorite recipes: pancakes, smoothies, French toast, breakfast burrito, overnight oats, baked oatmeal, and MORE! You can find the best breakfast recipes here. I also LOVE a good Breakfast Sandwich and this breakfast sandwich recipe…
 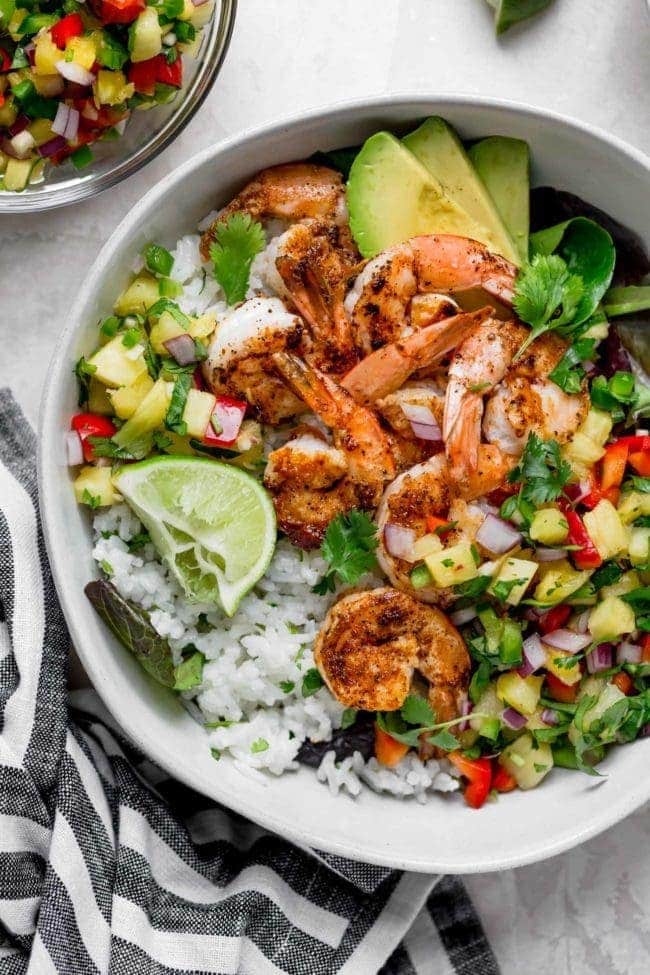 In the summertime, we tend to keep our meals super easy, but don’t let super easy scare you away. Super easy doesn’t have to be boring. Super easy can be super delicious, just like these Shrimp Bowls. These shrimp bowls have coconut cilantro lime rice as the base and are topped with grilled shrimp, our…
 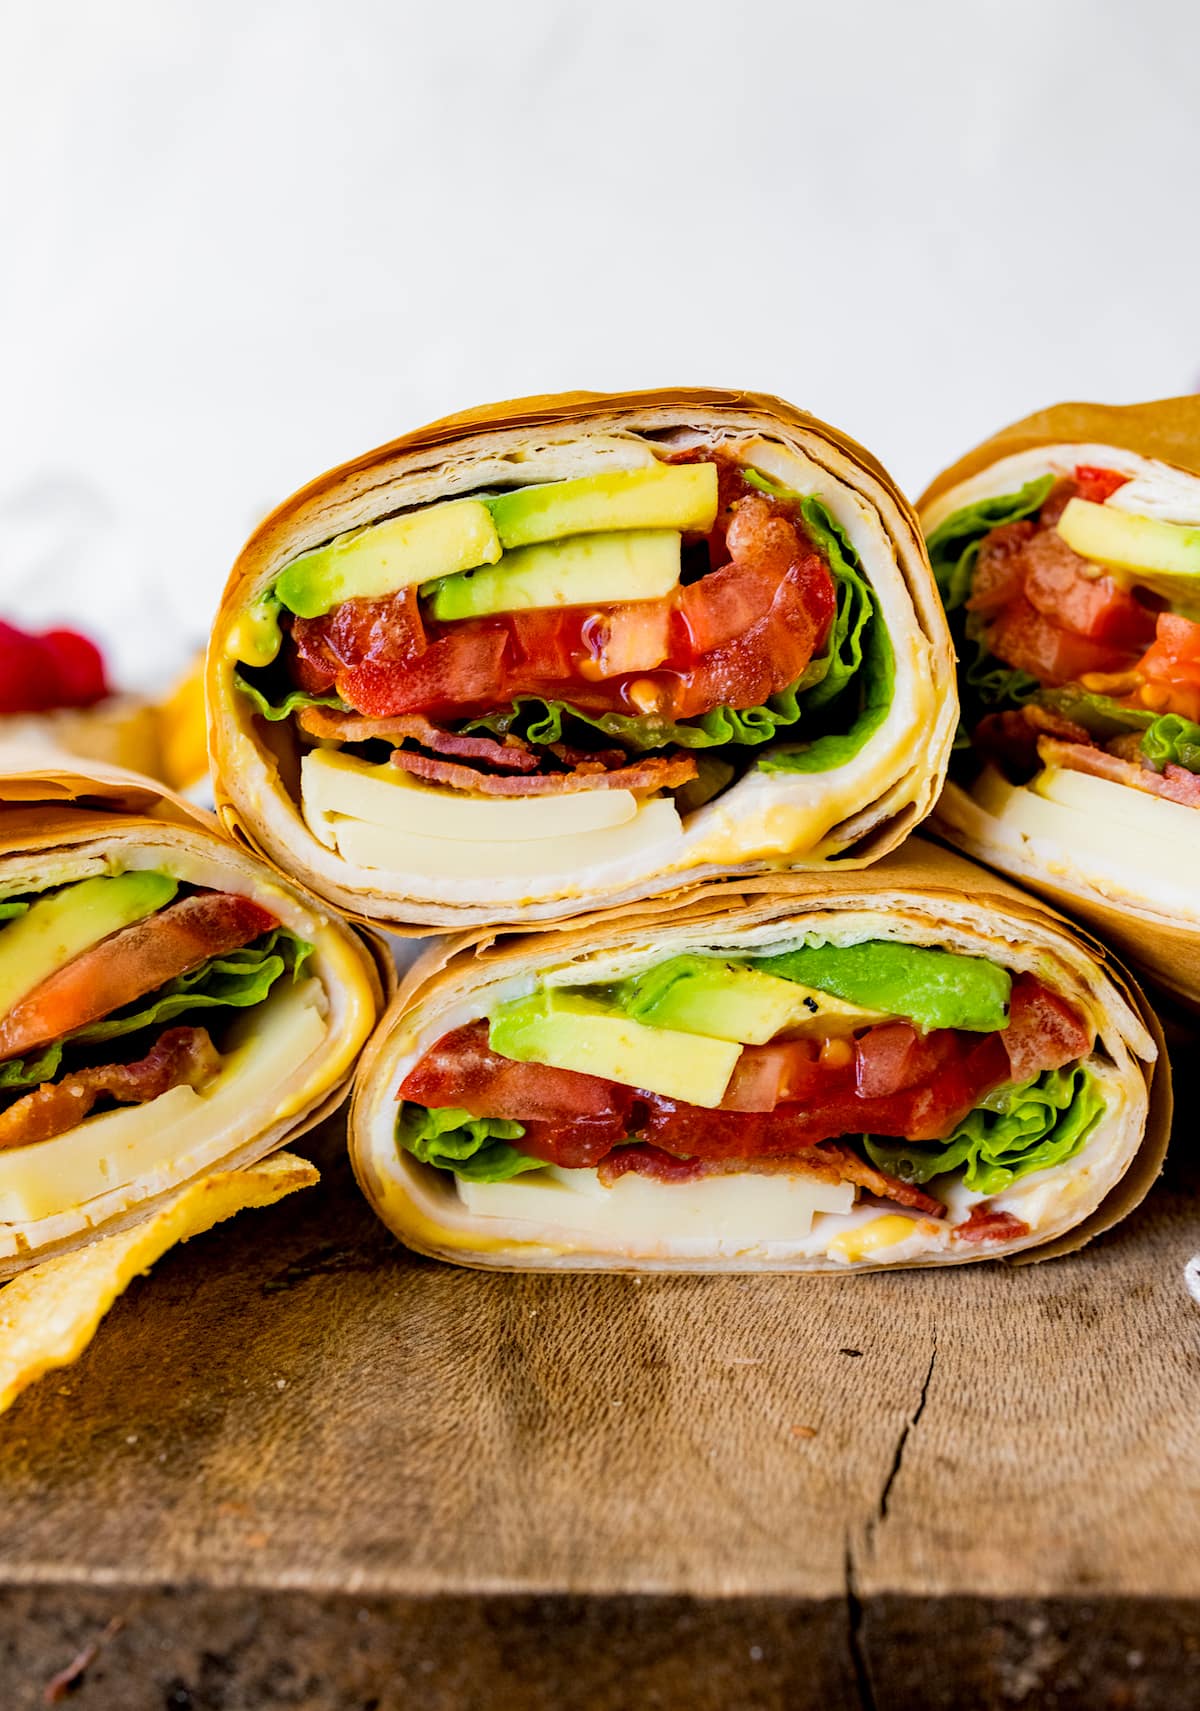 Wraps make a fun, easy, healthy, and delicious meal. Our Chicken Caesar Wraps are very popular and so are these Turkey Wraps! We love making wraps because they are very versatile. You can add whatever ingredients and sauces you like, just like a sandwich. But wraps really are more fun. Everything gets wrapped up into…