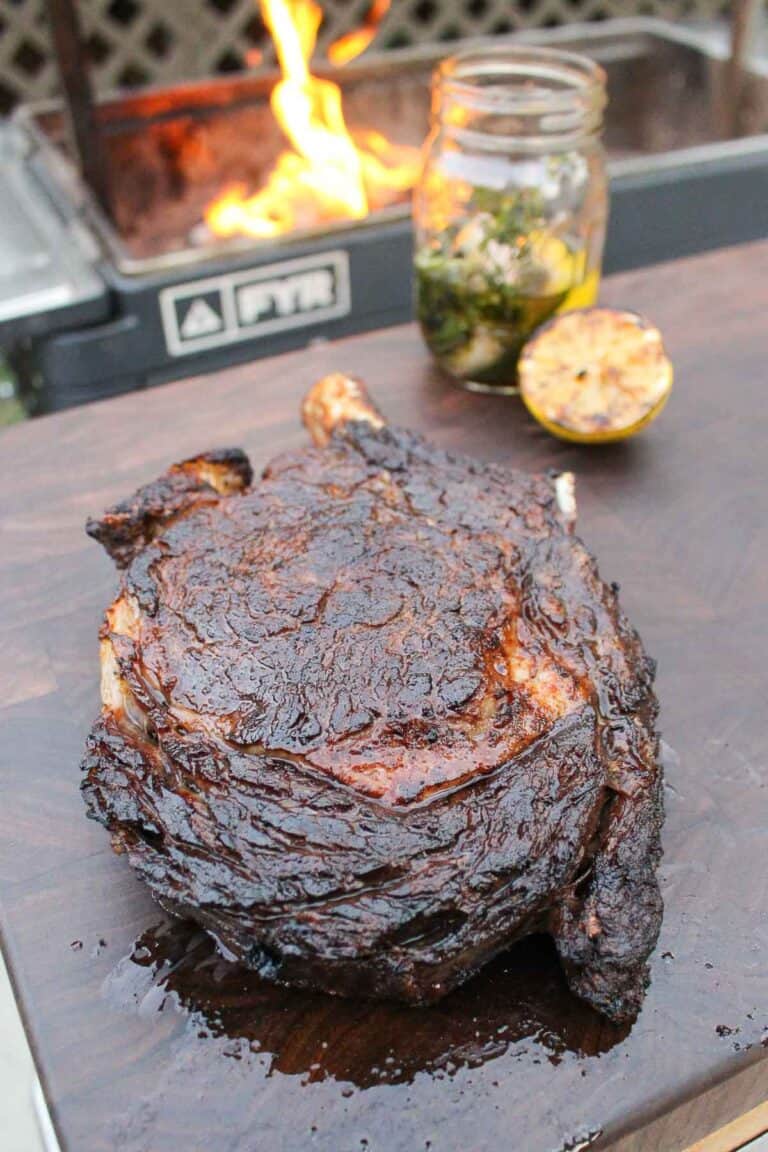
Perfect Ribeye Steak
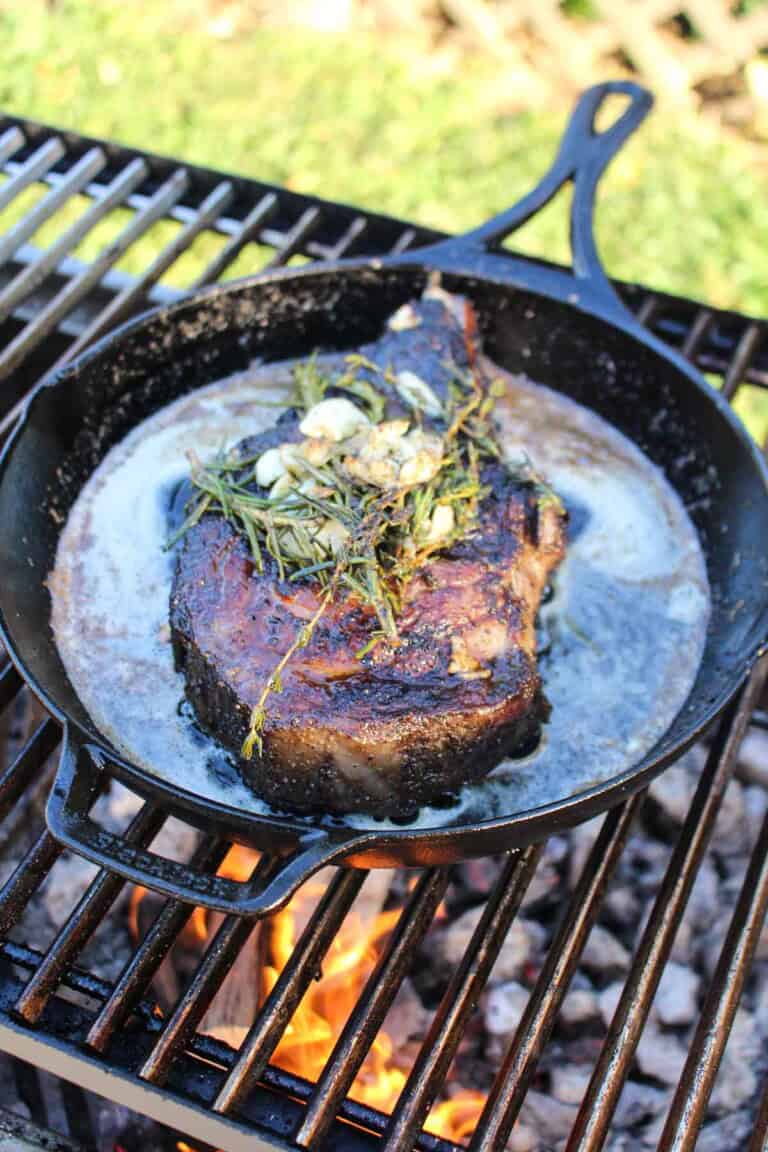
Few things in life are as mouth-watering as the Perfect Ribeye Steak. If you’re a fan of juicy steak, this…
The post Perfect Ribeye Steak appeared first on Over The Fire Cooking.
Few things in life are as mouth-watering as the Perfect Ribeye Steak. If you’re a fan of juicy steak, this…
The post Perfect Ribeye Steak appeared first on Over The Fire Cooking.
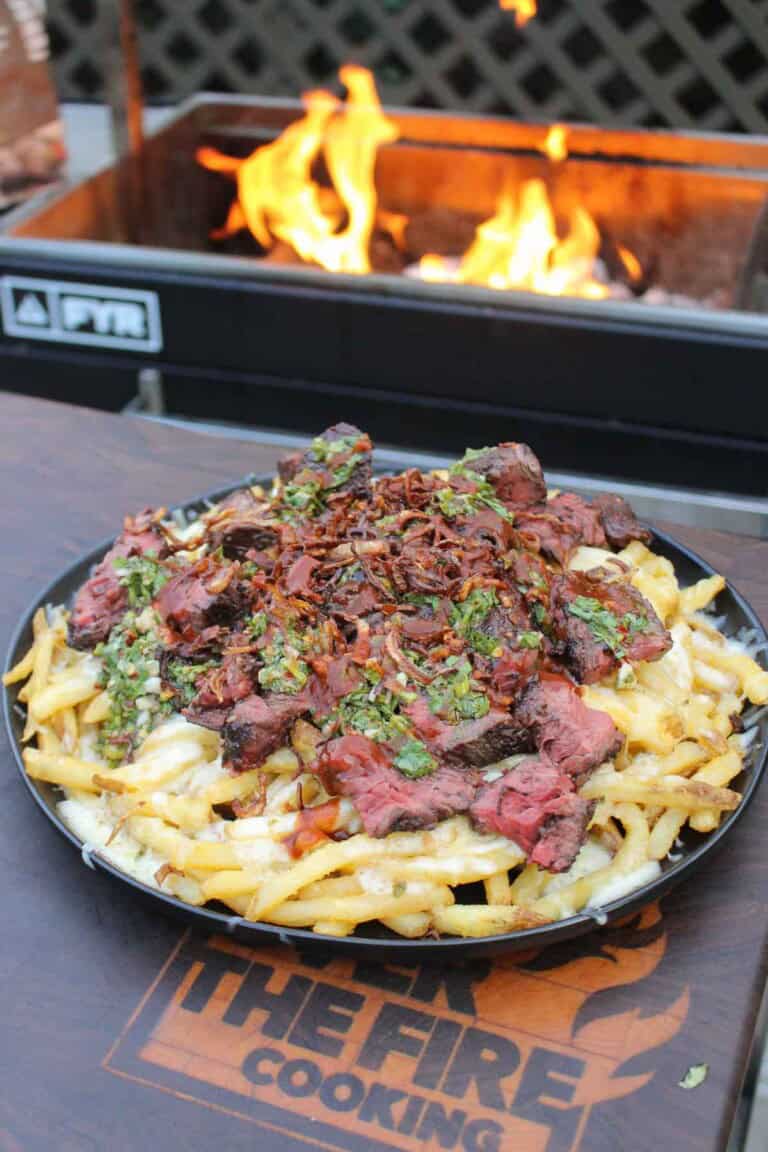
This plate of cheese fries with chimichurri steak is seriously loaded. That’s because we’ve got the works here: hanger steaks,…
The post Cheese Fries with Chimichurri Steak appeared first on Over The Fire Cooking.
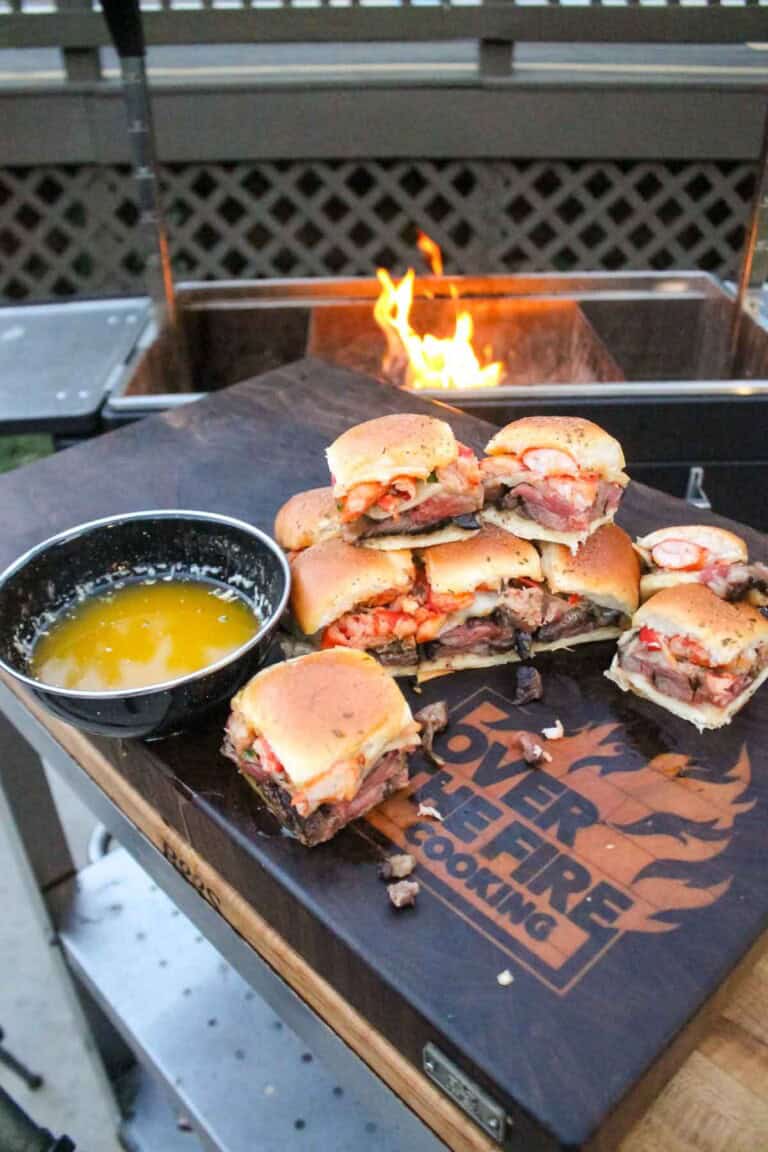
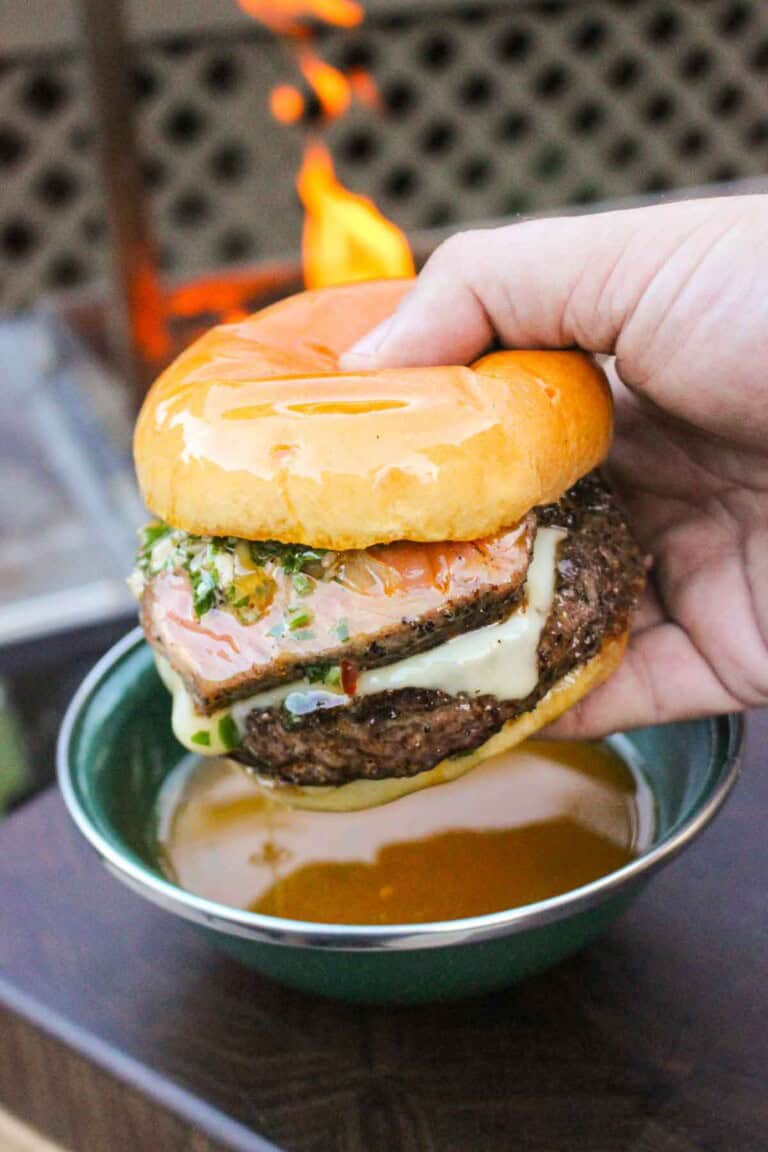
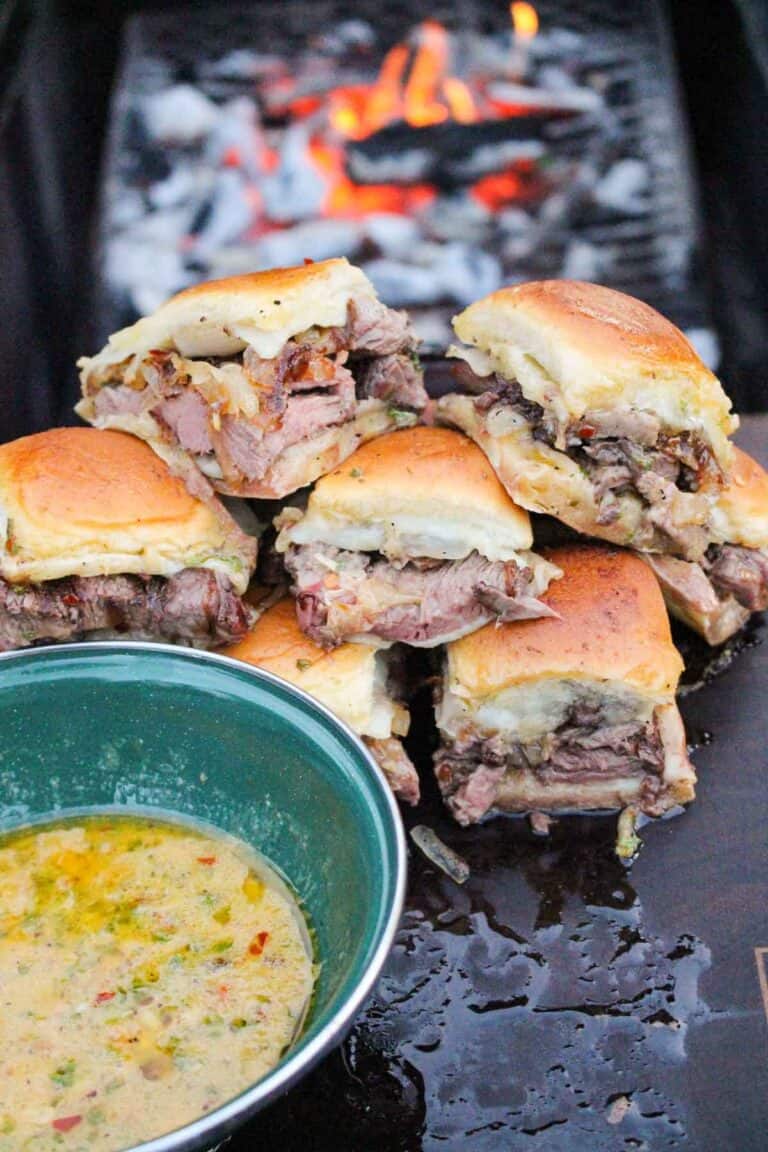
Get ready for some luxe, freakin’ delicious mini burgers: surf and turf sliders! This sliders variation puts an exclamation point…
The post Surf and Turf Sliders appeared first on Over The Fire Cooking.
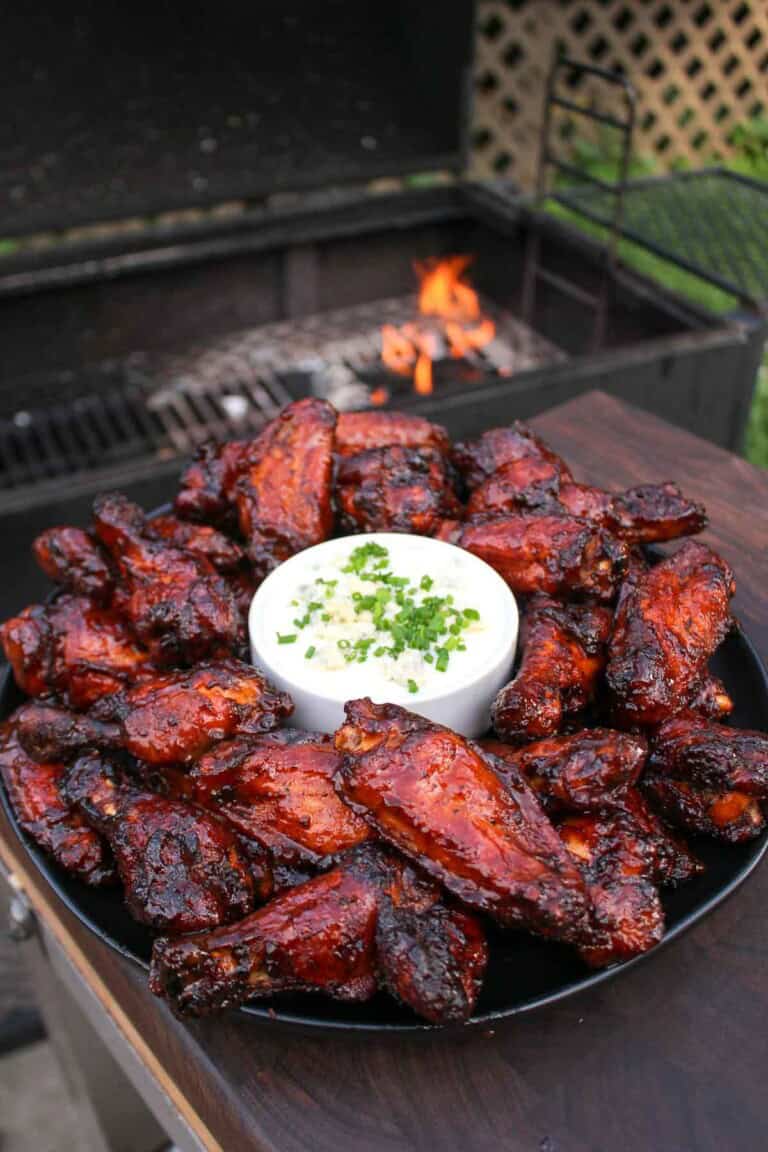
Buffalo wings are the ultimate game day appetizer and party food. But guess what? We don’t have to confine these…
The post Best Buffalo Wings appeared first on Over The Fire Cooking.
Here’s a fun roundup that will make you feel like a grilling maestro: my favorite skewers recipes! Skewers, which are…
The post The Best Skewers Recipes appeared first on Over The Fire Cooking.
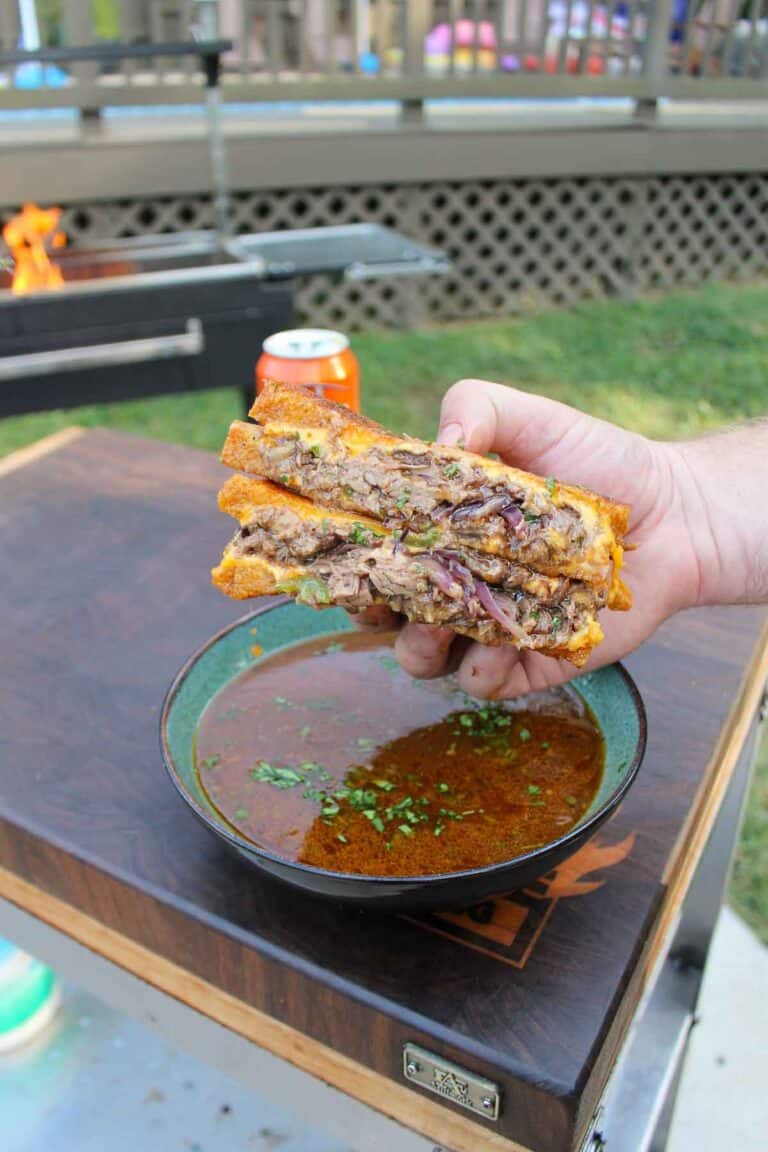
If you’re craving something good and hearty on a crisp autumn day, the ultimate Beer-Braised Beef Melt is ready for…
The post Beer Braised Beef Melt appeared first on Over The Fire Cooking.

Welcome to the next level of our foil boat brisket recipe! Using the sliced brisket meat that we developed with…
The post Brisket Melt appeared first on Over The Fire Cooking.
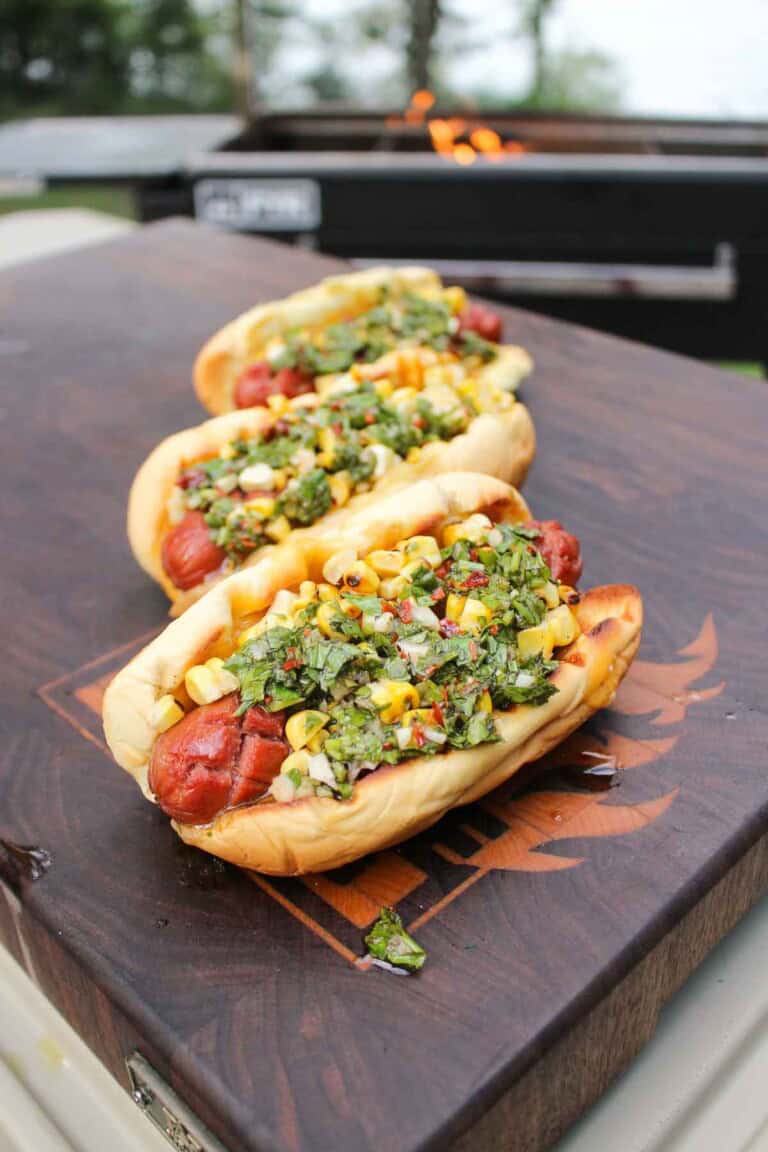
Grilled hot dogs are the ideal camping food. You can easily cook the perfect hot dog on the go, make…
The post Grilled Hot Dogs with Chimichurri appeared first on Over The Fire Cooking.
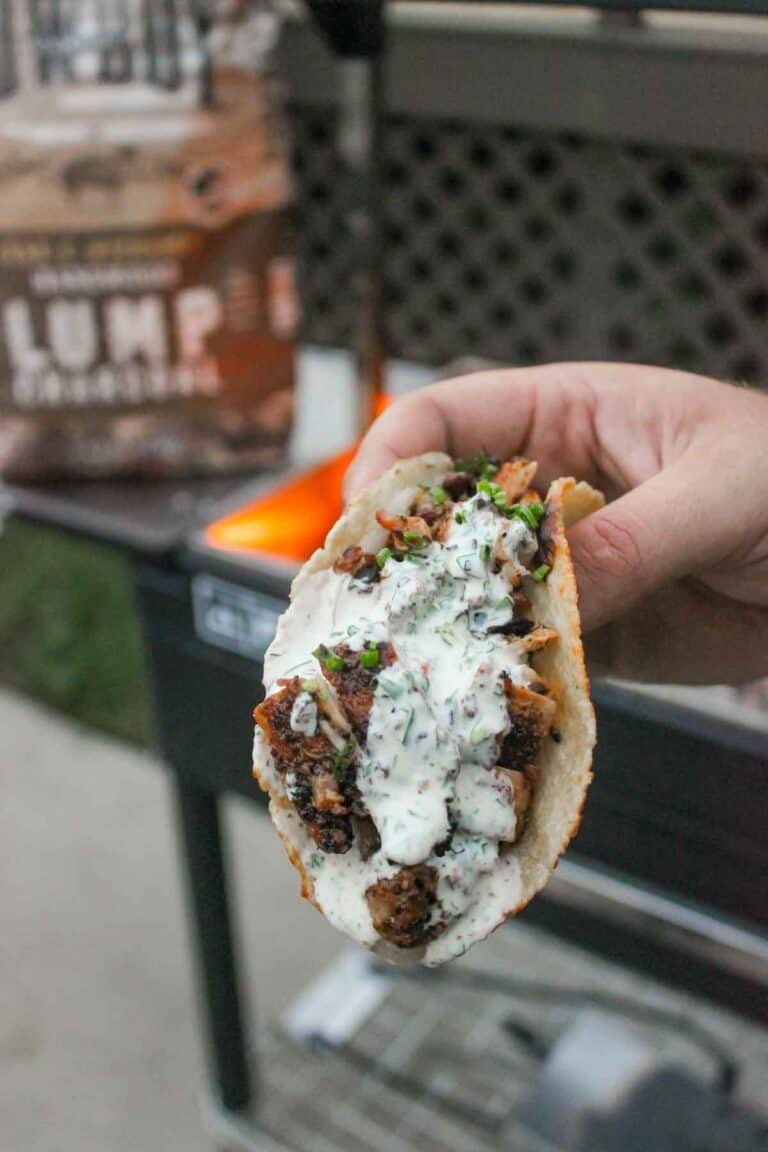
If you’re searching for the best chicken taco recipe, nothing hits the spot quite like Chicken Bacon Ranch Tacos. With the…
The post Chicken Bacon Ranch Tacos appeared first on Over The Fire Cooking.
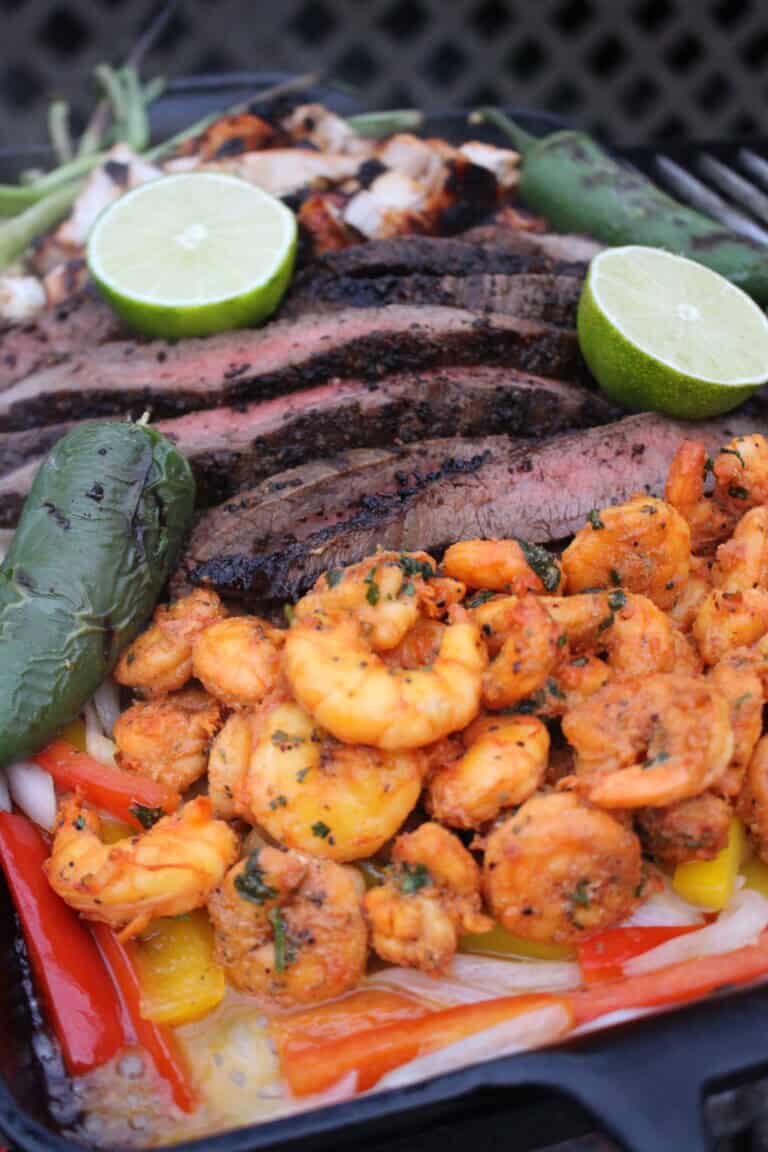
OK, I know what your first question is: why are they called Texas fajitas? Answer: I have no idea. But…
The post Texas Fajitas appeared first on Over The Fire Cooking.

Y’all asked for advice on leveling up your brisket game, so today I’m sharing my Best Brisket Recipes to show…
The post Best Brisket Recipes appeared first on Over The Fire Cooking.
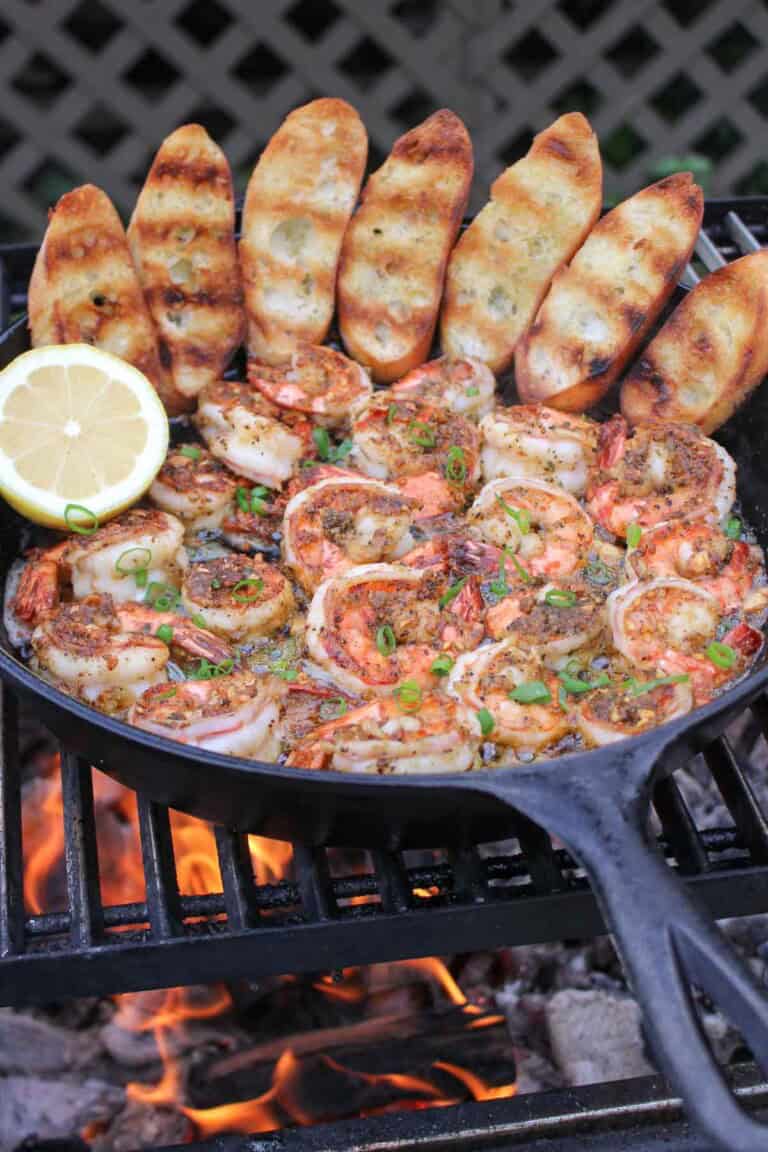
Raise your hand if you always go for the crunchy shrimp appetizer at parties. For those of you like me…
The post Garlic Butter Shrimp appeared first on Over The Fire Cooking.
There’s no party like a taco party. And I say that because every taco night feels like a party, especially…
The post The Best Taco Recipes appeared first on Over The Fire Cooking.
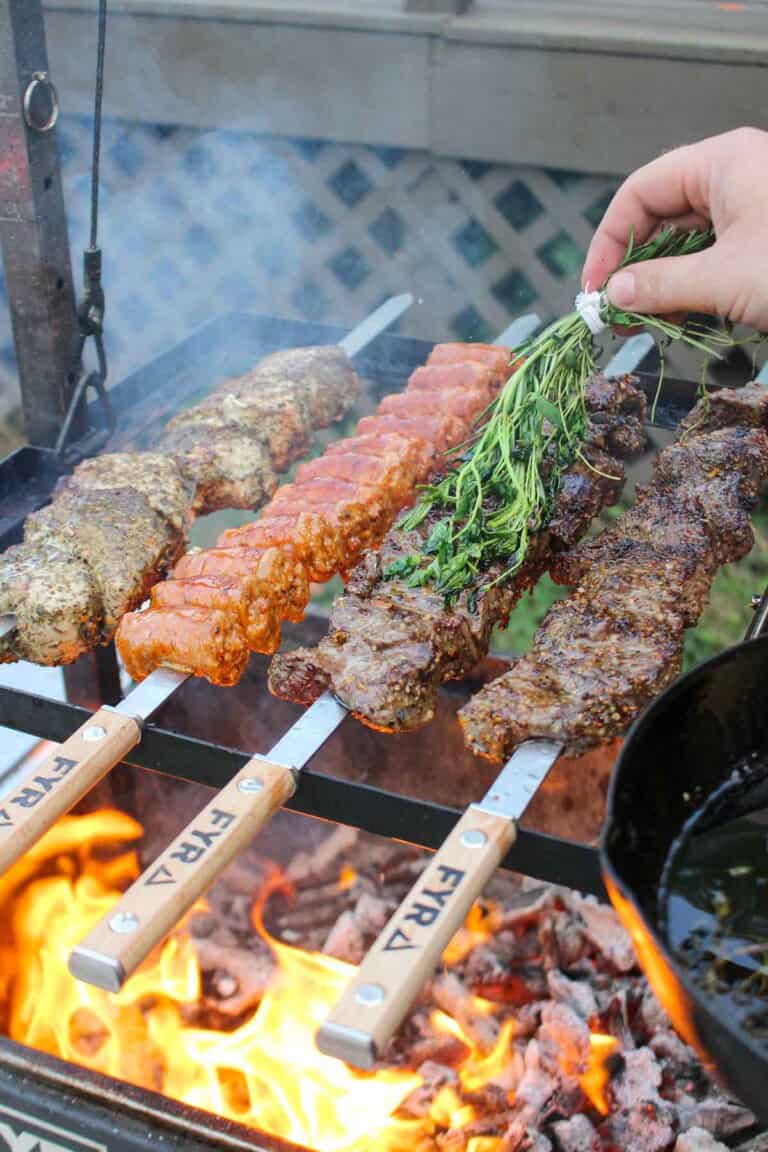
Today, we’re diving into a showstopper that will make your next summer BBQ an epic feast – my Mixed Meat…
The post Meat Skewers Recipe appeared first on Over The Fire Cooking.
If you’re always splurging on pricey steaks and wondering how to get a crust on steak, step up to my…
The post How to Get a Crust on Steak appeared first on Over The Fire Cooking.

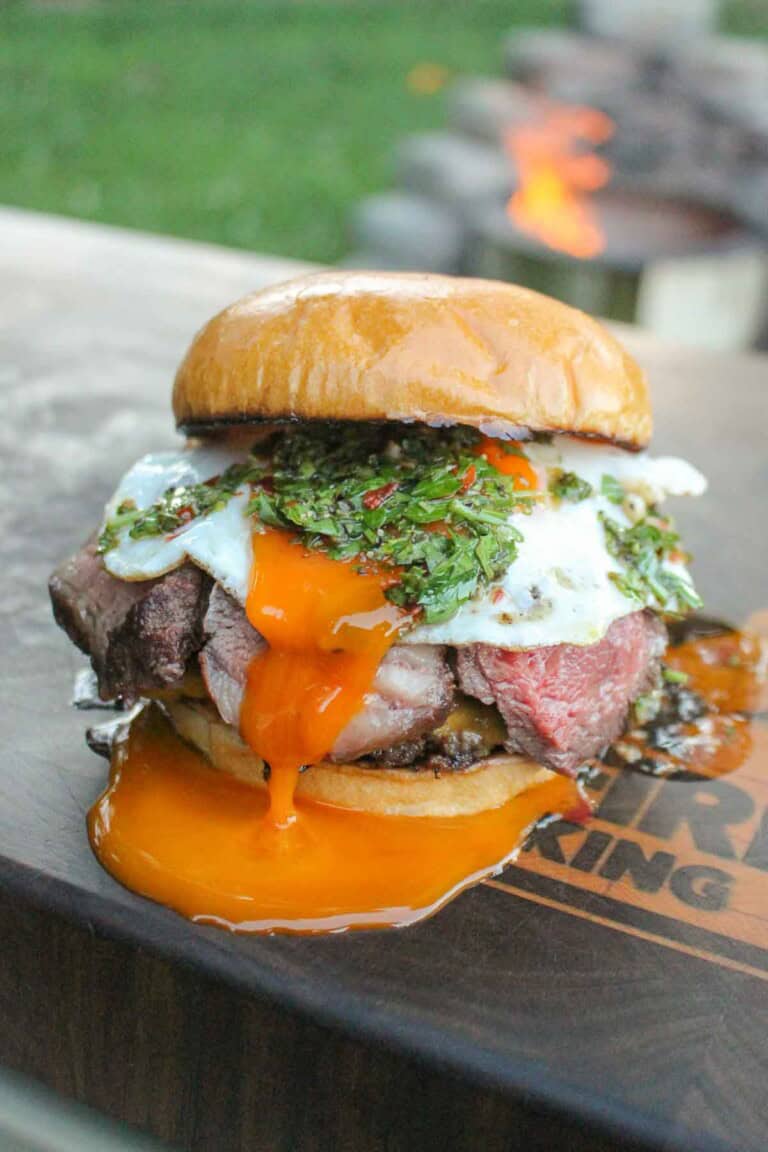
I’ve professed my love for tacos many times, which is why I’m stoked to introduce you to my recipe for…
The post Steak and Egg Tacos appeared first on Over The Fire Cooking.
If you’re craving a good burger that’s next-level delicious, step up to my grill while I cook up some epic Cowboy Butter…
The post Cowboy Butter Burgers appeared first on Over The Fire Cooking.
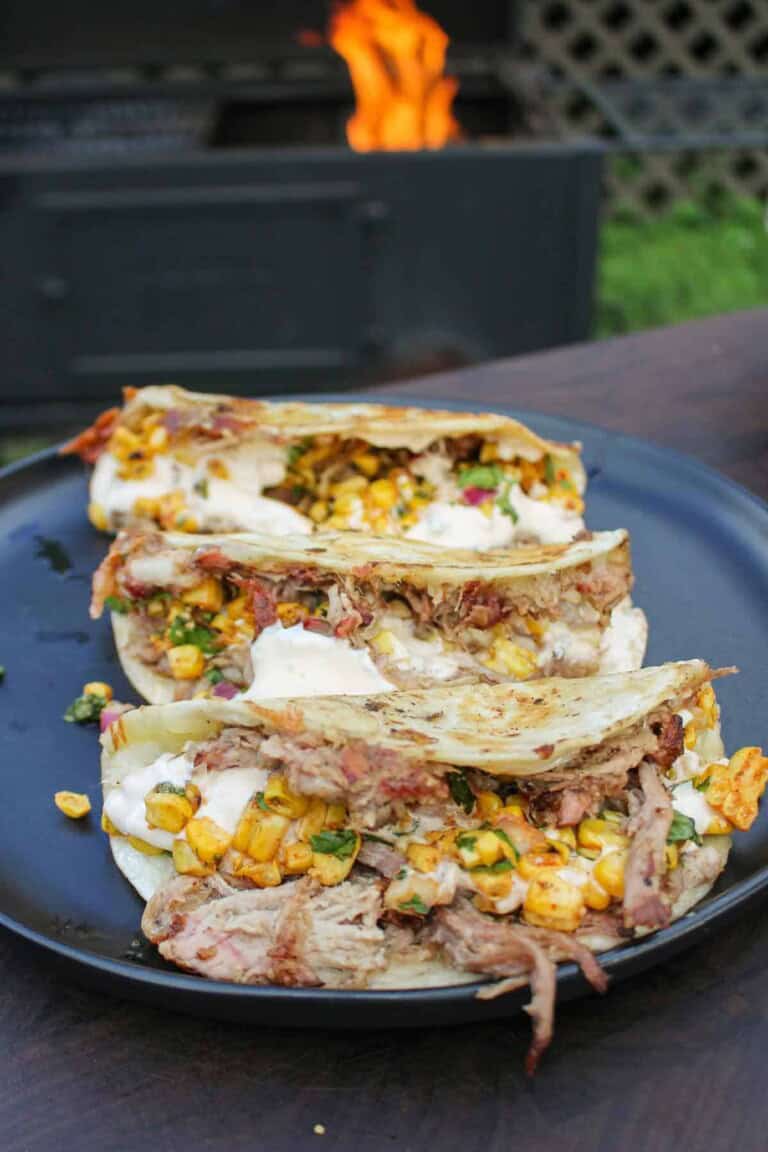
If you’re craving more flavor-packed taco nights, you obviously have to try my Grilled Steak Elote Tacos recipe! This taco…
The post Grilled Steak Elote Tacos appeared first on Over The Fire Cooking.
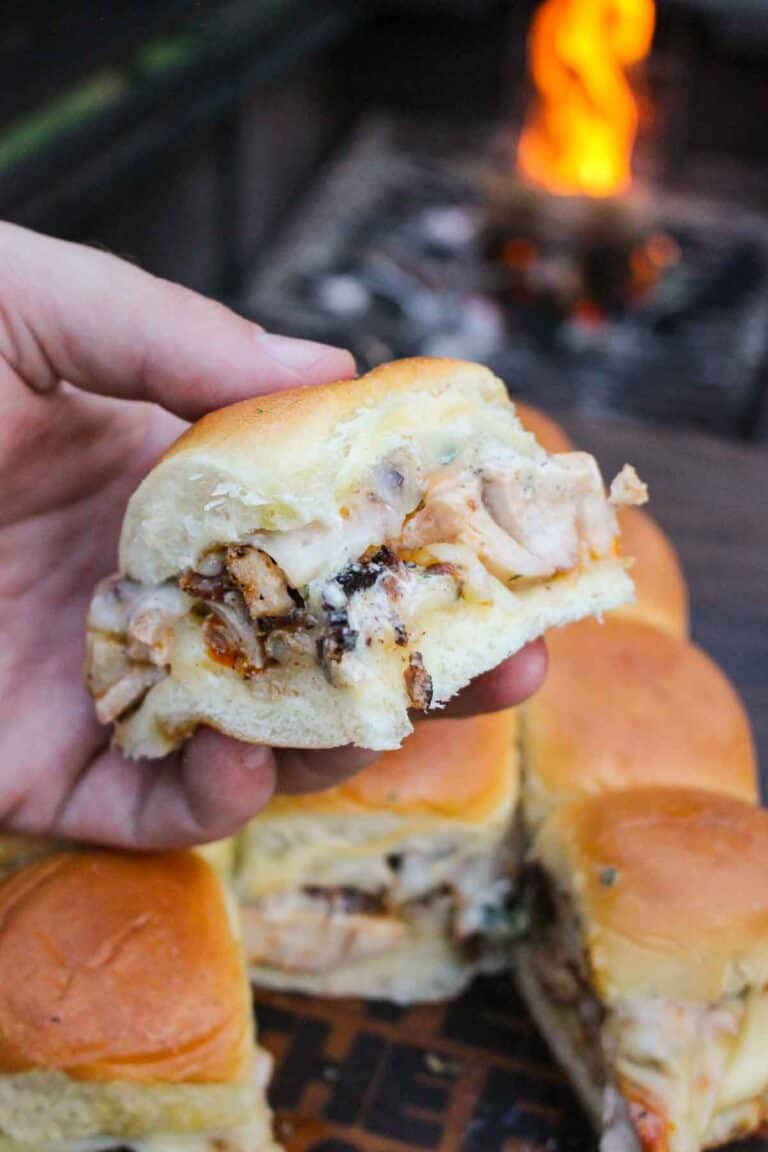
If you’re scrolling for easy recipes with epic flavor, let’s dive right into my mouth-watering Chicken Bacon Ranch Sliders recipe.…
The post Chicken Bacon Ranch Sliders appeared first on Over The Fire Cooking.
If you love beef burgers as much as I do, you’re going to love the Chimichurri Burger. It’s a different…
The post Chimichurri Burger appeared first on Over The Fire Cooking.
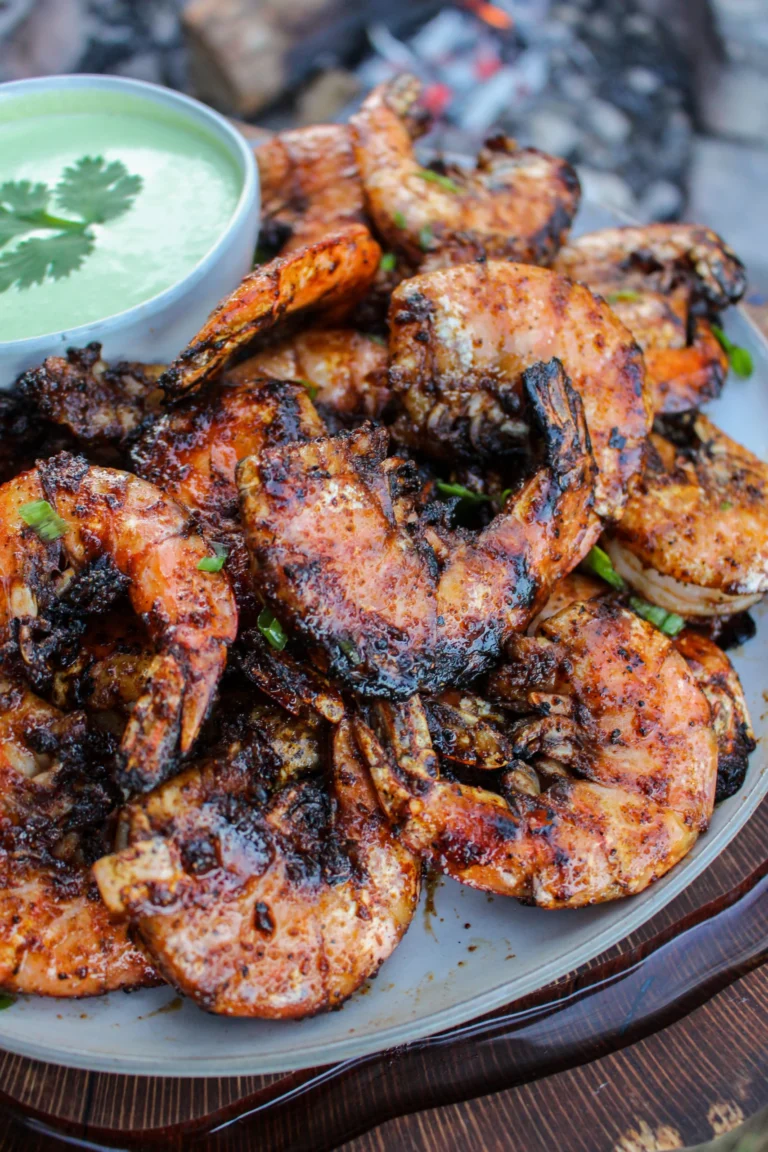
There’s a lot to love about shrimp, which means there’s a lot to love about grilled shrimp recipes! Cooking shrimp…
The post Grilled Shrimp Recipes appeared first on Over The Fire Cooking.
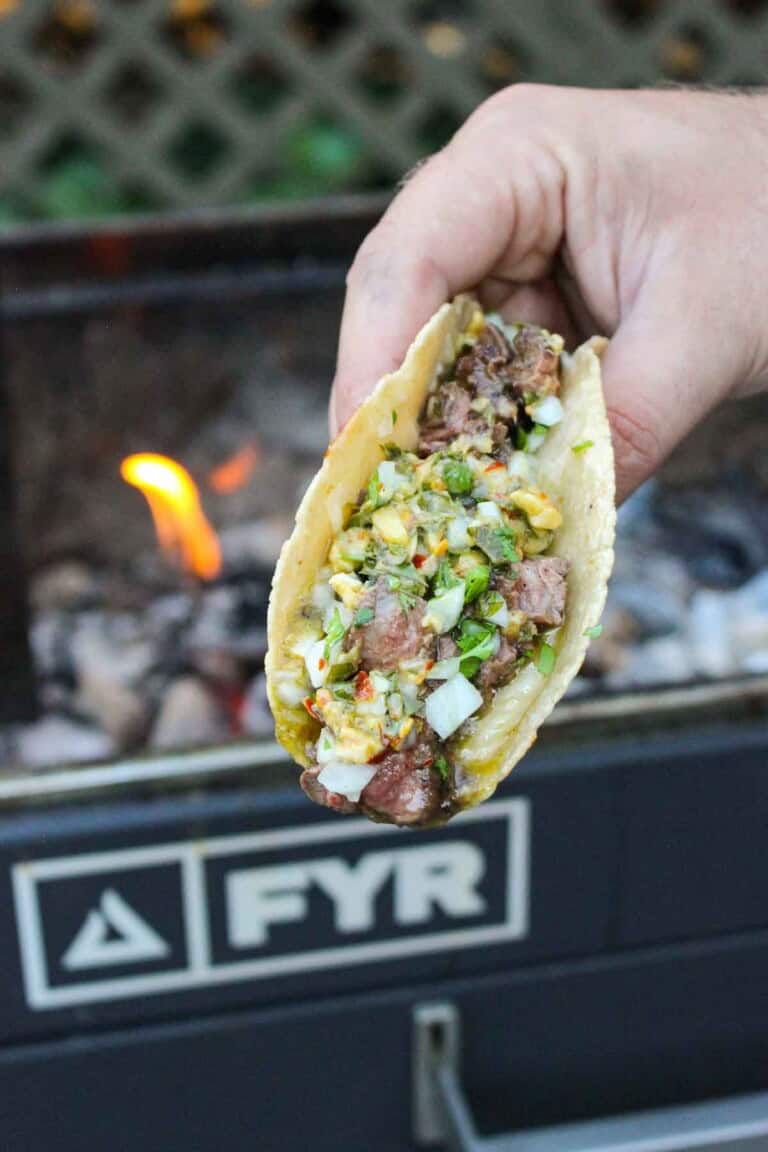
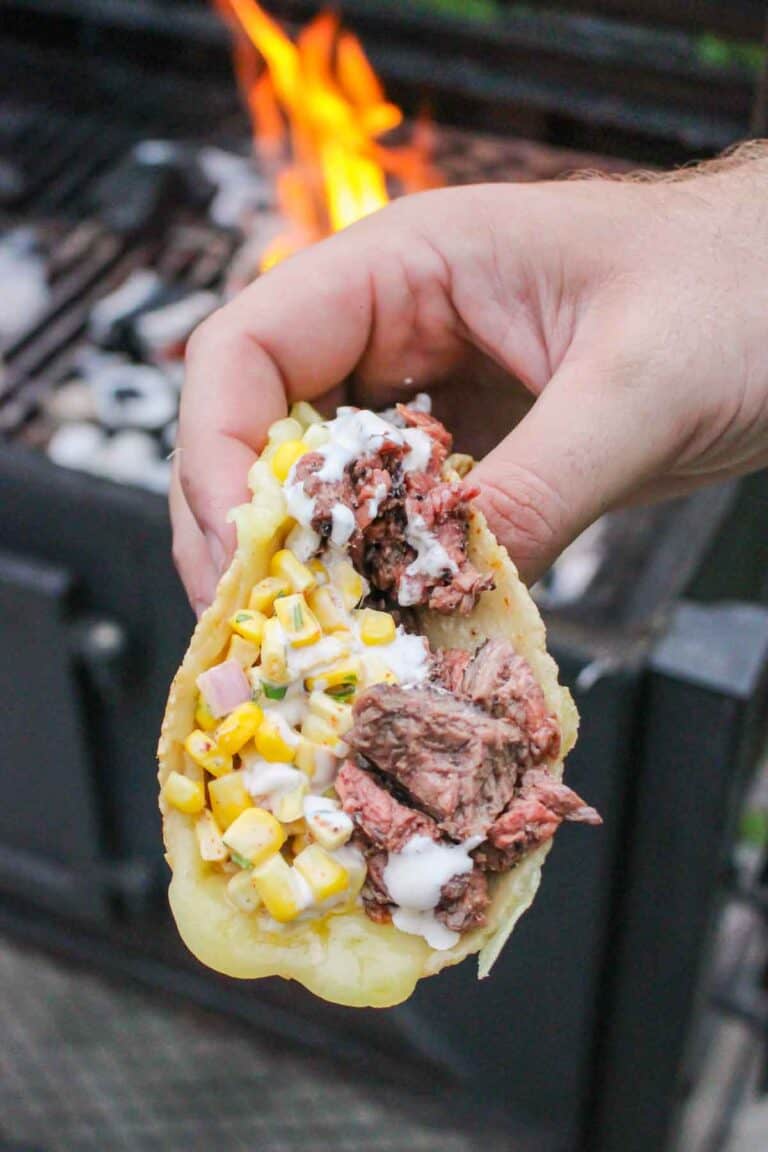
The cowboy butter sliders I made back in June were so freakin’ delicious, I had to try another version of a cowboy…
The post Cowboy Butter Steak Tacos appeared first on Over The Fire Cooking.
Slider recipes have range. Easy meal, busy school nights, game day appetizer, perfect party food — these little guys are…
The post The Best Slider Recipes appeared first on Over The Fire Cooking.
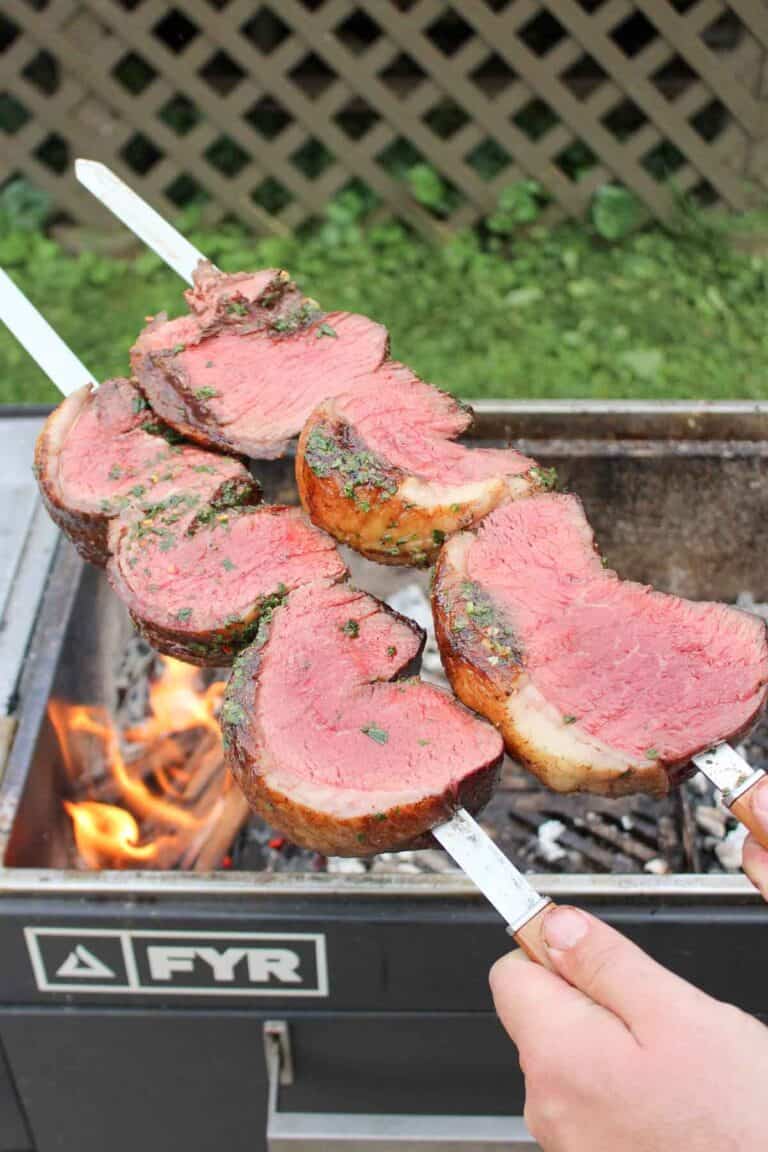
Today at Over the Fire Cooking, I’m giving a great recipe, skewered picanha, a fun twist—literally. I’ll show you how…
The post How to Cook Picanha appeared first on Over The Fire Cooking.
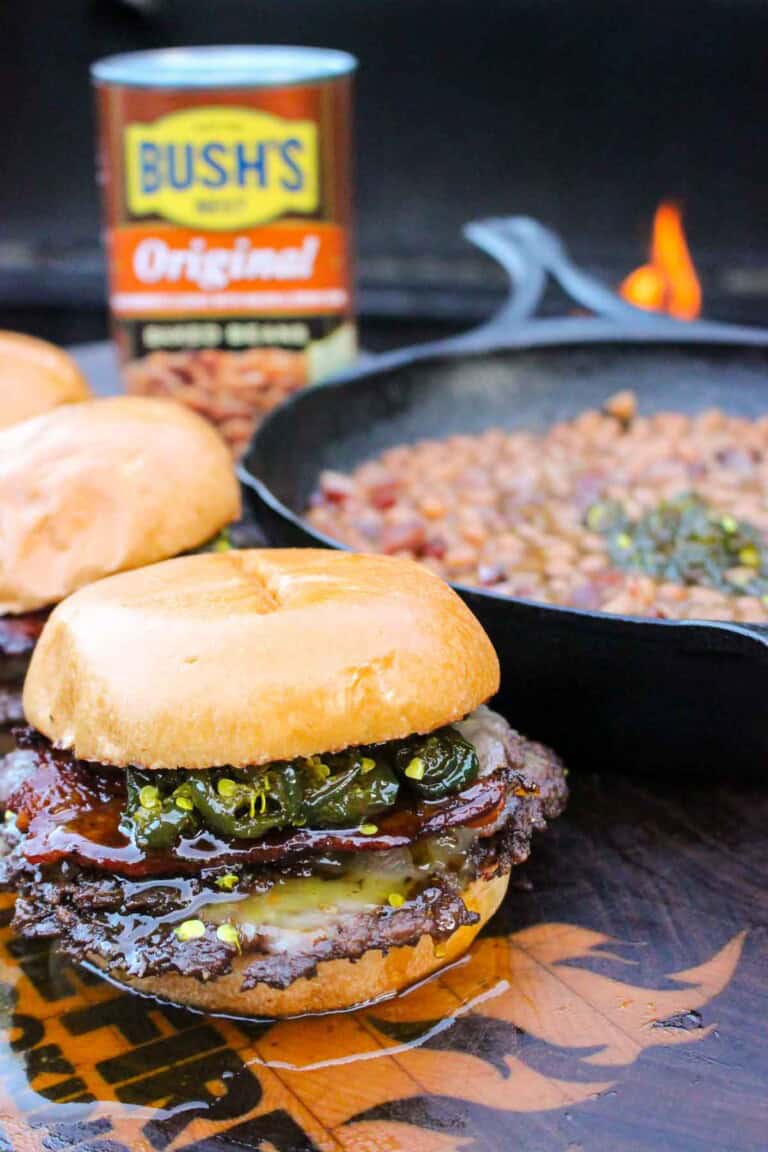
Cowboy candy probably isn’t something you hand out at Halloween — unless your trick-or-treaters are fans of jalapeño peppers! These…
The post Cowboy Candy appeared first on Over The Fire Cooking.