25 Grilled Dinner Ideas
Want to fire up the grill? These grilled dinner ideas are perfect for entertaining or a laid back evening in,…
Want to fire up the grill? These grilled dinner ideas are perfect for entertaining or a laid back evening in,…
Fire up the grill for this grilled shrimp kabobs recipe! They come out juicy and perfectly seasoned, ideal for a…
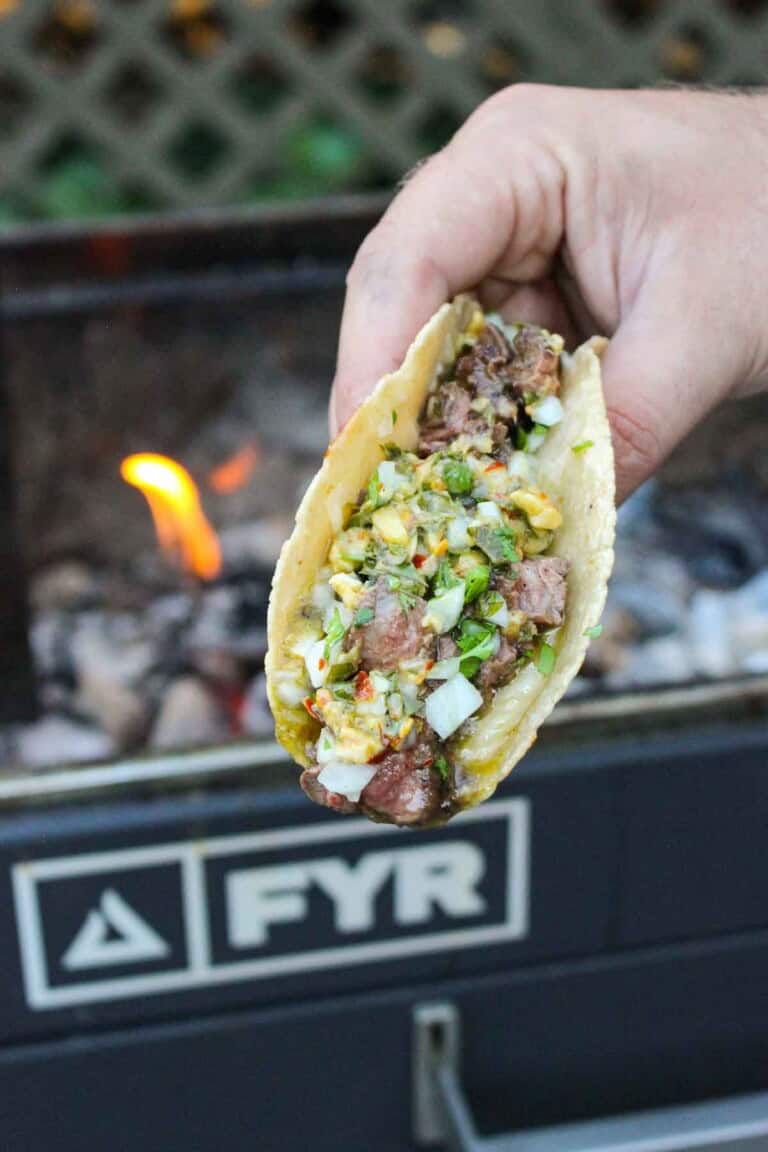
The cowboy butter sliders I made back in June were so freakin’ delicious, I had to try another version of a cowboy…
The post Cowboy Butter Steak Tacos appeared first on Over The Fire Cooking.
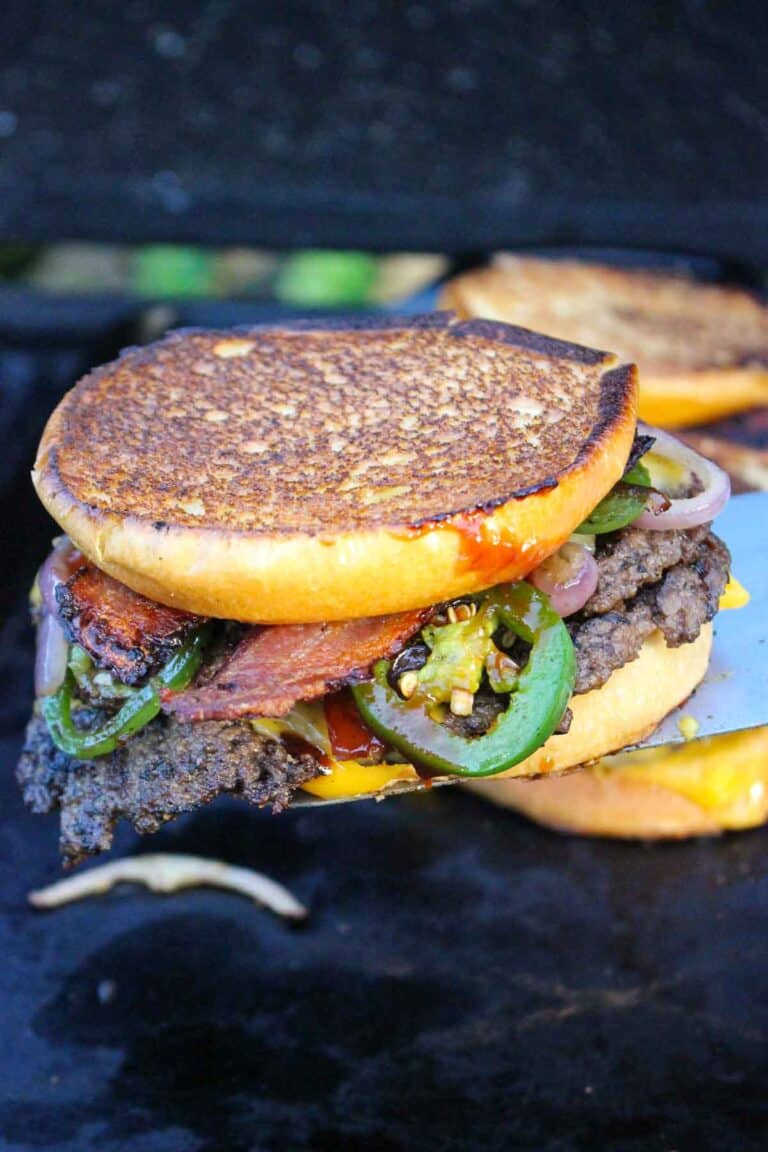
This 4th of July, we are firing up the backyard grill and diving into an all-American classic: the BBQ Bacon…
The post Bacon Patty Melt appeared first on Over The Fire Cooking.
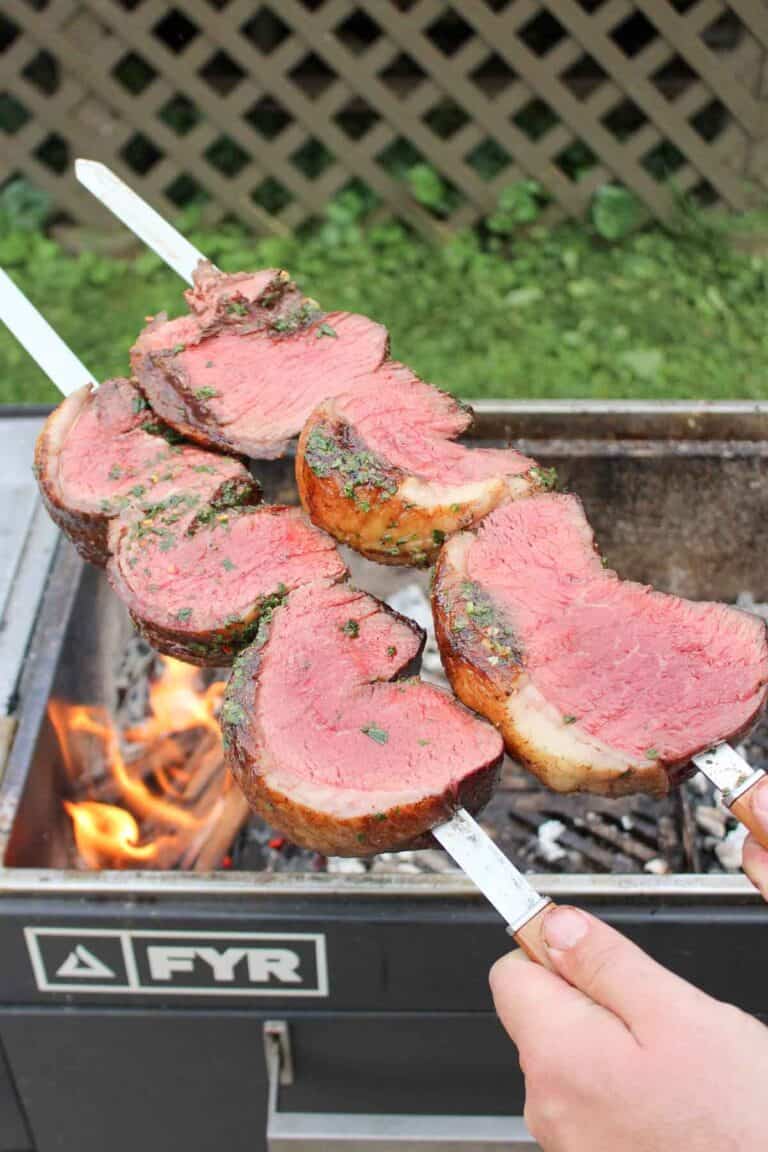
Today at Over the Fire Cooking, I’m giving a great recipe, skewered picanha, a fun twist—literally. I’ll show you how…
The post How to Cook Picanha appeared first on Over The Fire Cooking.
Cowboy candy probably isn’t something you hand out at Halloween — unless your trick-or-treaters are fans of jalapeño peppers! These…
The post Cowboy Candy appeared first on Over The Fire Cooking.
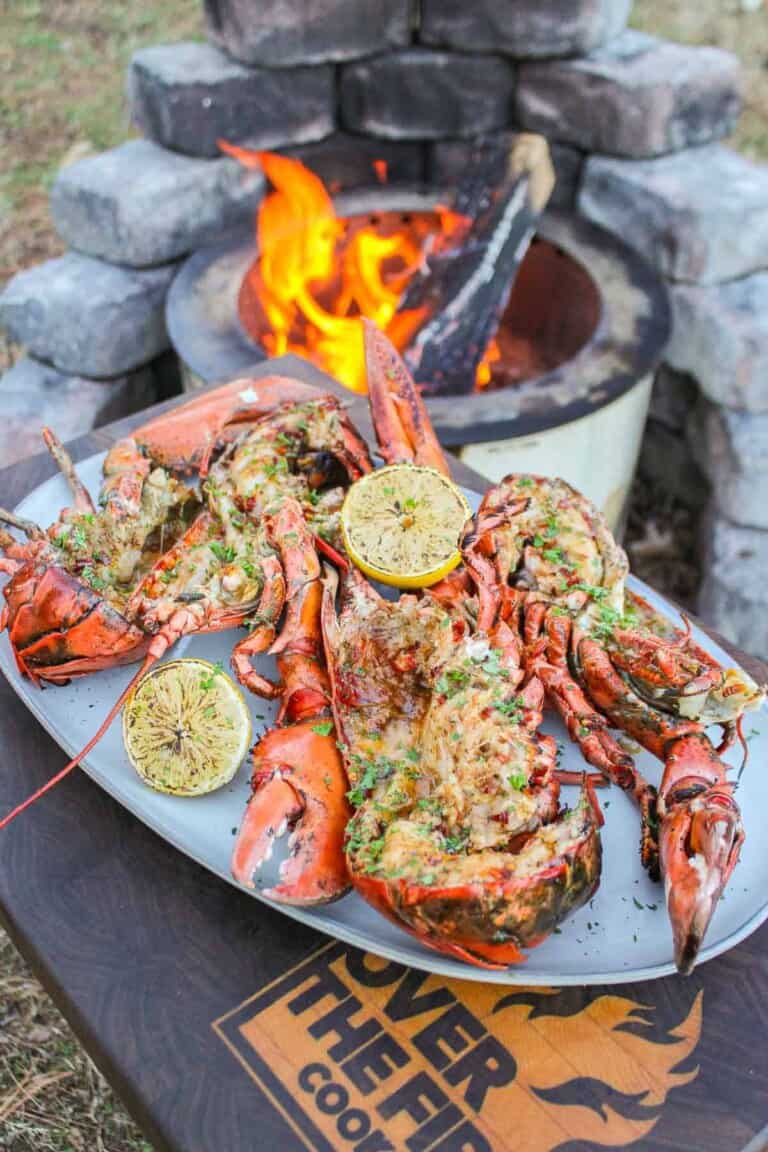
If you’re a lobster fan looking for an epic lobster tail recipe, stop scrolling and discover what kind of steakhouse-level magic you can…
The post Best Lobster Tail Recipes appeared first on Over The Fire Cooking.
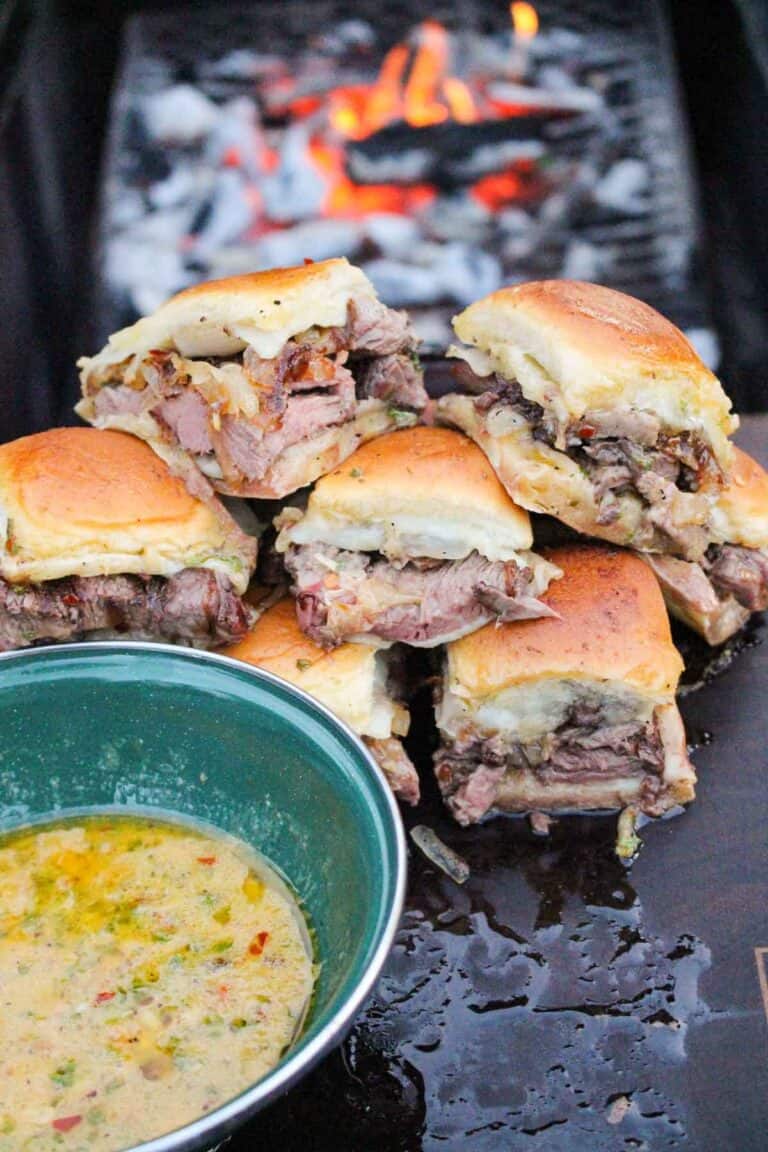
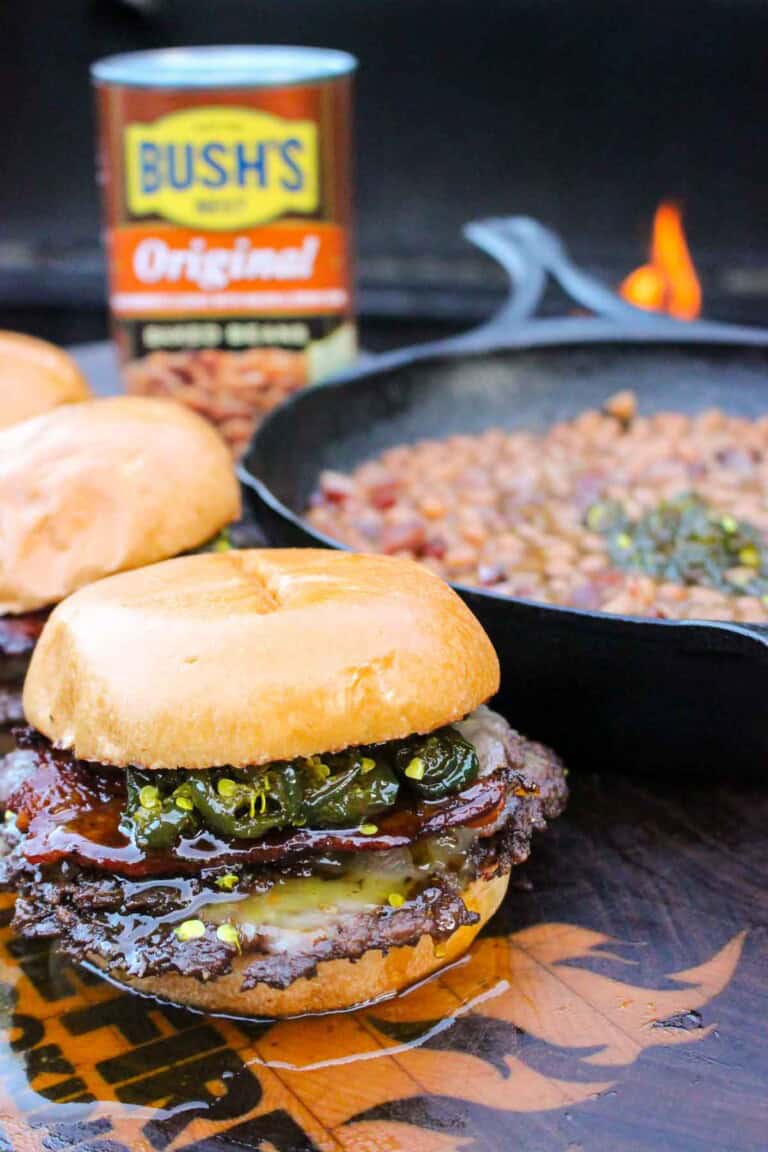
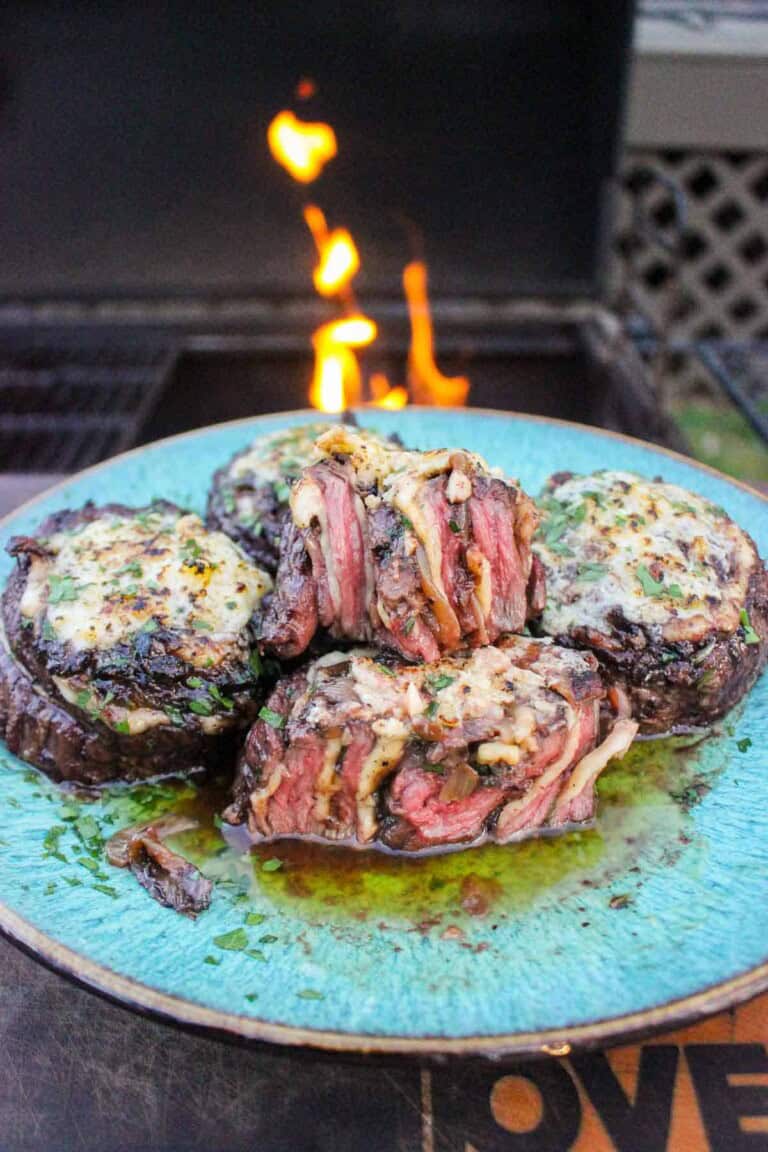
Cowboy Butter Sliders are not your average cheeseburger sliders. I mean the best tender steak, as in filet mignon, is…
The post Cowboy Butter Sliders appeared first on Over The Fire Cooking.
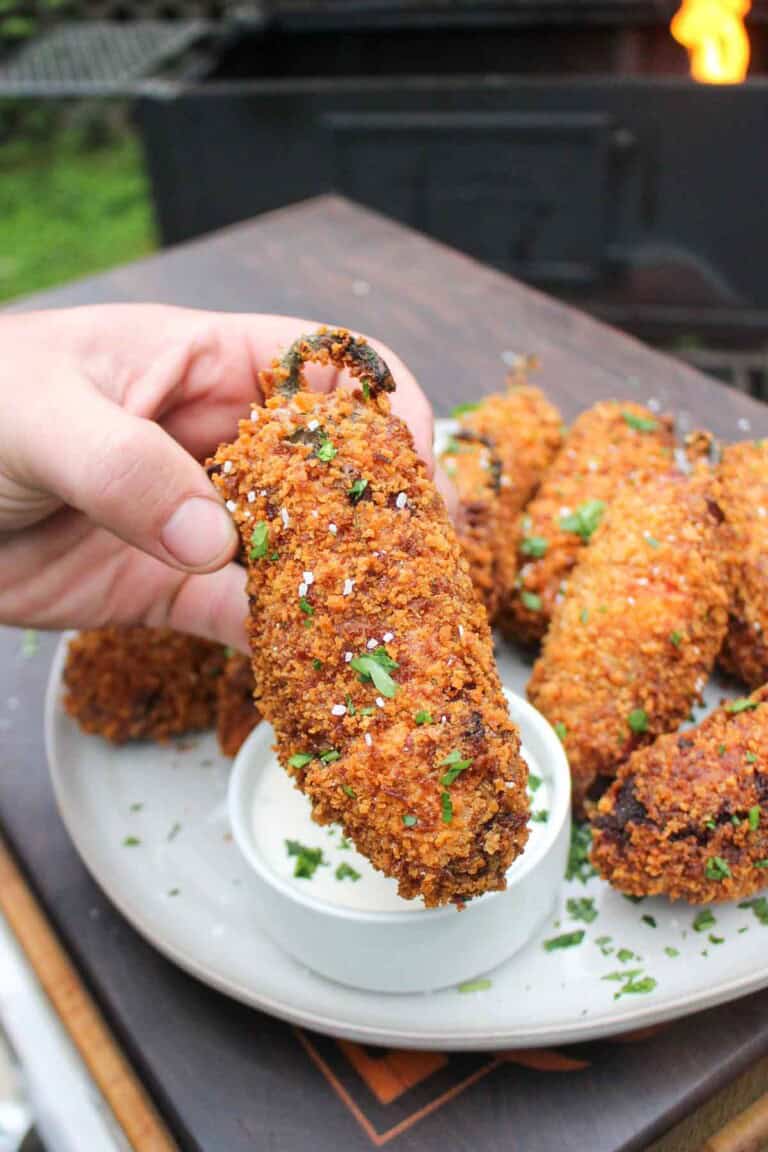
Smoked jalapeño poppers are a classic appetizer, so here’s our delicious twist on perfection. We still smoke the jalapeño poppers…
The post Smoked Fried Jalapeño Poppers appeared first on Over The Fire Cooking.
Here are all the best vegetarian grill recipes for the season! These summer favorites feature everything from burgers to side…
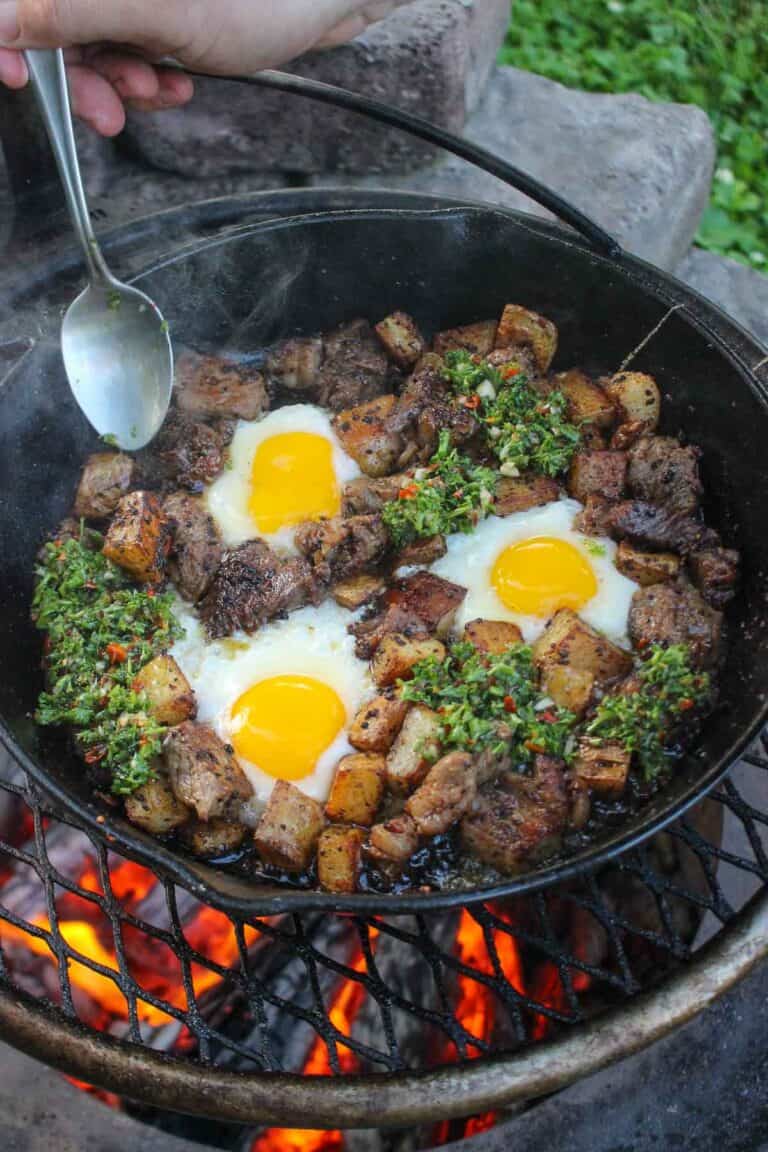
Get your tastebuds ready for the ultimate comfort food because I’m making Steak Bites with Smoked Chimichurri today. This isn’t…
The post Steak Bites with Smoked Chimichurri appeared first on Over The Fire Cooking.
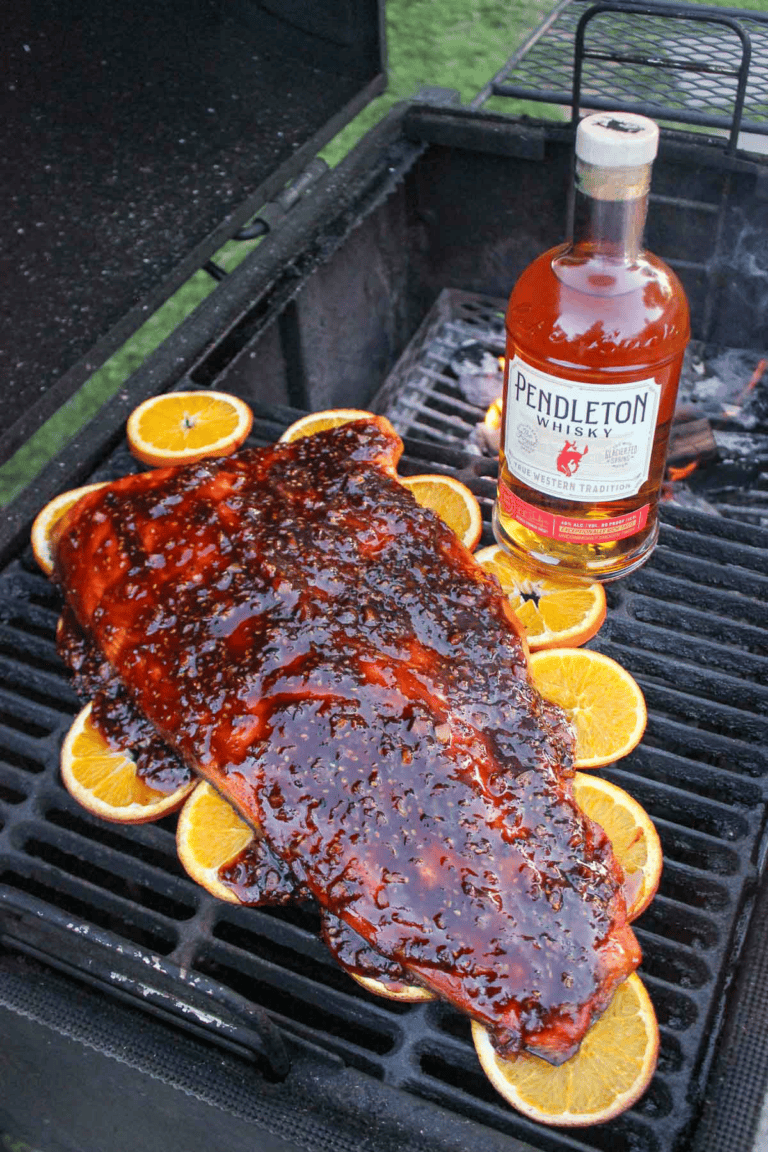
Get your grill out, ’cause we’re making the best Hot Smoked Salmon with some Pendleton Rye Whisky. It’s an epic recipe…
The post Hot Smoked Salmon appeared first on Over The Fire Cooking.
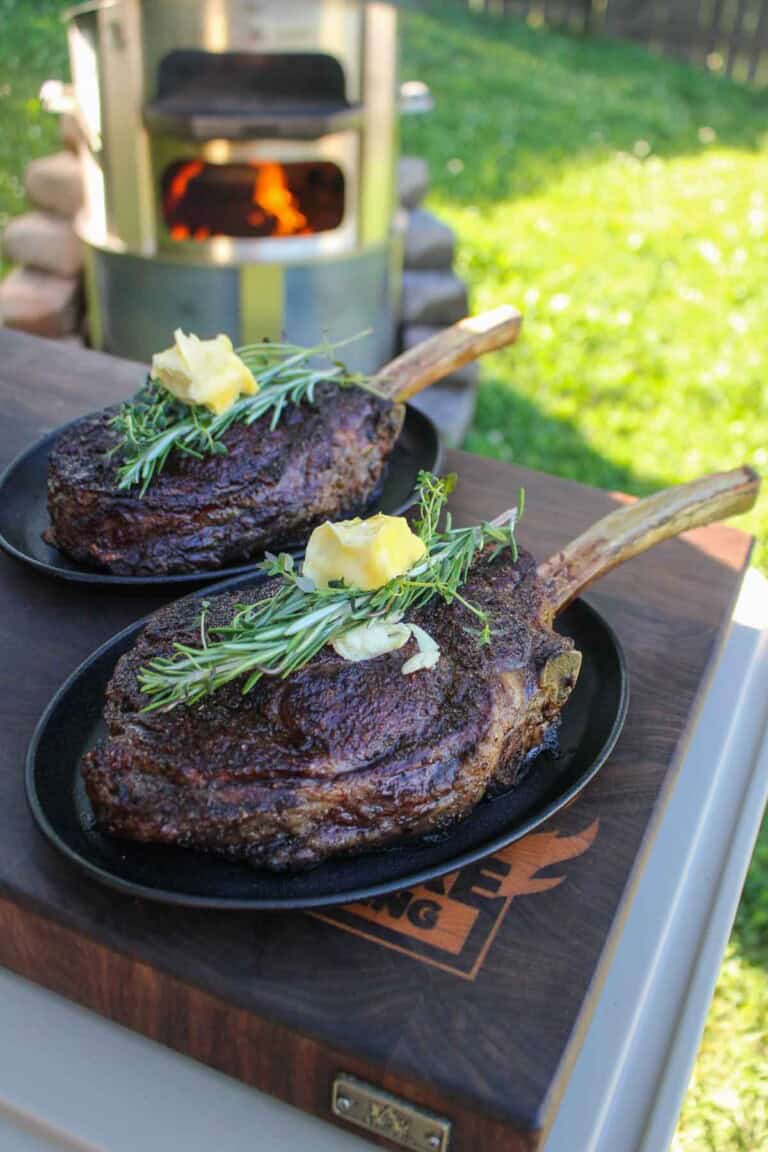
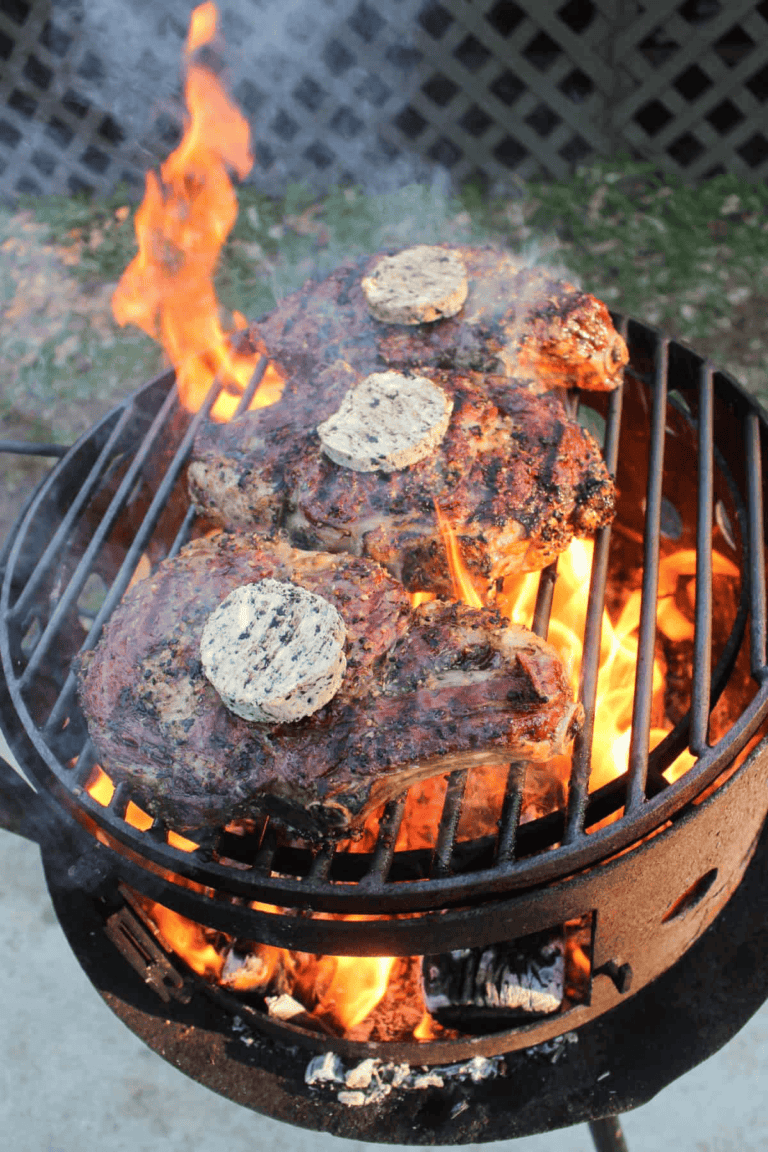
I’m not exaggerating: this is the best tomahawk steak recipe I’ve ever made. The flavor is just next level insane.…
The post The Best Tomahawk Steak appeared first on Over The Fire Cooking.
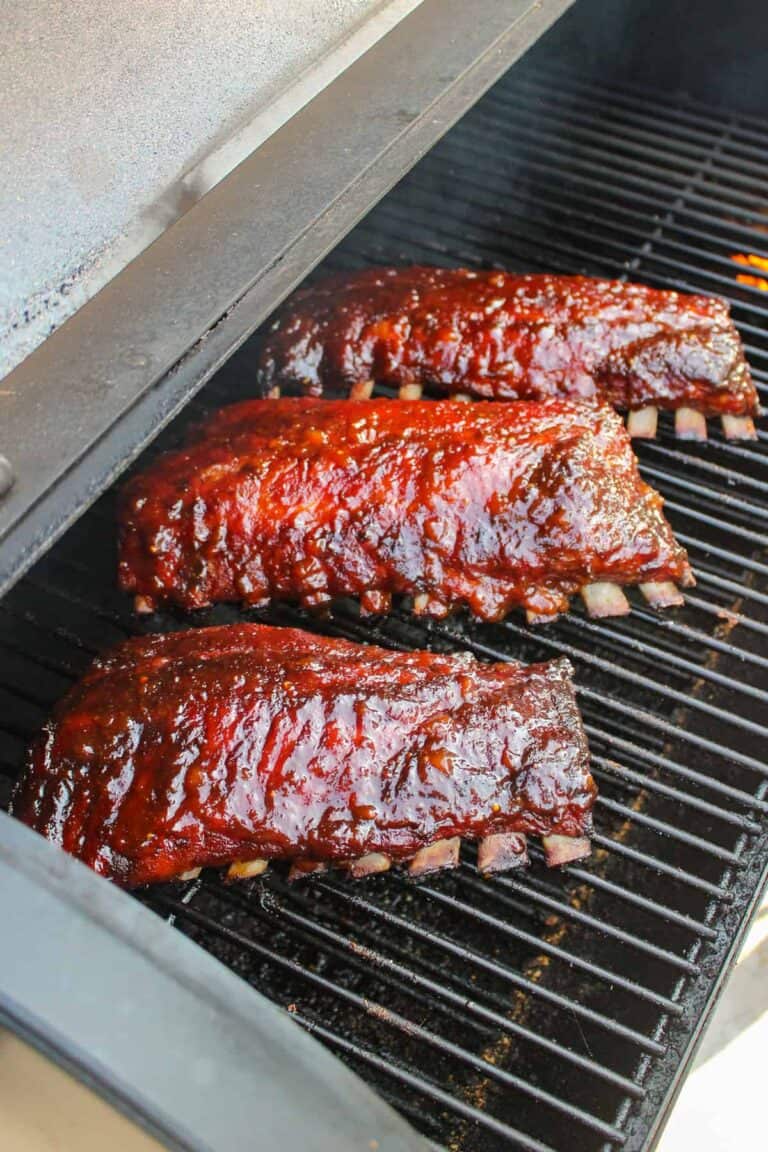
Everyone say it with me: RIBS! That’s always how I feel when I know they’re for dinner — all caps,…
The post The Best Rib Recipes appeared first on Over The Fire Cooking.
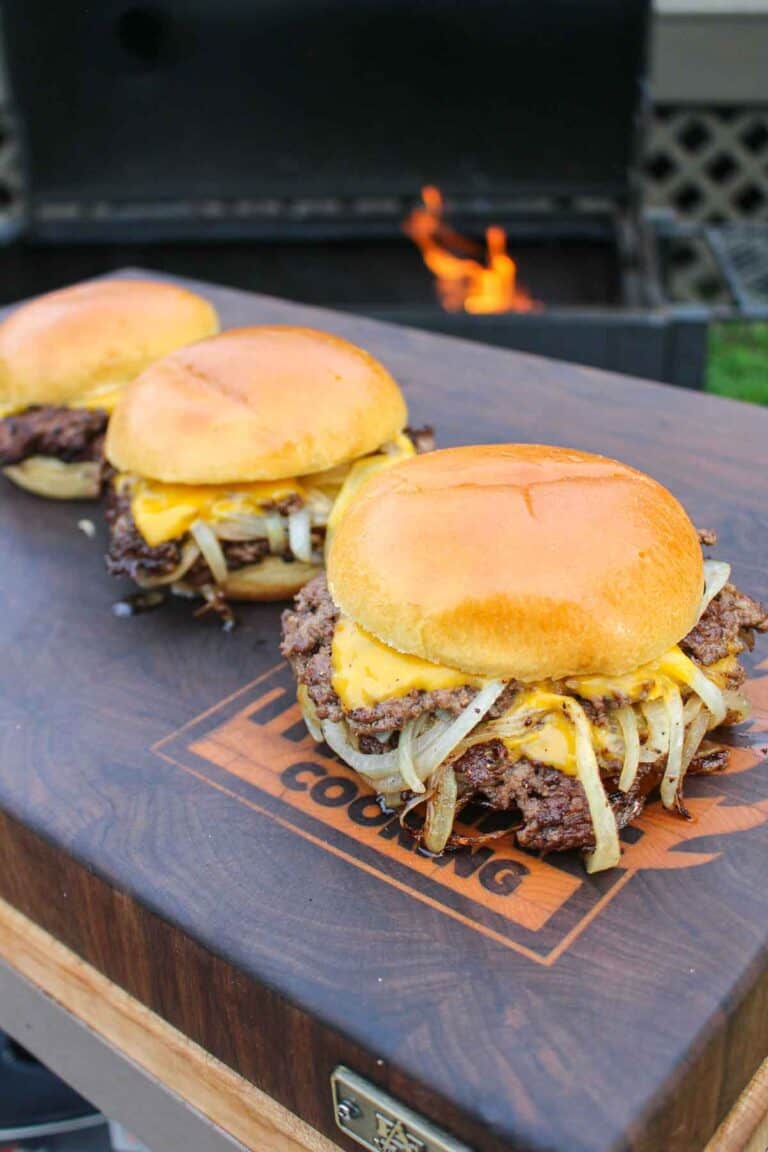
The Oklahoma Onion Burger is a classic all-American recipe. During the hard times of the Great Depression, when jobs were…
The post Oklahoma Onion Burger appeared first on Over The Fire Cooking.
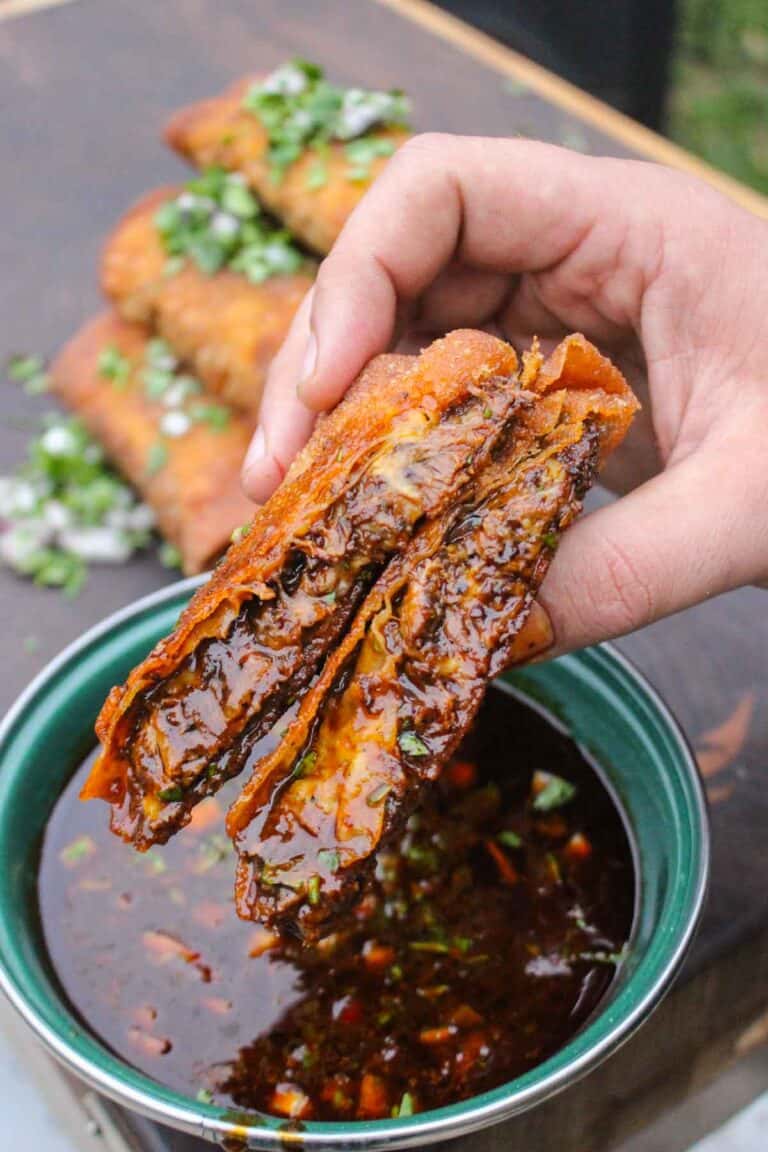
Your taste buds are about to do a mariachi dance because we’re grilling up the most epic Birria Egg Rolls…
The post Birria Egg Rolls appeared first on Over The Fire Cooking.
Here it is: the best steak pinwheels recipes roundup! I’m a huge fan of steak pinwheels because they’re really impressive,…
The post The Best Steak Pinwheels Recipes appeared first on Over The Fire Cooking.
Welcome to the Best Grilled Steak Recipes Round Up! At Over the Fire Cooking, we’re all about creating memorable moments over epic…
The post The Best Grilled Steak Recipes appeared first on Over The Fire Cooking.
Make perfectly tender grilled asparagus in minutes! Here are the secrets to achieving smoky char and bright flavor to this…
I love grilling for my family when the weather is nice, and recipes like my Grilled Chicken Sandwiches and Grilled Chicken and Tomato Kebabs are part of our regular weeknight dinner rotation during the summer. Even after I put away the grill for the se…