Shaved Brussel Sprout Salad
This shaved Brussel sprout salad is tangy, crunchy and flavorful! A healthy addition to weeknight dinners, Thanksgiving, or your lunch prep!
This shaved Brussel sprout salad is tangy, crunchy and flavorful! A healthy addition to weeknight dinners, Thanksgiving, or your lunch prep!
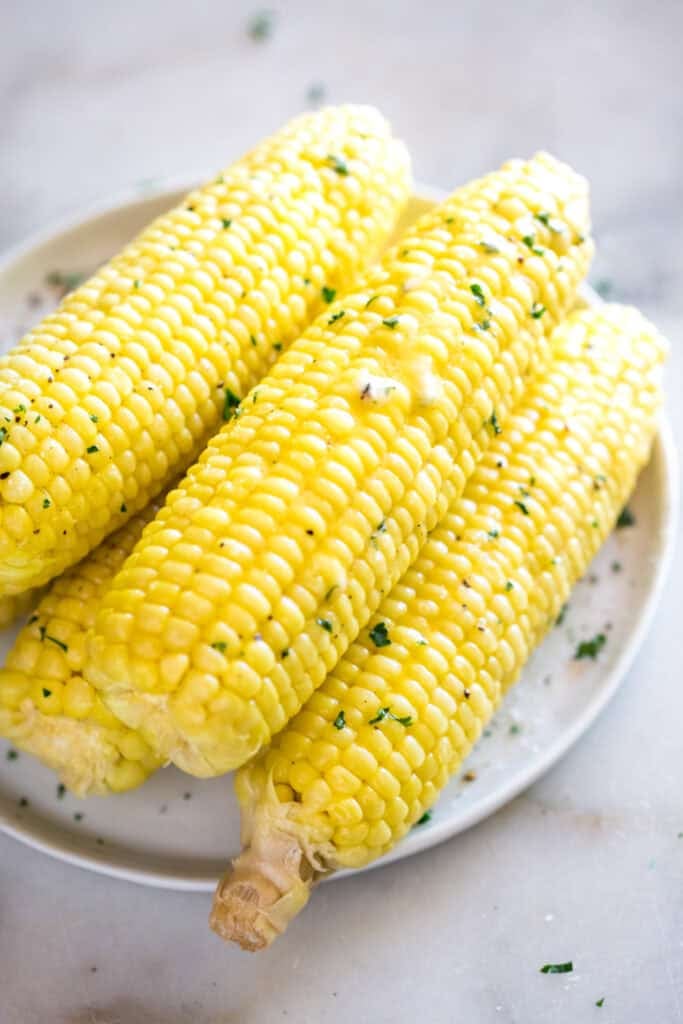 This easy Instant Pot Corn on the Cob recipe is the quickest and easiest way to enjoy perfectly tender corn every time. It takes just minutes to make! How to make Instant Pot Corn on the Cob: Arrange and Cook: Add a trivet rack to the pot along with 1 cup of water. Add husked…
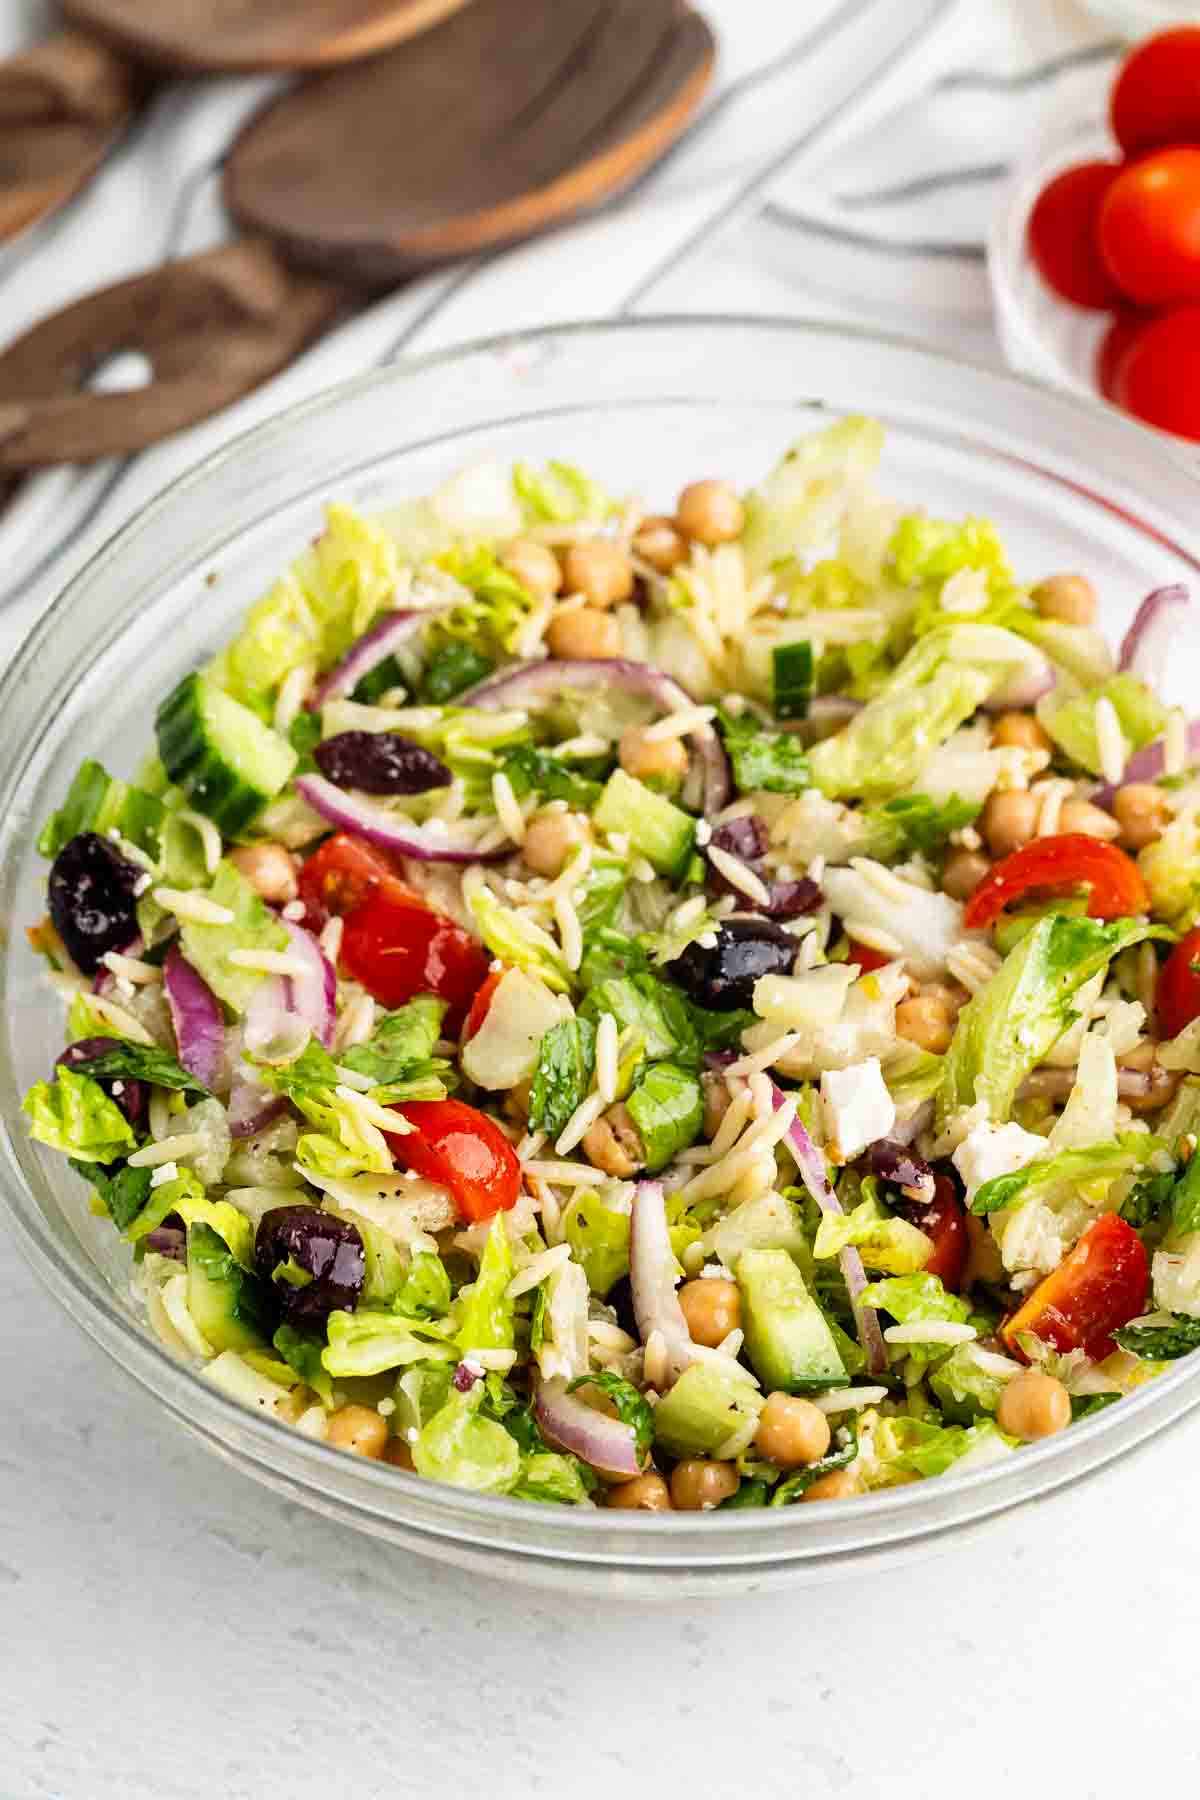 This Greek Pasta Salad recipe is the perfect easy dinner recipe and it’s perfect for a summer potluck. It’s a simple pasta salad with orzo and tons of Greek flavors – feta and briny olives with fresh veggies and a red wine vinaigrette. We absolutely love this recipe! This salad has countless elements to it with so…
This classic wedge salad recipe features crisp iceberg lettuce, creamy homemade blue cheese dressing, and crispy breadcrumbs for the perfect…
This vibrant red cabbage slaw recipe is the perfect balance of creamy, tangy, and sweet in 15 minutes with a…
Jasmine rice makes some of the best fried rice you’ll ever eat. It’s light, aromatic, and just sticky enough to hold onto all that flavor without turning gummy. I almost always have a bag of jasmine rice in the pantry, and when I want somet…
This crunchy, tangy-sweet broccoli slaw makes broccoli stems into the side dish everyone fights over! It’s easy to make with…
This creamy homemade coleslaw dressing is a family favorite I’ve been making for years. I know you’re going to love it too!
The post Homemade Coleslaw Dressing appeared first on All Things Mamma.
These crispy air fryer carrot fries are about to become your new obsession! Ready in just 15 minutes, they’re a…
This tender, garlicky, sautéed kale is the perfect way to enjoy this nutrient-packed green. Ready in 10 minutes, it’s a great addition to any meal!
In just 10 minutes, you can make tender, perfectly golden-brown sautéed onions. I’m sharing all of my pro onion chopping and sauté secrets.
 Cheesy Garlic Breadsticks are the best gooey homemade breadsticks recipe! These are better than anything you’ll get at the local pizzeria – they’re soft and cheesy and full of garlic flavor. This homemade cheesy garlic breadsticks recipe is a keeper. Guys, here’s something (not so) shocking: I love bread. All kinds of bread. Cinnamon rolls, dinner rolls,…
Do you have a big, neglected cabbage in your fridge awaiting the right inspiration? I had a feeling you did. The way I figure it, the sidewalks are currently covered in pink and white petal confetti, the ramps are here, and the asparagus is cl…
 An EASY Mexican Cornbread recipe is inspired by one of the best cornbreads I’ve ever had! The cornbread mix is filled with jalapeños and cheese making this the perfect side dish. It’s a Spicy Cornbread that’s inspired by Mexican flavors. I am SUPER picky when it comes to cornbread, so when I say this is…
This broiled asparagus recipe takes just 8 minutes from start to finish and creates a delicious side dish with minimal…
I love a juicy, mouthwatering steak at a restaurant like Ruth’s Chris Steakhouse, but sometimes a side dish emerges as…
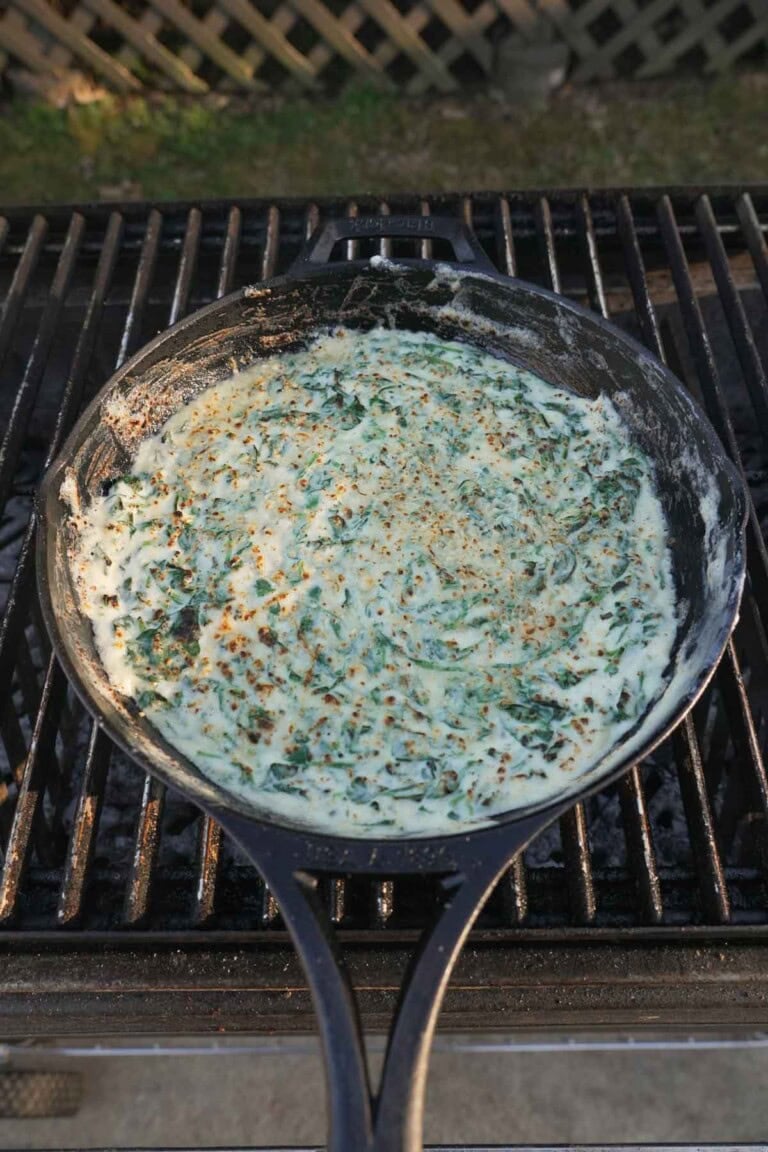
The post Cream Spinach appeared first on Over The Fire Cooking.
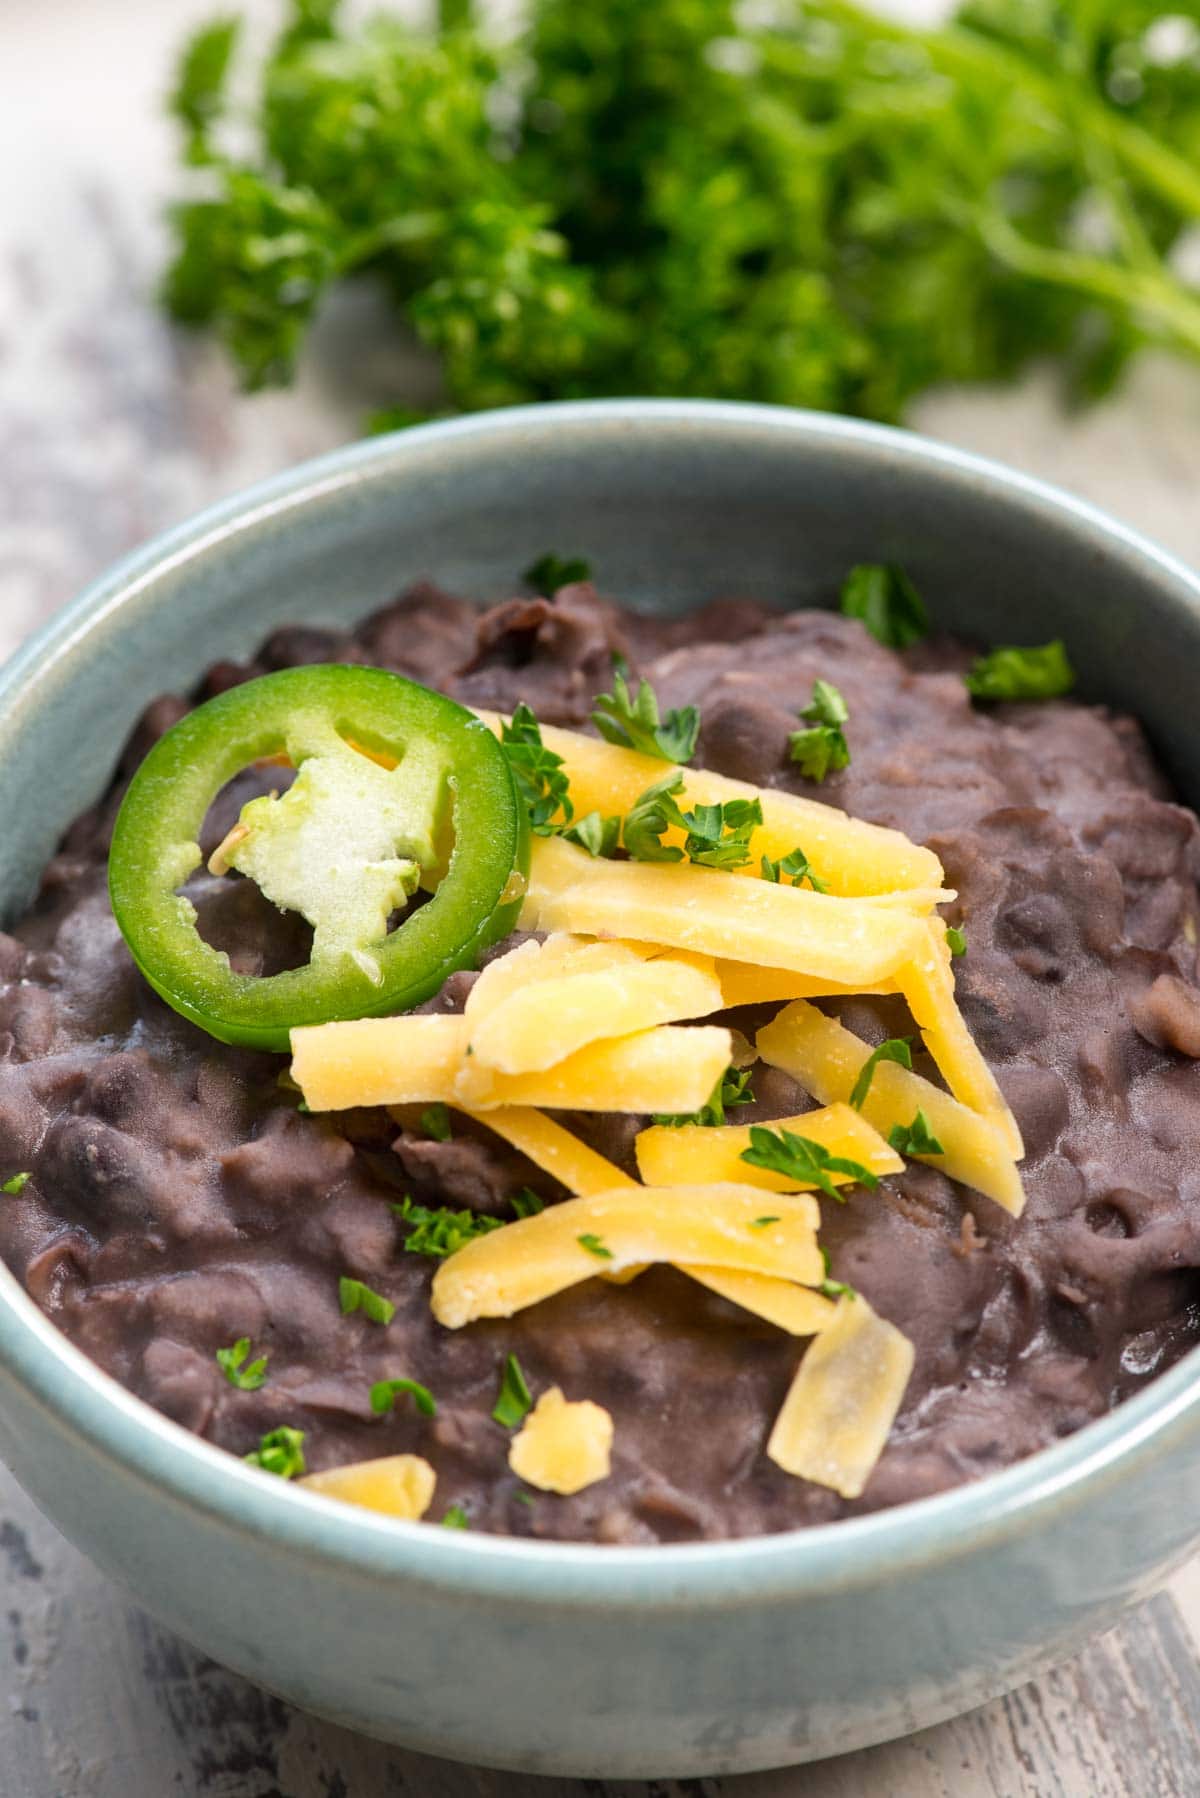 If you’re looking for a simple side dish for Taco Tuesday or any meal, my EASY Refried Beans are the perfect recipe. You can make this recipe with black beans or pinto beans! With just a few ingredients they’re perfect in quesadillas, on salads, or as a side dish. I started making these beans about…
 My Buttery Dinner Roll Recipe is the ULTIMATE homemade roll! These are soft and fluffy with just a few simple ingredients – they’re the best side dish and they’re impossible to resist. Fluffy rolls like this are easy to make by hand or with a stand mixer – the best homemade dinner rolls are just a short…
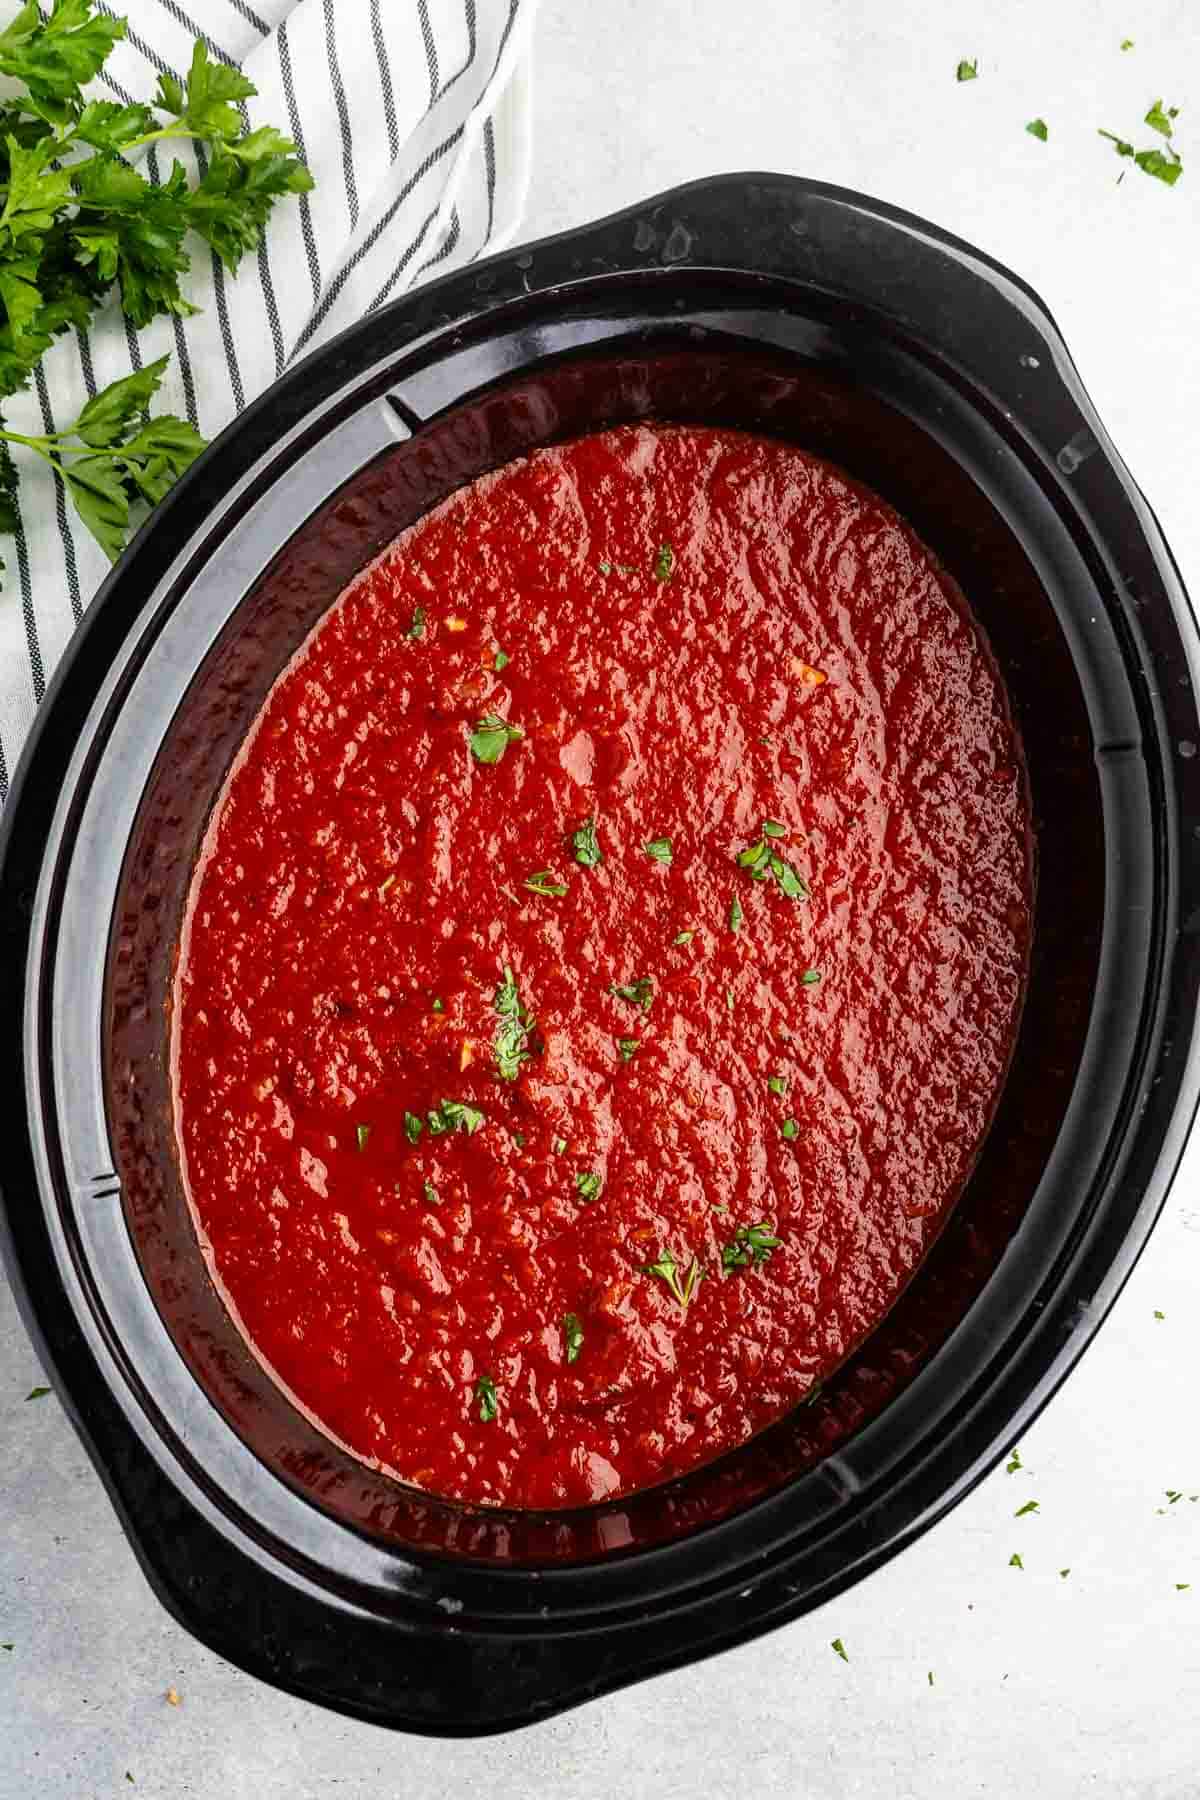 To make an easy marinara sauce, you need this Slow Cooker Spaghetti Sauce recipe. It is a delicious, smooth, and fresh tomato sauce that cooks all day in the slow cooker so it has that cooked all day taste. It’s perfect for pasta night or you can freeze it for quick weeknight dinners! Whenever I’m…
 Cheesy Jalapeño Garlic Bread is so amazingly good. It’s gooey, cheesy, garlicky and spicy from the jalapeños and pepper jack cheese. If you love garlic bread this is going to be your favorite recipe ever! Cheesy bread is my life source – especially when it’s garlic bread. And with jalapeños? Sign me up! This cheesy…
My go-to quinoa seasoning turns the classic whole grain into an irresistible, flavorful side. It’s made with a few pantry staples and is endlessly versatile!
These are the best oven baked French fries that taste just like a restaurant! They come out crispy and perfectly…
Here’s our go-to pan fried broccoli to make on the regular! This basic method is ultra versatile and makes flavorful,…
This boiled broccoli comes out perfectly crisp tender and bright green! Spritz with lemon and drizzle with olive oil, and…
This pesto gnocchi recipe comes out irresistibly creamy in 10 minutes! Use this trick for a tasty and easy side…