
Happy Spring my dear friends! It’s wonderful to be back in the blog space, and to bring you this new and *very* luscious recipe for French Toast Cubes. Where did this divinity come from?! I have no idea, but I was pretty excited to receive the download. It’s a real egg-celebration! And right at the height of the season here in Ontario, as we witness the forces of life unfolding, in every moment.
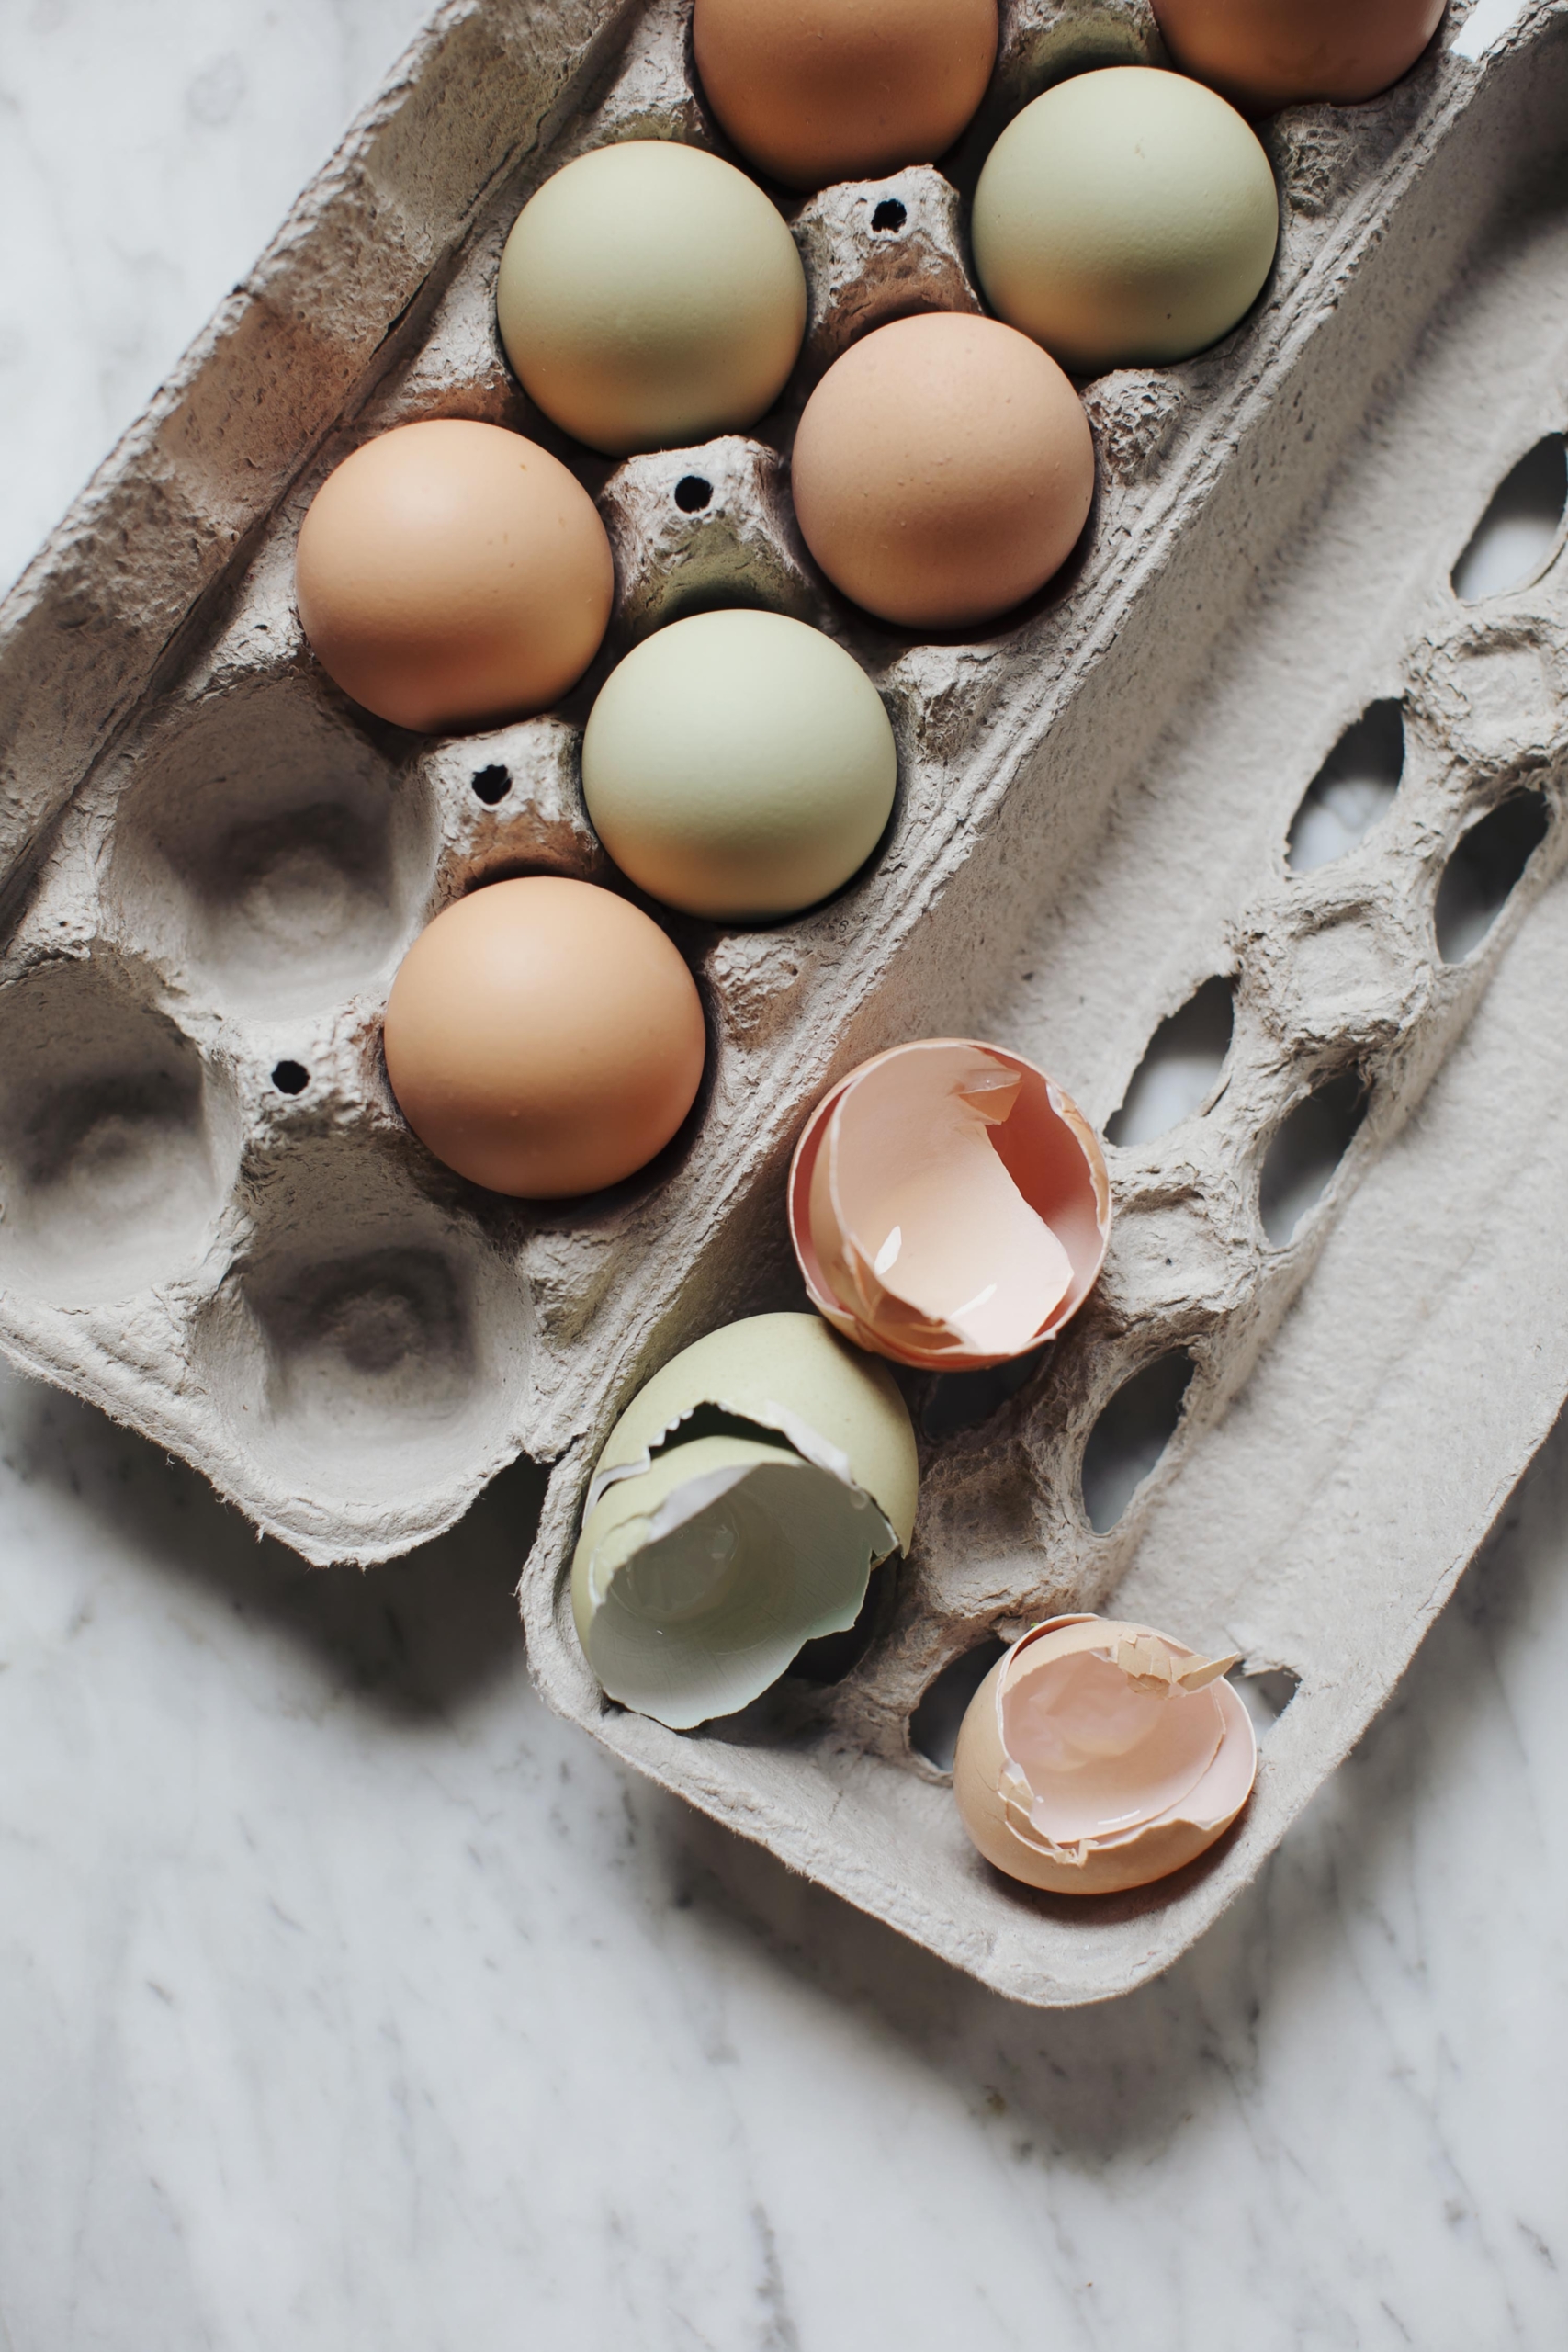
Since I’d like to focus on our star ingredient today, let’s talk about sourcing and buying eggs. There is so much to decipher when purchasing in regards to the grade, size, and raising claims, along with the nutritional, ethical, and environmental impacts of these varieties, so I hope that you find my guide to this highly nutritious and miraculous food helpful to you.
GRADE
Eggs are given grades (AA, A, or B) based on interior quality factors like defects and freshness, and exterior factors reflecting shell attributes. Grade A eggs have thick whites (Grade AA whites are slightly thicker) which do not spread easily, making them a preferred choice for frying. Meanwhile, Grade B eggs usually have thinner egg whites, making them ideal for baking, omelettes, fresh toast cubes for example, and yes, custard.
SIZE
Eggs vary in size (Extra Large, Large, and Medium are the most common sizes in stores) based on their weight. The size markings on egg cartons tell the minimum net weight for a dozen eggs. If you are looking for more protein, you should choose a larger sized egg.
RAISING CLAIMS
Many are concerned with the way egg-laying hens are raised. Here’s a quick definition for some popular claims.
Conventional
Conventionally-raised eggs typically come from chickens that are bred in large industrial facilities. These chickens are often confined to cages and given a diet of corn and soy, supplemented with vitamins and minerals. Conventional eggs are usually the least expensive option and widely available, but many people have concerns about the welfare of the chickens and the environmental impact of this type of farming.
Organic
Organic eggs come from chickens that are fed an organic diet and are not given antibiotics or hormones. In order to be certified organic, at least by USDA standards, the chickens must be cage-free, and also have seasonal access to the outdoors. Organic eggs are typically more expensive than conventionally-raised eggs, but many people believe that they are healthier and better for the environment.
Fortified / Nutritionally-enriched
Fortified eggs come from hens who have been raised by conventional standards, but have been given feed that is enriched in some capacity. Typically, this can include anything from ground flax seeds, to sea kelp, sunflower oil, fish oil, alfalfa, or rice bran. Depending on the feed, fortified eggs may have more Omega-3s, vitamin D, vitamin E, folate and iodine.
Pasture-Raised
Pasture-raised eggs come from chickens that are allowed to roam freely on pasture, scratch, forage, and eat a natural diet that includes grasses, insects, and other plants. Pasture-raised chickens are often considered to be the most humane and sustainable way to produce eggs, and many people believe that the resulting eggs are more nutritious and flavorful than conventionally grown eggs. This is true depending on, you guessed it; what they are eating!
So, what are the differences between these types of eggs? Here are some key factors to consider:
NUTRIENT CONTENT
There is some evidence to suggest that pasture-raised eggs may be more nutritious than conventionally grown eggs. Studies have shown that pasture-raised eggs can have higher levels of omega-3 fatty acids, vitamin D, and antioxidants than conventionally grown eggs. However, the differences in nutrient content between different types of eggs can be small (and in some cases hard to track due to season, soil health, and the specific foods eaten) and may not be significant enough to make a major difference in overall health.
ANIMAL WELFARE
If you are concerned about the welfare of the chickens that produce your eggs, you may want to consider buying pasture-raised or organic eggs because these types of eggs come from chickens that are allowed to roam freely and are not confined to small cages. However, it’s worth noting that the regulations around organic and pasture-raised farming can vary, and some farms may have more humane practices than others. If you have the possibility to do so, ask you local egg provider how the hens are raised, what their physical environment is like, and even their slaughtering practices.
ENVIRONMENTAL IMPACT
All food production impacts the environment. To minimize the impact of egg production consider buying organic or pasture-raised eggs, as these types of farming practices often involve less use of or are free from pesticides and fertilizers, and may have a smaller carbon footprint than conventionally grown eggs. However, it’s worth noting that the environmental impact of egg production can be complex, and the specific practices used by each farm can vary. Again, ask your farmer!
In summary, the type of eggs you choose to buy will depend on your budget, priorities, and values. Organic and pasture-raised eggs may be more nutritious and have a smaller environmental impact, but they are often more expensive. Conventionally grown eggs may be easier to find and more affordable, but some people have concerns about the welfare of the chickens and the environmental impact of this type of farming. Ultimately, the best way to choose eggs is to do your research, read labels carefully, speak with your local egg provider if possible, and find the option that best suits your needs.
Okay, now to the recipe 
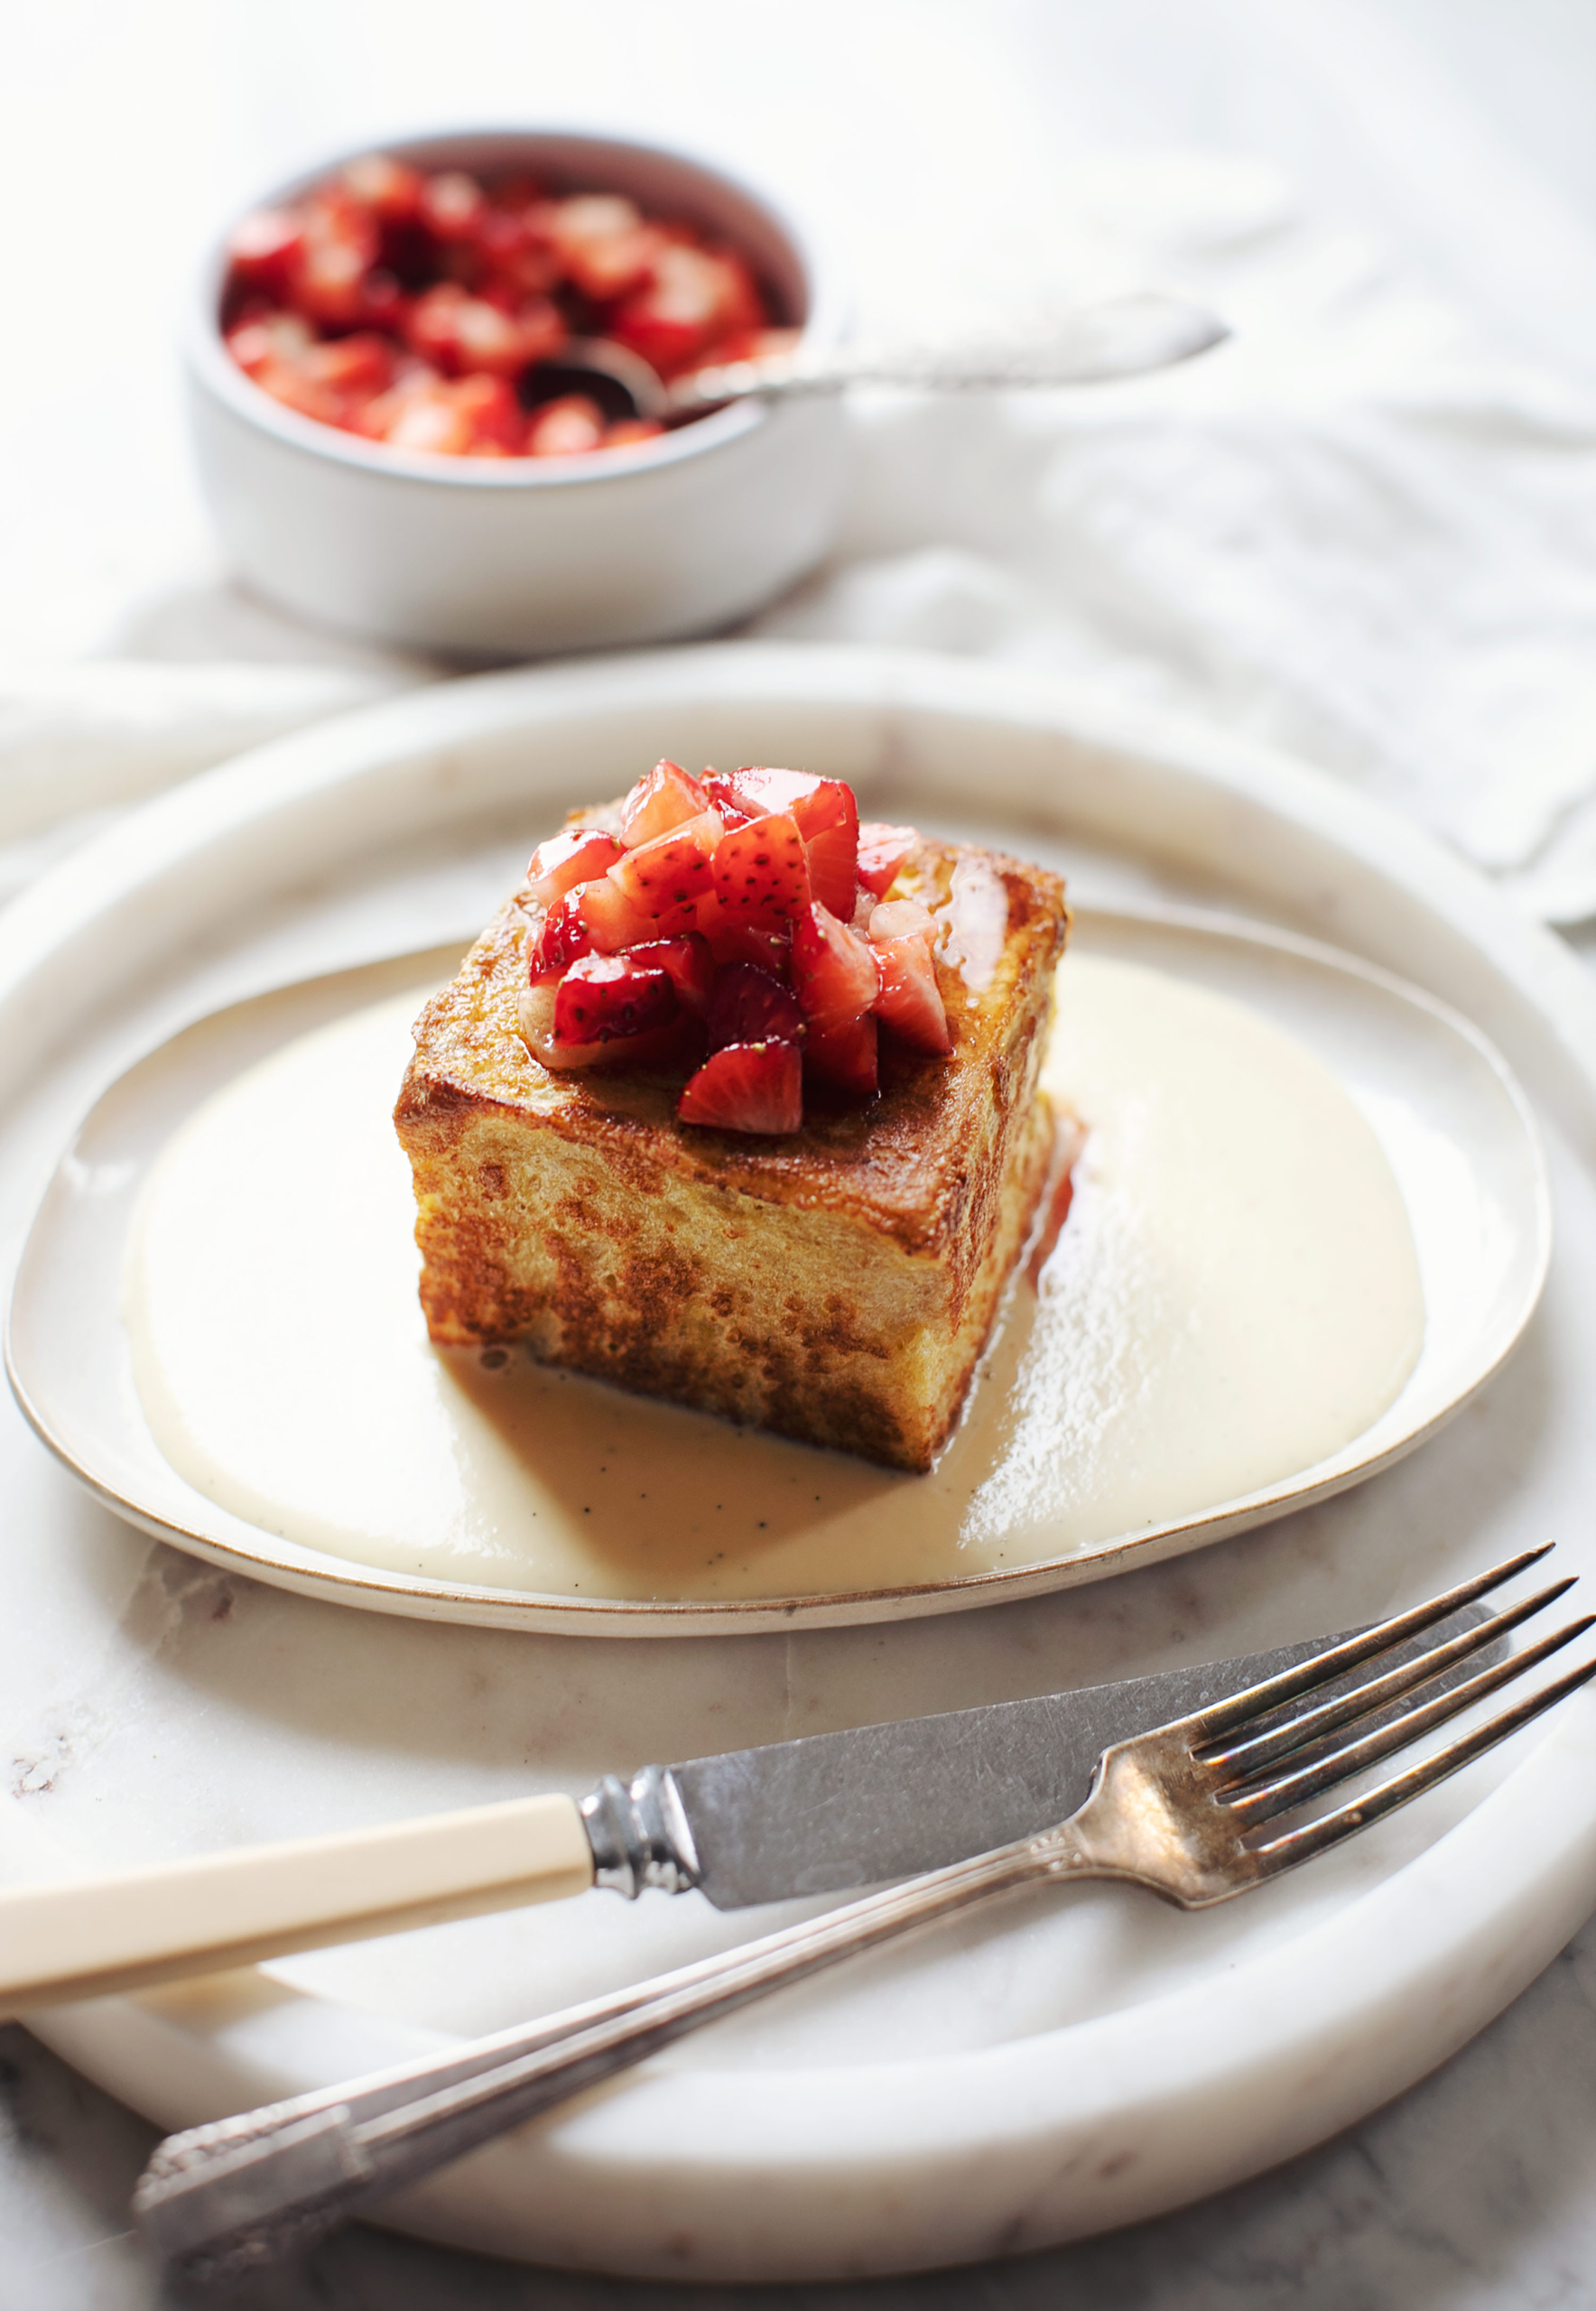
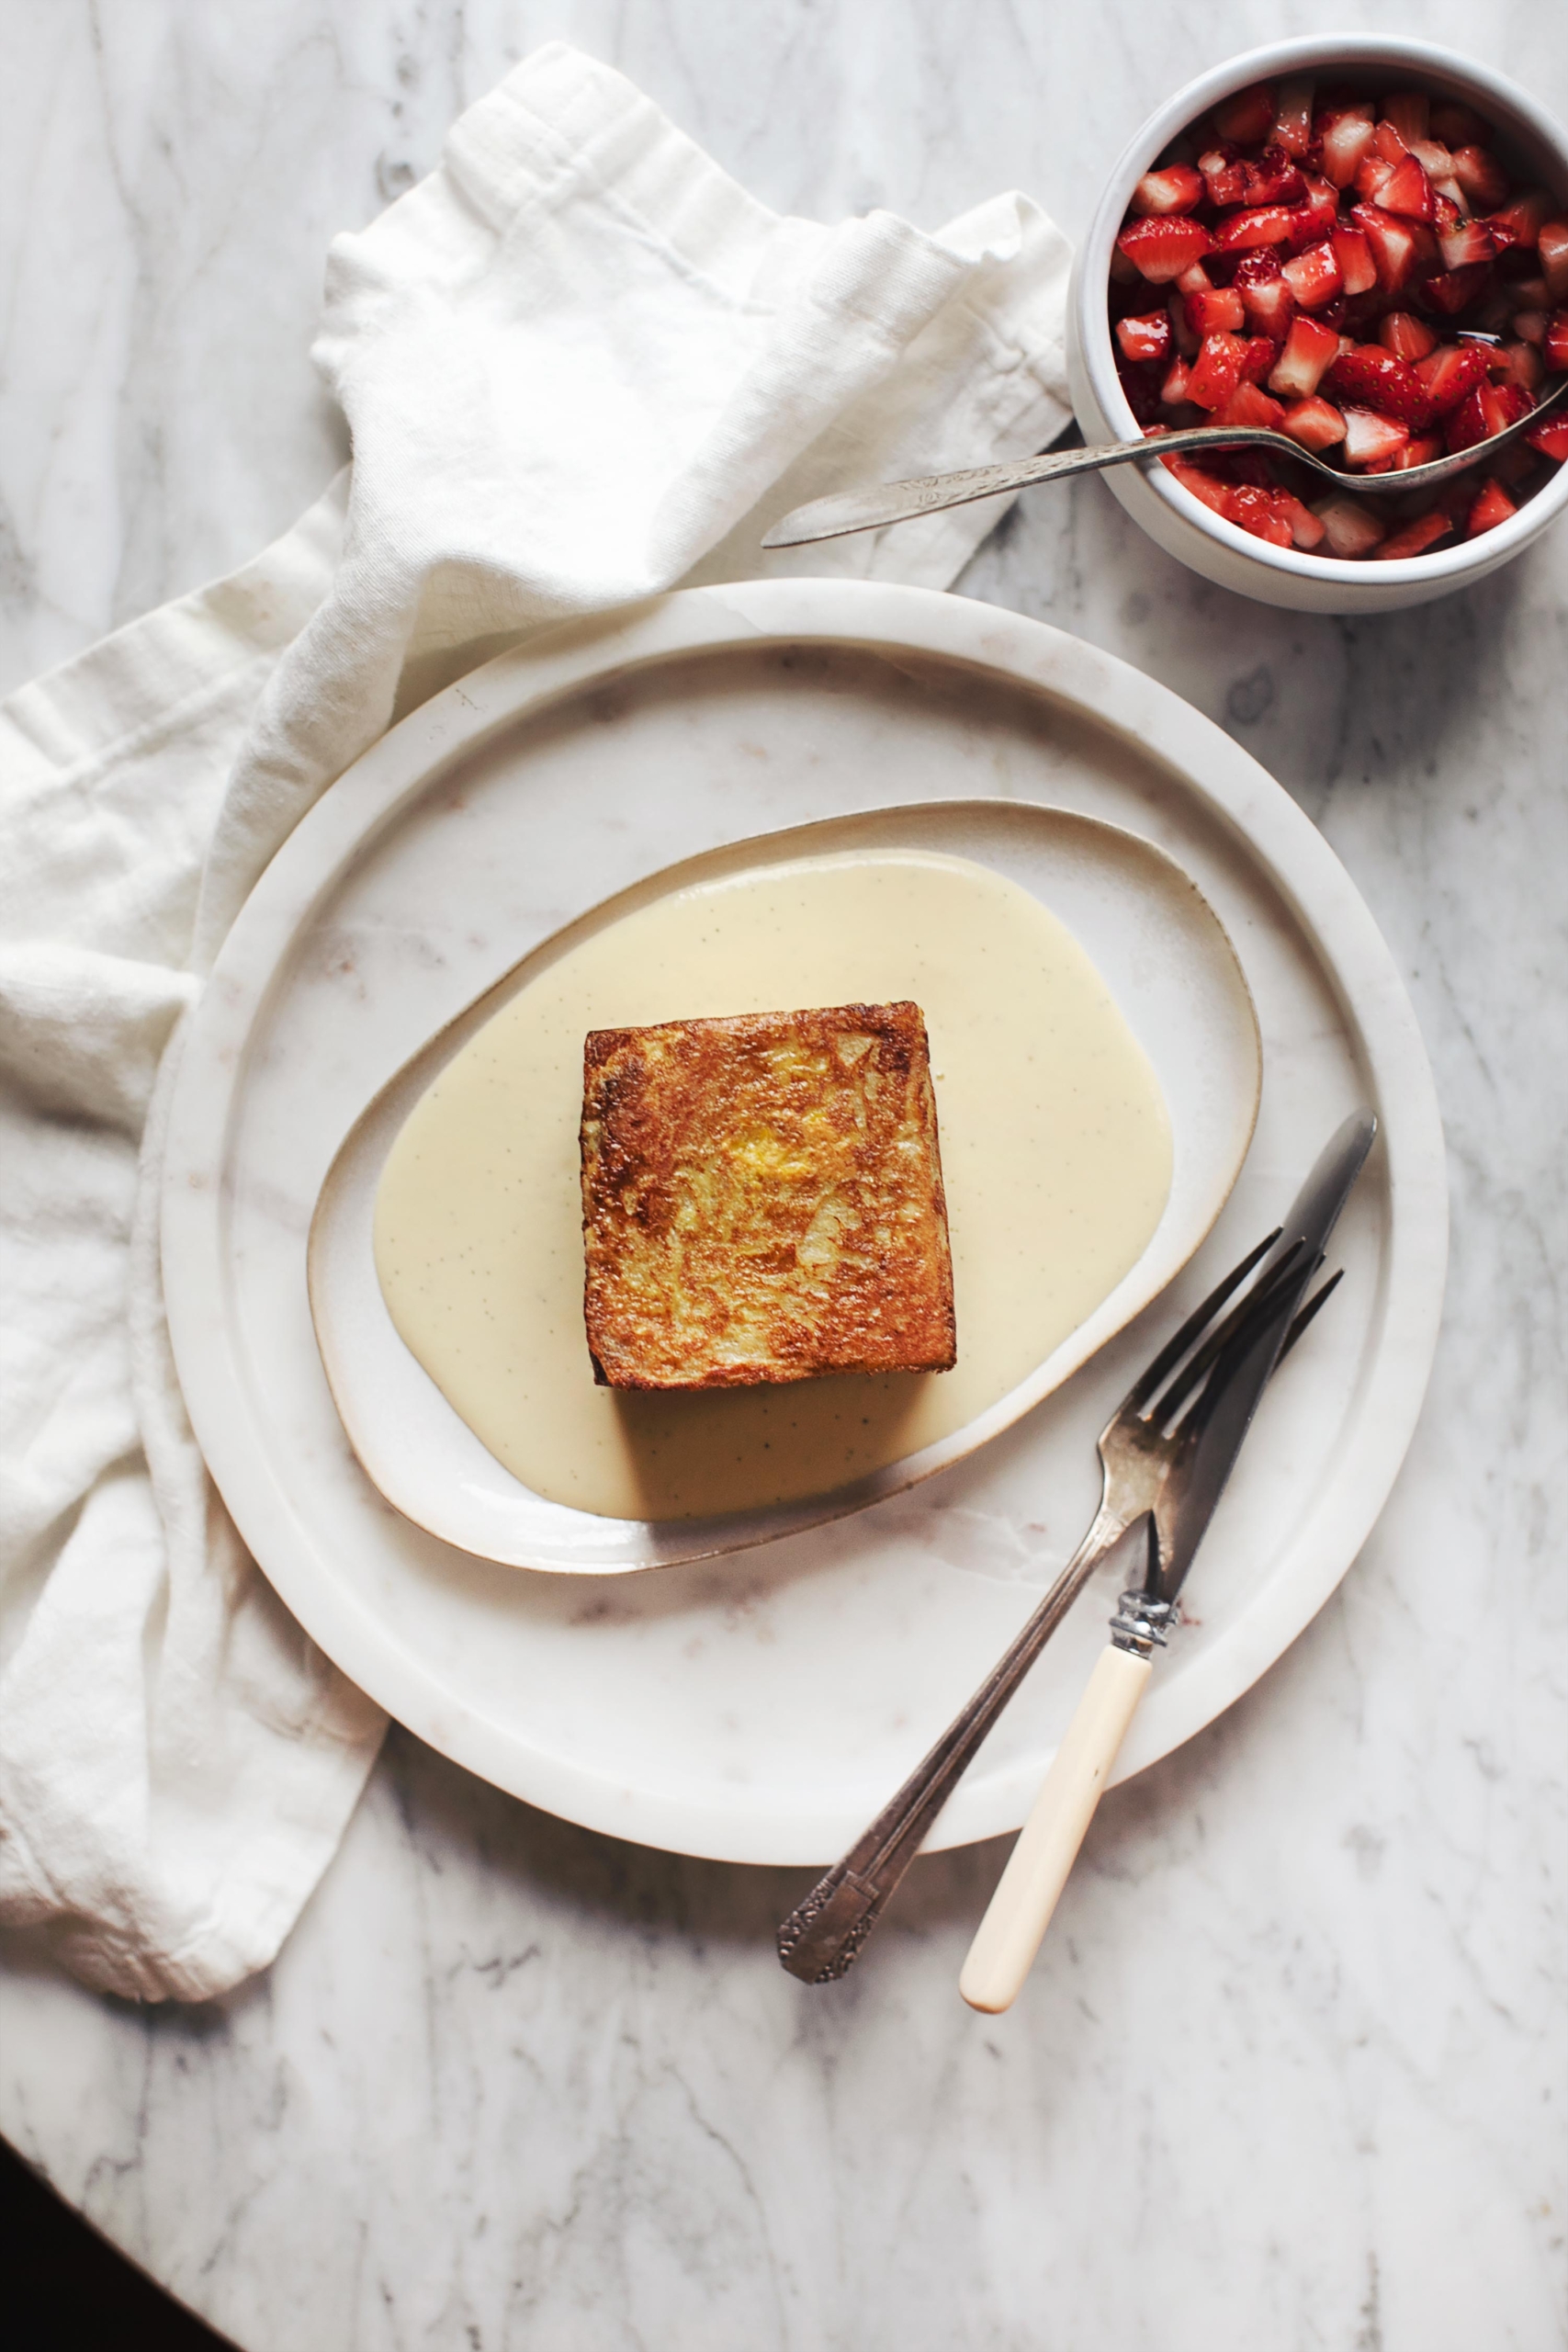
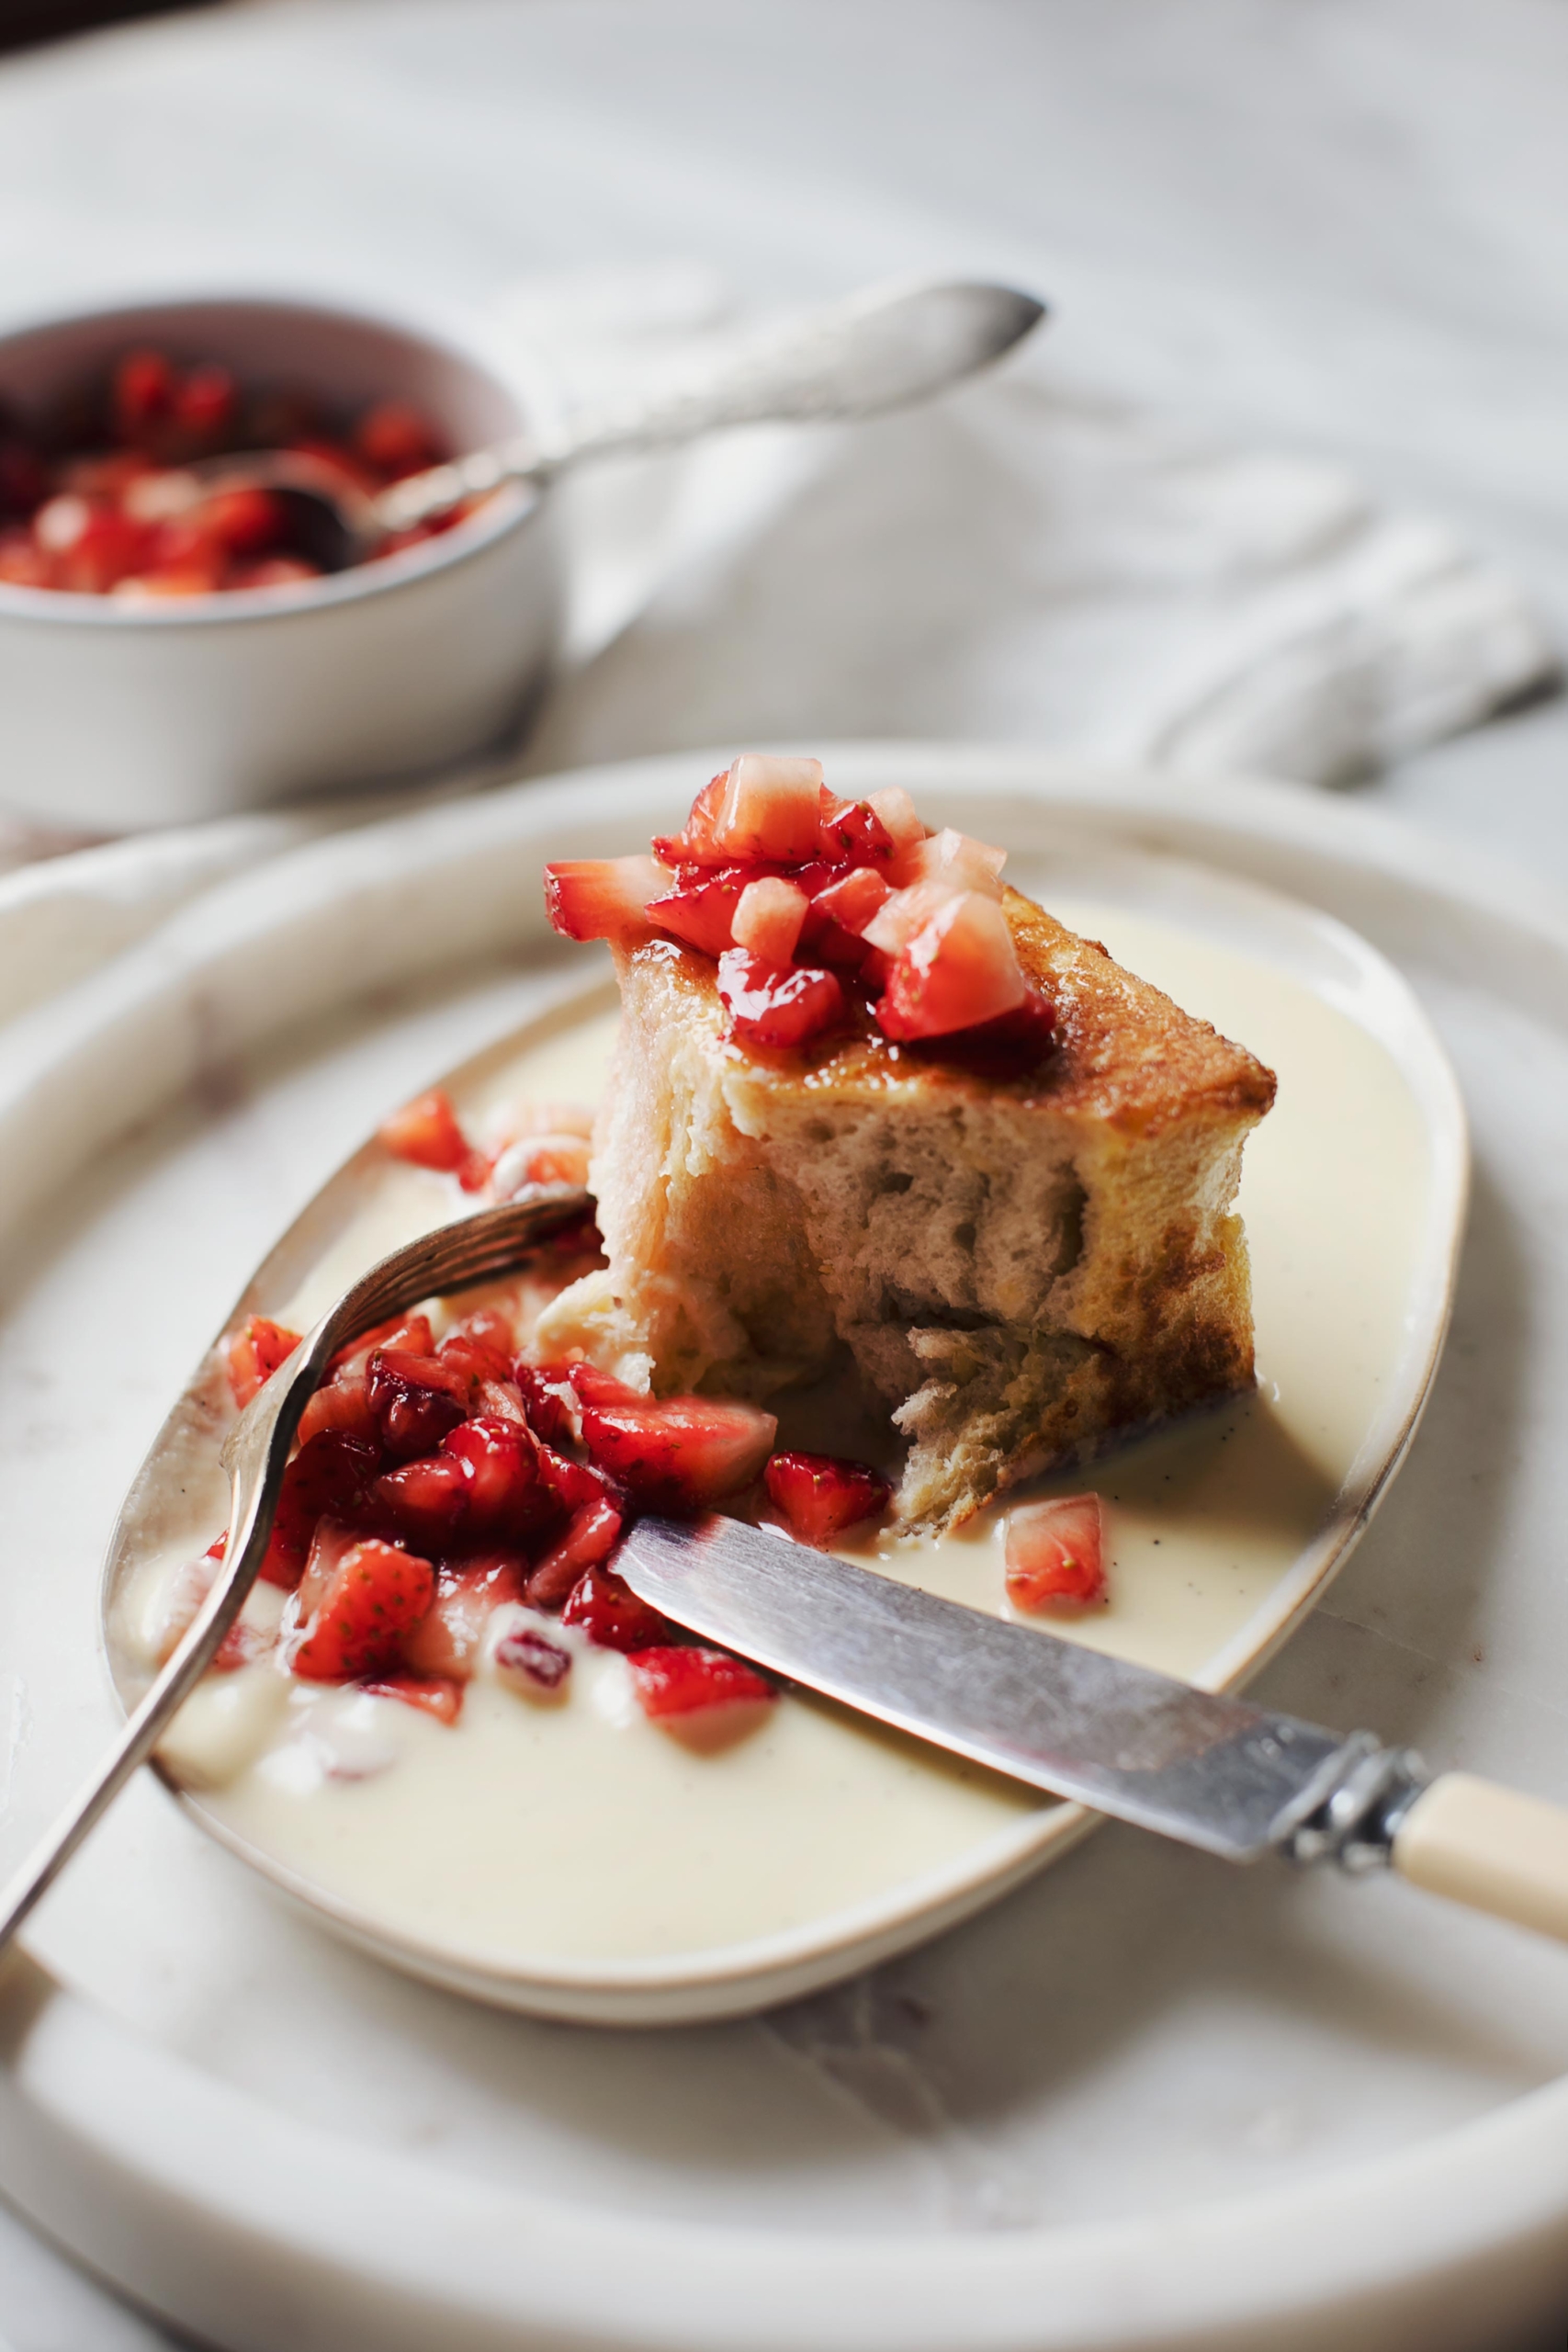
Why French toast cubes, you ask? Because six sides of golden glory is way better than two, haha! I really wanted to create a standout dish, one that was both delectably indulgent and also visually stunning. Having this beauty placed in front of me would absolutely make my jaw drop!
The real star of the show here however, is the custard, which is a completely new-to-me food, and one I’ve been curious to attempt! Also known as Crème Anglaise, it is the base of all ice cream (at least the really good stuff). That should already tell you that it is rich and satisfying – goddess food – as my dear friend Elenore puts it. I must say, I do feel exceptionally queen-like enjoying the ultra-creamy and luscious divinity. It’s like being kissed by angel!
The custard was surprisingly easy to make once I understood the science behind it: real cream and high-fat milk is infused with vanilla, cooled down until it can be combined with egg yolks without curdling them (this process is called tempering), then slowly back brought up to temperature so that the yolks cook and thicken the sauce. Simple in theory, but it does require some patience and your full, undivided attention at times. I found a lot of recipes for custard call for starches and thickeners, but I wanted to go the whole food route and stick with just eggs. So glad I did! I also replaced the refined sugar with creamed honey. This not only imparts such a stunning flavour, but also serves to help thicken the custard.
Here are some recipe notes on the custard:
If you fumble and the eggs curdle or the sauce breaks, use an immersion blender to bring it all back together.
If you have access to organic eggs (or better yet, pasture eggs from free-roaming hens!) I highly encourage you to use them here since you’re really going to taste them. Same goes for the dairy products; find the best you can, bonus points for local and grass-fed. For the whipping cream, choose between 35-40% fat. The whole milk should be around 3-4% fat.
Do not try this with clear, runny honey as I cannot guarantee the same results.
The custard makes more than you need for this dish, but leftovers will keep in the fridge for 5 days. You can warm the custard back up by gently heating it in a double-boiler over just-simmering water, stirring frequently.
If strawberries aren’t in season, choose another fruit! The sky is the limit – you can even start with frozen if that is all you have.
I hope you love this recipe for French toast cubes as much I do. It is an ode to eggs, to cream, to vanilla, to joy! I am very certain it will put a smile on your face and everyone who is lucky enough to enjoy it with you.
Salted Honey Custard
Ingredients
- 1 vanilla bean
- 3 egg yolks
- ⅓ cup / 75ml creamed honey
- 1 cup / 250ml whole milk
- 2 cups / 500ml whipping cream
- salt to taste as desired
Instructions
- Split the vanilla bean lengthwise, scrape out the seeds, and place in a heavy-bottomed saucepan with the milk and cream. Turn on the heat to medium and stir every so often, just until the mixture begins to bubble around the edge of the pan for about 2 minutes. Do NOT let the mixture boil. Remove from the heat and let cool and infuse for about 20 minutes.
- Separate the egg whites and yolks (set the whites aside for the french toast). Whisk the egg yolks and honey together.
- Ladle 1 scoop of the cooled cream mixture into the egg yolks and swiftly whisk to combine. Add another ladle and whisk, repeating until you have no cream left. Clean the saucepan well, making sure there is no residue left.
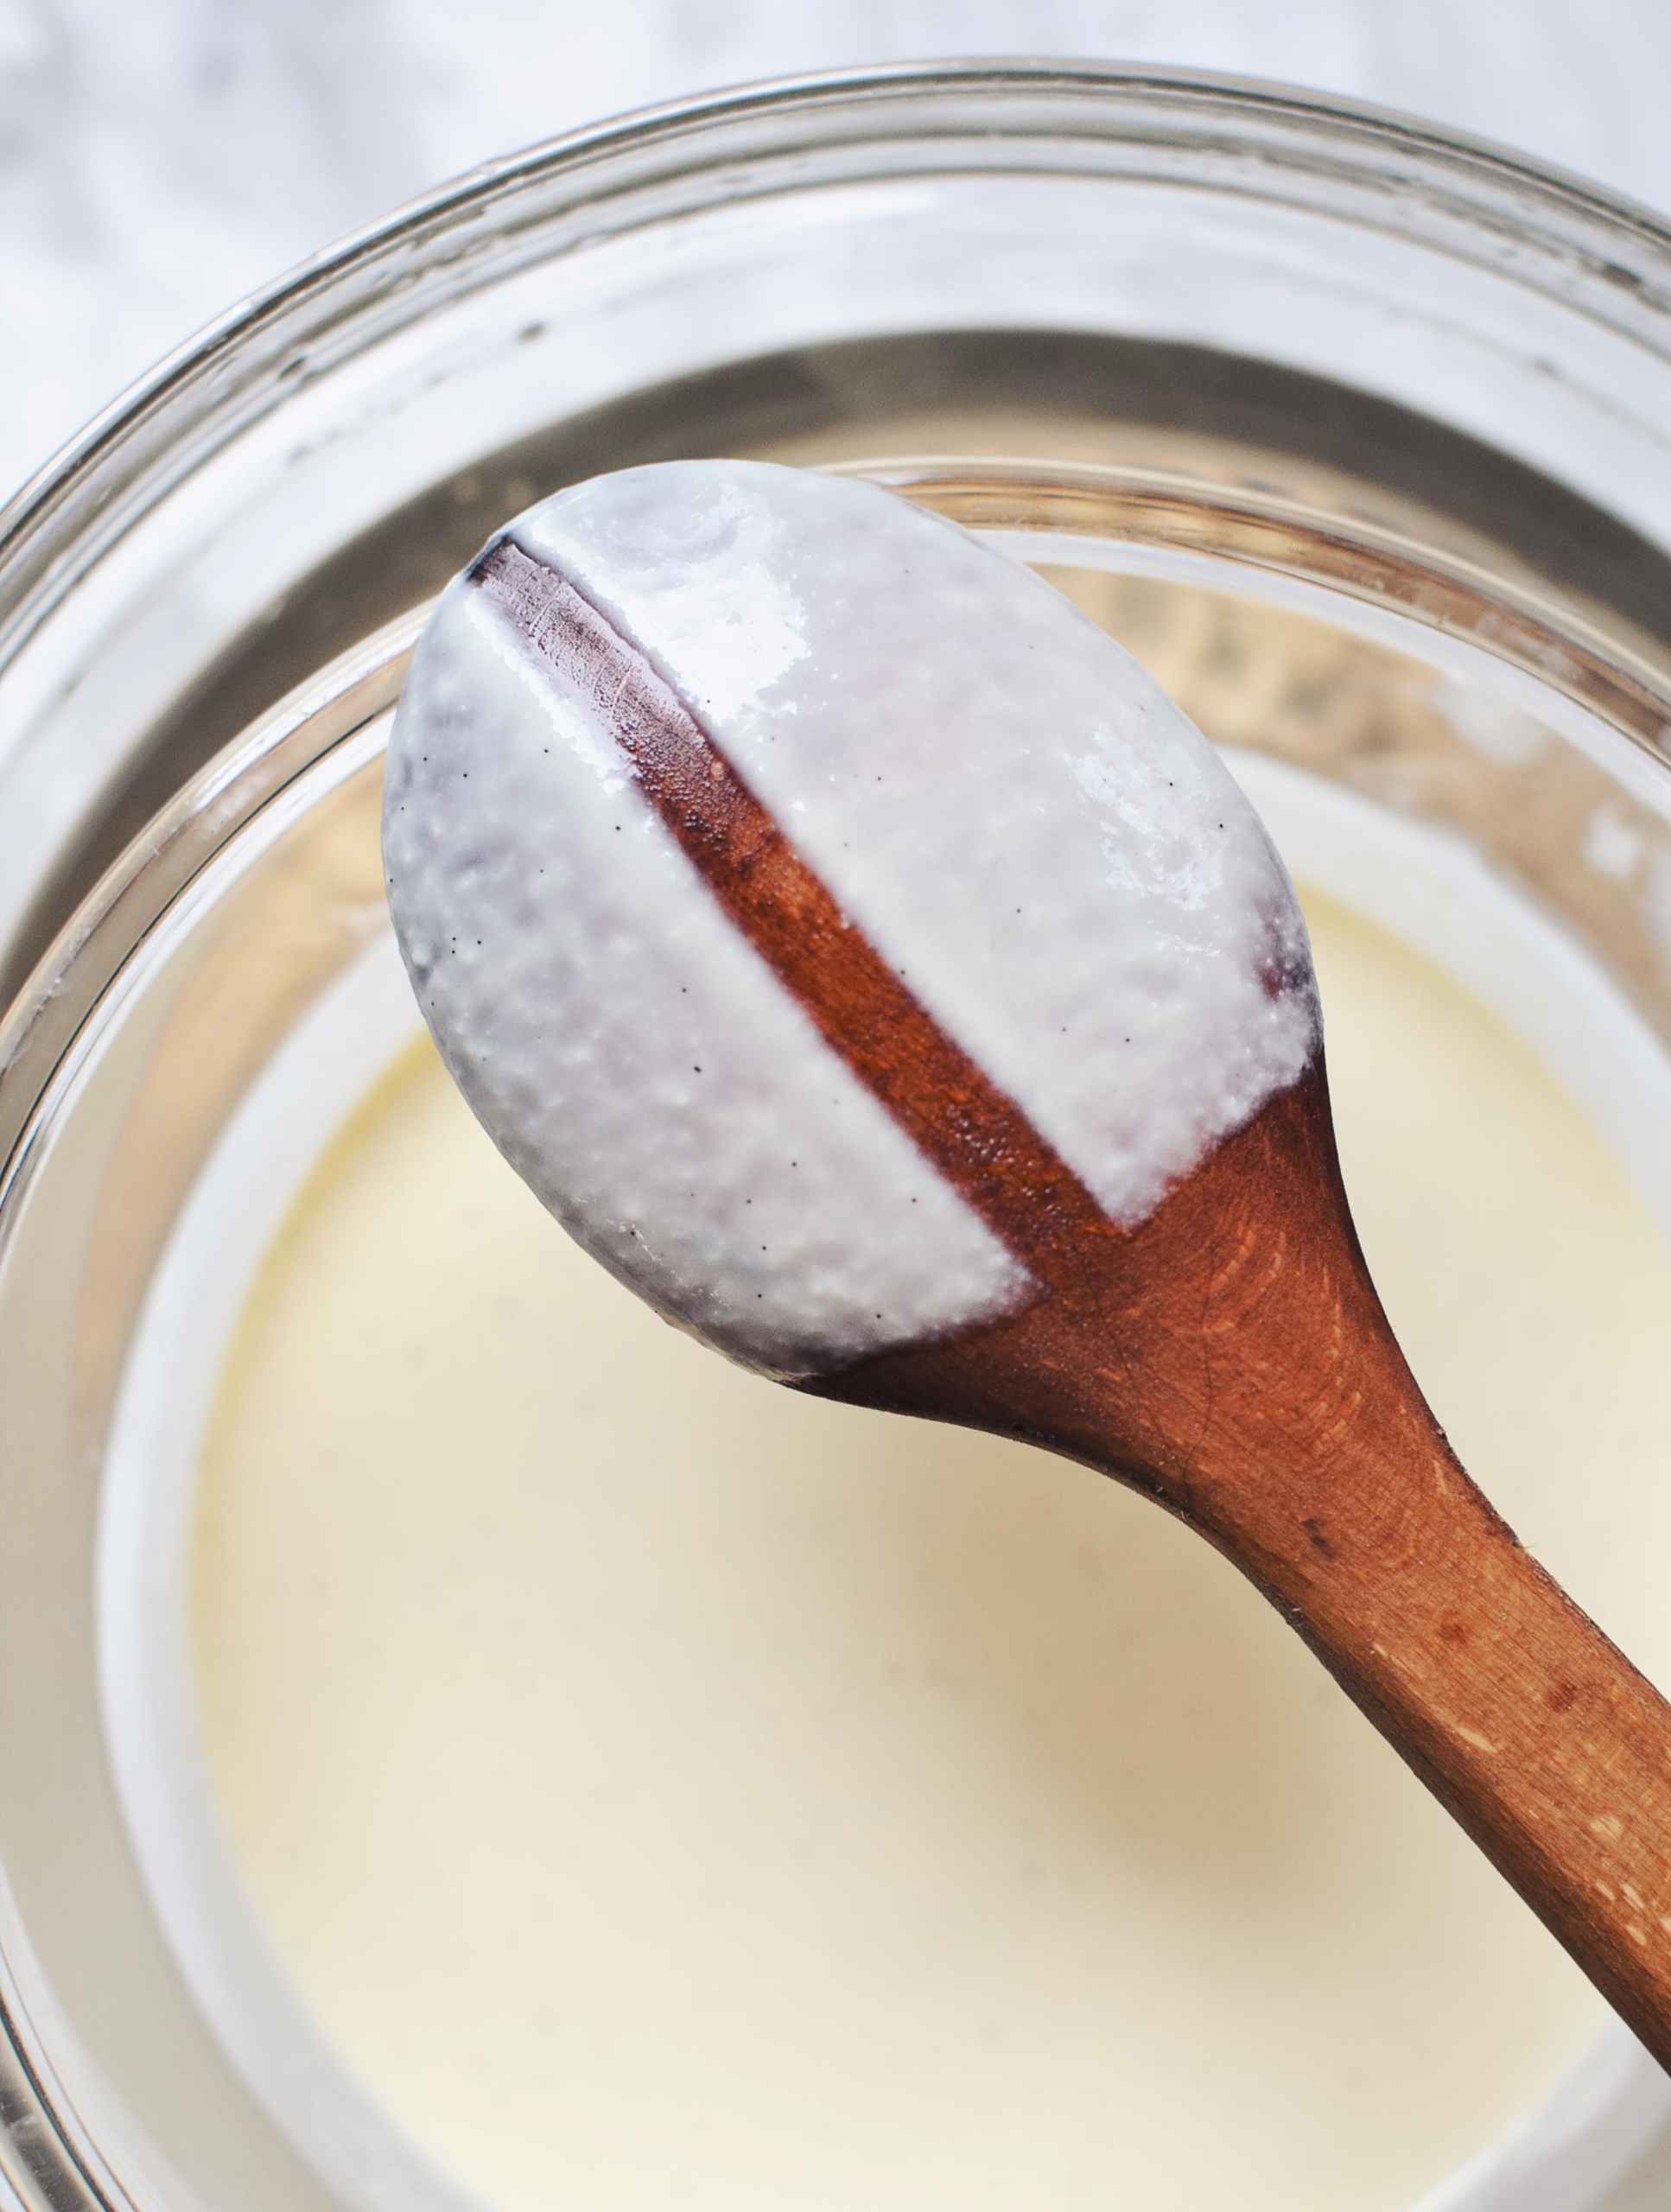
- Pour the tempered cream and egg mixture through a sieve back in to the clean saucepan and turn on the heat to medium. Stir constantly with a wooden spoon for about 8-10 minutes (do NOT leave the stove!). The custard is ready when the mixture coats the back of the spoon and you can draw a clean line through with your finger (see photo).
- Once it has thickened, remove from the heat and strain once again through a sieve into a bowl or other heat-proof vessel. Immerse this vessel in an ice bath to stop cooking, remembering to stir every so often. Let the mixture cool. Season with salt, as desired. Serve and enjoy immediately, and store leftovers in the fridge for up to five days.
Strawberry Topping
Ingredients
- 250 g / 9oz. fresh strawberries
- pinch salt
- ½ – 1 Tbsp. pure maple syrup as desired
Instructions
- Hull and chop the strawberries into small cubes. Place in a bowl, sprinkle with salt, stir well to coat, then add maple syrup and fold to combine. Let sit for at least 10 minutes before serving.
Notes
French Toast Cubes
Ingredients
- 1 loaf sourdough bread preferably wholegrain
- 2 eggs + egg whites from custard making
- 1 tsp. vanilla extract
- 1 cardamom pod optional but delicious
- ghee or butter to cook
Instructions
- Cut the bread, roughly, into four, 3” / 8cm cubes. Remove the crusts.
- Whisk the eggs and vanilla together in a small bowl. Crush the cardamom pod, discard the skin and pummel the seeds until broken up into very small pieces. Whisk into the eggs mixture.
- One by one, dunk each bread cube into the egg mixture, allowing each side to bathe for 15 seconds or so, then turning until all six sides have been coated.
- Melt your fat in a skillet over medium heat. Add the bread cubes and cook on each side for 1 minute, or until golden brown.
- To serve, spoon as much custard as you like onto each dish (I used about 1/4 cup / 60ml per serving), then place the french toast cube on top, and spoon over some of the strawberry mixture. Say thank you and enjoy.
Notes
Sending you all love and abundance for this glorious season! May you be nourished and a little spoiled 
xo, Sarah B
The post French Toast Cubes with Salted Honey Custard appeared first on My New Roots.


 Using coconut sugar in the topping adds an incredible depth of flavour and complexity that I suggest you don’t miss out on – it brings so much more to the party than plain old brown sugar.


