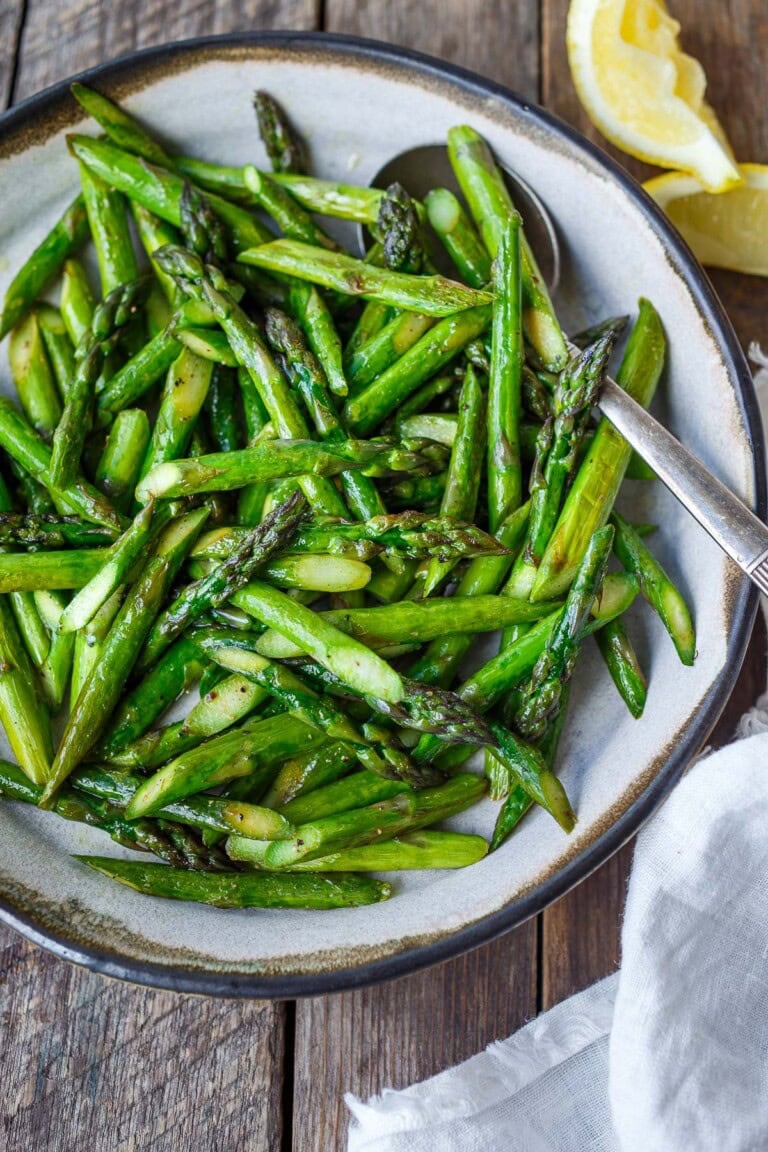
Sauteed Asparagus
Sauteed asparagus is a healthy easy side dish perfect for spring! Tender spears are cooked in olive oil with salt, pepper, and lemon. Simple yet vibrant! Vegan.
all things food
Sauteed asparagus is a healthy easy side dish perfect for spring! Tender spears are cooked in olive oil with salt, pepper, and lemon. Simple yet vibrant! Vegan.
This Minted Pea Soup is refreshing and light. Perfect for spring gatherings, it’s fast and easy to make using fresh or frozen peas. Vegan-adaptable.

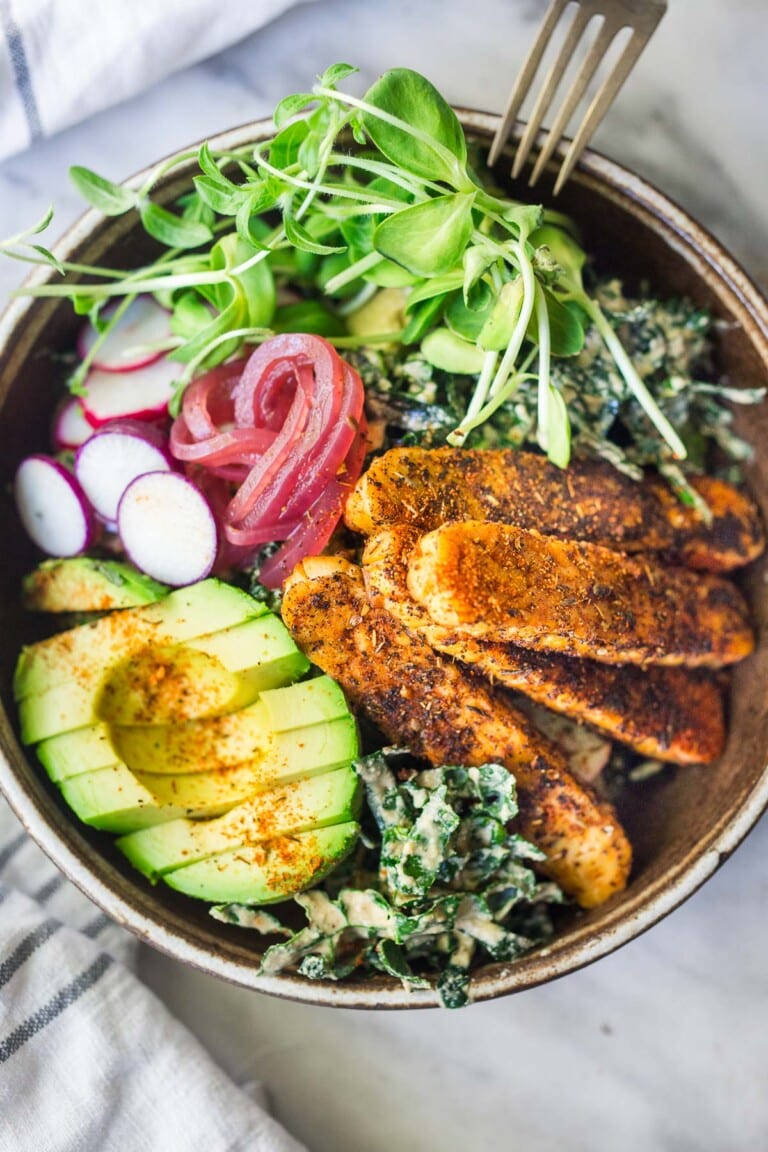
This healthy tempeh salad recipe is made with crispy blackened tempeh, avocado, kale and creamy vegan cajun ranch dressing. Vegan.
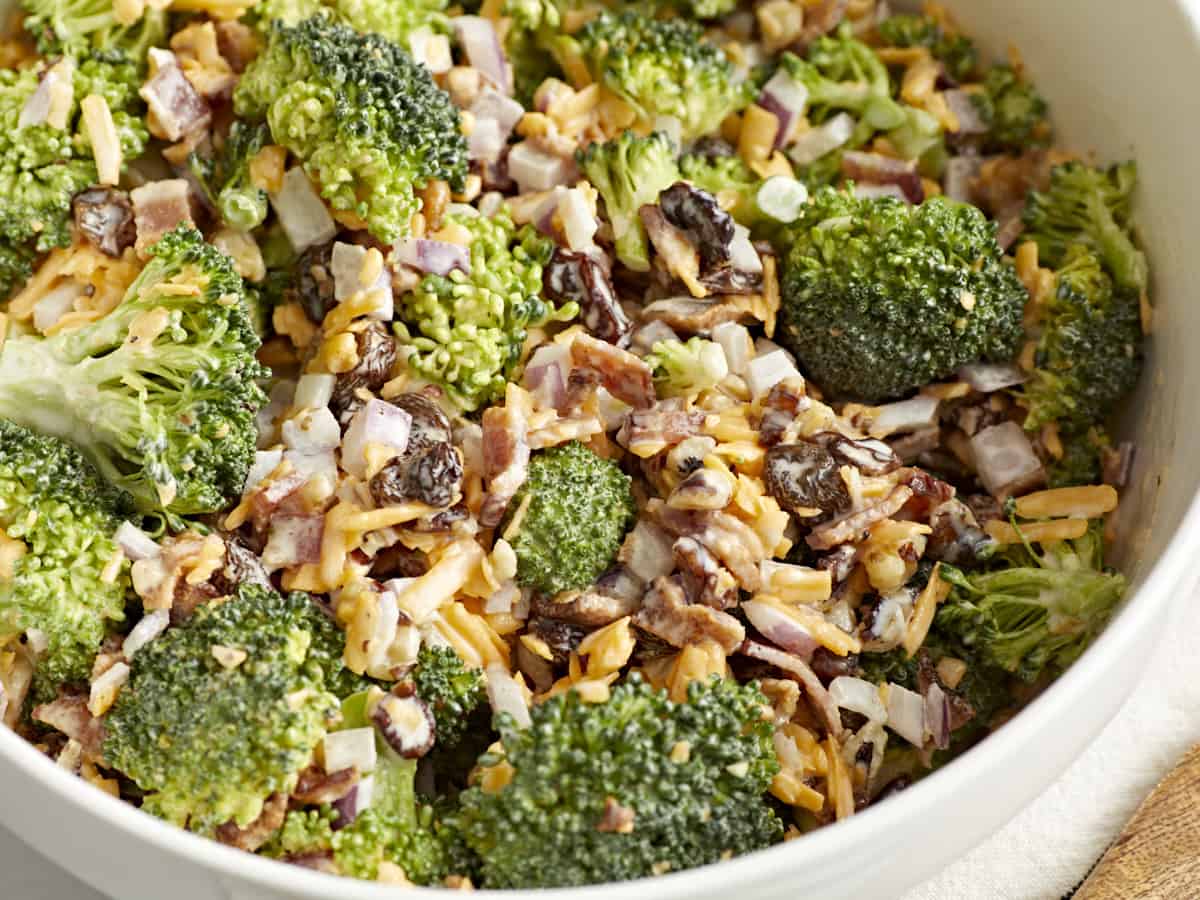
This broccoli salad is the perfect creamy, crunchy, rich, and flavorful side to go with any meal. It’s my new go-to for parties!
The post Broccoli Salad appeared first on Budget Bytes.
It’s nearly grilling season, and I need a reliable side dish to bring to parties, family reunions, and barbecues. This broccoli salad is the perfect creamy, crunchy, rich, and flavorful side to go with any meal. It has a great balance of sweet and tangy flavors, and the texture is unbeatable. It’s a fact that if you add bacon to any vegetable dish, even the most discerning meat eaters will give it a try. Baby steps, right?! I love making sure my loved ones eat their vegetables!
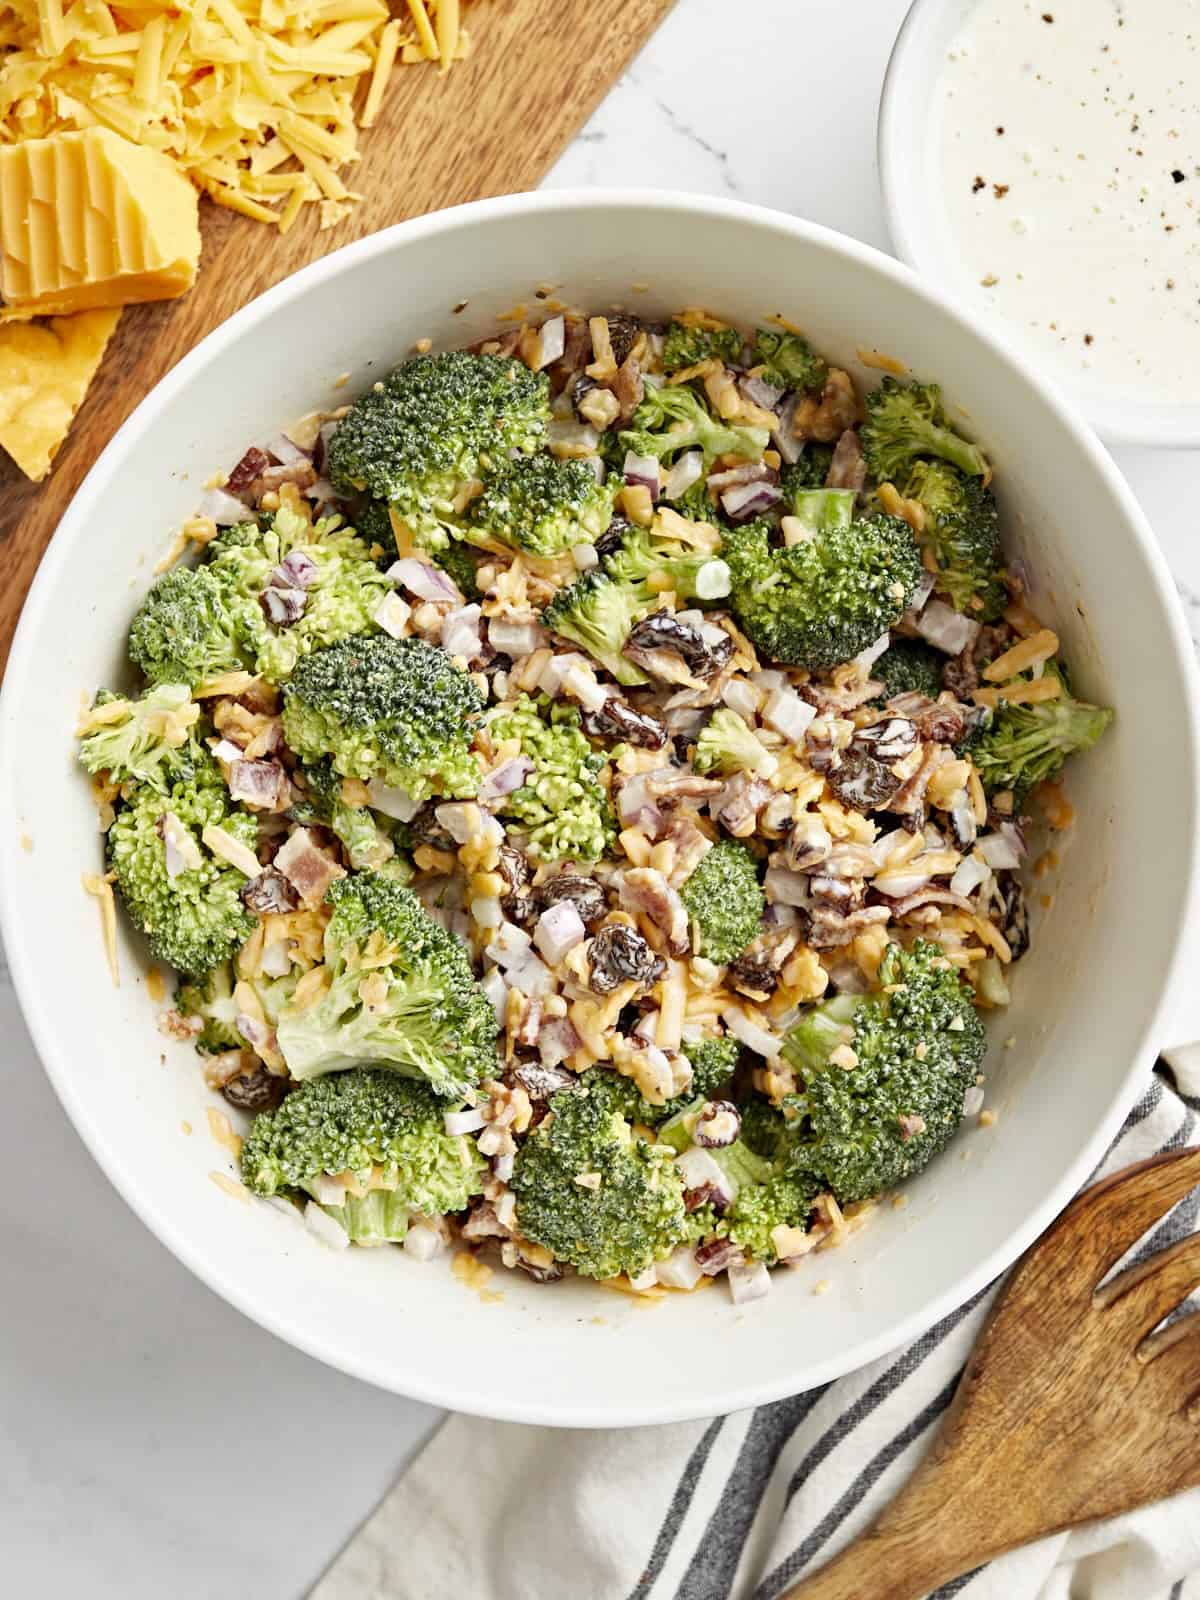
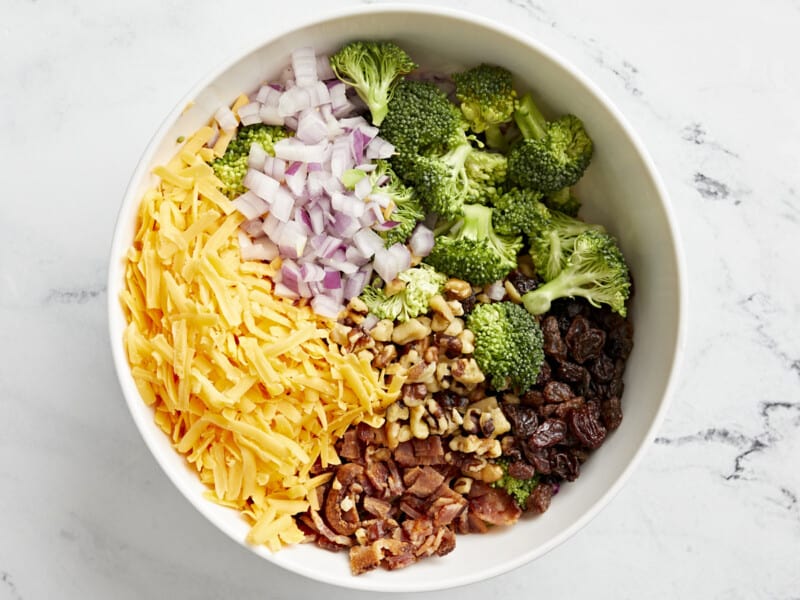
Broccoli salad is a classic side dish made from broccoli florets tossed with cheddar cheese, raisins, bacon, walnuts, and red onion, coated in a creamy and tangy dressing. This salad has a wonderful balance of flavors and textures and is so versatile!
Here’s what you’ll need to make broccoli salad:
In testing, I preferred the final texture of raw broccoli over blanched, but you certainly can blanch the broccoli if you prefer. The blanching process takes out some of the natural bitter flavor from the broccoli; simply drop the florets in a large pot of salted boiling water for 1 minute, then quickly shock in a bowl of ice water. Instead, I opted to simply rinse my broccoli florets in hot water to make them extra bright green and make sure they were nice and clean.
To keep your broccoli salad from turning out watery, make sure to thoroughly dry the florets. The salt in the dressing will naturally draw out some of the moisture from the veggies, so making sure they are dry after washing them is an important step! I like to spread them out on a clean kitchen towel and gently pat them dry with another towel laid on top while I prep the rest of my ingredients.
Broccoli salad is such a fresh and crunchy dish with a ton of flavor, so I suggest pairing it with simple proteins, like air fryer chicken breast or glazed pork chops.

See how we calculate recipe costs here.
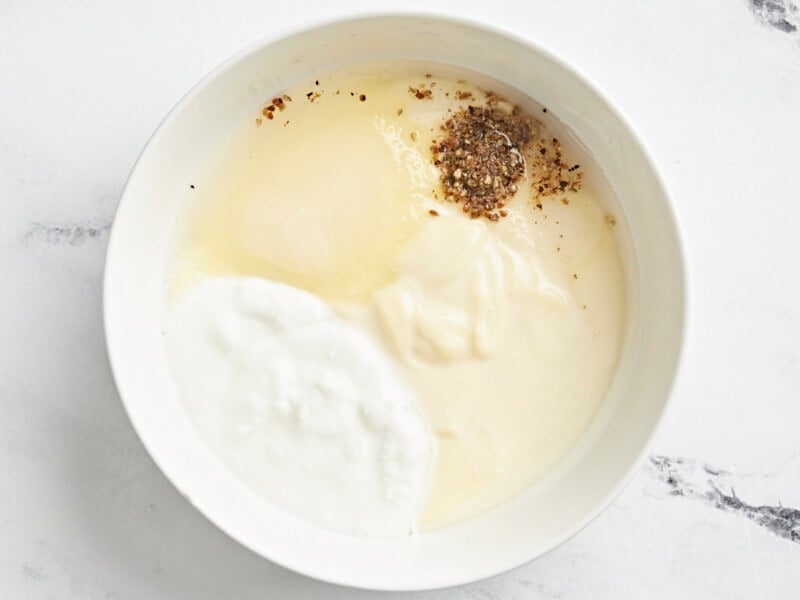
In a small mixing bowl, combine 1/2 cup mayo, 2 Tbsp Greek yogurt, 1 Tbsp white vinegar, 1 Tbsp sugar, 1/4 tsp salt, and 1/4 tsp pepper.
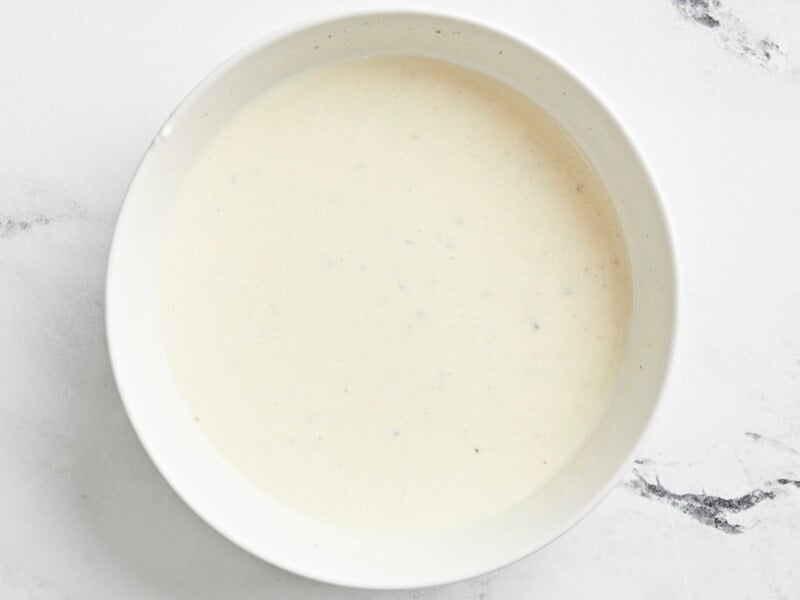
Whisk together and set dressing aside.

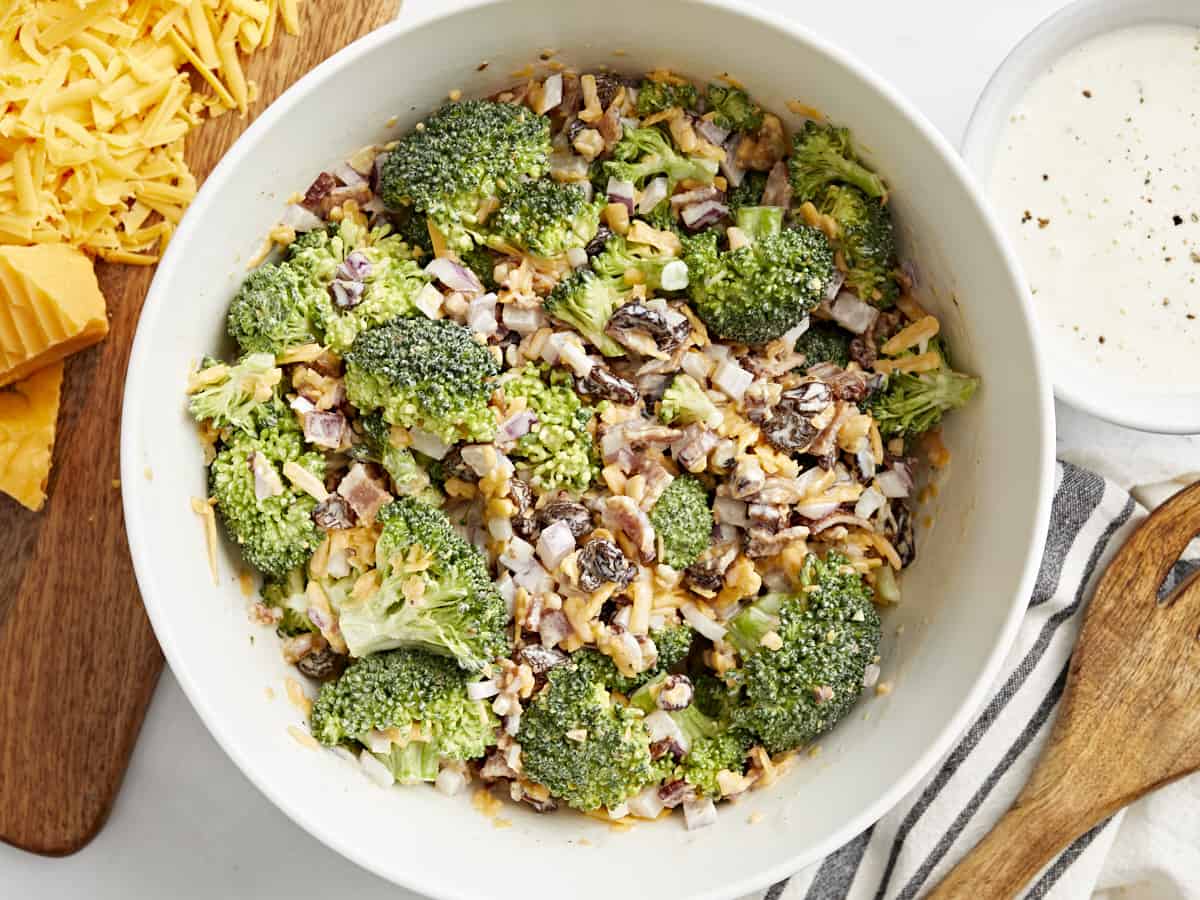
Cut 1 large crown of broccoli into florets, shred 1 cup of cheddar cheese, gather 1/4 cup of raisins, crumble 6 strips of crispy bacon, crush 1/4 cup walnuts, and dice 1/4 of a red onion.
Combine salad ingredients in a large mixing bowl and toss to combine.
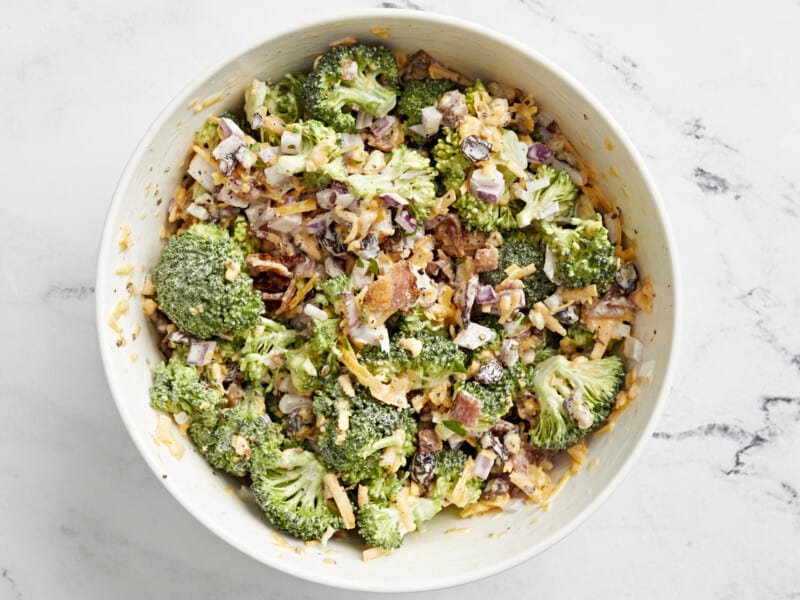
Pour the dressing over broccoli salad and toss together until completely coated. Serve immediately, or let it marinate and get extra yummy in the fridge for up to 5 days!
The post Broccoli Salad appeared first on Budget Bytes.
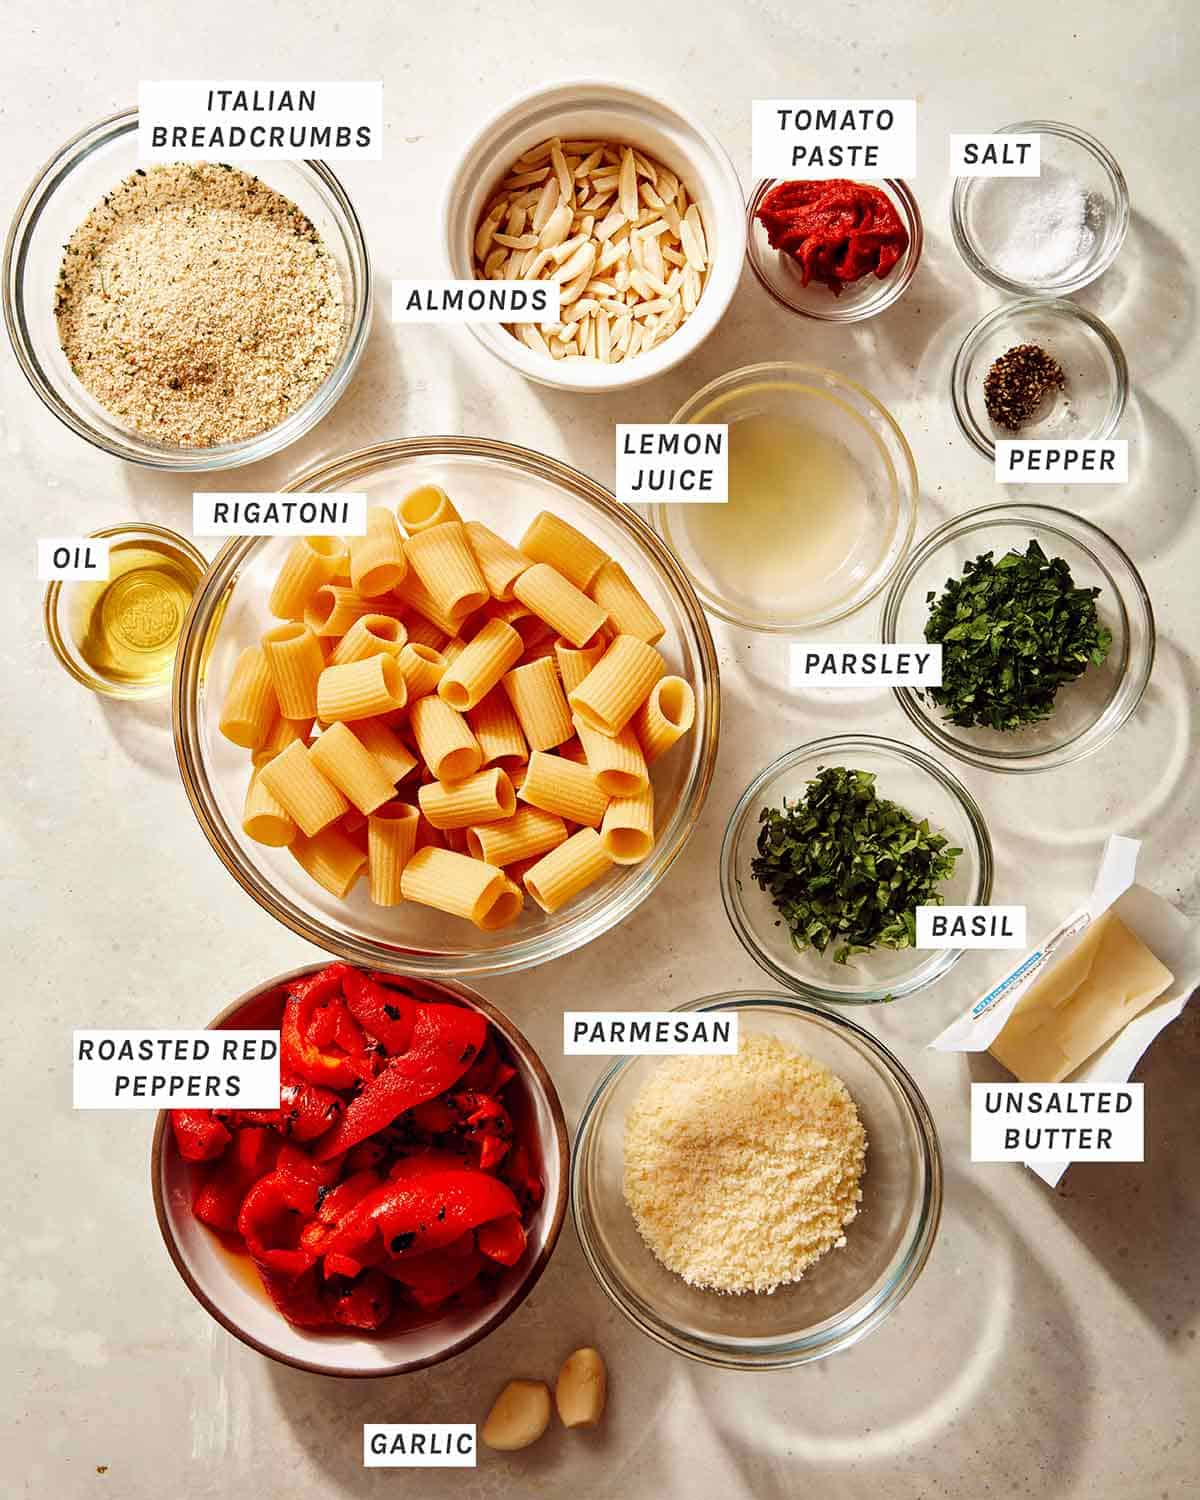
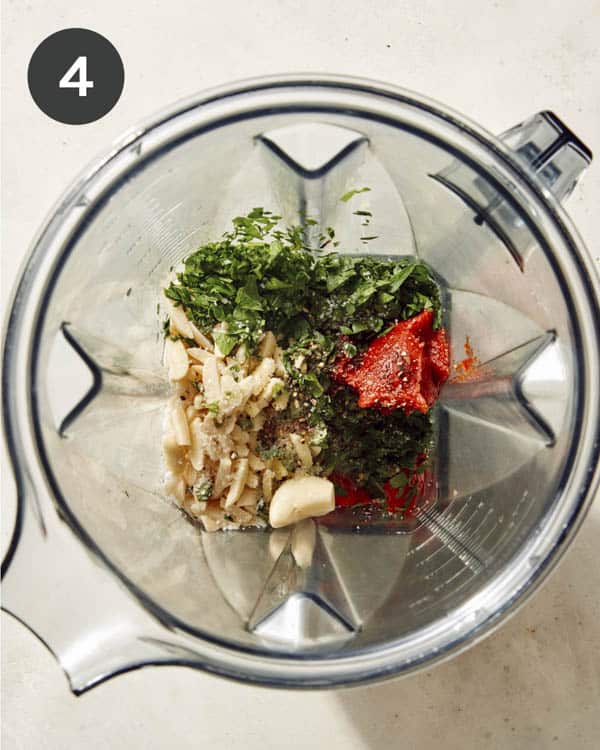
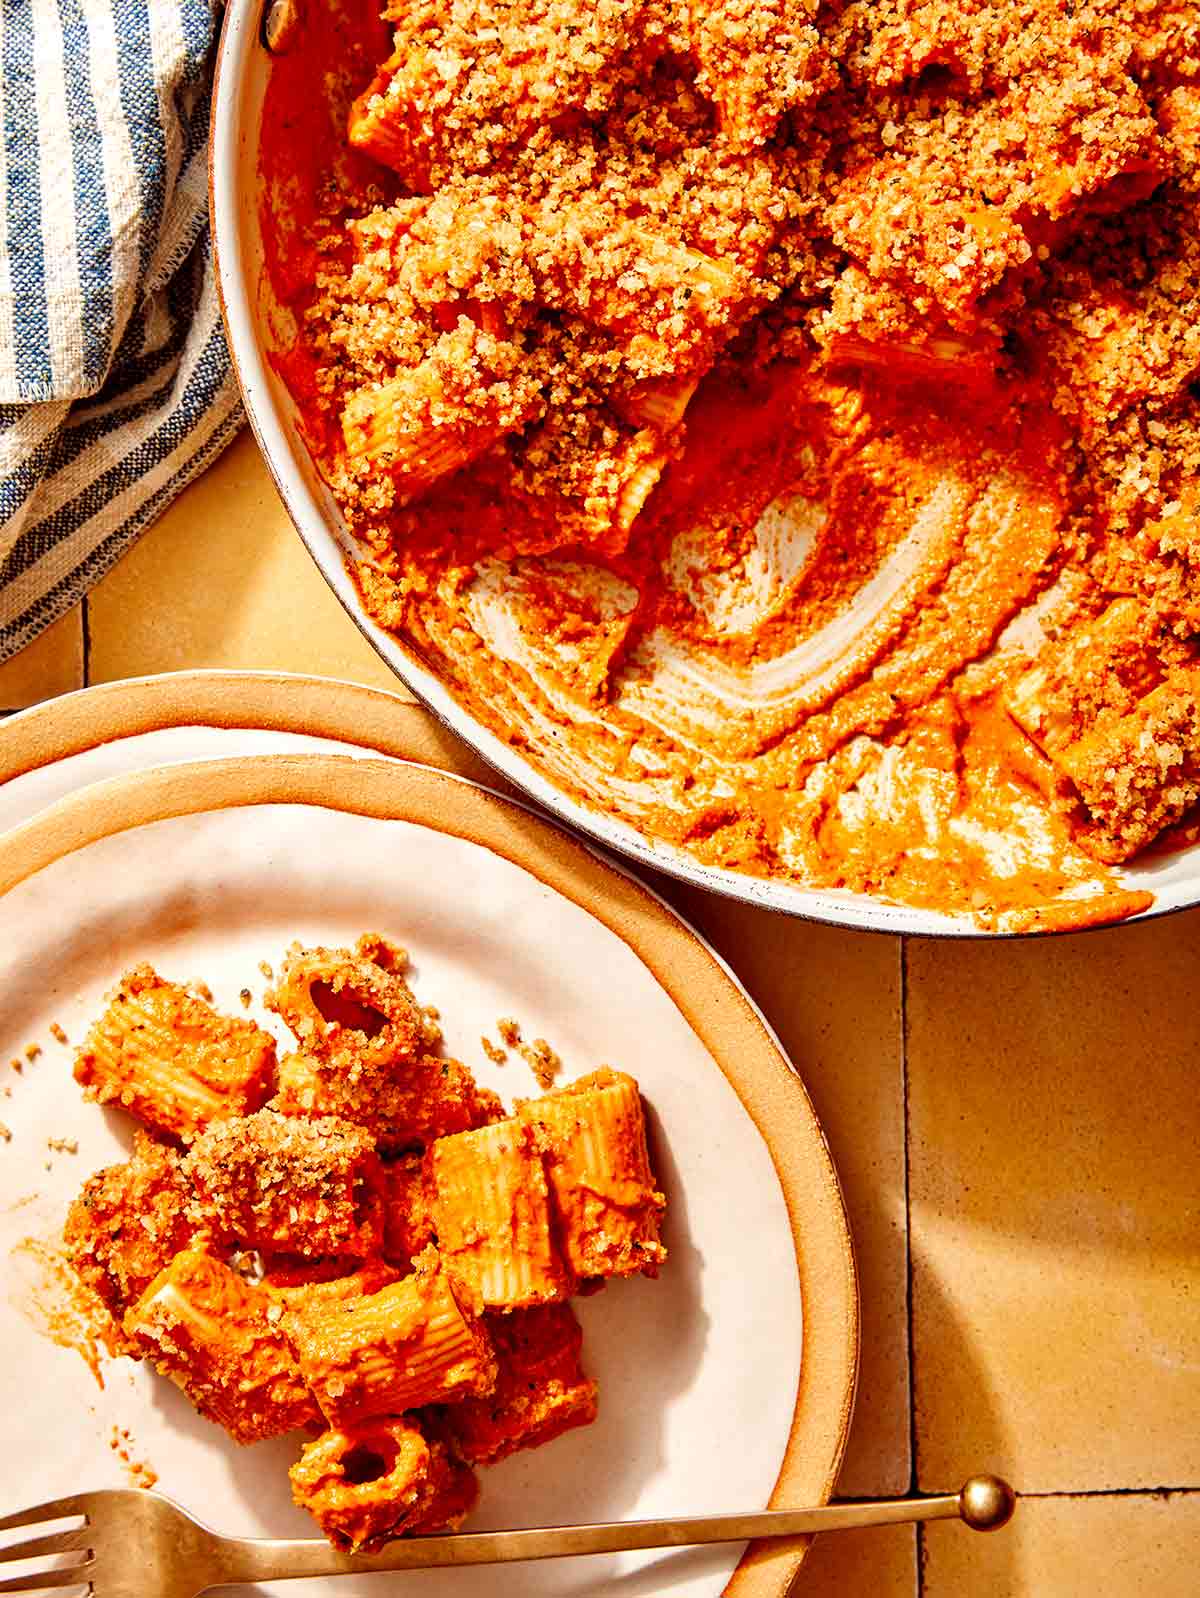
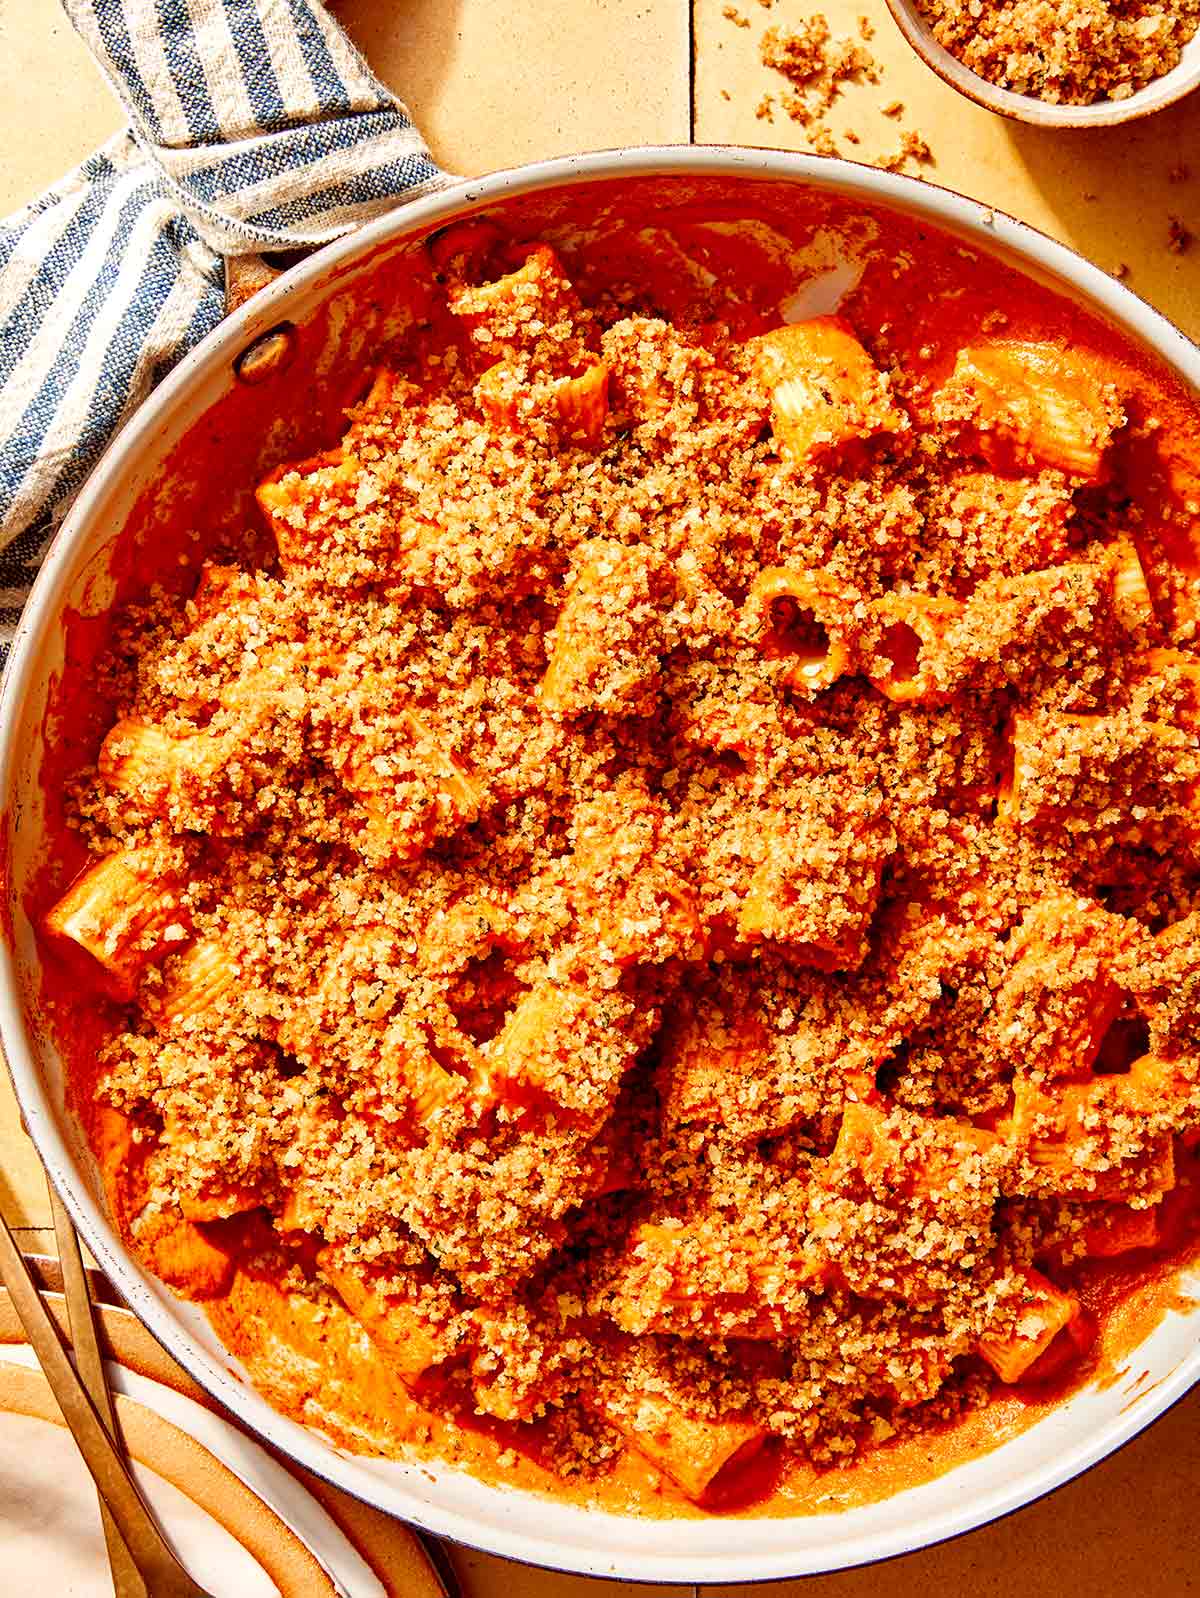
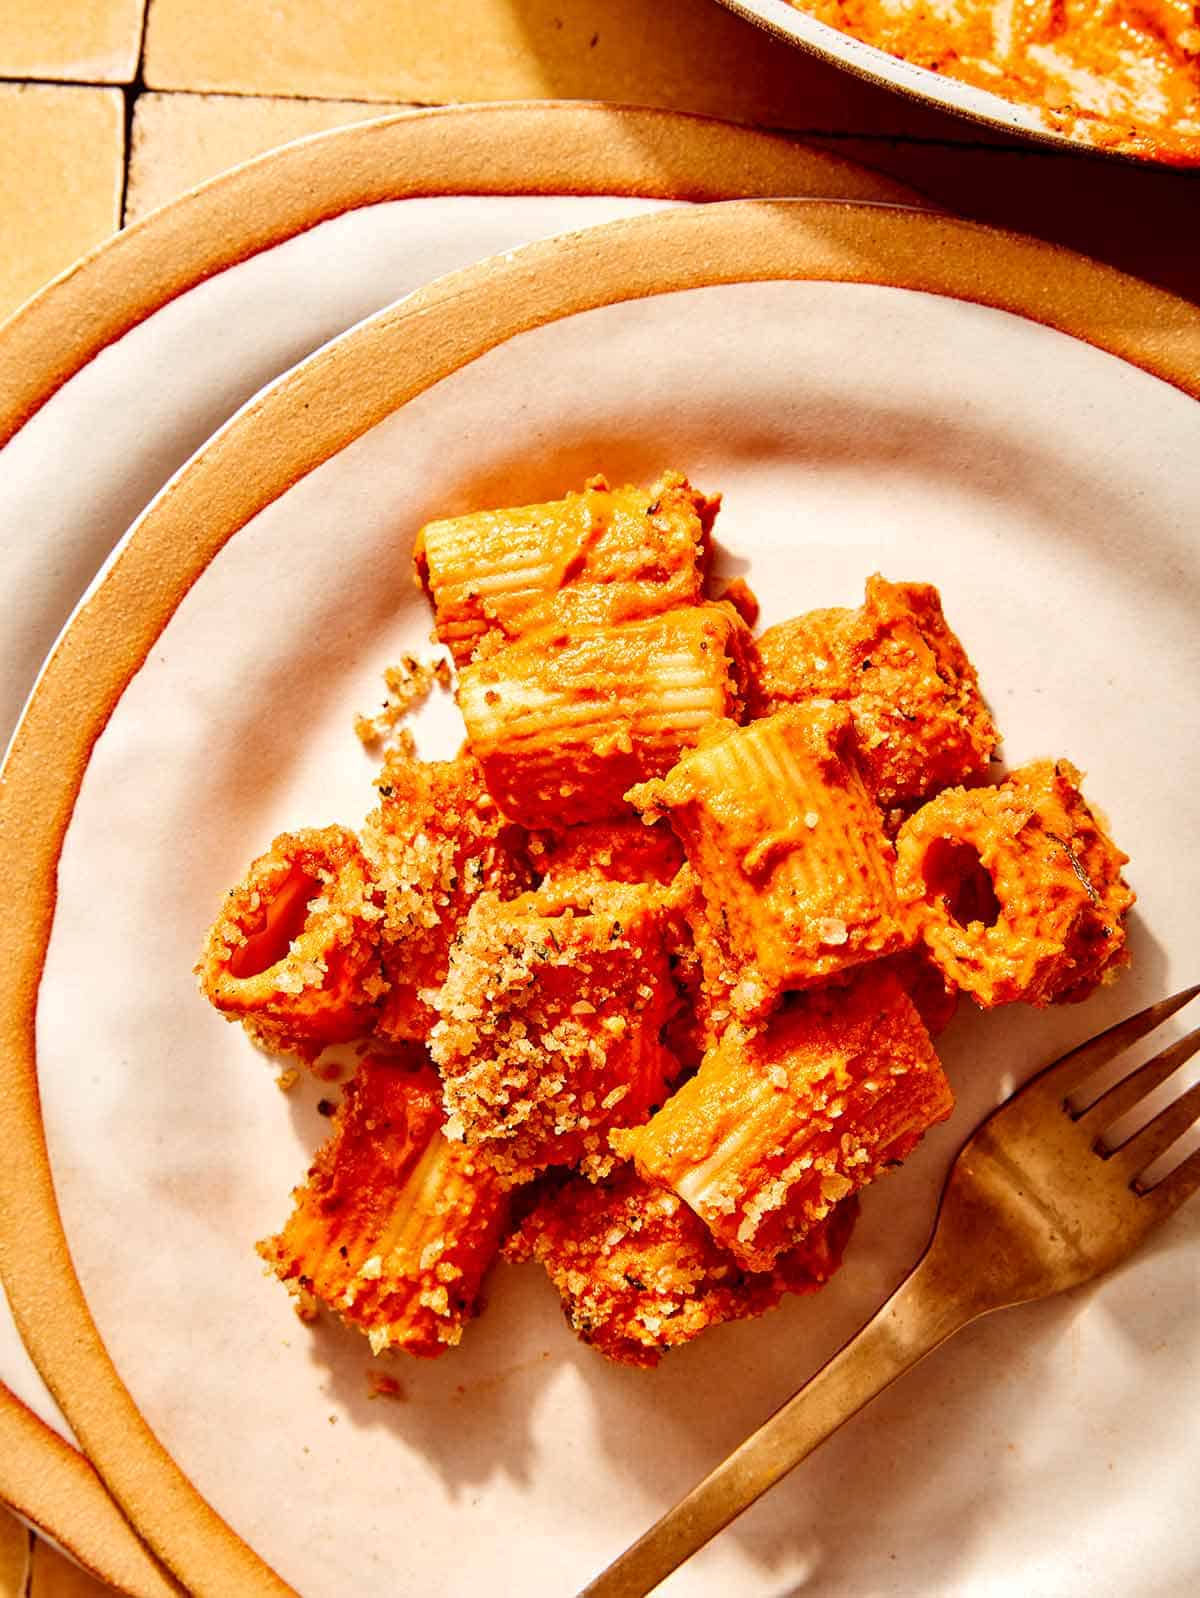
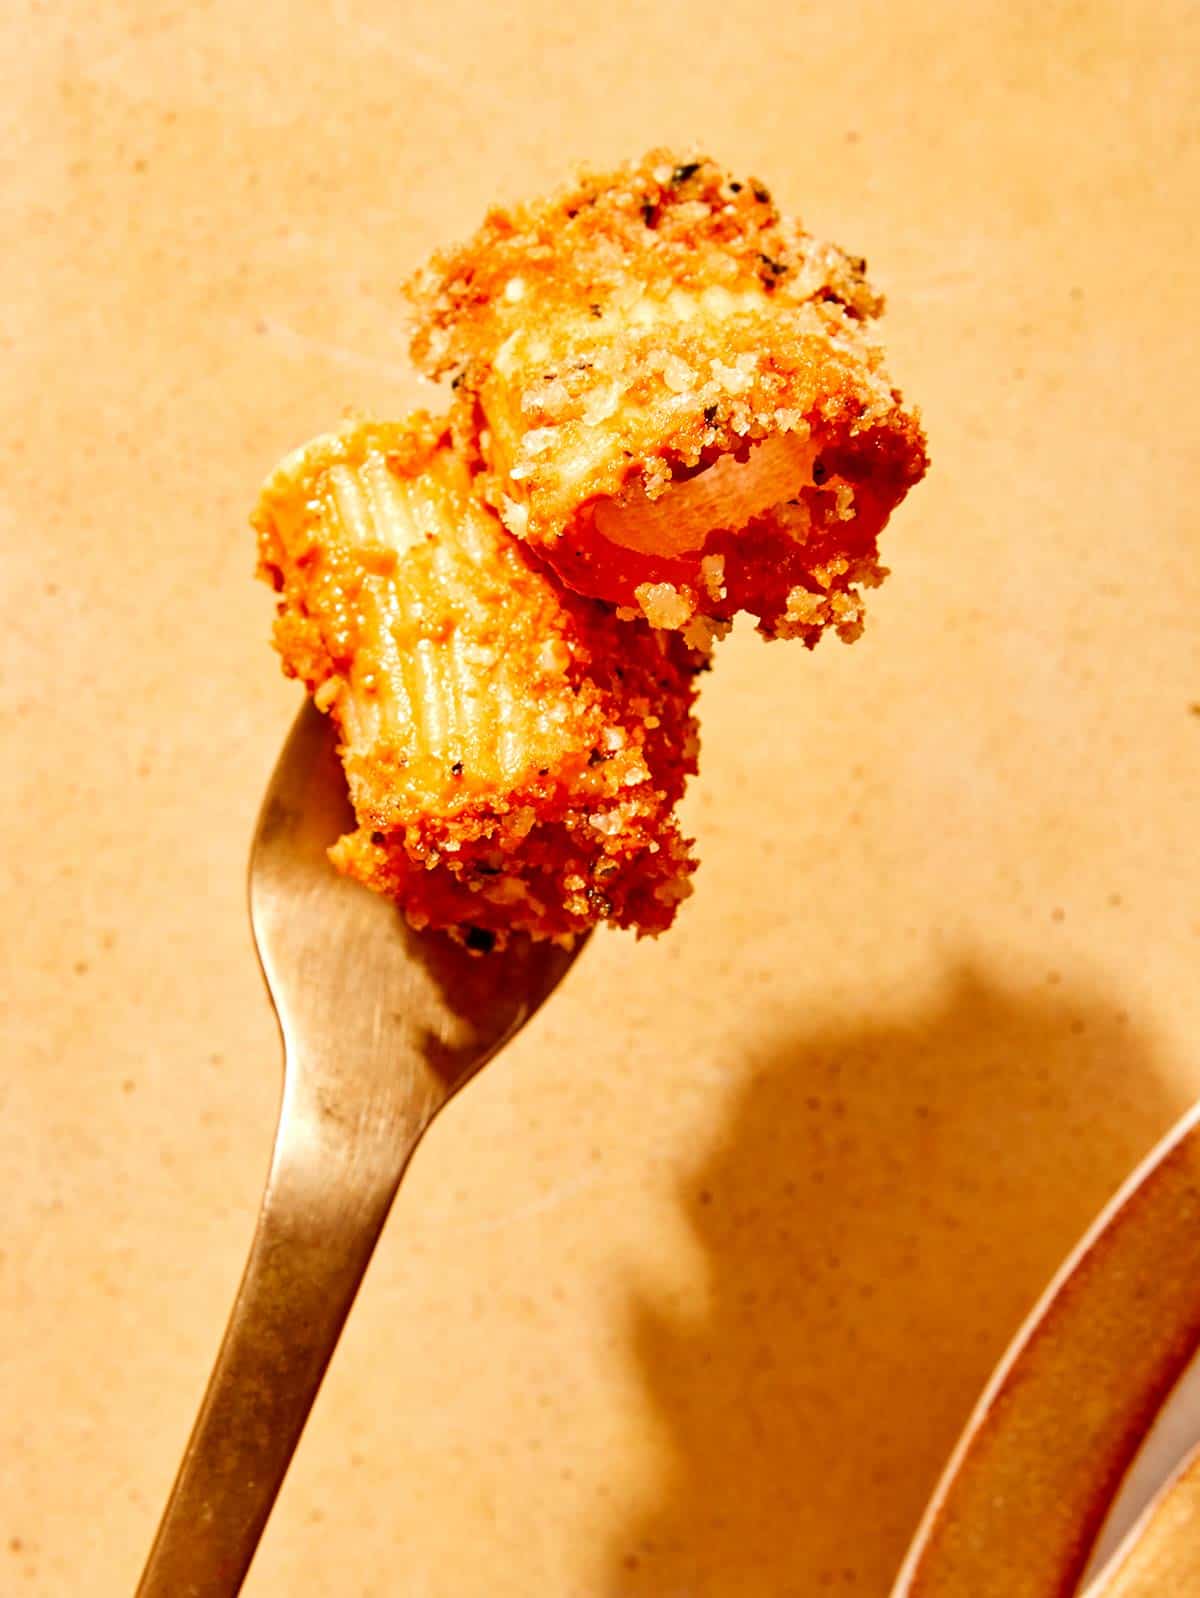
The key to any delicious pasta meal is the sauce, and this romesco sauce is soon to be your favorite – right up there with our homemade vodka sauce and bolognese sauce. Our creamy romesco sauce is made from blended roasted red peppers, almonds, tomato paste, and herbs, creating a rich and flavorful dish that’s only made better by the buttery parmesan herb breadcrumbs sprinkled on top! This entire recipe takes less than 30 minutes…
The post Romesco Sauce with Rigatoni appeared first on Spoon Fork Bacon.

The key to any delicious pasta meal is the sauce, and this romesco sauce is soon to be your favorite – right up there with our homemade vodka sauce and bolognese sauce. Our creamy romesco sauce is made from blended roasted red peppers, almonds, tomato paste, and herbs, creating a rich and flavorful dish that’s only made better by the buttery parmesan herb breadcrumbs sprinkled on top!
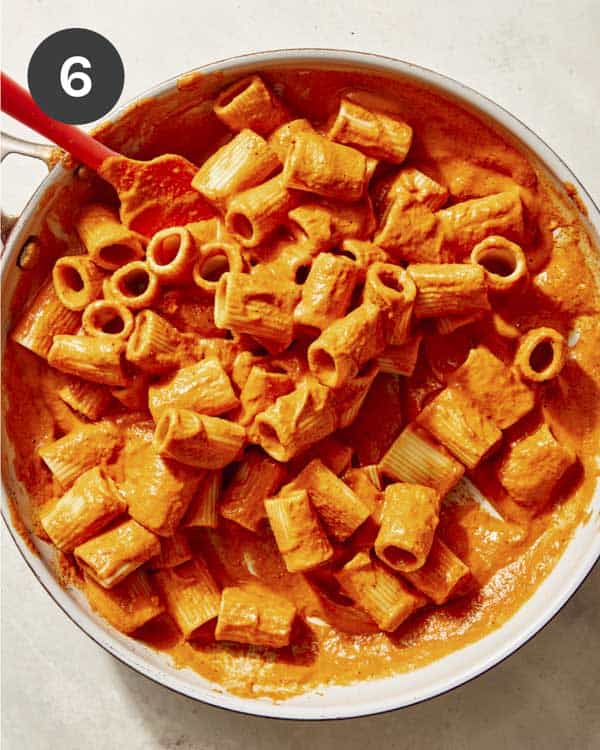
This entire recipe takes less than 30 minutes and is easily customizable to add protein and vegetables or be eaten just as it is. It’s the perfect weeknight meal and can even be made days or months ahead to enjoy anytime the craving strikes (and we know it will!).
While it’s a perfect pairing for pasta, romesco sauce can be used for so much more. Originally from the Catalonia region of Spain, romesco sauce is a blend of roasted red peppers, tomatoes, garlic, and almonds, with a little wiggle room for bonus ingredients like lemon, parsley, basil, or other spices and seasonings to make it your own.
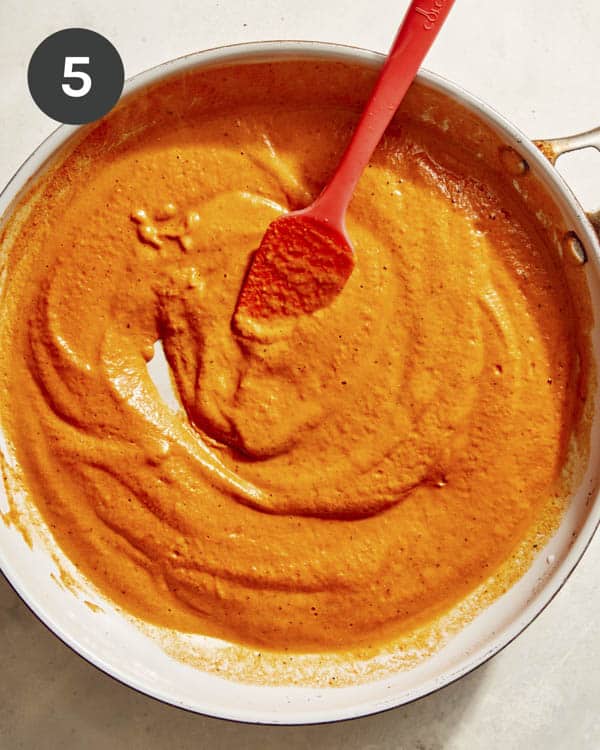
When blended, the ingredients create a vibrant, rich, and slightly smoky sauce – almost like a cross between pesto and salsa. While it was traditionally served with fish, we love it tossed with pasta or dipped, spread, and drizzled over just about everything else!


While it’s mouthwatering on pasta, there are many more romesco sauce uses you need to try!
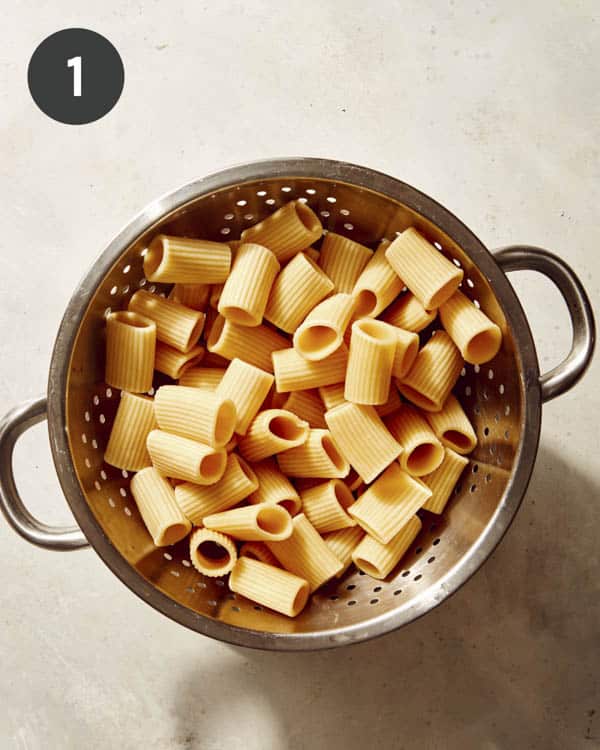
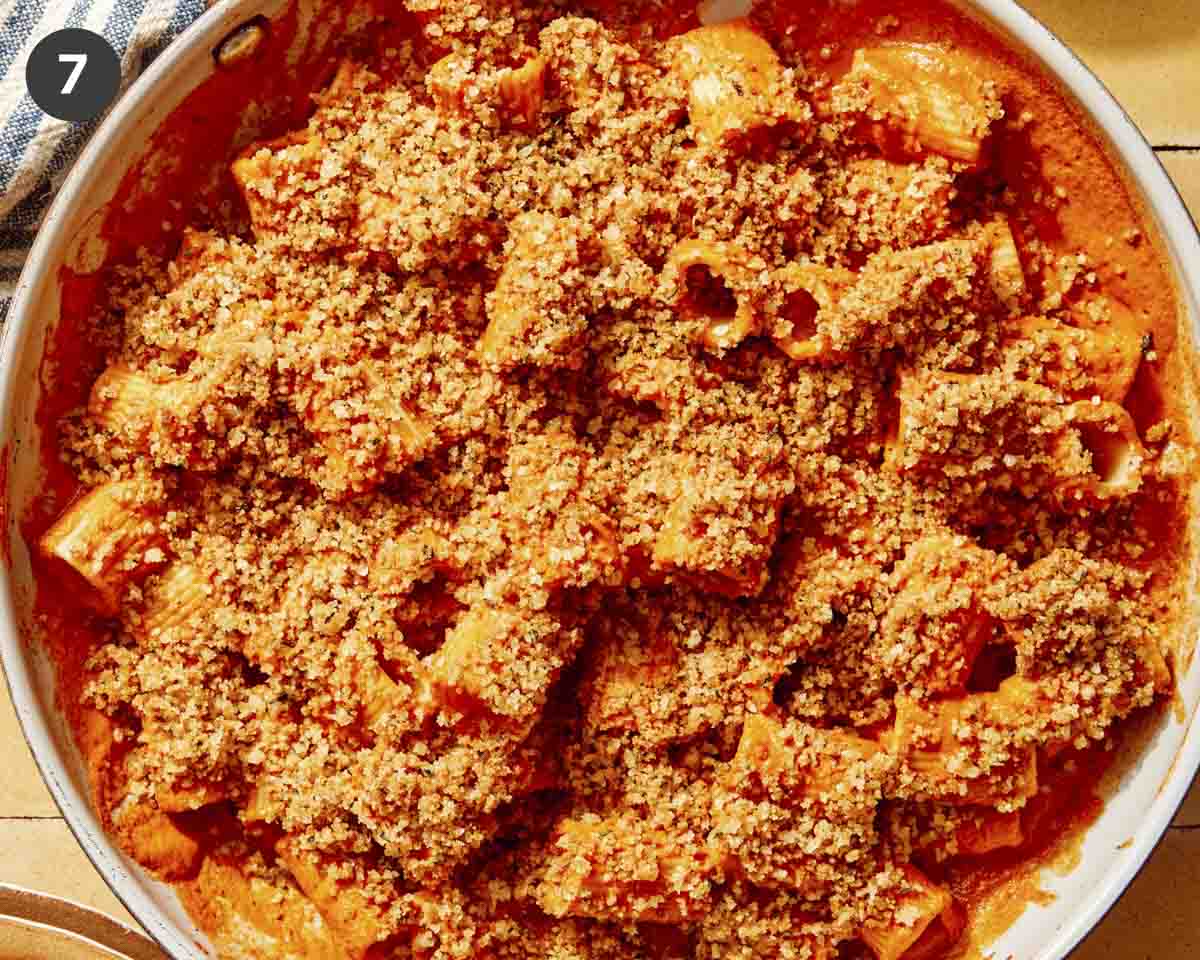
To make this meal even easier, you can make the romesco sauce ahead of time, so all you have to do the night of is boil your pasta and quickly make your breadcrumbs.
In our opinion, romesco sauce that’s sat in the refrigerator for a day or two is even better than fresh sauce, as the flavors become richer and they have time to meld together. Just make the recipe for the sauce as directed, let it cool, and store it in an airtight container in the refrigerator for up to 5 days.
To make the pasta ahead, boil it until slightly al dente, drain, toss with a little olive oil, then let it cool completely. Store it in the refrigerator for up to 2-3 days.
Romesco sauce is perfect for freezing as the texture and flavor stay the same. This makes it a great sauce to prepare in double or triple batches, freezing the rest for later! Portion the sauce into freezer bags, lay them flat, and freeze for up to 3 months.
You can also freeze the entire pasta dish (minus the breadcrumb mixture) to reheat and enjoy at a later date. Make the sauce and the pasta and combine as directed. Once cooled, store in an airtight container in the freezer for up to three months. Do not freeze with the breadcrumb topping, as this will become soggy as they thaw.
We love this recipe as is, but here are some easy ways you can change up the dish to make it your own!
To make this into a complete meal, serve your rigatoni with romesco sauce alongside:

The post Romesco Sauce with Rigatoni appeared first on Spoon Fork Bacon.
Here’s a collection of our most popular Mexican recipes! Whether you are looking for Cinco de Mayo recipes, easy vegetarian meals, tasty Mexican appetizers, authentic Mexican classics, or fresh and tasty side dishes, you’ll find inspiration here.

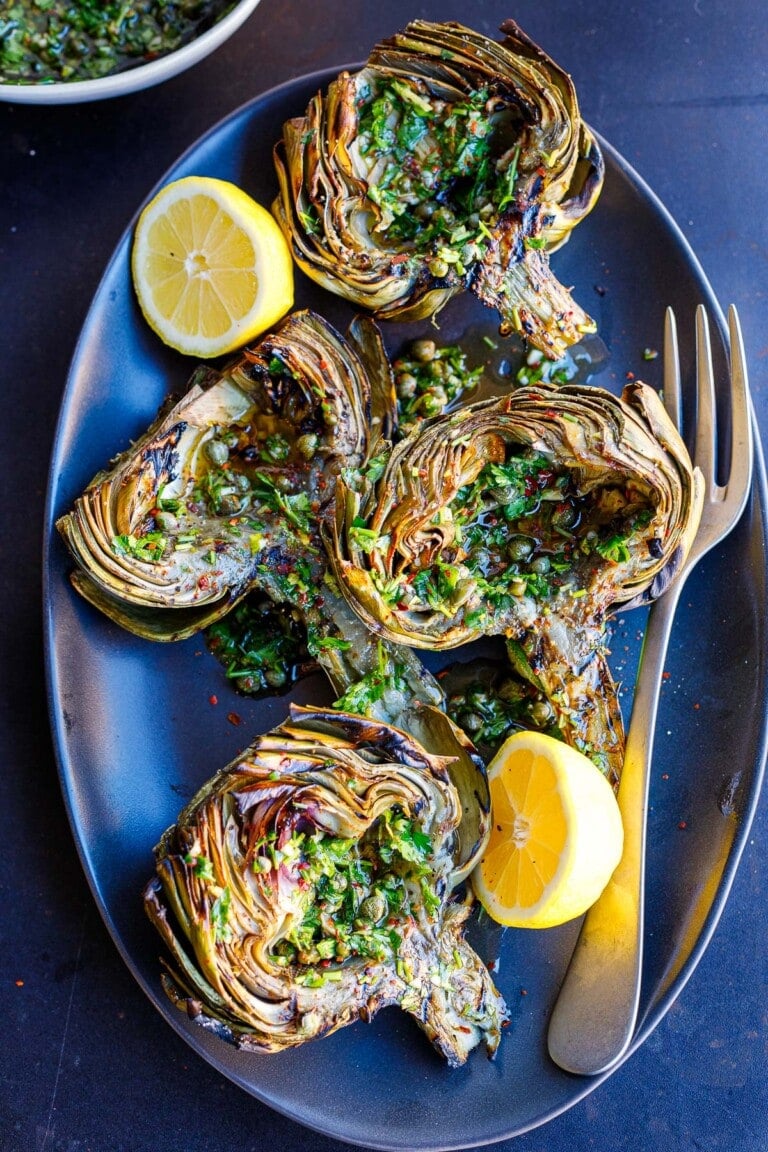
Grilled artichokes are deliciously tender and smoky. Skip the butter and aioli and serve them up with our punchy Italian Salsa Verde. A tasty vegan appetizer or side dish that presents beautifully!
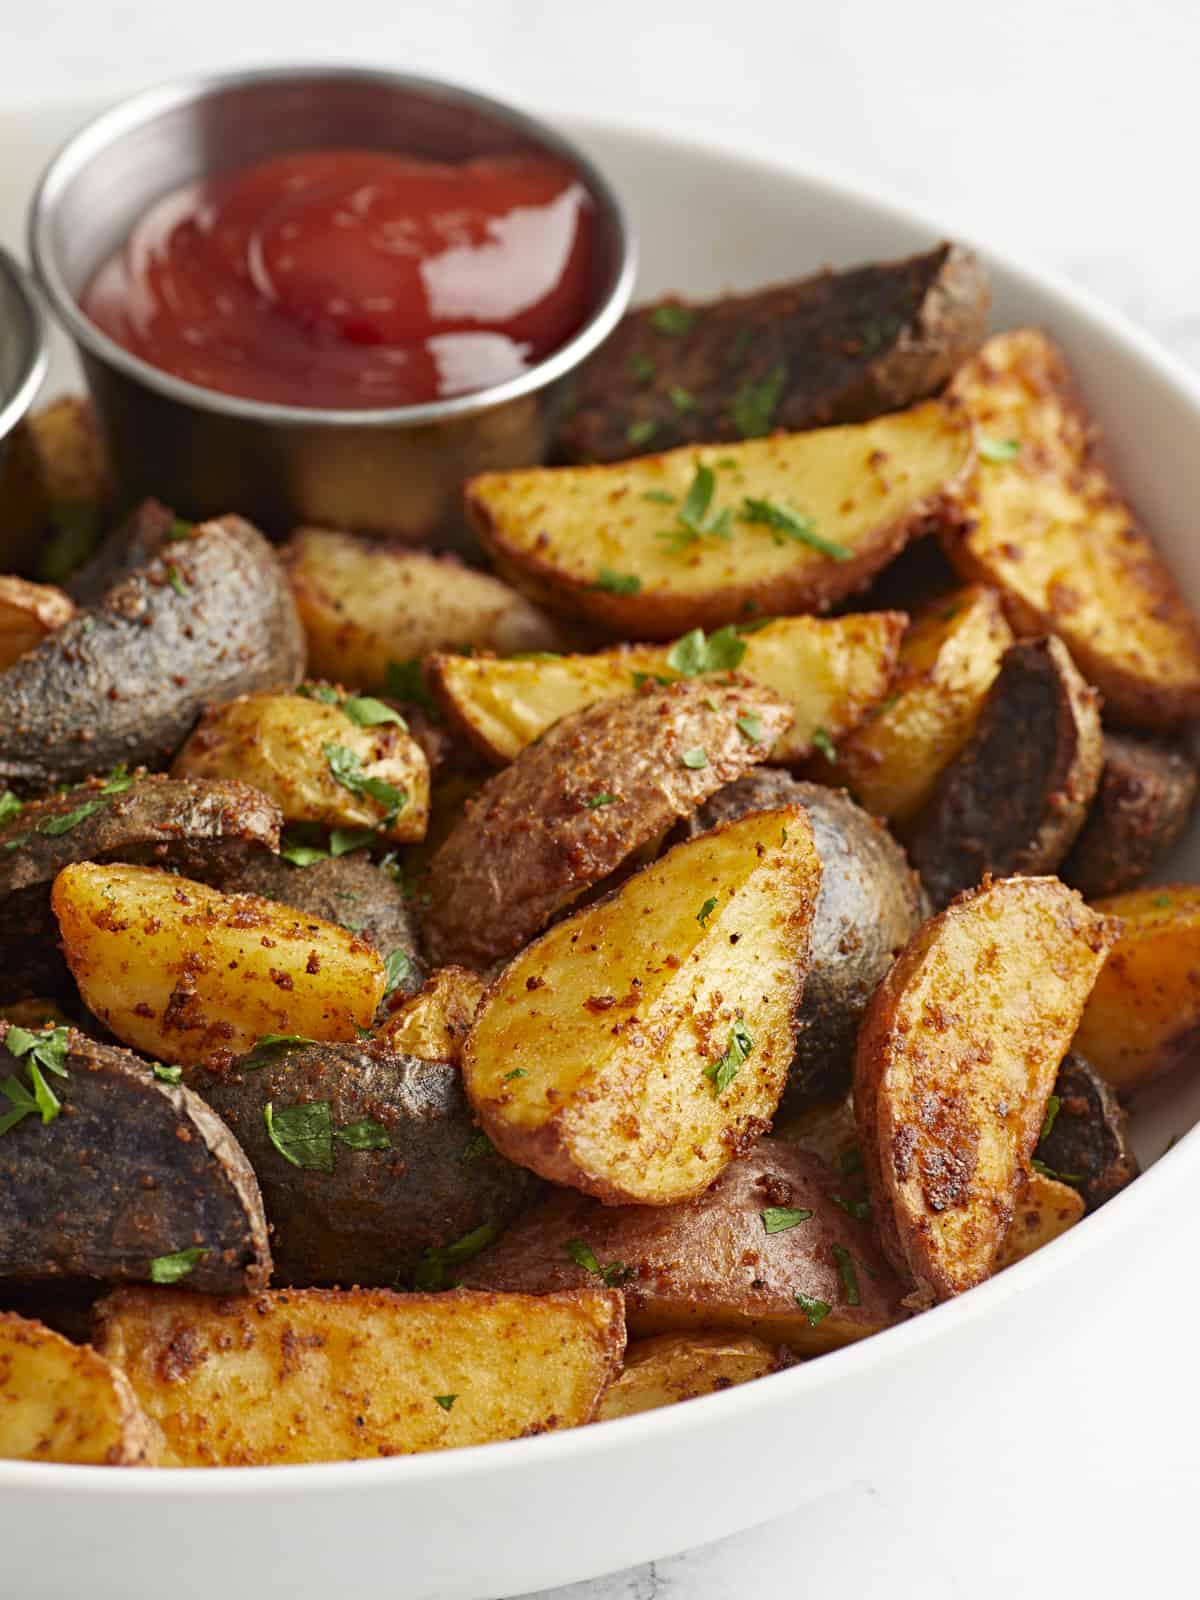
Air fryer potatoes are soft on the inside, crispy on the outside, and made for dipping. They’re the perfect side for any meal!
The post Air Fryer Potatoes appeared first on Budget Bytes.
Potatoes, or “spuds” as my Irish brother-in-law affectionately calls them, are truly a favorite for just about everyone. Potatoes can be cooked 1,000 ways and they always steal the show! These air fryer potatoes are proof of that. Soft on the inside and crispy on the outside, they’re like mini baked potatoes. They are seriously delicious dipped in ketchup, mayo, or Comeback Sauce. This air fryer potato recipe is great to use with whatever potatoes you have on hand, making it the perfect recipe for fridge clean out day.
Listen, we love roasted potatoes. They’re simple and delicious. But sometimes you need potatoes right now, and roasting just isn’t quick enough. Using an air fryer, these potatoes are roasted to perfection in less than half the time. So, the next time you have a potato emergency, this air fryer potato recipe is here for you. You can thank us later!
Here’s what you’ll need to make air fryer potatoes:
We did not do this, but cutting and soaking potatoes in cold water releases some of the starches and can make the potatoes crispier! Our potatoes were more like tiny bites of the perfect baked potato!
We love the seasoning mix listed in the recipe below, but the sky is the limit! Here are some other ways you can season your air fryer potatoes:
These air fryer potatoes are a great side dish for breakfast, lunch, or dinner. They go great with dishes like Breakfast Frittatas, Air Fryer Bacon, Homemade Meatloaf, or Baked Chicken Drumsticks.
Or, if you want to just add some dip and serve them as a snack, try dipping them in Comeback Sauce, Lemon Dill Tahini Dressing, Chimichurri Sauce, or Homemade Ranch Dressing.

See how we calculate recipe costs here.
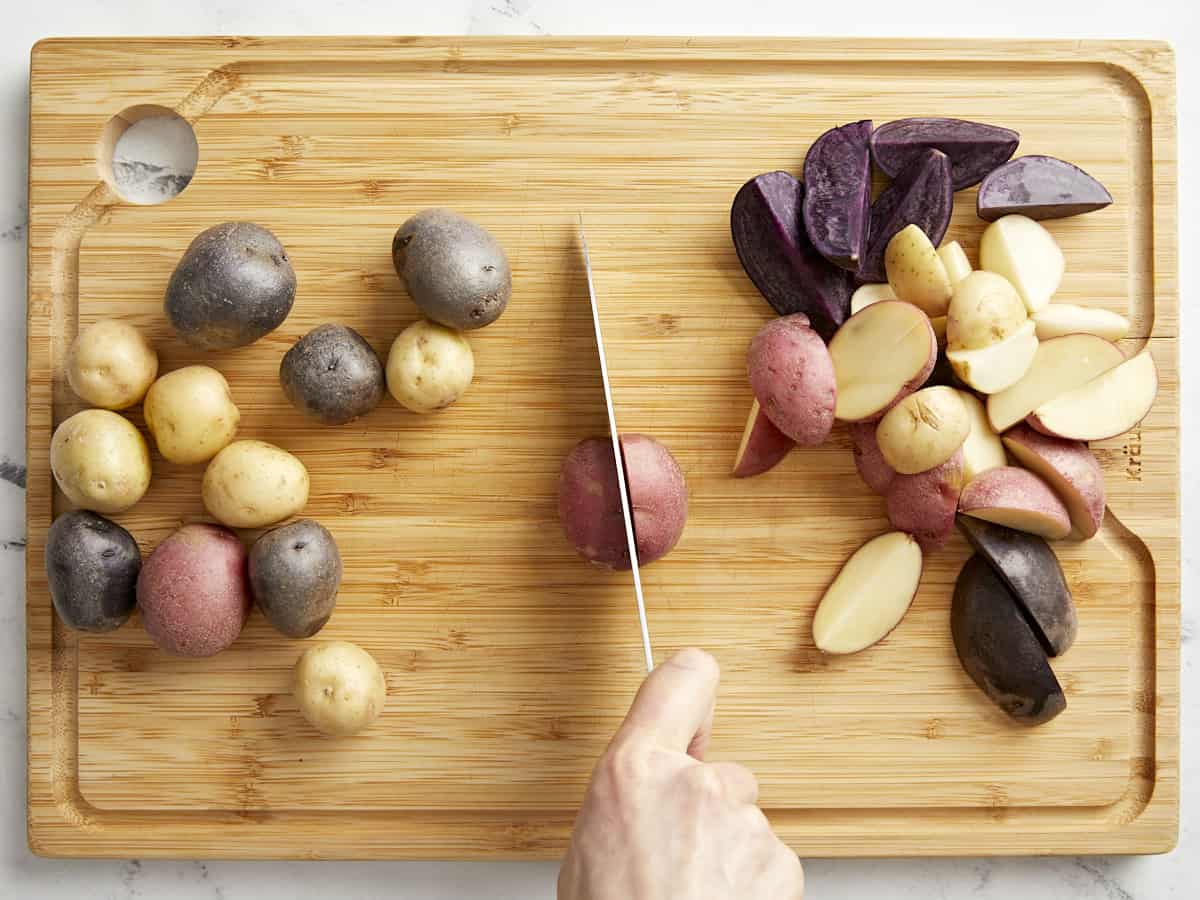
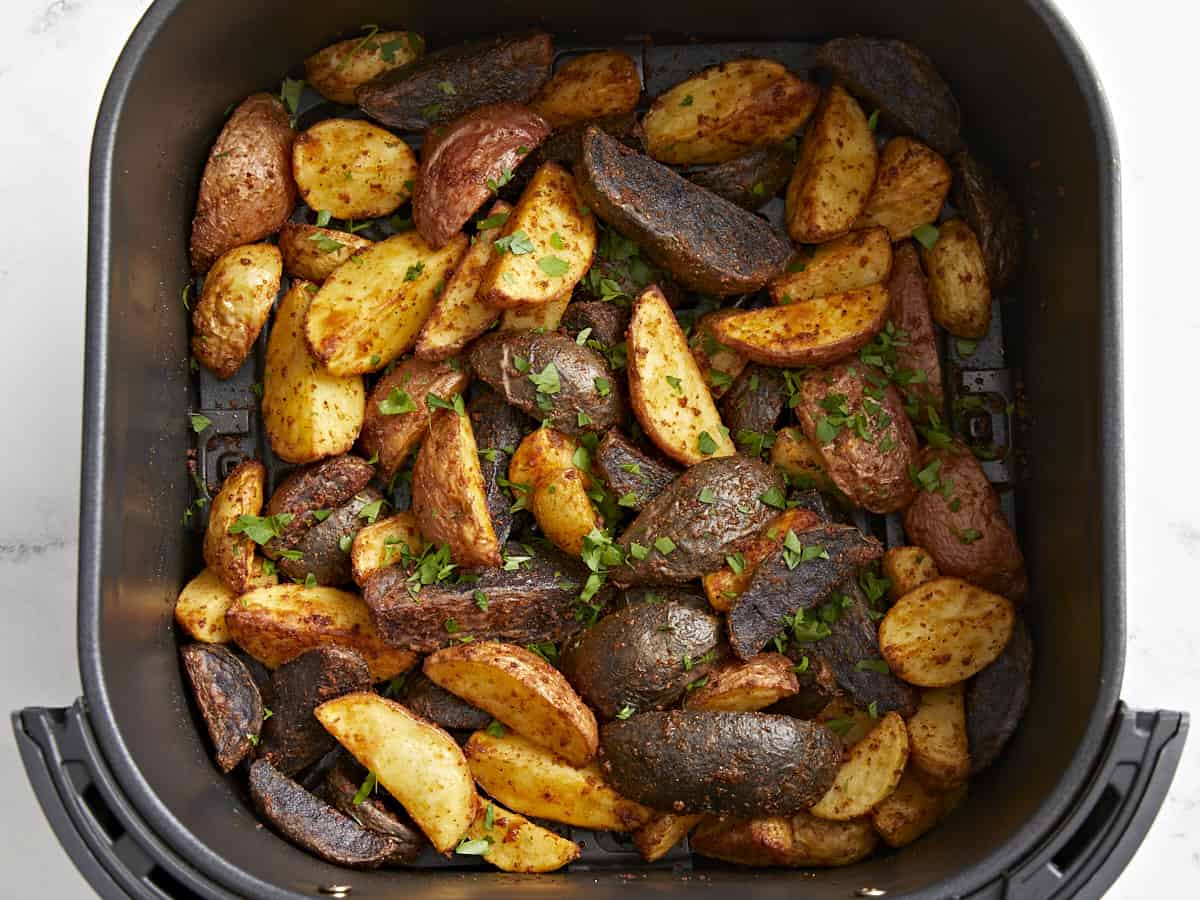
Preheat the air fryer to 400°F for 4 minutes. Quarter 1 lb. of baby potatoes.
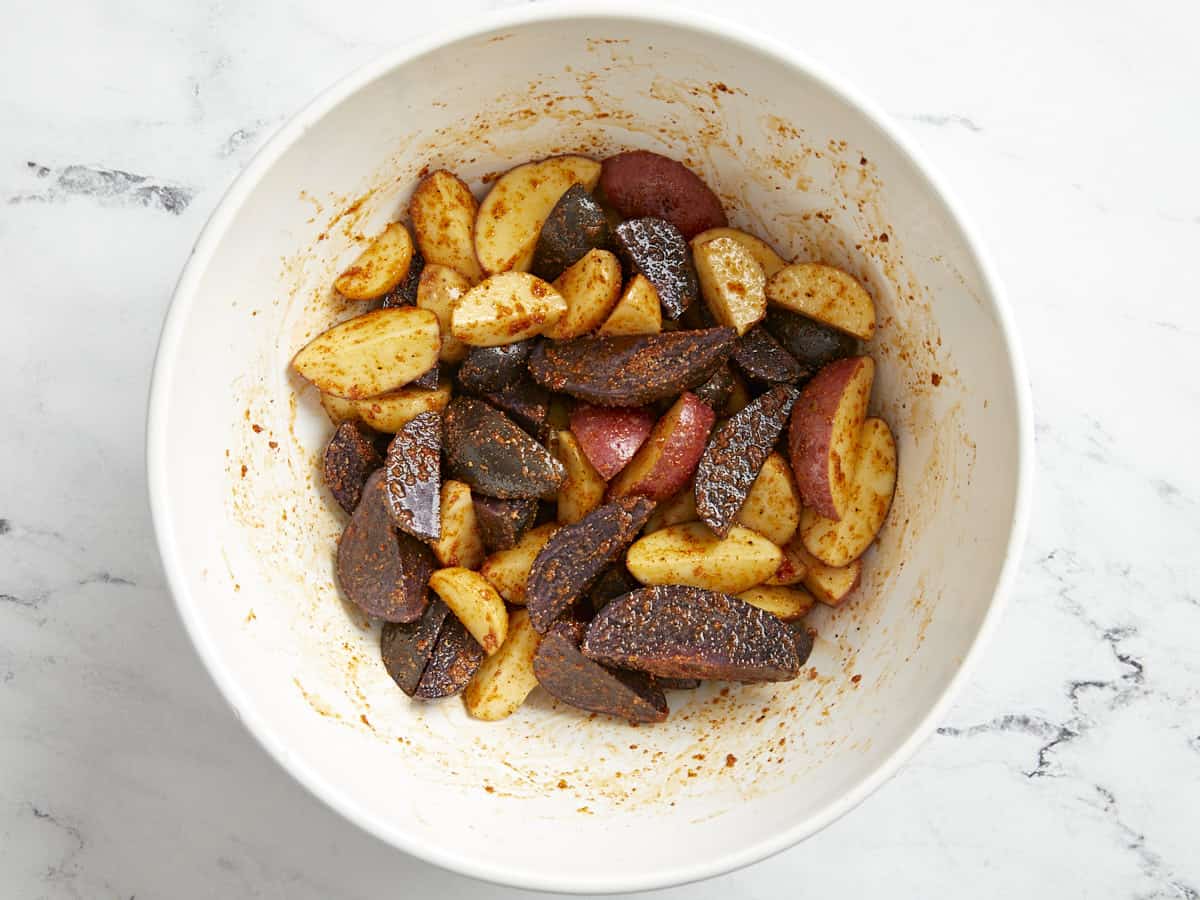
Add the potatoes to a large bowl. Toss the quartered baby potatoes with 1/2 Tbsp olive oil, 1/2 tsp garlic powder, 1/2 tsp smoked paprika, 1/2 tsp onion powder, and a pinch of salt and pepper.
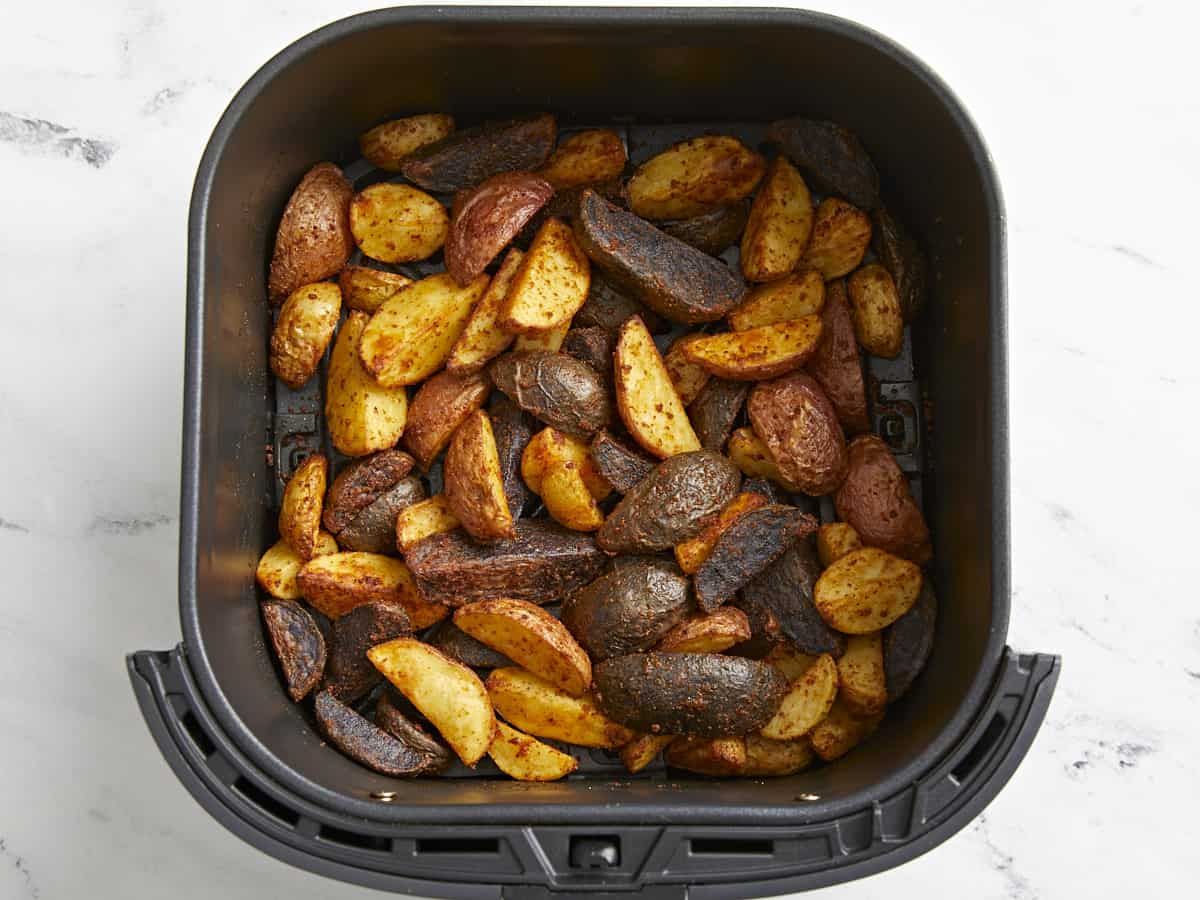
Cook for 15 minutes in the air fryer, until golden brown with crispy edges, stopping halfway through to shake. Garnish with 1 tsp minced fresh parsley and additional salt and pepper, if needed.
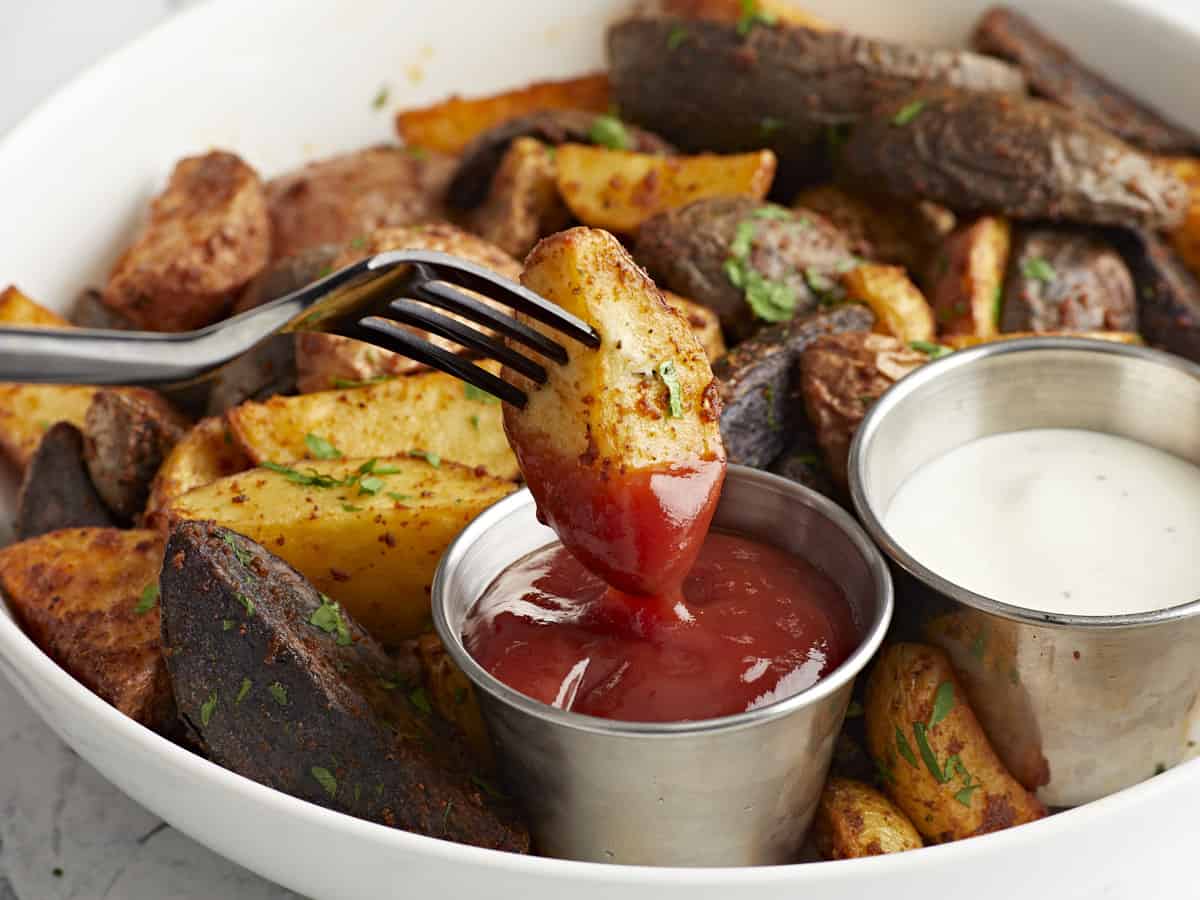
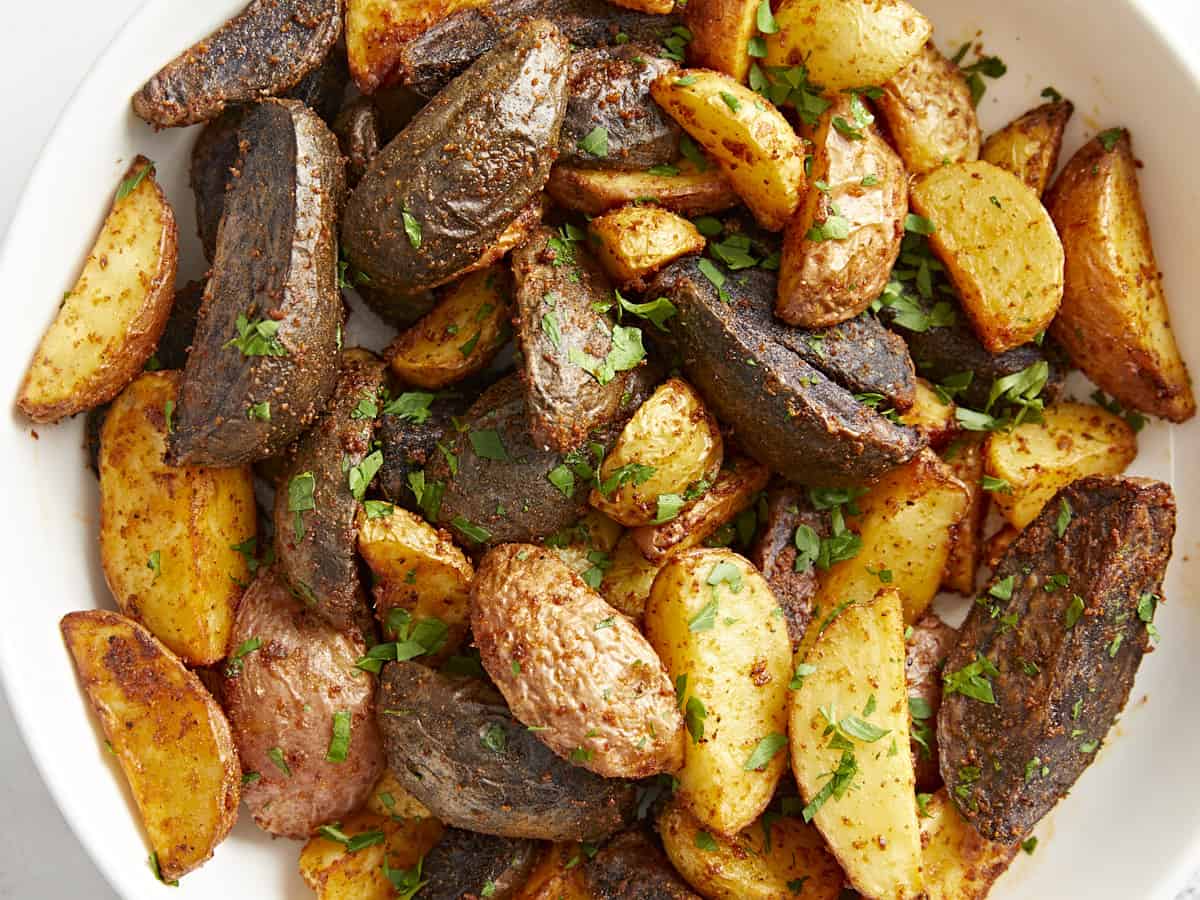
These air fryer potatoes are the ultimate crispy side dish!
The post Air Fryer Potatoes appeared first on Budget Bytes.
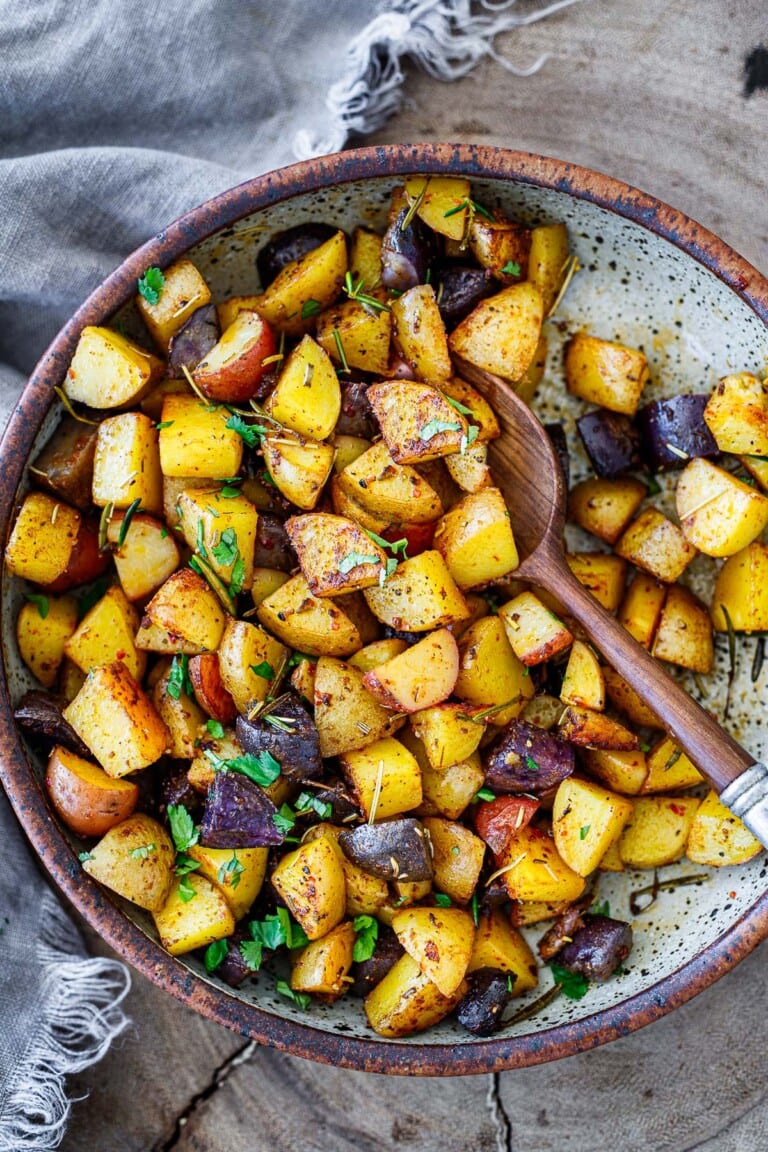
These easy breakfast potatoes require only 10 minutes of hands-on time before roasting in the oven. With a crispy exterior and a creamy interior, they are delicious for brunch or any time of day!
This versatile Cauliflower Shawarma recipe is easy to make and full of spicy flavor. Perfect for bowls or tucked into pita with zhoug and tahini sauce. Vegan & gluten-free.