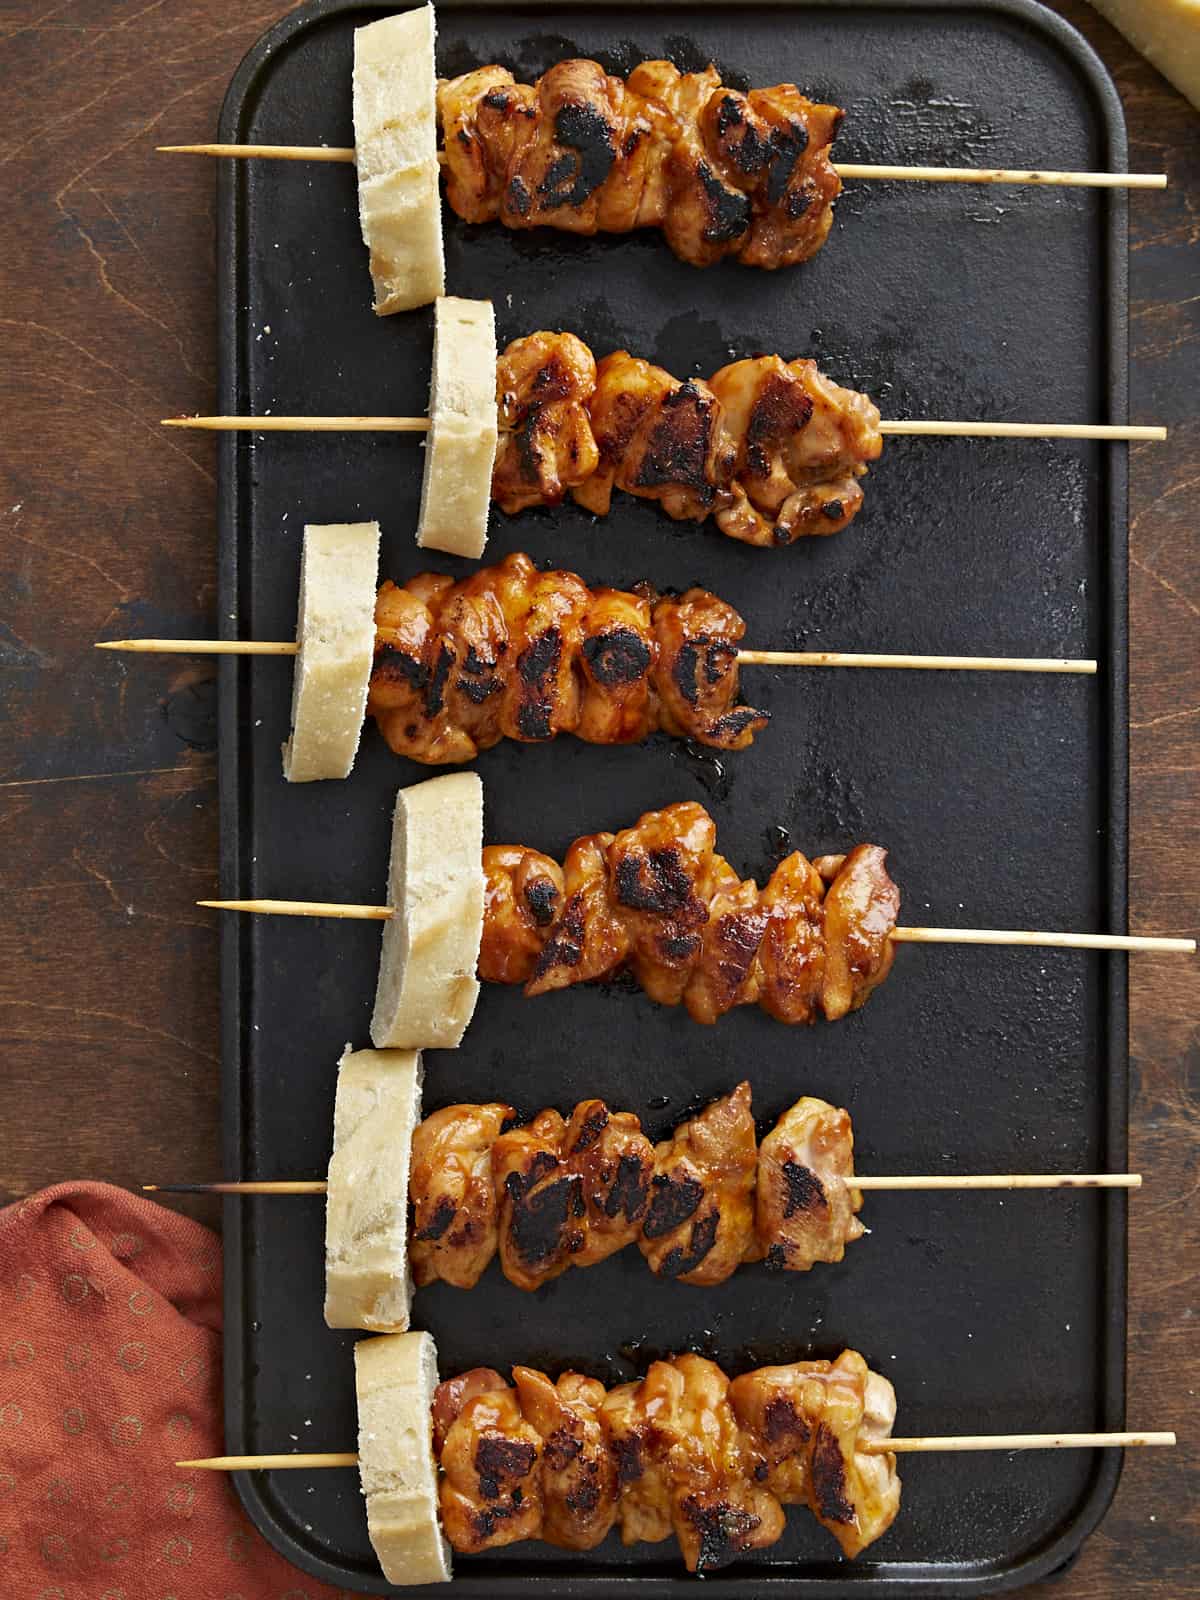
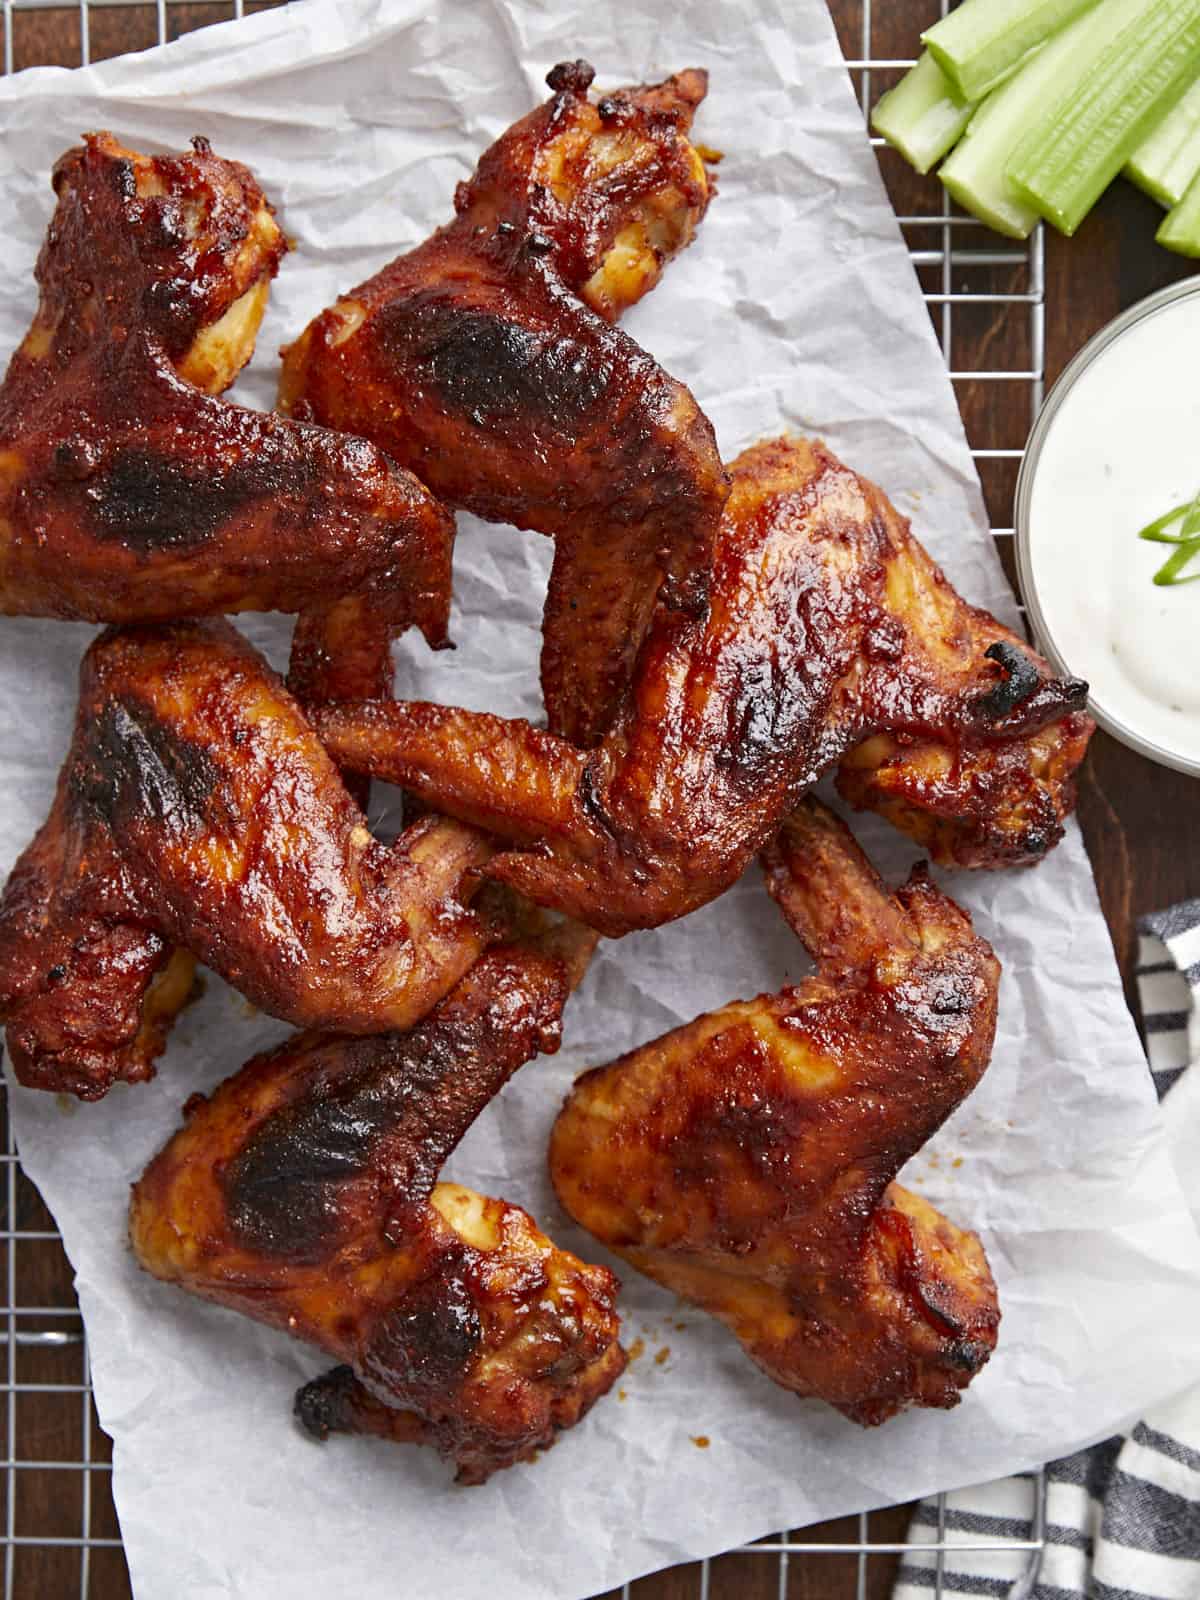
These oven-baked BBQ Wings are so tangy and delicious, they had everyone in the studio licking their fingers and reaching for seconds! If you’ve never made BBQ Chicken Wings in the oven, it’s ridiculously simple to do and super-economical. This recipe for BBQ Wings is an excellent choice for a casual weeknight meal and because it’s easy to double or triple, it’s even more fabulous for a party! (I mean, is it even a party without chicken wings?)
What Are BBQ Wings?
If you’ve never had BBQ Chicken Wings, get ready for a treat! In this recipe, chicken wings are seasoned in several spices, coated in BBQ Sauce, and cooked in an oven until the sauce caramelizes. By the end of baking, the sauce’s flavors are concentrated and the crispy skin is lightly sticky to the touch, so you have to lick your fingers clean! (Which some people think is rude, but I consider the highest of praise.)
Ingredients For BBQ Chicken Wings
These wings are fairly simple to make and the results will knock your socks off. (You should probably just make a double batch.) Here’s what you’ll need for my recipe for BBQ Wings:
- Chicken Wings: this recipe works with whole wings, flats, drumsticks, or boneless wings. We’re doing a seasoning and sauce ratio by pound of meat, so it’s easy to scale up or down.
- Seasonings: I’ve created a blend for 2 pounds of wings that includes garlic powder, smoked paprika, onion powder, and black pepper. If you want to double the recipe, just multiply by two. If you want to use your favorite spice rub instead of making your own, use a heaping teaspoon per pound of chicken.
- Baking Powder and Salt: Moisture is the enemy of crispy wings, and both of these ingredients draw out moisture. The salt deeply flavors your chicken while the baking powder breaks down the proteins in the skin, which results in the kind of crunch everyone can hear.
- Cornstarch: absorbs water, the killer of crunch. As you cook the wings and moisture is pushed out, the cornstarch gobbles it up helping to create a super-crispy finish.
- BBQ Sauce: We’ve got a great recipe for Homemade BBQ Sauce (Have you tried it? It’s amazeballs!) but feel free to use your favorite store-bought sauces. As the wings cook, the sauce reduces and becomes a shiny glaze that’s packed with deep flavor.
What To Serve With BBQ Chicken Wings
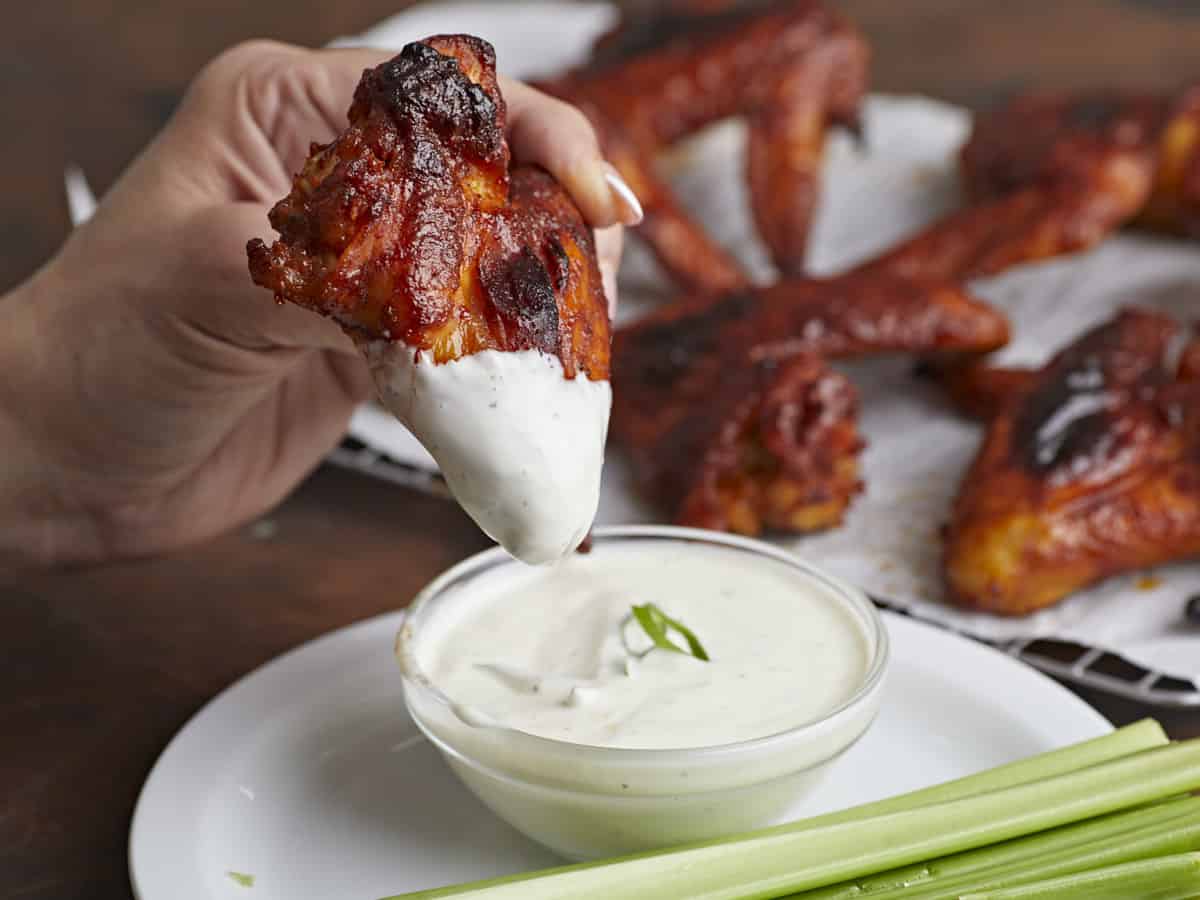
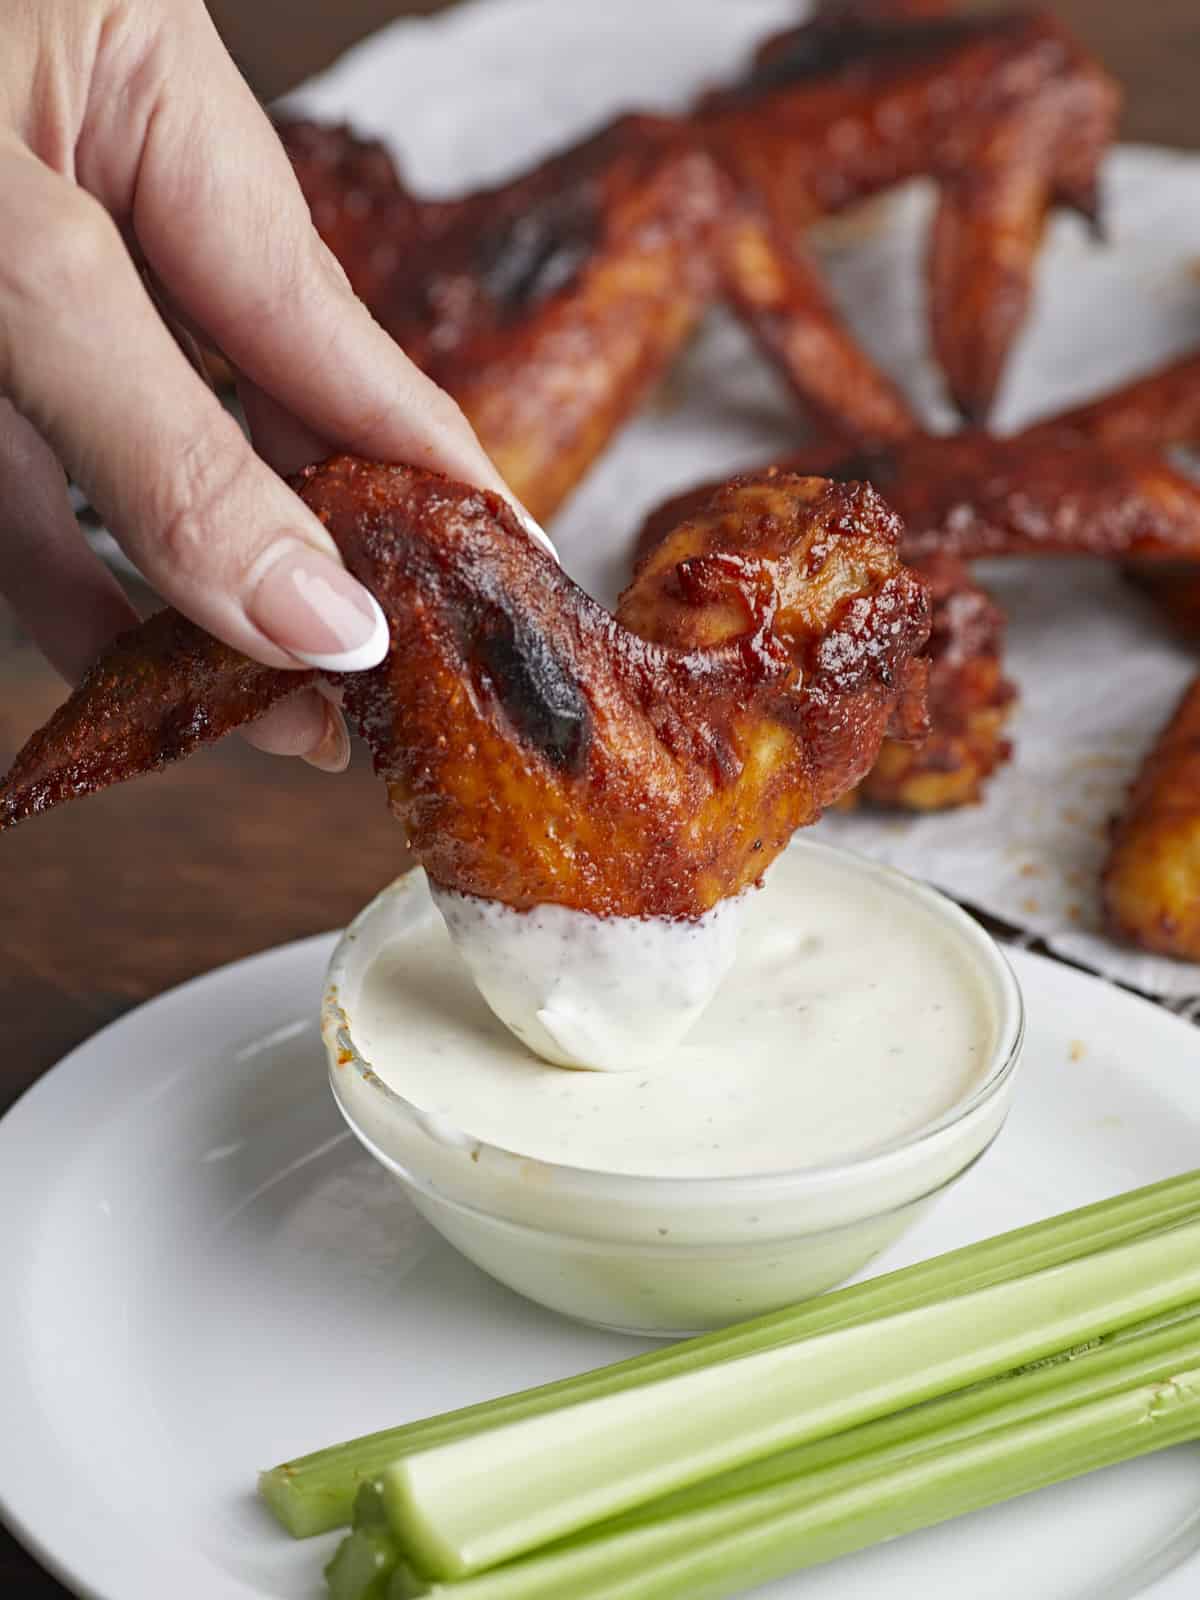
BBQ Chicken Wings are a whole vibe! Of course, they pair perfectly with Homemade Mac and Cheese, Easy Creamy Cole Slaw, or Microwave Corn On The Cob. But also try serving them with dishes that aren’t traditional, like Tostones (Fried Green Plantain), Ensalada de Aguacate (Avocado Salad), or Yuca En Escabeche (Pickled Yuca). I prefer serving my wings hot, but you can def serve them cold. Just don’t skip serving them with sauces! My favorites are Ranch Dressing, Comeback Sauce, and Honey Mustard.
How To Store BBQ Chicken Wings
Let the wings cool and then store them in an airtight container. You can keep them in the fridge for up to three days or in the freezer for up to 3 months. To reheat, thaw frozen wings in the fridge overnight, preheat your oven to 350°F, and bake uncovered on a rack until steaming.
BBQ Wings
Ingredients
- 2 lbs chicken wings $8.58
- 2 tsp salt $0.12
- 2 tsp baking powder $0.04
- 2 tsp cornstarch $0.02
- 1 tsp garlic powder $0.10
- 1 tsp smoked paprika $0.10
- 1/2 tsp onion powder $0.05
- 1/4 tsp black pepper $0.02
- 1/2 cup BBQ Sauce $0.58
Instructions
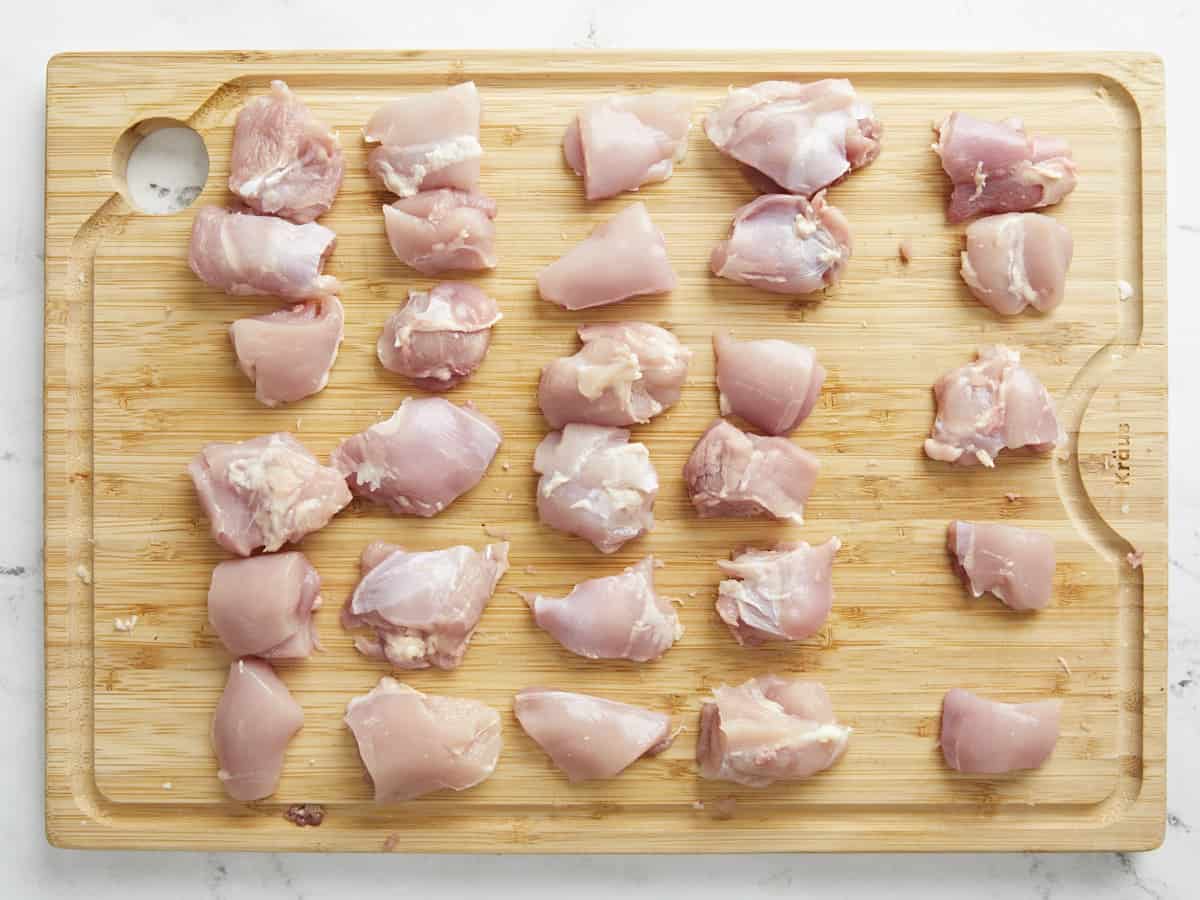
- Pat the chicken wings dry with a paper towel and place them in a large mixing bowl. Mix the salt and baking powder. Toss the dried chicken wings in this mixture until evenly coated.
- Line a sheet pan with parchment paper, then top it with a sheet pan rack. Place the wings on the sheet pan rack and refrigerate for at least an hour and up to 8 hours.
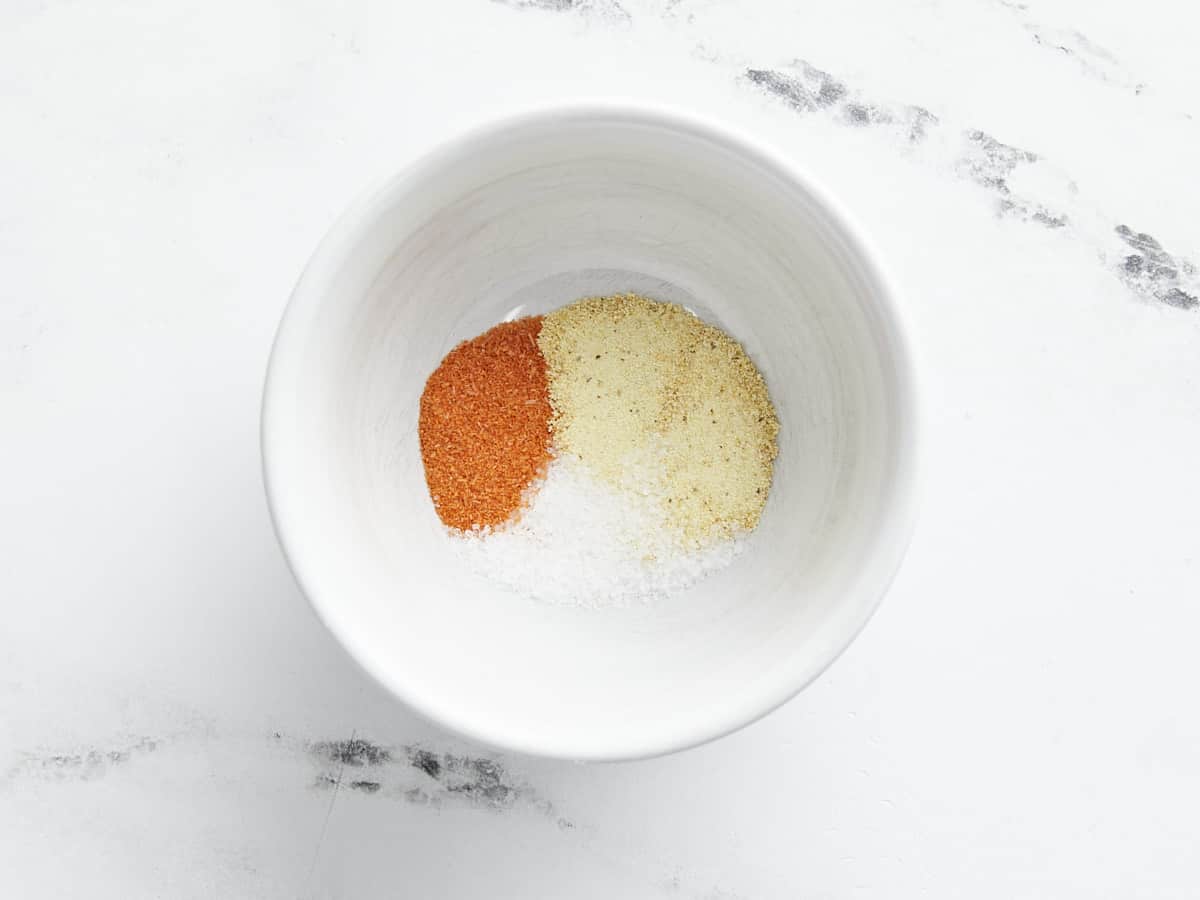
- Place an oven rack in the center of your oven and preheat the oven to 300°F. Remove the wings from the fridge and pat them dry a second time. Place them in a large mixing bowl. Mix the cornstarch, garlic powder, smoked paprika, onion powder, and black pepper. Toss the wings in this mixture.
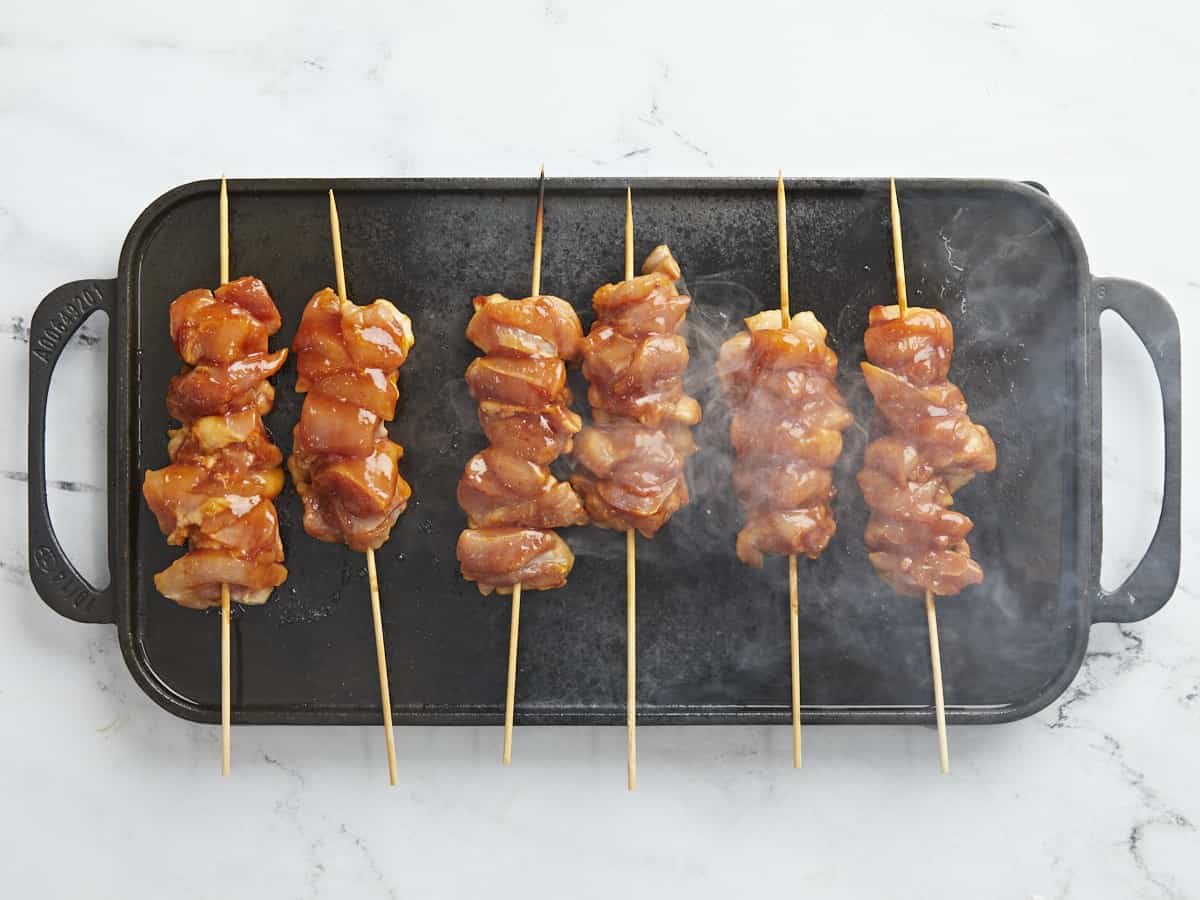
- Clean the sheet pan rack and set it over the sheet pan. Arrange the wings in a single layer, ensuring they aren't on top of each other so they cook evenly. Bake the wings for 12 minutes. Flip the wings over and bake for an additional 12 minutes. Remove the wings from the oven and raise the temperature to 450°F.
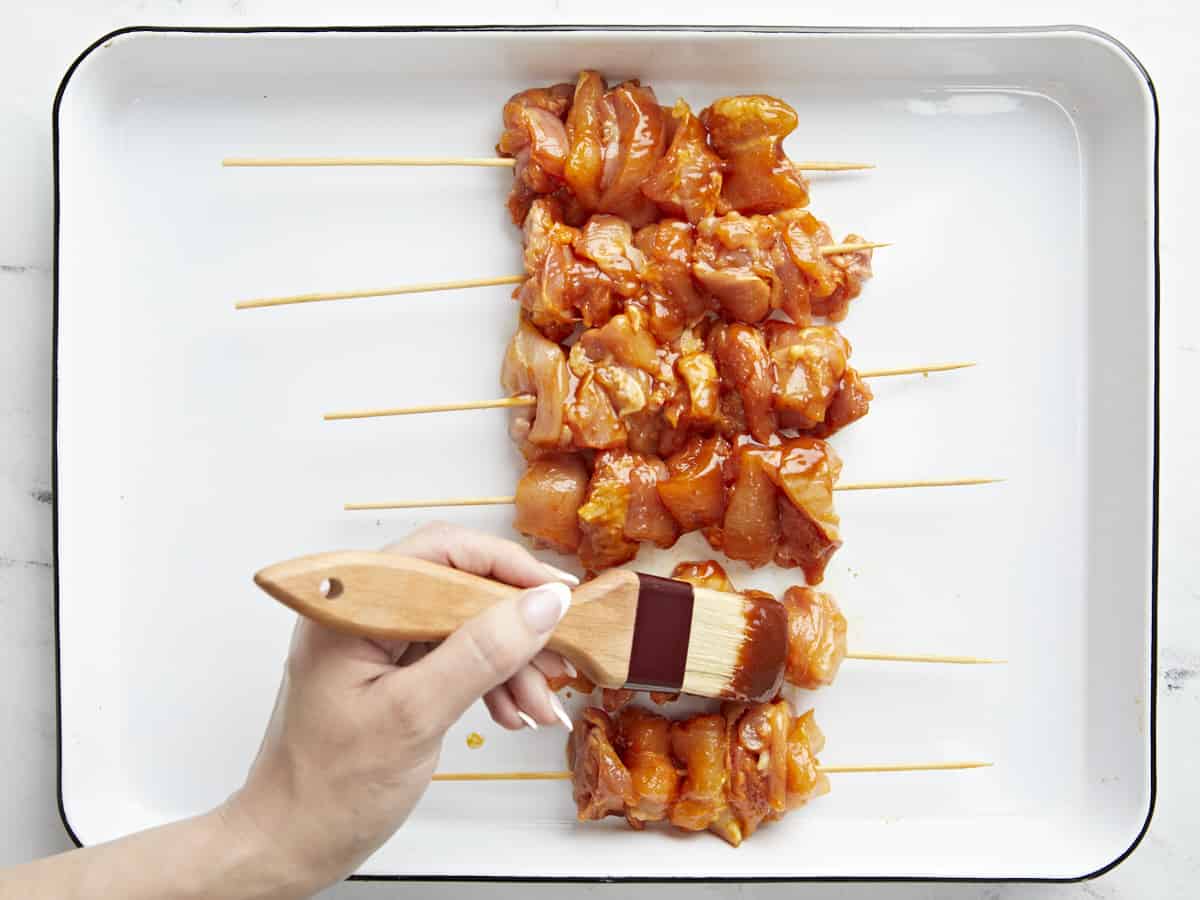
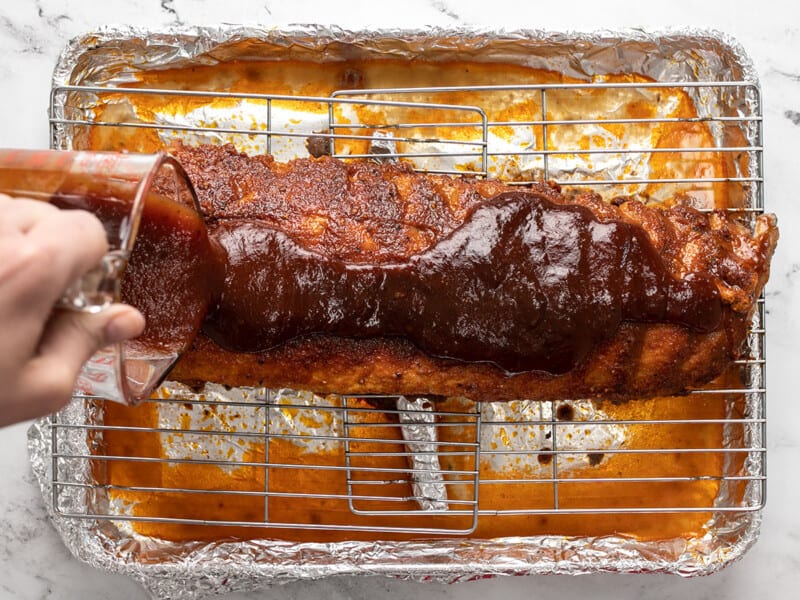
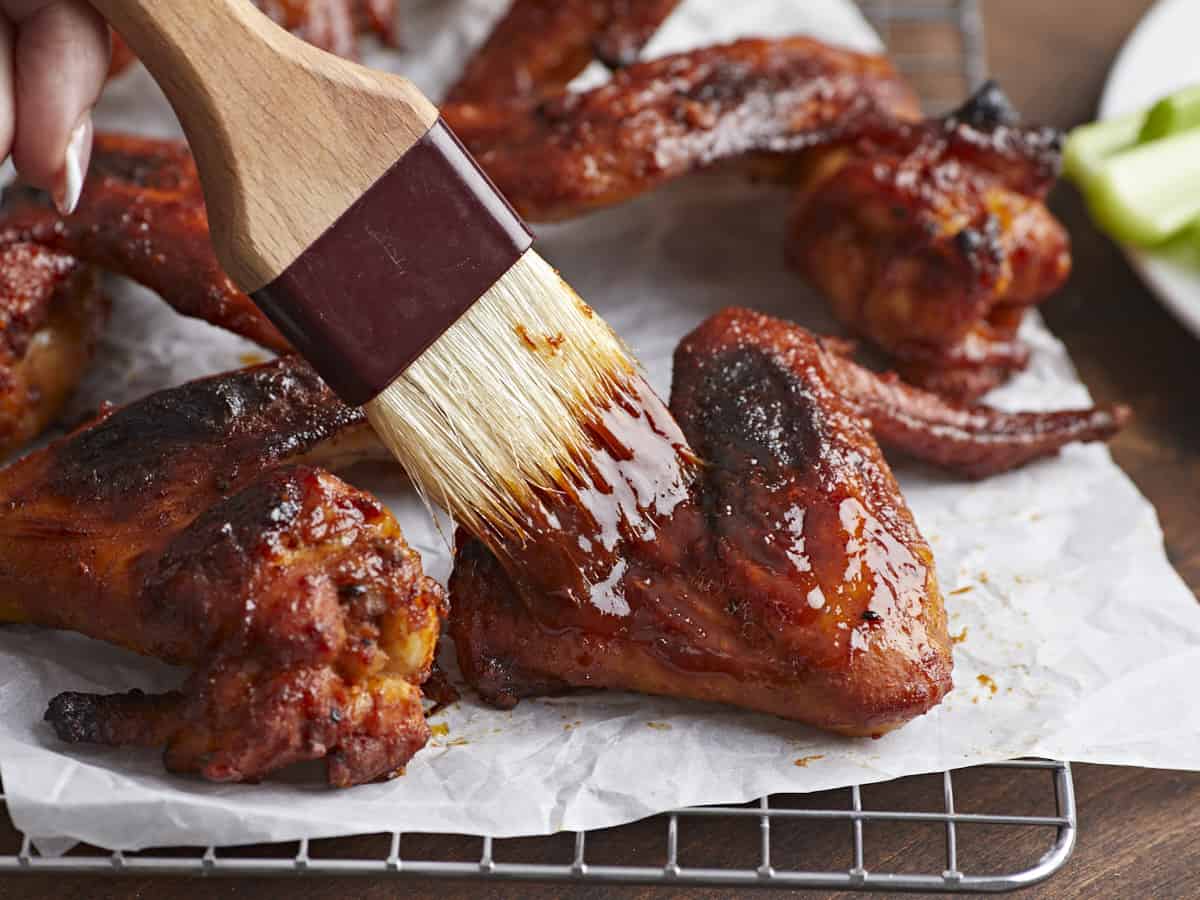
- Remove the wings from the sheet pan rack and clean the sheet pan rack. Add 1/4 cup of the BBQ Sauce to a large mixing bowl and toss half of the wings in it. Place the sauced wings on the clean sheet pan rack. Toss the remaining 1/4 cup sauce with the last of the wings and place on the rack.
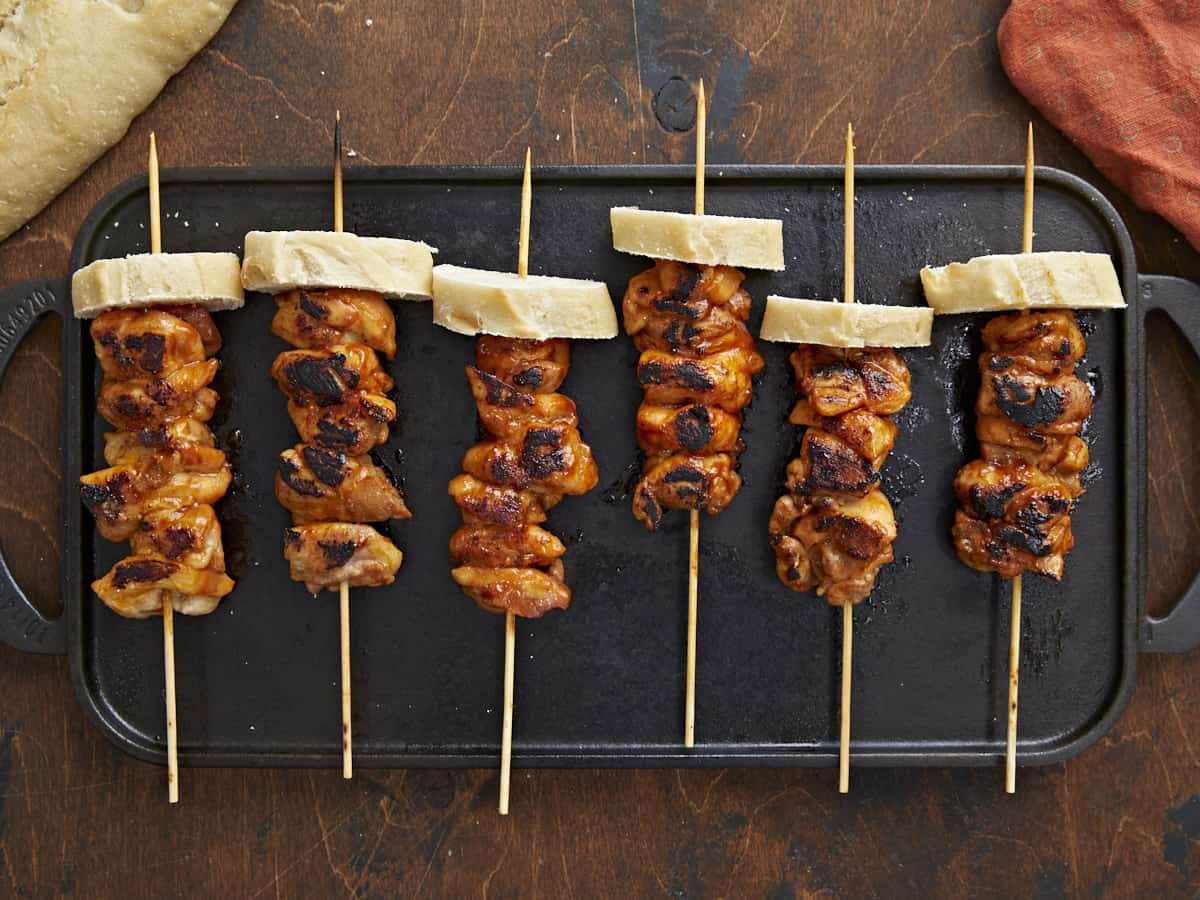
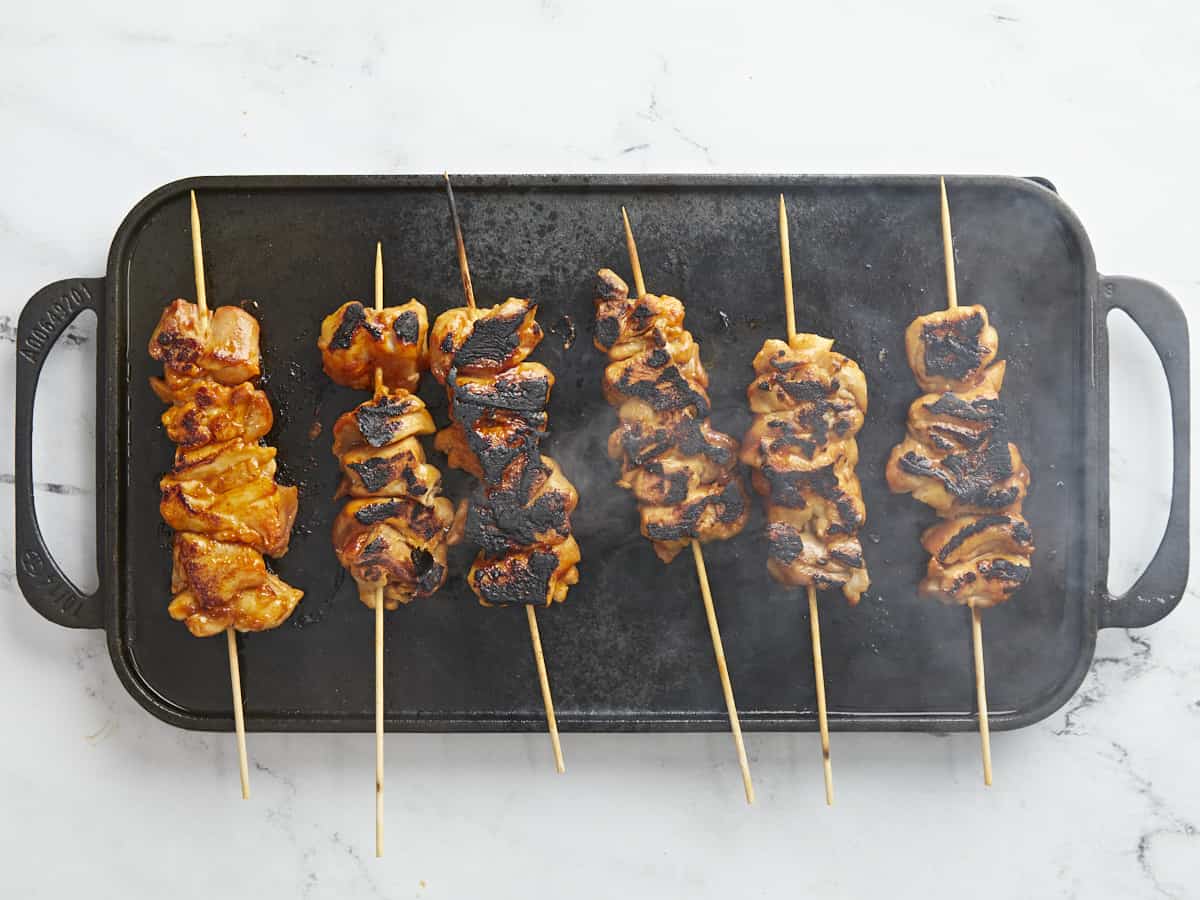
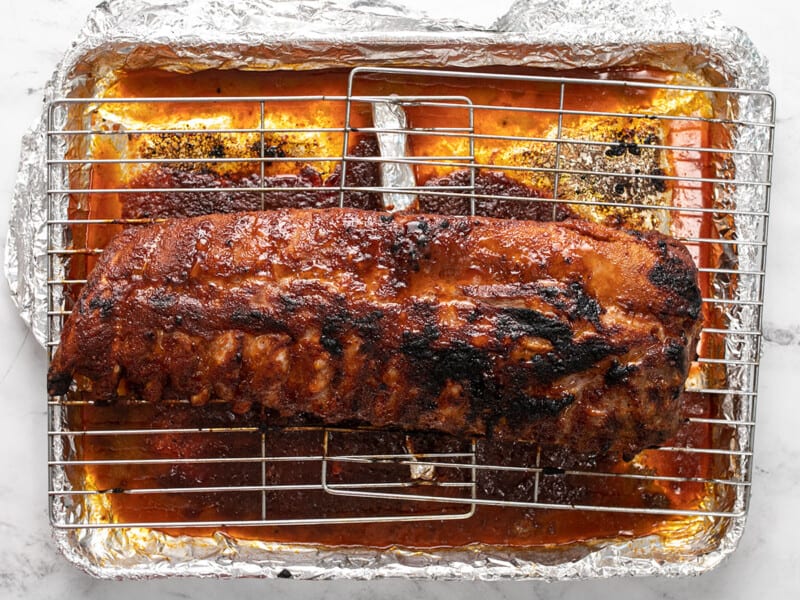
- Place the BBQ Wings in the 450°F oven for 10 to 12 minutes until the sauce has become glossy and dark, with char spots.
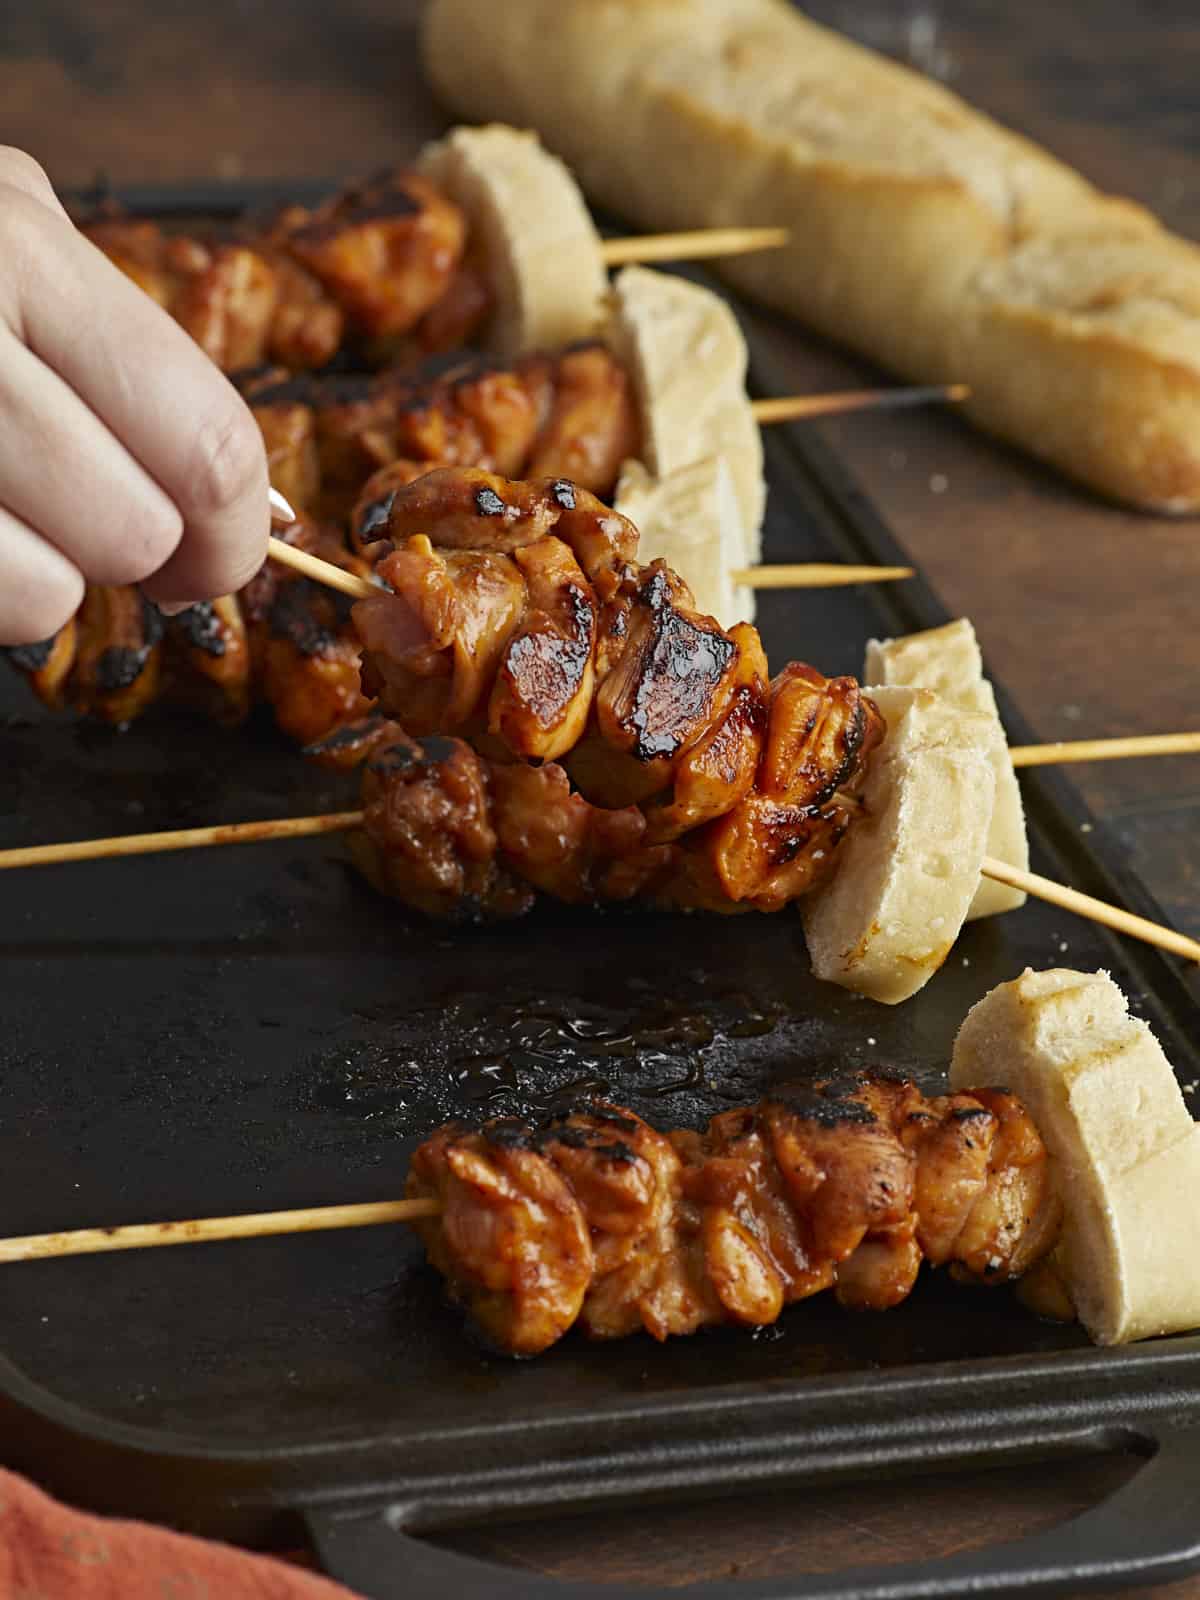
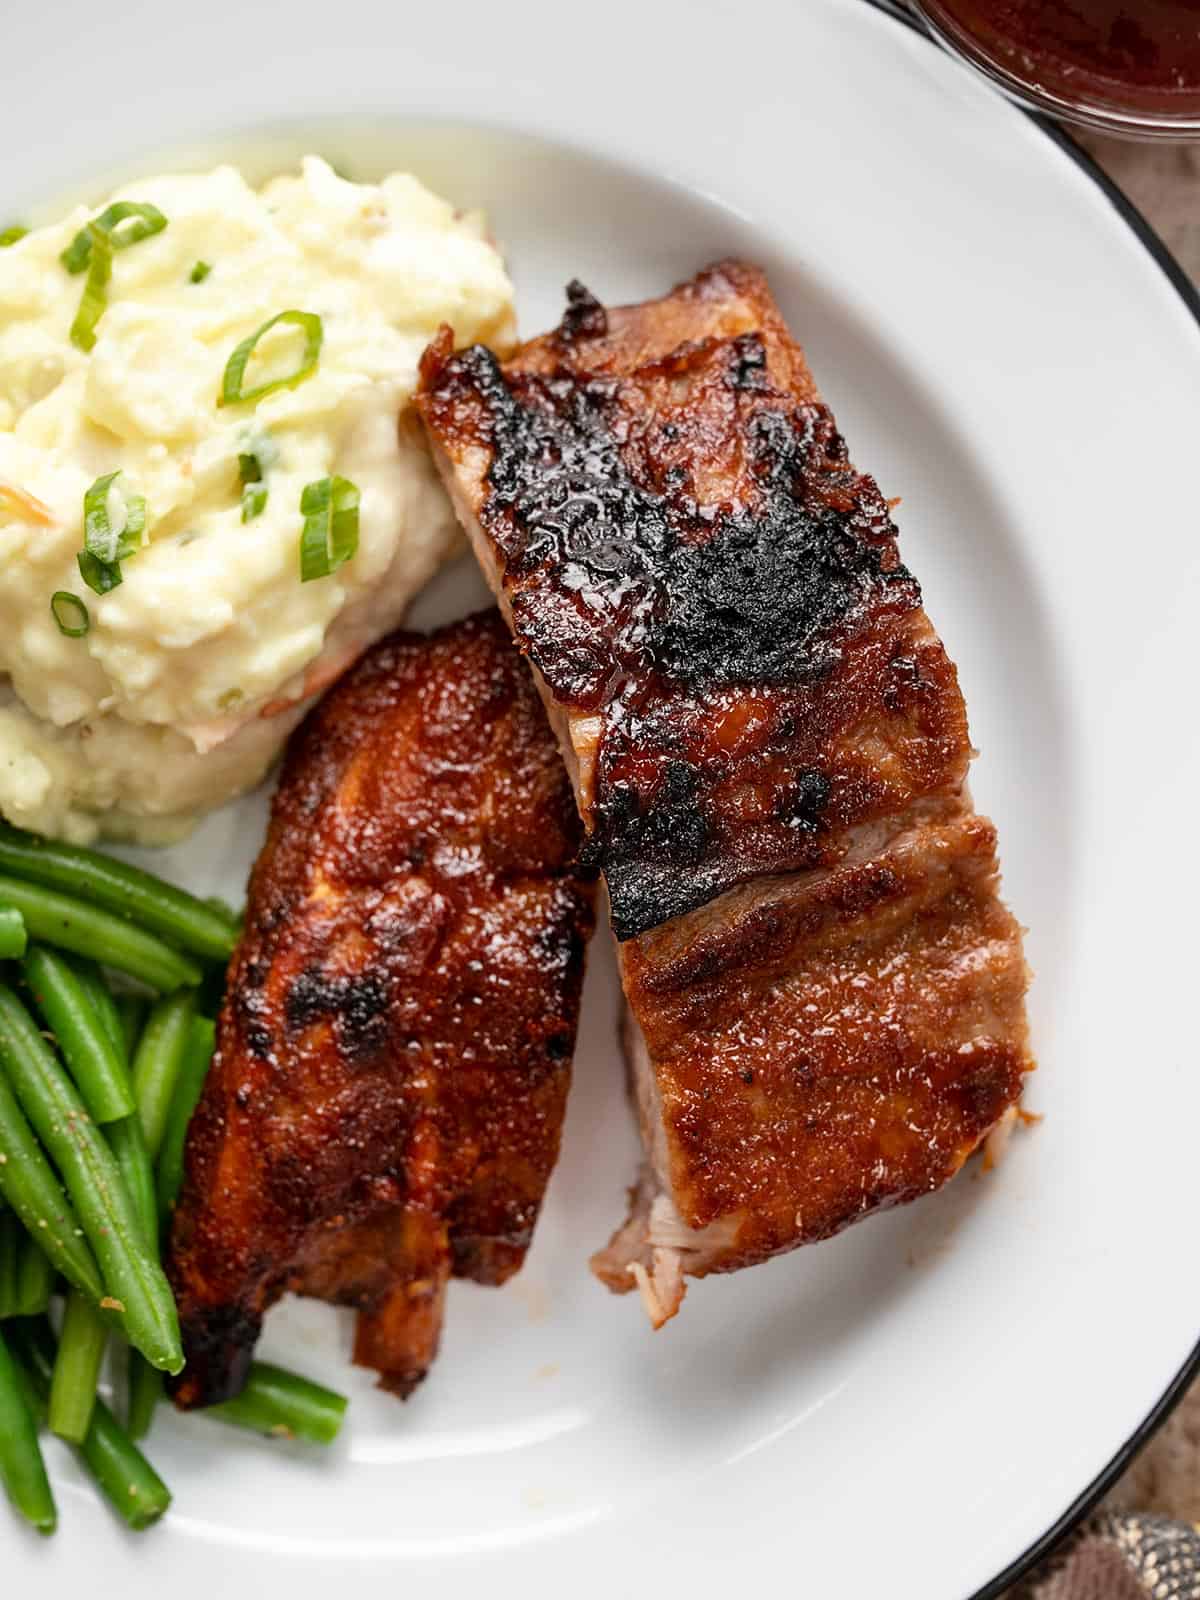
- Once the wings have started to develop some charring and have reached an internal temperature of 165°F, pull them from the oven. Serve with your favorite sauces and don't be shy about licking your fingers clean!
See how we calculate recipe costs here.
Nutrition
How to Make BBQ Wings – Step by Step Photos
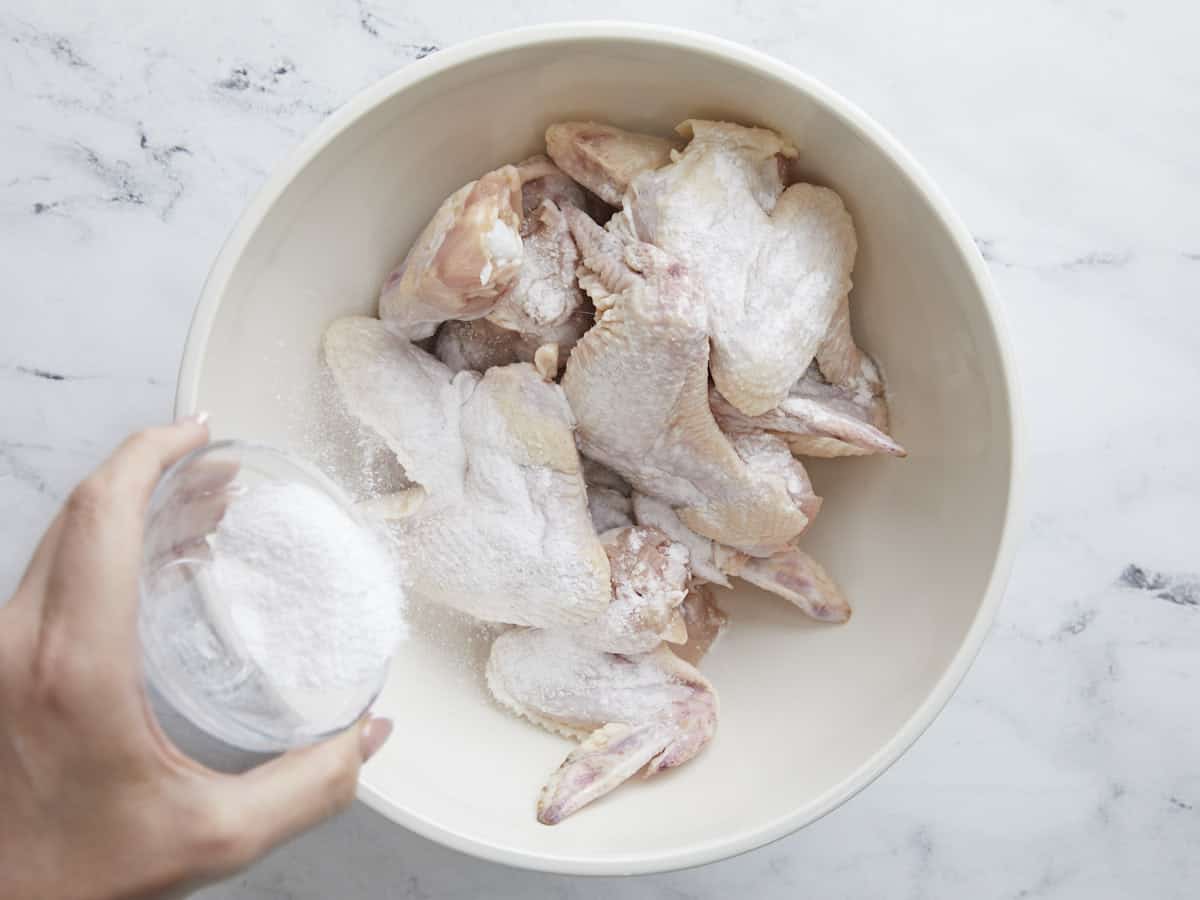
Pat 2 pounds of chicken wings dry with a paper towel and place them in a large mixing bowl. Mix 2 teaspoons of salt with 2 teaspoons of baking powder. Toss the dried chicken wings in this mixture until evenly coated.
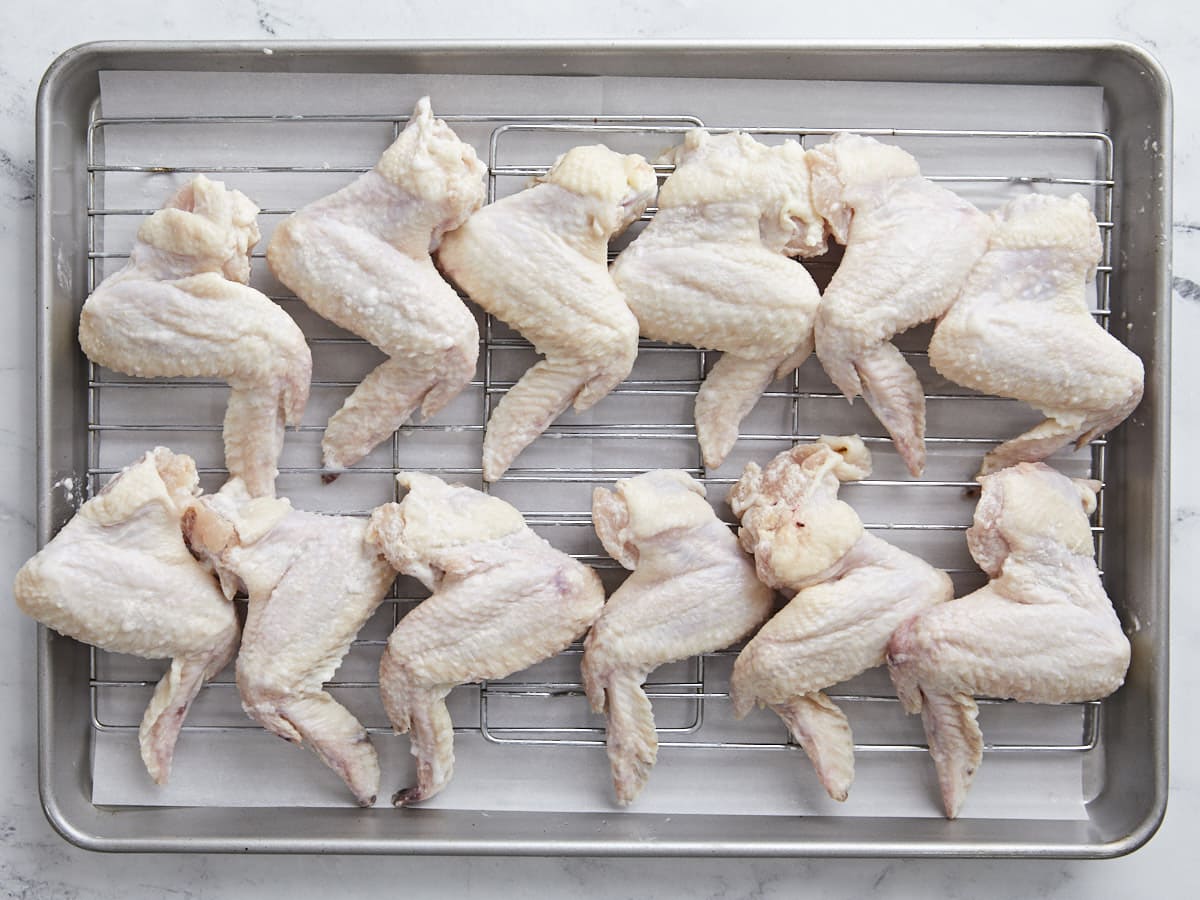
Line a sheet pan with parchment paper and then top it with a sheet pan rack. Place the wings on the sheet pan rack and refrigerate for at least an hour and up to 8 hours.
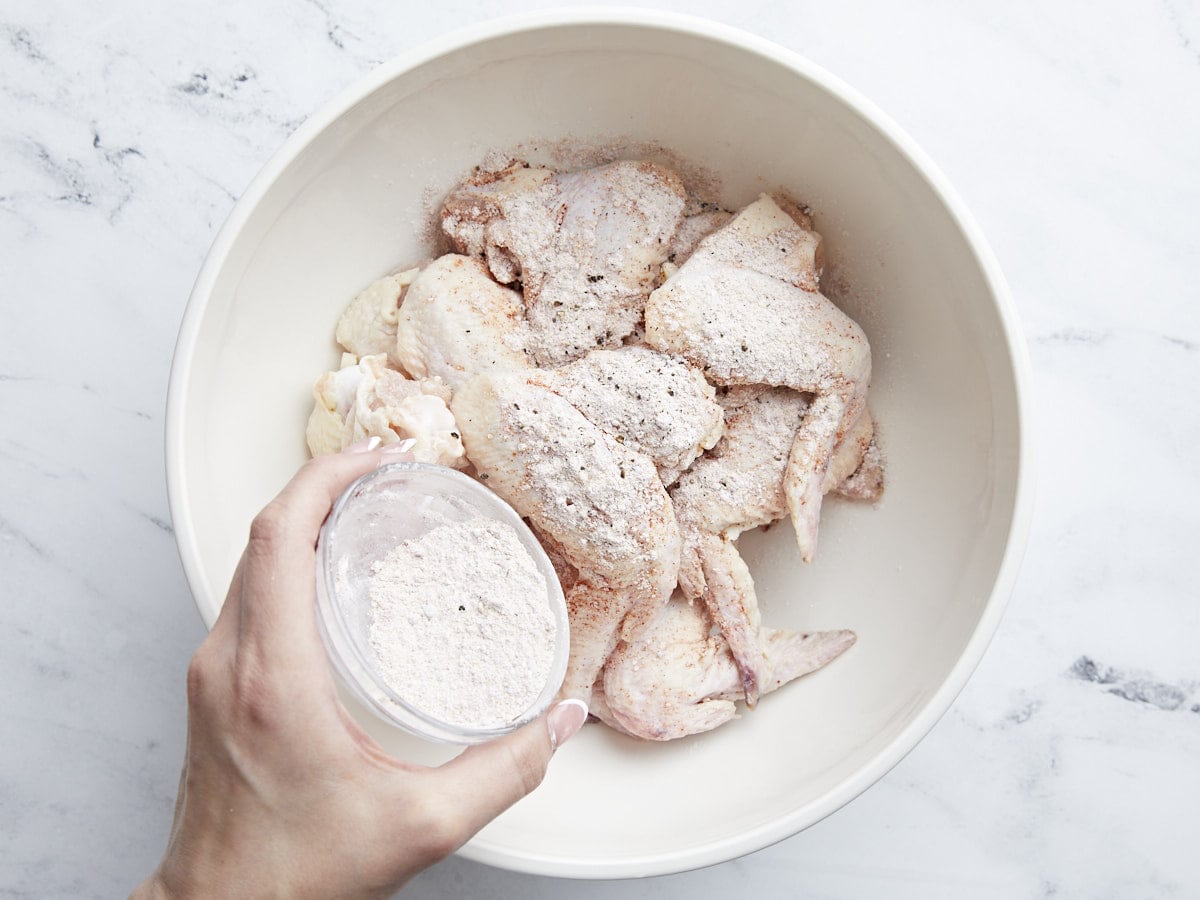
Place an oven rack in the center of your oven and preheat the oven to 300°F. Remove the wings from the fridge and pat them dry a second time. Place them in a large mixing bowl. Mix 2 teaspoons cornstarch, 1 teaspoon garlic powder, 1 teaspoon smoked paprika, 1/2 teaspoon onion powder, and 1/4 teaspoon black pepper. Toss the wings in this mixture until thoroughly coated.
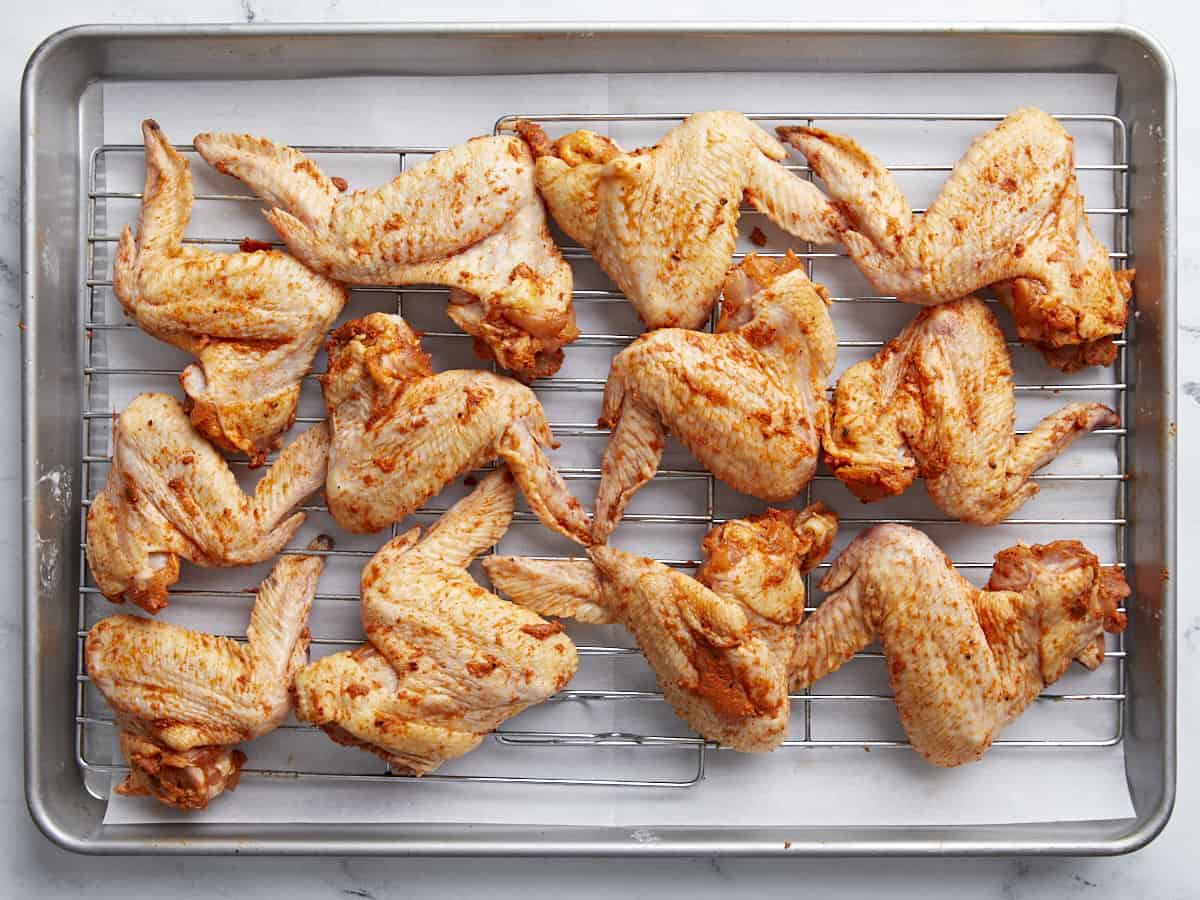
Clean the sheet pan rack and set it over the sheet pan. Arrange the wings in a single layer, ensuring they aren’t on top of each other so they cook evenly. Bake the wings for 12 minutes. Flip the wings over and bake for an additional 12 minutes. Remove the wings from the oven and raise the temperature of the oven to 450°F.

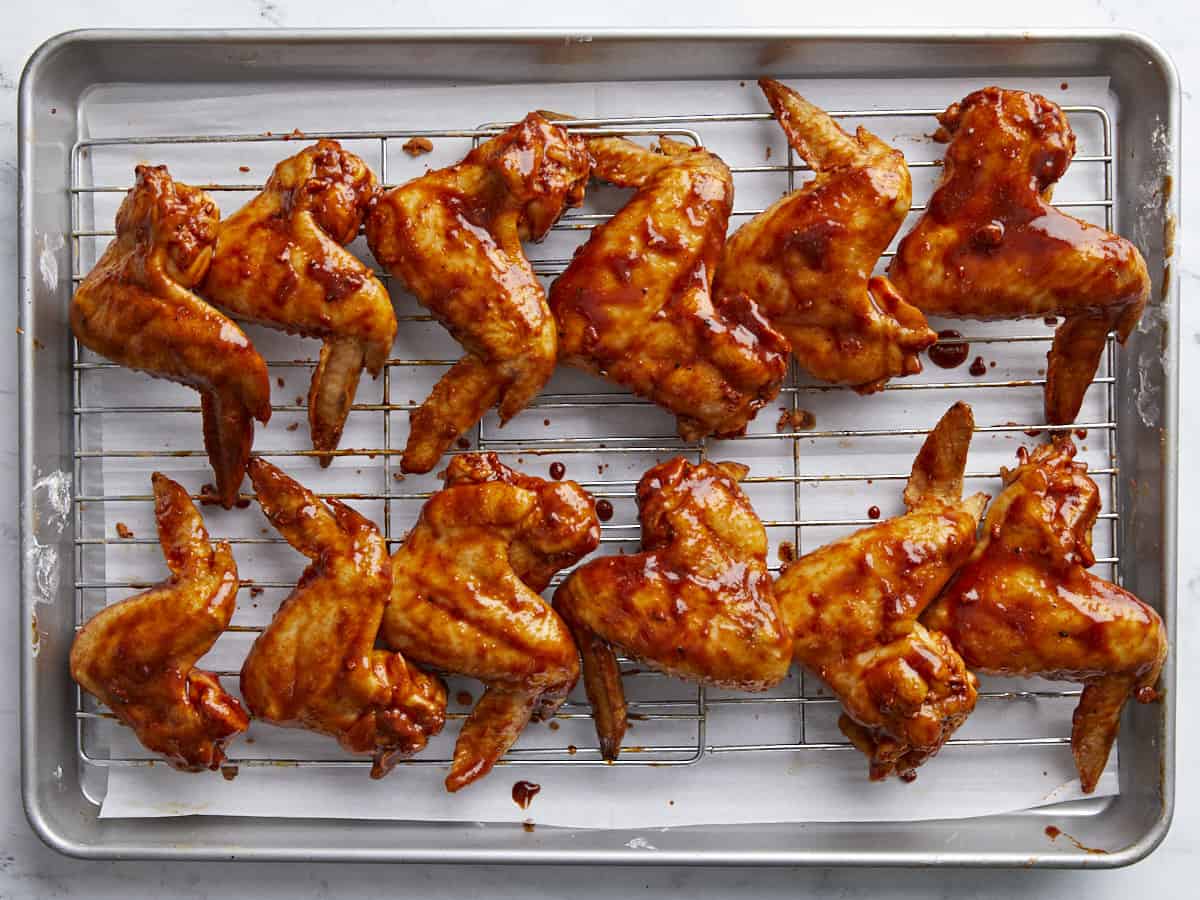
Remove the wings from the sheet pan rack and clean the sheet pan rack. Add 1/4 cup BBQ Sauce to a large mixing bowl and toss half the wings in it. Place the sauced wings on the sheet pan rack. Repeat with the remaining BBQ sauce and wings.
Place the BBQ Wings in the 450°F oven for 10 minutes until the sauce has become glossy and dark, with char spots.
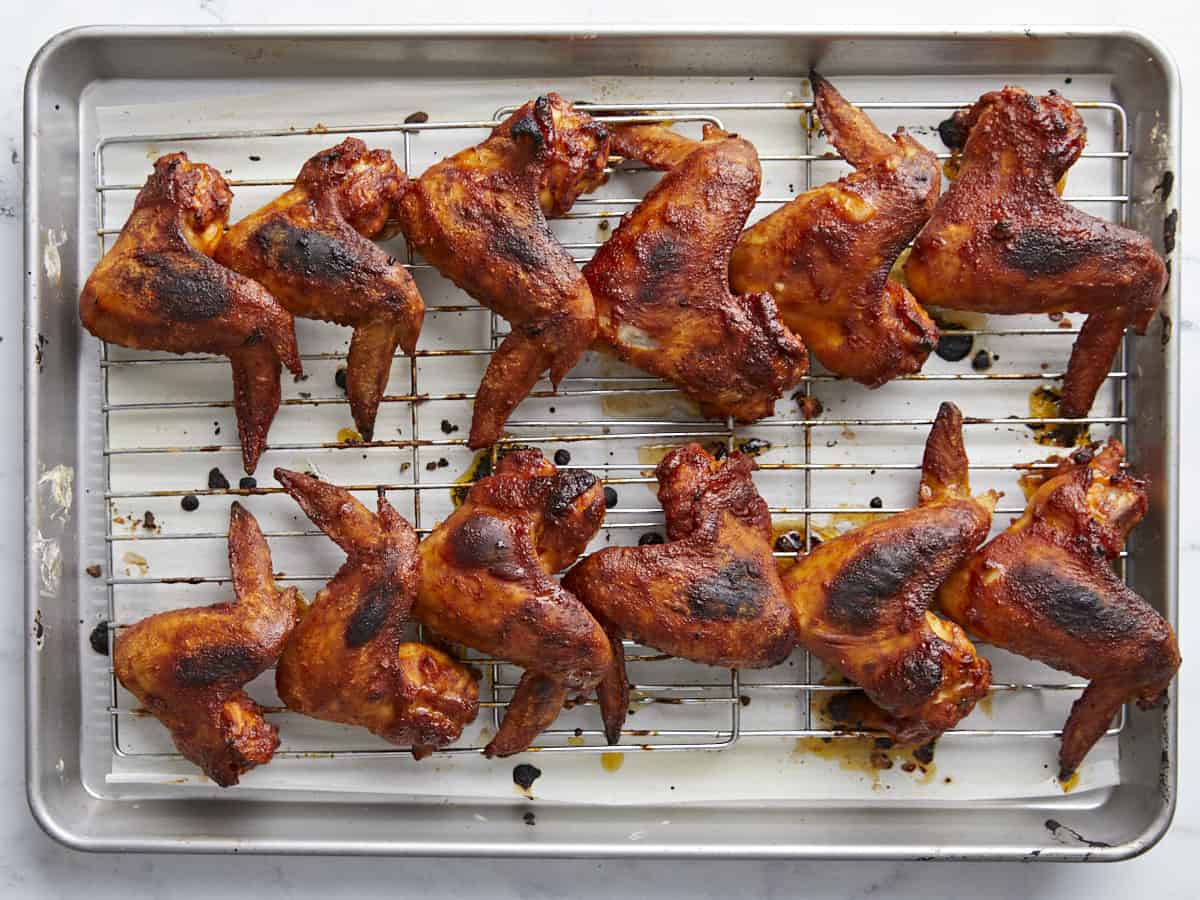
Once the wings have started to develop some charring, use a meat thermometer to make sure they have an internal temperature of 165°F before pulling them from the oven. Serve with your favorite sauces and don’t be shy about licking your fingers clean!
More Easy Chicken Wing Recipes


The post BBQ Wings appeared first on Budget Bytes.