This asparagus quiche recipe is a total showstopper! Flaky pastry crust, tender asparagus spears, and a savory cheese filling come together for a satisfying and impressive dish.

The buttery scent of this asparagus quiche recipe in the oven may win you one or two marriage proposals—or at least it will have the neighbors wandering by to snatch up a slice! It’s packed with savory, cozy flavor, perfect for spring brunches or light dinners with a crisp glass of white wine.
Why we love this recipe: This asparagus quiche is worth every second of time for the satisfaction you’ll get from making a quiche from scratch. Plus, it’s easy to make in advance. We served it to guests who went gaga over this one. Come: let’s make quiche!
How to make this asparagus quiche recipe: an overview!
In under 2 hours, you’ve got a complete masterpiece of an asparagus quiche recipe: made completely from scratch. That includes a homemade quiche crust. Want a shortcut? You can do store-bought crust too: see below. But we highly recommend the homemade crust: it’s crispy, buttery perfection. Here’s what to expect from this process timing-wise:
| Make the quiche dough | 20 minutes, active |
| Freeze the crust | 15 minutes, inactive |
| Blind bake the dough + make the filling | 25 minutes, active |
| Bake the quiche | 40 to 50 minutes, inactive |
Here is an overview in photographs of how to make this asparagus quiche. For all the details, jump to the full recipe below.

Step 1: Make the quiche crust (go this quiche crust recipe for instructions). Freeze it for 15 minutes. Blind bake the crust with pie weights at 375°F for 15 minutes.

Step 2: Make the filling: sauté the asparagus. Whisk together the eggs, milk, cream, salt, and pepper. Place grated smoked mozzarella cheese in bottom of the crust. Pour the egg mixture over the top. Sprinkle the sauteed asparagus and feta cheese crumbles.

Step 3: Bake the quiche for 40 to 50 minutes at 350°F.
Tips for homemade quiche crust
Ever made a quiche crust from scratch? It’s pretty simple, but you do need a few dough-making techniques. Working with dough takes time and practice. If it’s your first time, give yourself patience and grace.
- Use a standard 9-inch pie plate, not deep dish. Deep dish will be too thick for the filling amount here.
- A pastry cloth can be helpful (optional). It helps for rolling out the dough so it doesn’t stick on the counter. If you don’t have one, just lightly dust the counter with flour.
- Use the tines of a fork to decorate the edge. This is easier than a fluted edge, though either works.
- You’ll freeze the crust 15 minutes before blind baking it. This helps the crust to hold its shape while blind baking. This freezer method shortcuts refrigerating for a few hours. (You’re welcome!)

Blind baking is key for the crust
The biggest key to making an asparagus quiche recipe is blind baking the crust. Blind baking is baking a pie crust without the filling. This makes sure that crust is perfectly firm before you add the wet filling, which is especially important for a custard pie like a quiche because the filling is so wet. If you don’t blind bake, you’ll get soggy bottom crust for sure (we did!). Here’s what to know about blind baking and how to get the perfect flaky crust:
- Prick holes with a fork all over the crust. This is called docking the crust: it makes it puff up less while in the oven.
- Add pie weights: like dried beans or rice! You can use ceramic pie weights (we used these) to weigh down the crust so it doesn’t get too puffy. Or, you can use dried beans or dry rice! It doesn’t harm the beans or rice: you can still cook them as normal after using them as weights.
Shortcut: use store-bought crust
Yes, you can short-cut the effort to make your homemade crust and go with a store-bought pastry crust. Any type of purchased pie crust works (we don’t have a favorite brand since we always make our own). You’ll still need to blind bake the store-bought crust! So start in the recipe below at Step 3.

Make ahead instructions
Yes, it takes about 2 hours to make! But here’s the thing: only about 1 hour of it is active time. Even better: it saves VERY well. It’s so easy to make the night before, or even a few days in advance! Here’s what to do:
- Make the entire quiche 1 to 3 days in advance. Then refrigerate it until serving!
- Warm in a 200 degree oven for about 20 minutes before serving. It’s also delicious cold, but we like it warmed up.
- Saves 5 days refrigerated. Wrap it in plastic or aluminum to keep it fresh.
Ways to serve asparagus quiche
This asparagus quiche recipe is a total showstopper! We served this at a spring birthday brunch for my mom and everyone went crazy over it. In fact, it was suddenly gone before we knew it! It was absolutely perfect for a festive occasion (it would be great for Easter or Mother’s Day). While recipe testing, we also ate it for dinner: which was perfect as well. Here are some ways to serve quiche:
- Muffins: For brunch, add Strawberry Muffins, Chocolate Banana Muffins or Classic Cornbread Muffins
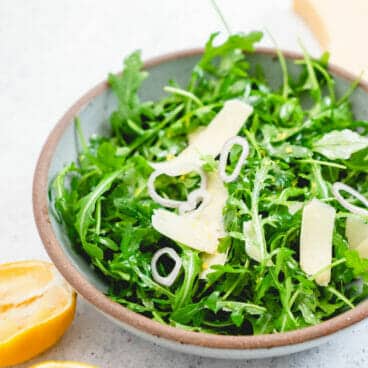
- Salad: For dinner or brunch, add Celery Salad with Apples, Carrot Salad, Goat Cheese Salad with Arugula or Easy Arugula Salad
- Mimosas: For brunch, add Prosecco Mimosas or Strawberry Mimosas


Dietary notes
This asparagus quiche is vegetarian.
Frequently asked questions
Pre-cooking the asparagus for a few minutes is essential to ensure it’s tender throughout the quiche.
Soggy quiche crust can happen for a few reasons. Make sure your dough is chilled before baking to prevent it from melting too quickly. It’s essential to pre-bake (blind bake) the crust for a few minutes before adding the filling.
Absolutely! Using a store-bought crust is a great time-saver. Just follow the package instructions for pre-baking.
The quiche is done when the center is no longer jiggly and a toothpick inserted comes out clean. The crust should also be golden brown.

Classic Asparagus Quiche
-
 Prep Time: 30 minutes
 -
Cook Time: 1 hour 15 minutes
-
Total Time: 1 hour 45 minutes
-
 Yield: 8
Description
This asparagus quiche recipe is a total showstopper! Flaky pastry crust, tender asparagus spears, and a savory cheese filling come together for a satisfying and impressive dish.
Ingredients
For the quiche crust*
- 1 cup all-purpose flour
- ½ teaspoon kosher salt
- ¼ teaspoon baking powder
- 6 tablespoons unsalted butter
- 4 to 6 tablespoons ice water
For the asparagus quiche
- 4 ounces asparagus (about 8 thin stalks)
- 1 tablespoon olive oil
- 1 teaspoon kosher salt, divided
- 3 large eggs
- 1 cup milk
- ½ cup heavy cream
- Fresh ground black pepper
- 3 ounces (about ¾ cup) smoked mozzarella or smoked gouda, grated
- ¼ cup feta cheese crumbles
Instructions
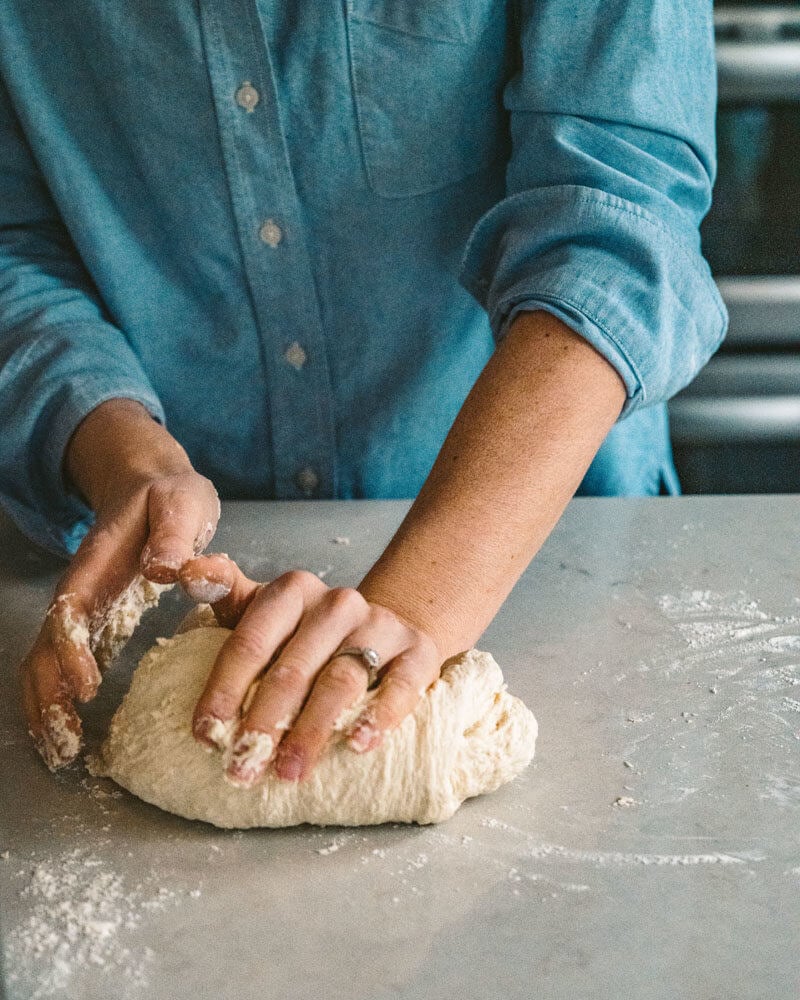
- Make the quiche crust: Preheat the oven to 375°F. In a medium bowl, mix the all-purpose flour, kosher salt, and baking powder. Slice the butter into pieces, then cut it into the flour mixture using a pastry blender until a coarse meal texture is obtained. Sprinkle the ice water over the flour 1 tablespoon at a time, mixing gradually with fork until the dough sticks together. Add additional water by the tablespoon until the dough comes together but is not sticky. Form the dough into a ball.
- Roll out and freeze the dough: If you have a pastry cloth, set it up and dust it with flour; otherwise, flour a clean work surface. Put on a rolling pin cover (optional), and either way, dust the pin in flour. Roll the dough to an even 12-inch circle (which corresponds to the 9-inch pie pan). Use a rolling pin to transfer the dough to the pie pan (make sure it is standard and not deep dish). Fold the overhanging dough backwards and seal it to form a rim. Then press it with the tines of a fork to decorate the edges (see the photos). Use a fork to gently prick holes in the bottom and sides of the crust (this helps it to not puff up while blind baking). Freeze the crust for 10 minutes before blind baking.
- Blind bake the crust: Remove the dough from the freezer and place a sheet of parchment paper on top of the crust. Fill the dough with pie weights (we used two sets of these), dry beans, or dry rice. Bake for 15 minutes, then carefully remove the parchment and weights and bake additional 8 minutes until the bottom is lightly browned. Remove from the oven and go to Step 5.
- Sauté the asparagus: Meanwhile, wash the asparagus and trim off the ends. Cut the stalks into bite-sized pieces. In a large skillet, heat the olive oil over medium high heat. Add the asparagus, ¼ teaspoon kosher salt, and a few grind black pepper. Cook, stirring occasionally, until the largest pieces are tender, about 5 to 8 minutes. This depends on the thickness and maturity of the asparagus, so it’s different every time! Taste and remove when it’s just tender and still bright green, but not crunchy.
- Reduce the oven heat: When the crust is done blind baking, remove it from the oven and reduce the heat of the oven to 350°F.
- Make the filling: In a medium bowl, whisk together the eggs, milk, cream, ¾ teaspoon kosher salt, and several grinds black pepper. Place the grated smoked mozzarella cheese in bottom of the crust. Pour the egg mixture over the top. Sprinkle the sauteed asparagus and feta cheese crumbles.
- Bake: Bake 40 to 50 minutes minutes, until the center is set and the top is lightly browned. Cool at least two hours. It’s easiest to make the night before, so you can refrigerate until serving. Re-warm in a 200°F oven for 20 minutes. (You can also serve it cold.) Leftovers stay for 5 days refrigerated.
Notes
*You can also use a storebought pastry crust to shortcut some time. You’ll still need to blind bake the crust, so start with Step 3.
 Category: Main dish
 Method: Baked
 Cuisine: American
 Diet: Vegetarian


 Most Neapolitan pizza recipes call for placing tomatoes right onto the dough. The San Marzano variety of tomato is a type of Italian tomato that is most often used on Neapolitan pizza. You can find canned San Marzano tomatoes in many grocery stores in the United States these days.
 Like any famous recipe, there are lots of opinions on what makes an authentic Neapolitan pizza recipe. If you’re making a