Make perfectly tender grilled asparagus in minutes! Here are the secrets to achieving smoky char and bright flavor to this delicious side dish.

Usually we make roasted asparagus or broiled asparagus, but here’s our warm-weather favorite: grilled asparagus! Grilling might be the very best way to cook asparagus: it’s easy, requires only a few ingredients, and comes out tender and charred, with a hint of smoke.
Spritz it with lemon juice for a little brightness, and it’s a fresh and healthy side dish you won’t be able to stop eating! Alex and I have now added asparagus to our regular rotation for grill recipes for the season.
Ingredients for grilled asparagus
Two pluses to grilled asparagus: you only need a few ingredients and it’s extraordinarily quick to grill! Here’s what you’ll need:
- Asparagus: Look for thin or medium thick spears, which have a sweet flavor and cook faster.
- Lemon: Fresh citrus brings a zingy pop to the flavor.
- Olive oil: This heart-healthy oil is ideal for grilling.
If you’d like you can sprinkle with some Parmesan cheese as a garnish, but it’s not necessary flavor-wise. It’s perfect with just a spritz of lemon!

How to grill asparagus: step by step
You don’t need anything special for grilled asparagus like a grill basket: just place it right on the grill grates! The only thing to keep in mind is that thinner spears of asparagus cook faster. You may even want to cut off more of the tough thick ends that you usually would, because they’ll take longer to cook than the thin tops.
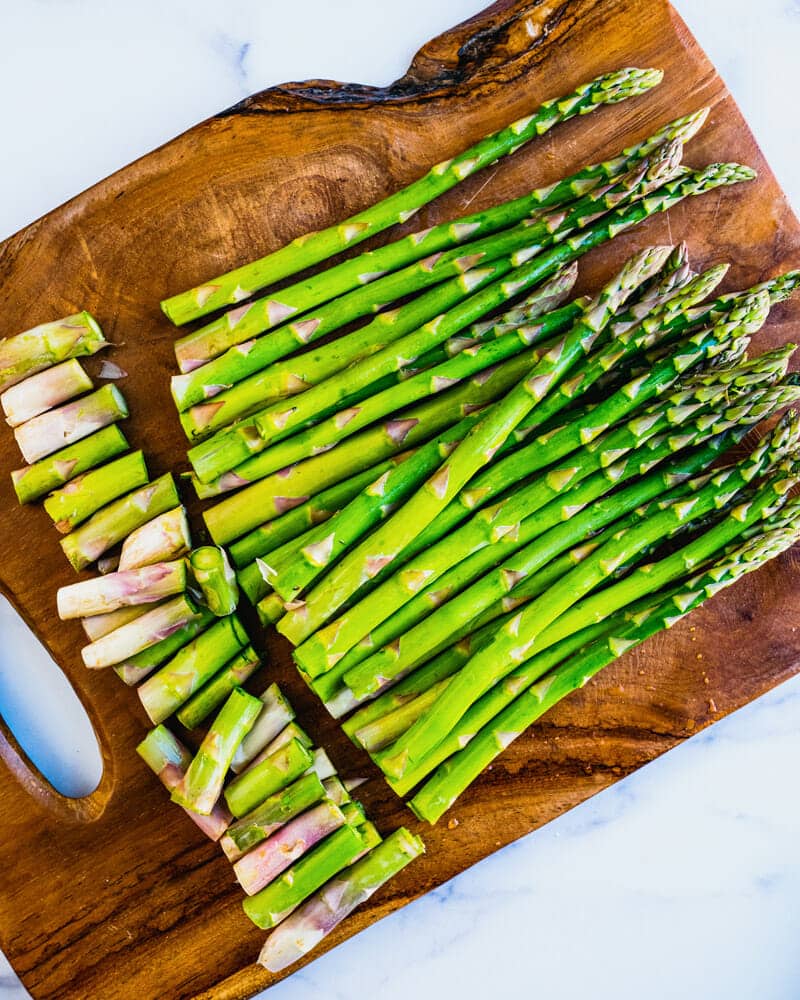
Step 1: Trim the woody ends from the asparagus. Toss it with olive oil, salt and pepper.

Step 2: Place the spears directly on the oven grates. Grill about 3 to 4 minutes until charred and tender.

Step 3: Spritz with fresh lemon juice and serve. If desired, top with grated Parmesan cheese.
For exact steps and quantities, go to the full recipe below.
Variations: For a spicy kick, add a sprinkle of red chili flakes before serving. Or, serve topped with a sauce like lemon dill sauce or mustard sauce, or sprinkle with fresh herbs like basil, chives, or mint.
Ways to serve grilled asparagus
Since grilled asparagus is so easy to prepare, it’s a natural pairing with all sorts of grilled meals! Once you’ve got the grill fired up for the main dish, it’s easy to toss on some spears. Here’s what we’d recommend serving with it:
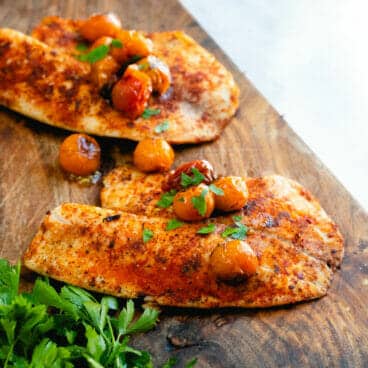
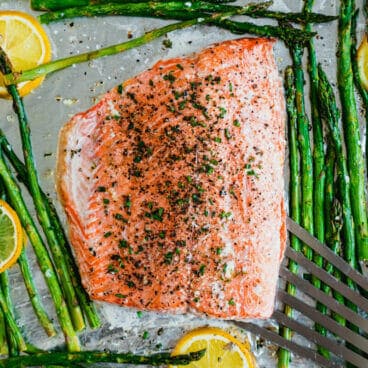
- Fish: Salmon and fish make an elegant pair! Try grilled salmon, grilled tilapia, or grilled halibut.
- Chicken: Try grilled chicken or grilled chicken thighs.
- Shrimp: This grilled shrimp or grilled shrimp skewers would make a fantastic pair with asparagus.
- Tofu: This grilled tofu is full of big flavor.
- Eggplant Parmesan: A fun vegetarian option, grilled Eggplant Parmesan is a grilled spin on the Italian classic.


Firing up the grill?
 For more grilled recipes from proteins to vegetables, try our top 40 Grill Recipes for the Season. Some favorites are grilled green beans and grilled corn.
A few more asparagus recipes
Love asparagus? Check out how to cook asparagus and our favorite asparagus recipes below!


Dietary notes
This grilled asparagus recipe is vegetarian, vegan, plant-based, dairy-free, and gluten-free.
Asparagus spears come in various thicknesses. Choose thin or medium-thick spears for best results on the grill. They’ll cook evenly without getting mushy.
Grilling time depends on the thickness of your asparagus. Most spears take about 3 to 4 minutes per side.
The asparagus is ready when it turns bright green, becomes tender-crisp to the bite, and develops slight char marks. You can also gently pierce a spear with a fork – it should give slightly with minimal resistance.

Easy Grilled Asparagus
-
 Prep Time: 5 minutes
 -
Cook Time: 5 minutes
-
Total Time: 10 minutes
-
 Yield: 4
Description
Make perfectly tender grilled asparagus in minutes! Here are the secrets to achieving smoky char and bright flavor to this delicious side dish.
Ingredients
- 1 pound asparagus (thin stalks preferable)
- 1 tablespoon olive oil
- ½ teaspoon kosher salt
- Fresh ground black pepper
- 1/2 lemon
- Shredded Parmesan cheese to garnish, optional
Instructions
- Preheat a grill to medium-high heat (375 to 450°F or 190 to 230°C).
- Cut off the tough ends of the asparagus.
- In a bowl, mix the asparagus with the olive oil, kosher salt, and plenty of fresh ground black pepper.
- Place the asparagus directly on the grill grates and grill for about 3 to 4 minutes until charred and tender, turning once.
- Remove from the grill and spritz with lemon juice from wedges from half of the lemon. If desired, top with Parmesan cheese and serve.
Notes
Variations: For a spicy kick, add a sprinkle of red chili flakes before serving. Or, serve topped with a sauce like lemon dill sauce or mustard sauce.
 Category: Side Dish
 Method: Grilled
 Cuisine: Vegetables
- Diet: Vegan
Keywords: Grilled asparagus, how to grill asparagus