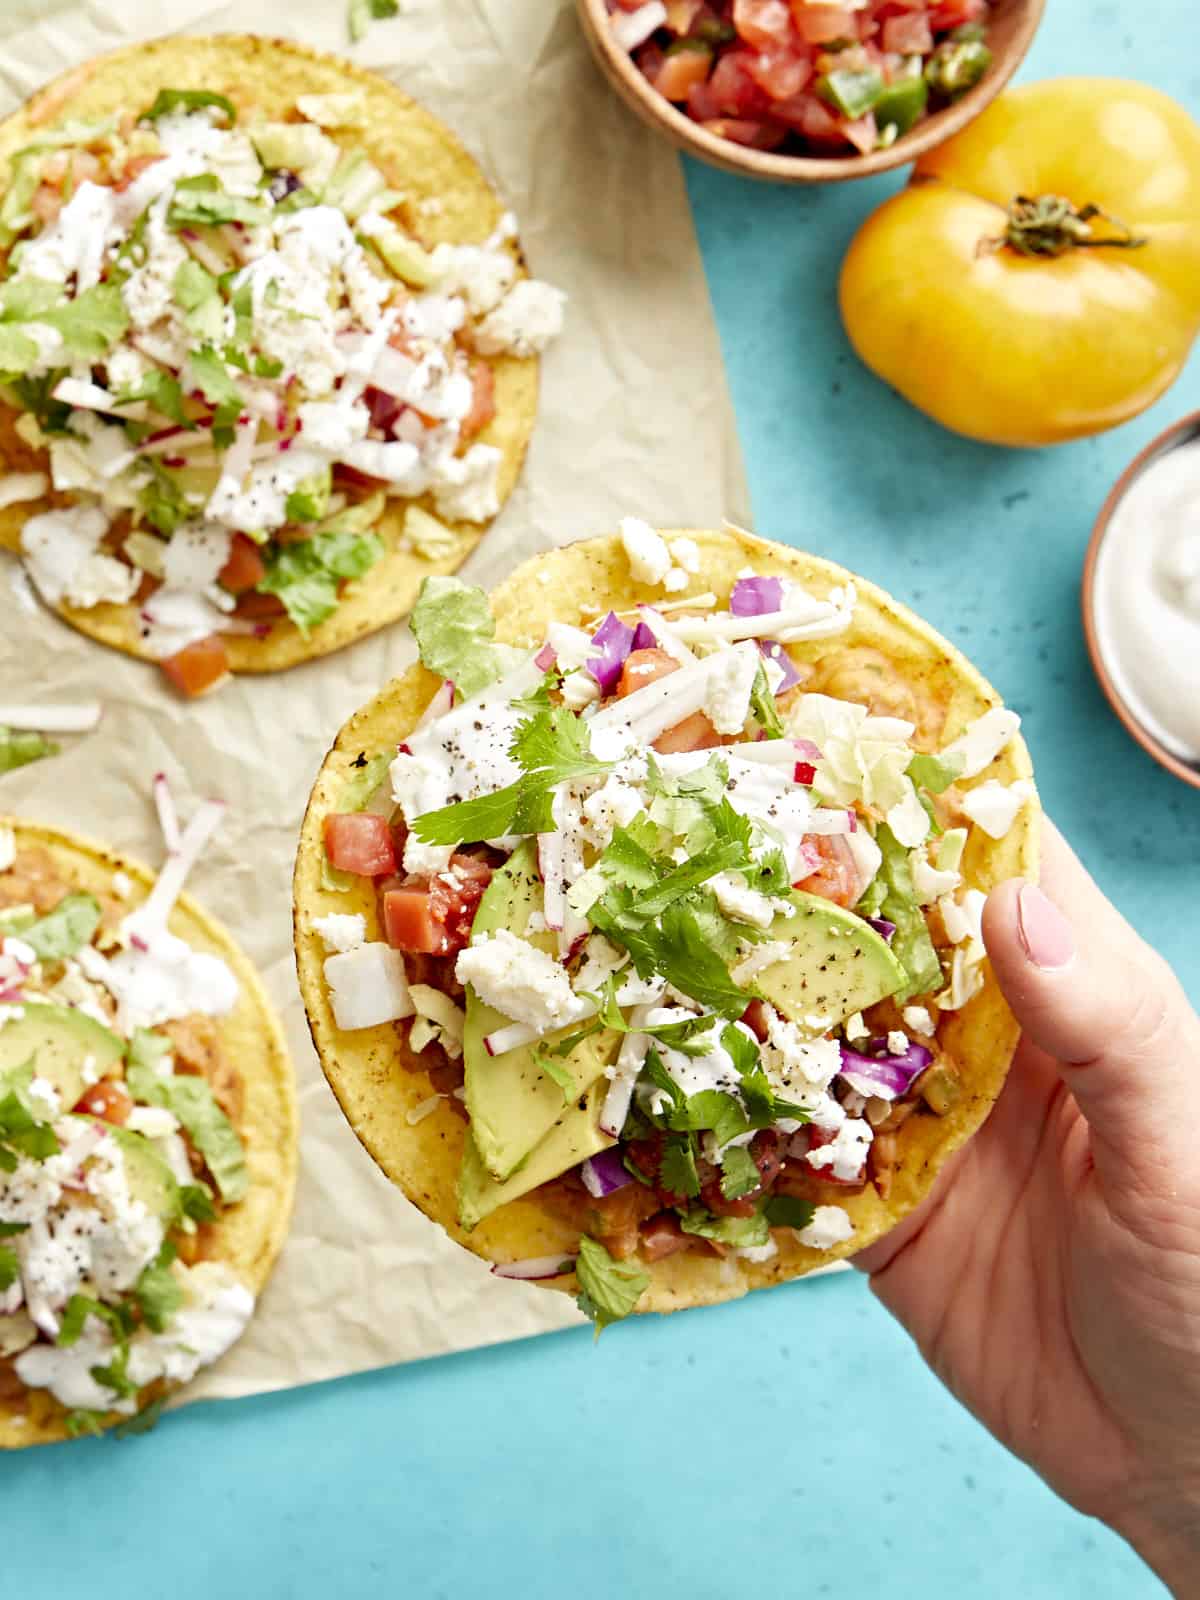
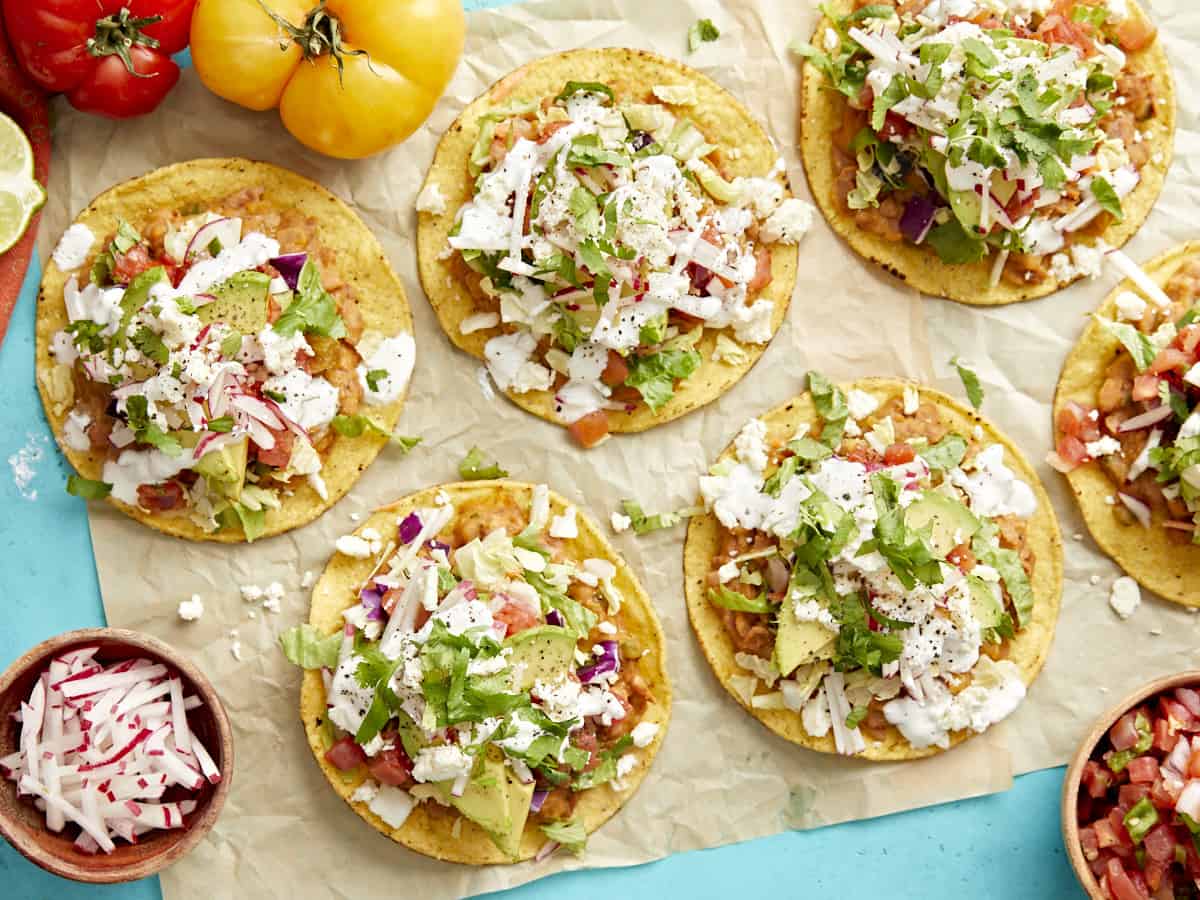
With the sun working overtime during these hot summer months, I’ve got tacos on my mind (and tortillas in my fridge) 24/7. I love how balanced and fresh Mexican-inspired cuisine can be, and these tostadas are no exception! Crispy tortillas are piled high with mashed pinto beans, salsa, veggies, and cheese for a different spin on your typical taco night. Plus, I love that I can use up any leftover tortillas I have on hand so nothing goes to waste! These are super customizable based on your family’s preferences, so you can add or omit just about anything you want.
What Is A Tostada?
The word “tostada” translates to “toasted” in reference to the crispy toasted tortilla shell that serves as the base of the dish. It’s sort of like a flattened taco piled high with filling. It’s also a great way to use up the last of those leftover tortillas that are starting to go stale!
Ingredients
Here’s what you’ll need to make these tostadas:
- Onion: I used white onion because it was on sale, but yellow or Vidalia will also work well in this recipe.
- Jalapeño: Adds a bit of heat to the filling.
- Olive Oil: Helps the filling cook without burning. Neutral cooking oils like canola or vegetable also work well.
- Pinto Beans: Create a mushy, refried bean-like texture. If you have some leftover, our favorite (Not) Refried Beans can also work well in this recipe!
- Taco Seasoning: An easy way to add classic Mexican flavors.
- Water: Helps make the beans easier to mash.
- Salsa: Adds freshness to the tostadas. I love this Fire Roasted Salsa, but store-bought works just fine.
- Tostada Shells: These small, crunchy corn tortillas are like a flat hard taco shell. A Mexican open-faced sandwich, if you will!
- Radishes: Add a delightful, fresh crunch!
- Slaw Mix: A cheap and easy hack to add extra veggies to this dish.
- Sour Cream: Adds creaminess and tanginess.
- Cilantro: Adds a pop of freshness and color.
- Avocado: Adds a creamy texture. Guacamole also works well.
- Queso Fresco: Can’t find queso fresco or cotija cheese? Cheddar cheese will do just fine, or omit it altogether.
What Is the Difference Between A Tostada and a Tortilla?
A tostada is a tortilla that has been baked or fried until it is crispy. You can purchase ready-made tostada shells from popular brands like Old El Paso, or you can make your own by baking 6-inch corn tortillas until toasted and crispy.
How to Eat A Tostada
Tostadas are finger foods, so use your hands, not a fork and knife! I like the two-handed method of holding the edges of the tostada and taking bites like a slice of toast. I also like to crack the tostadas into smaller pieces and eat it in smaller bites that way.

Tostadas
Ingredients
- 1 Tbsp olive oil $0.20
- 1/2 white onion, diced $0.45
- 1 jalapeño, seeded and diced $0.24
- 1 1-oz. packet taco seasoning $0.59
- 2 15-oz. cans pinto beans, drained and rinsed $1.78
- 1 cup water $0.00
- 8 tostada shells $0.88
- 1/2 cup salsa $0.49
- 3 radishes, julienned $0.37
- 1/2 14-oz. bag pre-chopped slaw mix $0.99
- 1/4 cup sour cream $0.31
- 2 Tbsp chopped fresh cilantro $0.12
- 1 avocado, sliced $0.99
- 2 Tbsp crumbled queso fresco $0.35
Instructions
- Add the olive oil, onions, jalapeño, and taco seasoning mix to a skillet. Stir to combine and cook over medium heat until the onions are soft and glossy.
- Add the drained and rinsed pinto beans to the skillet with 1 cup of water and simmer for 5-8 minutes, until the beans start to dissolve and break down and the liquid reduces to about 1/2.
- Remove from the heat and mash the bean mixture together. Set aside.
- Crumble queso fresco, julienne or slice radishes, mince cilantro, thinly the avocado, and gather your premixed cabbage and salsa of choice.
- Spread out tostada shells on a cookie sheet and toast in the oven at 350°F for 5 minutes. This makes the tostadas extra crunchy!
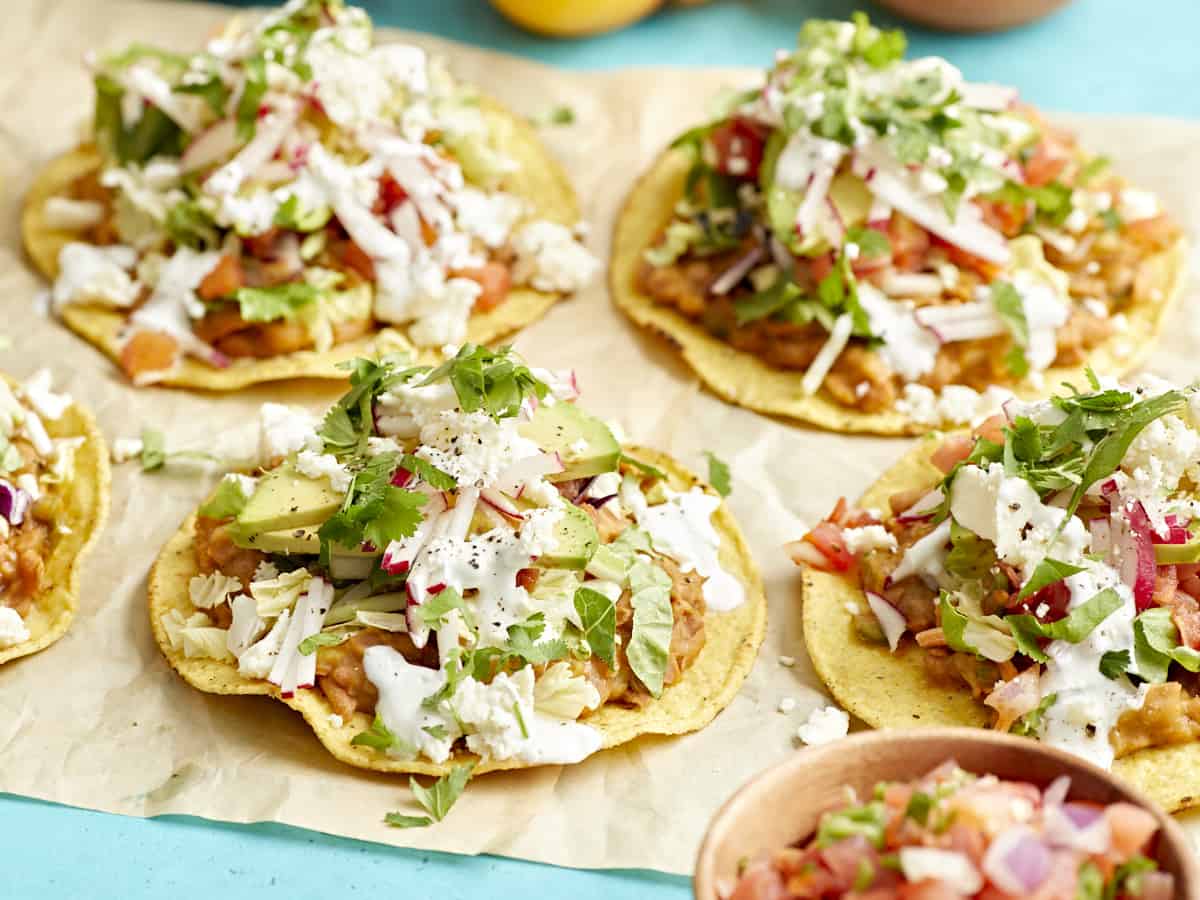
- Assemble tostadas: The tostada shell will be on the bottom, topped with mashed pinto beans.
- Then, add all other toppings; divide the pre-chopped slaw mix, salsa, sour cream, chopped fresh cilantro, avocado, and crumbled queso fresco between all tostadas. Enjoy!
See how we calculate recipe costs here.
Notes
Nutrition
how to make Tostadas – step by step photos
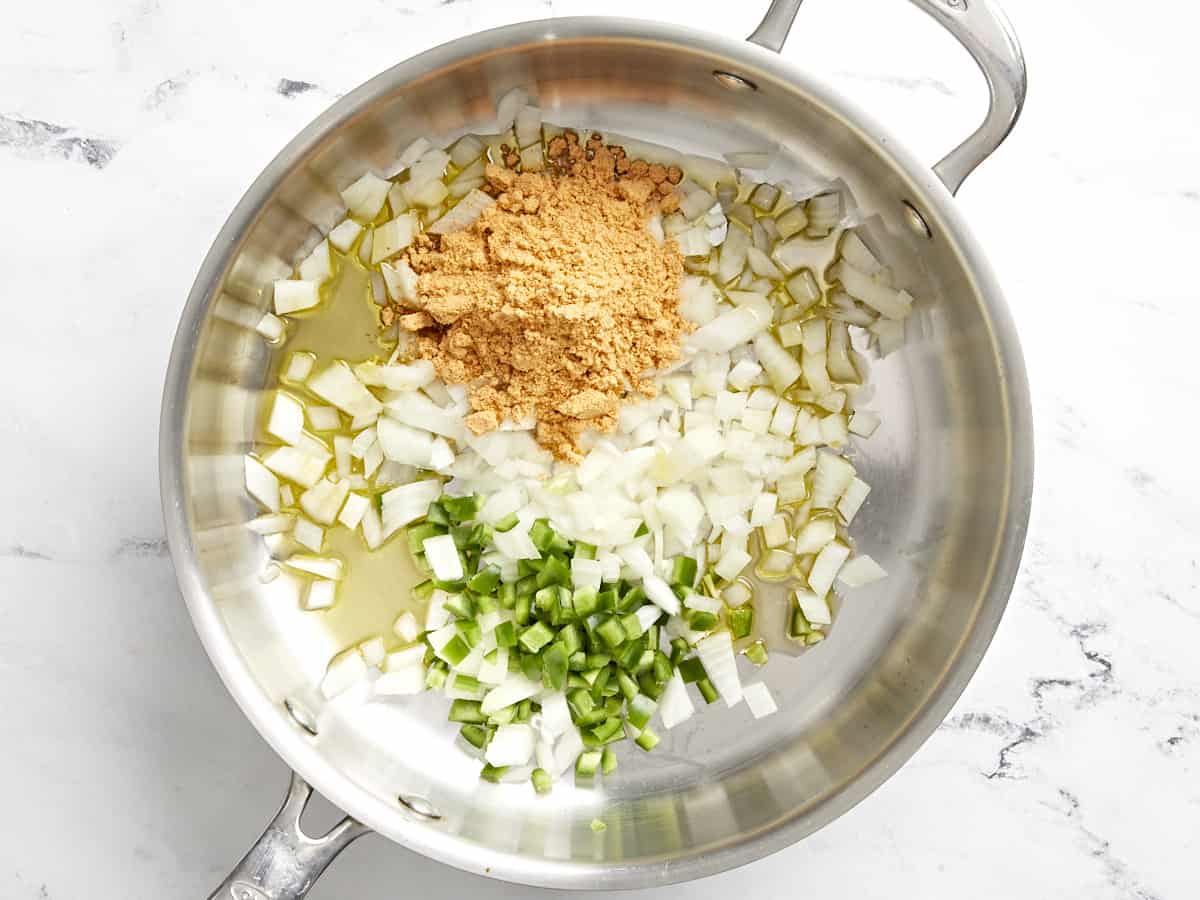
Add the 1 Tbsp olive oil, 1/2 diced white onion, 1 seeded and diced jalapeño, and 1 oz. packet of taco seasoning mix to a skillet. Stir to combine and cook over medium heat until the onions are soft and glossy.
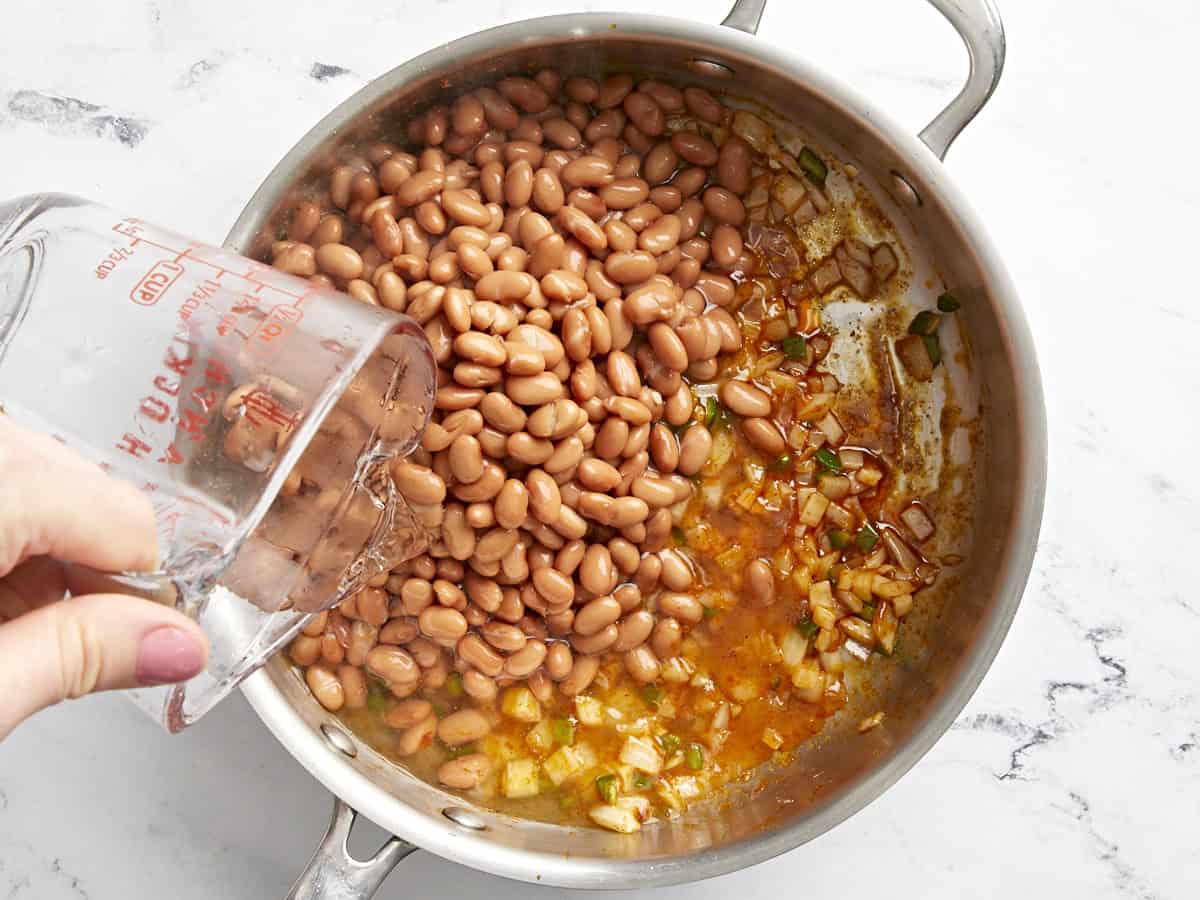
Add the 2 cans of drained and rinsed pinto beans to the skillet with 1 cup of water and simmer for 5-8 minutes, until the beans start to dissolve and break down and the liquid reduces by about 1/2.
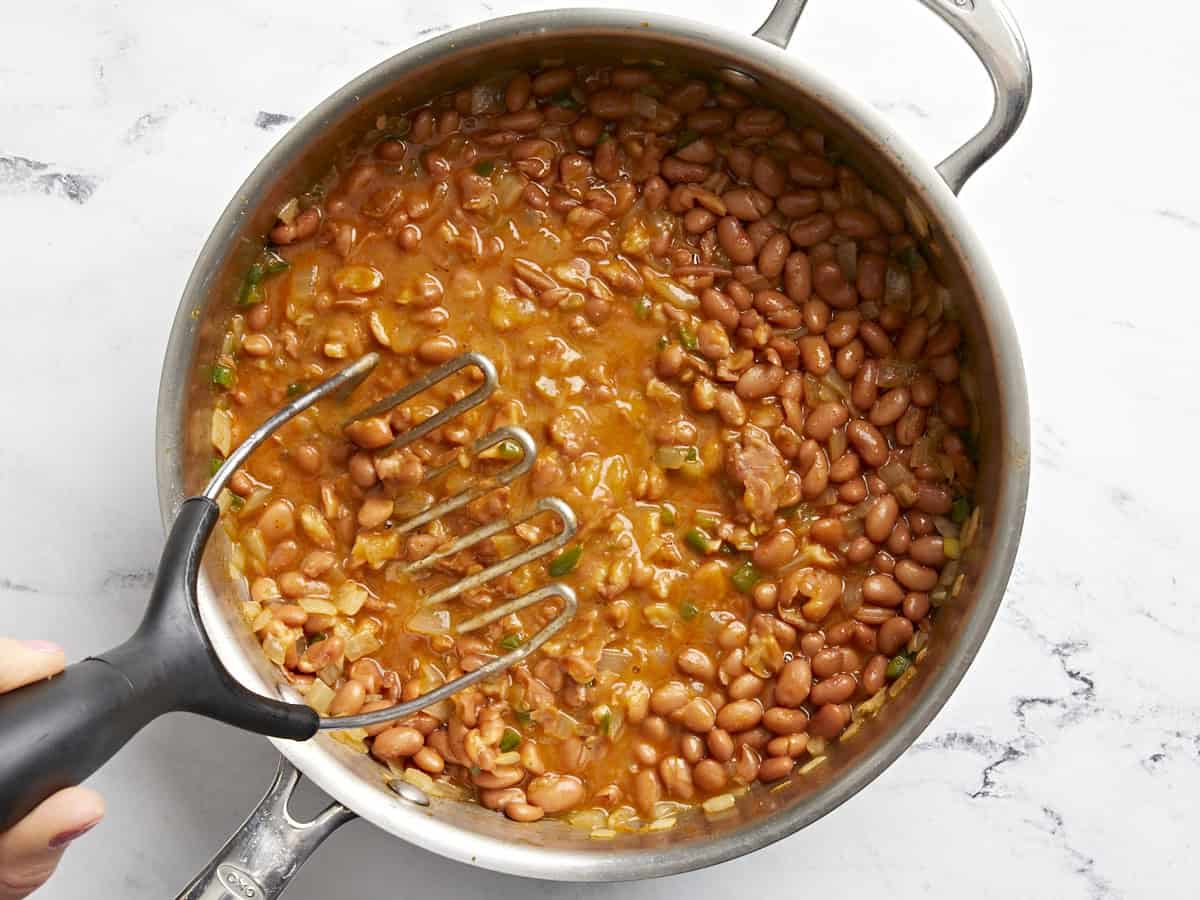
Remove from the heat and mash the bean mixture together.
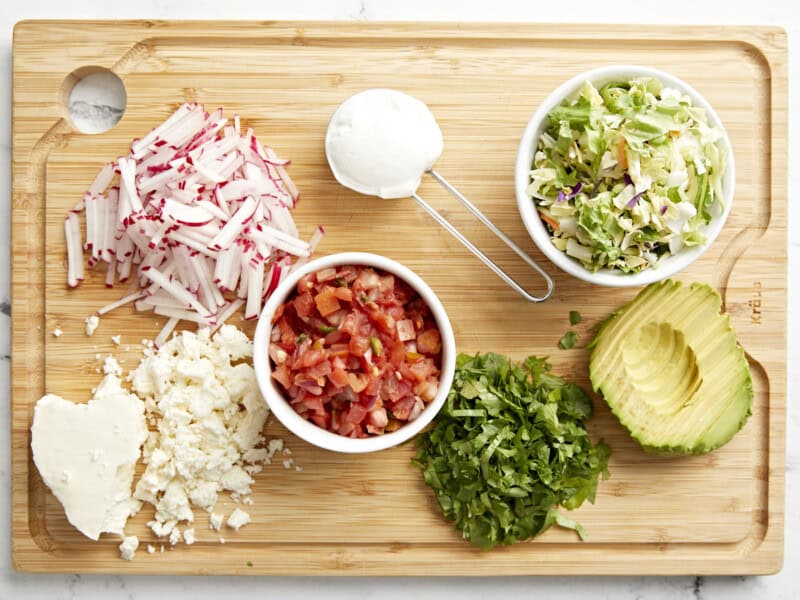
Crumble 2 Tbsp queso fresco, julienne or slice 3 radishes, mince 2 Tbsp cilantro, thinly slice the avocado, and gather your premixed cabbage and salsa of choice.
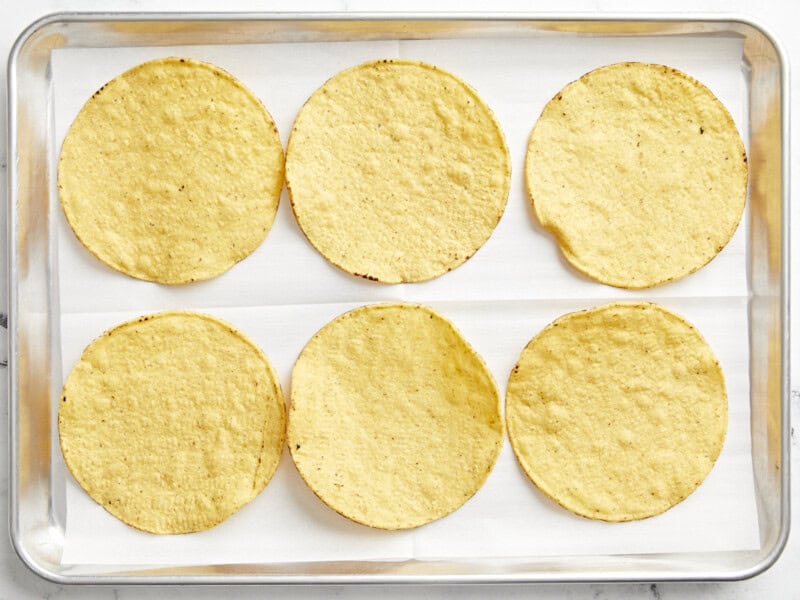
Spread out 8 tostada shells on a cookie sheet and toast in the oven at 350°F for 5 minutes. This makes the tostadas extra crunchy!
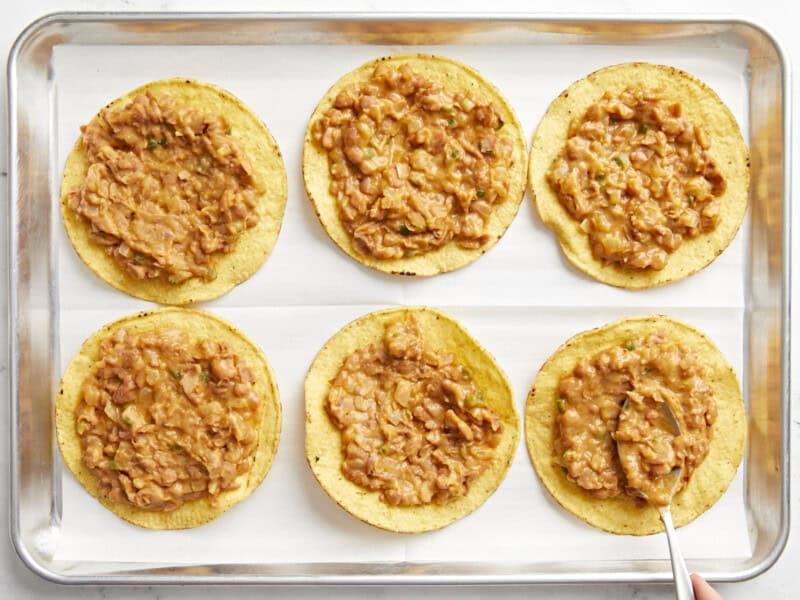
Assemble tostadas: The tostada shell will be on the bottom, topped with mashed pinto beans.
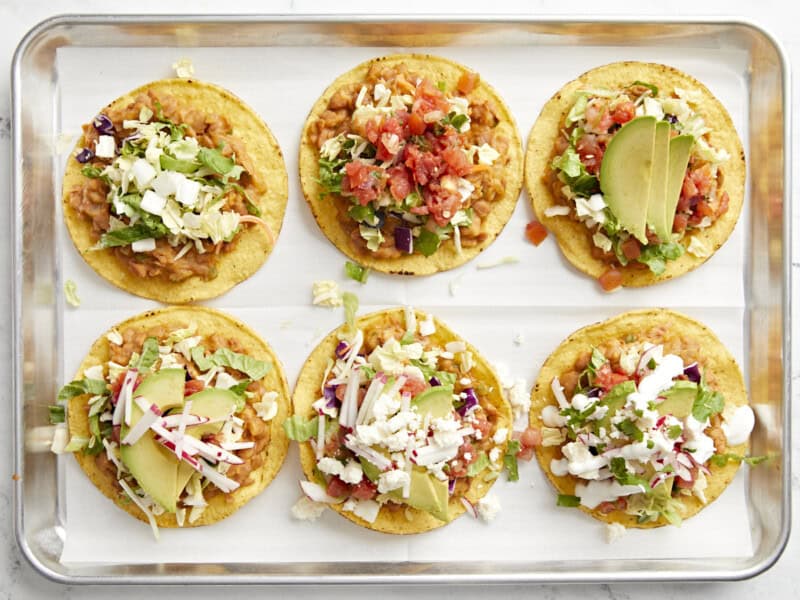
Then, add all other toppings; divide the 1/2 bag of pre-chopped slaw mix, 1/2 cup salsa, 1/4 cup sour cream, 2 Tbsp chopped fresh cilantro, 1 sliced avocado, and 2 Tbsp crumbled queso fresco between all tostadas. Enjoy!
More Recipes with Tortillas


The post Tostadas appeared first on Budget Bytes.
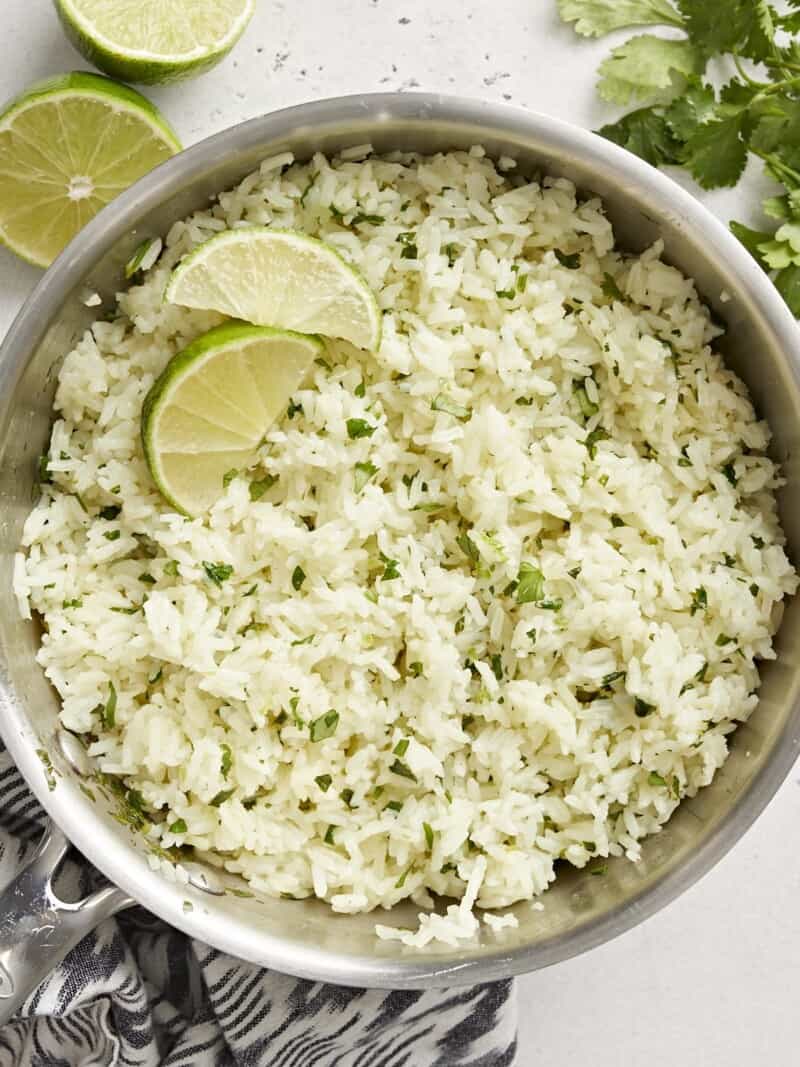
 Mexican nights are always the best nights. We love making tacos, burritos, quesadillas, enchiladas, taco salad, and more! Whenever I am in the mood for Mexican flavors, but need an EASY meal, I make this Cheesy Rice and Bean Skillet. It is made with rice, beans, salsa verde, onion, cilantro, lime, and plenty of cheese!…
 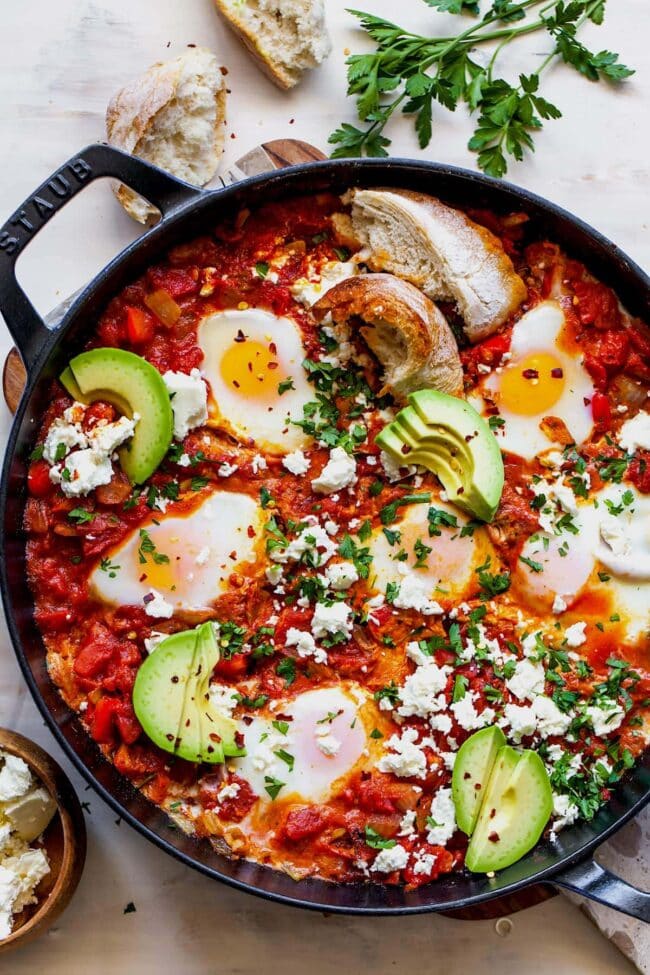 Let me introduce you to one of my all-time favorite meals, Shakshuka! This spiced egg-and-tomato dish is a wonderful and easy meal to make at home. We love it for an ultra-savory breakfast or a quick and easy dinner. Oh…and it’s pronounced shock-shoe-ka, just in case you weren’t sure! This simple skillet meal is made…