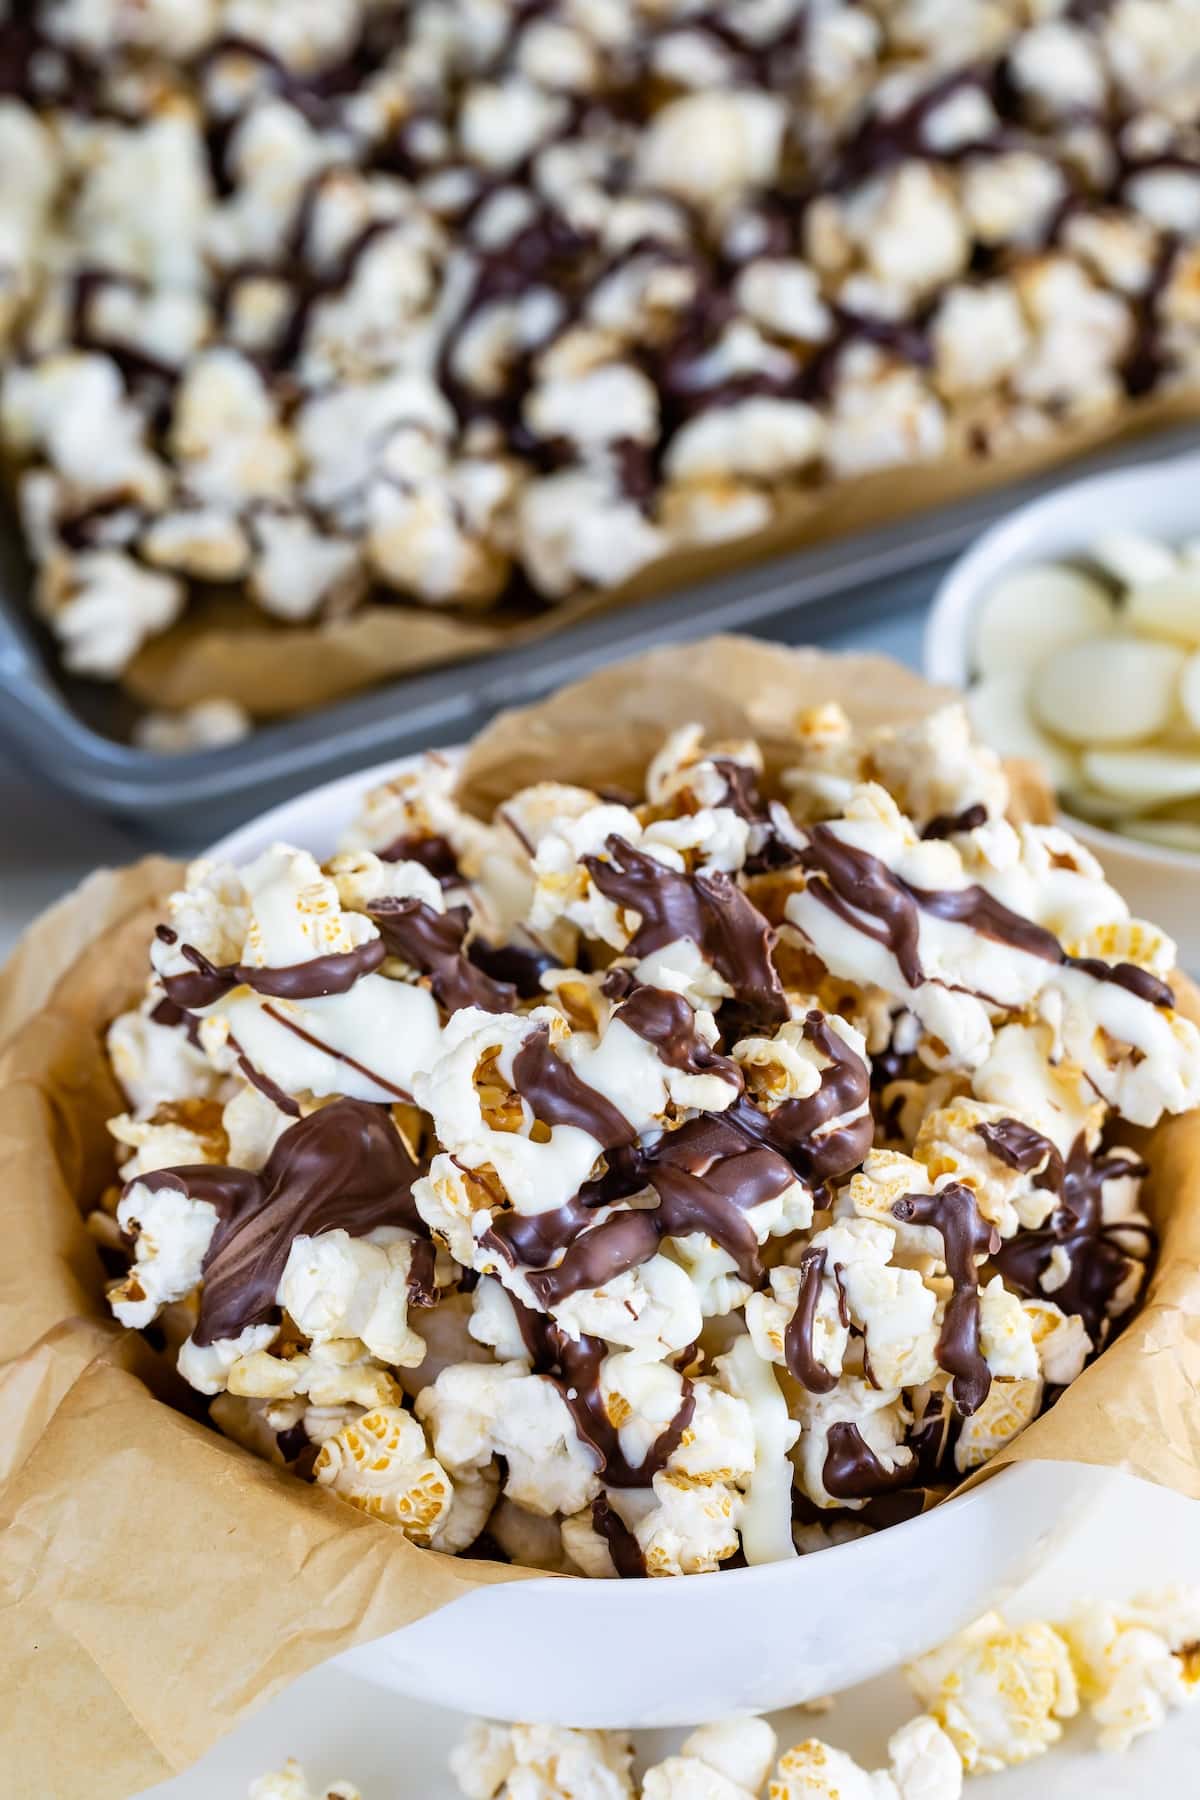
Zebra Popcorn is a fun and easy recipe that you can make at home with only 3 ingredients! It is the best movie night recipe that you can make with the kids and it’s a copycat recipe of that expensive popcorn you find at the mall – but made at home! Why you’ll LOVE this…
Zebra Popcorn is a fun and easy recipe that you can make at home with only 3 ingredients! It is the best movie night recipe that you can make with the kids and it’s a copycat recipe of that expensive popcorn you find at the mall – but made at home!
Why you’ll LOVE this recipe
Zebra Popcorn is caramel corn that is then coated in stripes of regular and white chocolate. That is how is gets its name – because is looks like a zebra! I prepared this recipe a little differently. In my version of it I used store bought sweet & salty popcorn so you don’t have to make caramel corn from scratch!
This recipe can be sweet & salty for a delicious after school snack, or it can be more sweet for an after dinner movie watching treat! It’s so quick and easy to make and is done in no time!
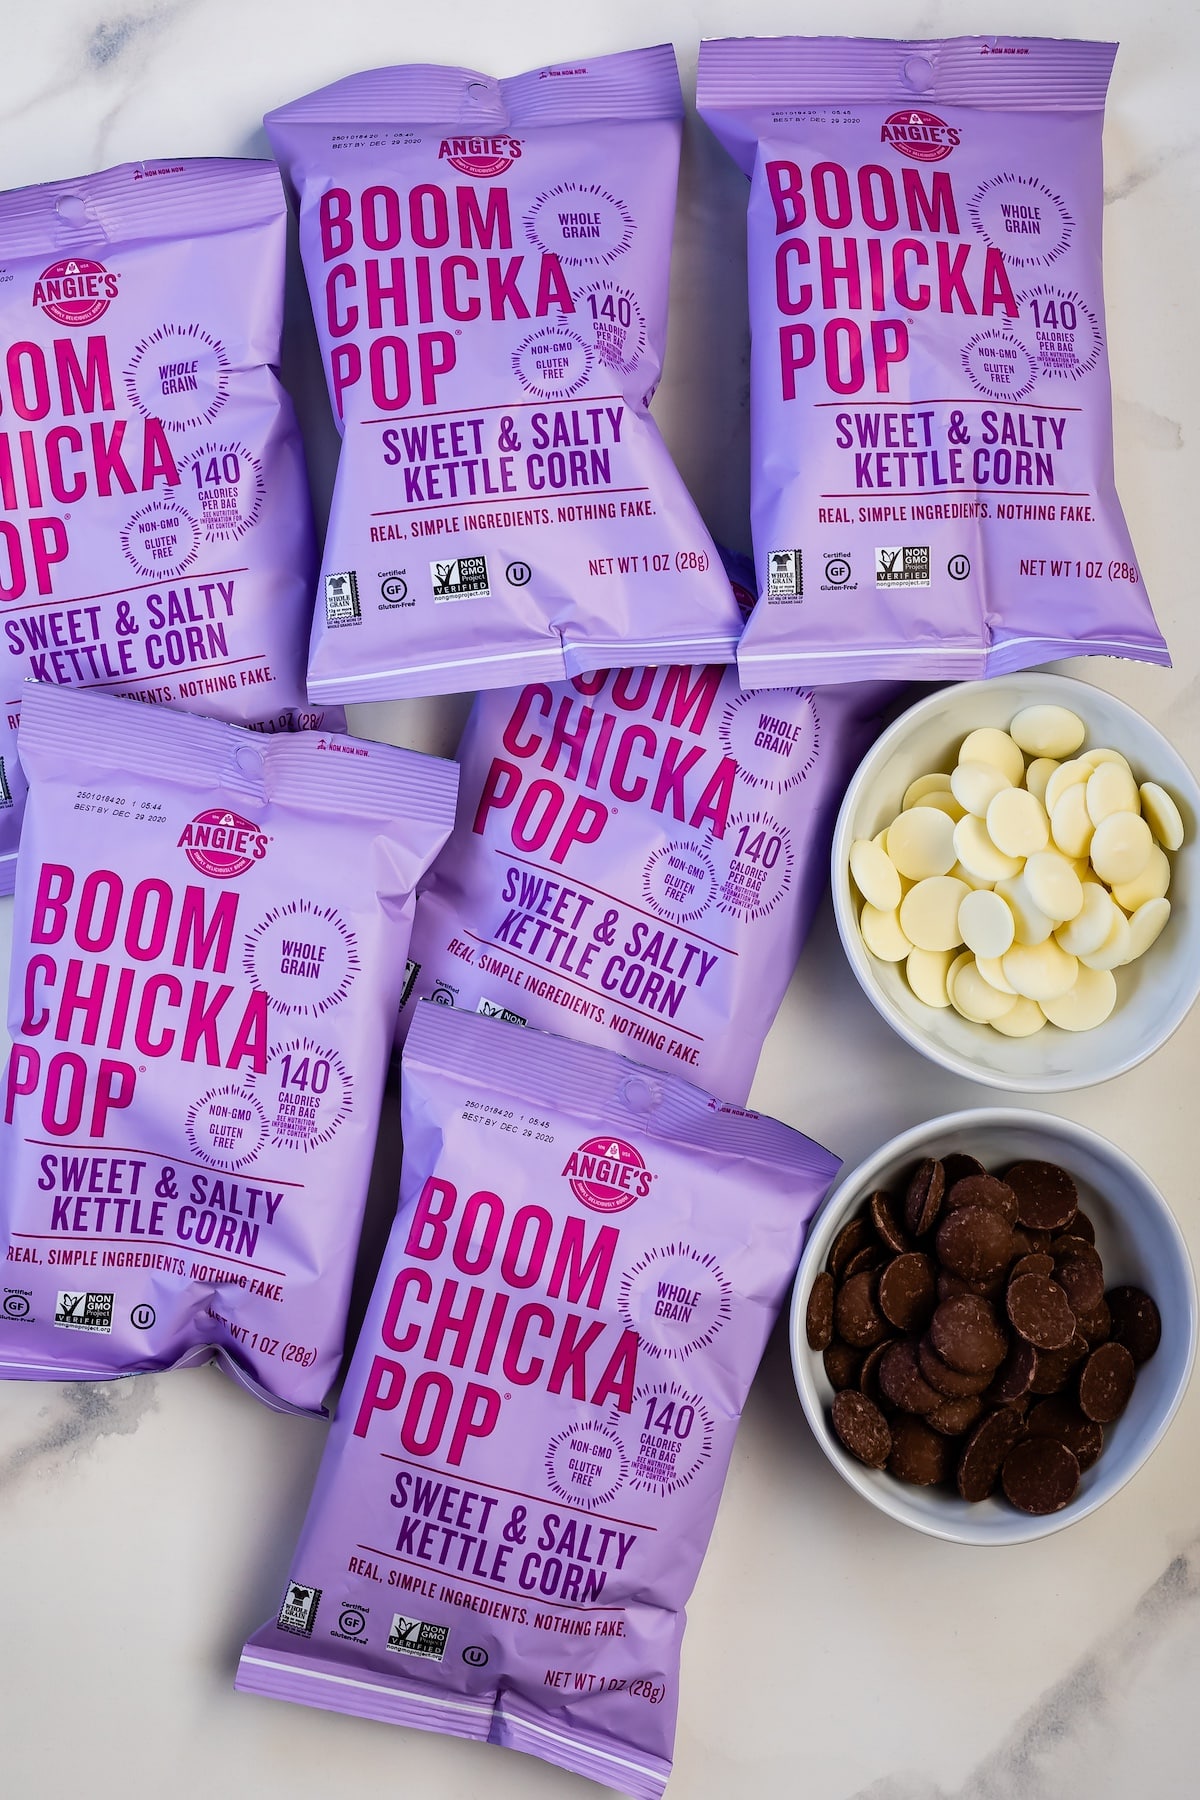
Ingredients Needed
Popcorn: Use whatever popcorn you like best – if you can find a big bag of Kettle Corn (any brand) that’s best – but caramel corn works too.
Candy Melts – I don’t recommend using chocolate chips as they’ll melt faster in your hands when eating. Look for candy melts in the baking aisle – Ghirardelli is the best. Traditionally this gourmet popcorn uses two types of melted chocolate: white chocolate and semi-sweet or milk chocolate.
Click to see the recipe card below for full ingredients & instructions!
How to make Zebra Popcorn
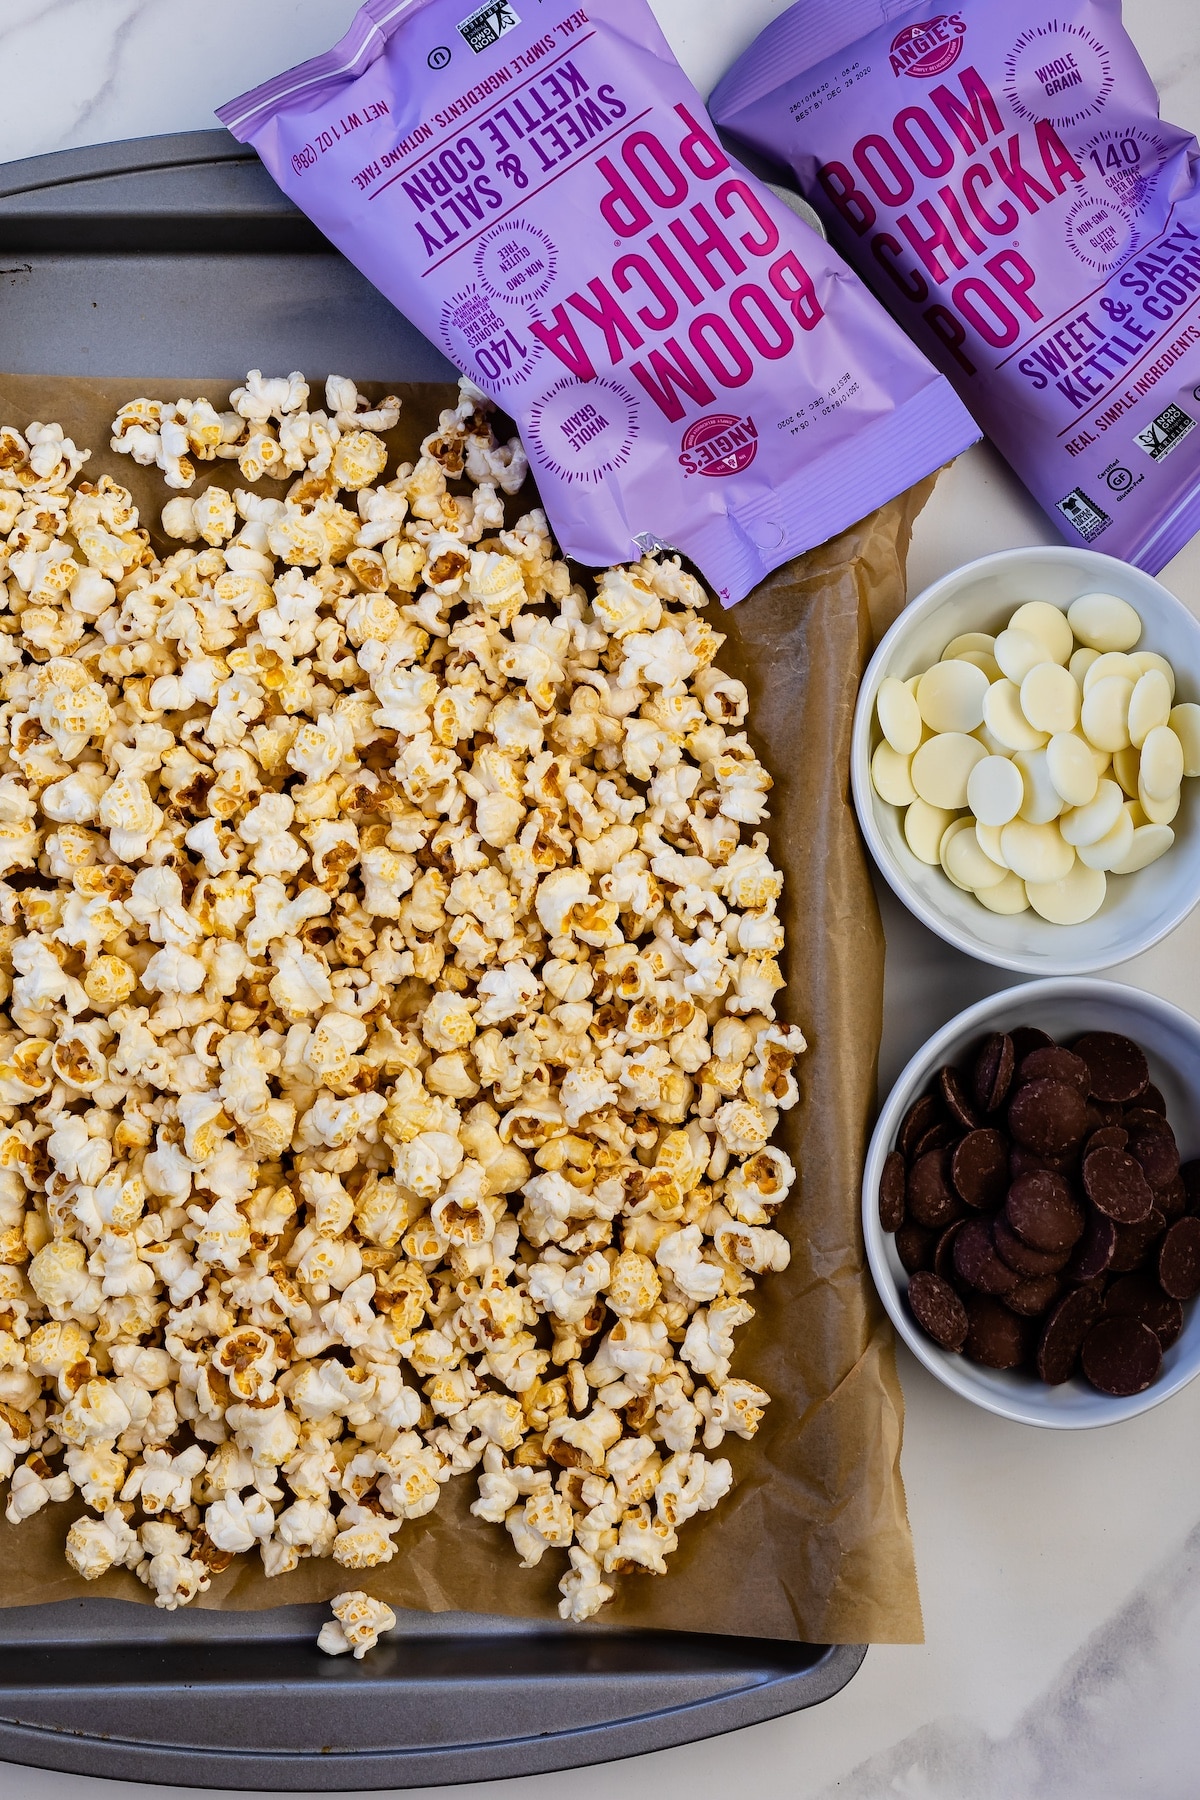
Spread popcorn on a large cookie sheet that’s been covered with parchment paper.
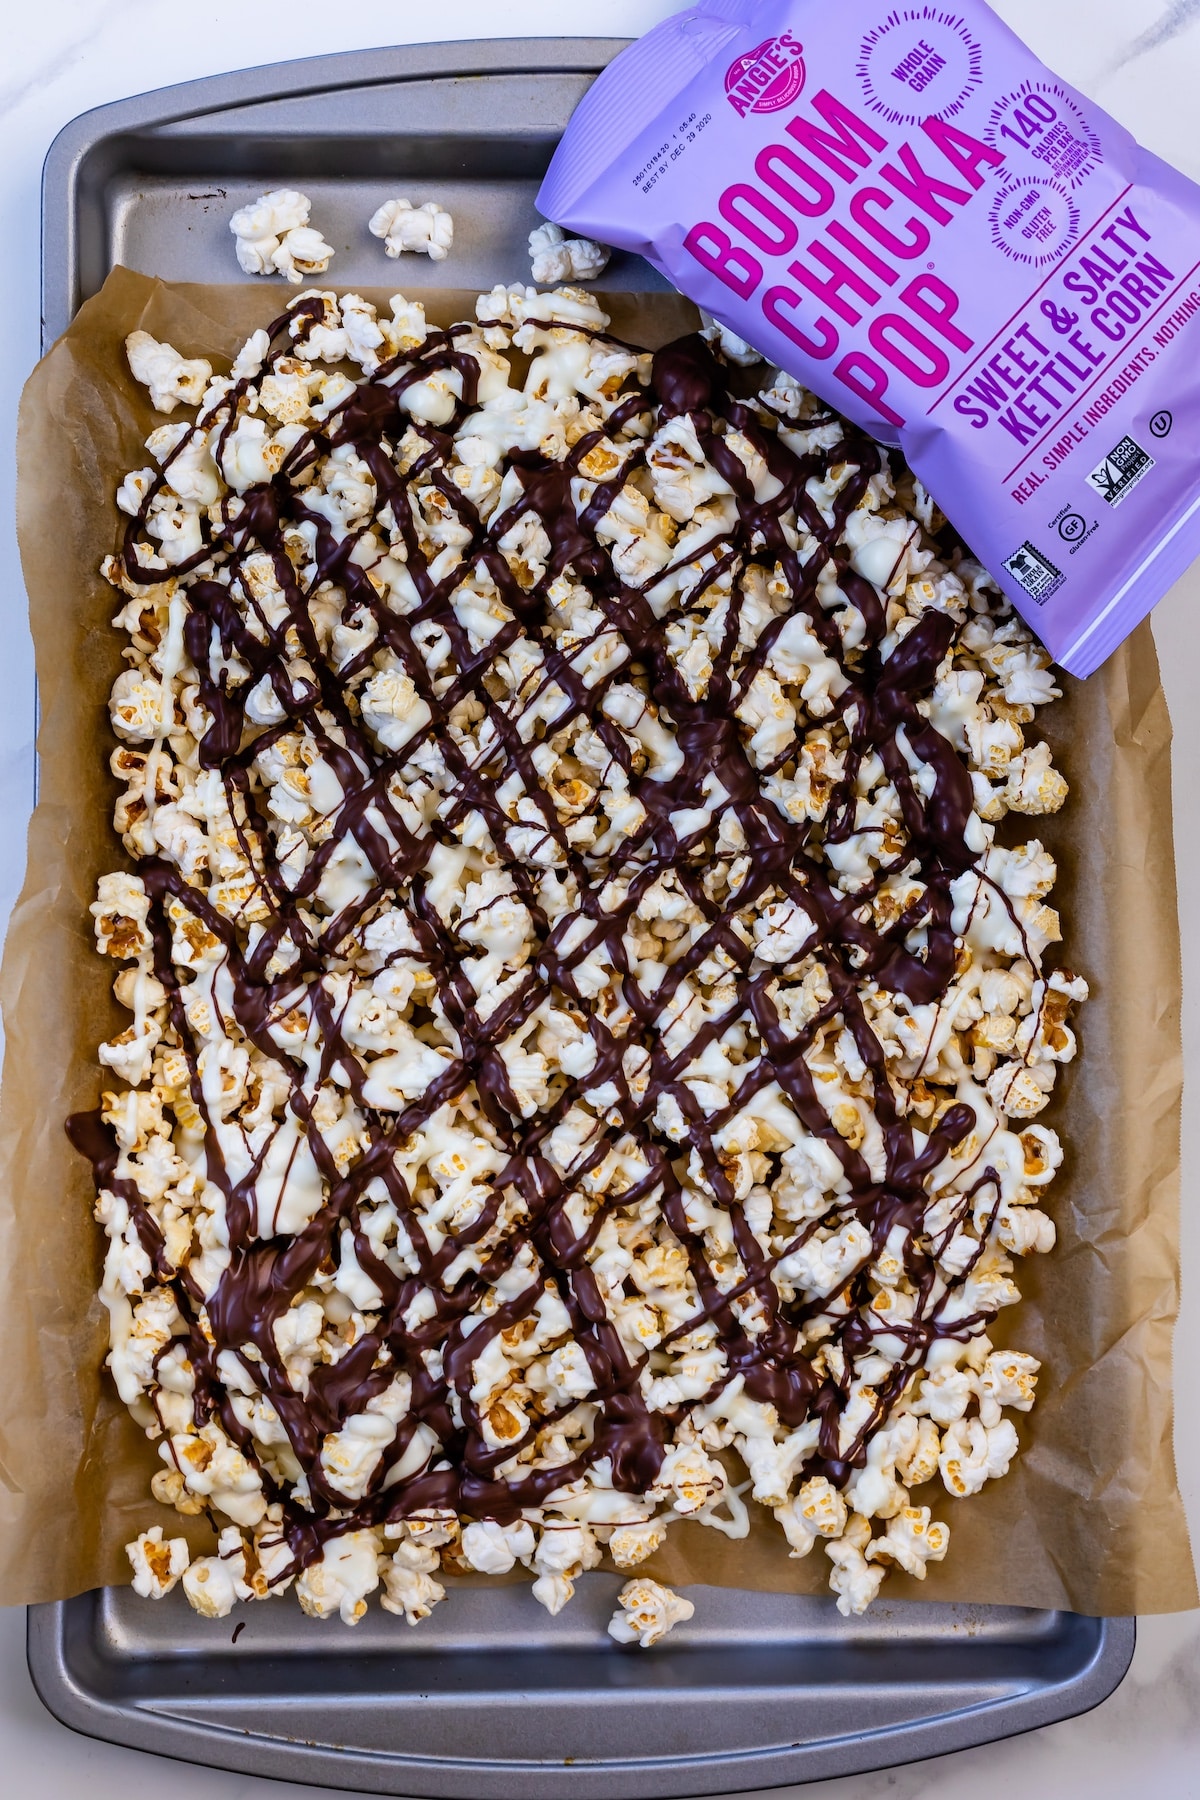
Melt both candy coating according to package directions in the microwave. Place each in a small sandwich bag. Cut the tip off the white chocolate and drizzle all over the popcorn. Repeat with semi-sweet chocolate.
Expert Tips
If you have piping bags, you can use those, but a sandwich bag is a great alternative. All you need to do it cut the tip off of a corner of the bag and drizzle!
Use the kinds of chocolate you like – mix and match your favorites.
Let the recipe fully chill and harden on the large baking sheet before serving or packaging.
You can even make this in small batches by using single serve packages – or package it up for gifts.
I love starting this recipe with packaged popcorn because there will be less unpeopled kernels plus it’s so easy!
FAQs
How do you store this recipe?
Store this recipe in an airtight container at room temperature for up to three days.
Spread Kettle Corn on a large cookie sheet that's been covered with parchment paper.
Melt both candy coating according to package directions. Place each in a small sandwich bag.
Cut the tip off the white chocolate and drizzle all over the popcorn. Repeat with semi-sweet chocolate.
Chill until set, about 20 minutes. Break up pieces and serve. Store in an airtight container for up to 3 days.
Notes
You can make your own caramel corn for this if you prefer but starting with pre-popped is so much easier. Use your favorite brand and flavor of popcorn – either caramel corn or kettle corn.
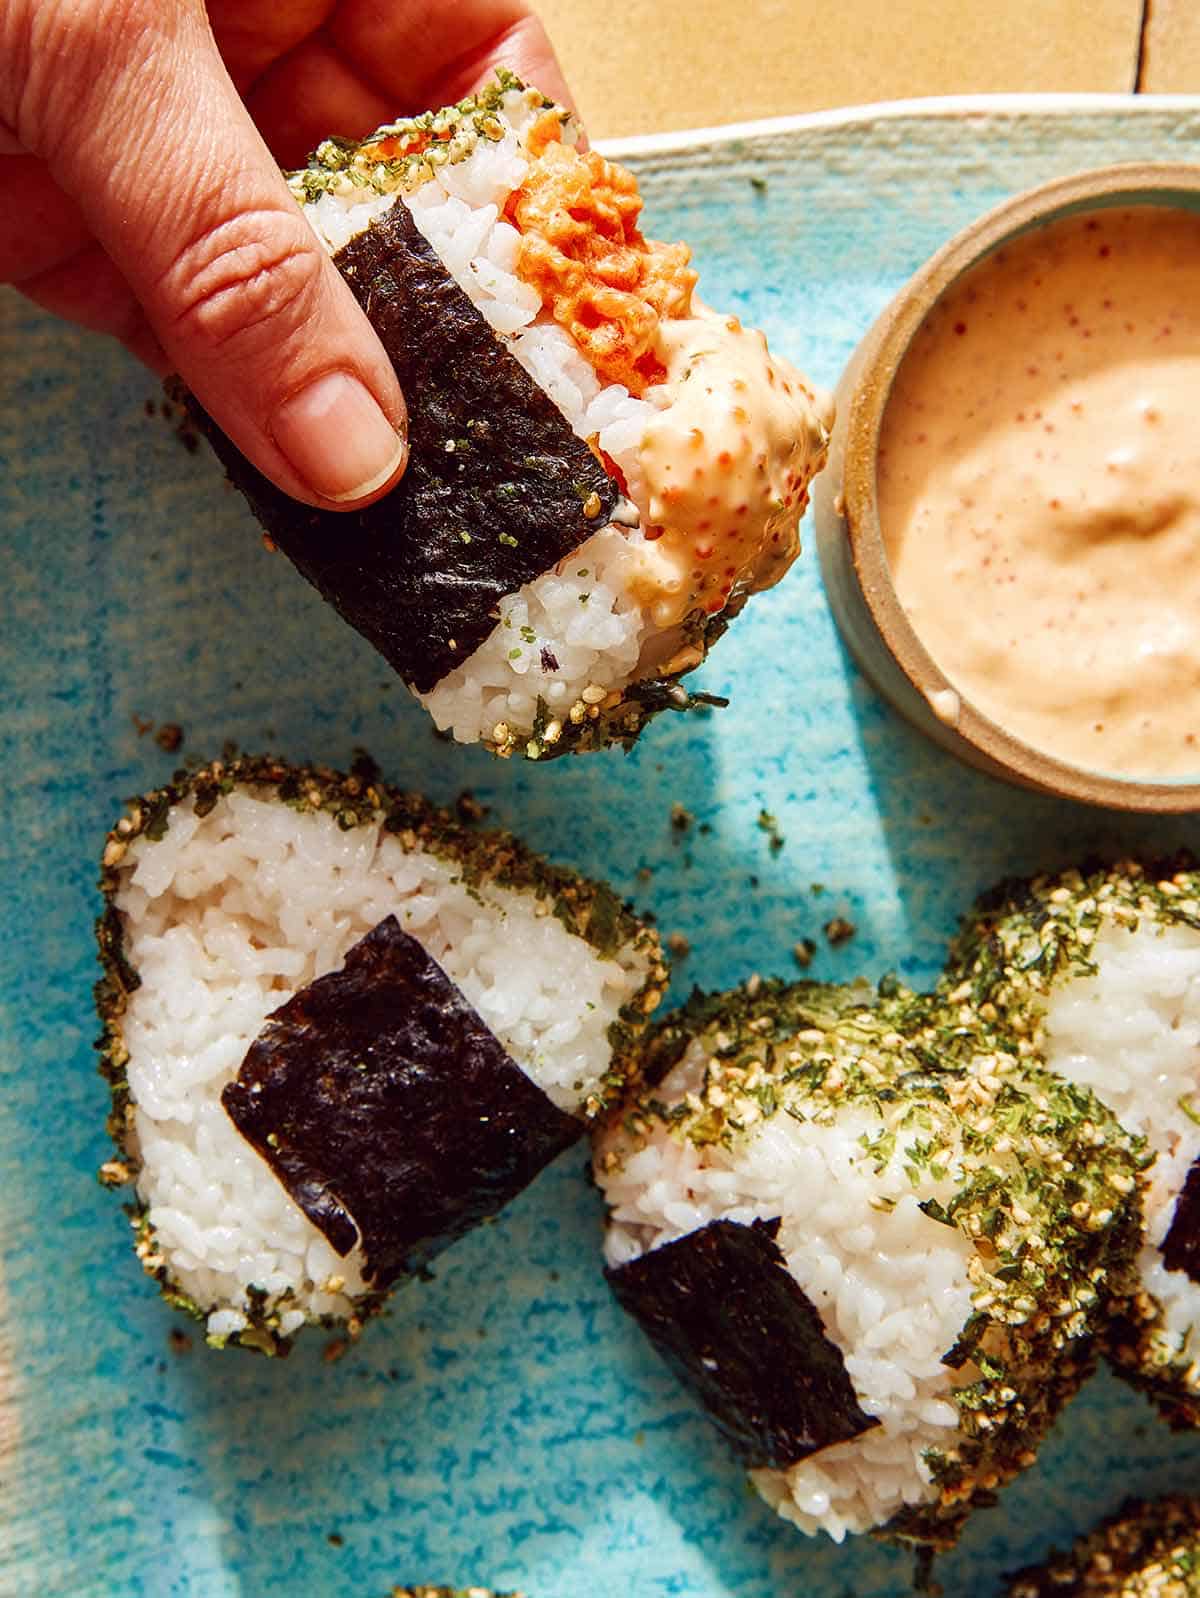
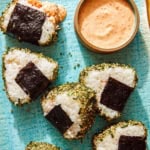
Our Spicy Tuna Onigiri has had me in a total choke hold lately! I’ve been eating them for lunch all week long! I love this super quick, easy, and tasty hand-held meal. It’s a great lunch to take with you on the go too! There are so many variations and fillings for this little snack, that it’s difficult to get sick of them! What is Onigiri? Onigiri is a Japanese stuffed rice ball (also known…
Our Spicy Tuna Onigiri has had me in a total choke hold lately! I’ve been eating them for lunch all week long! I love this super quick, easy, and tasty hand-held meal. It’s a great lunch to take with you on the go too! There are so many variations and fillings for this little snack, that it’s difficult to get sick of them!
What is Onigiri?
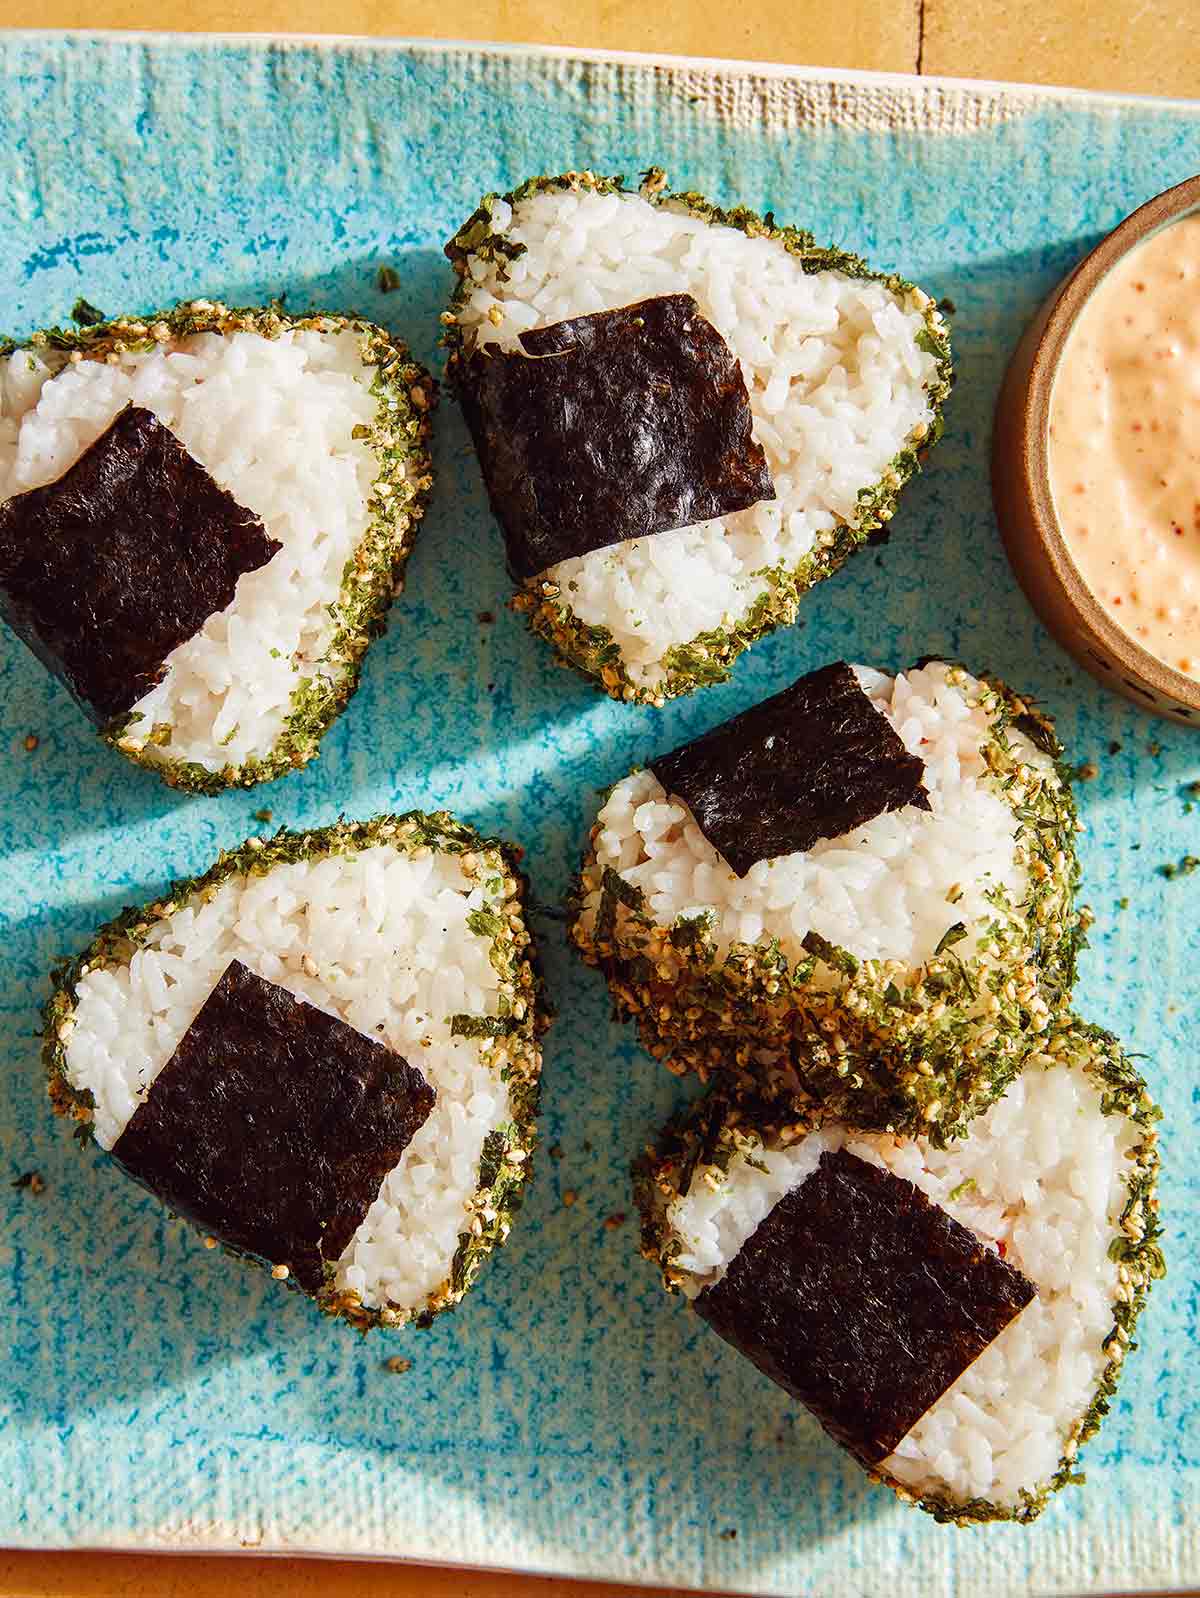
Onigiri is a Japanese stuffed rice ball (also known as omusubi and nigirimeshi). It is a popular snack or meal on the go. They’re generally triangular or circular in shape. Some traditional fillings are short ribs, tempura, umeboshi (pickled plums), canned tuna, pickled vegetables, but you can really stuff rice balls with whatever you want!
How to Make Spicy Tuna Onigiri
Ingredients
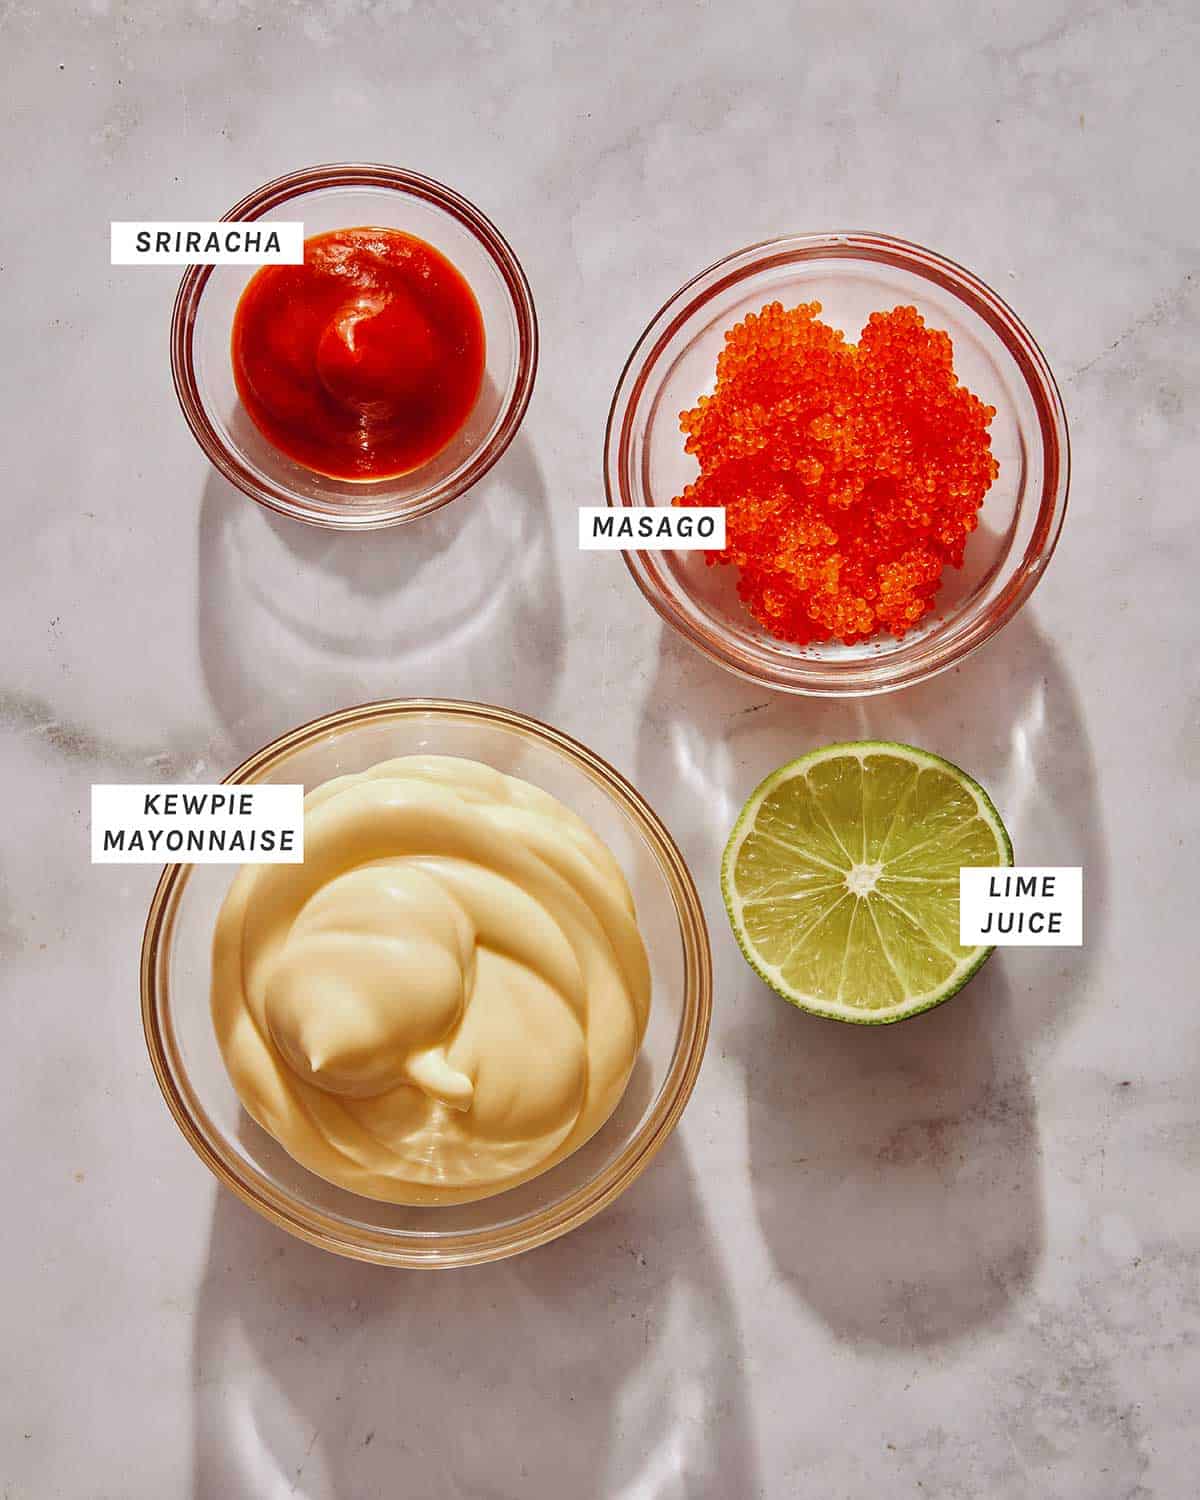
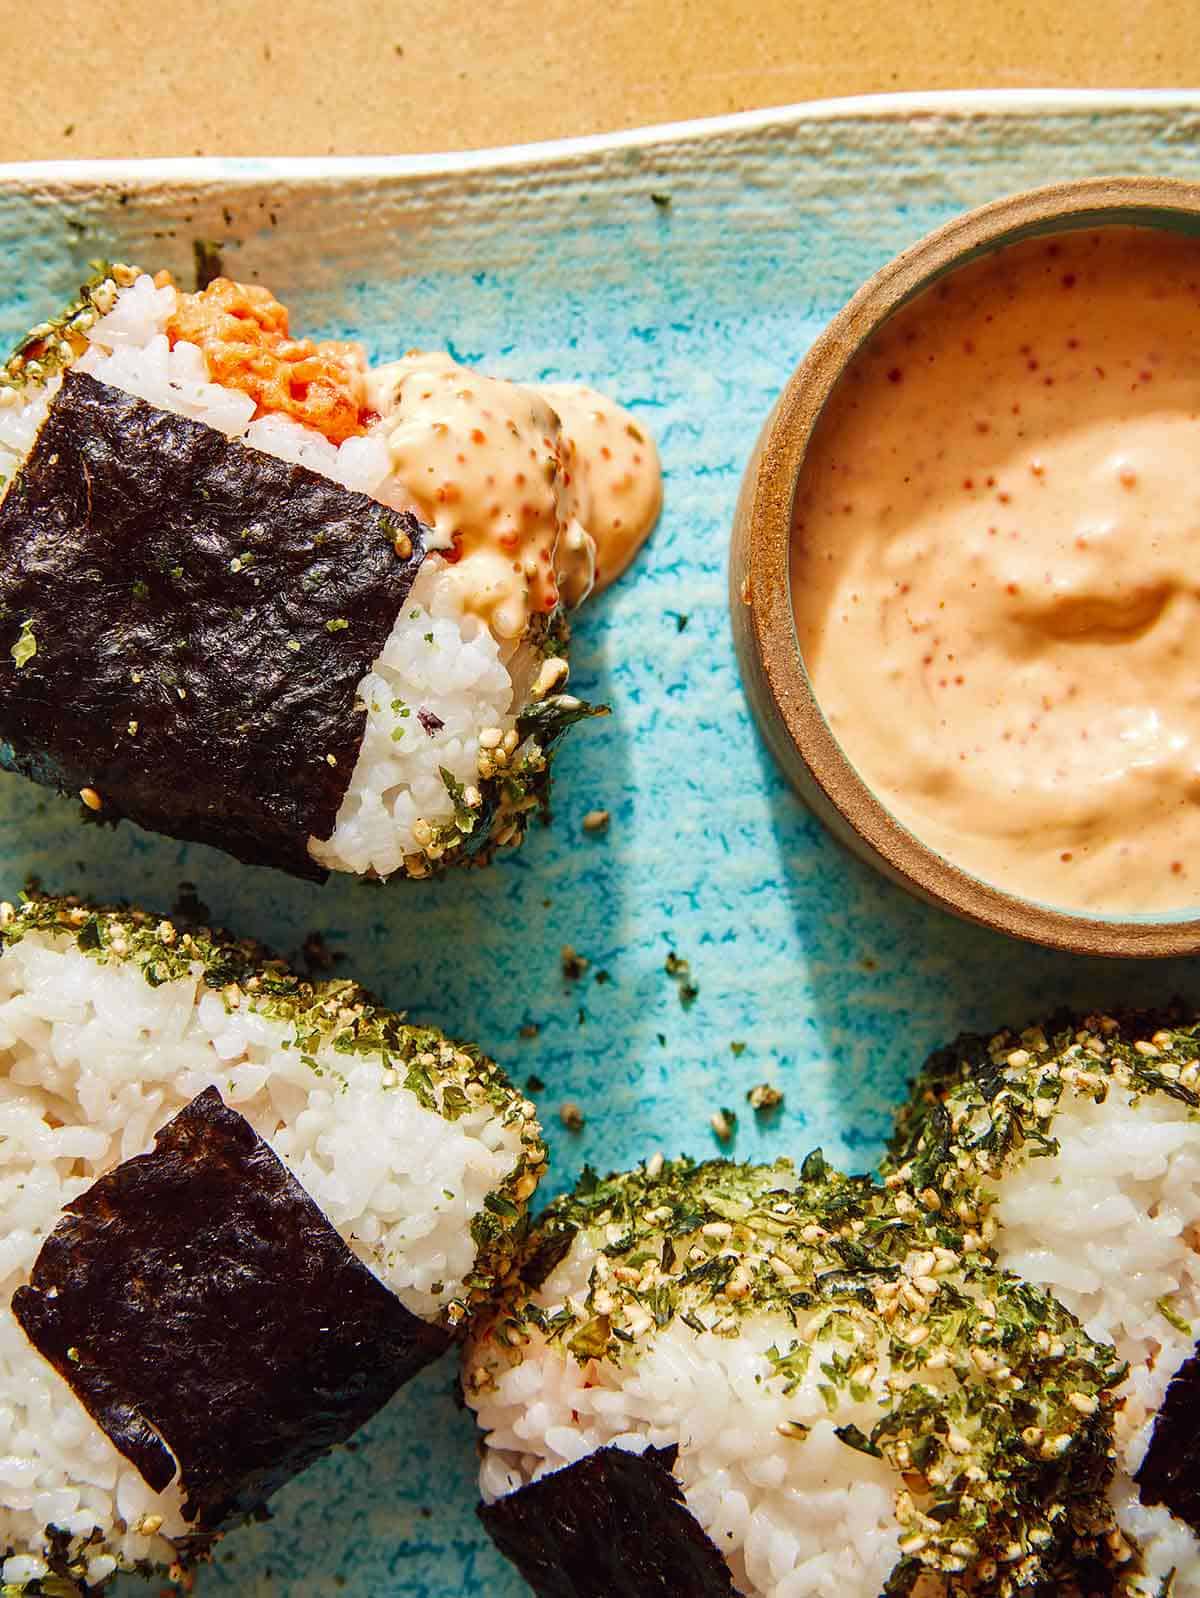
Masago Sauce
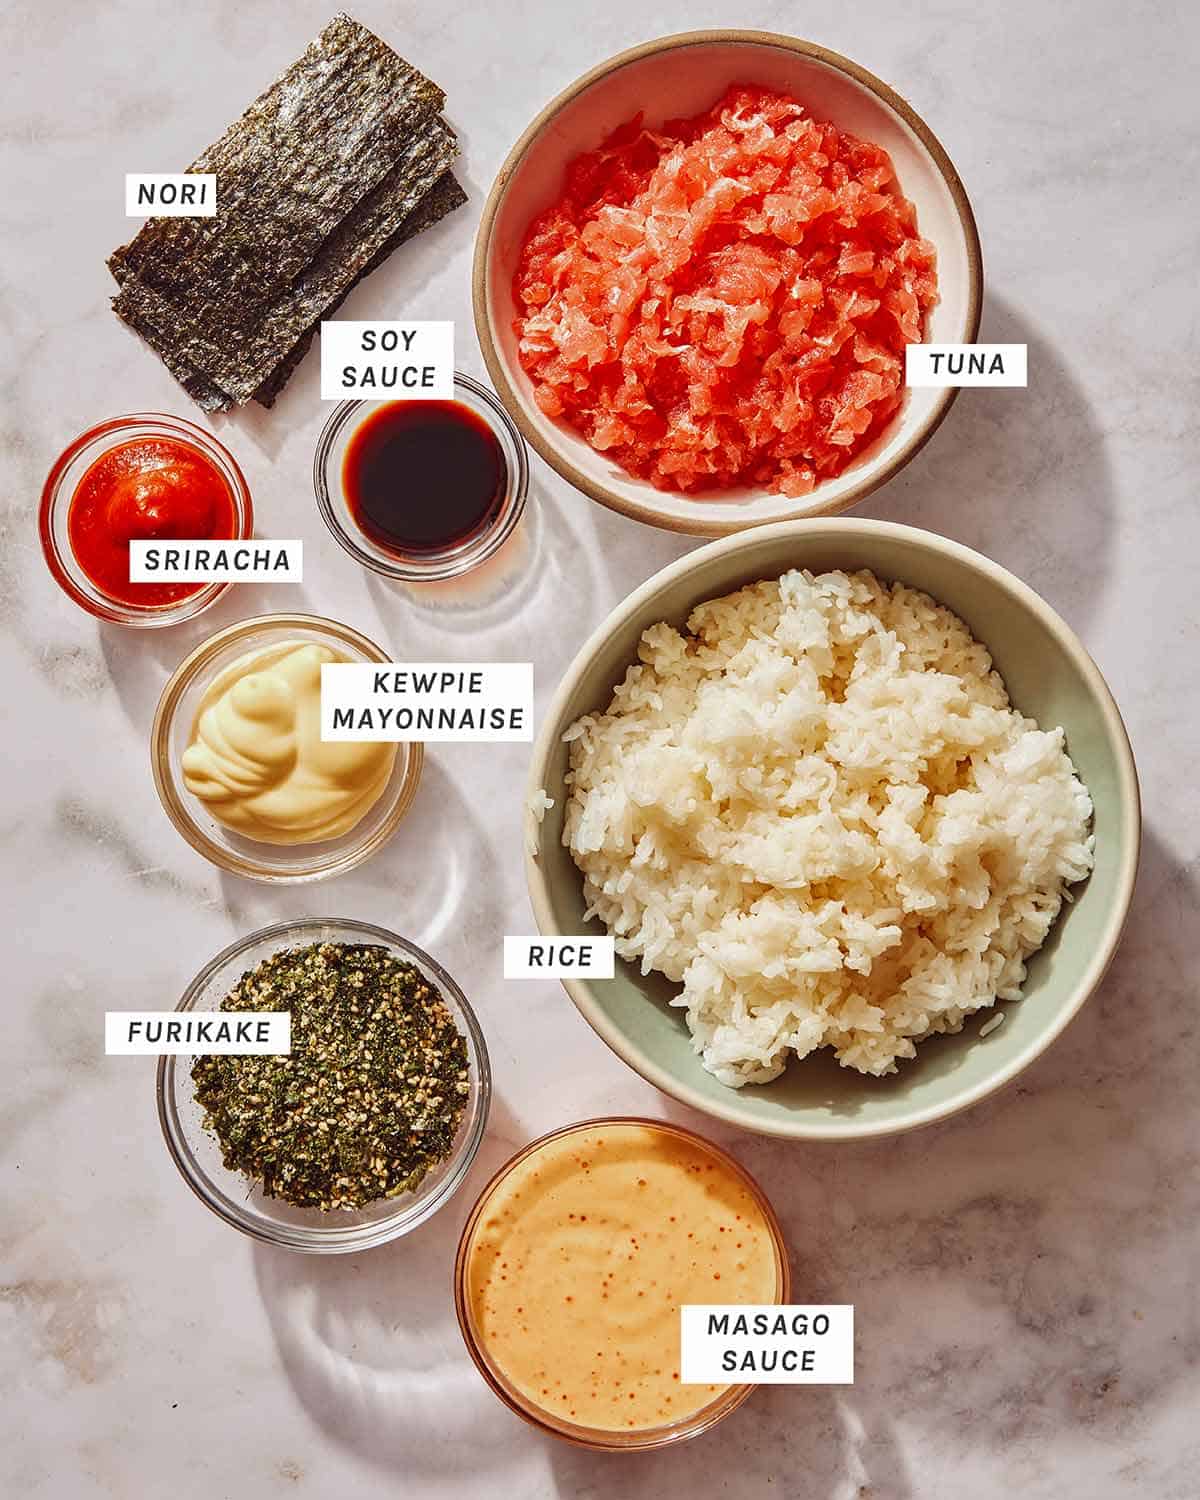
Spicy Tuna Onigiri
Process
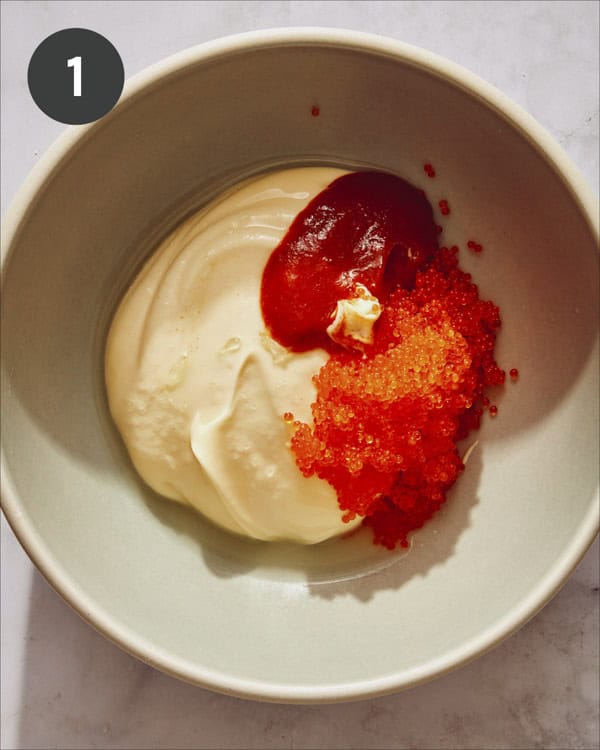
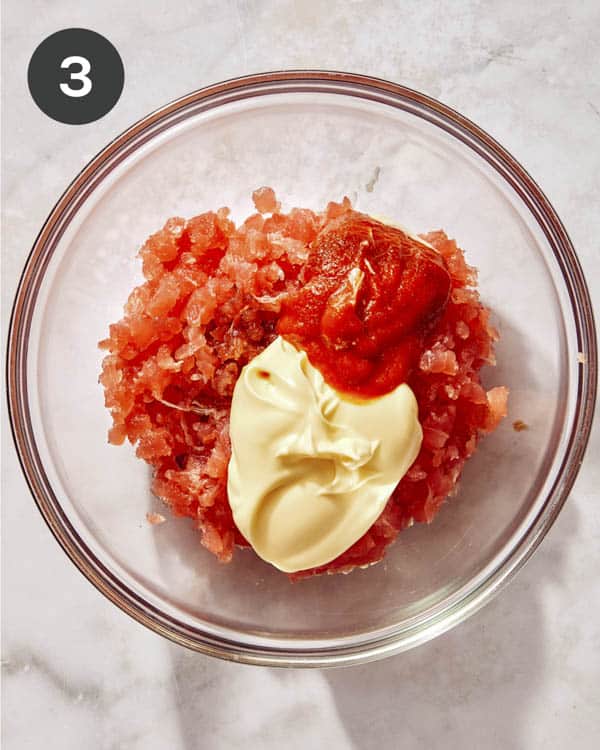
Place all ingredients into a mixing bowl.
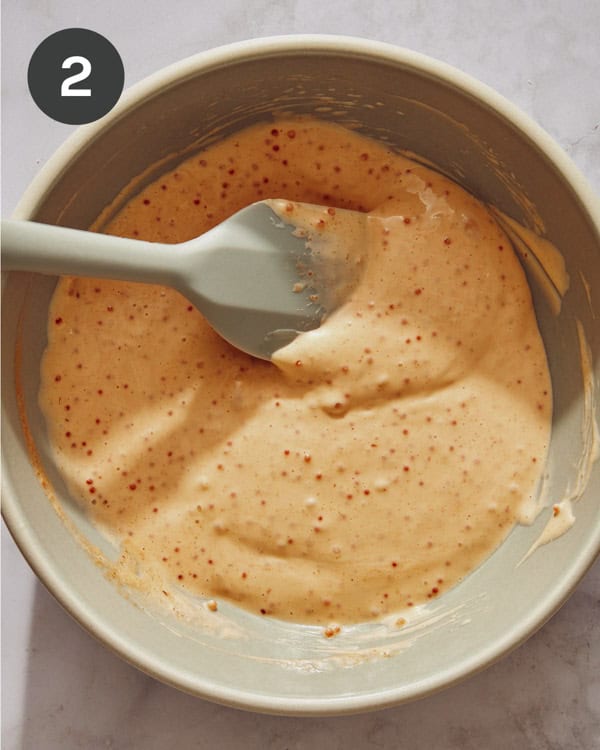
Stir together. Set aside.
Place all filling ingredients into a mixing bowl.
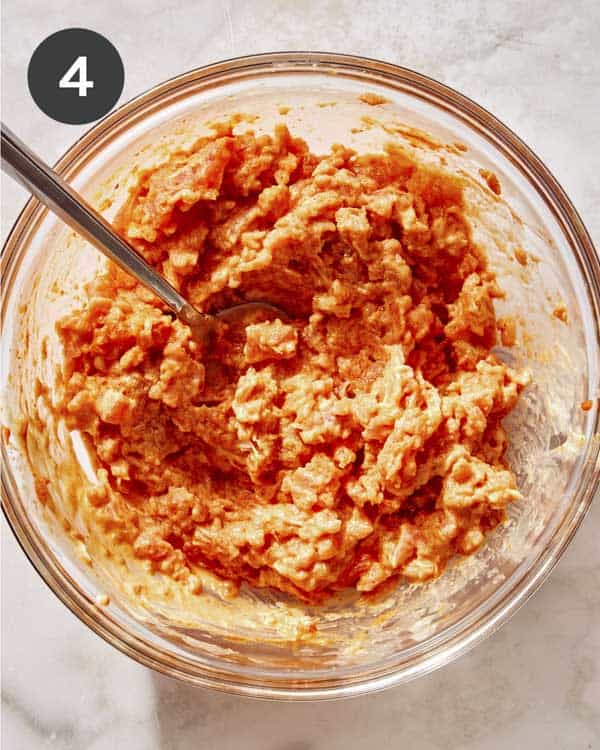
Mix together until everything is completely combined.
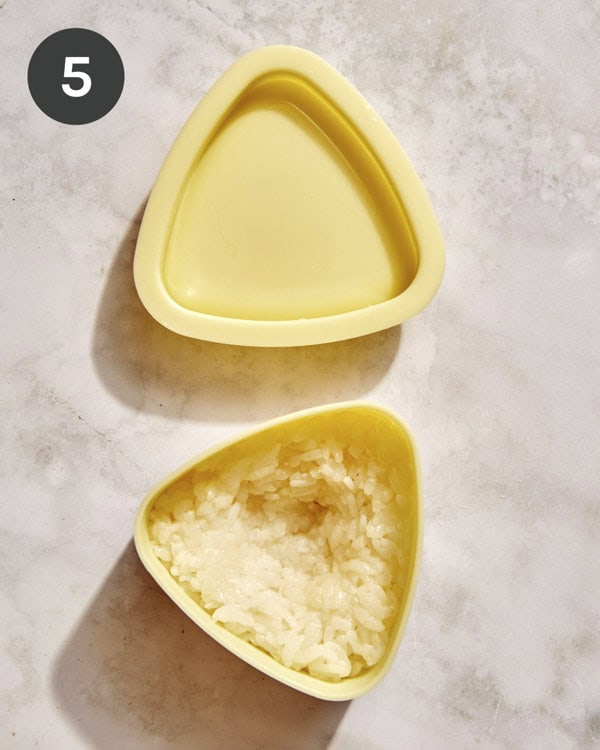
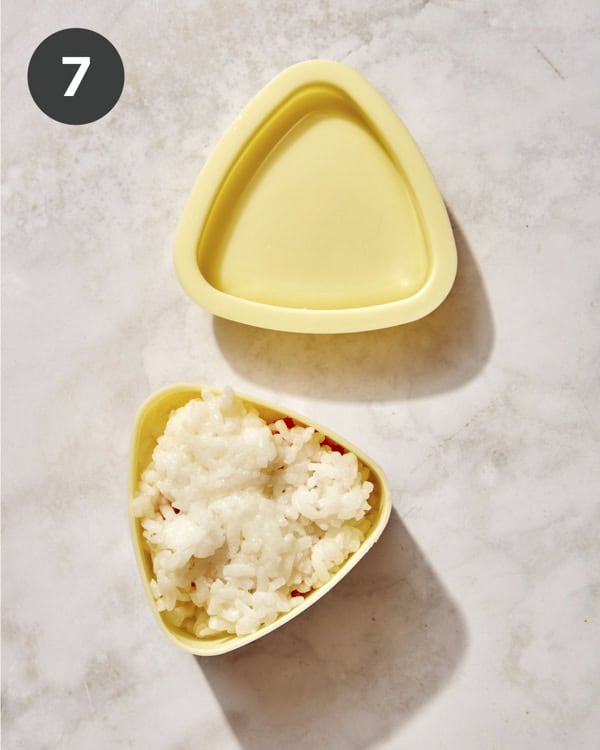
Press 1/4 cup rice into the bottom of an onigiri mold.
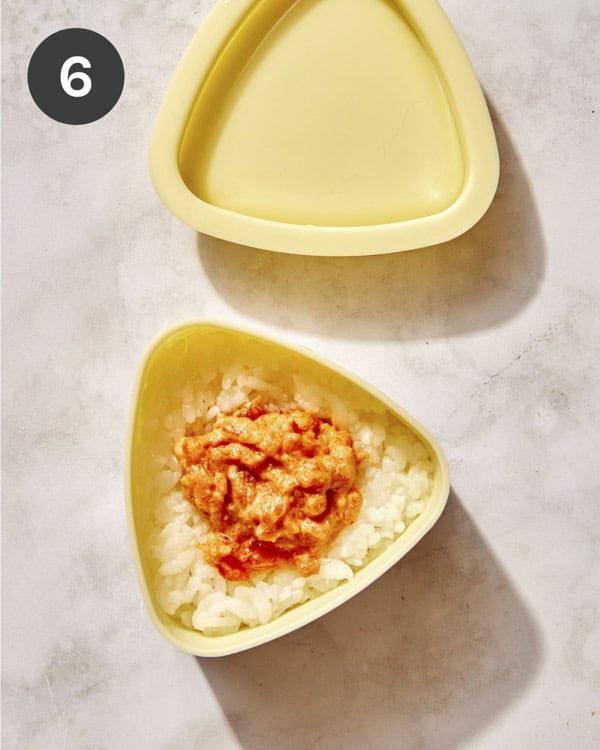
Create a tablespoon sized divet in the center of the rice and fill with a scoop of tuna filling.
Top the tuna and rice with an additional 2 to 3 tablespoons rice.
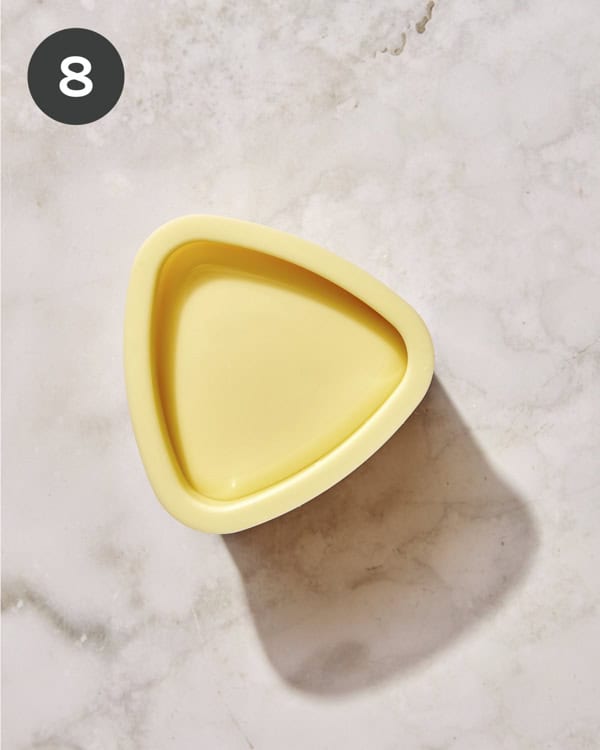
Firmly press with the onigiri mold top.
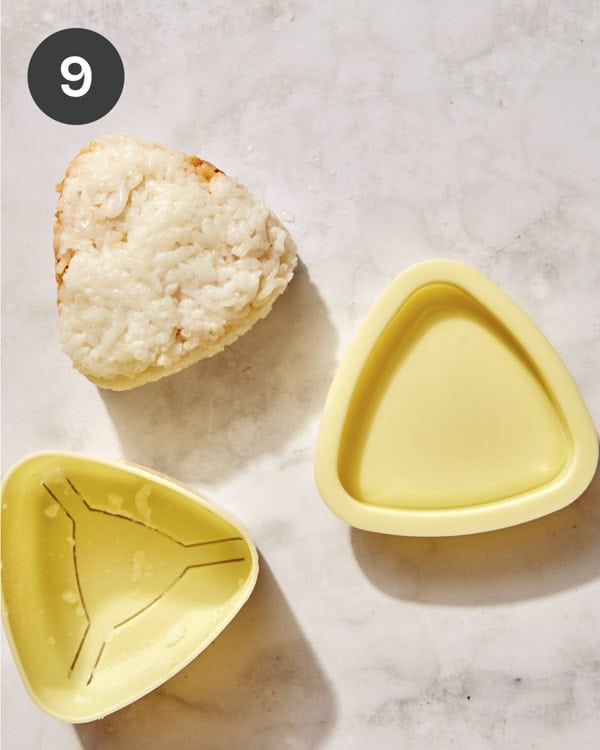
Unmold the onigiri.
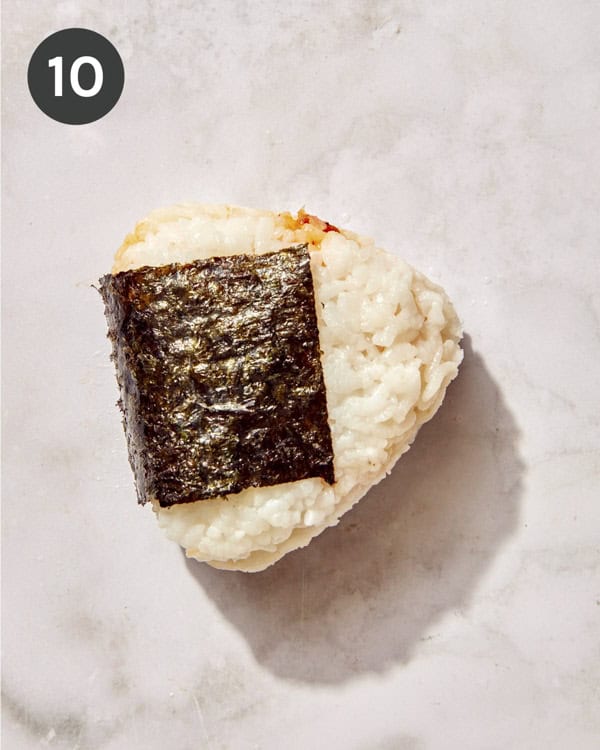
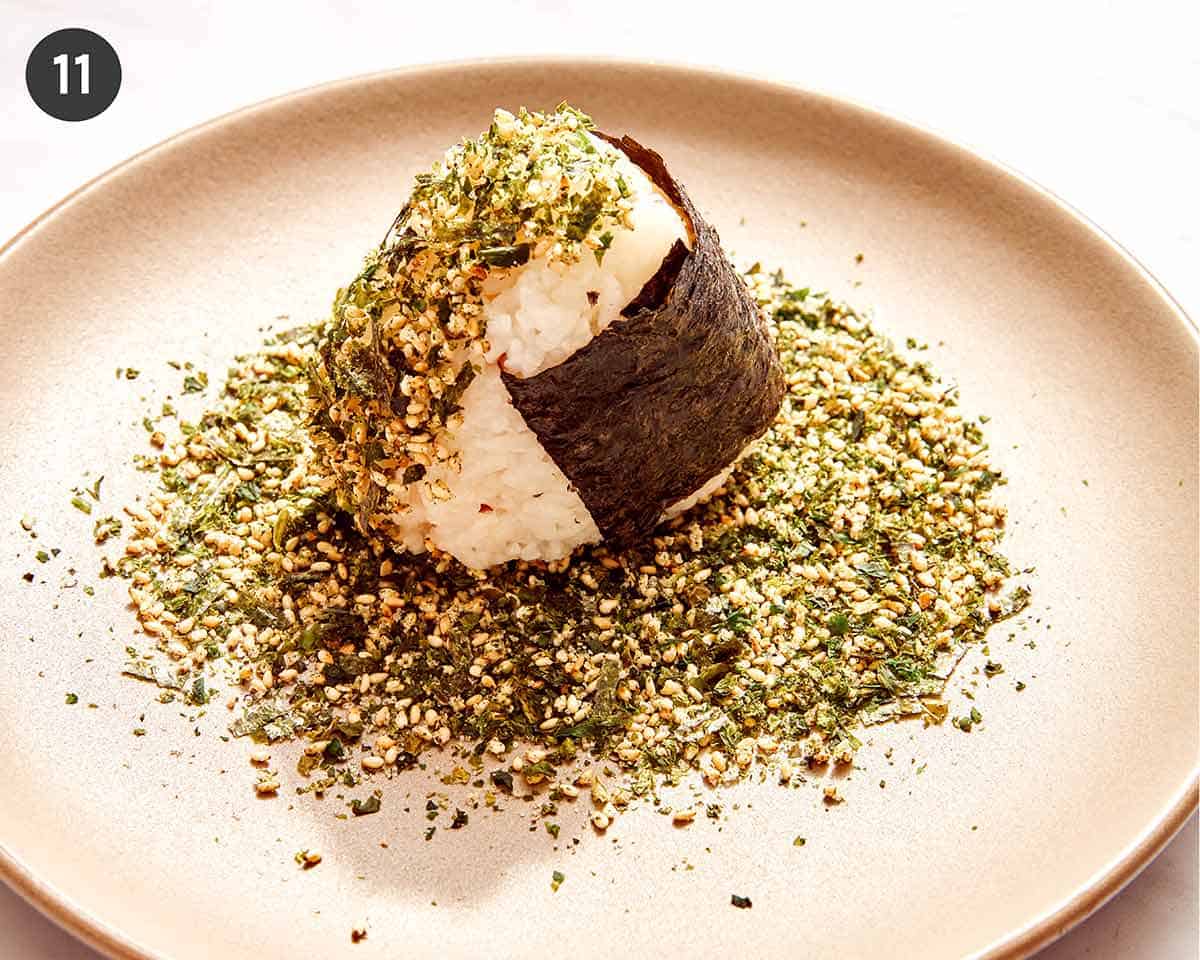
Wrap a piece of nori around the bottom center side of the triangle.
Press the sides of the onigiri into the furikake seasoning. Repeat with remaining ingredients. Serve.
Why We Love This Onigiri Recipe
It’s so simple and takes no time at all to put together!
They’re so comforting and satisfying every single time!
They make a great meal OR snack!
You can easily make them ahead of time and take them on the go!
There are an infinite amount of filling ideas you can stuff them with, depending on your cravings!
Tips and Tricks for Onigiri Success
Use a short or medium grain sticky rice to ensure your rice balls will stick together.
Don’t skip out on the sauce! – Most of the time you do not get a sauce for onigiri, but we think this simple masaho sauce pairs perfectly with the rice balls and make our recipe just a little bit special.
Don’t overfill the rice balls! It may be tempting to maximize the filling for these rice balls, but if you overstuff them they will easily fall apart!
Alternatively, don’t use too much rice, so there’s still enough room for filling (it’s a balancing act between rice and filling)!
Do I Need an Onigiri Mold?
Absolutely not! We love using an onigiri mold because it does make it easier to form them (plus the ones we use, make smaller, snack-sized onigiri which we love), but you can form them by hand!
If you do form them by hand, just make sure you tightly wrap them in plastic wrap until you’re ready to enjoy them, so they maintain their shape and hold the filling together.
Variations
Use short or medium grain sticky brown rice instead of white.
Use canned tuna or canned salmon instead of raw tuna for the filling. Or use raw salmon, scallops, or yellowtail!
Stuff the rice balls with sautéed vegetables or marinated tofu cubes for a vegetarian alternative.
Pan-fry the onigiri (and skip the nori wrapper) for a crispy rice texture!
Chop and sauté some kimchi in some butter and sesame oil for a spicy, buttery kimchi filling!
Wrap the entire triangle in nori or press the entire rice ball in furikake seasoning!
Make Ahead Instructions
Onigiri can be made ahead of time, but should be made the same day they will be consumed. This is because the rice should not be refrigerated or it will get too hard to enjoy (and reheating them will make them fall apart, and possibly ruin the filling).
Also, depending on the filling the onigiri should be consumed within 1-4 hours after preparing them (within 1 hour if using raw seafood and up to 8 hours if using something like umeboshi).
More Delicious Asian Inspired Recipes You Will Love
Place all ingredients into a mixing bowl and stir together. Set aside.
filling
Place all filling ingredients into a mixing bowl and mix together until everything is completely combined.
assembly
Press 1/4 cup rice into the bottom of an onigiri mold.
Create a tablespoon sized divet in the center of the rice and fill with a scoop of tuna filling.
Top the tuna and rice with an additional 2 to 3 tablespoons rice and firmly press with the onigiri mold top.
Unmold the onigiri and wrap a piece of nori around the bottom center side of the triangle.
Press the sides of the onigiri into the furikake seasoning. Repeat with remaining ingredients. Serve.
Notes
**Recipe Makes 8 Small Onigiri – Each Serving Size is 2 Onigiri**Tips and Tricks for Onigiri Success
Use a short or medium grain sticky rice to ensure your rice balls will stick together.
Don’t skip out on the sauce! – Most of the time you do not get a sauce for onigiri, but we think this simple masaho sauce pairs perfectly with the rice balls and make our recipe just a little bit special.
Don’t overfill the rice balls! It may be tempting to maximize the filling for these rice balls, but if you overstuff them they will easily fall apart!
Alternatively, don’t use too much rice, so there’s still enough room for filling (it’s a balancing act between rice and filling)!
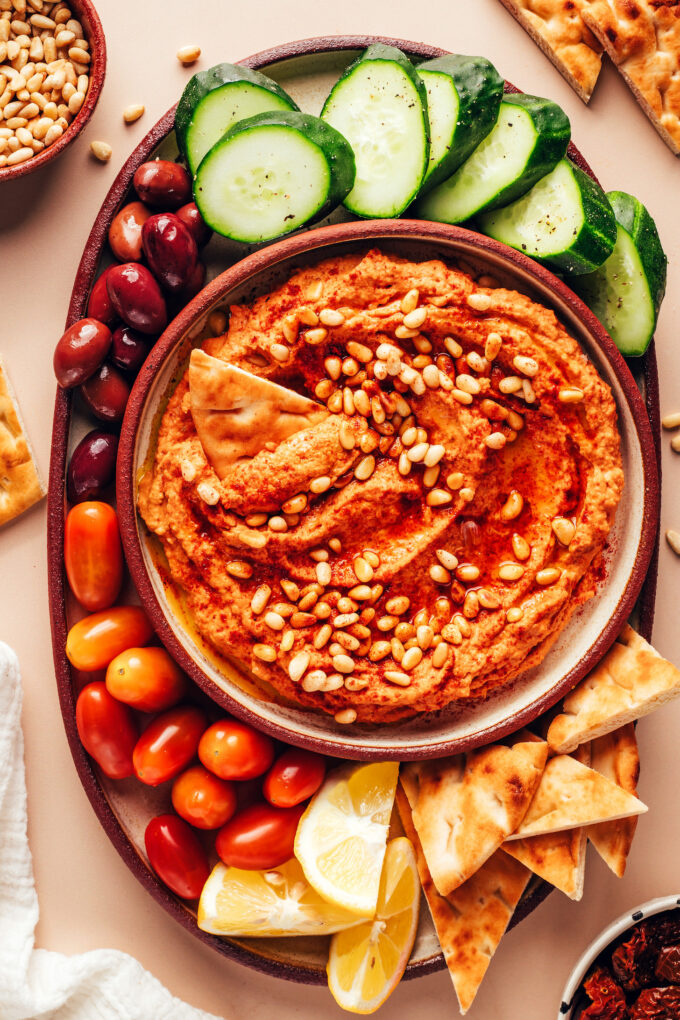
If you love hummus and the rich flavor of tomatoes, you’ll ADORE this simple sun-dried tomato hummus. It’s SO versatile, creamy, easy to make, and adds instant flavor to just about everything. Enjoy it on pita, veggies, crackers, sandwiches, and more.
…
If you love hummus and the rich flavor of tomatoes, you’ll ADORE this simple sun-dried tomato hummus. It’s SO versatile, creamy, easy to make, and adds instant flavor to just about everything. Enjoy it on pita, veggies, crackers, sandwiches, and more.
It’s perfect for parties, picnics, meal prep, road trips, and everything in between! Just 15 minutes and a food processor or blender required. Let’s make hummus!
This recipe is adapted from the Simple Sun-Dried Tomato Hummus in our cookbook!
Our new favorite fudgy, not-too-sweet truffles are inspired by a similar treat from Margalaxy in Portland, Oregon. They’re creamy and complex thanks to the inclusion of tahini, bitter and chocolaty because of cocoa powder, and dates lend the perfect te…
Our new favorite fudgy, not-too-sweet truffles are inspired by a similar treat from Margalaxy in Portland, Oregon. They’re creamy and complex thanks to the inclusion of tahini, bitter and chocolaty because of cocoa powder, and dates lend the perfect texture and sweetness.
These seriously snack-able truffles disappeared quickly in the test kitchen. And they’re SO easy to make — just 5 ingredients and 15 minutes required!
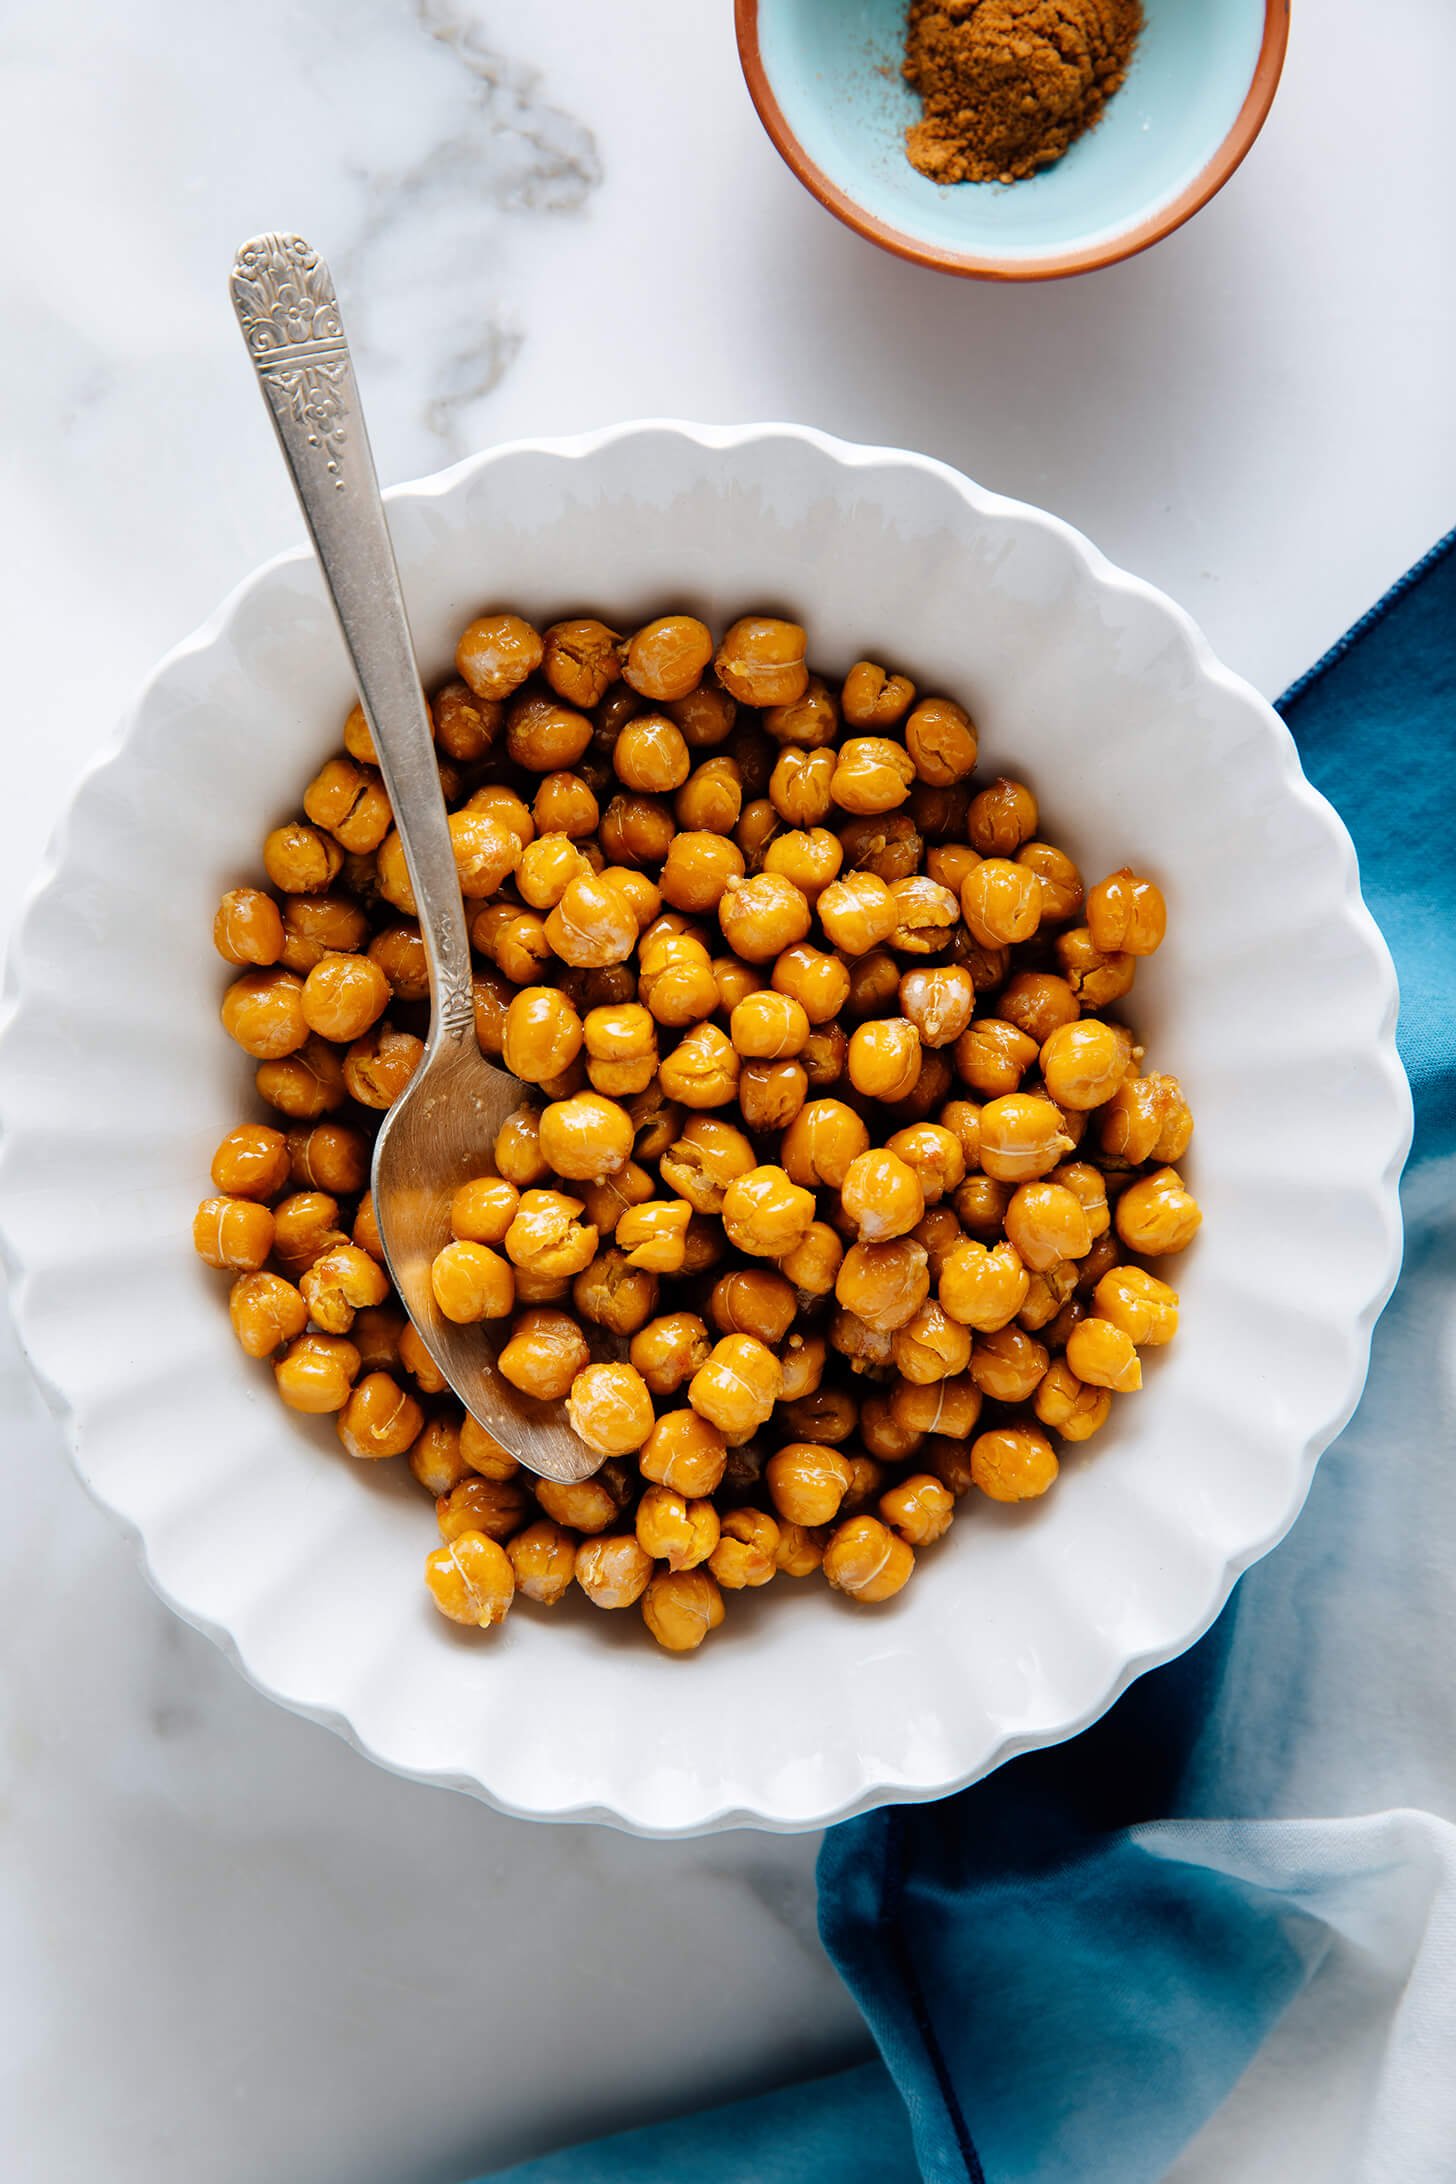
Want to roast chickpeas that are actually crispy? You’re in the right place. I’ve cracked the code, and I’m here to share it with you. These roasted chickpeas are a delightful snack rich in protein and fiber. They’re also great sprinkled over hummus and salads.
To be honest, I never loved roasted chickpeas until I learned how to make them this way. They were always just ok—warm and lightly crisp on the outside but unchanged on the inside. They didn’t feel worth the effort when chickpeas warmed on the stove are nice already.
These roasted chickpeas are legitimately so gloriously crisp that they are popcorn-level irresistible. In fact, they’re so crisp throughout that you should serve them with a drink to help wash them down.
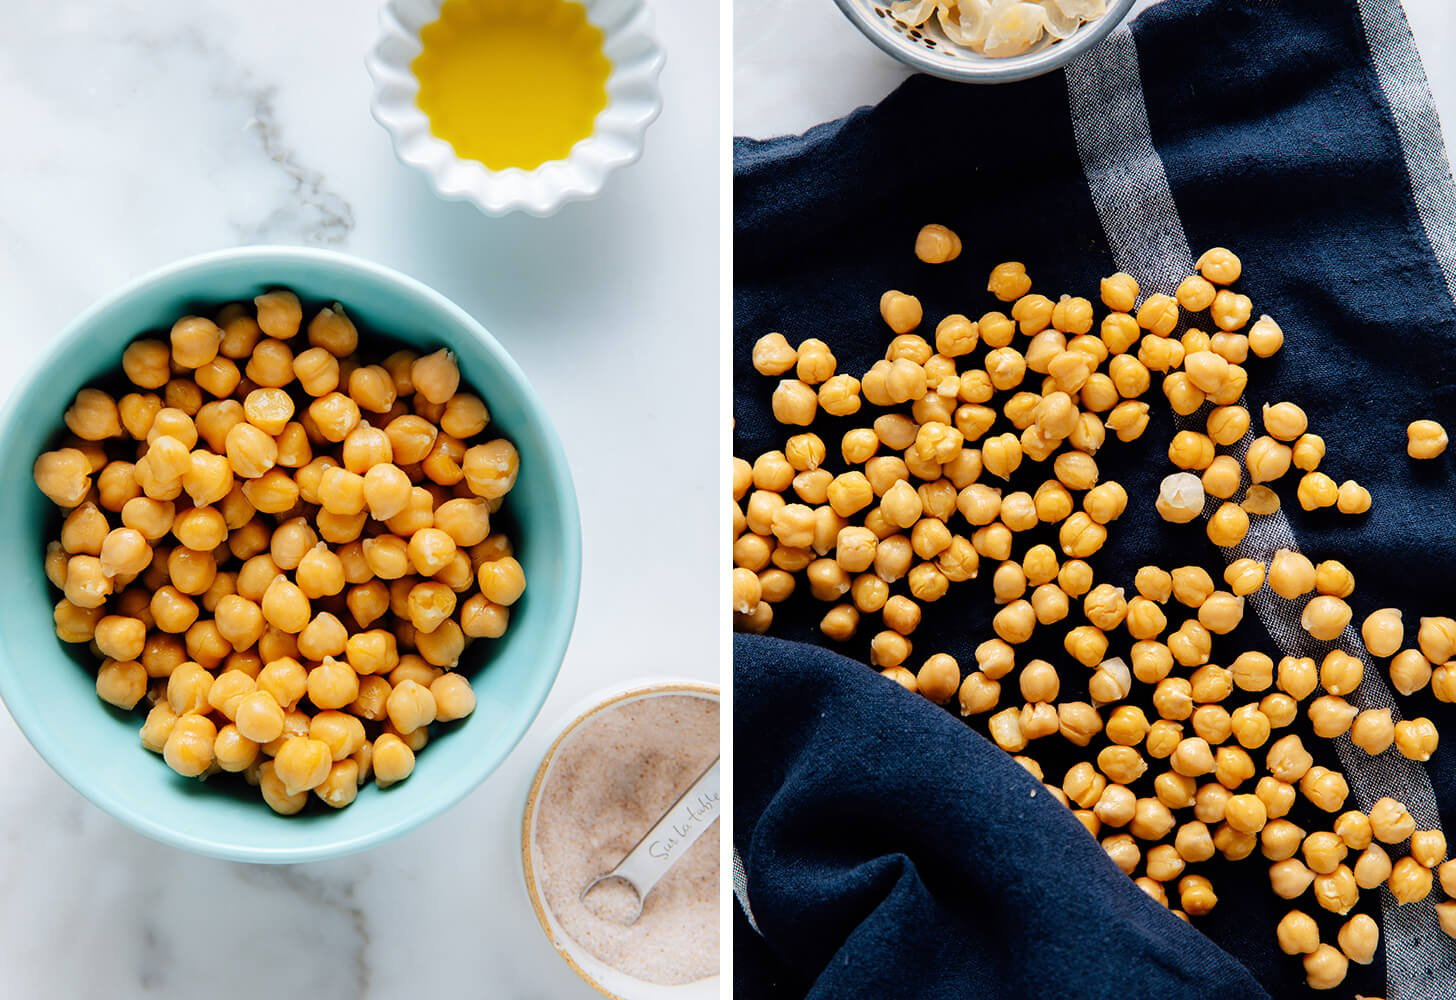
The trick is in the method. I found some helpful clues in a New York Times recipe by Colu Henry and tweaked the method from there. It took ten tries to ensure we had landed on the very best technique, and I found several fun flavor variations along the way. Here we go!


 Cottage cheese has been one of my go-to ingredients and this Creamy Cottage Cheese Ranch Dip turned out so good!…
 Healthy Oatmeal Raisin Cookies
 These homemade air fryer sweet potato chips are easy to make and so much better than store-bought varieties. Thinly sliced sweet potatoes get a light…