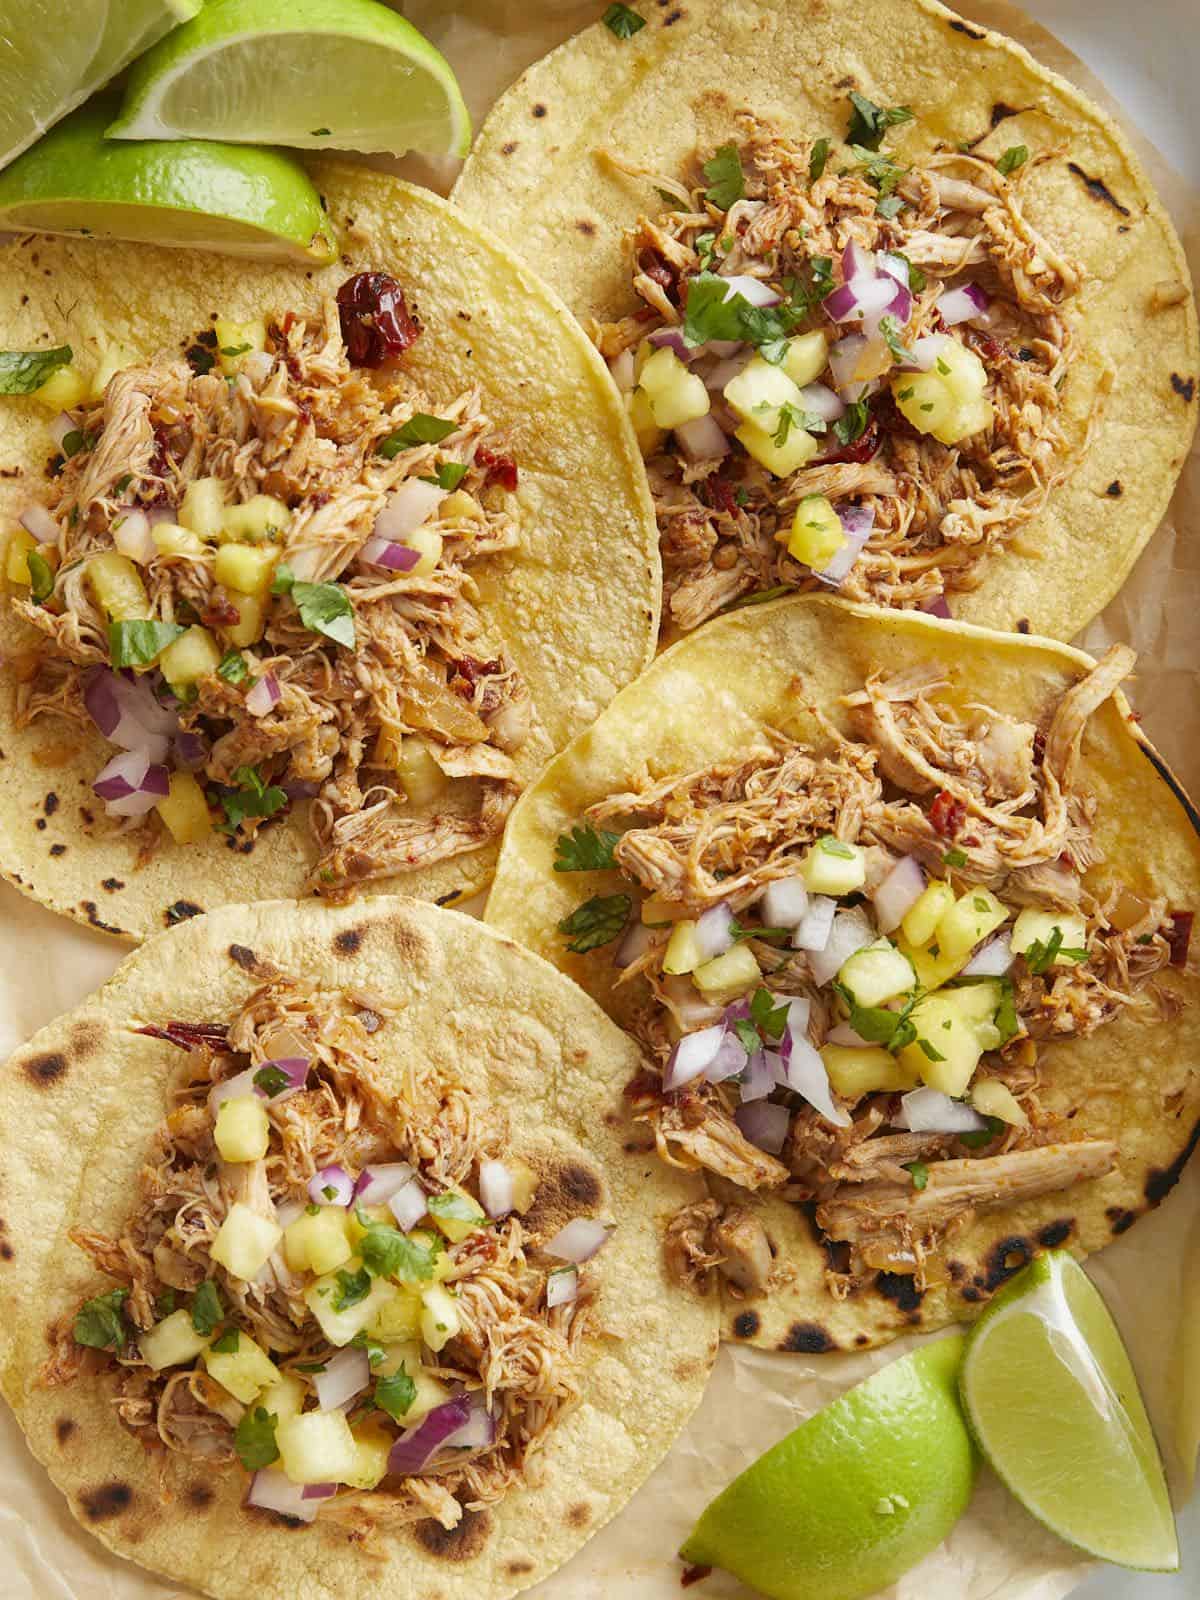
Kick up your Taco Tuesday recipe game with these fiery and deeply flavorful Chipotle Chicken Tacos! This easy recipe is fast, filling, and perfect for meal prep. It’s also a breeze to scale up, and you can even make it a little heartier by serving it with sides of Tomato Rice and Quick Seasoned Black Beans. Plus, it’s only a little over a dollar per serving. I’m telling you, this one is clutch!
What Are Chipotle Chicken Tacos?
The base of this easy taco recipe is pulled chicken that’s been cooked in a fiery chipotle adobo sauce. A chipotle is a jalapeno pepper that’s smoked and dried. It has deep, earthy flavors and a bit of kick. When you buy chipotles in adobo, the adobo refers to the vinegary sauce the chiles are rehydrated in.
While you can eat Chipotle Chicken Tacos as is, I pair them with Pineapple Salsa, which cuts beautifully through the fattiness of the chicken. Keep in mind that you can use this chicken for more than just tacos! Mix pulled Chipotle Chicken into soups, rice, salads, and wraps. Use it as a topping for Nachos or Pizzas. There’s so much you can do with it.
Ingredients For Chipotle Chicken Tacos
Here’s what you’ll need to make Chipotle Chicken Tacos:
- Chicken Thighs: Thighs are the cut of chicken we’re working with because they’re flavorful, fatty, and forgiving. Chicken breasts are more expensive, but they will still work here. I like to add a tablespoon of butter to the mix if I’m working with white meat to help keep it from drying out.
- Garlic and Onion: Aromatics help scent and flavor our chicken. Substitute the garlic with ½ teaspoon of garlic powder and the onion with 1 tablespoon of onion powder or 3 tablespoons of onion flakes.
- Bay Leaf: Adds depth to our braising broth, but feel free to skip it if you don’t have any.
- Chipotles in Adobo: Add a spicy kick and deep smoky flavors to the sauce. If you want something with less kick, sub with our Enchilada Sauce recipe.
- Corn tortillas: Are the base of our taco and hold everything together. Feel free to sub with flour tortillas or even pitas!
- Pineapple Salsa: This tangy, fresh, and slightly sweet salsa pairs beautifully with the smoky and spicy flavors of the saucy chipotle chicken, as well as adding color and texture to the taco.
How To Serve Chipotle Chicken Tacos
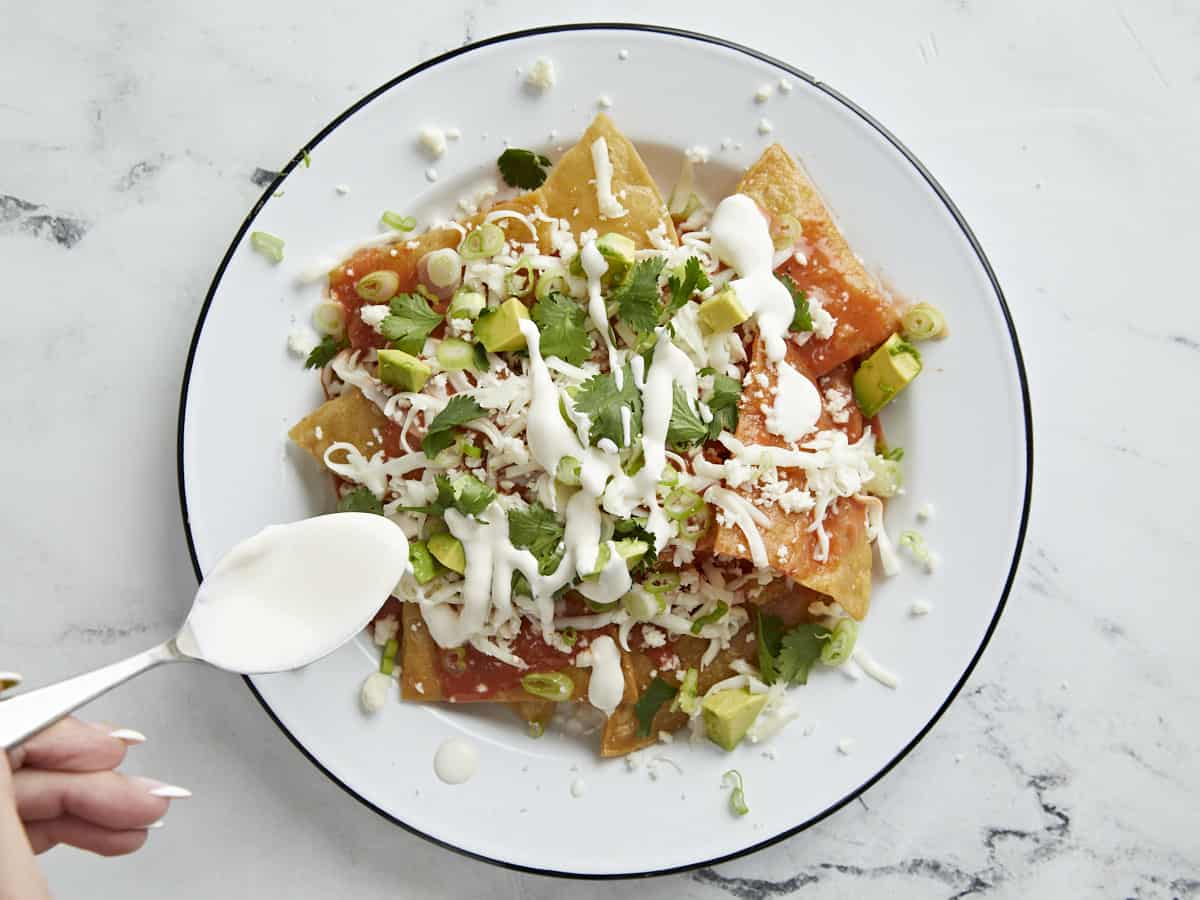
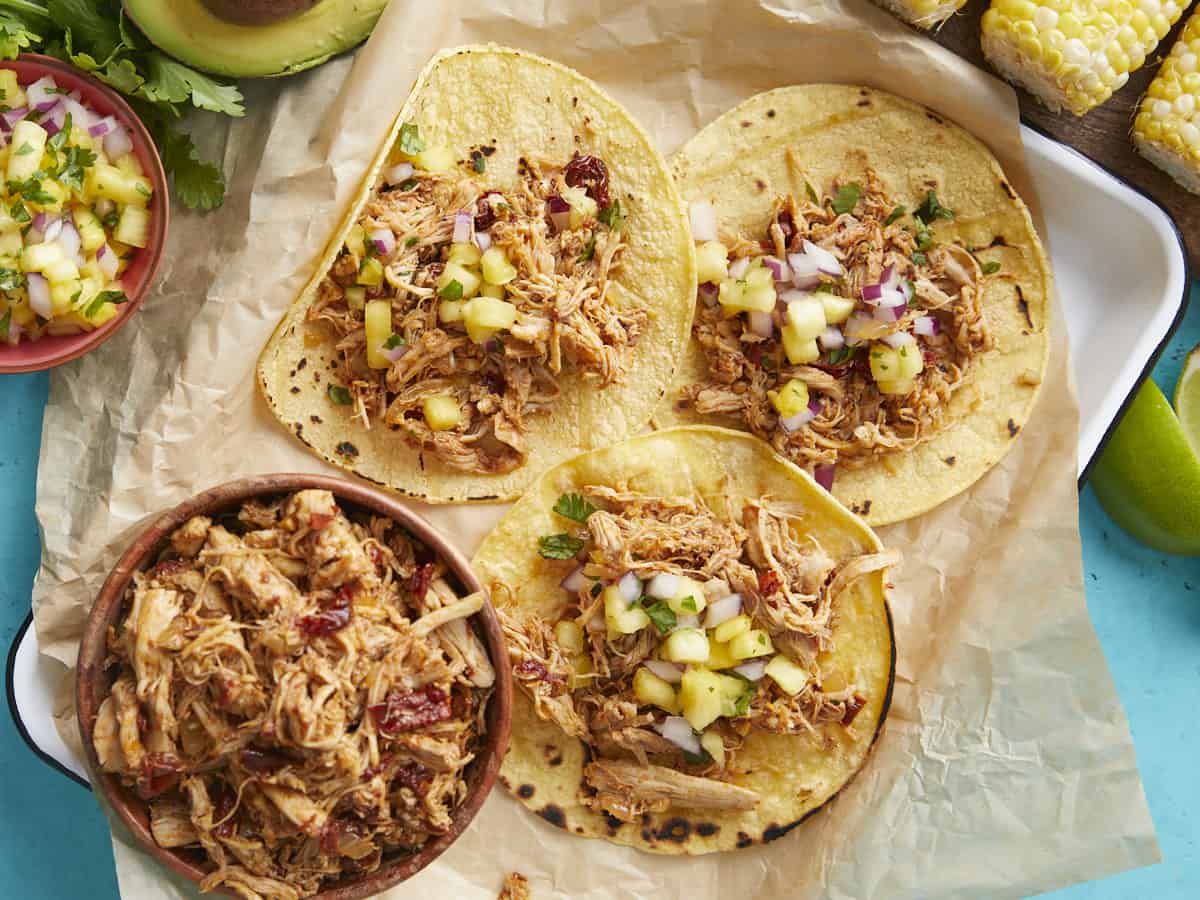
This recipe is one of my favorites for a family-style taco night. I load the table with a platter of warm tortillas, a big bowl of pulled chipotle chicken and smaller plates loaded with garnishes like fresh cilantro, radish slices, Sour Cream, Guacamole, and Pineapple Salsa! You can also serve Pico De Gallo or Cowboy Caviar. Make this an even heftier meal with Tomato Rice and Quick Seasoned Black Beans.
How To Store Chipotle Chicken Tacos
Store pulled chicken in an airtight container for up to three days. You can freeze the chicken in an airtight container with a sheet of parchment or plastic directly on the surface of the chicken for up to 3 months. Thaw overnight in the fridge before reheating in a microwave or a pan set over medium heat until steaming.

Chipotle Chicken Tacos
Ingredients
- 4 boneless skinless chicken thighs $4.44
- 4 cloves garlic, divided $0.32
- 1 yellow onion, divided $0.33
- 1 bay leaf $0.10
- 4 peppercorns* $0.01
- 1 tsp salt $0.05
- 2 Tbsp olive oil $0.16
- 2 oz. chipotle peppers in adobo** $0.49
- 12 5-inch corn tortillas $0.72
Pineapple Salsa (optional)
- 2 cups chopped pineapple (fresh or frozen) $0.75
- 1/4 red onion, chopped $0.17
- 1 jalapeño $0.11
- 1 lime $0.59
- 1/4 bunch cilantro (about ¼ cup) $0.35
- 1 tsp salt (or to taste) $0.05
Instructions
- Add the chicken thighs, 2 cloves of garlic, 1/2 of the onion, bay leaf, peppercorns, and salt to a pan, then add water to cover (about 4 cups). Place the pan over medium heat. Cover it, and cook for 20 minutes, or until the chicken is at an internal temperature of 160°F and fork tender.
- Remove the chicken thighs from the broth. Reserve the broth. Shred the chicken with two forks.
- Add oil to a saucepan on medium heat. Dice the remaining ½ onion and add it to the pan. Mince the remaining 2 cloves of garlic and add to the pan. Cook for about 2 minutes, until the onions steam and the garlic is fragrant.
- Once the onions and garlic are fragrant, chop the chipotles in their sauce and add them to the pan. Stir well to incorporate. Then add the pulled chicken and 1/4 cup of the reserved broth. Combine thoroughly and taste. For more heat, mix in more adobo sauce. For saucy pulled chicken, add a touch more of the broth and stir. Once the sauce has thickened to a velvety consistency, take the chicken off the heat.
- To make the pineapple salsa, finely chop the pineapple, onion, jalapeño, and cilantro. Combine the chopped pineapple, onion, juice of one lime, cilantro, and salt to taste.
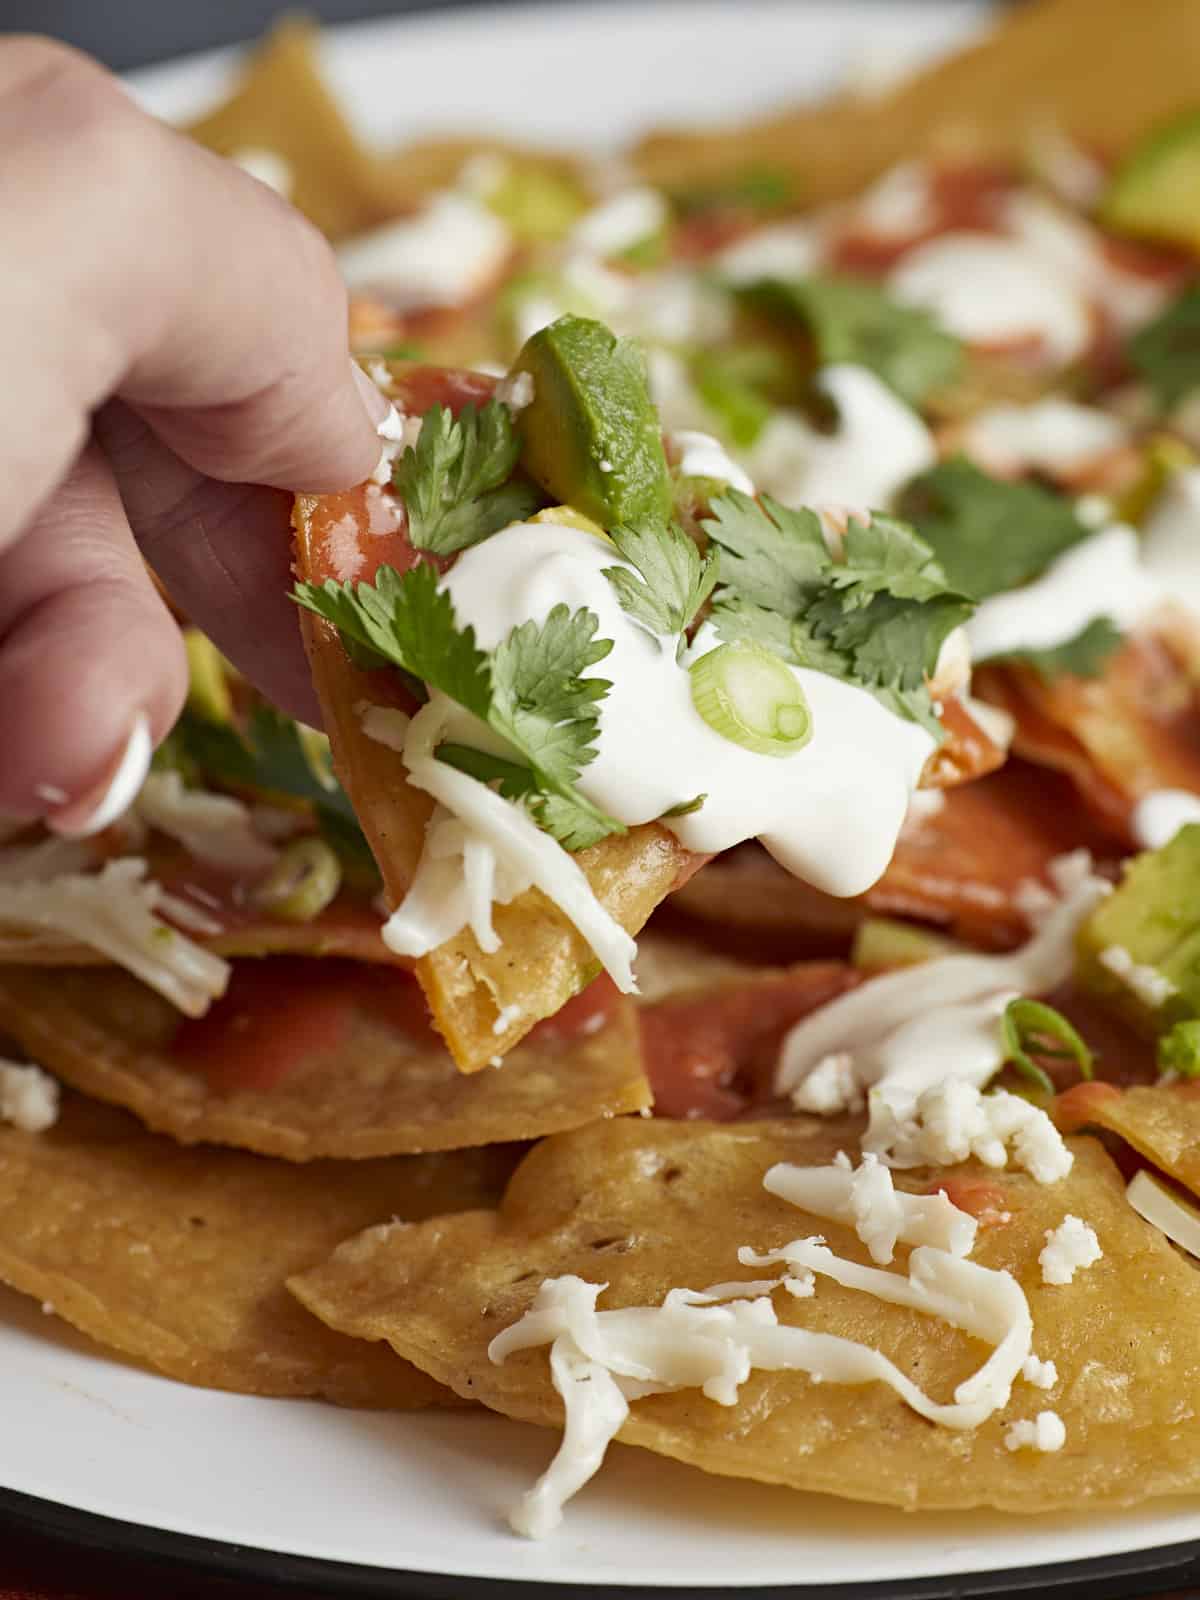
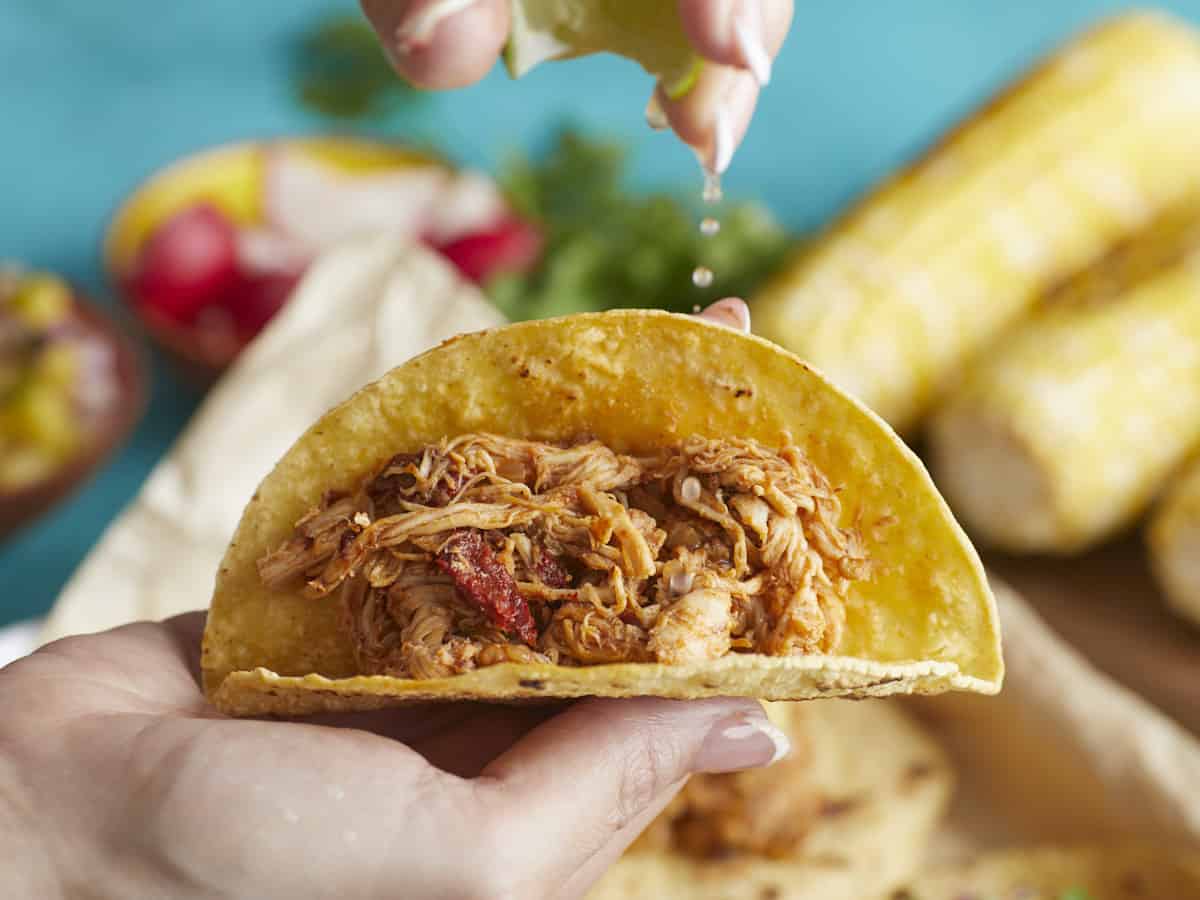
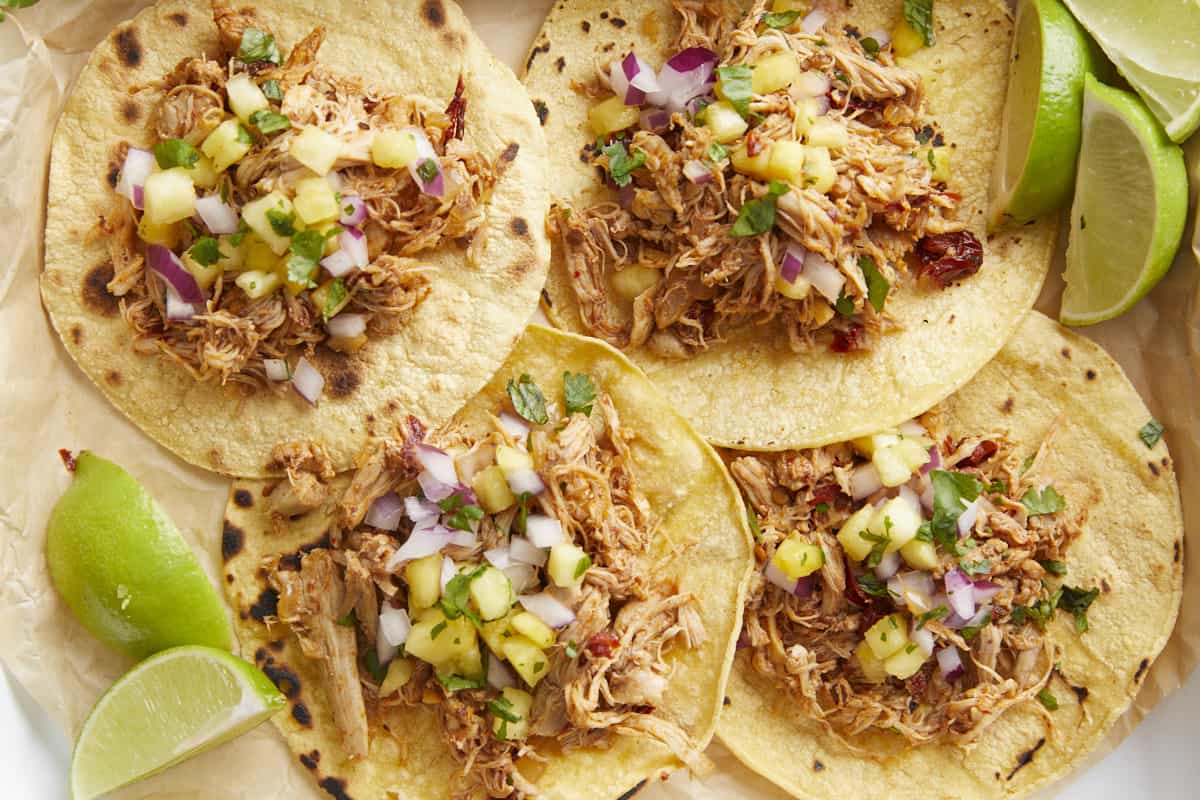
- Assemble the tacos. Add 1/4 cup of pulled chicken to a corn tortilla and top with pineapple salsa. Serve these babies up and enjoy a weeknight win!
See how we calculate recipe costs here.
Notes
Nutrition
How to Make Chipotle Chicken Tacos – Step by Step Photos
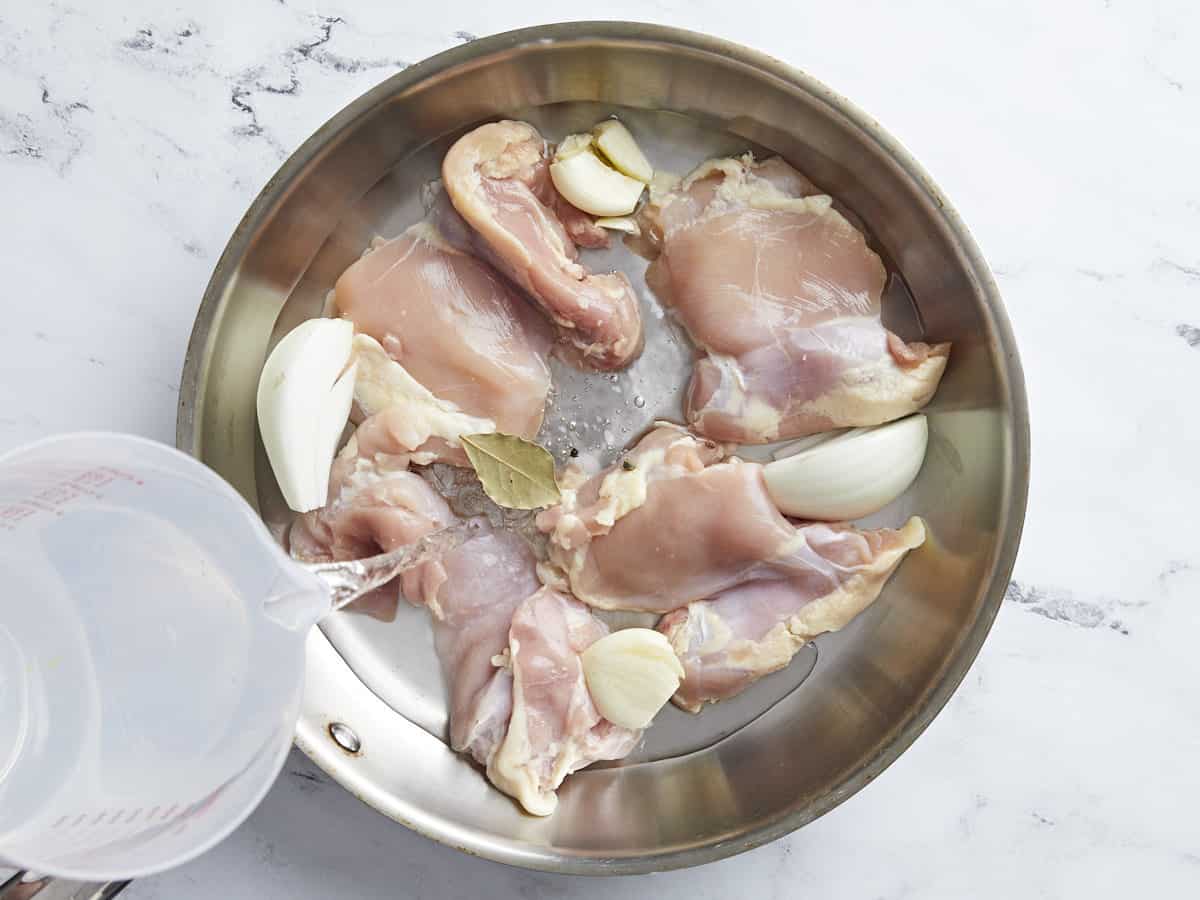
Add 4 boneless skinless chicken thighs, 2 cloves garlic, 1/2 of a yellow onion, 1 bay leaf, 4 peppercorns, and 1 teaspoon salt to a pan and add water to cover (about 4 cups). Place the pan over medium heat. Cover it, and cook for 20 minutes, or until the chicken is at an internal temperature of 160°F and fork tender.

Remove the chicken thighs from the broth. Reserve the broth. Shred the chicken with two forks.

Add oil to a saucepan on medium heat. Dice the remaining half onion and add it to the pan. Mince the remaining 2 cloves of garlic and add to the pan. Cook for about 2 minutes, until the onions steam and the garlic is fragrant.

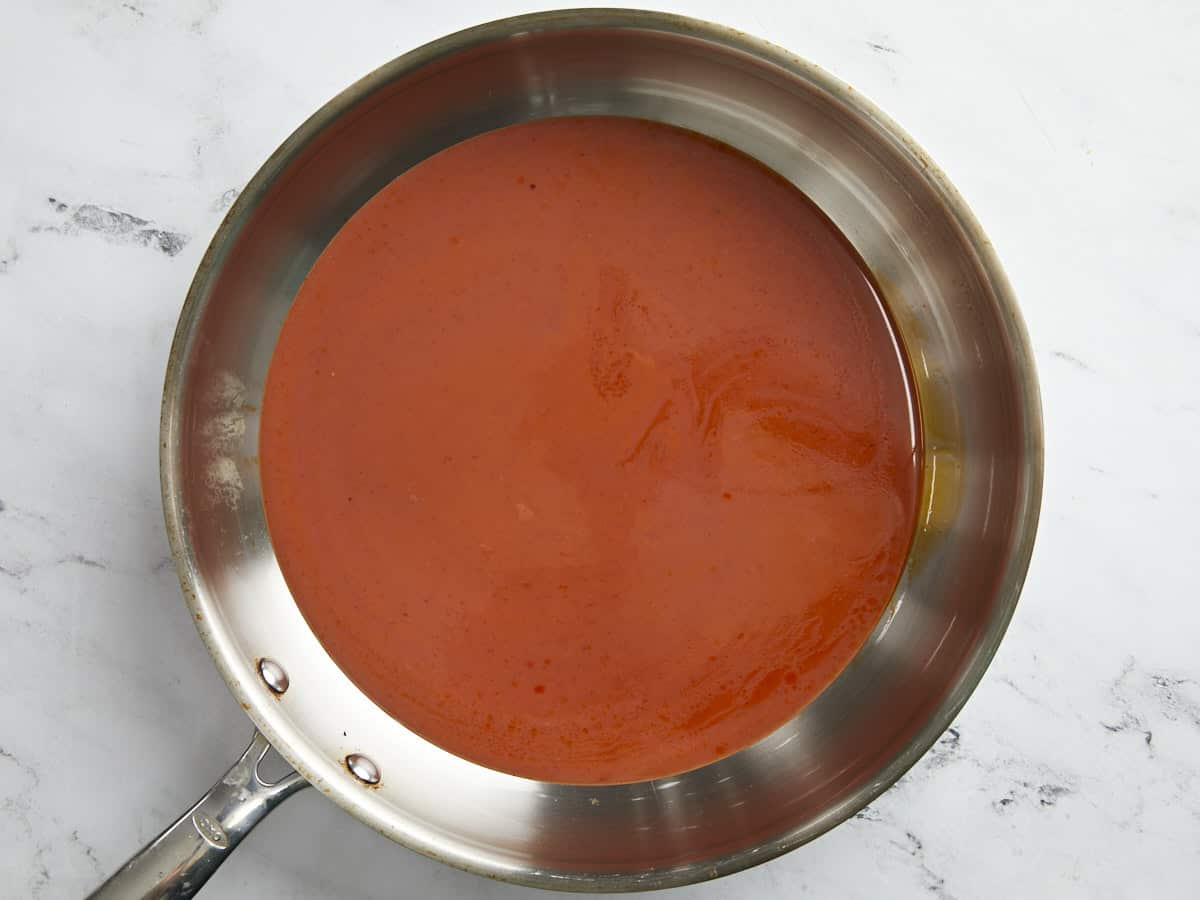
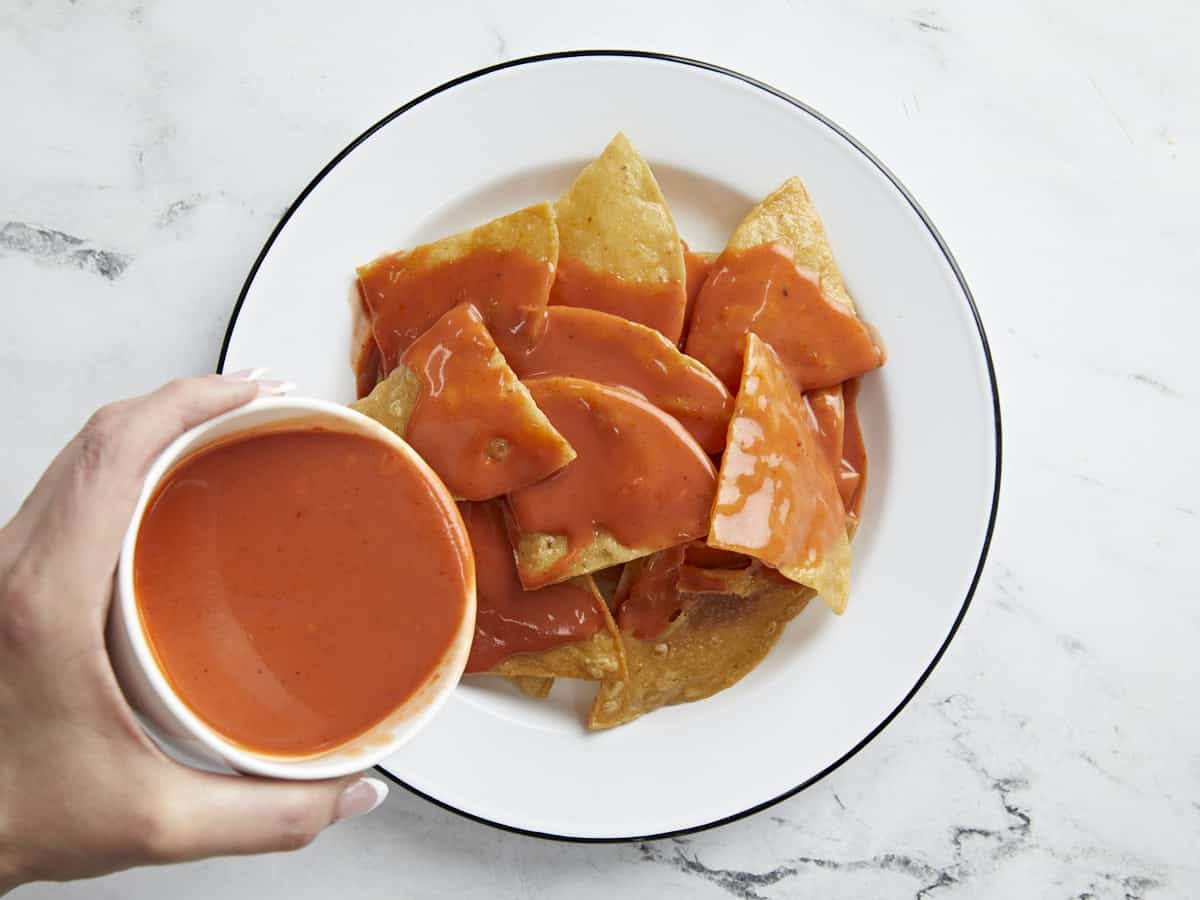
Once the onions and garlic are fragrant, chop 2 ounces of chipotles in their sauce and add them to the pan. Stir well to incorporate.
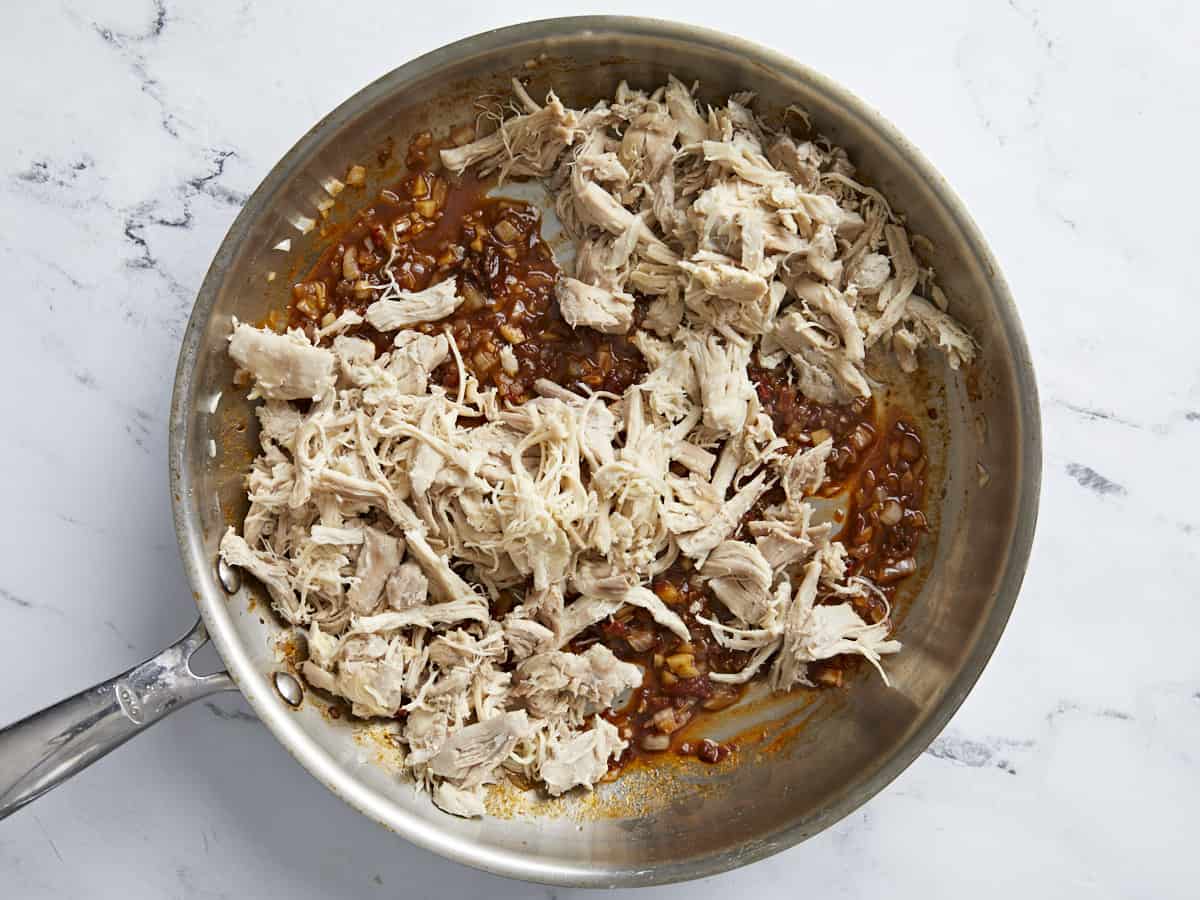
Then add the pulled chicken and 1/4 cup of the reserved broth to the skillet. Combine thoroughly and taste. For more heat, mix in more adobo sauce. For saucy pulled chicken, add a touch more of the broth and stir.
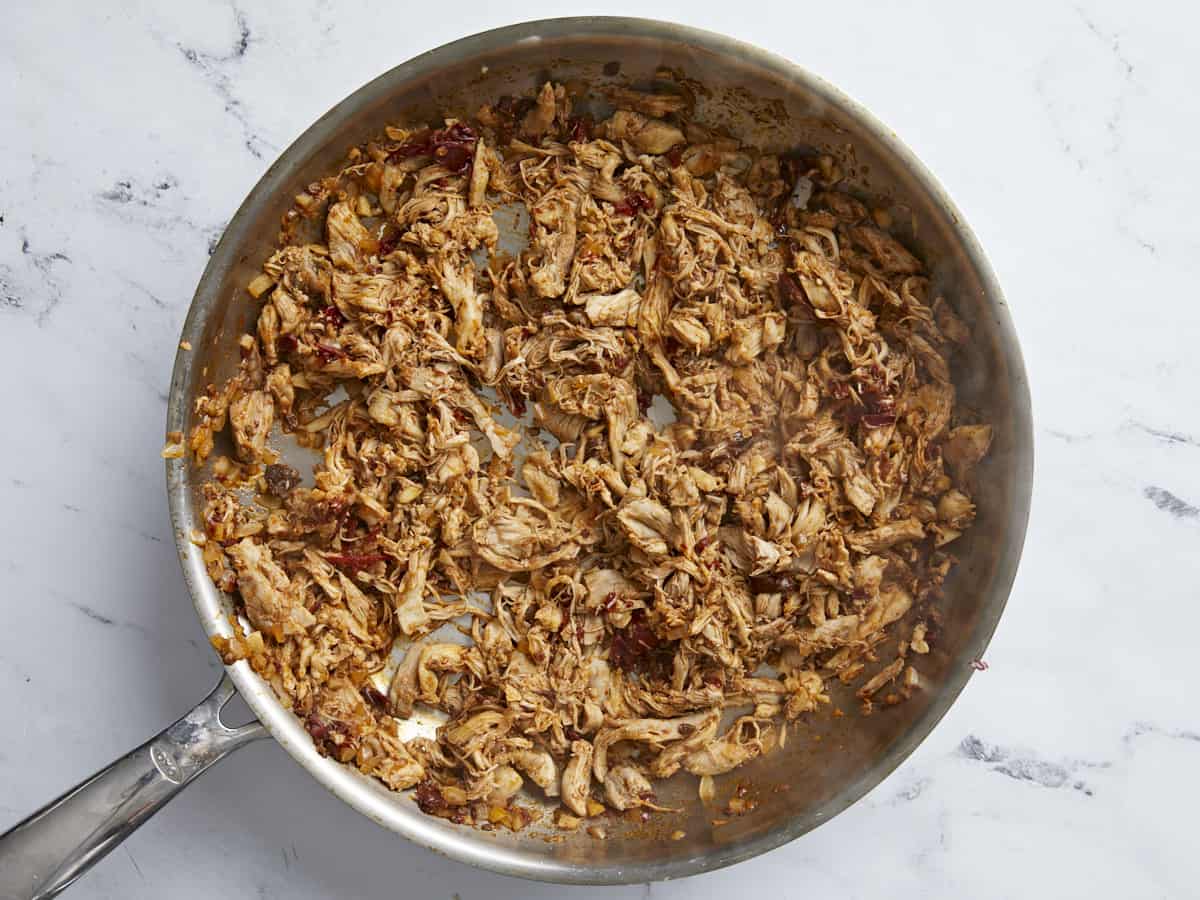
Once the sauce has thickened to a velvety consistency, take the chicken off the heat.
More Taco Recipes


The post Chipotle Chicken Tacos appeared first on Budget Bytes.
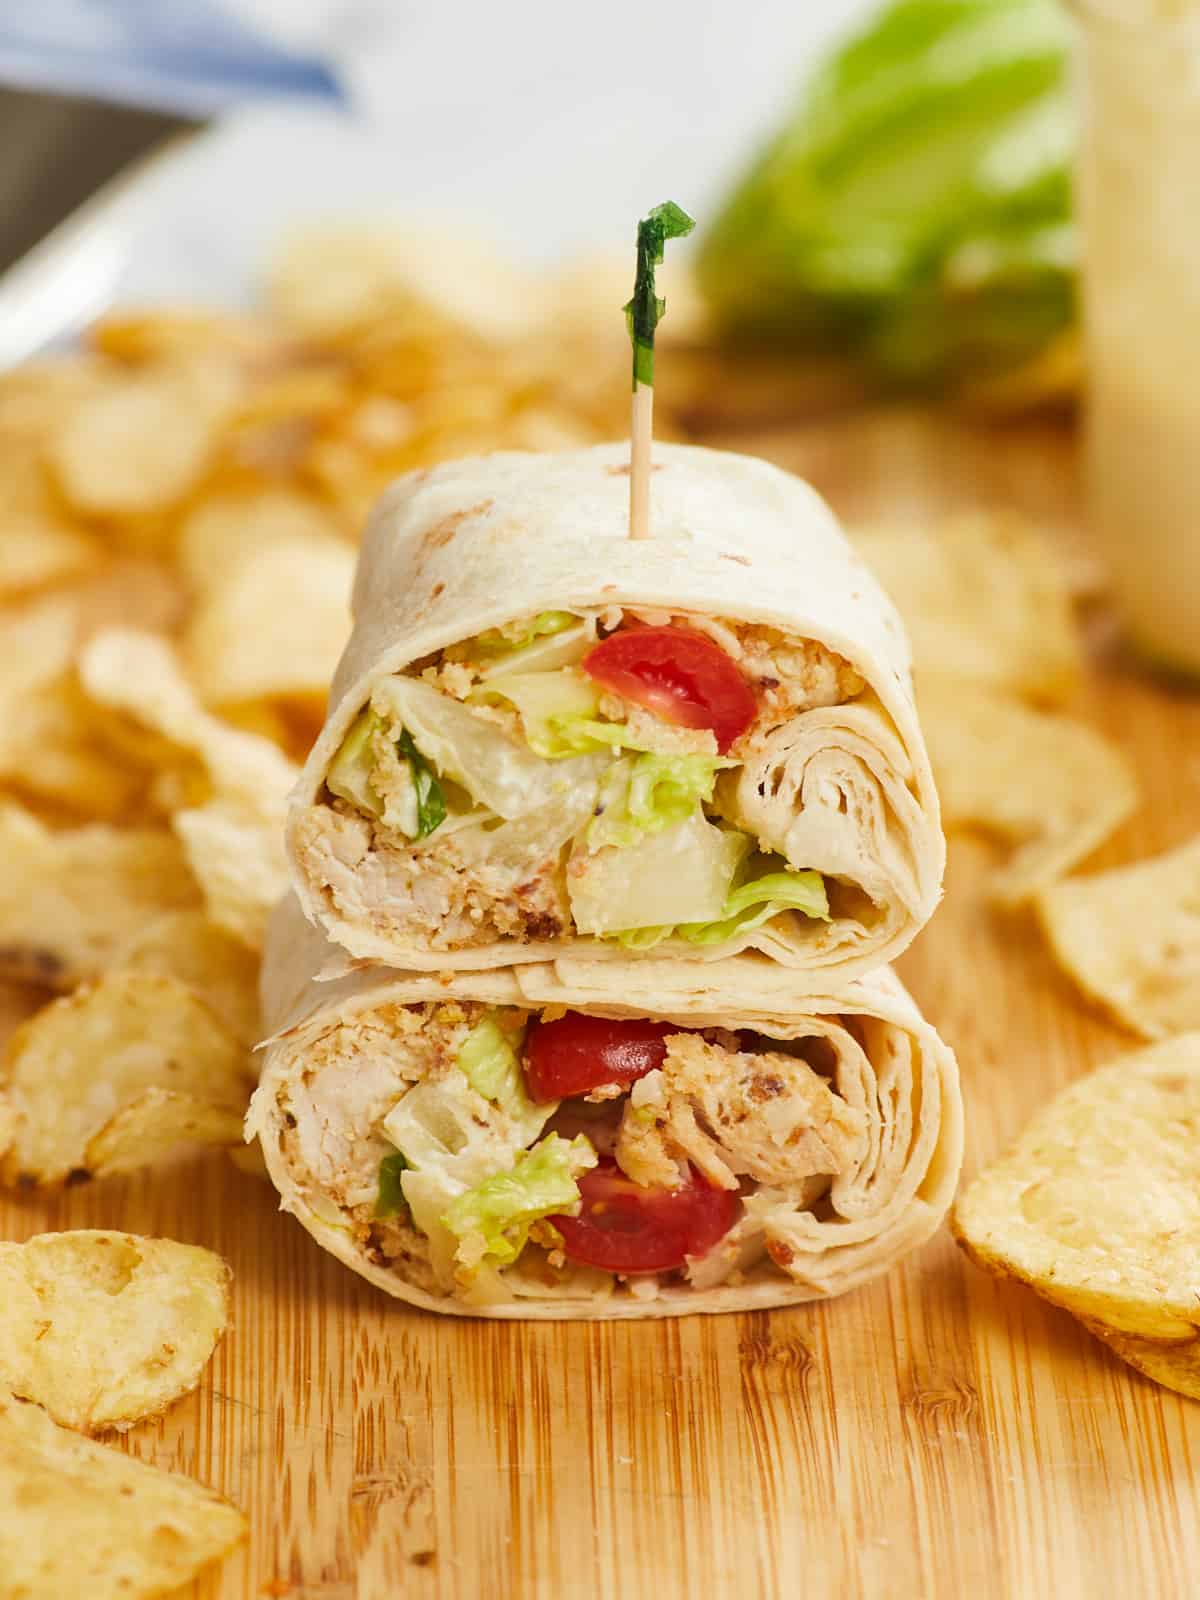
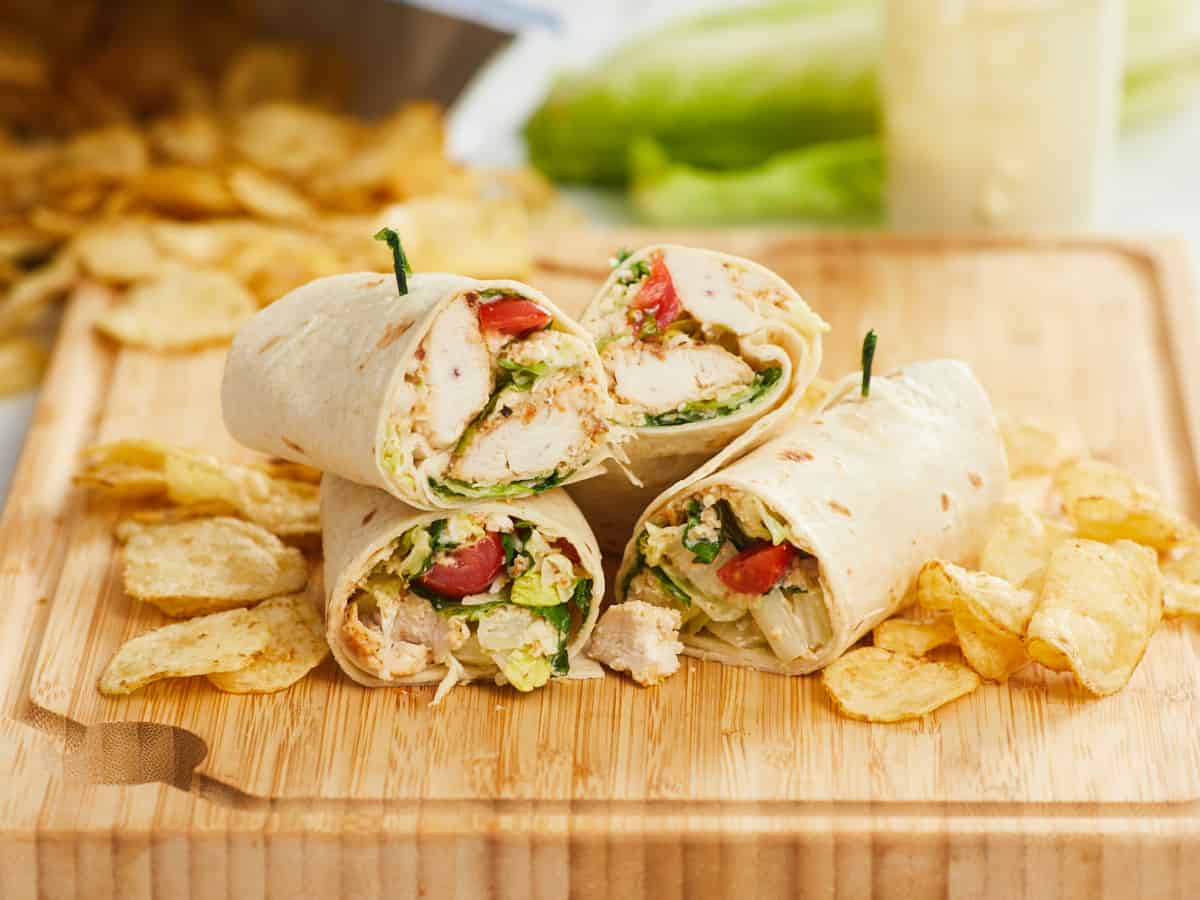
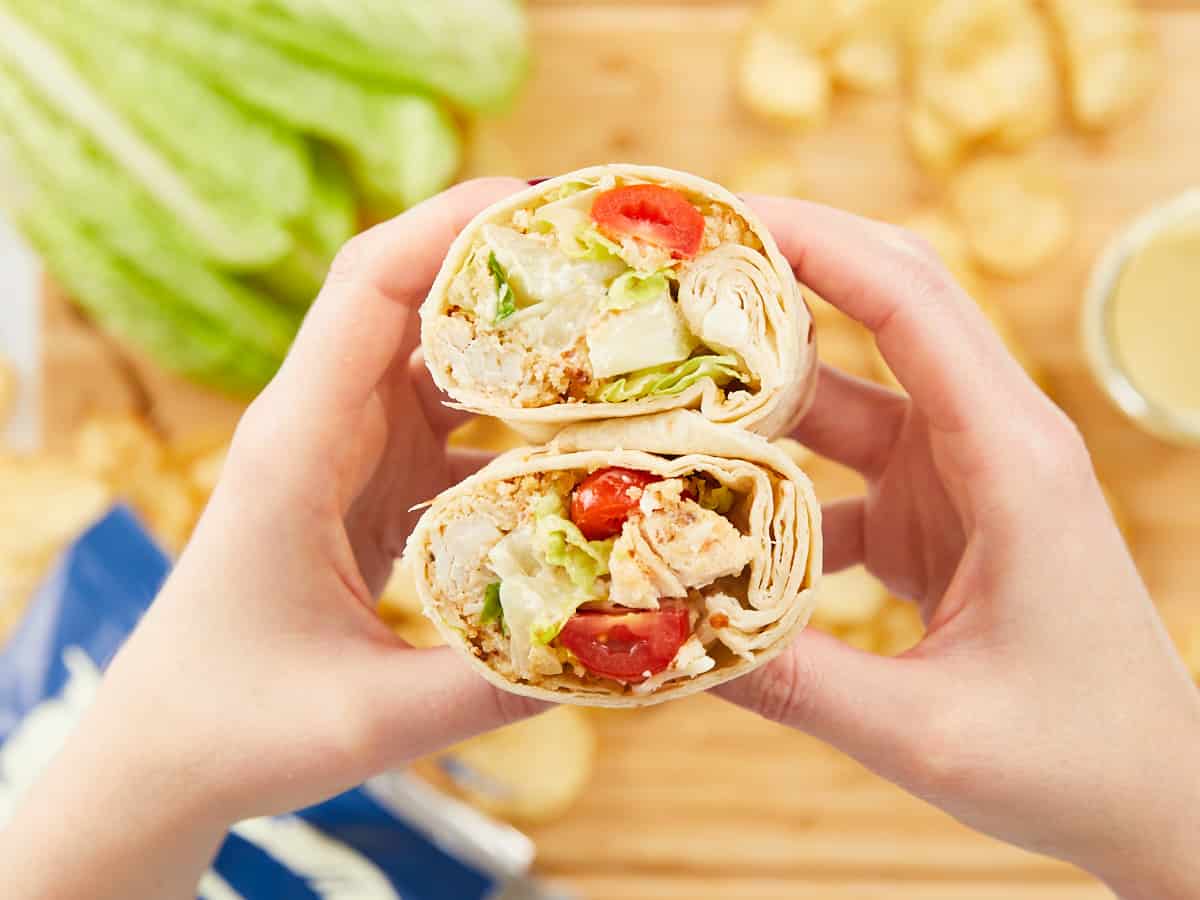
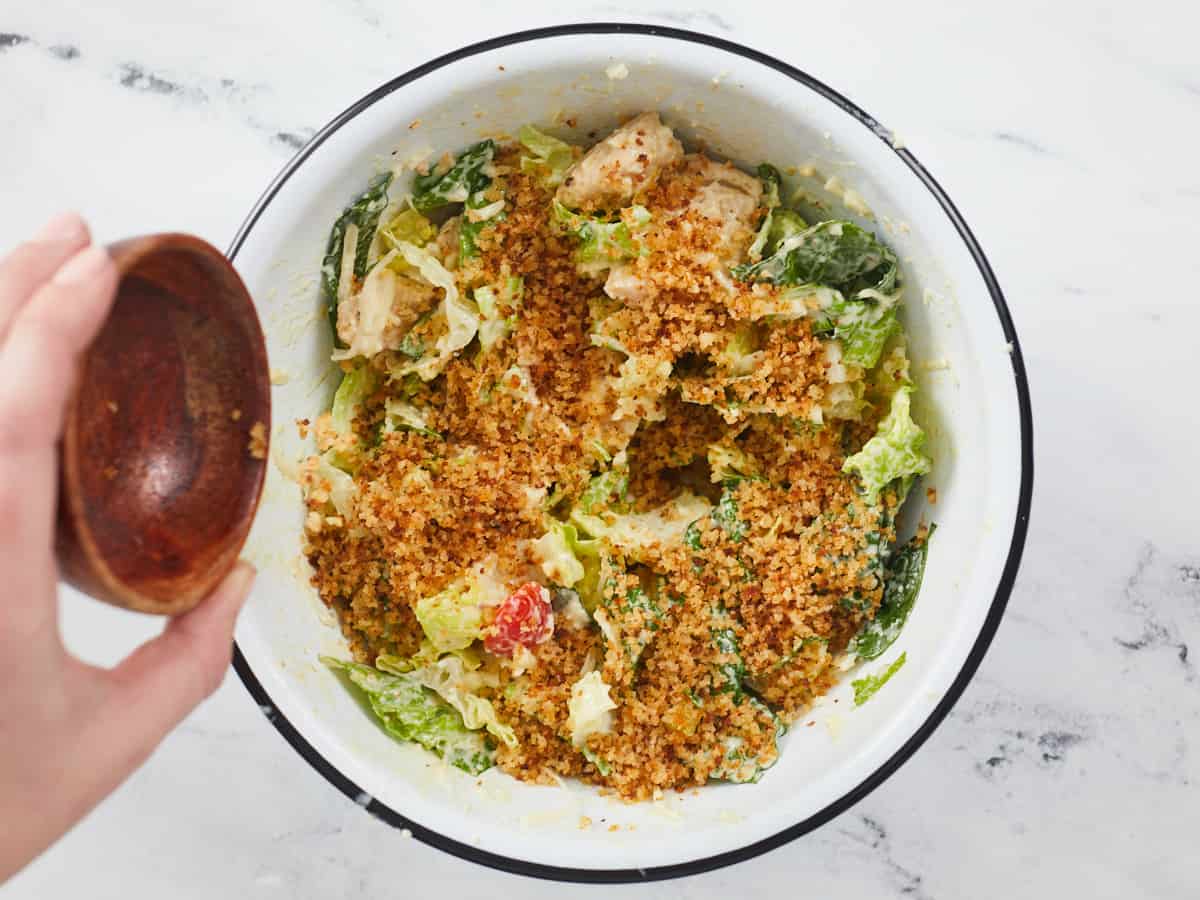
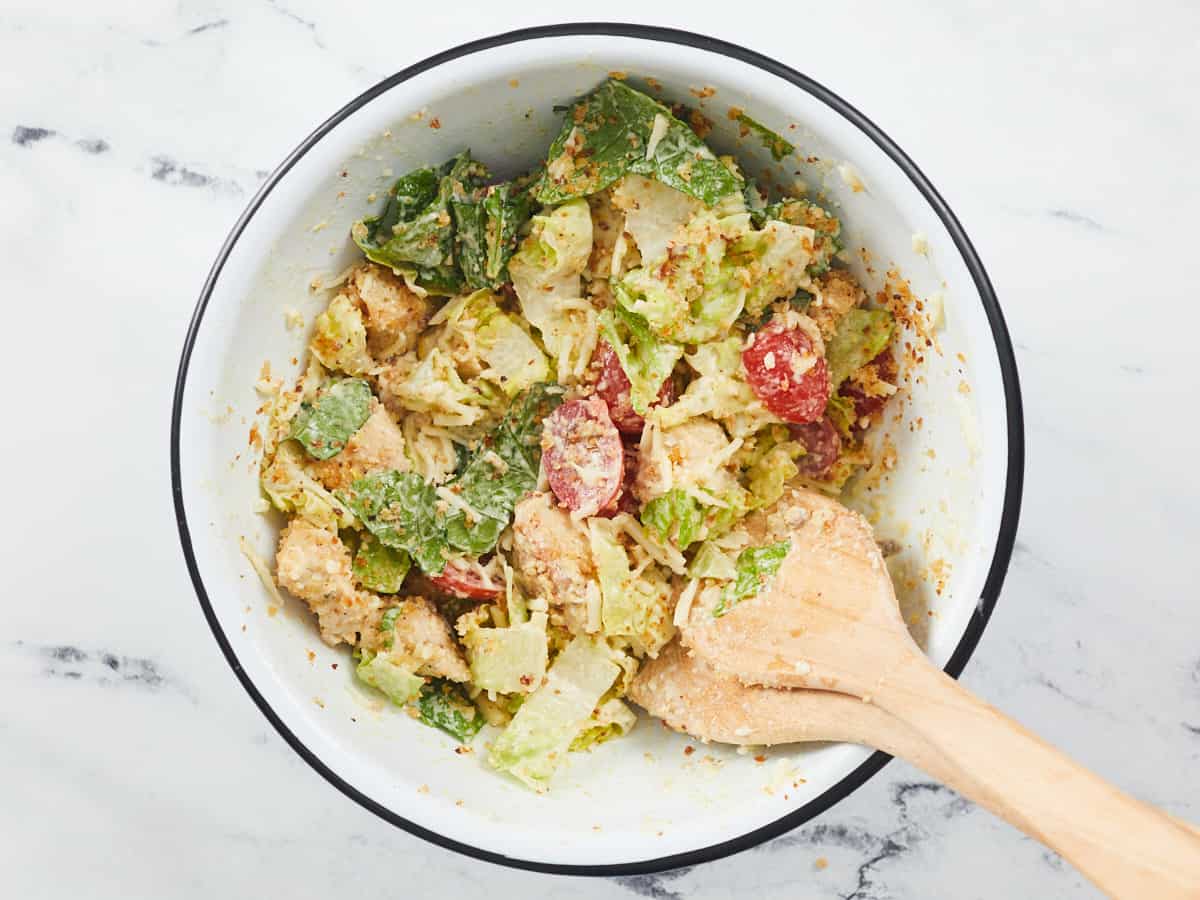
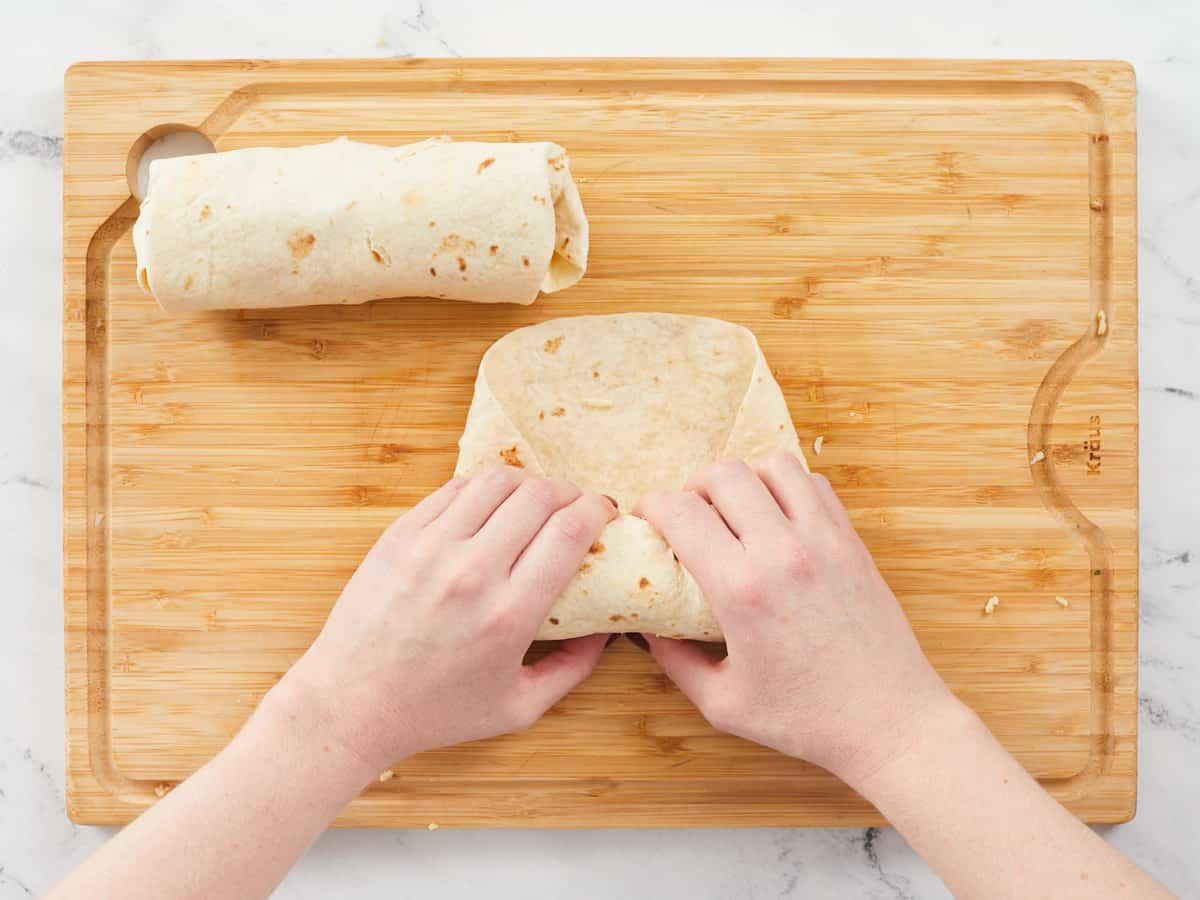
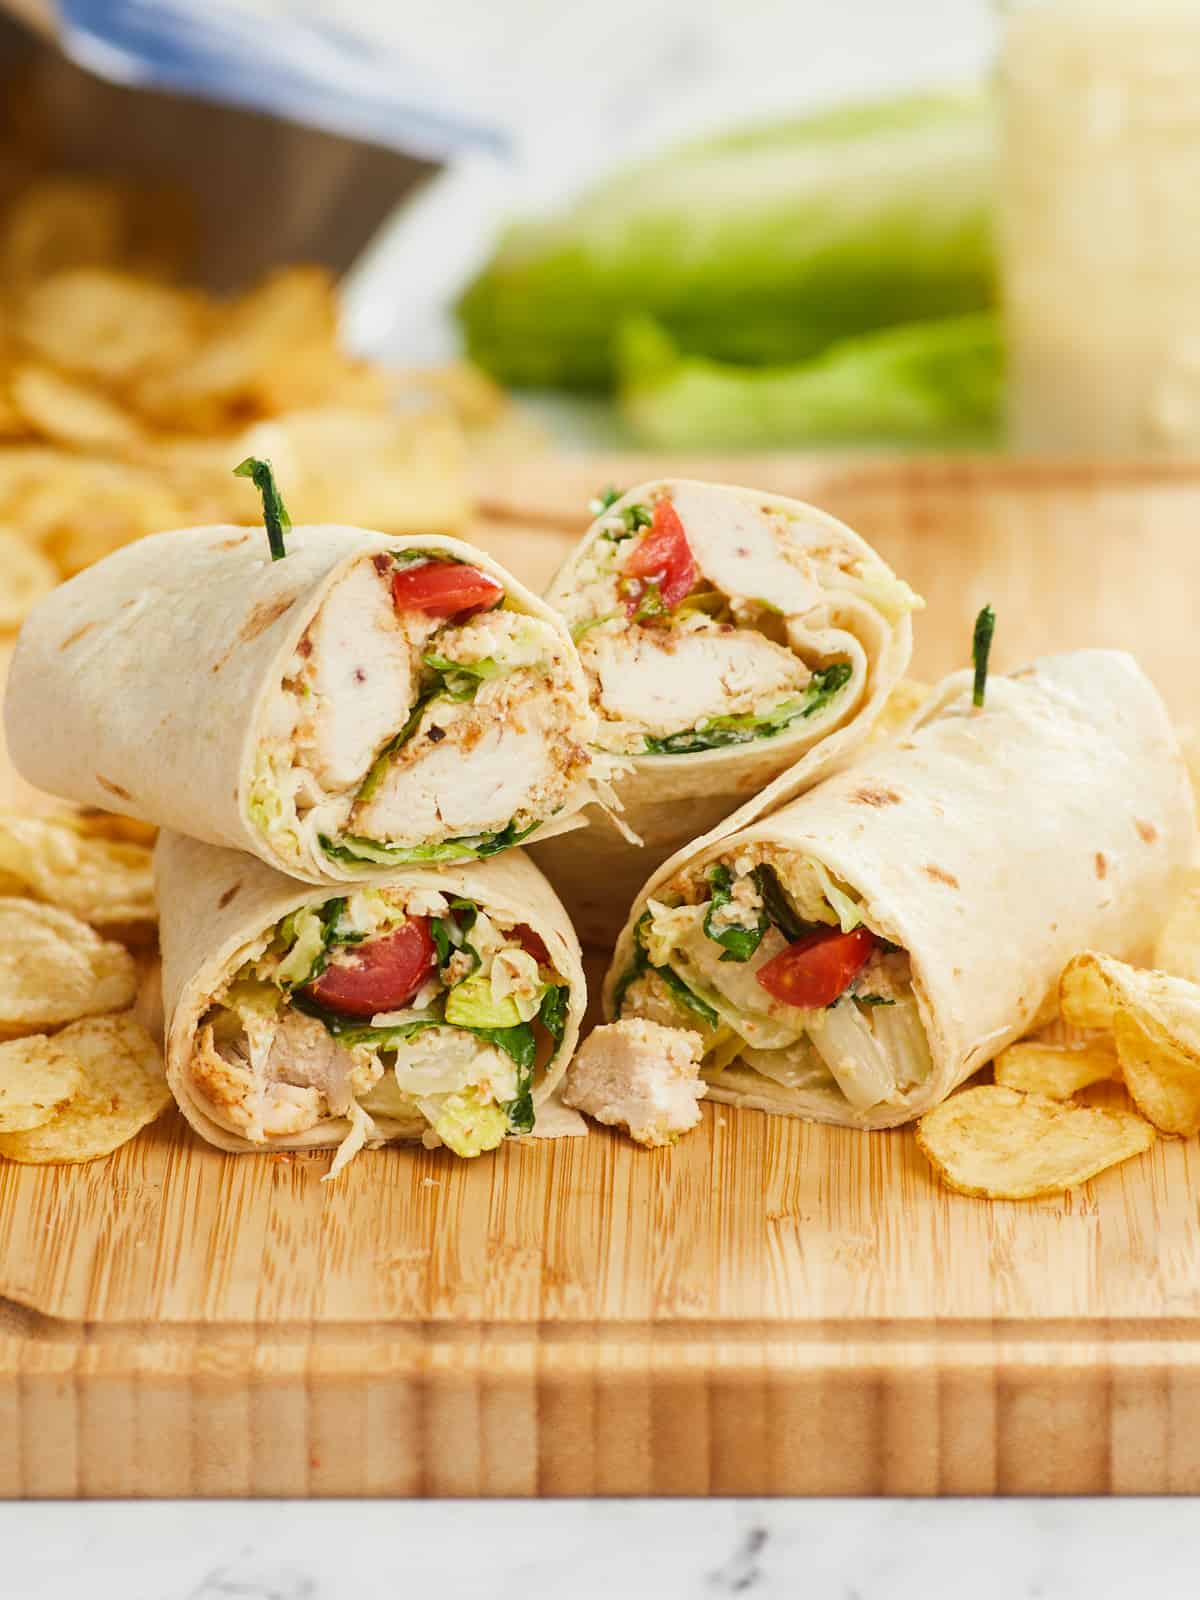
 Wraps make a fun, easy, healthy, and delicious meal. Our Chicken Caesar Wraps are very popular and so are these Turkey Wraps! We love making wraps because they are very versatile. You can add whatever ingredients and sauces you like, just like a sandwich. But wraps really are more fun. Everything gets wrapped up into…