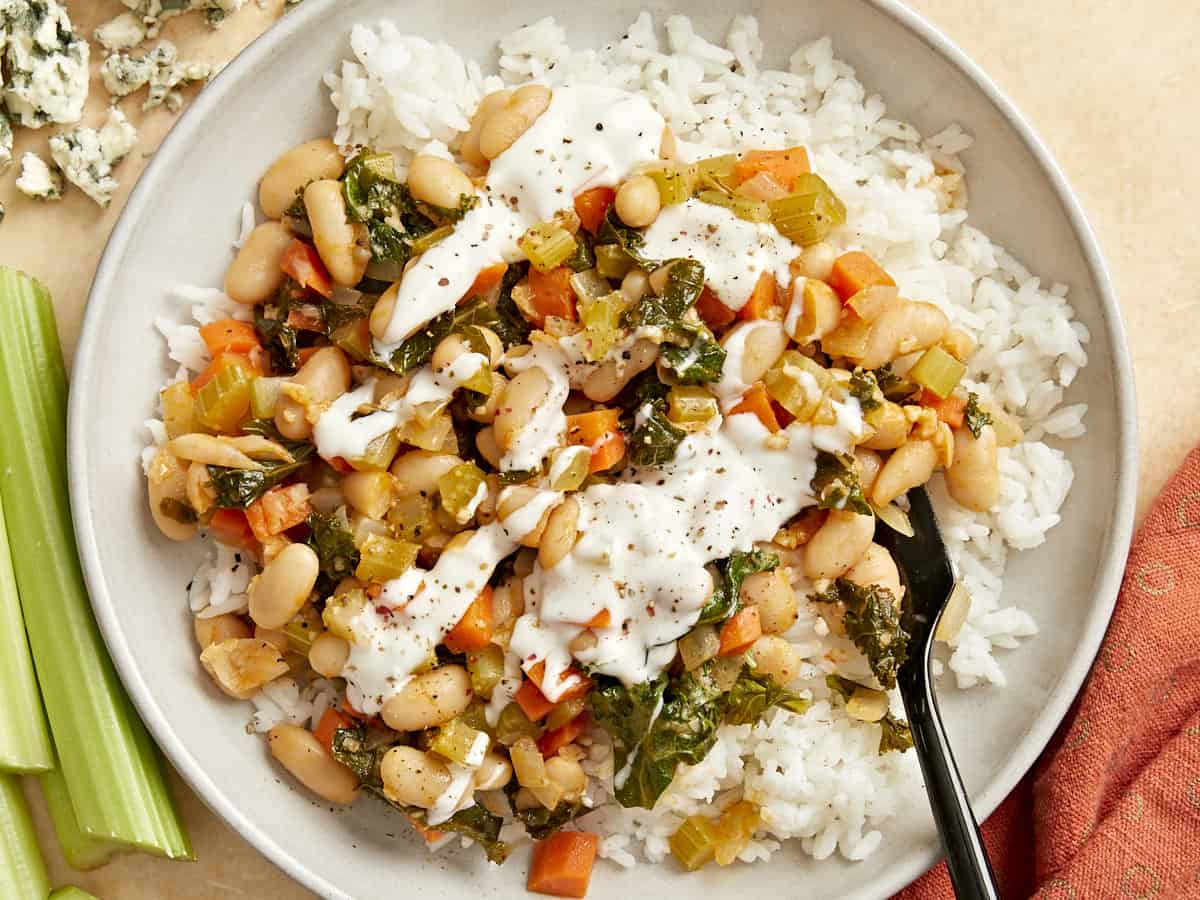
I love any dish where I can sneak in some kale without complaints from the haters; there’s just something so fun about sneaking them in and hearing the good ol’, “I usually hate kale, but this is SO good!” These Buffalo beans and greens pack in a whole lot of nutrition and flavor on a shoestring budget. Creamy white beans, rich kale, and wholesome diced veggies all tossed in spicy buffalo sauce. Drizzle it with some blue cheese dressing, and I just can’t get enough! One of my favorite Nashville institutions recently closed (I sob) and they had a killer Buffalo beans and greens dish on their menu, so this tip of the hat goes out to my friends at The Wild Cow.
What Are Buffalo Beans and Greens?
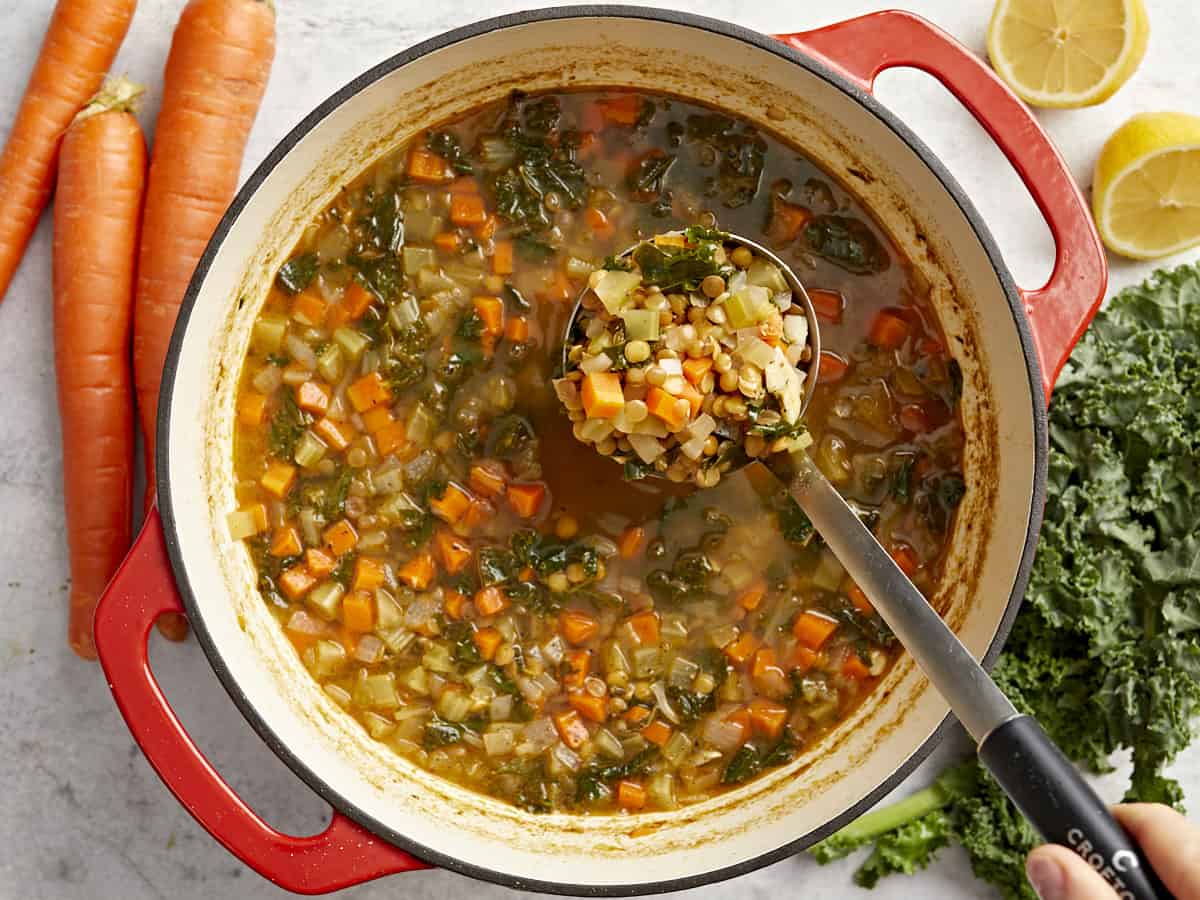
If you’ve made our Saucy White Beans with Spinach, then you know how good stewed beans can be. These buffalo beans and greens are a fun riff on the classic “Buffalo chicken” that all Americans know and love, but we’ve turned it into a veg-friendly complete meal. It’s a balanced, comforting, and wholesome meal with just the right amount of spice.
Ingredients for Buffalo Beans and Greens
Here’s what you’ll need to make buffalo beans and greens:
- Unsalted Butter: Helps sauté the veggies without burning and adds richness to the dish. Dairy free? No problem, olive oil is a suitable substitute.
- Vegetables: Yellow onion, celery, and carrots create a sweet, earthy, and crunchy base of flavor for this dish.
- Garlic: Adds an earthy and savory element to the dish.
- Cannellini Beans: These creamy white beans are a great meat replacement and are packed full of fiber and protein.
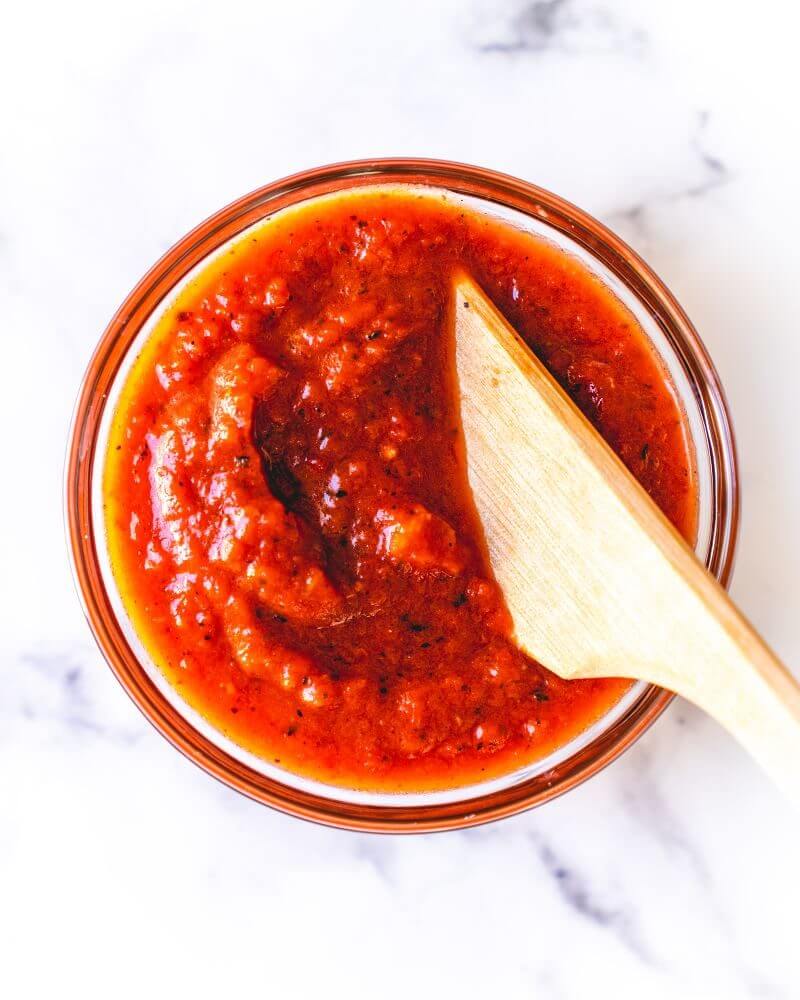
- Buffalo Sauce: Adds a touch of spice to the dish.
- Blue Cheese Dressing: You can use as much or as little as you like. It’s just for a drizzle on top at the end. Blue cheese can be polarizing, so if you’re not a fan, you can leave it off or try a drizzle of Homemade Ranch Dressing instead!
- Fresh Kale: Wilts into this dish to create a delightfully earthy flavor and texture.
- White Rice: Serve these beans and greens over rice for a complete, filling meal.
What Else Can I Put In Buffalo Beans and Greens?
This is a great recipe for fridge cleanout day since it’s easy to add any number of leftover veggies, meats, or cheeses to it. Try:
- Broccoli or cauliflower florets
- Diced zucchini or summer squash
- Cut green beans or asparagus
- Frozen peas or corn
- Cooked bacon, Italian sausage, or pancetta
- Leftover shredded chicken
- Crumbled blue cheese
What to Serve with Buffalo Beans and Greens
We love the simplicity of this dish served over white rice, but of course, brown rice is a great healthy alternative. You could also serve it over some Mashed Potatoes, Deruny, Oven Roasted Potatoes, Creamy Polenta, or Cheese Grits. And if you hate blue cheese, try serving these buffalo beans and greens drizzled with Homemade Ranch Dressing.

Buffalo Beans and Greens
Equipment
Ingredients
- 4 tbsp unsalted butter $0.75
- 1/2 yellow onion, diced small $0.39
- 3 celery stalks, diced small $0.26
- 2 medium carrots, diced small $0.26
- 6 cloves garlic, peeled and minced $0.42
- 2 15oz. cans cannellini beans, drained and rinsed $2.56
- 1/4 cup Buffalo-style hot sauce $0.52
- 2 tbsp water $0.00
- 2 cups fresh kale, chopped $0.50
- 1/4 cup blue cheese dressing $0.31
- 1 cup white rice, cooked $0.64
Instructions
- Cook rice according to package directions. (1 dry cup will yield about 3 cooked cups of rice.) Drain and rinse the cannellini beans.
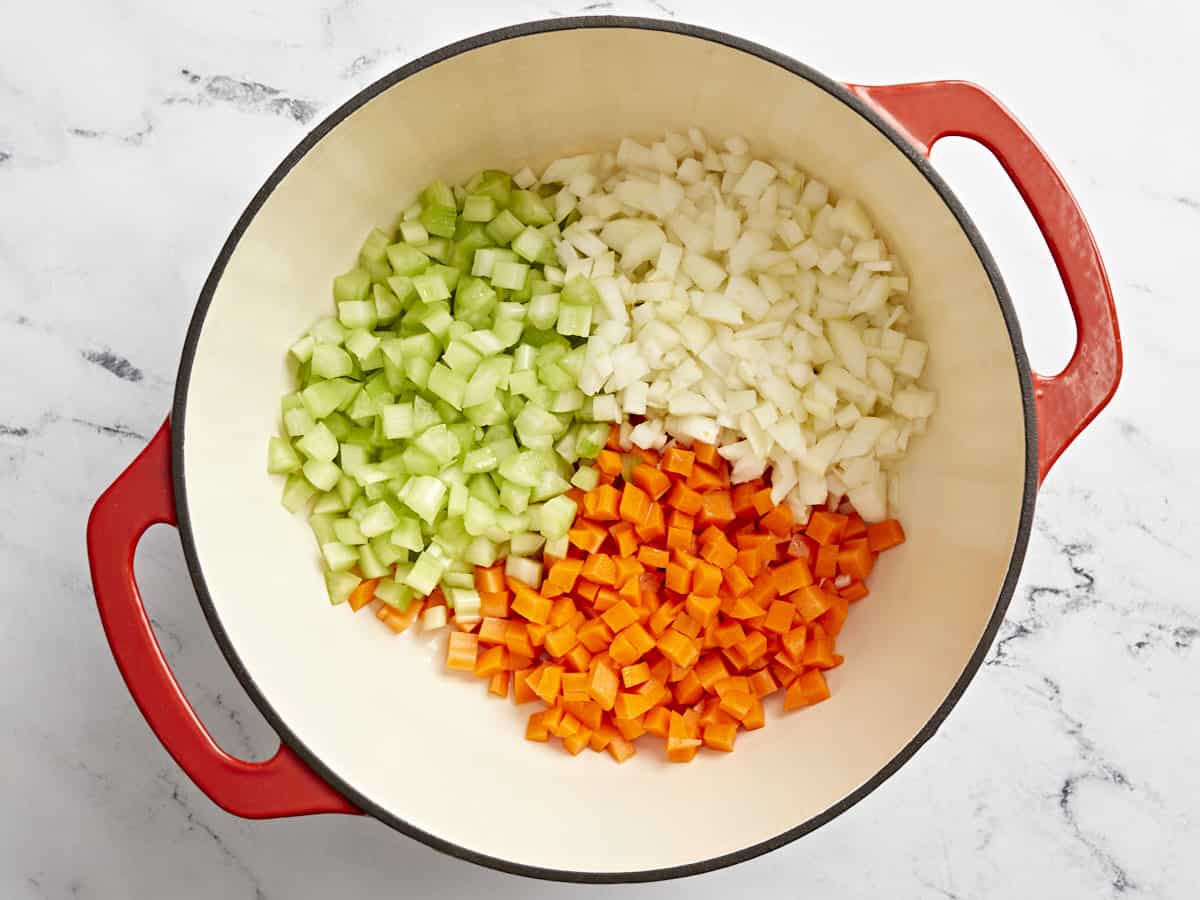
- Dice celery, yellow onion, and carrots to make a mirepoix.
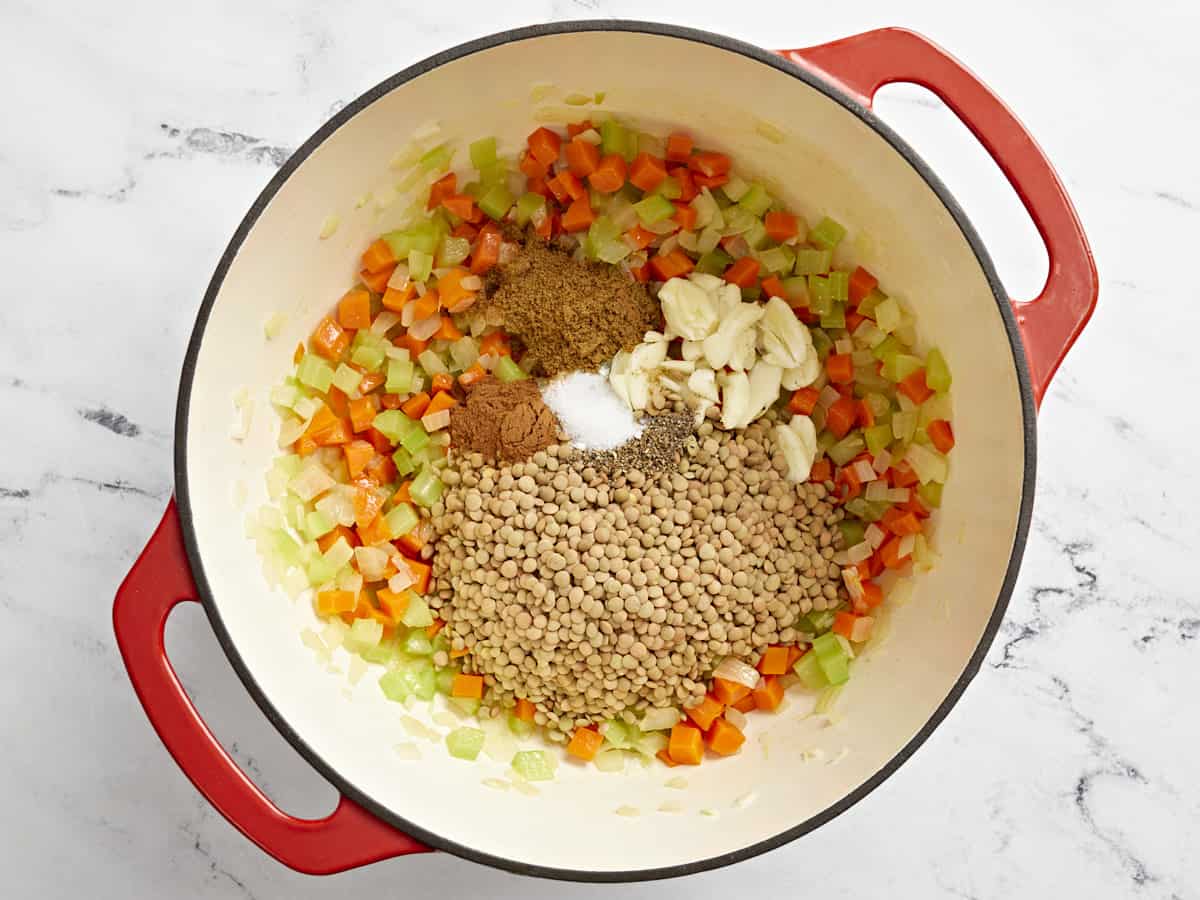
- Add the butter, salt, celery, onions, and carrots to a large skillet. Sauté over medium heat for 3-4 minutes, or just until the veggies begin to soften. Add the garlic and sauté for an additional 1-2 minutes.
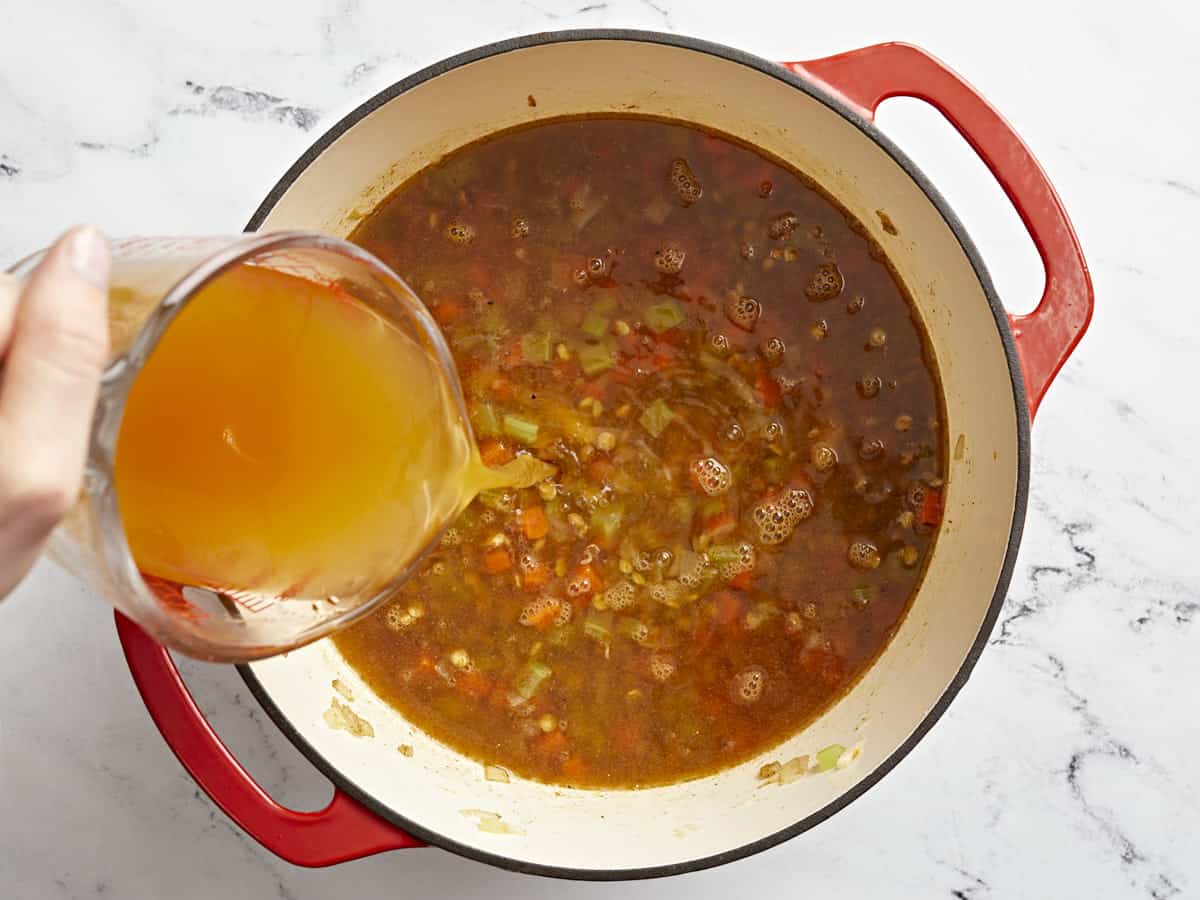
- Add the white beans, Buffalo-style hot sauce and water to the skillet. Stir and cook over medium heat until the beans are heated through.
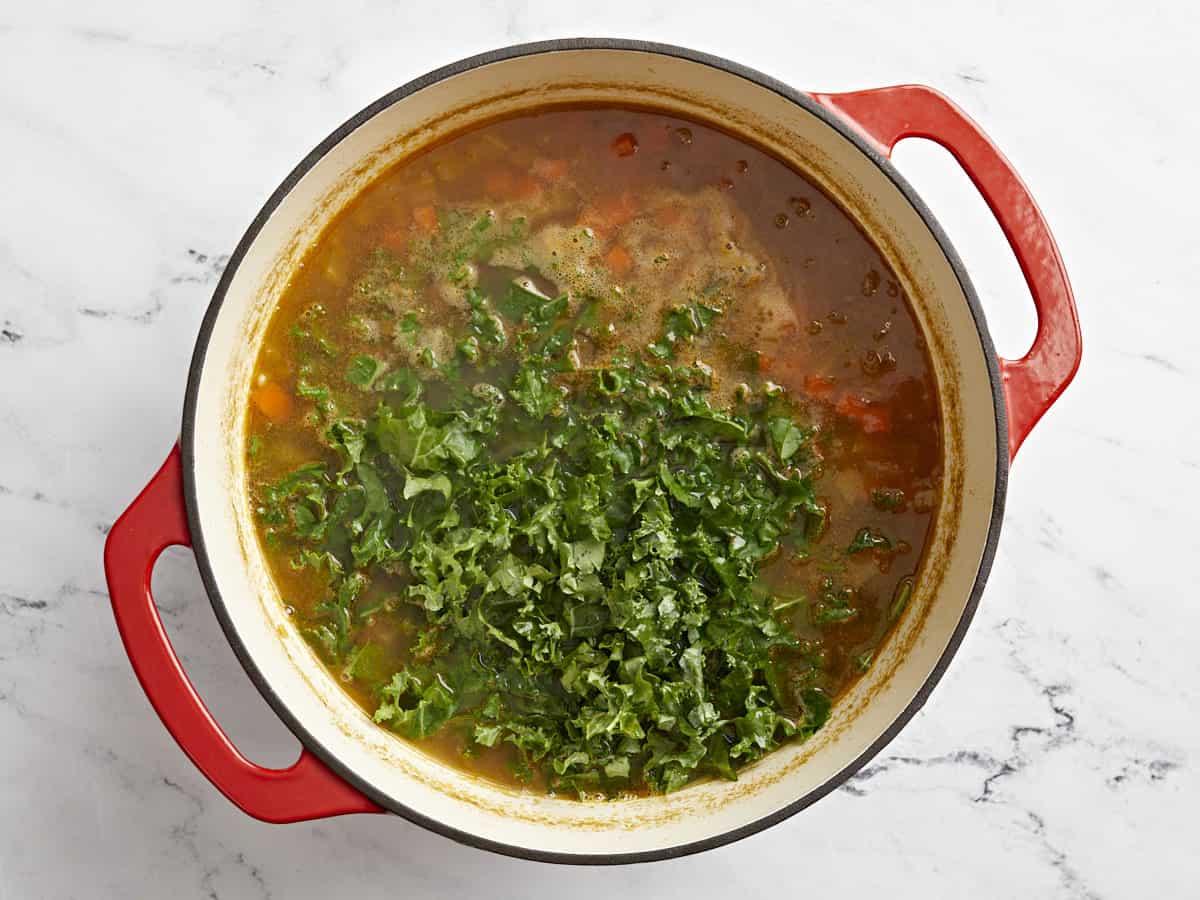
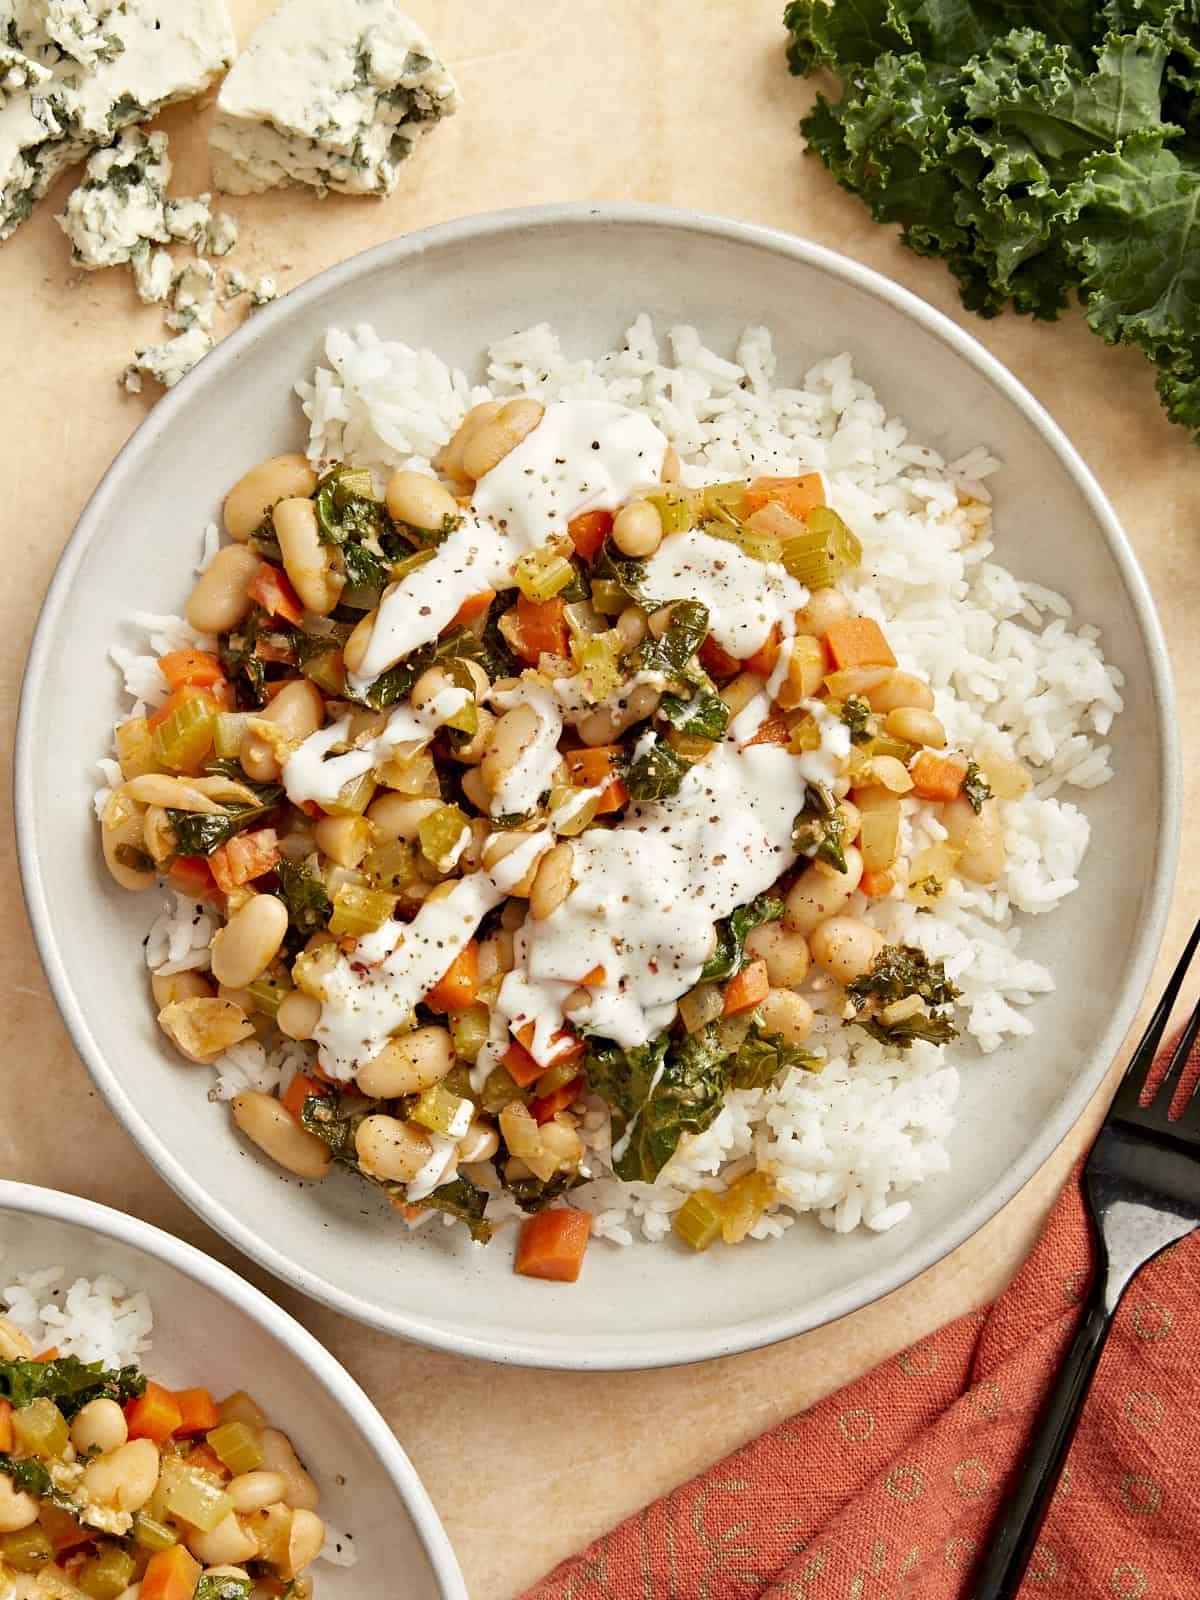
- Add the kale to the pan and stir until bright green and wilted. No need to cook for too long. Serve a heaping spoonful on top of rice, drizzling blue cheese dressing over the top. Add salt and pepper to taste, if needed. Enjoy!
See how we calculate recipe costs here.
Nutrition
how to make Buffalo Beans and Greens – step by step photos
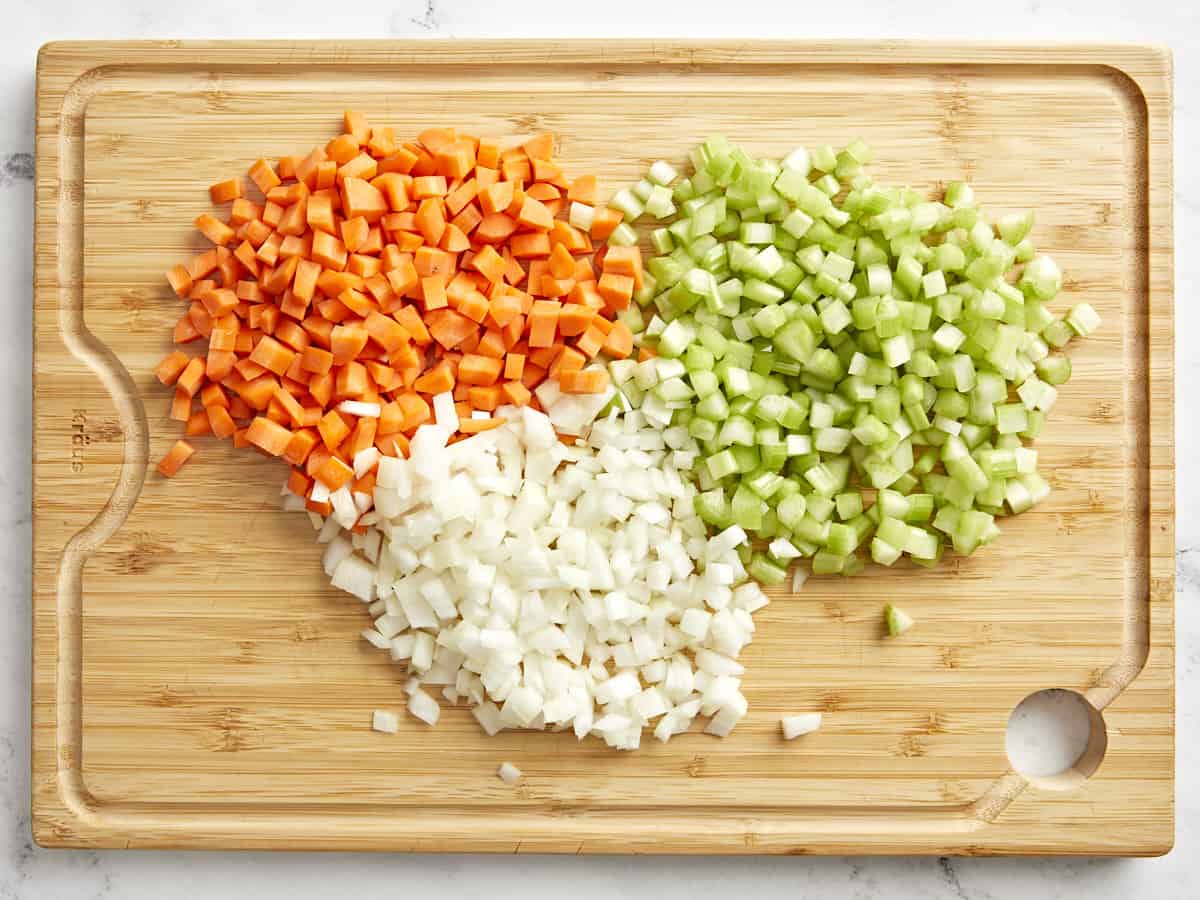
Cook rice according to package directions. (1 dry cup will yield about 3 cooked cups of rice.) Drain and rinse the cannellini beans. Dice 3 stalks celery, 1/2 of a yellow onion, and 2 medium carrots to make a mirepoix.
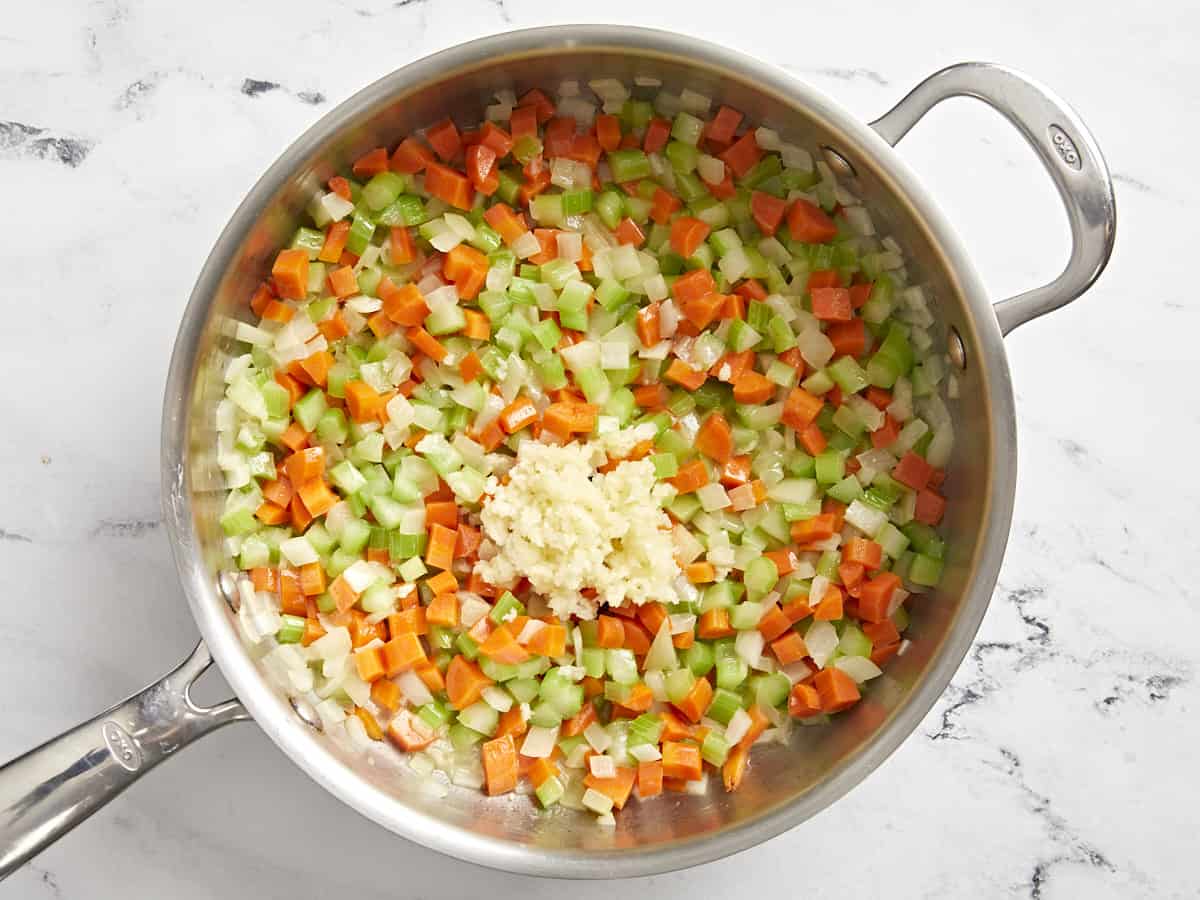
Add 4 Tbsp unsalted butter, celery, onion, and carrots to a large skillet. Sauté over medium heat for 3-4 minutes, or just until the veggies begin to soften. Add 6 cloves of minced garlic and sauté for an additional 1-2 minutes.
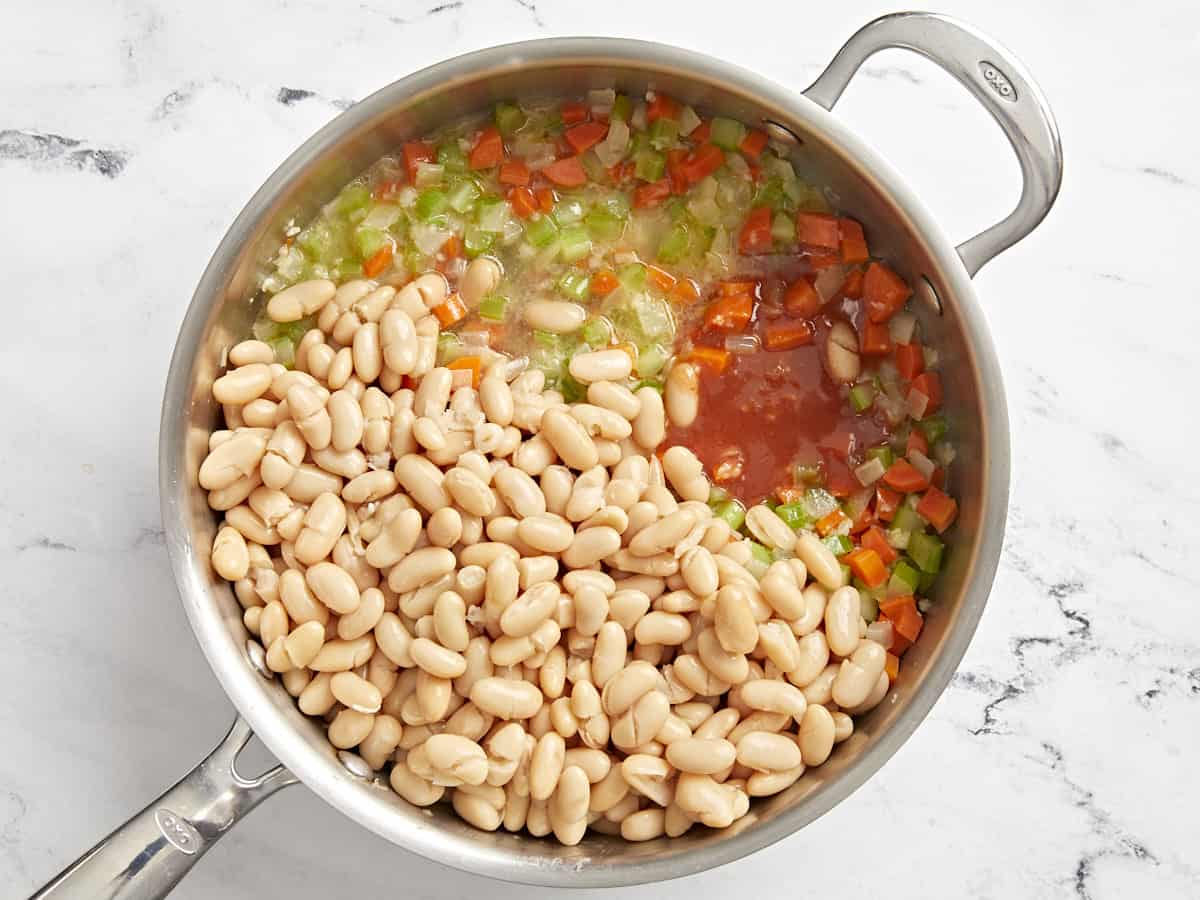
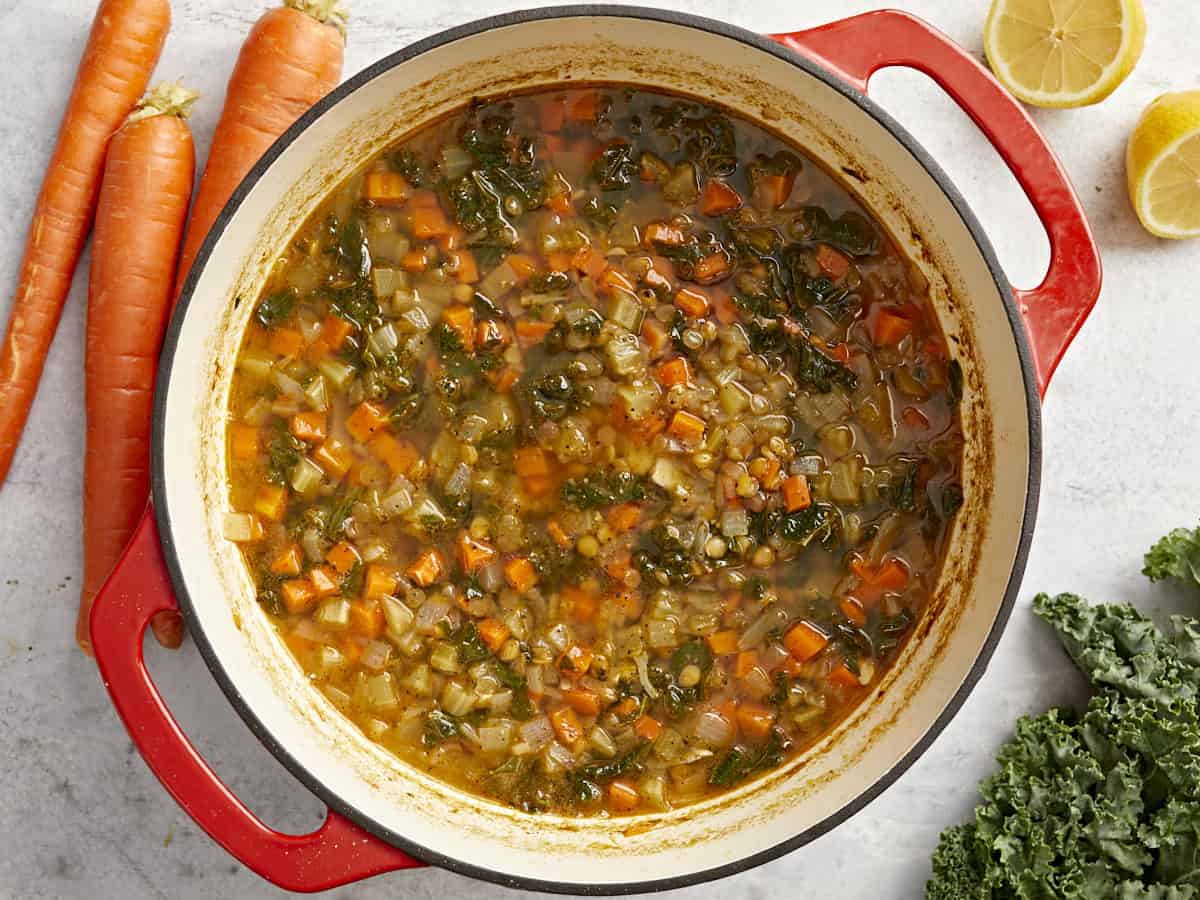
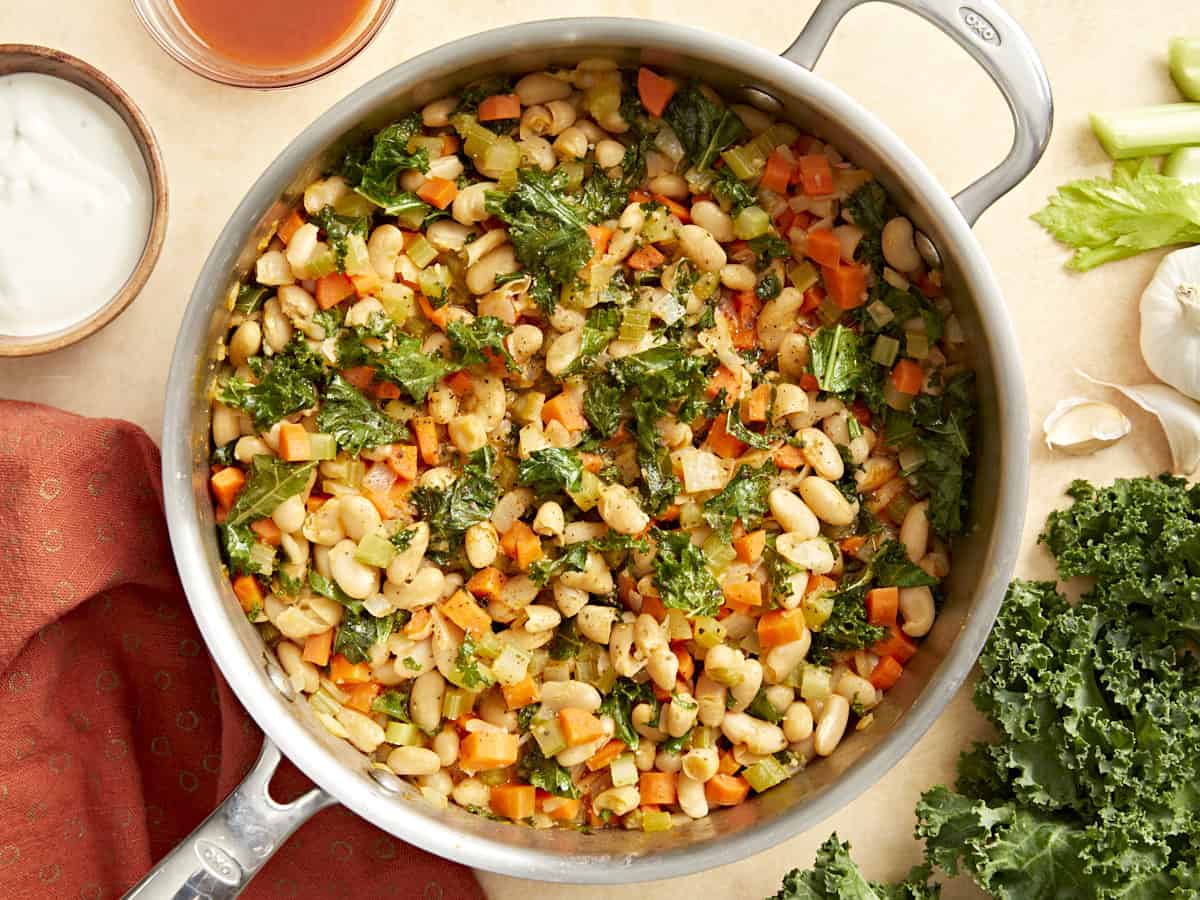
Add 1 can of drained and rinsed cannellini beans, 1/4 cup Buffalo-style hot sauce, and 2 Tbsp water to the skillet. Stir and cook over medium heat until the beans are heated through.
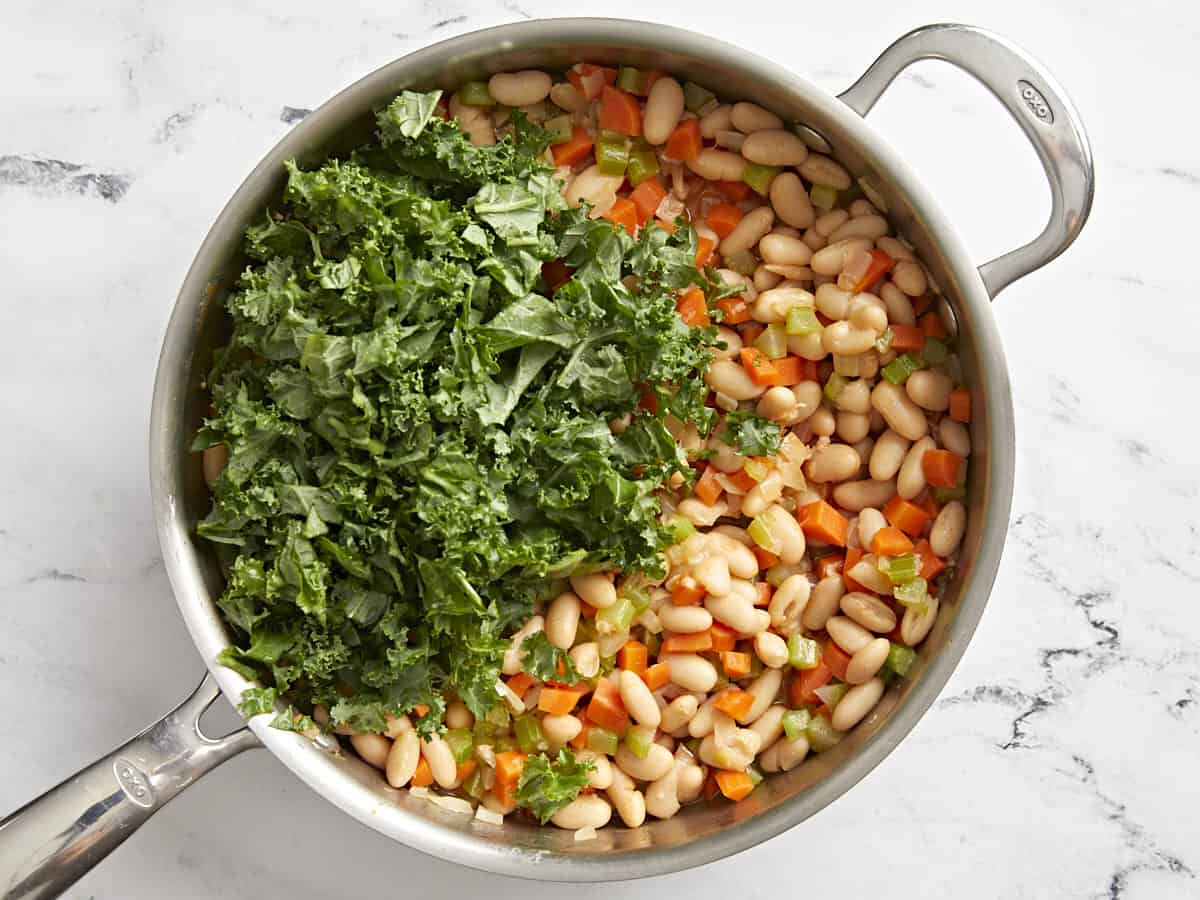
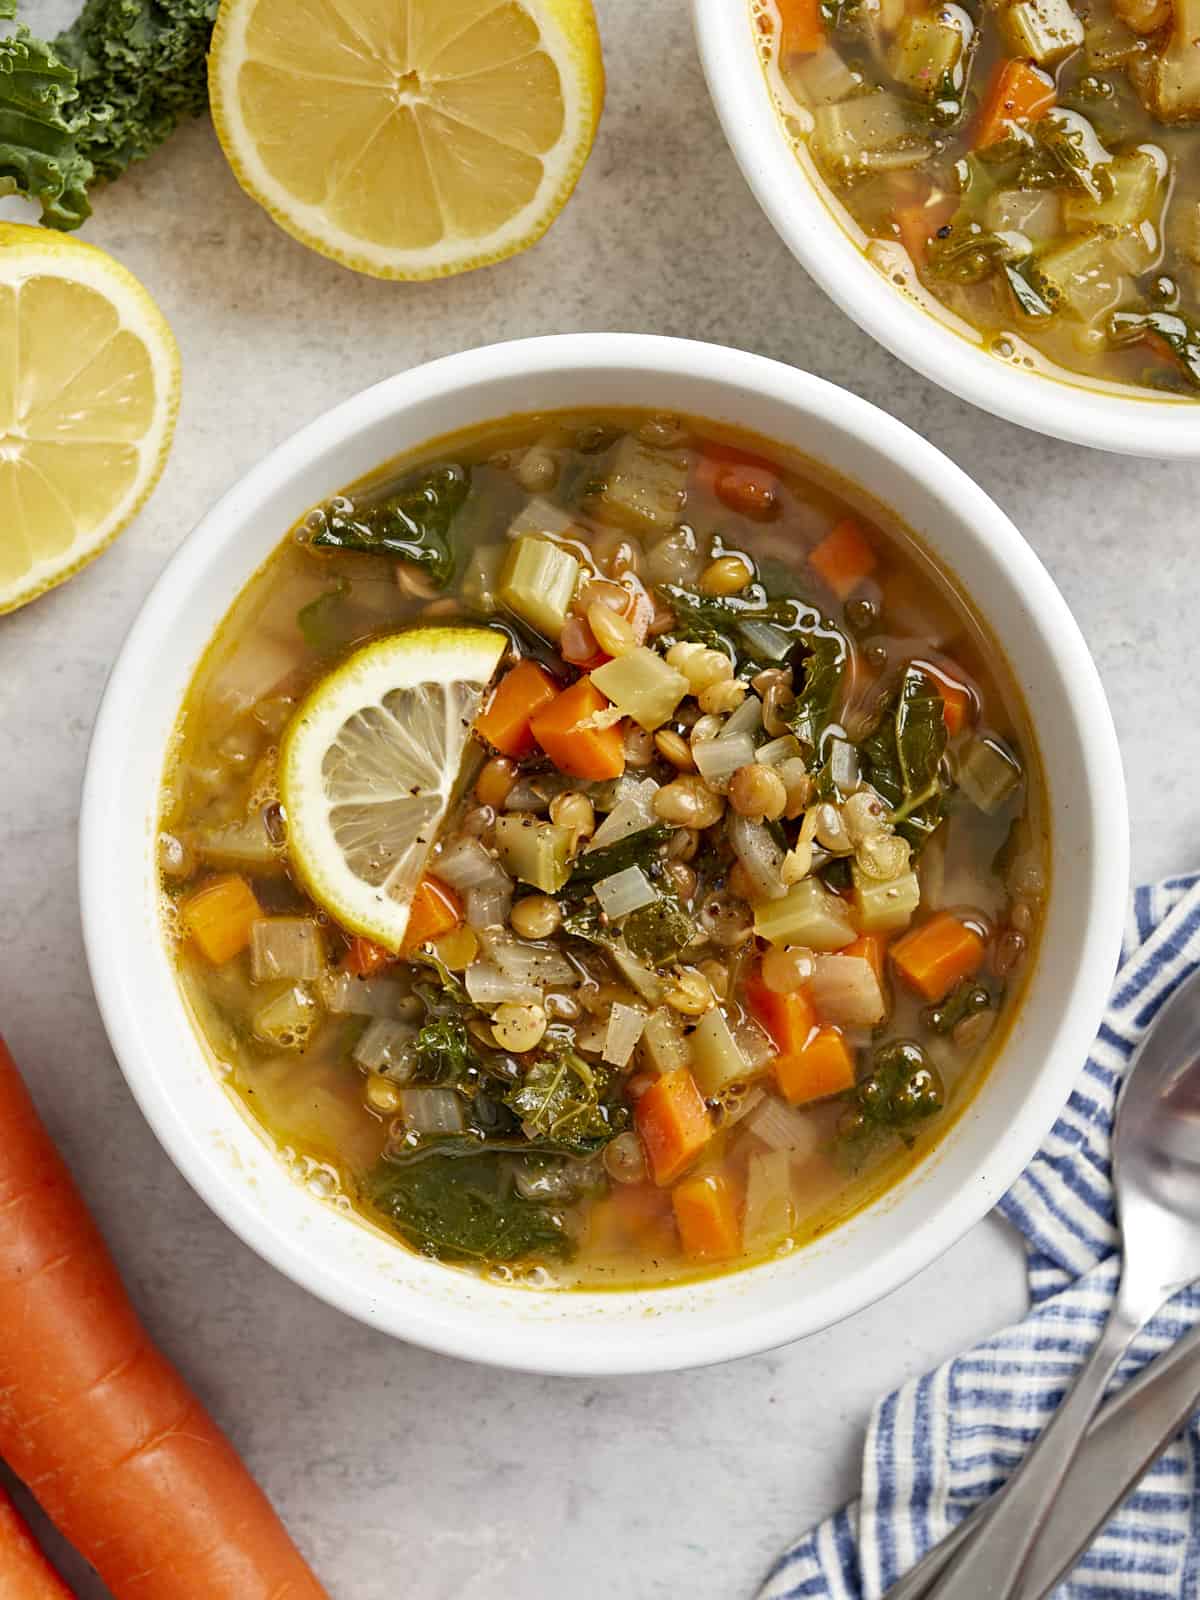
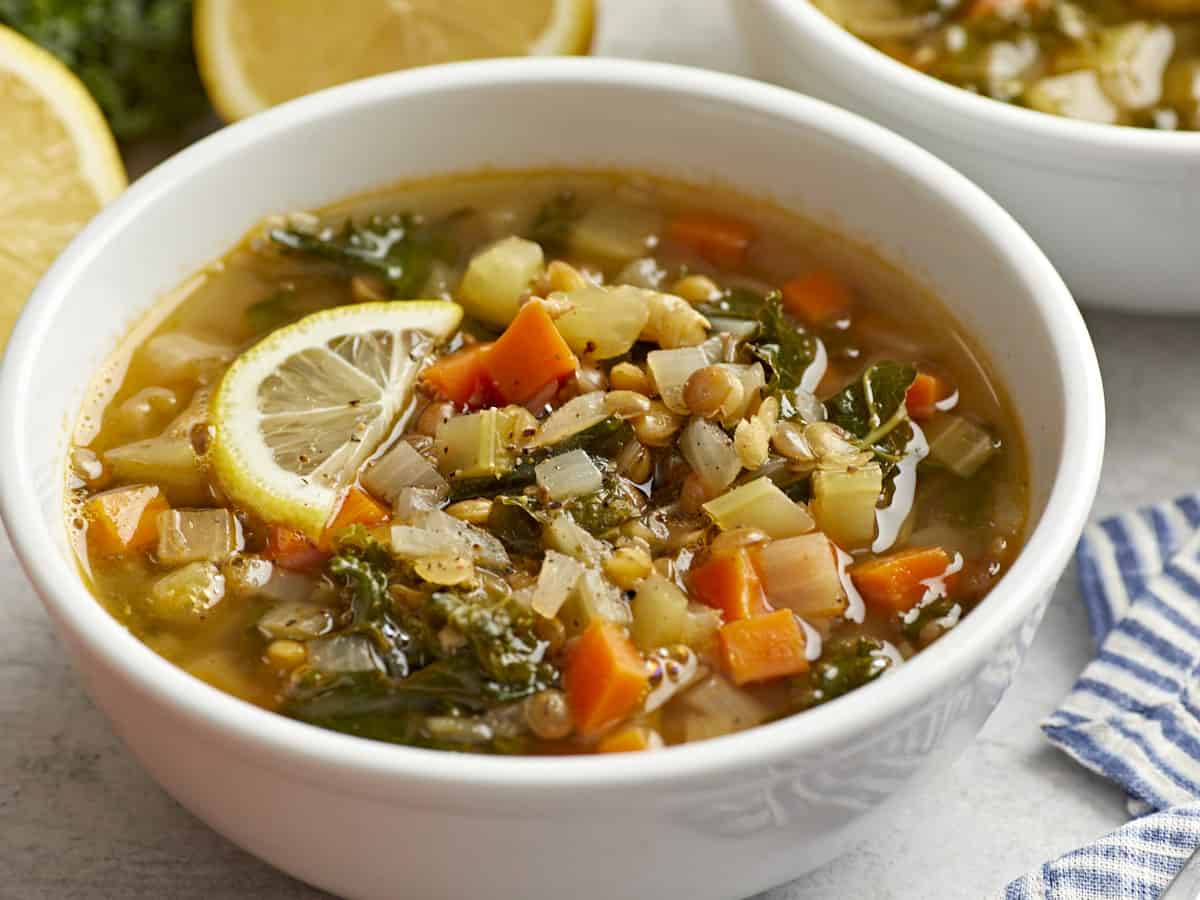
Add 2 cups chopped fresh kale to the pan and stir until bright green and wilted. No need to cook for too long. Serve a heaping spoonful on top of rice, drizzling blue cheese dressing over the top. Add salt and pepper to taste, if needed.
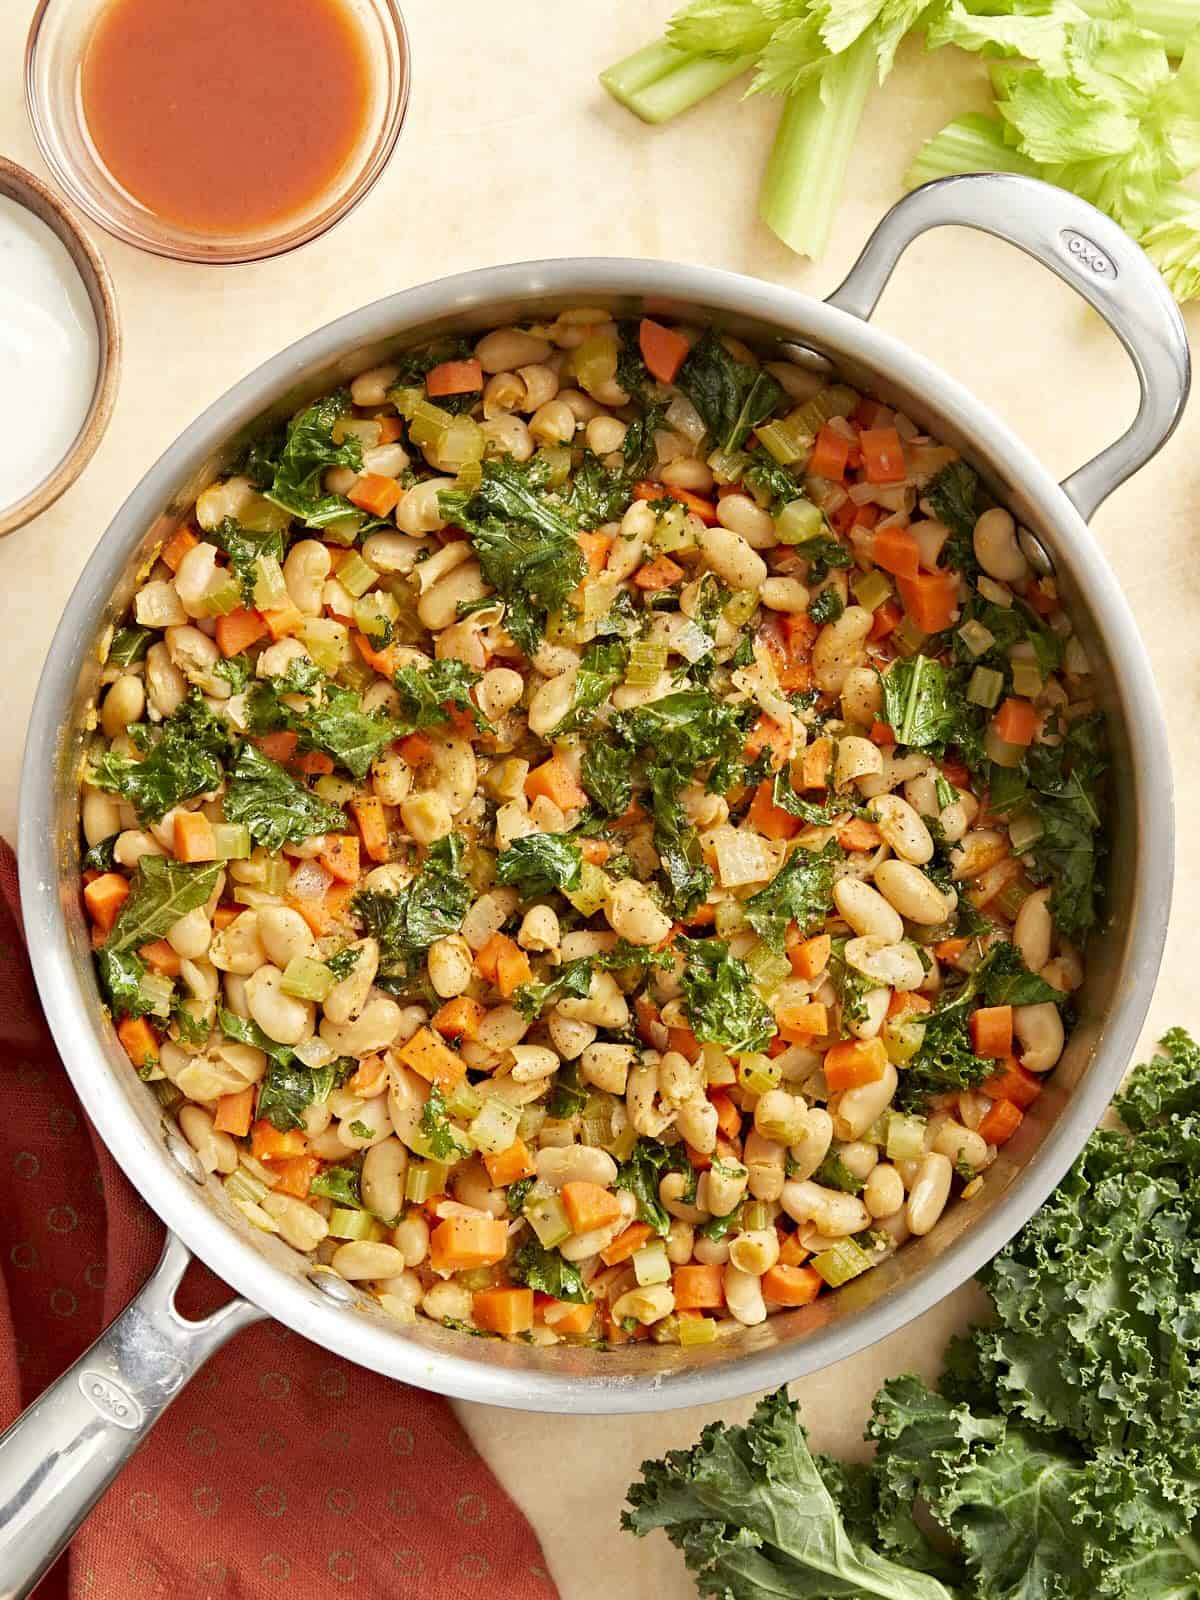
This rich and filling buffalo beans and greens is sure to become a weeknight staple!
The post Buffalo Beans and Greens appeared first on Budget Bytes.


 Try a pizza oven if you really want to step up your game! True artisan pizza is cooked at temperatures much hotter than your standard oven can achieve. The oven we recommend is relatively inexpensive and heats quickly to 1000°F.