Moist Keto Chocolate Muffins is a unique proposition for chocolate lovers. It is healthy and will make a dessert, not go to the sides.
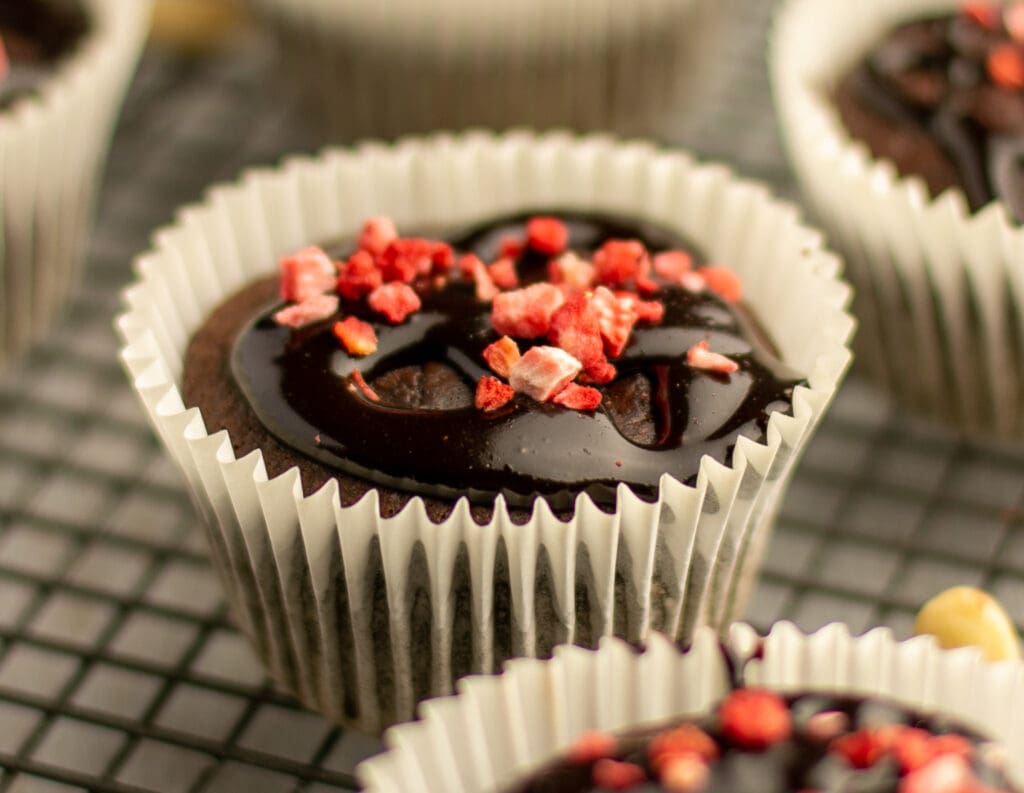
This taste is complemented by chocolate topping and dried strawberries. Which fits not only perfectly but also perfectly breaks the chocolate color of cupcakes. After all, it has long been known that you also eat with your eyes.
How to choose the best ingredients for Moist Keto Chocolate Muffins
Eggs: Eggs always select the best you have, fresh. Here, the best will be the size of L or M. If you have a smaller one, just give one more egg.
It will be good when the eggs are at room temperature.
Natural yogurt: I always choose Greek yogurt because its thick, creamy texture suits me best. The only thing in this recipe will be any natural yogurt without additives.
Greek yogurt must be at room temperature.
Heavy Cream: I prefer heavy cream made from dairy products, but coconut milk will also be perfect for this if you like the combination of chocolate and coconuts.
The cream has to be sweet and yogurts are probably not suitable because cream and coconut milk give the muffins a creamy taste and ensure that they will stay fresh for a long time.
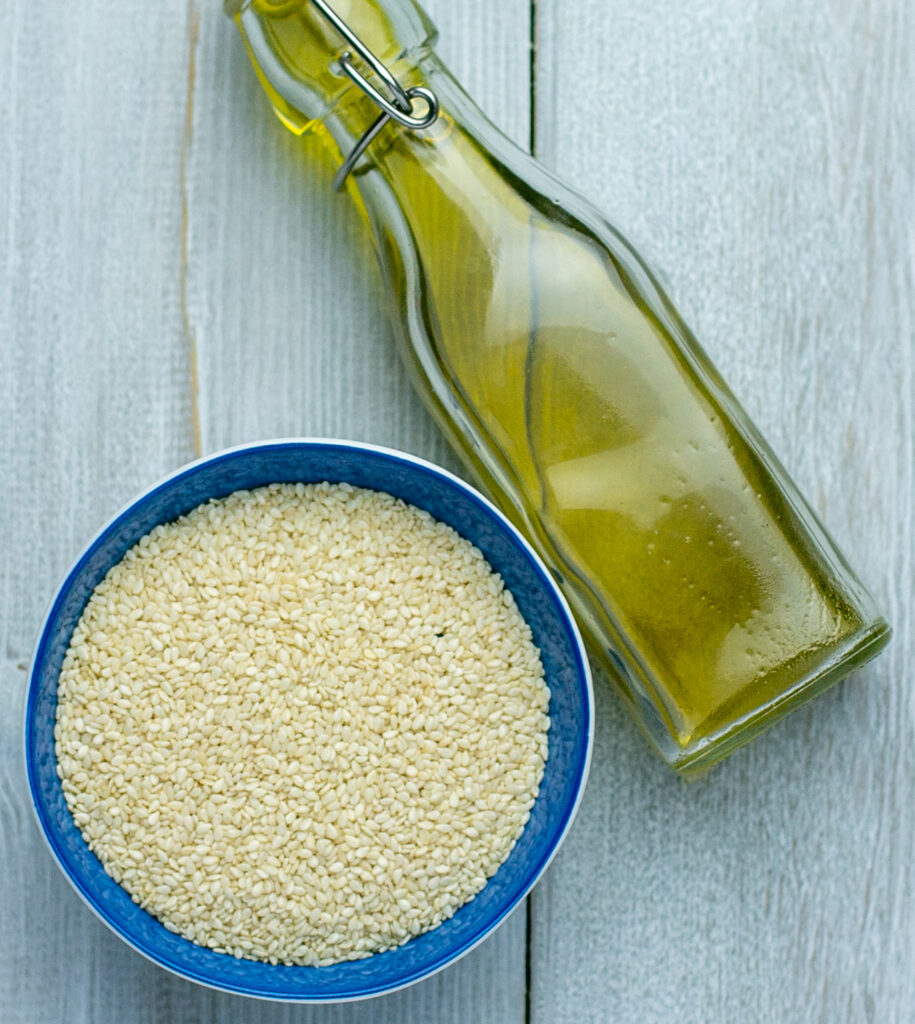
Ground Almonds: You can choose ground almonds but in the luxurious version, almond flour. The taste and appearance will be that the ground almonds are not as perfectly ground as almond flour and you will see small white dots in the muffins.
It doesn’t bother me personally. You choose yourself. Generally, ground almonds are more available.
Cocoa: You choose traditional low-fat cocoa, not any chocolate drinks. Cocoa not only gives the muffins a chocolate flavor but also makes them fresh and fluffy. Cornstarch, which I always add, has a similar purpose in my muffins.
Erythritol/Xylitol: The sweetener you choose is up to you. Both xylitol and erythritol are suitable for this baking.
The former provides additional calories but has a taste more similar to sugar, and the latter is calorie-free. You add the same amount to both.
Tips and Tricks for Moist Keto Chocolate Muffins
- If you don’t have almond flour or ground almonds. Another substitute may be coconut flour, which is very popular in the keto diet. Remember that you add less of it because it absorbs macro products very much. I would add about 85 gr, i.e. 2/3 cup
- You don’t like butter? You can replace them with coconut oil in chocolate icing
Sides To Serve for Moist Keto Chocolate Muffins
Chocolate cupcakes will be perfect for afternoon coffee for dessert.
You can serve them e.g. hot with a scoop of ice cream, not just cold as the recipe says. Then they will resemble fudge chocolate cake with ice cream. Of course, the ice cream must also be keto if you are passionate about this way of eating. Of course, you can try keto ice cream from my recipe, which was based on the original gelato recipe from Italy.
Another ideal way is to pour hot chocolate icing over the cupcakes themselves. Then the icing will be perfect for soaking into the cupcakes while eating.
Substitute Moist Keto Chocolate Muffins
If you are not on a keto diet and you like traditional recipes and you are a fan of chocolate muffins, be sure to try my recipes for Moist Double Dark Chocolate Muffins or Milk Chocolate Cupcake. These two recipes reign supreme in my house, my children especially love the second one.
Another cupcake recipe where chocolate is king will be the Fit Brownie Date Muffins version. The perfect recipe for a healthy snack to replenish energy after training. You will find only natural recipes here, without a gram of flour.
Or maybe I just feel like drinking chocolate, so be sure to try the Spicy Dark Hot Chocolate recipe. Chocolate flavor with a bit of chili. This is what I love.
Try these recipes and be sure to let me know in the comment which recipe you like best.

Moist Keto Chocolate Muffins
Ingredients
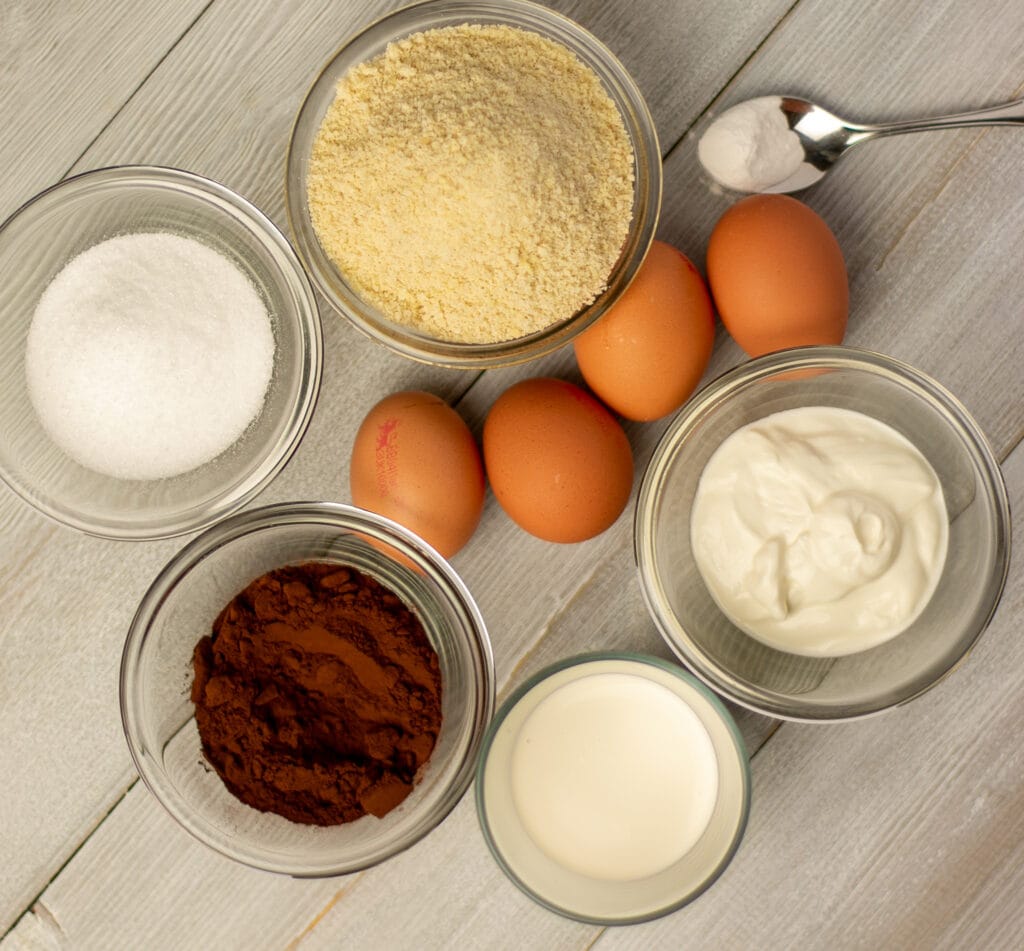
- 4 eggs
- 120 ml natural yogurt
- 120 ml cream
- 120 g ground almonds
- 40 g cocoa
- 70 g erythritol/xylitol
- 1/2 tsp baking powder
Chocolate Topping
- 1 tbsp heavy cream
- 1 tbsp cocoa
- 1 tbsp butter
- 1 tbsp sweetener
Instructions
- The most important thing for cupcakes to come out perfect is that all the ingredients must be at room temperature.
- The next step will be to add cocoa and almond flour mixed with baking powder.
- Mix everything on low speed, and put it into muffin molds.
- Bake at 180 degrees C for about 20-25 minutes.
Chocolate Topping
- We put all the ingredients in a saucepan and dissolved on a prolonged fire to combine the ingredients and dissolve the sweetener.
- I recommend xylitol or stevia in this version because erythritol can crystallize after cooling down and spoil our flavors.
- Cool the muffins and pour the topping, sprinkle with dried strawberries.
- Muffins prepared this way will be soft for at least a few days, even up to 5-6. However, they are too tasty to wait so long for someone to eat them. Especially chocolate lovers. Even non-keto people can't resist this taste.
Nutrition
The post Moist Keto Chocolate Muffins appeared first on tasty food blog.