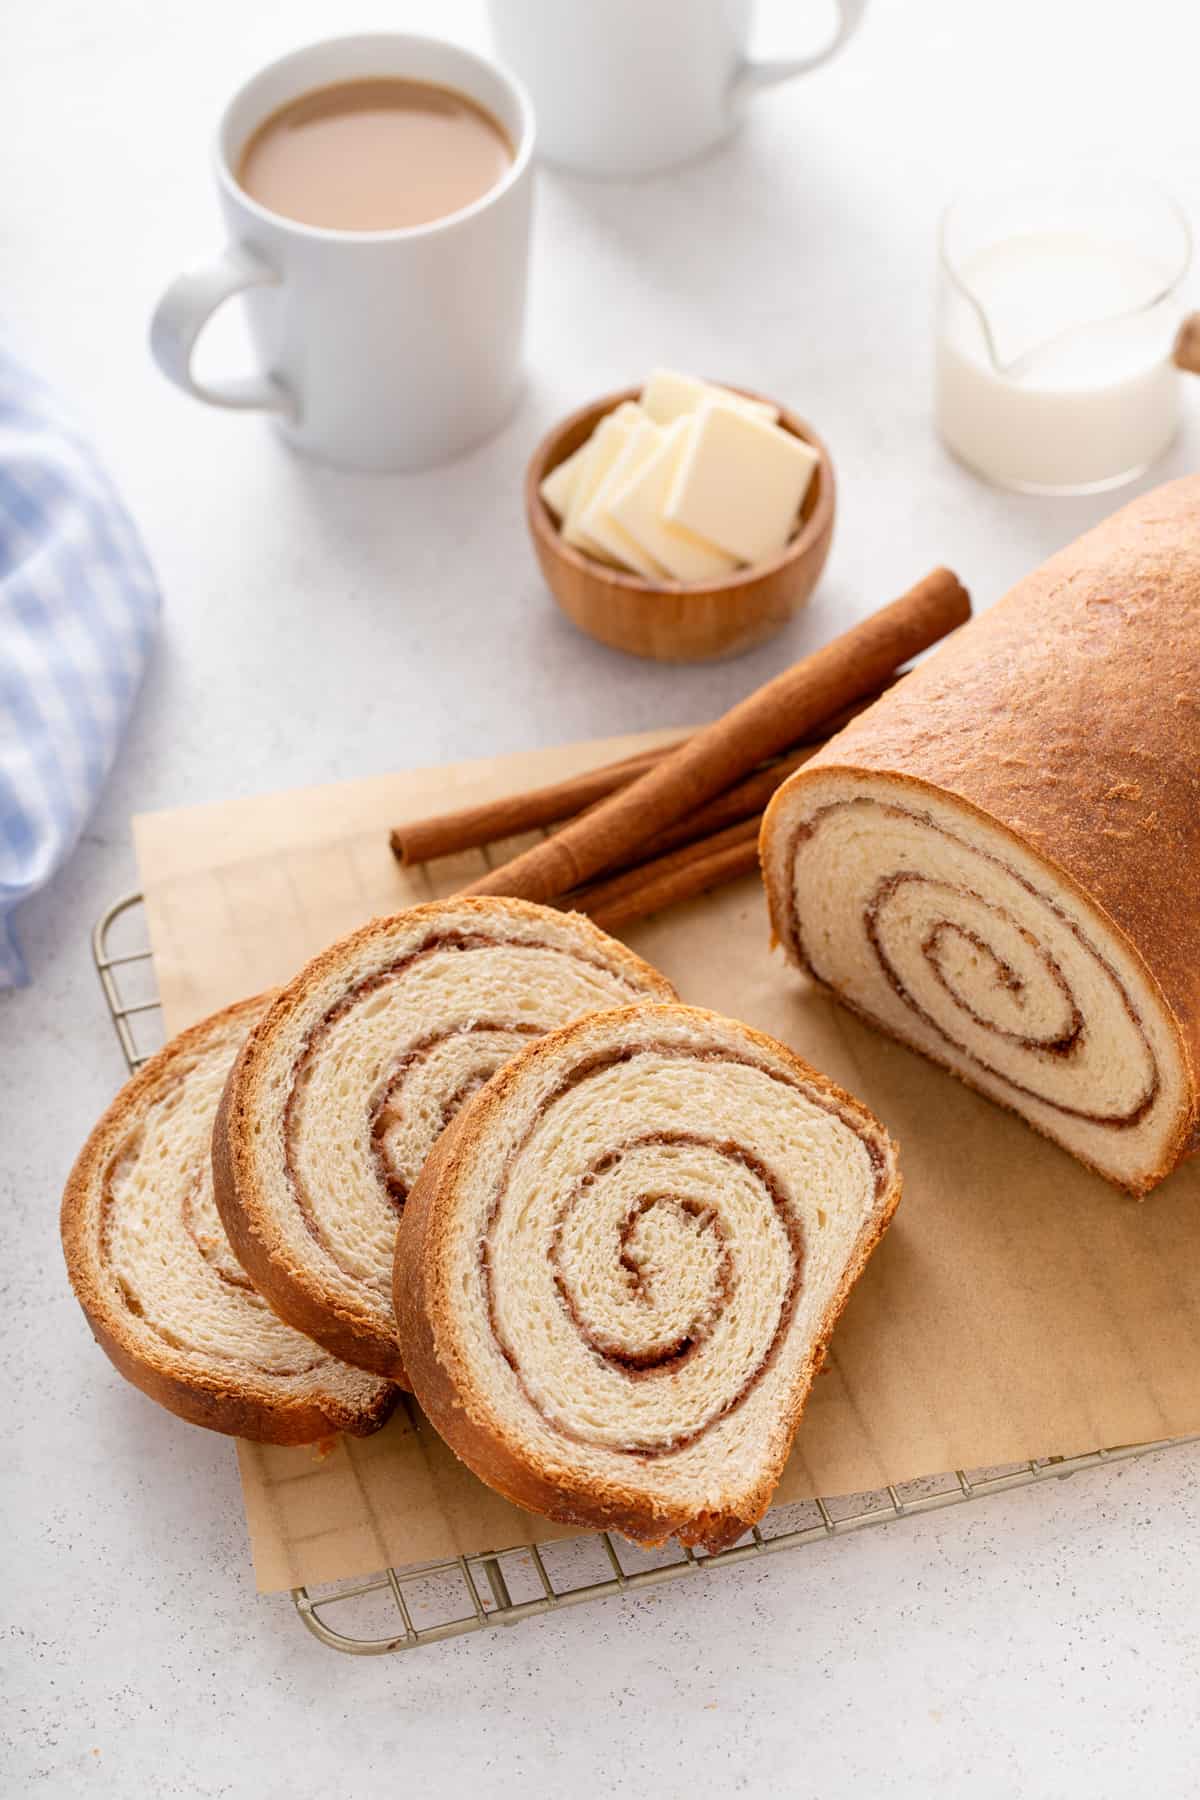
This golden loaf of bread holds a secret: a swirl of cinnamon and sugar in every slice! Toast and butter this cinnamon swirl bread for the perfect way to start the morning.
Believe it or not, I used to be totally freaked out by the idea of baking with yeast. It totally intimidated me!
But eventually I decided to give it a try with super easy recipes like english muffin bread. I gained enough confidence that now I love making everything from parker house rolls for holiday dinners to overnight cinnamon rolls for weekend breakfasts.
If you want to make a stunning loaf of bread, this cinnamon swirl bread is it. The bread looks unassuming at first, but when you slice into it, it reveals a beautiful swirl of cinnamon and sugar in each and every slice.
This is the type of yeast bread recipe that would have totally freaked me out years ago, but now I know that it’s not really difficult at all. So stick with me and I’ll walk you through it so you can feel confident enough to try it, too!
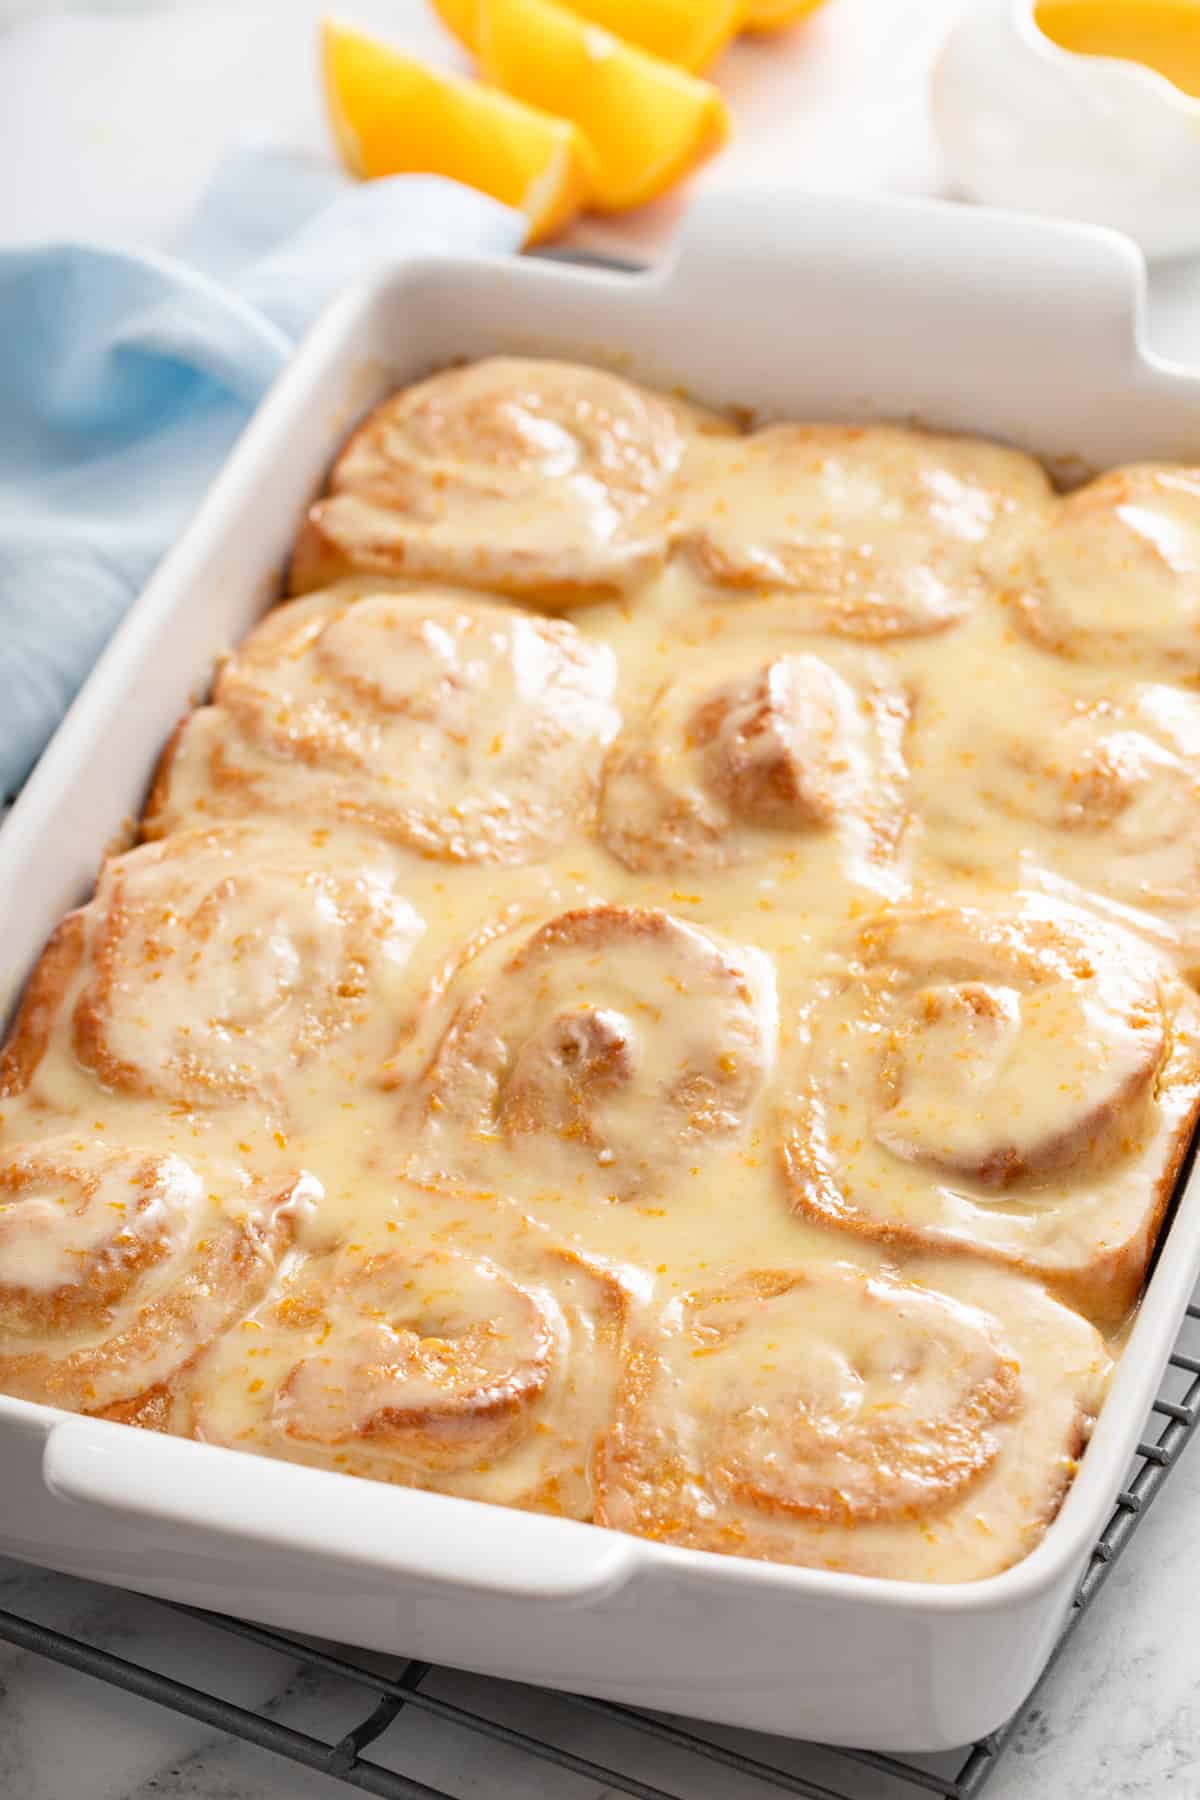
Soft, fluffy yeast dough is swirled around a sticky orange and cardamom filling and topped with a tangy cream cheese glaze for these sticky orange rolls. Make them for a special weekend breakfast or a holiday brunch! I used to be totally afraid of baking with yeast. Ok, well, maybe it wasn’t a full-fledged fear, …
Soft, fluffy yeast dough is swirled around a sticky orange and cardamom filling and topped with a tangy cream cheese glaze for these sticky orange rolls. Make them for a special weekend breakfast or a holiday brunch!
I used to be totally afraid of baking with yeast.
Ok, well, maybe it wasn’t a full-fledged fear, but it was definitely a source of some minor kitchen anxiety.
Whenever I would bake with yeast, I was alway second-guessing myself. Is my liquid
the right temp? Did I use the right yeast? Has the dough actually doubled in size?
So if you’re a little bit afraid of working with yeast, don’t panic. I’m going to walk you through making these sticky orange rolls so you can feel confident making them for your family.
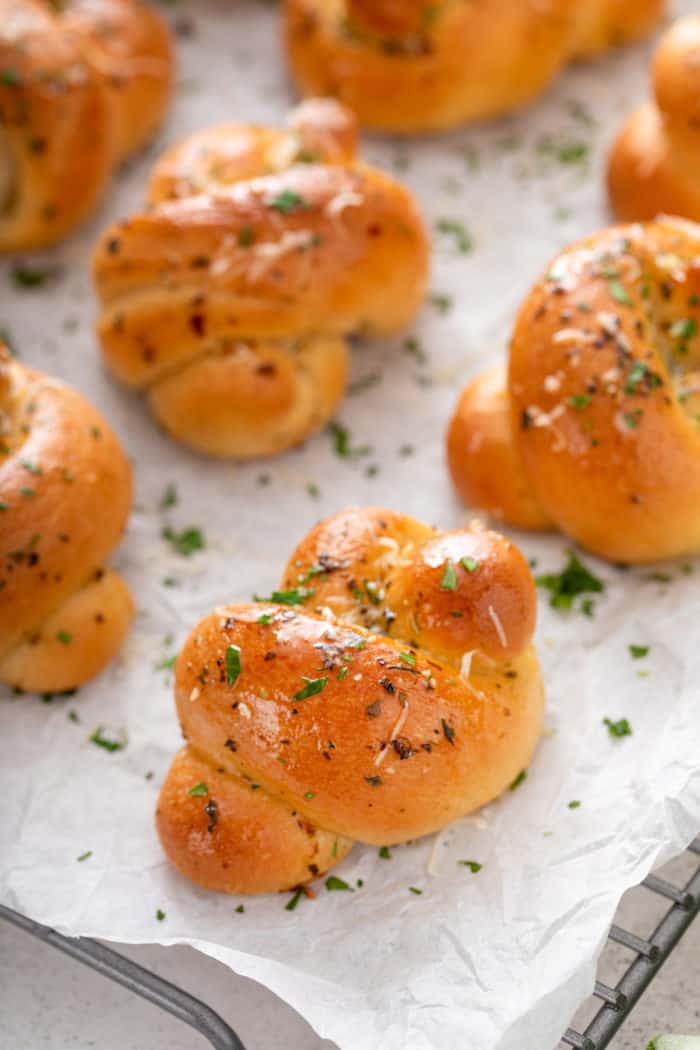
Make your next at-home pasta, pizza, or soup dinner extra special with a batch of the best garlic knots. These fluffy, buttery knots are packed with herbs and garlic for a flavorful addition to any meal. If you love bread and rolls and biscuits as much as I do, you’re in for a treat today. …
Make your next at-home pasta, pizza, or soup dinner extra special with a batch of the best garlic knots. These fluffy, buttery knots are packed with herbs and garlic for a flavorful addition to any meal.
If you love bread and rolls and biscuits as much as I do, you’re in for a treat today.
These garlic knots are SO delicious. They’re also pretty easy to make, so they’re actually something you can throw together on a weeknight.
The dough only needs to rest/rise for 40 minutes total; with shaping and baking time, they’ll take you just over an hour from start to finish, with most of that being hands-off time.
Which means you can get the rest of your dinner ready while these little beauties are rising and baking. Maybe a big pot of soup or pasta? There are no wrong answers when garlic knots are involved.
—————————————————— Thank you for reading! This is a premium post available to subscribers only. While most of the site is open to all, if you’d like access to this and…
Source
------------------------------------------------------ Thank you for reading! This is a premium post available to subscribers only. While most of the site is open to all, if you'd like access to this and...
Sopapillas are total decadence for me. You’d think after concluding a stomach-swelling multi-course meal of chips and salsa, queso, guacamole, tamales, rice, refried beans. and enchiladas that it would be impossible t…
Sopapillas are total decadence for me. You’d think after concluding a stomach-swelling multi-course meal of chips and salsa, queso, guacamole, tamales, rice, refried beans. and enchiladas that it would be impossible to find room for just one...
In the heat of summer, I am always looking for fun low (or no) cook ways to make and enjoy a little dessert. Give me all of your icebox cakes, no bake bars, and no bake cheesecakes! No bake cheesecake has all of the rich cream cheese flavor of its baked counterpart, but it is a bit lighter in texture and so easy to make. There are no water baths to fuss with and no worry about the top splitting on you.
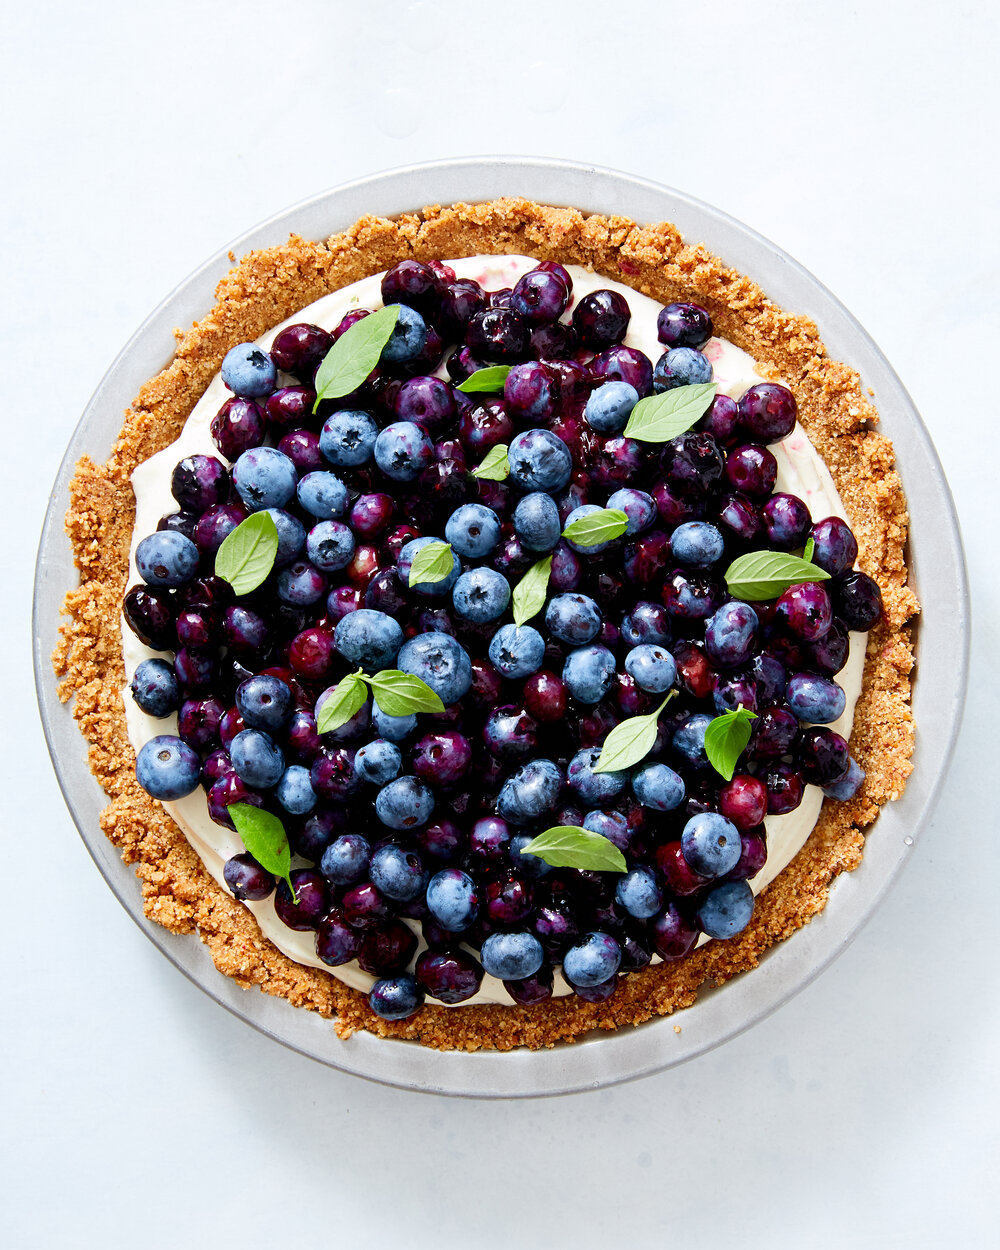
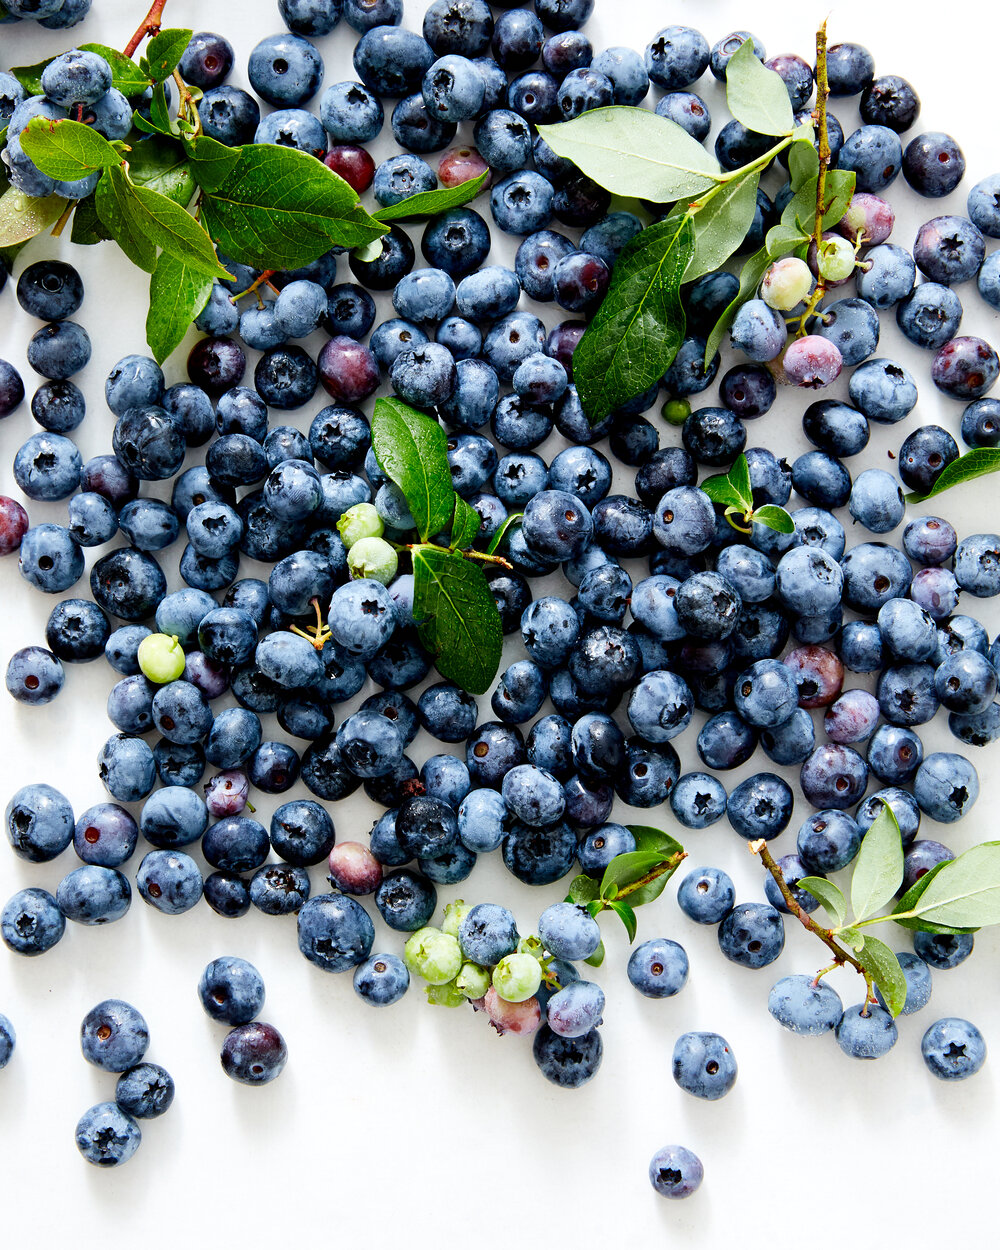
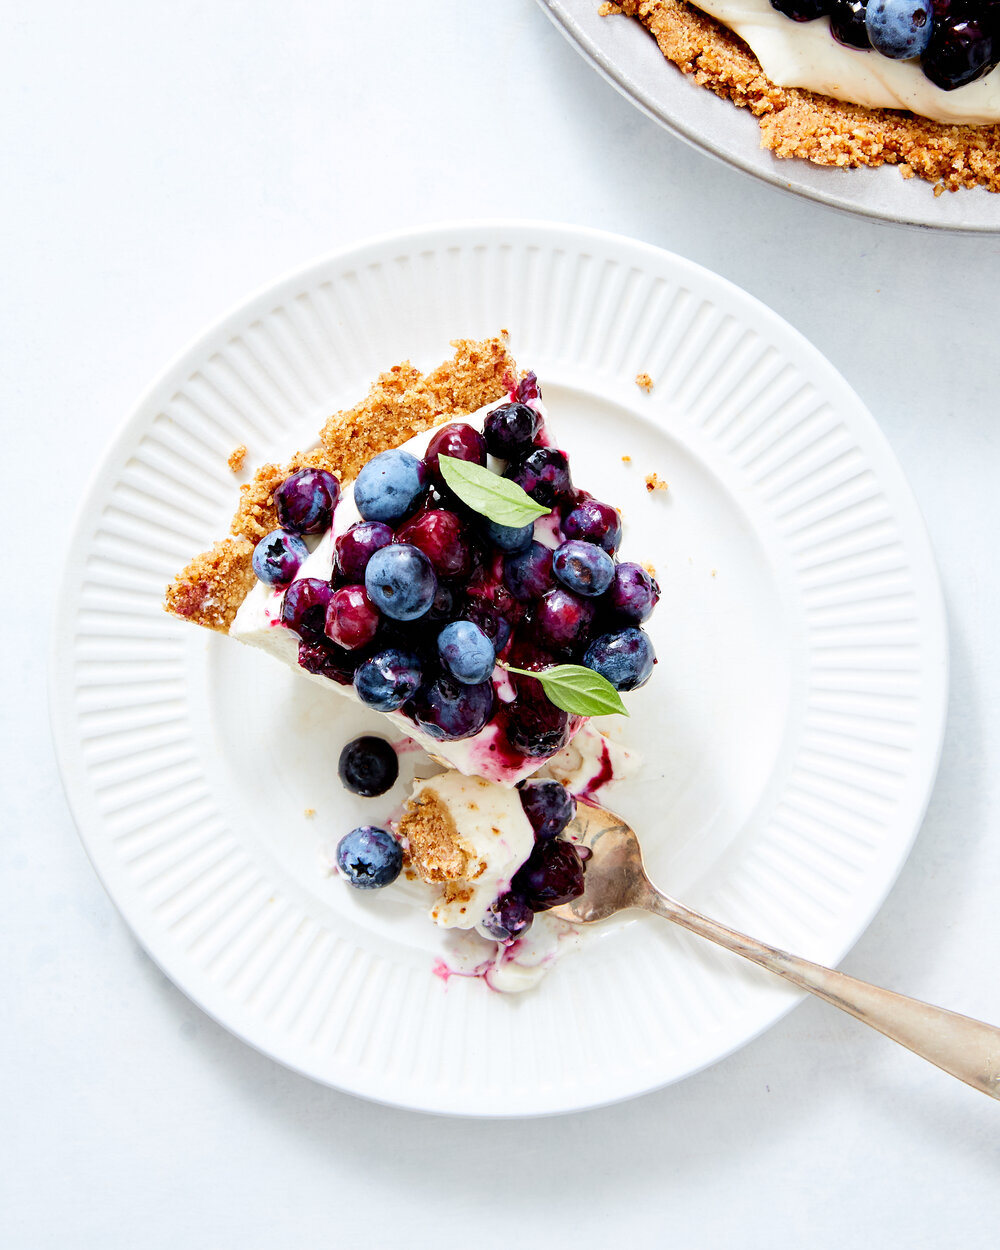
This no bake cheese cake is a great base for all sorts of summer fruit, but it would also be delicious with caramel or chocolate drizzled over the top instead. This version uses a heap of gorgeous fresh blueberries.
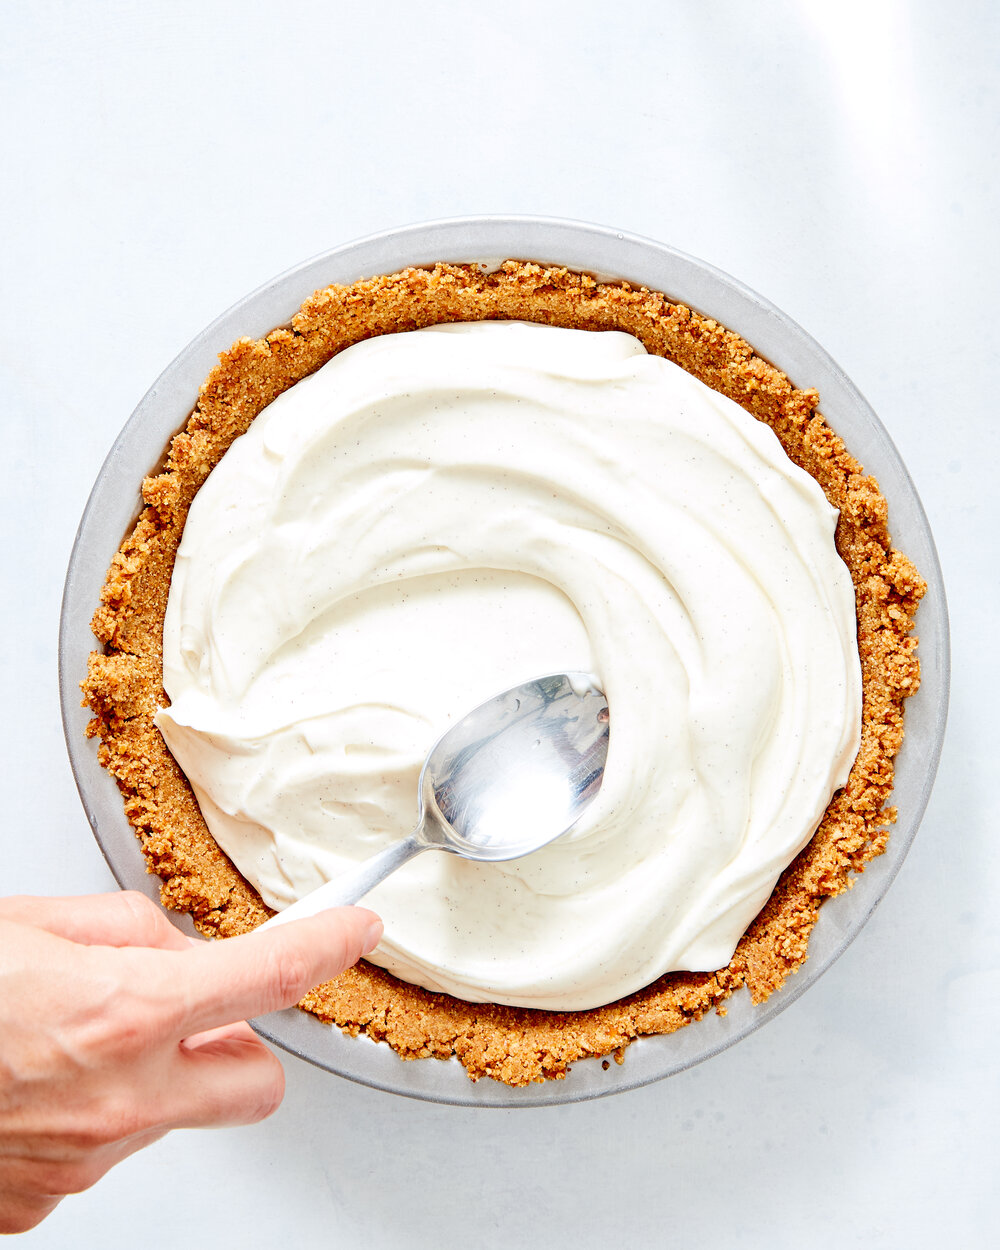
The salty pretzel and nutty browned butter crust comes together quickly too, no baking required. It also ensures that the whole dessert is nice and balanced, and not too sweet. For a sweeter version feel free to substitute graham cracker or biscoff cookie crumbs for the preztels. You could even skip browning the butter in favor of just melting it, but the browned butter adds a ton of great flavor so I wouldn’t!
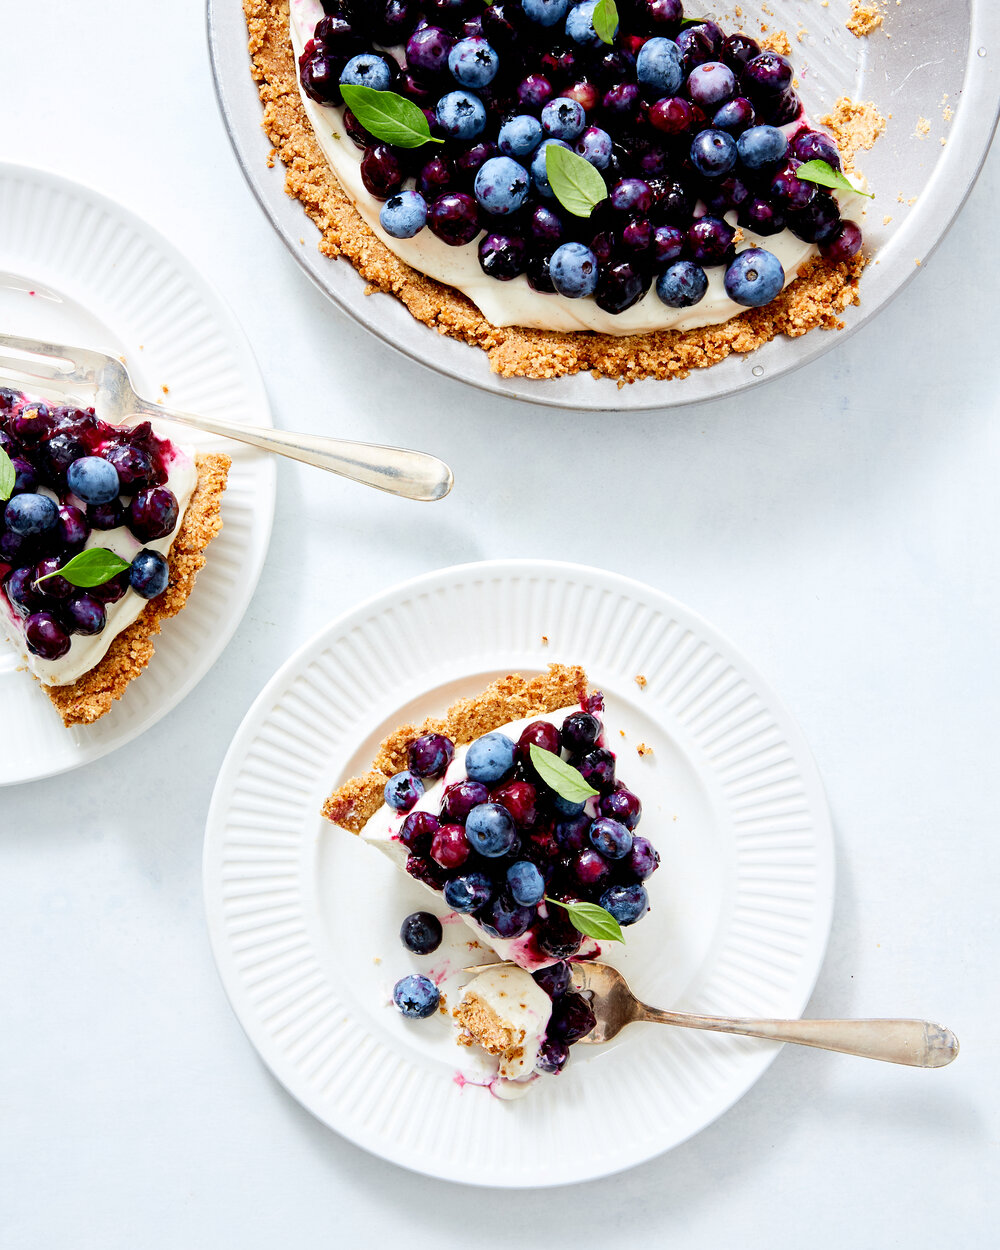
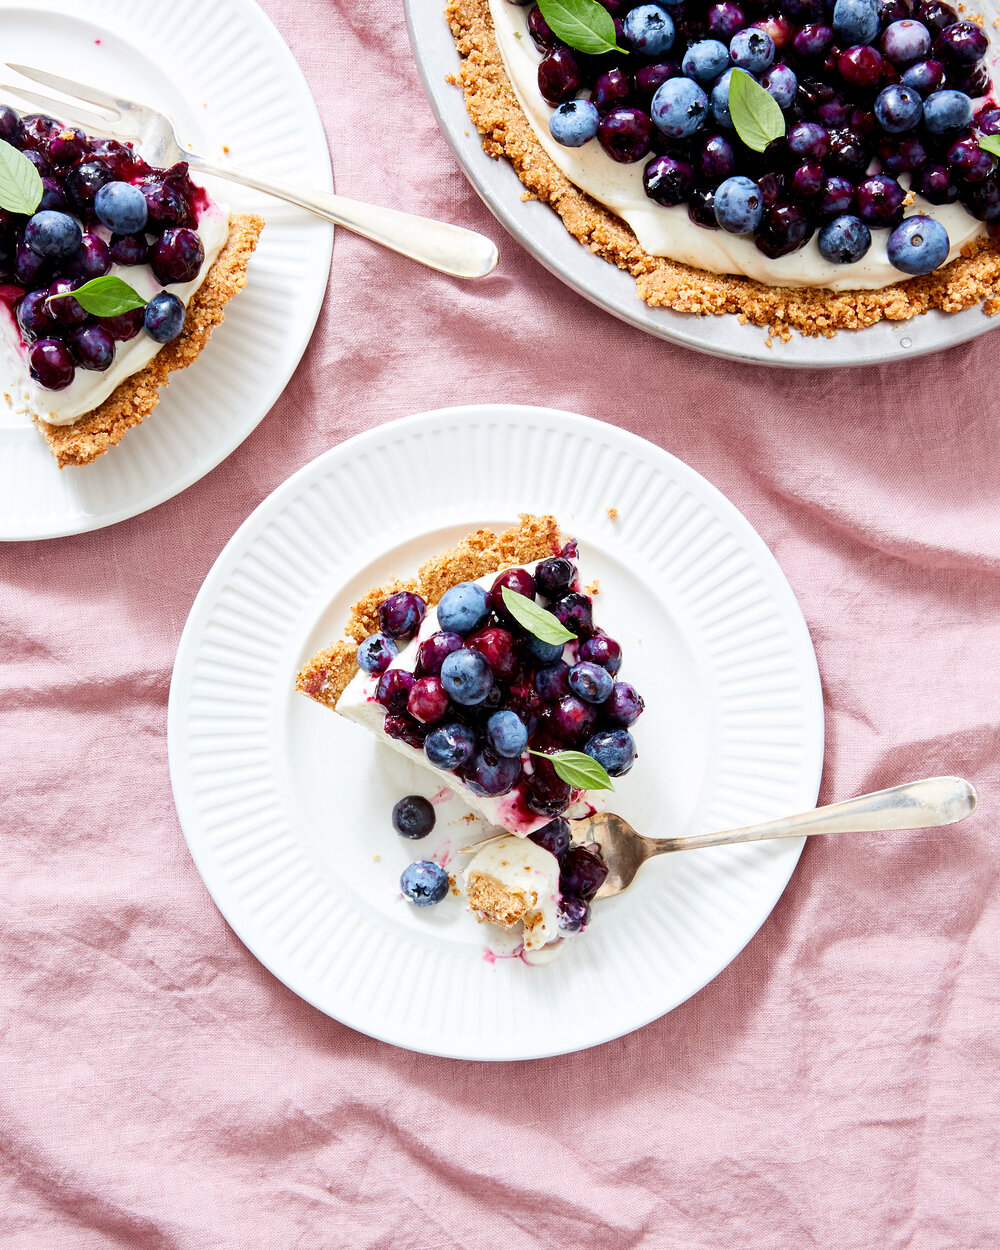
The topping is a combination of fresh and cooked blueberries, the cooked ones make it a little saucy and help the blueberries stick together instead of sliding all over the place. I topped the whole thing with a few small leaves from my basil plant that look little little blueberry leaves. Mint would work too but the herbs are totally optional.
No Bake Blueberry Cheesecake
Salty pretzels make a perfect base for this not to sweet cheesecake, but you could use graham crackers or biscoff cookie crumbs for a sweeter version - use gluten free cookies to make this desert for your gluten avoiding friends and family. The blueberry topping is partially cooked which creates some sauciness that helps the blueberries stick together, but if that’s a bridge too far for lazy summer cooking, you can just pile the top with lots of fresh blueberries. They may roll of when you slice it though!
Crust
175g/ 1 1/2 cups finely ground pretzels
50g/ 1/4 cup granulated sugar
170g/12 tablespoons unsalted butter
Filling
450g/ 1 pound cream cheese, at room temperature
100g/ 1/2 cup granulated sugar
2 tablespoons freshly squeezed lemon juice
1 tablespoon vanilla paste or extract
240ml/ 1 cup heavy cream, cold
Topping
490g/ 3 1/2 cups blueberries
1 tablespoon sugar
1 teaspoon cornstarch
Mint or basil leaves if desired
To make the crust: Combine the pretzels and sugar in a large bowl. Melt the butter in a small saucepan set over medium heat. Cook the butter while scraping the bottom and sides of the pan occasionally with a rubber spatula. The butter will foam, then the solids will turn deep golden brown and smell nutty.
Once the butter has browned pour it over the pretzels in the bowl then stir to combine. Let the mixture cool for a minute or two then pour it into a 9-inch pie pan.
Carefully press it evenly on the bottom and up the sides of the pan, a 1/3 cup measure is a great tool for this. Set the pan in the freezer while you prepare the filling.
To make the filling: In the bowl of a stand mixer fitted with the paddle attachment mix the cream cheese and sugar on low speed until combined. Turn the mixer up to medium and beat until smooth and fluffy, about 3 minutes. Scrape the bottom and sides of the bowl occasionally to ensure even mixing.
Add the vanilla and lemon and stir to combine.
Switch to the whisk attachment and with the mixer on low, add the heavy cream. Turn the mixer up to medium high and whip until the mixture comes to stiff peaks, about 3 minutes.
Spoon the filling into the chilled crust and smooth the top. Refrigerate for about 8 hours or overnight.
To make the topping: When you are ready to serve the cheesecake put 280g/2 cups of the blueberries in a large bowl and set aside. Combine 140g/1 cup of the blueberries, 2 tablespoons of water, and 1 tablespoon sugar in a saucepan over medium heat. Cover the pan and cook until the blueberries have burst and released their juices, about 2 minutes.
In a small bowl stir the cornstarch with 1 tablespoon of water, slowly pour it into the blueberry mixture in the pan while stirring constantly. Bring the mixture to a simmer, stirring constantly for 45 seconds, until thick and glossy.
Pour the mixture over the blueberries in the bowl and stir to combine. Pour the blueberries over the chilled cheesecake and scatter the remaining 70g/ 1/2 cup blueberries over the top. Sprinkle mint or basil over the top and let the pie sit for a few minutes before slicing. Store leftovers in the fridge for a few days.
One of my very favorite chocolate makers in NYC, Raaka Chocolate, is launching a new line of baking chocolate today! They are starting with two delicious varieties, Oat Milk 58% cacao that I used in this chocolate mousse tart and Maple Dark 75% cacao. They will launch two more varieties in the coming weeks, and they have cacao powder and cacao nibs too! I got a sneak peek of all four varieties and I have enjoyed baking with (and just plain eating) these little chocolate discs so much.
This decadent Chocolate Mousse Tart with Browned Butter Oat Crust is definitely fit for a special occasion, but isn’t too tricky to put together. The crust is the easy-peasy pat in the pan variety and the mousse is just as good on its own as it is in this buttery, crisp, toasty crust. You could even just make the chocolate mousse and skip the crust all together, but don’t skip the billowy whipped cream!
Raaka Chocolate is unroasted which highlights all of the natural fruitiness of cacao so it’s flavor profile might be a little different than your everyday chocolate, and it is so, so tasty. They are also a company that values the community of growers, producers, and makers whose livelihoods depend on cacao and chocolate and are very transparent about their sourcing practices. You can read all about it on their website. Let me know if you try it!
Oat Milk Chocolate Mousse Tart with Browned Butter Oat Crust
Makes one 9-inch tart
This decadent chocolate tart is more than the sum of its parts. The toasty-oaty crust provides a perfect base for rich and decadent chocolate mousse made with Raaka’s sublimely delicious Oat Milk chocolate. The mousse is delicious on its own for gluten free folks too.
Browned Butter Oat Crust
1/2 cup (115g) unsalted butter
2/3 cup (60g) rolled oats
1 cup (130g) all purpose flour
1/3 cup (35g) confectioner’s sugar
1/2 teaspoon kosher salt
Water, as needed
Oat Milk Chocolate Mousse
2 tablespoons granulated sugar
2 tablespoons strong coffee or coffee liqueur
3 large egg yolks
Pinch salt
4 ounces Raaka Oat Milk Chocolate finely chopped, plus a little more to garnish
1 1/4 cups heavy cream, divided
Heat your oven to 375ºF and lightly grease a 9-inch removable bottom tart pan.
Brown the butter: Melt the butter in a small saucepan set over medium heat. Make sure to use a pan with a light colored interior so you can see the milk solids change color. Continue to cook the butter, stirring occasionally, scraping the milk solids off of the bottom and sides of the pan as necessary. After a few minutes the milk solids should turn golden brown and smell toasty. Transfer the toasty browned butter to a heat safe container and let it cool slightly.
Add the oats to the bowl of a food processor and pulse a few times until the oats are broken up a bit. Add the flour, confectioners sugar, and salt and pulse about 10 times or until the mixture looks like coarse sand. Drizzle the butter into the mixture and pulse until combined. The mixture should hold together easily when you squeeze it in your hands. If it seems very dry, add water 1 teaspoon at a time until it holds together.
Pour the mixture into the prepared tart pan and press it evenly into the bottom and sides of the pan. Use the bottom of a measuring cup to make the crust smooth and even. Bake the crust until it is golden brown, 20-25 minutes. Set it on a rack to cool completely.
When the shell is cool, make the mousse.
Whisk 3/4 cup of the heavy cream to soft peaks and store in the refrigerator while you make the rest of the mousse.
Set a heatsafe bowl over a pan of simmering water to make a double boiler. Add the sugar, coffee, egg yolks, and a pinch of salt to the bowl and whisk the mixture until it is very hot to the touch (about 160ºF), pale yellow and doubled in volume.
Add the chopped chocolate and whisk until smooth. Off of the heat, add a heaping spoonful of the whipped cream and whisk it into the chocolate mixture to lighten it a bit. Add the rest of the whipped cream and gently fold to combine. Pour the mousse into the cooled shell, smooth the top, and refrigerate until firm, about one hour. Just before serving whip the remaining 1/2 cup cream to soft peaks dollop it over the mousse. Grate a bit more chocolate over the top and serve.