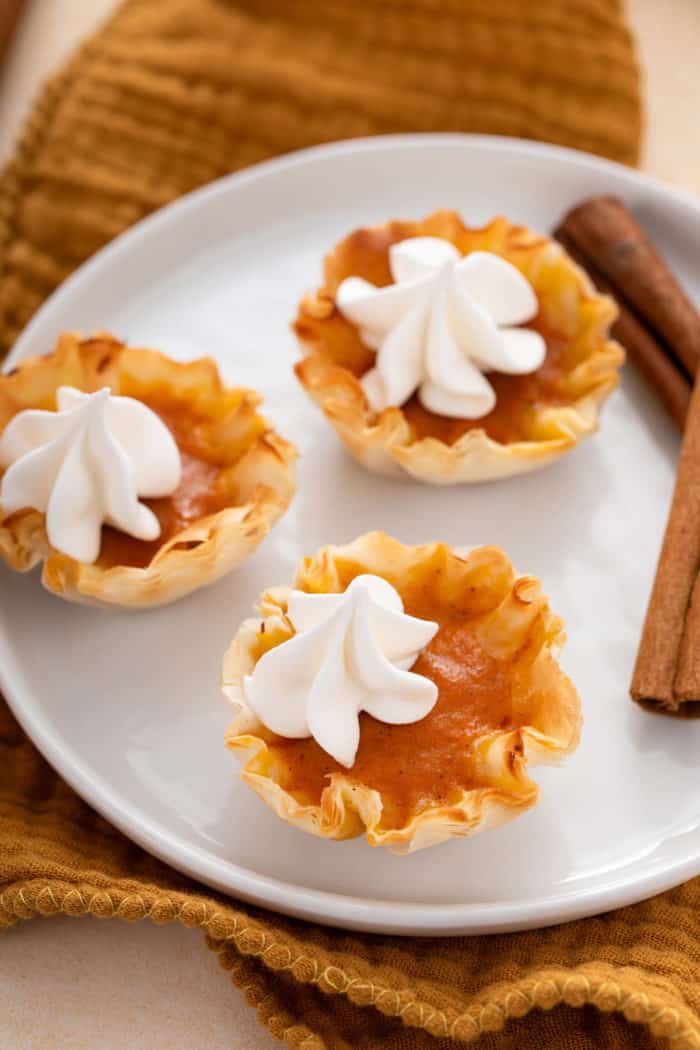
Deprecated: trim(): Passing null to parameter #1 ($string) of type string is deprecated in /home/davecampbell/foodwatcher.com/wp-content/plugins/feedwordpress/feedwordpress.php on line 2022

Tomato Tarte Tatin

Tomato Tarte Tatin
A tart tatin is always a gorgeous pastry to look at, no matter what kind of fruit you use to make it. I’ve made them using apples, peaches and even pineapples before. Almost any fruit can be used, including one of those fruits that we all …

The post Tomato Tarte Tatin appeared first on Baking Bites.

Tomato Tarte Tatin
A tart tatin is always a gorgeous pastry to look at, no matter what kind of fruit you use to make it. I’ve made them using apples, peaches and even pineapples before. Almost any fruit can be used, including one of those fruits that we all typically regard as savory: the tomato. This Tomato Tarte Tatin is an amazing way to showcase fresh cherry tomatoes (or other small tomatoes, there are a lot out there to choose from) for a sweet-yet-savory twist on “traditional” tarte tatin that makes a great summer side!

The tomatoes are placed in a quick, buttery caramel sauce (with a generous pinch of salt added) and take on a fantastic sweetness as they cook in the oven. You could add in some herbs or spices for variety, but I love that natural tomato sweetness and it is the star of the show here. A buttery crust is baked on top of the tomatoes, serving as the base once the tart is done. Like most tatins, this one is baked upside down an inverted onto a dish for serving, so the pastry bakes as the top of the dish, but ends up beneath a layer of caramelized tomatoes.

From start to finish, Tomato Tarte Tatin is a very easy dish to make because it requires very few ingredients. The crust is the most time consuming element – and you can easily use storebought puff pastry dough instead of making a homemade pie crust dough for the base of this tart to save time.

It’s nice to have two options for the crust of this tart because it just means that you’re more likely to have what you need on hand to make it! The pie crust is a little more substantial, but may take a few minutes extra to cook completely when compared to the puff pastry. As a result, I recommend rolling it out to be slightly thinner than thicker. Regardless of which pastry you use, you should bake the crust until it is a deep golden brown. The tomatoes are going to give off a fair amount of liquid – though most of it turns into caramel – and you want that crust to stay nice and crisp.

I recommend letting the tart sit for about 5 minutes before turning it out onto a serving tray or cutting board. This short wait time will allow the caramel to thicken so that you don’t end up with a big splash all over your countertop and it will still allow the tart to release easily from the pan. If you let the tart sit too long, you will need to place it over the burner on your cooktop for a minute to warm and loosen the caramel. The tart should be served right away and can stand on its own as a main course if served with a big salad or it can be a nice side to any meaty main dish.

Tomato Tarte Tatin

Tomato Tarte Tatin
9-inch pie pastry or 10-inch sheet puff pastry
16-oz cherry tomatoes
2 tbsp butter
1/3 cup sugar
1/2 tsp salt

Preheat oven to 425F. Roll out pastry into an approximately 11-inch circle (square, if using puff pastry) on a lightly floured surface. Chill for 15 minutes.
In a 10-inch skillet, melt butter over medium heat. Add in sugar and cook until it starts to turn a golden brown. If the sugar starts to crystallize, don’t worry. Simply reduce the heat slightly and keep cooking it, stirring with a spatula, until the crystals break down and the caramel is liquid. Remove from heat and stir in salt. Add tomatoes to caramel in a single layer.
Place pastry over the tomatoes, crimping the edges to ensure that the whole pastry fits within the edges of the pan.
Bake for about 35 minutes, until the crust is golden brown and filling is bubbling around the edges of the crust.
Allow tart to cool in the pan for 5 minutes, then invert onto a serving platter or cutting board.

Serves 6-8.

The post Tomato Tarte Tatin appeared first on Baking Bites.


Deprecated: trim(): Passing null to parameter #1 ($string) of type string is deprecated in /home/davecampbell/foodwatcher.com/wp-content/plugins/feedwordpress/feedwordpress.php on line 2022

Strawberry Tart

This elegant Strawberry Tart features a thick layer of cream cheese filling and an easy press-in crust crowned with fresh summer strawberries. Use the alternate instructions to make this tart gluten free. This post contains affiliate links. It’s that time of year where I can’t go to the grocery store without picking up one (or …

The post Strawberry Tart appeared first on My Baking Addiction.

This elegant Strawberry Tart features a thick layer of cream cheese filling and an easy press-in crust crowned with fresh summer strawberries. Use the alternate instructions to make this tart gluten free.

Whole strawberry tart set on a marble serving platter.

This post contains affiliate links.

It’s that time of year where I can’t go to the grocery store without picking up one (or several) containers of fresh strawberries.

They’re just so sweet and perfect right now! 

So I’ve been digging into my archives and making all of the strawberry things, from fresh strawberry bread to homemade strawberry lemonade.

This Strawberry Tart recipe came from my friend Erin from Texanerin Baking. After sharing it with you several years ago, I was reminded of how delicious it is and decided it was time to bring it back to your attention as well.

(more…)

The post Strawberry Tart appeared first on My Baking Addiction.

Pantry Peach Galette

Pantry Peach Galette
I love baking with fresh fruit, but you always don’t have to wait for your favorite fruits to be in season to bake with them. You can use frozen fruit or canned fruit to make delicious desserts, too! This Pantry Peach Galette is an easy and delicious dessert that you can bake up …

The post Pantry Peach Galette appeared first on Baking Bites.

Pantry Peach Galette
I love baking with fresh fruit, but you always don’t have to wait for your favorite fruits to be in season to bake with them. You can use frozen fruit or canned fruit to make delicious desserts, too! This Pantry Peach Galette is an easy and delicious dessert that you can bake up with ingredients that are probably in your pantry right now.

A galette is a free-form pie that is shaped on a baking sheet, not in a pie pan. They are meant to have a rustic, handmade look to them – and they’re easier to put together than most traditional pies. Galettes can have all kinds of fillings, although fruit is usually the most common. This particular galette has a filling that is made with peach preserves and canned peaches, so you don’t need to make a trip to the grocery store or wait until peaches are in season to give it a try.

Jarred peaches that are packed in juice are my top choice for this recipe, although they should be drained of juice before using.. If you don’t have that, you can use canned fruit that is packed in syrup, so long as you completely drain the syrup first. Heavy syrup will make this pastry too sweet and can simply add too much excess moisture to the recipe. Jarred and canned peaches are usually already halved. For this recipe, you’ll want to cut each peach half into thirds or quarters.

I used a homemade pie crust for this recipe that is made with a blend of whole wheat and all purpose flour. The whole wheat flour gives the crust a nutty flavor that adds a nice contrast to the sweet, juicy peaches. If you only have all purpose flour, you can simply substitute it for the whole wheat flour in my recipe below – or use your own recipe, if you prefer! You can also use refrigerated or frozen pie dough, so take a peek in your freezer and see if you have any unused pie crusts leftover from holiday baking in there that need to be used up.

Bake the galette until it is golden brown and the filling is bubbling. Unlike a fresh fruit tart or pie, the tenderness of the peaches is not a good indicator of doneness because jarred/canned peaches are usually already quite tender. If the crust appears to be browning too much, put a little bit of aluminum foil loosely over it.

The galette will be ready to eat as soon as it has cooled down. Serve it in generous wedges and pair it with a scoop of vanilla ice cream, if you have some. It is best on the day that it was baked, so don’t hesitate to indulge in a second slice!

Pantry Peach Galette
dough for 1 9-inch pie crust, chilled
1 cup peach preserves
1 cup chopped thinly sliced, canned peaches

Preheat the oven to 400F. Line a baking sheet with parchment paper.
Roll out chilled pie crust on a lightly floured surface until it is a round about 10-11-inches across (approx 1/8-inch thick). Transfer to a parchment-lined baking sheet.
Spread peach preserves on rolled out crust, leaving a 1-inch border around the edges. Arrange peach slices evenly over the preserves. Fold the border of pastry up over the cut peaches to form the outer edge of the crust and prevent juice from the fruit from leaking out.
Bake for about 40 minutes, or until galette is golden brown.

Serves 6-8

Whole Wheat Pie Crust
2/3 cup all purpose flour
1/2 cup whole wheat flour
1/4 tsp salt
1 tbsp sugar
5 tbsp butter, cold and cut into a few pieces
3-4 tbsp cold water

Whisk together flours, salt and sugar in a large bowl. Rub in butter with your fingertips until the mixture resembles a very coarse, wet sand with no pieces larger than a pea. Pour in water and press dough together with your hands until it comes together into a ball. Add a bit more water if necessary.
Wrap dough disc in plastic wrap and refrigerate it for 4 hours, or until ready to use (freeze for 1 hour for faster prep). Roll out on a floured surface and bake according to [the pie/galette] recipe directions.

Makes 1 crust.

The post Pantry Peach Galette appeared first on Baking Bites.