Garlic Shrimp Pasta

Craving lemon garlic shrimp pasta at home? This recipe is your answer! Made with just a few simple ingredients, it’s…

Craving lemon garlic shrimp pasta at home? This recipe is your answer! Made with just a few simple ingredients, it’s ready in under 30 minutes for a dinner that’s bursting with fresh, juicy flavor.

Garlic shrimp pasta on plate with Parmesan and parsley garnish.

If there’s a combination of flavors we never tire of, it’s lemon, garlic, butter, and shrimp. The way that savory garlic meets bright lemon and juicy seafood is truly one of our favorites ever. So why not make them into a quick and tasty dinner? Introducing, our favorite new garlic shrimp pasta.

Why we love this recipe: Yes, we’ve made shrimp pasta every which way, from shrimp primavera to shrimp linguine. But this one is special! Here’s what we love about it:

  • The citrusy, juicy flavor impresses everyone. Just one bite will make your heart sing! We love it so much, we’ve featured a similar recipe in our new cookbook.
  • It’s fast and easy. This one comes together in under 30 minutes, making it great for weeknight dinners or easy entertaining with a dinner party. Come, let’s make it!

Key ingredients in garlic shrimp pasta

You’ll need just a handful of ingredients to make this lemon garlic shrimp pasta recipe! Always, quality is key to achieve the best tasting result in this dish:

  • Pasta: We like using spaghetti here, but you can also use other long noodles like linguine or bucatini. Use whole wheat pasta for Mediterranean diet, or gluten-free or legume pasta for gluten-free.
  • Shrimp: Use deveined medium shrimp for this recipe (they may be labeled 41 to 50 count), either shelled or tail on. Use either fresh or frozen; we tend to find fresh shrimp is slightly better. Prioritize wild caught shrimp if possible.
  • Old Bay: Old Bay is the flavor maker here. It’s a seasoning blend invented in Maryland that’s often used to season seafood, like in a shrimp boil.
  • Butter and garlic: Make sure to use fresh garlic, not jarred or packaged. Salted butter brings the best flavor to sauteing shrimp, but you can substitute olive oil if desired.
  • Grated Parmesan cheese: Look for grated cheese, which has a powdery texture that melds into the dish. Substitute another hard cheese like Pecorino Romano if desired.
  • Lemon juice and zest: A fresh lemon is key to the zippy flavor; avoid bottled juice.
Lemon garlic shrimp pasta recipe with Old Bay, lemons, and parsley.

How to make garlic butter shrimp: step by step

This garlic shrimp pasta comes together quickly, especially if you’re used to making sauteed shrimp! Here’s what to do:

Step 1: Bring a large pot of generously salted water to a boil. Add the pasta and boil until al dente). Reserve about ½ cup pasta water, then drain the pasta and return it to the pot. Toss with a little olive oil if the sauce is not yet ready.

Shrimp in bowl

Step 2: Toss the shrimp with salt and Old Bay, in a bowl.

Sauteed Shrimp Step 2

Step 3: In a very large skillet, heat butter over medium heat. Add the shrimp and cook for 1 to 1 ½ minutes, then flip and stir in minced garlic. Cook 1 to 1 ½ minutes until the shrimp is opaque and just cooked through. 

Garlic shrimp pasta

Step 4: Toss with the drained pasta, grated Parmesan cheese, lemon juice and zest, parsley, more salt, and a few tablespoons pasta water until saucy. Enjoy warm.

Leftovers and make ahead tips

This garlic shrimp pasta recipe is best served the day it is made. You can store leftovers up to 3 days refrigerated. However, around here we’re not huge fans of next day shrimp (just our personal preference). It’s best within a day or so. Reheat gently on the stovetop before serving, and add a drizzle of olive oil and a pinch of salt.

Ways to serve garlic shrimp pasta

This garlic shrimp pasta is a quick and easy meal, accessorized with a green salad or a simple vegetable side dish. To avoid crowding the stove, you may want to try a quick roasted side vegetable like roasted asparagus or roasted green beans. Here are some of our top easy side dishes:

More top shrimp recipes

We love working with this juicy seafood! Here are a few more of our top shrimp recipes to make:

Dietary notes

This garlic shrimp pasta recipe is pescatarian. For gluten-free, use gluten-free or legume pasta. For dairy-free, use olive oil, omit the Parmesan cheese, and add more salt to taste. For Mediterranean diet, use olive oil and whole wheat pasta.

Frequently asked questions

What kind of shrimp should I use?

For this recipe, we recommend deveined shrimp that’s medium in size, either tail on or shelled. Tail on looks the best aesthetically, but you’ll have to remove it with your fingers when eating.

What can I serve with this pasta?

Garlic shrimp pasta is delicious on its own, but you can also pair it with a simple side salad, roasted vegetables, or even crusty bread for dipping in the garlicky sauce.

Can I make this recipe ahead of time?

This dish is best made right before serving, especially since the dish relies on hot pasta water for making the sauce. Since it’s ready in just 30 minutes, it’s a great easy weeknight dinner.

Print
Garlic shrimp pasta

Garlic Shrimp Pasta


  • Author: Sonja Overhiser
  • Prep Time: 15 minutes
  • Cook Time: 15 minutes
  • Total Time: 30 minutes
  • Yield: 4

Description

Craving lemon garlic shrimp pasta at home? This recipe is your answer! Made with just a few simple ingredients, it’s ready in under 30 minutes for a dinner that’s bursting with fresh, juicy flavor.


Ingredients

  • 8 ounces spaghetti noodles
  • 1 pound medium shrimp, deveined (tail on or peeled)
  • 1 teaspoon kosher salt, plus more for pasta water and to taste
  • 1 teaspoon Old Bay, plus more for garnish
  • 4 tablespoons salted butter (or olive oil)
  • 4 garlic cloves, finely minced
  • ¼ cup grated Parmesan cheese
  • 2 tablespoons lemon juice, plus the zest of 1 lemon
  • 1 tablespoon finely minced parsley

Instructions

  1. Bring a large pot of generously salted water to a boil. Add the pasta and boil until al dente (check a few minutes before the package instructions indicate). Reserve about ½ cup pasta water, then drain the pasta and return it to the pot. Toss with a little olive oil if the sauce is not yet ready.
  2. Thaw the shrimp, if frozen. Pat the shrimp dry. Place it in a bowl and sprinkle it with ½ teaspoon kosher salt and Old Bay (if using). Stir to combine. 
  3. In a very large skillet, heat the butter over medium heat. Add the shrimp in a single layer (without stacking it) and cook for about 1 to 1 ½ minutes, until cooked on one side.
  4. Flip the shrimp with tongs. Add the minced garlic and stir briefly. Cook for another 1 to 1 ½ minutes until the shrimp is opaque and just cooked through. 
  5. In the skillet, toss the drained pasta, grated Parmesan cheese, lemon juice and zest, parsley, ½ teaspoon kosher salt, and just enough pasta water until saucy (start with 2 to 3 tablespoons). Taste again and add a few more pinches of salt if desired. Enjoy warm. Leftovers store up to 3 days refrigerated. Re-warm in a skillet and add a few pinches of salt if desired.

Notes

Medium shrimp (41 to 50-count) is best for this recipe; use wild caught shrimp if possible. 

Other long pasta shapes work, like linguine or bucatini. You could even swap in short pastas like rigatoni, penne, or bow ties. 

Use olive oil for cooking instead of butter if desired. For dairy-free, omit the Parmesan cheese and add more salt to taste. 

Pecorino Romano is another aged cheese that works well; its flavor is slightly saltier and stronger than Parmesan.

  • Category: Main dish
  • Method: Stovetop
  • Cuisine: Seafood

Keywords: Garlic shrimp pasta, garlic shrimp pasta recipe

One-Pot Lemon Chicken and Orzo

Tender chicken, orzo pasta, tomatoes and spinach come together in a lemony cream sauce for a delicious dinner made all…

The post One-Pot Lemon Chicken and Orzo appeared first on My Baking Addiction.

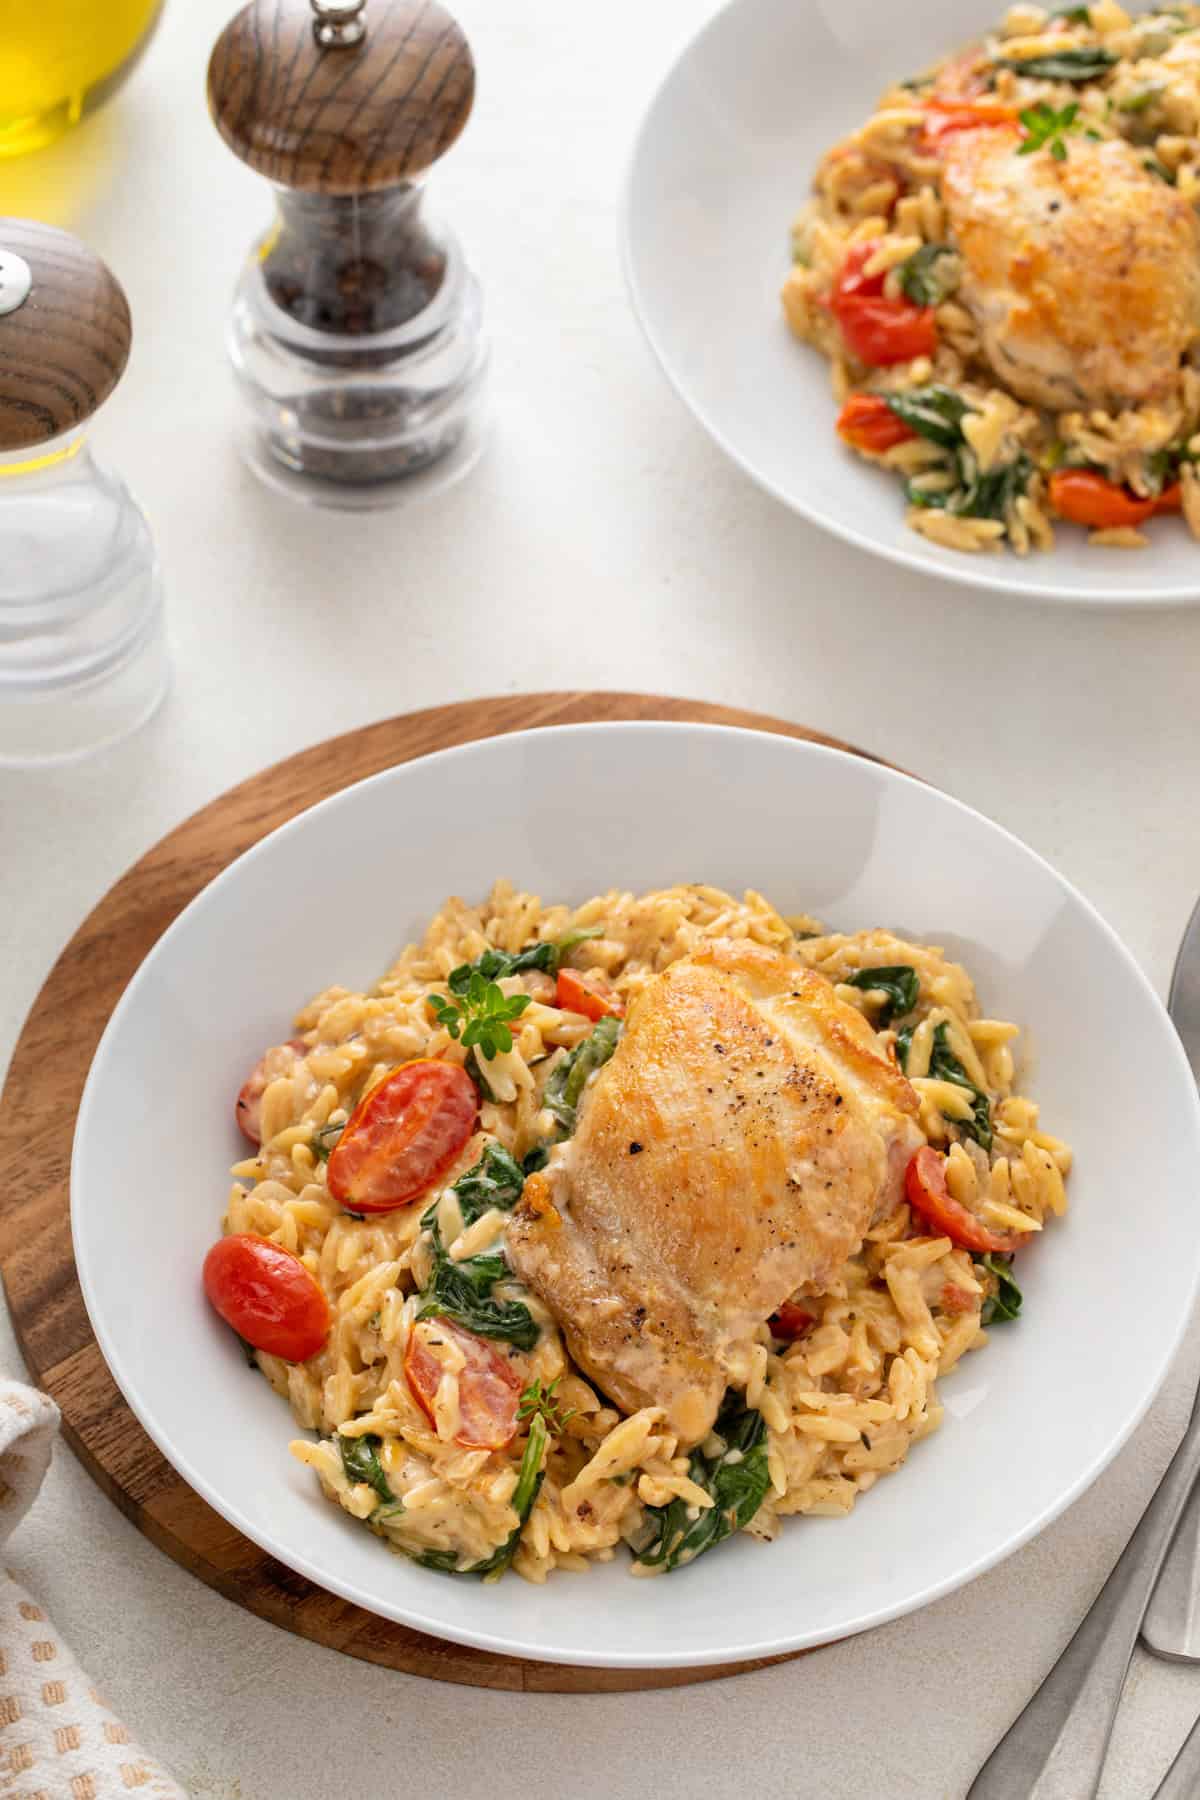
Tender chicken, orzo pasta, tomatoes and spinach come together in a lemony cream sauce for a delicious dinner made all in one pan. This one-pot lemon chicken and orzo will become a weeknight dinner favorite in no time!

White plate holding a serving of lemon chicken and orzo.

We love one-pot dinners around here. There’s nothing better than minimal cleanup and having a meal that my family will happily gobble up.

One-pot spaghetti and one-pot beef stroganoff are big hits around here. I wanted to add to my list of one-pot dinners with something around chicken and orzo (one of my favorite little pasta shapes) and this one-pot lemon chicken and orzo was born.

Between the chicken, the orzo, and the spinach and tomatoes, this is truly a full meal in one pan. Talk about a weeknight dinner win!

(more…)

The post One-Pot Lemon Chicken and Orzo appeared first on My Baking Addiction.

Sheet Pan Cheeseburger Pasta.

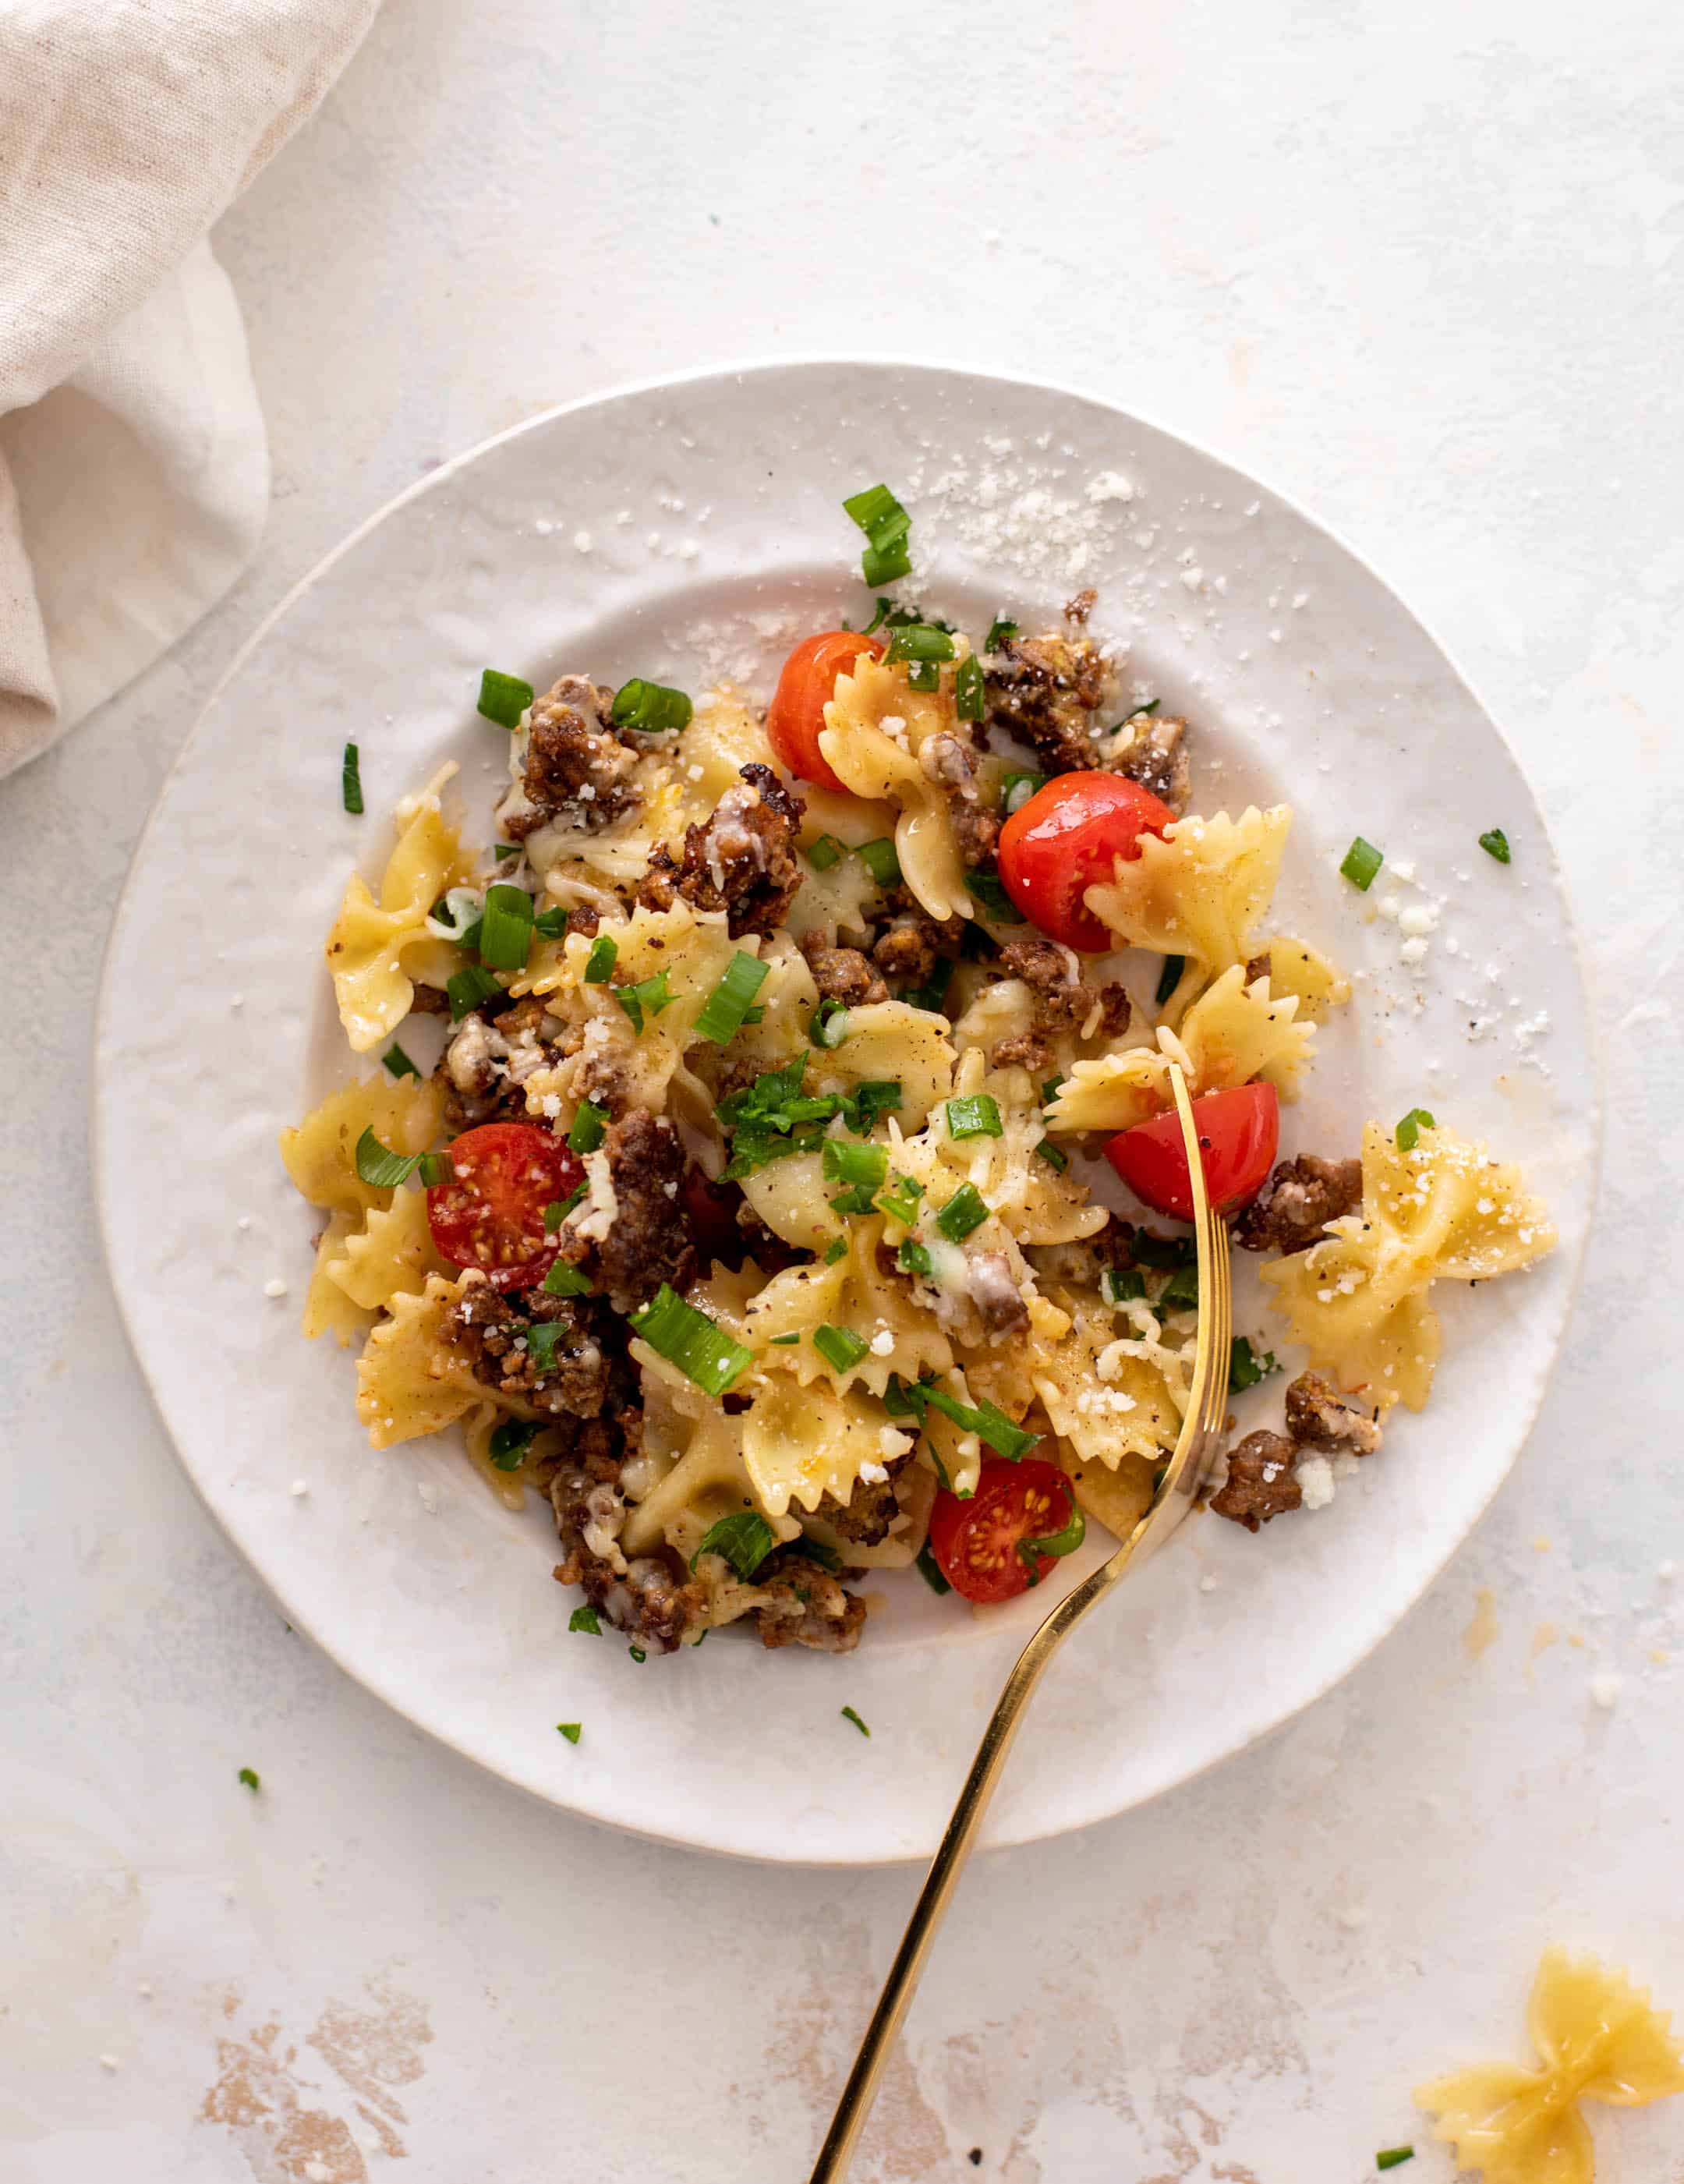
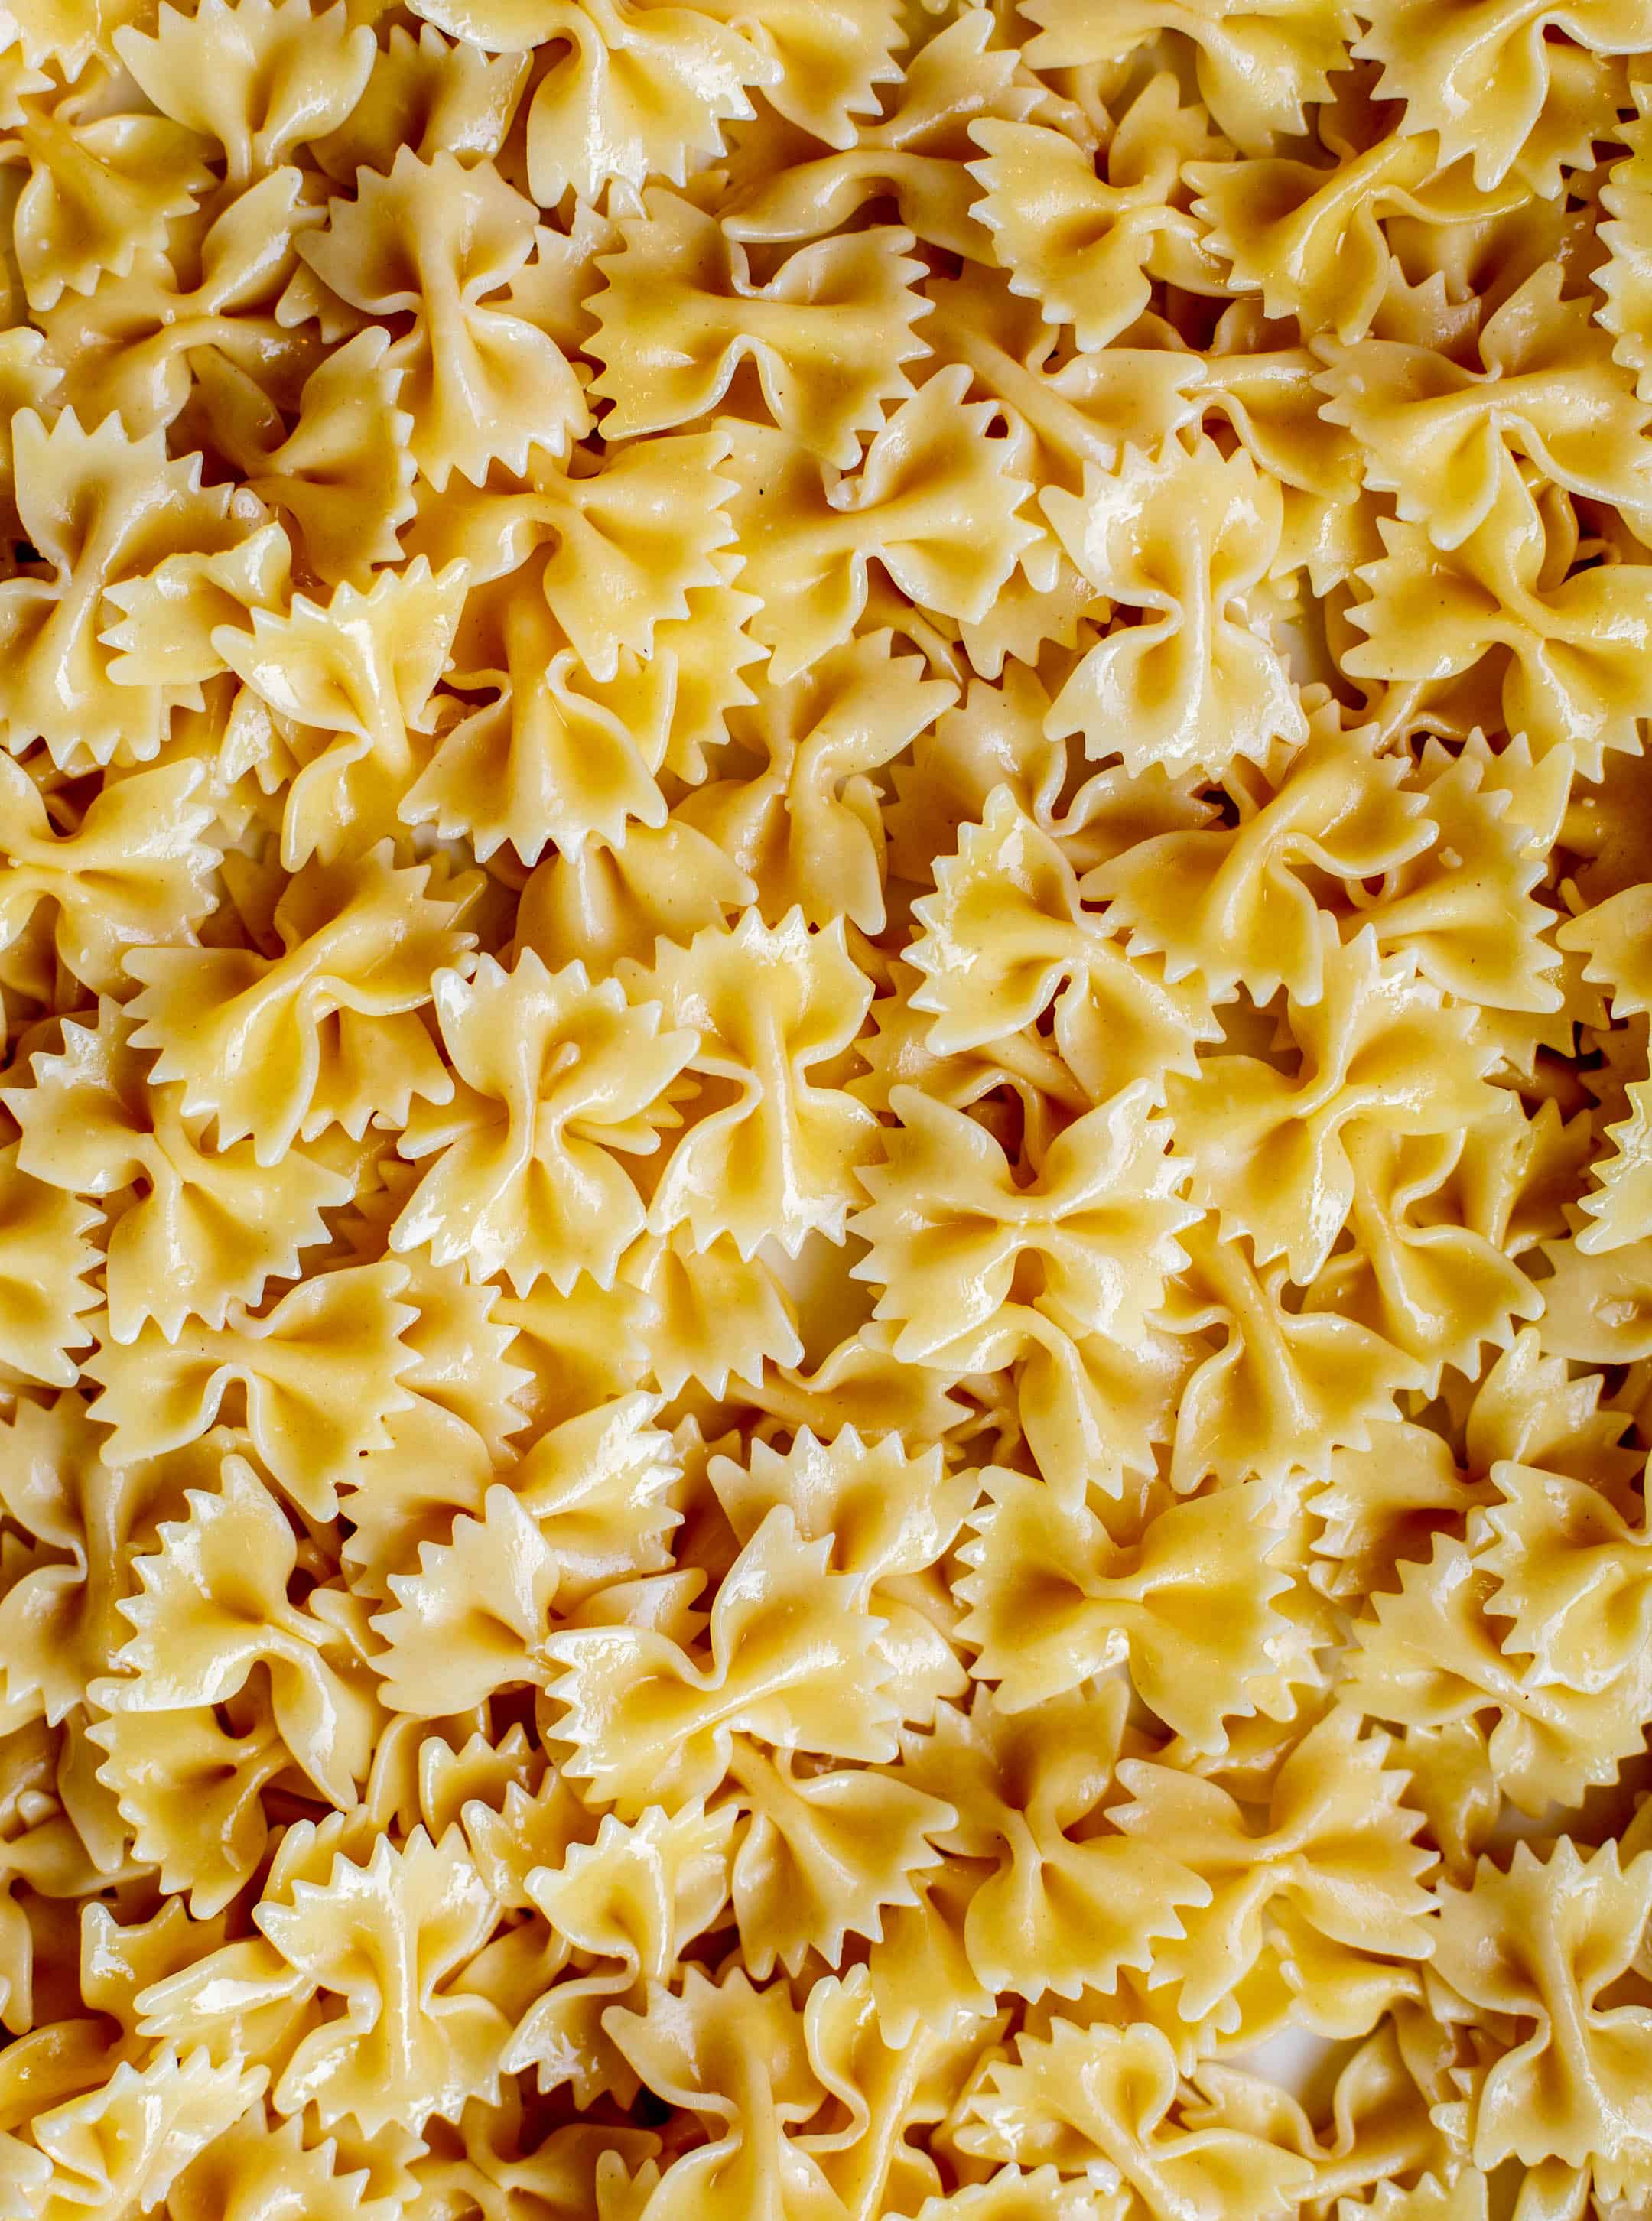
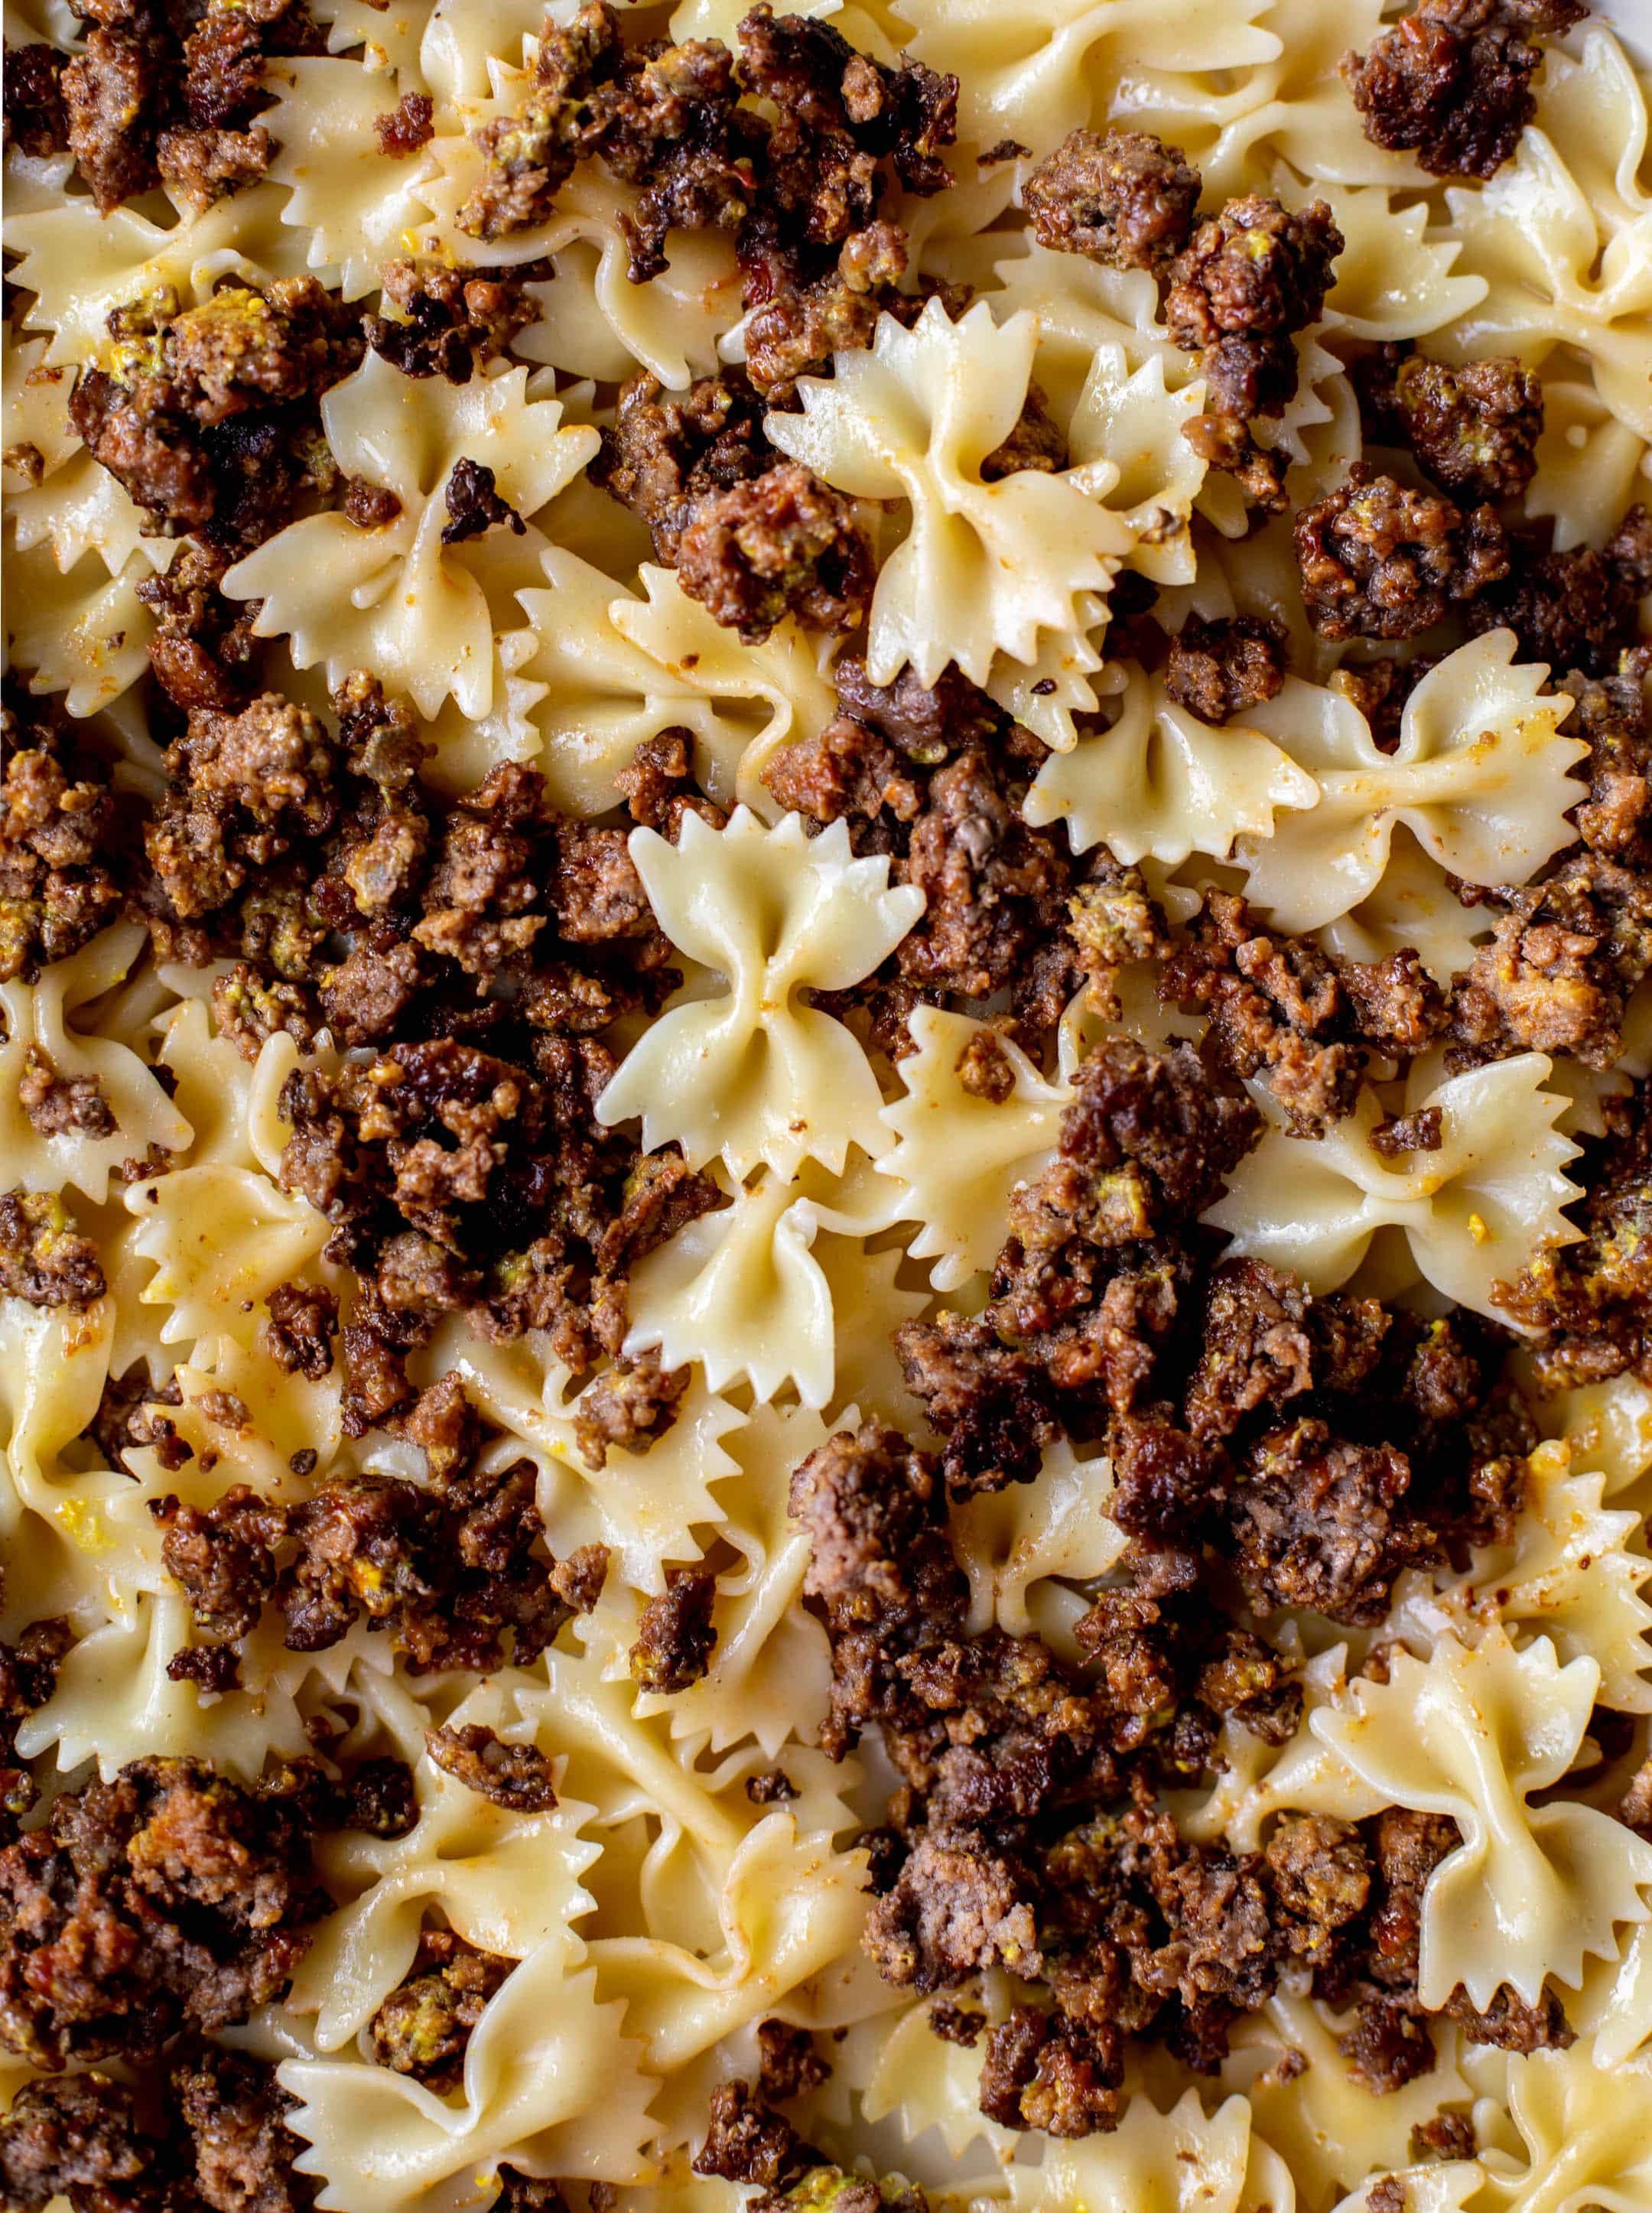
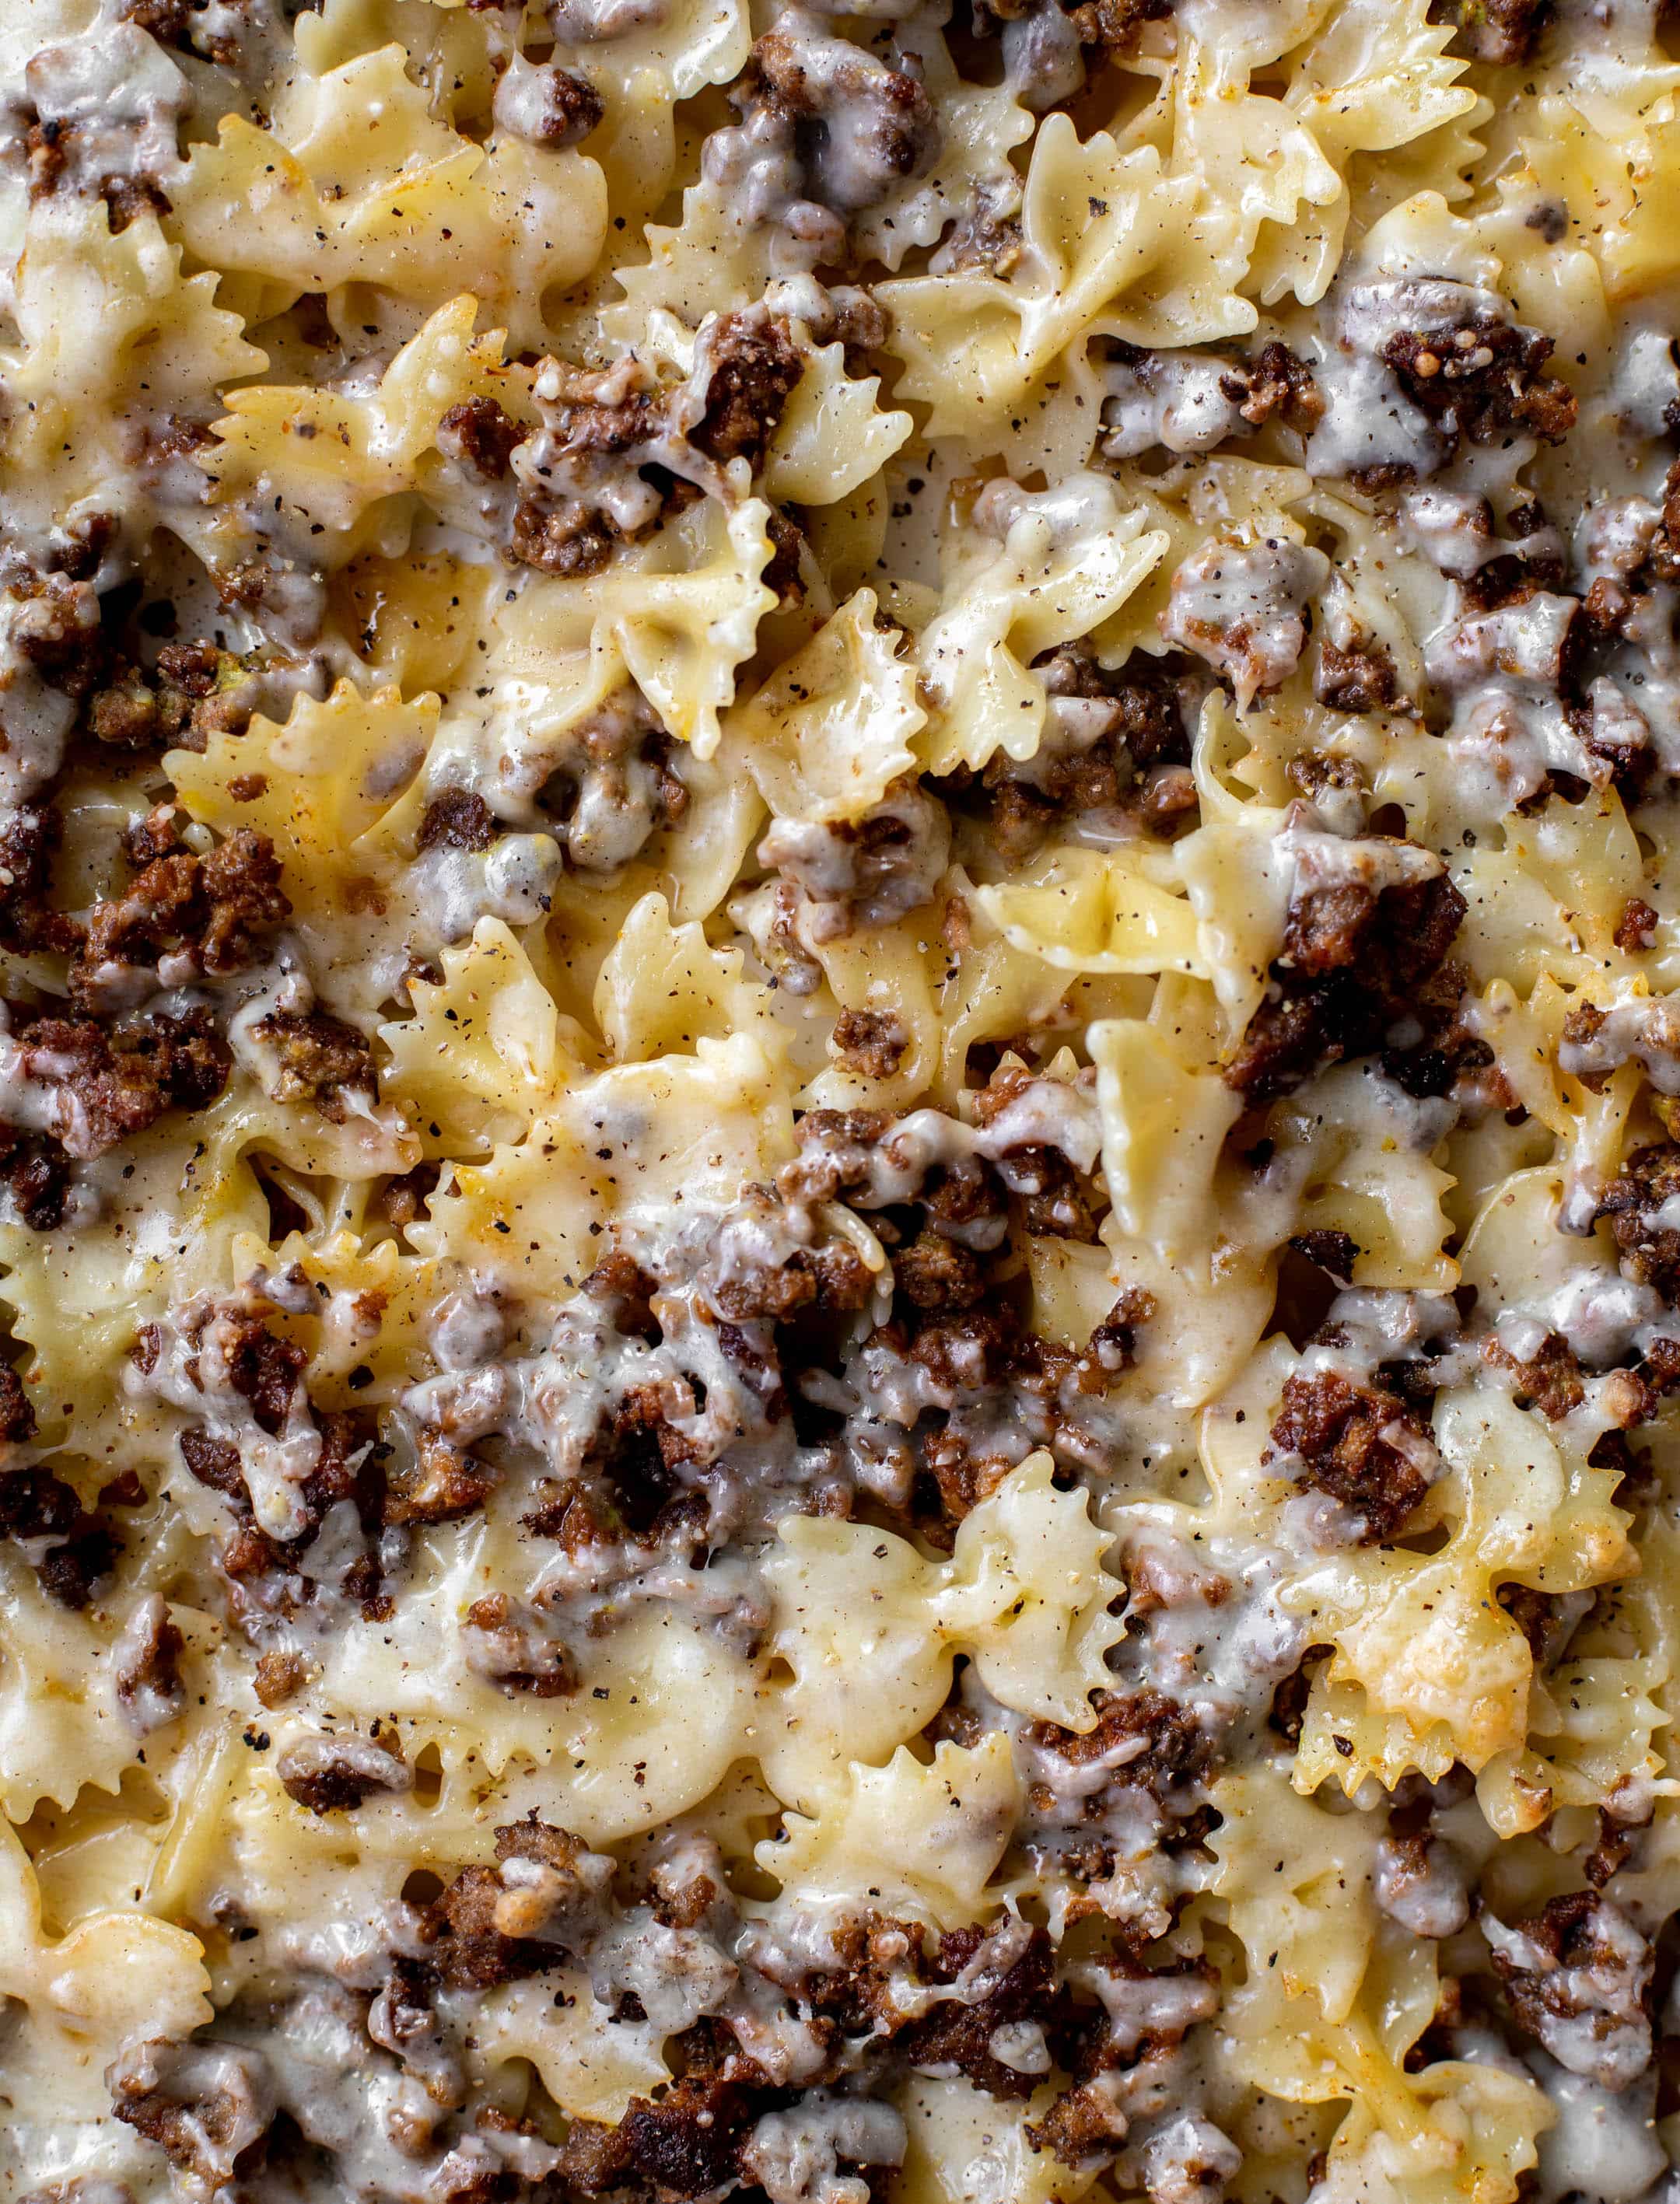
This sheet pan cheeseburger pasta is a weeknight meal that we all enjoy! Baked farfalle topped with melty cheddar and cheeseburger beef – it’s a delight! So flavorful, chewy and even light. Add it to the list! Um, hi. I made dinner! This sheet pan cheeseburger pasta is made with tender bow ties, ground beef, […]

The post Sheet Pan Cheeseburger Pasta. appeared first on How Sweet Eats.

This sheet pan cheeseburger pasta is a weeknight meal that we all enjoy! Baked farfalle topped with melty cheddar and cheeseburger beef – it’s a delight! So flavorful, chewy and even light. Add it to the list!

Um, hi. I made dinner!

sheet pan cheeseburger pasta

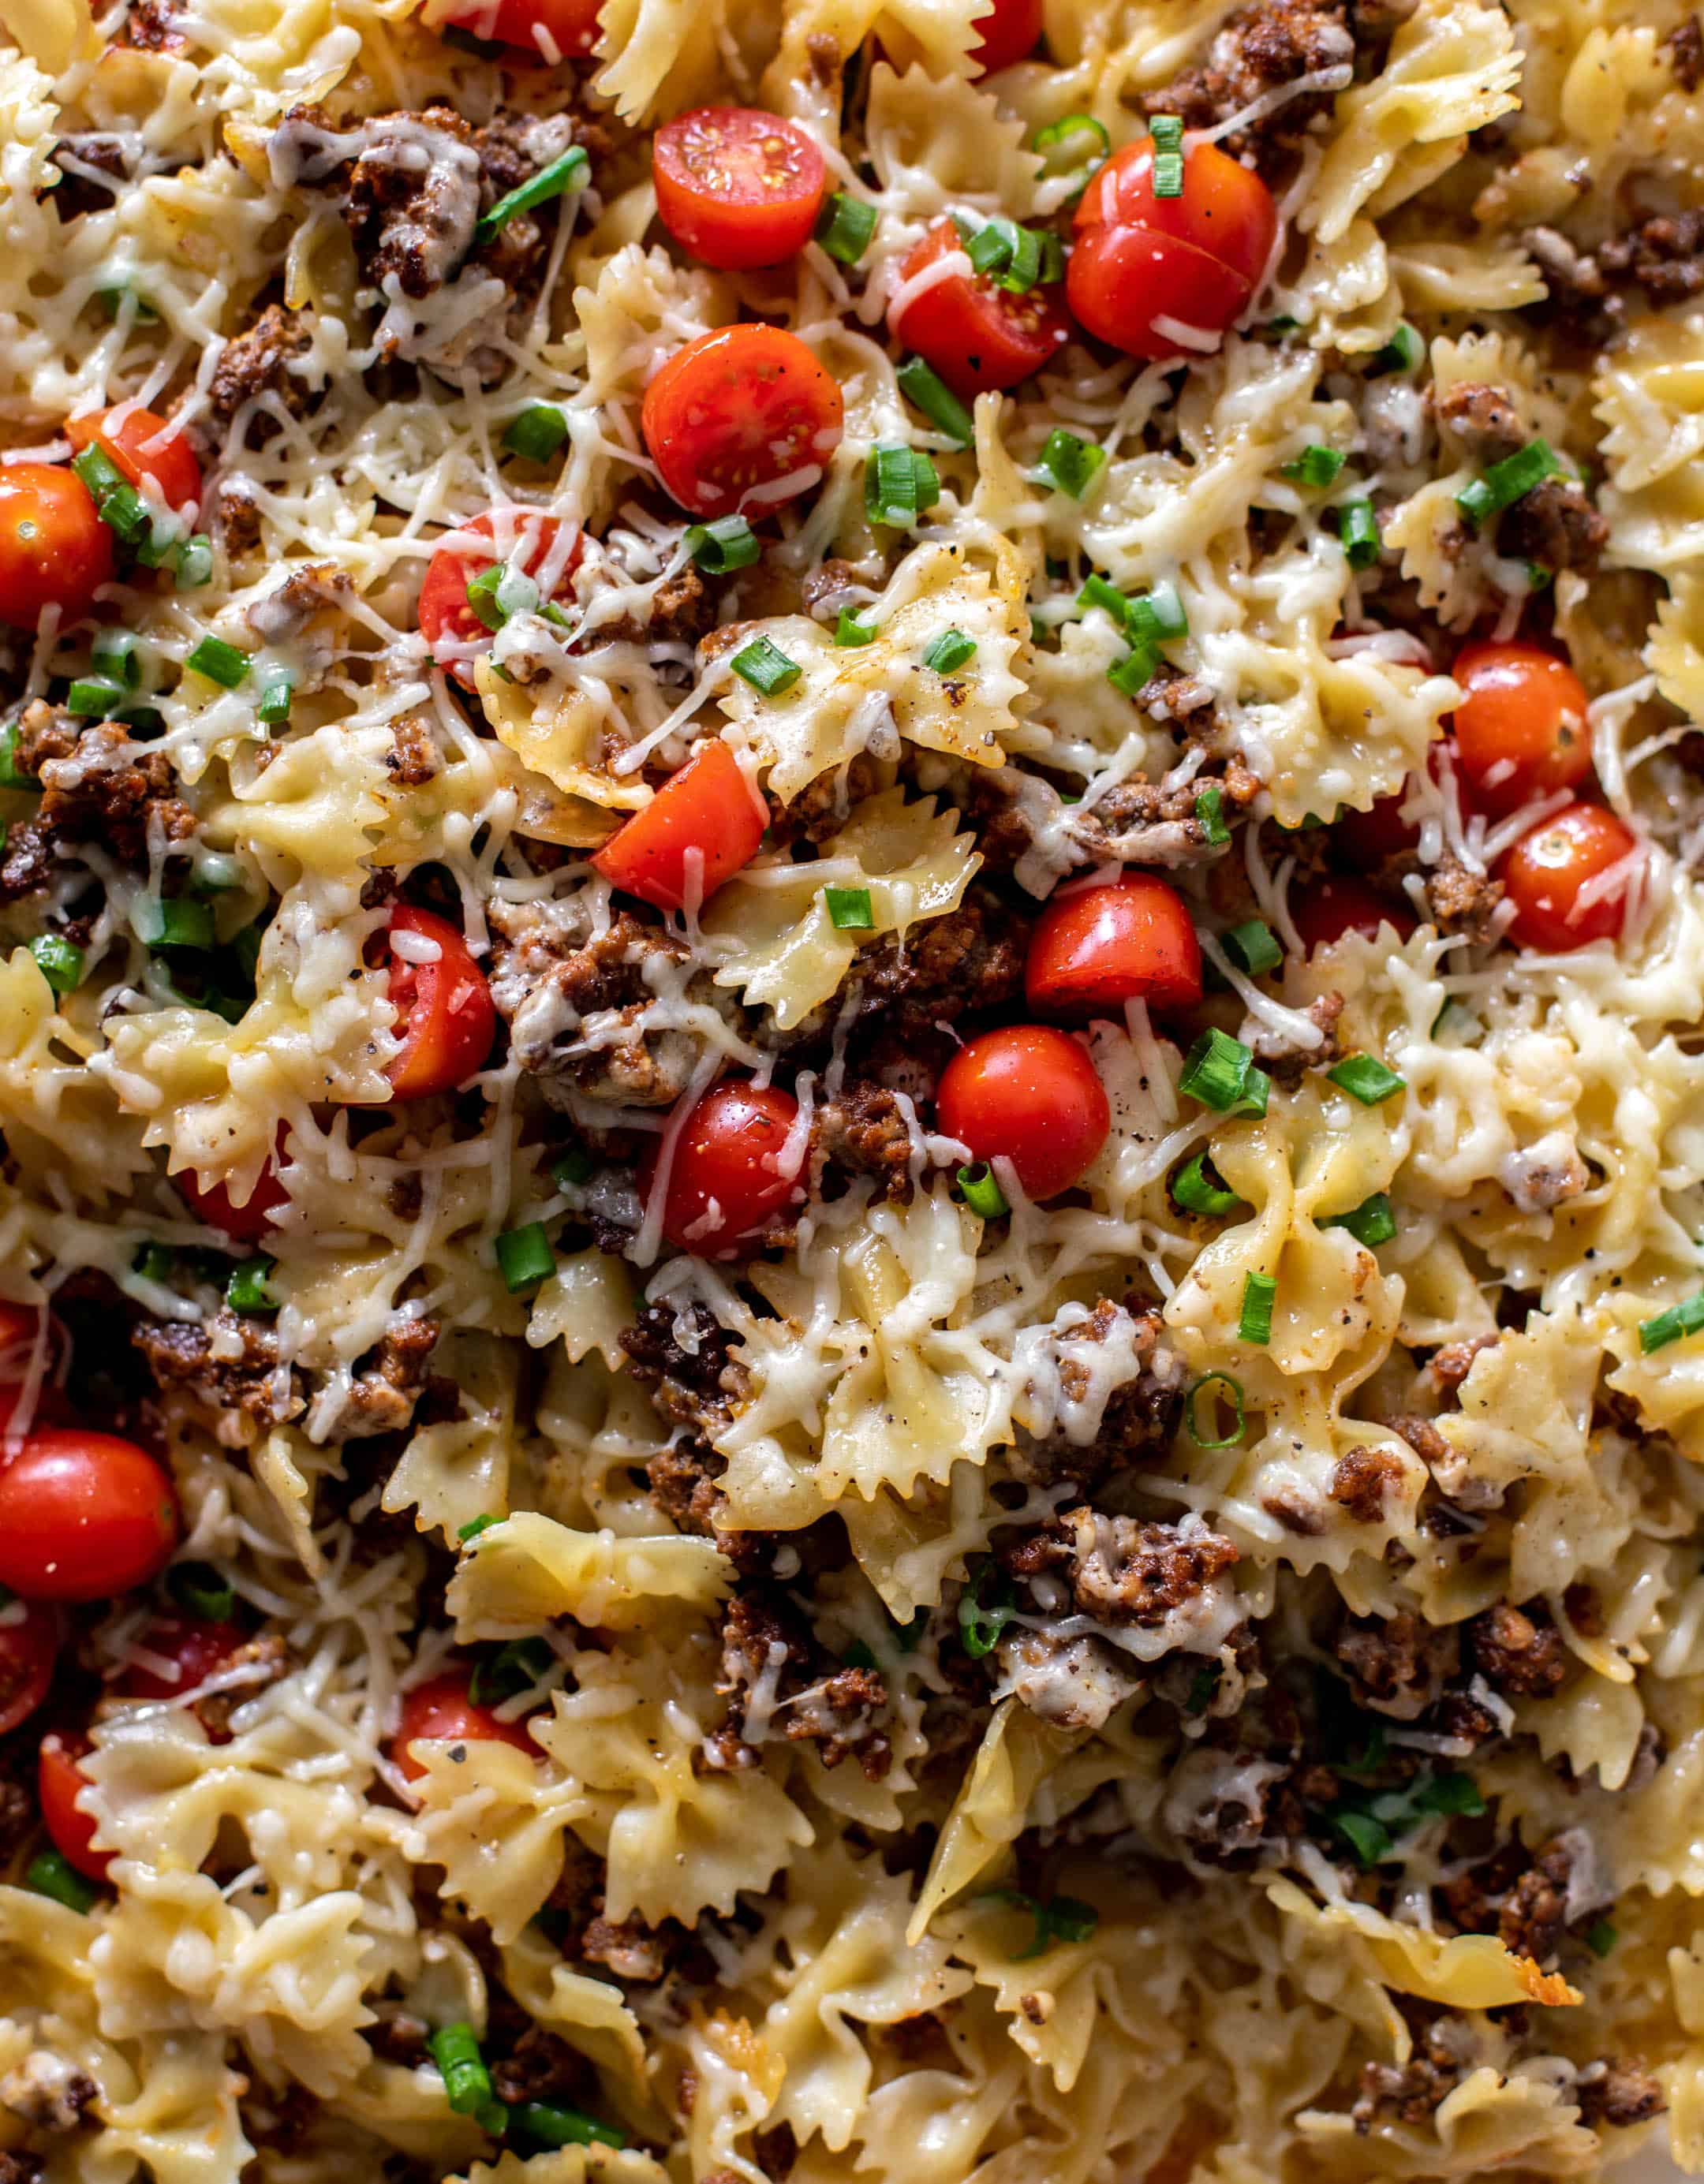
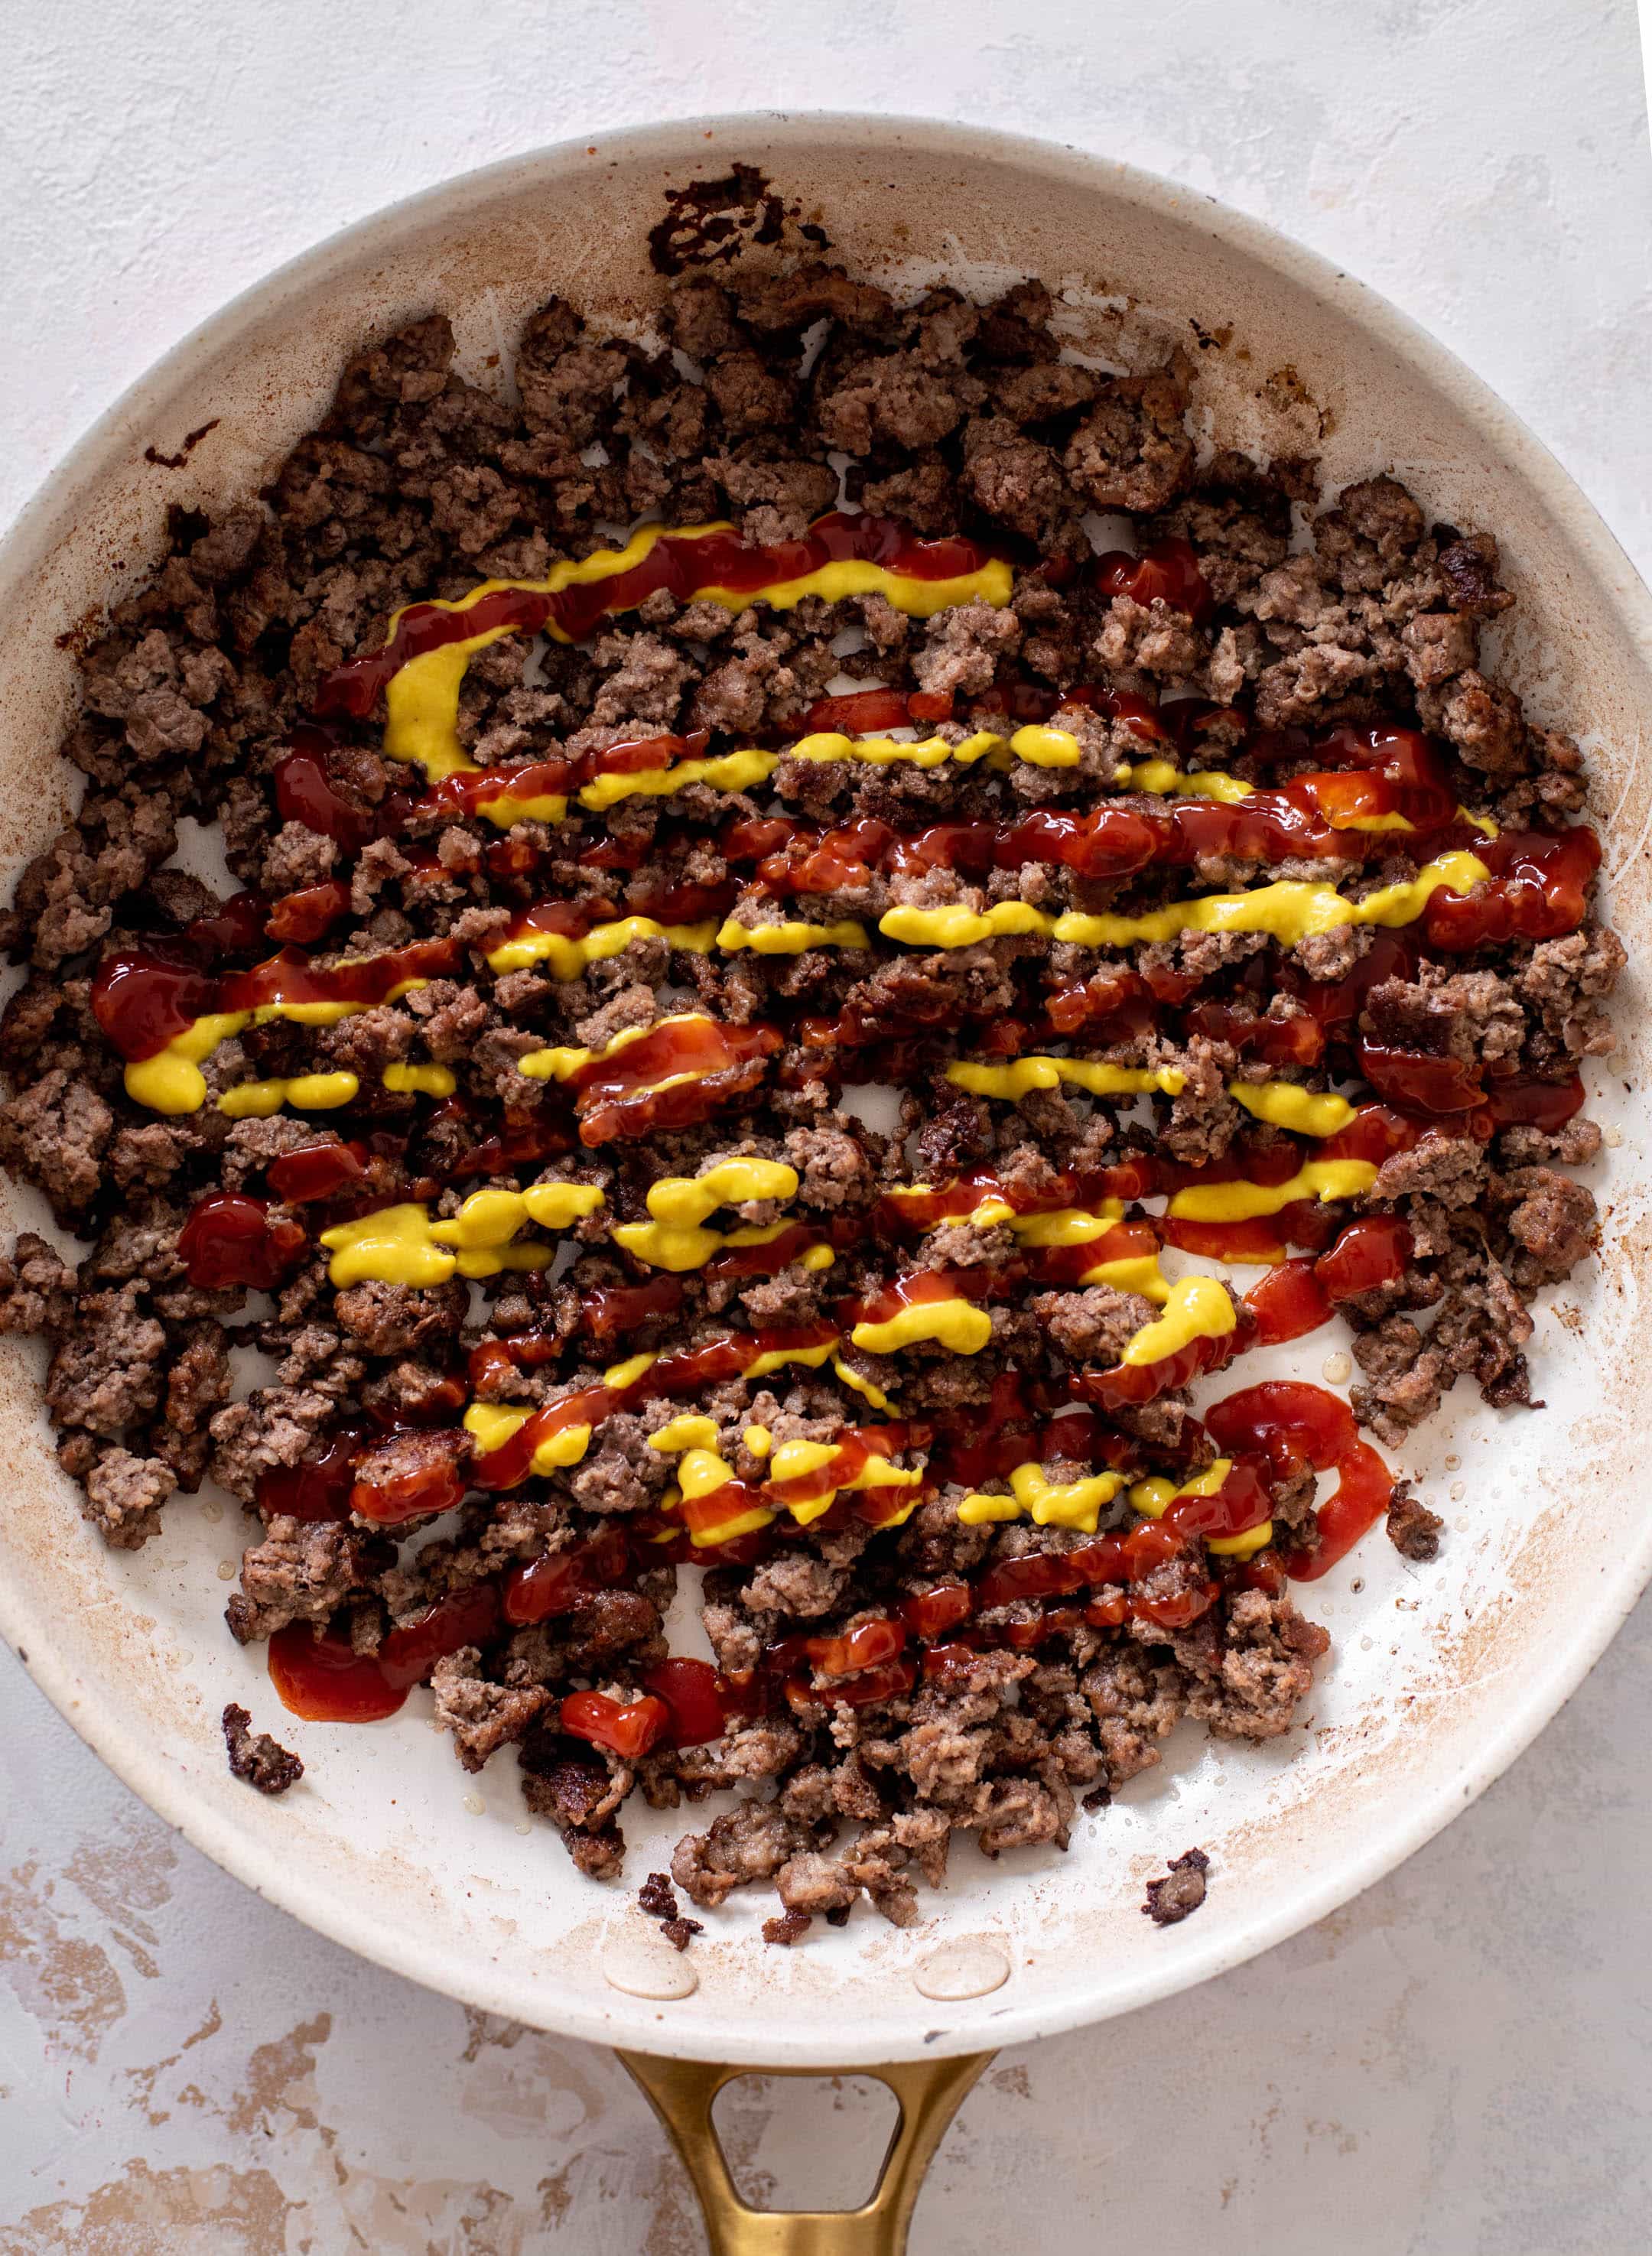
This sheet pan cheeseburger pasta is made with tender bow ties, ground beef, melty cheddar and your favorite burger toppings. 

It tastes like heaven!

sheet pan cheeseburger pasta

Can you tell that I’m having a moment with cheeseburger flavors? 

I am and I love it!

Cheeseburger tacos, stuffed sweet potatoes, salad, meatballs, tostadas and more. Can’t get enough. 

It’s such a nostalgic and comforting flavor. Full of summer vibes too!

sheet pan cheeseburger pasta

This is just one more way to enjoy it. And it may seem a little odd, but it totally works. It’s a nice switch up to pasta if you’re looking to make something unique with classic flavors. 

sheet pan cheeseburger pasta

Now, the main reason that I love this is because unlike other hamburger helper-like meals, this pasta is actually quite light. 

I’ve made the version in a skillet before and it’s very rich and cheesy and cozy and comforting. Super delicious.

This pasta bake is not creamy. It’s not overly cheesy, but it does have lots of melted white cheddar! It has all the flavors of that classic cheeseburger dish – the seasoned ground beef, melty cheese and even tomatoes and onions. 

At the same time, it isn’t heavy! And I love that because it’s a nice switch. 

This is something you can make and serve with a greens salad and you actually feel perfectly satisfied once you’re done.

sheet pan cheeseburger pasta

On that same note, my kids go wild for it. 

So it’s a crowd pleaser all around. 

sheet pan cheeseburger pasta

You can also switch this up in many ways. First, you can use ground beef or ground turkey. You can also use different variations of cheese.

Another great idea is to throw in some of your favorite burger toppings. Caramelized onions or mushrooms? Go for it. 

Heck, even if you want to pile this pasta on TOP of a bed of greens, it will work. That’s delish too!  (more…)

The post Sheet Pan Cheeseburger Pasta. appeared first on How Sweet Eats.

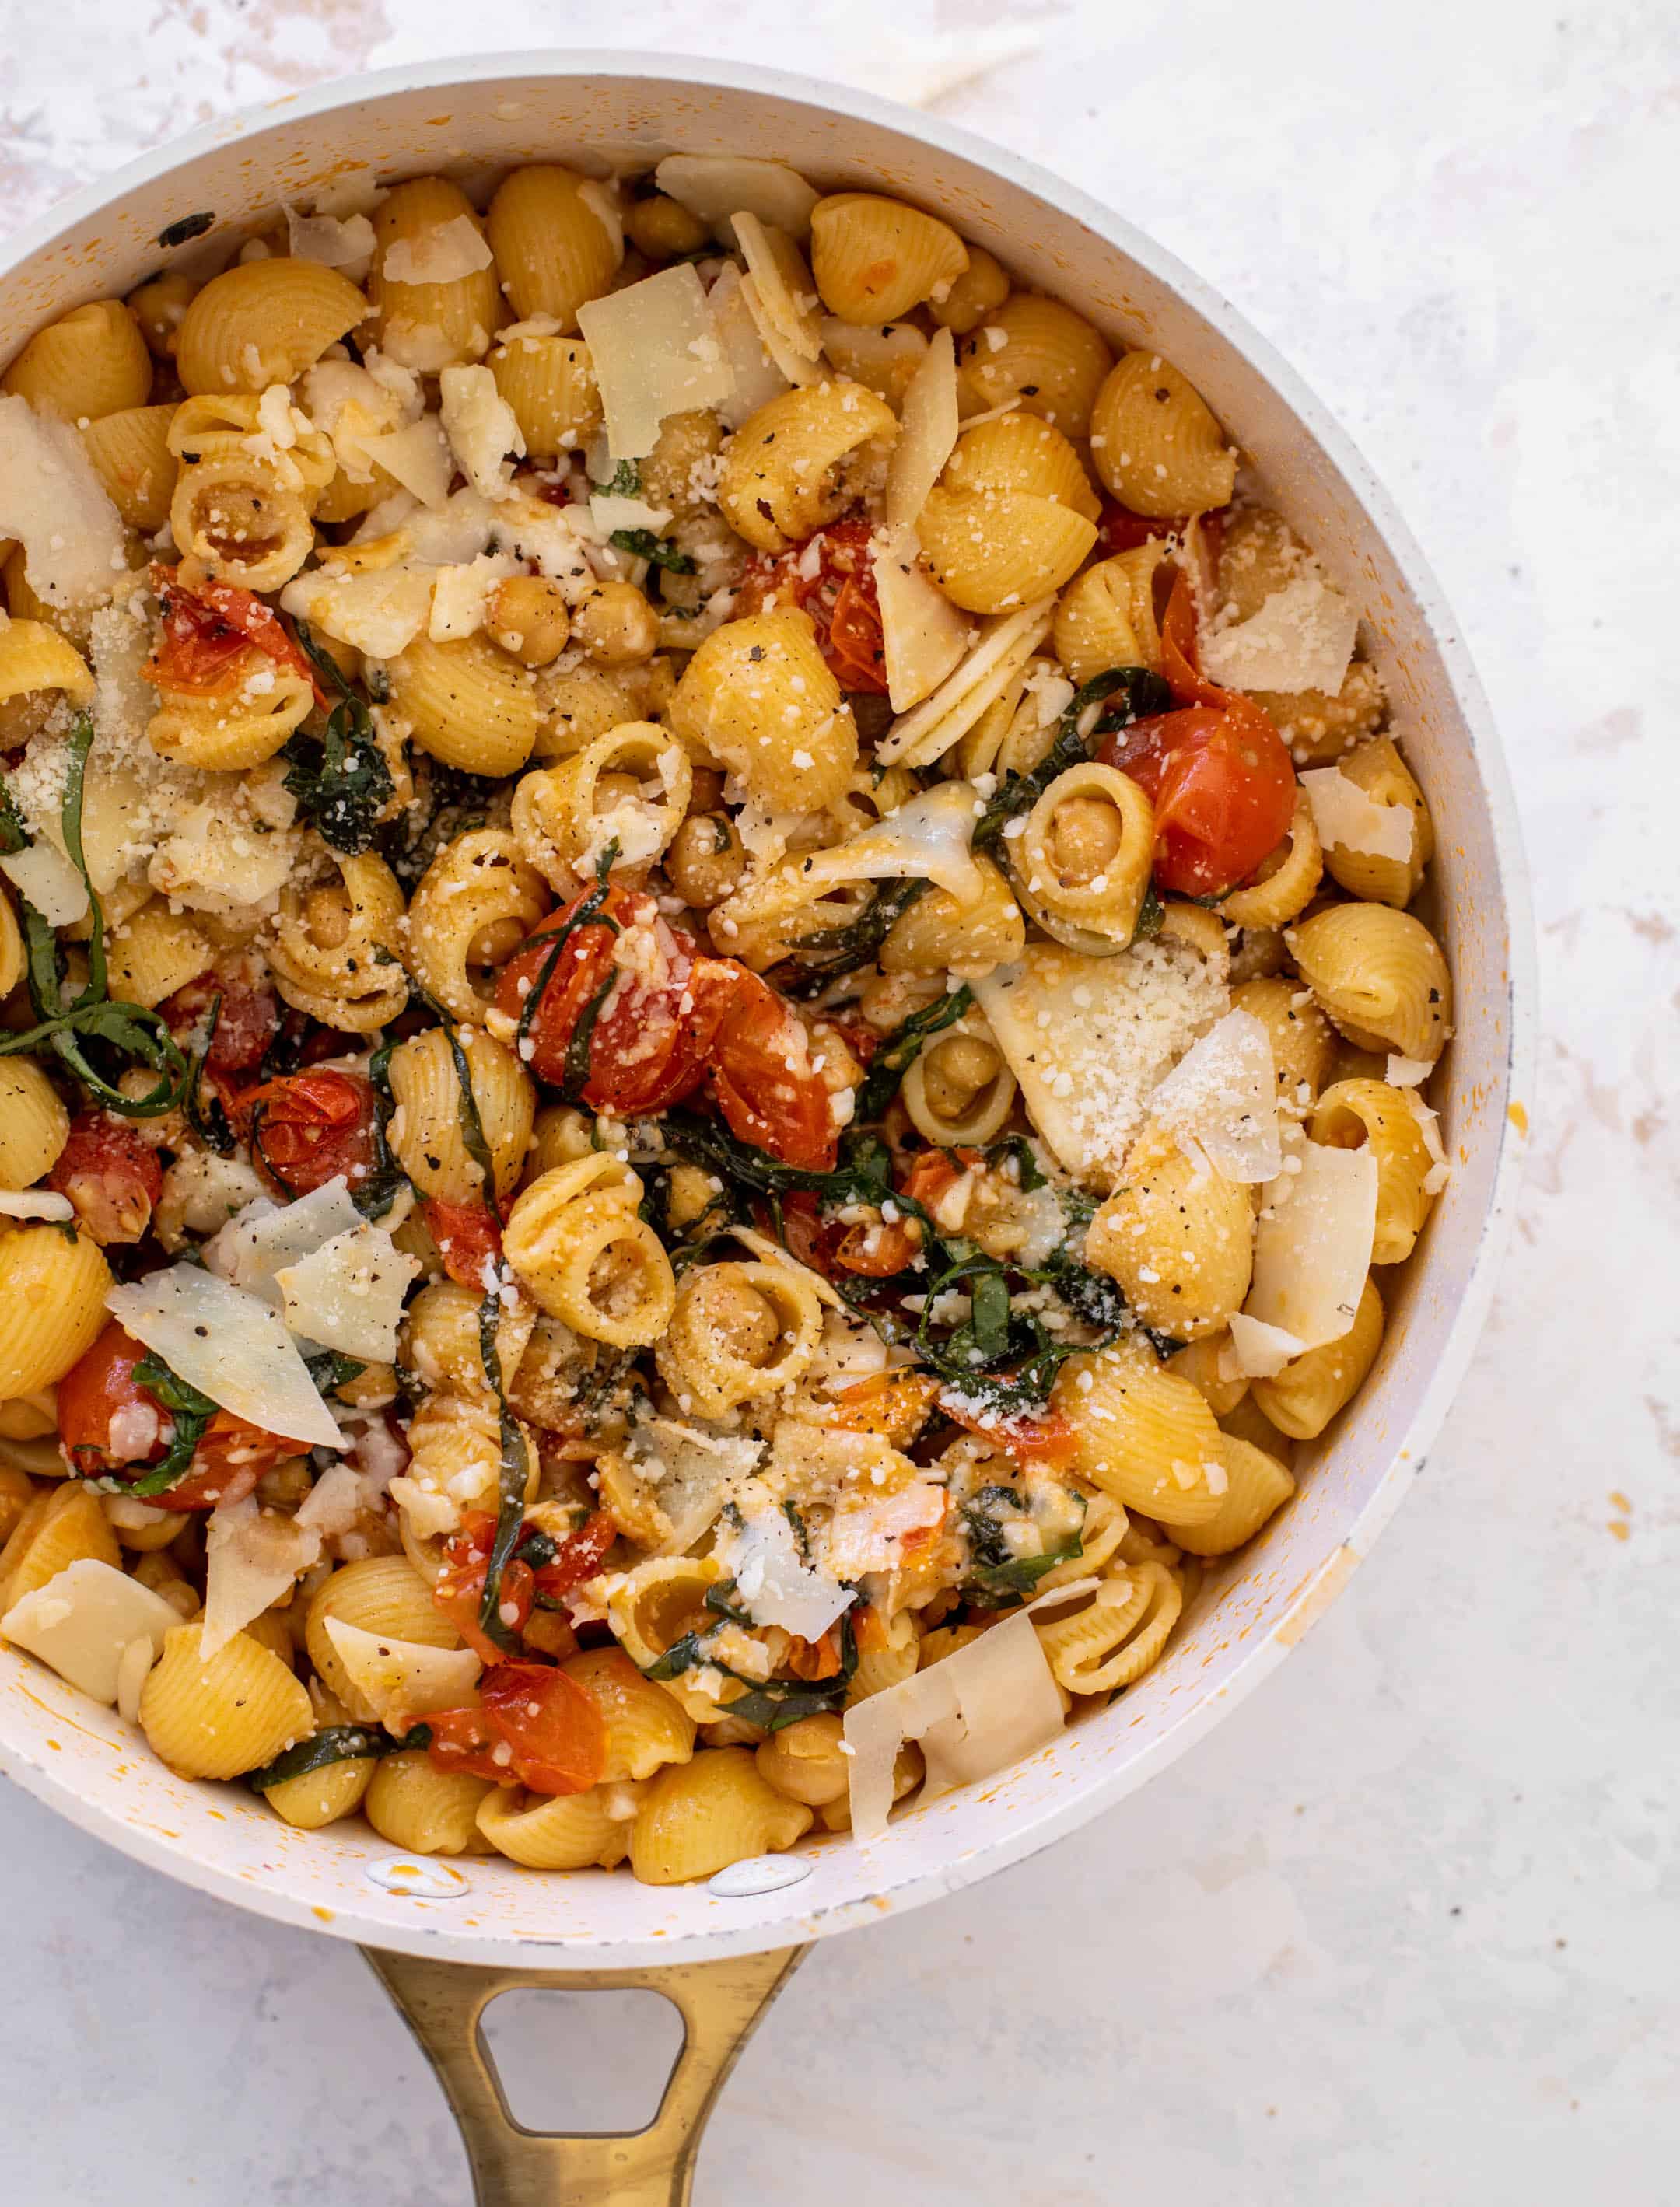
Garlicky Burst Tomato Pasta with Chickpeas.

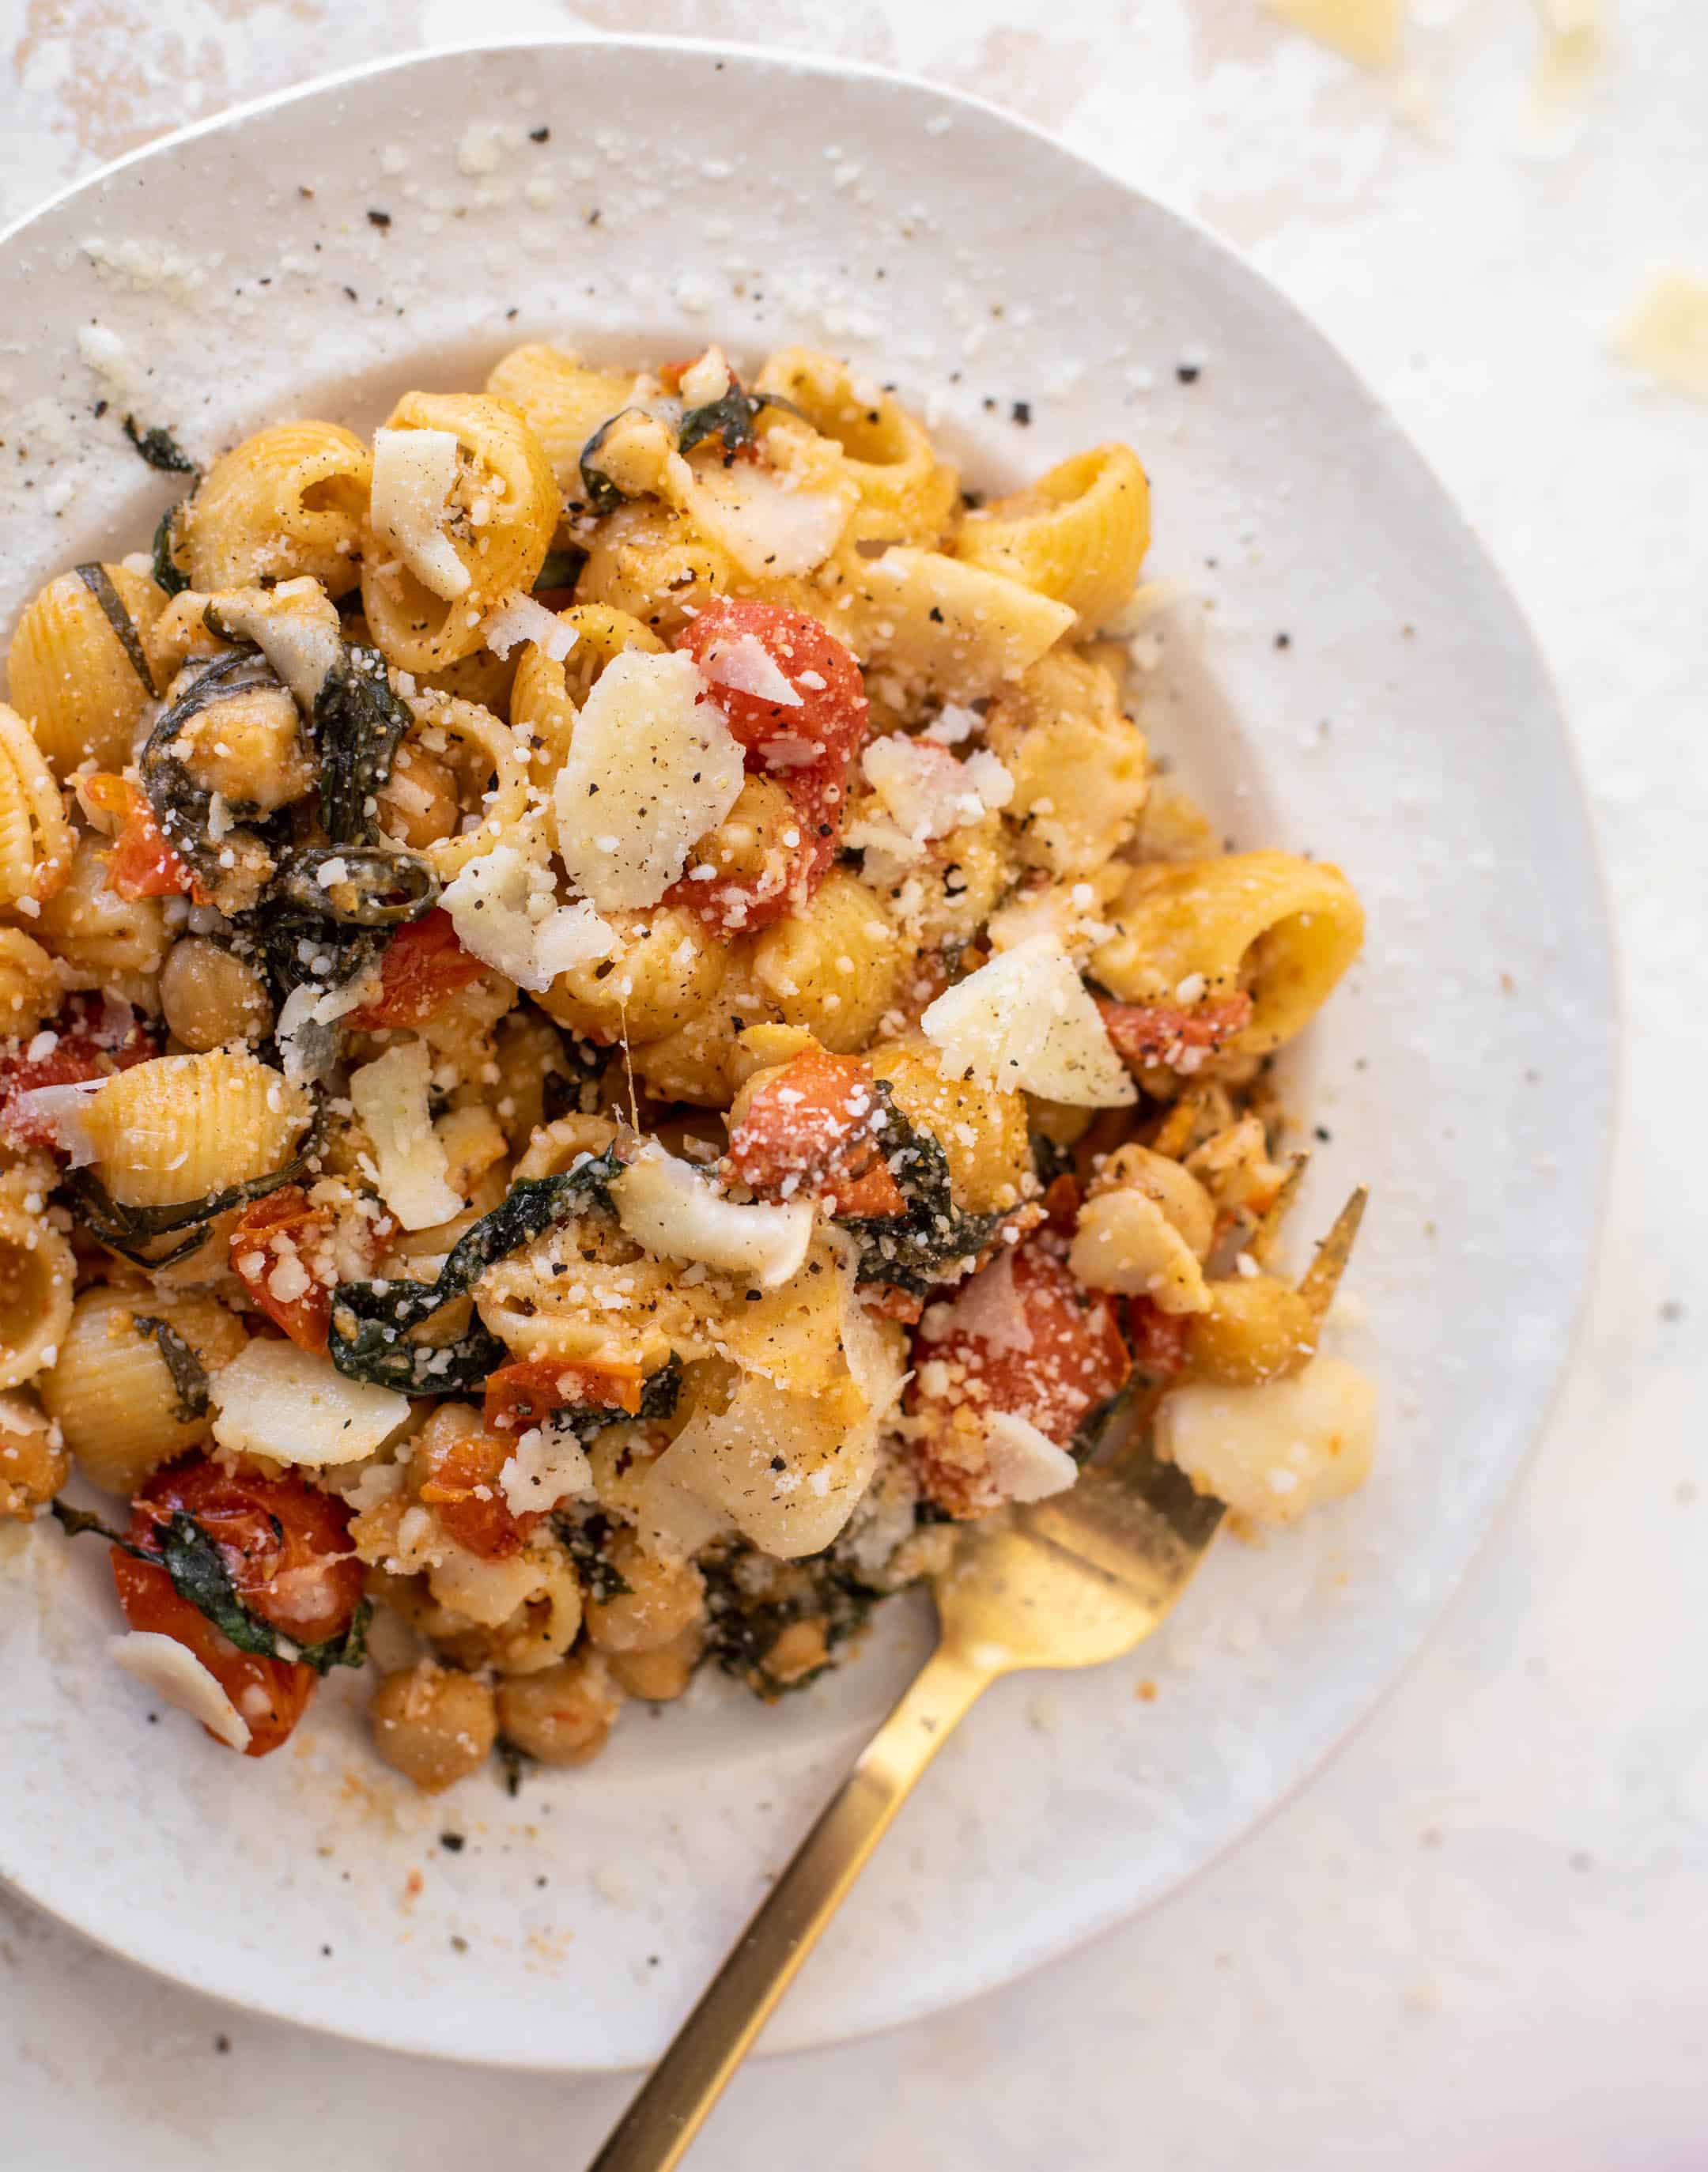
This burst tomato pasta with chickpeas and spinach is one of my weeknight staple meals! Easy to make, loaded with flavor, leaving a bunch of leftovers for lunch the next day. We love this meal! Easy weeknight pasta is the name of the game today! A pantry dish that comes to get ridiculously quickly is […]

The post Garlicky Burst Tomato Pasta with Chickpeas. appeared first on How Sweet Eats.

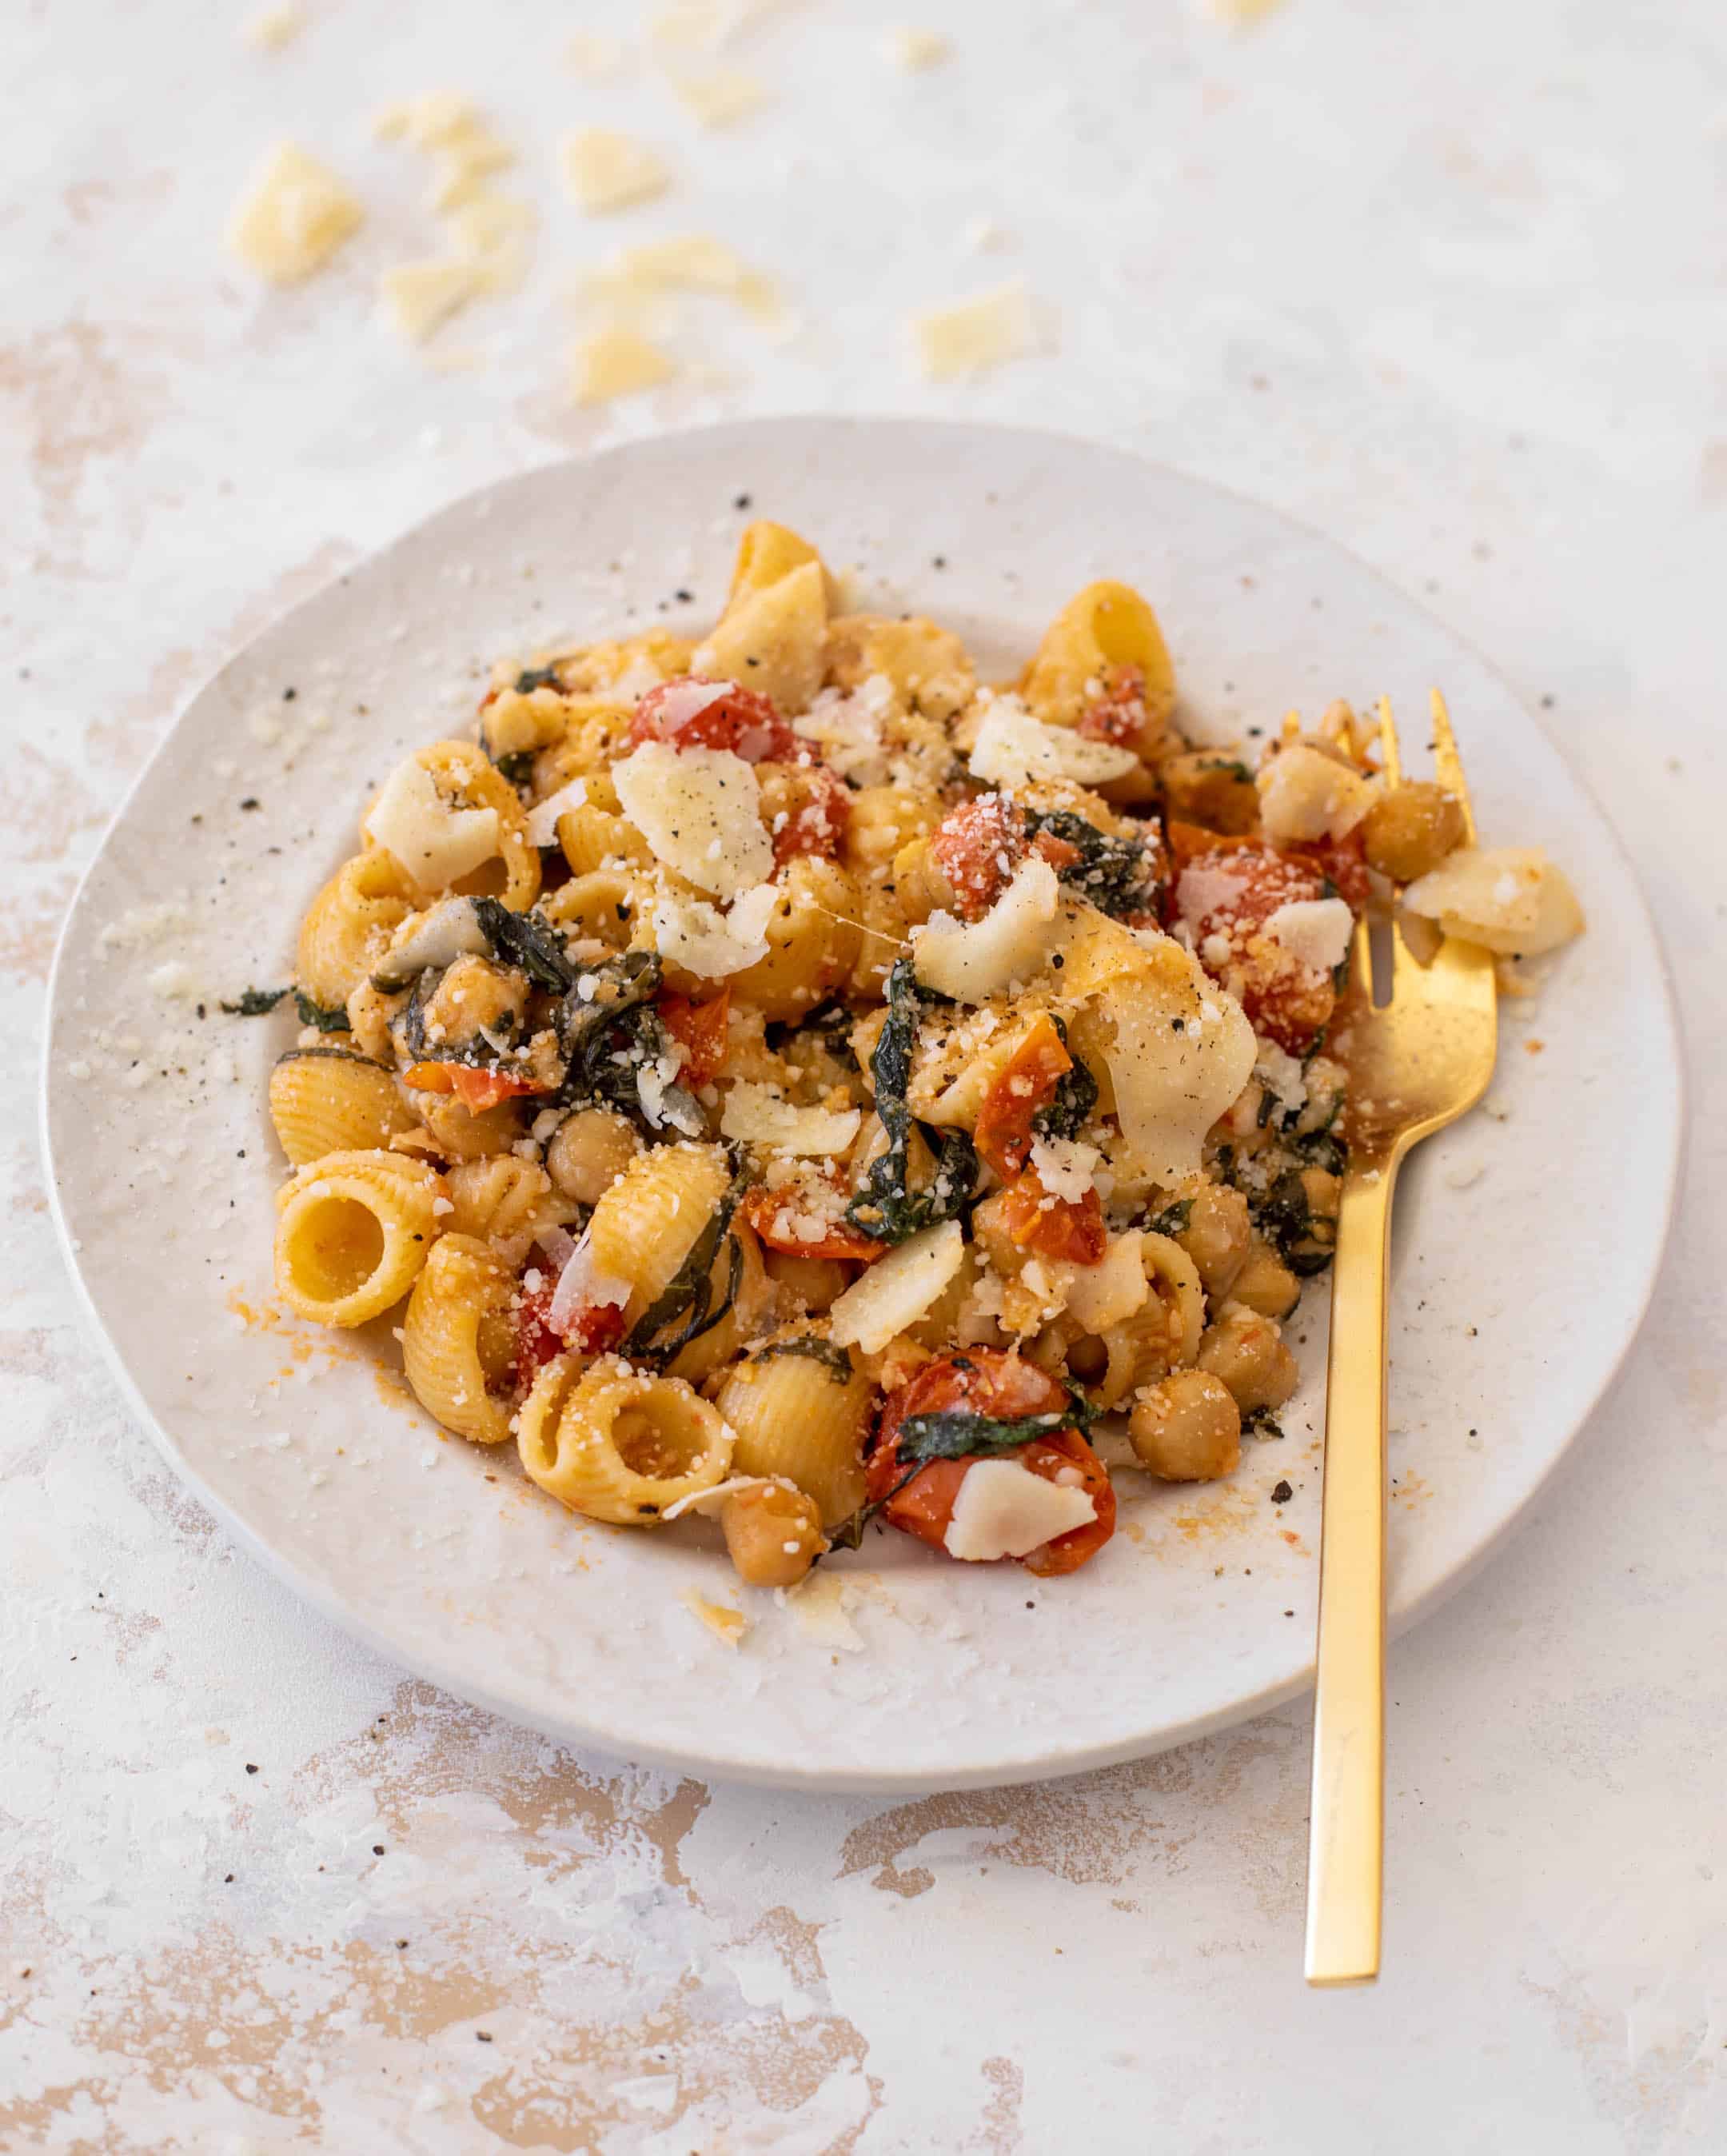
This burst tomato pasta with chickpeas and spinach is one of my weeknight staple meals! Easy to make, loaded with flavor, leaving a bunch of leftovers for lunch the next day. We love this meal!

Easy weeknight pasta is the name of the game today!

burst tomato pasta with chickpeas and spinach

A pantry dish that comes to get ridiculously quickly is a staple in our meal plans. This burst tomato pasta is filled with spinach, chickpeas, basil and parmesan. It’s such a great recipe to have in your repertoire. 

burst tomatoes

I have these ingredients in my home at all times which is one of the best parts of this dish. When I’m not sure what to make, this is it! No questions, throw it together, serve it alone or alongside some grilled chicken.

So simple. 

burst tomato pasta with chickpeas and spinach

See, this is one of my favorite things to make for dinner. A super easy pasta skillet, filled with vegetables and beans, tons of garlic and all the flavor. 

It comes together incredibly fast and leftovers are great for lunch too. 

Plus, it’s a perfect vehicle for lots of parmesan!

My favorite. 

burst tomato pasta with chickpeas and spinach

It’s SO easy to make.

This is how I do it!

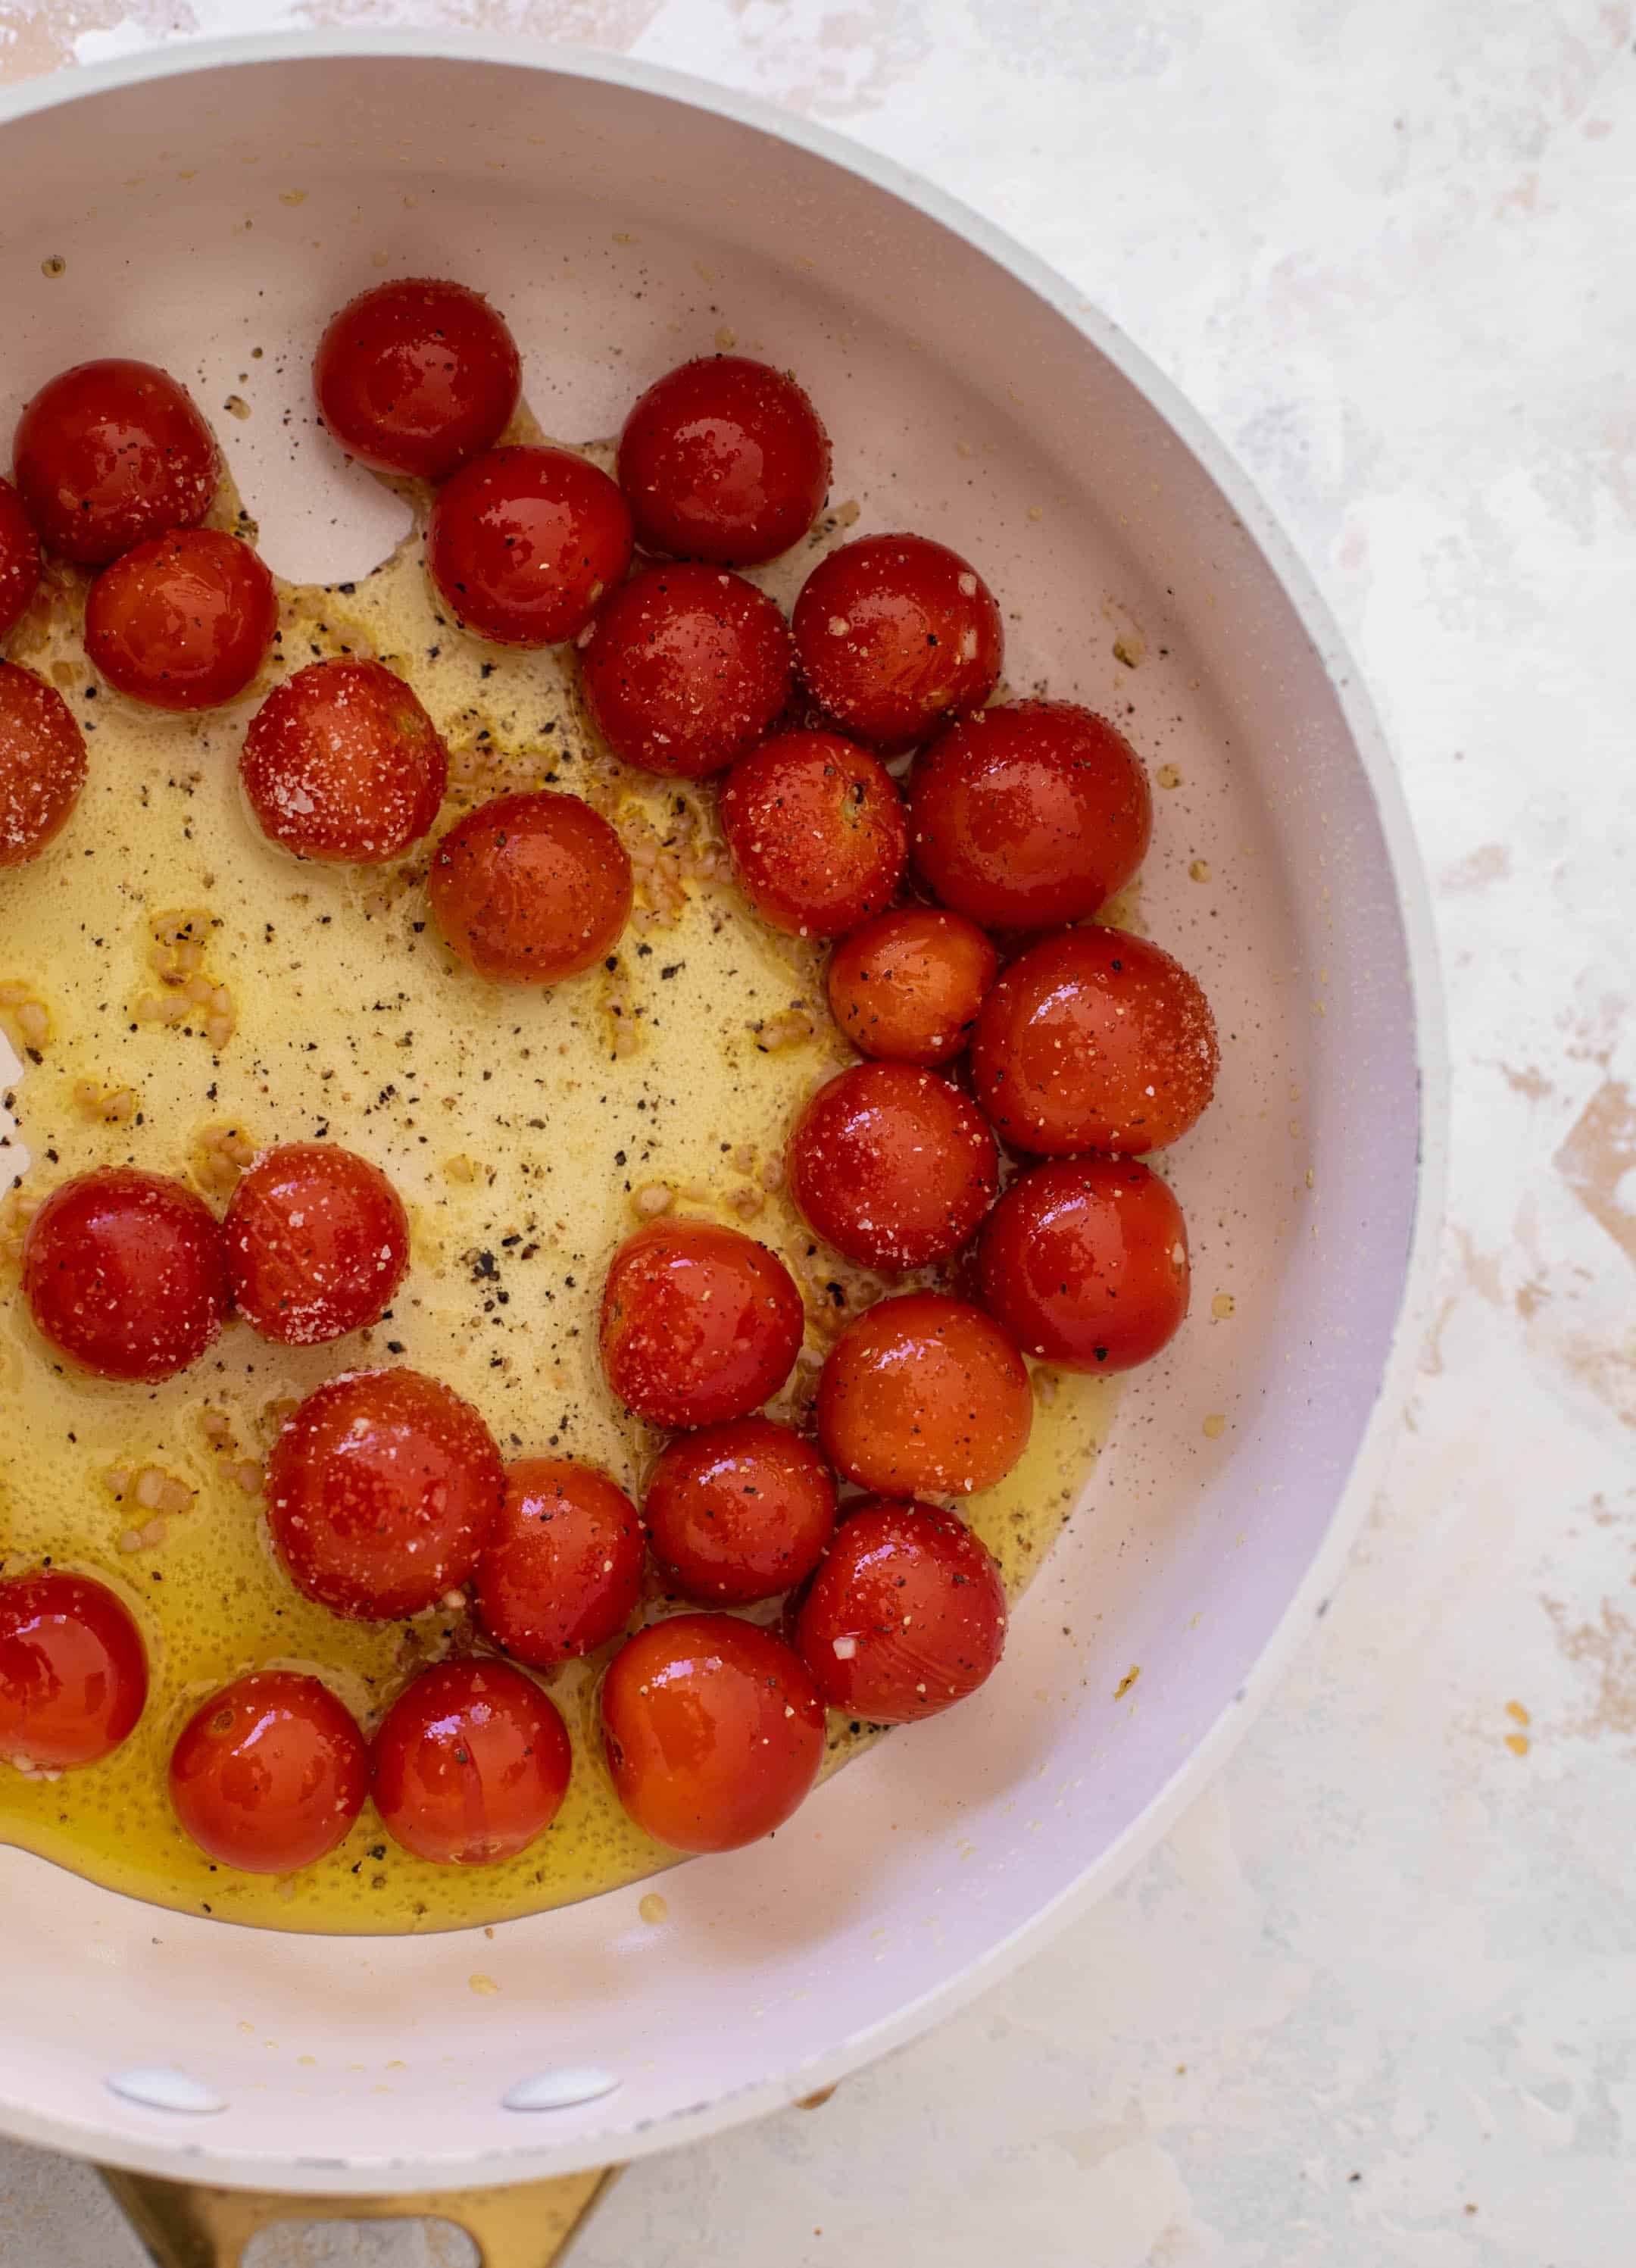
I throw some cherry tomatoes and garlic with olive oil in a hot skillet. While the tomatoes burst and cook down, I boil water and cook a short cut of pasta. Something like shells or elbows or even mini rigatoni. 

When the tomatoes are burst and saucy, I throw in lots of fresh spinach and a little of the starchy pasta water to help it cook down. 

burst tomato pasta with chickpeas and spinach

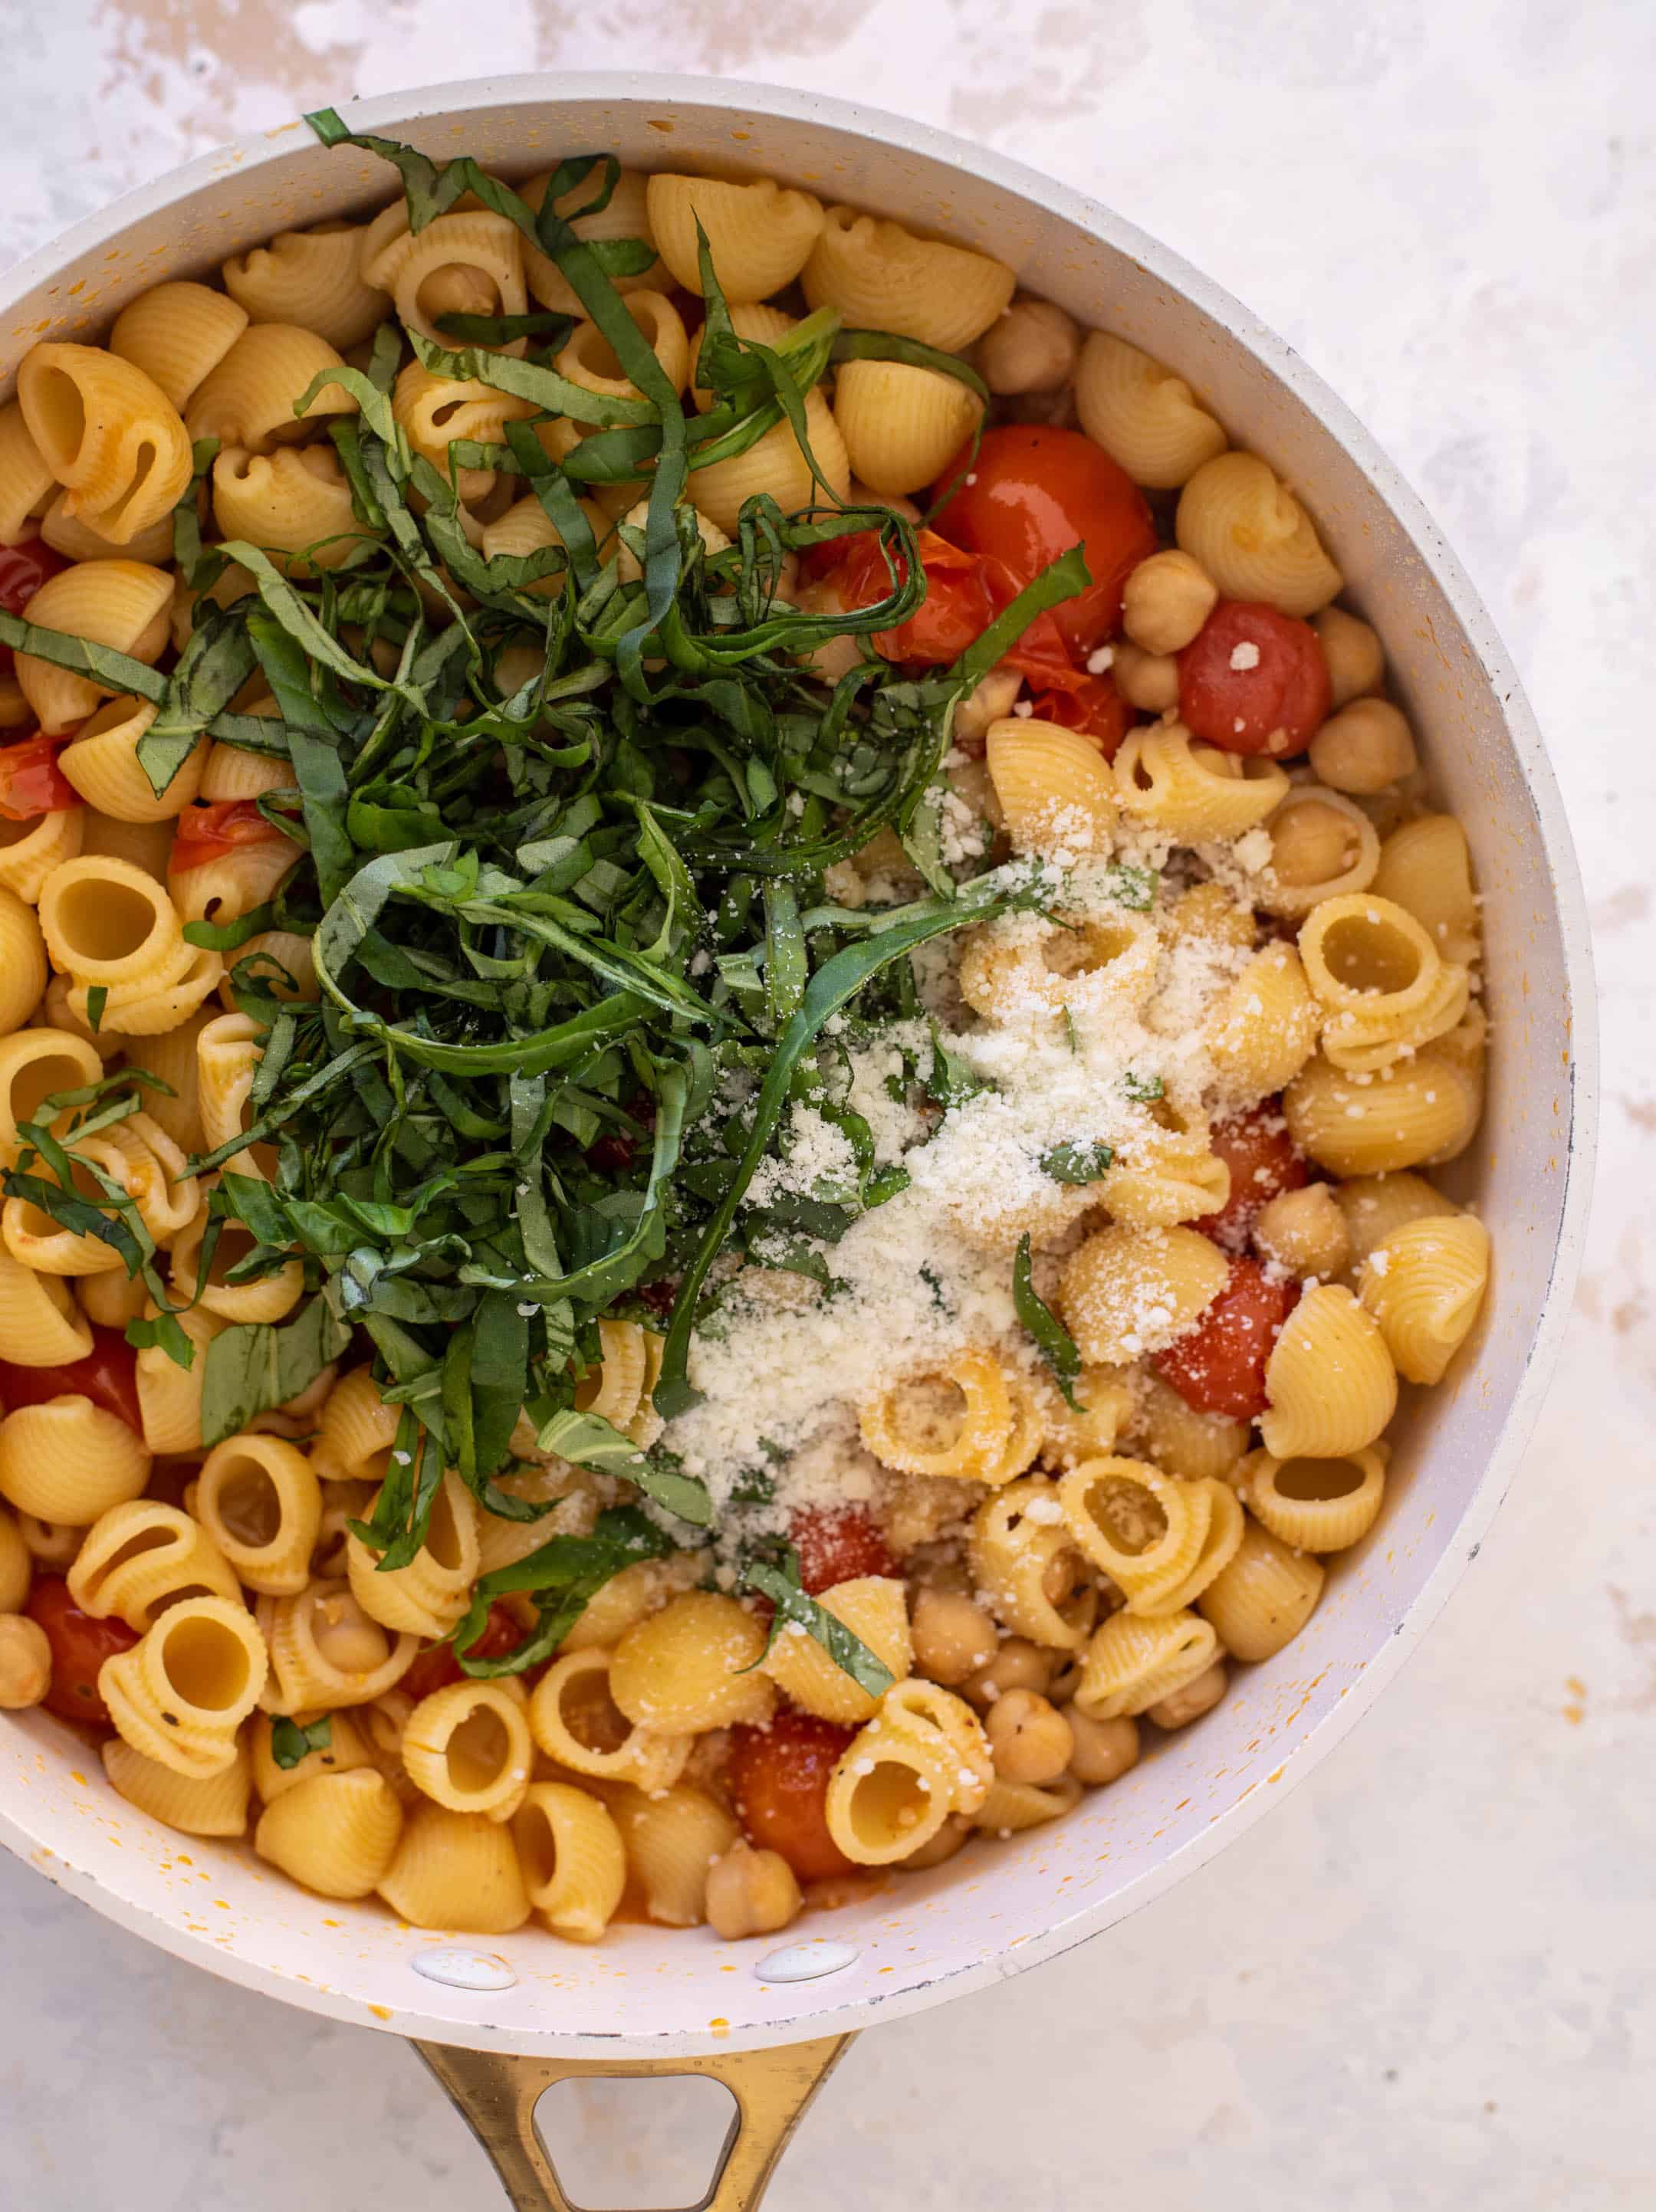
Next, I add in the chickpeas! You could use any variety of beans here. I like it with cannellini beans too. Creamy, white beans are my love language. 

I toss in the cooked pasta and then add lots of parmesan. And I do a mix of finely grated pecorino romano and shaved parmesan cheese because I’m extra.

burst tomato pasta with chickpeas and spinach

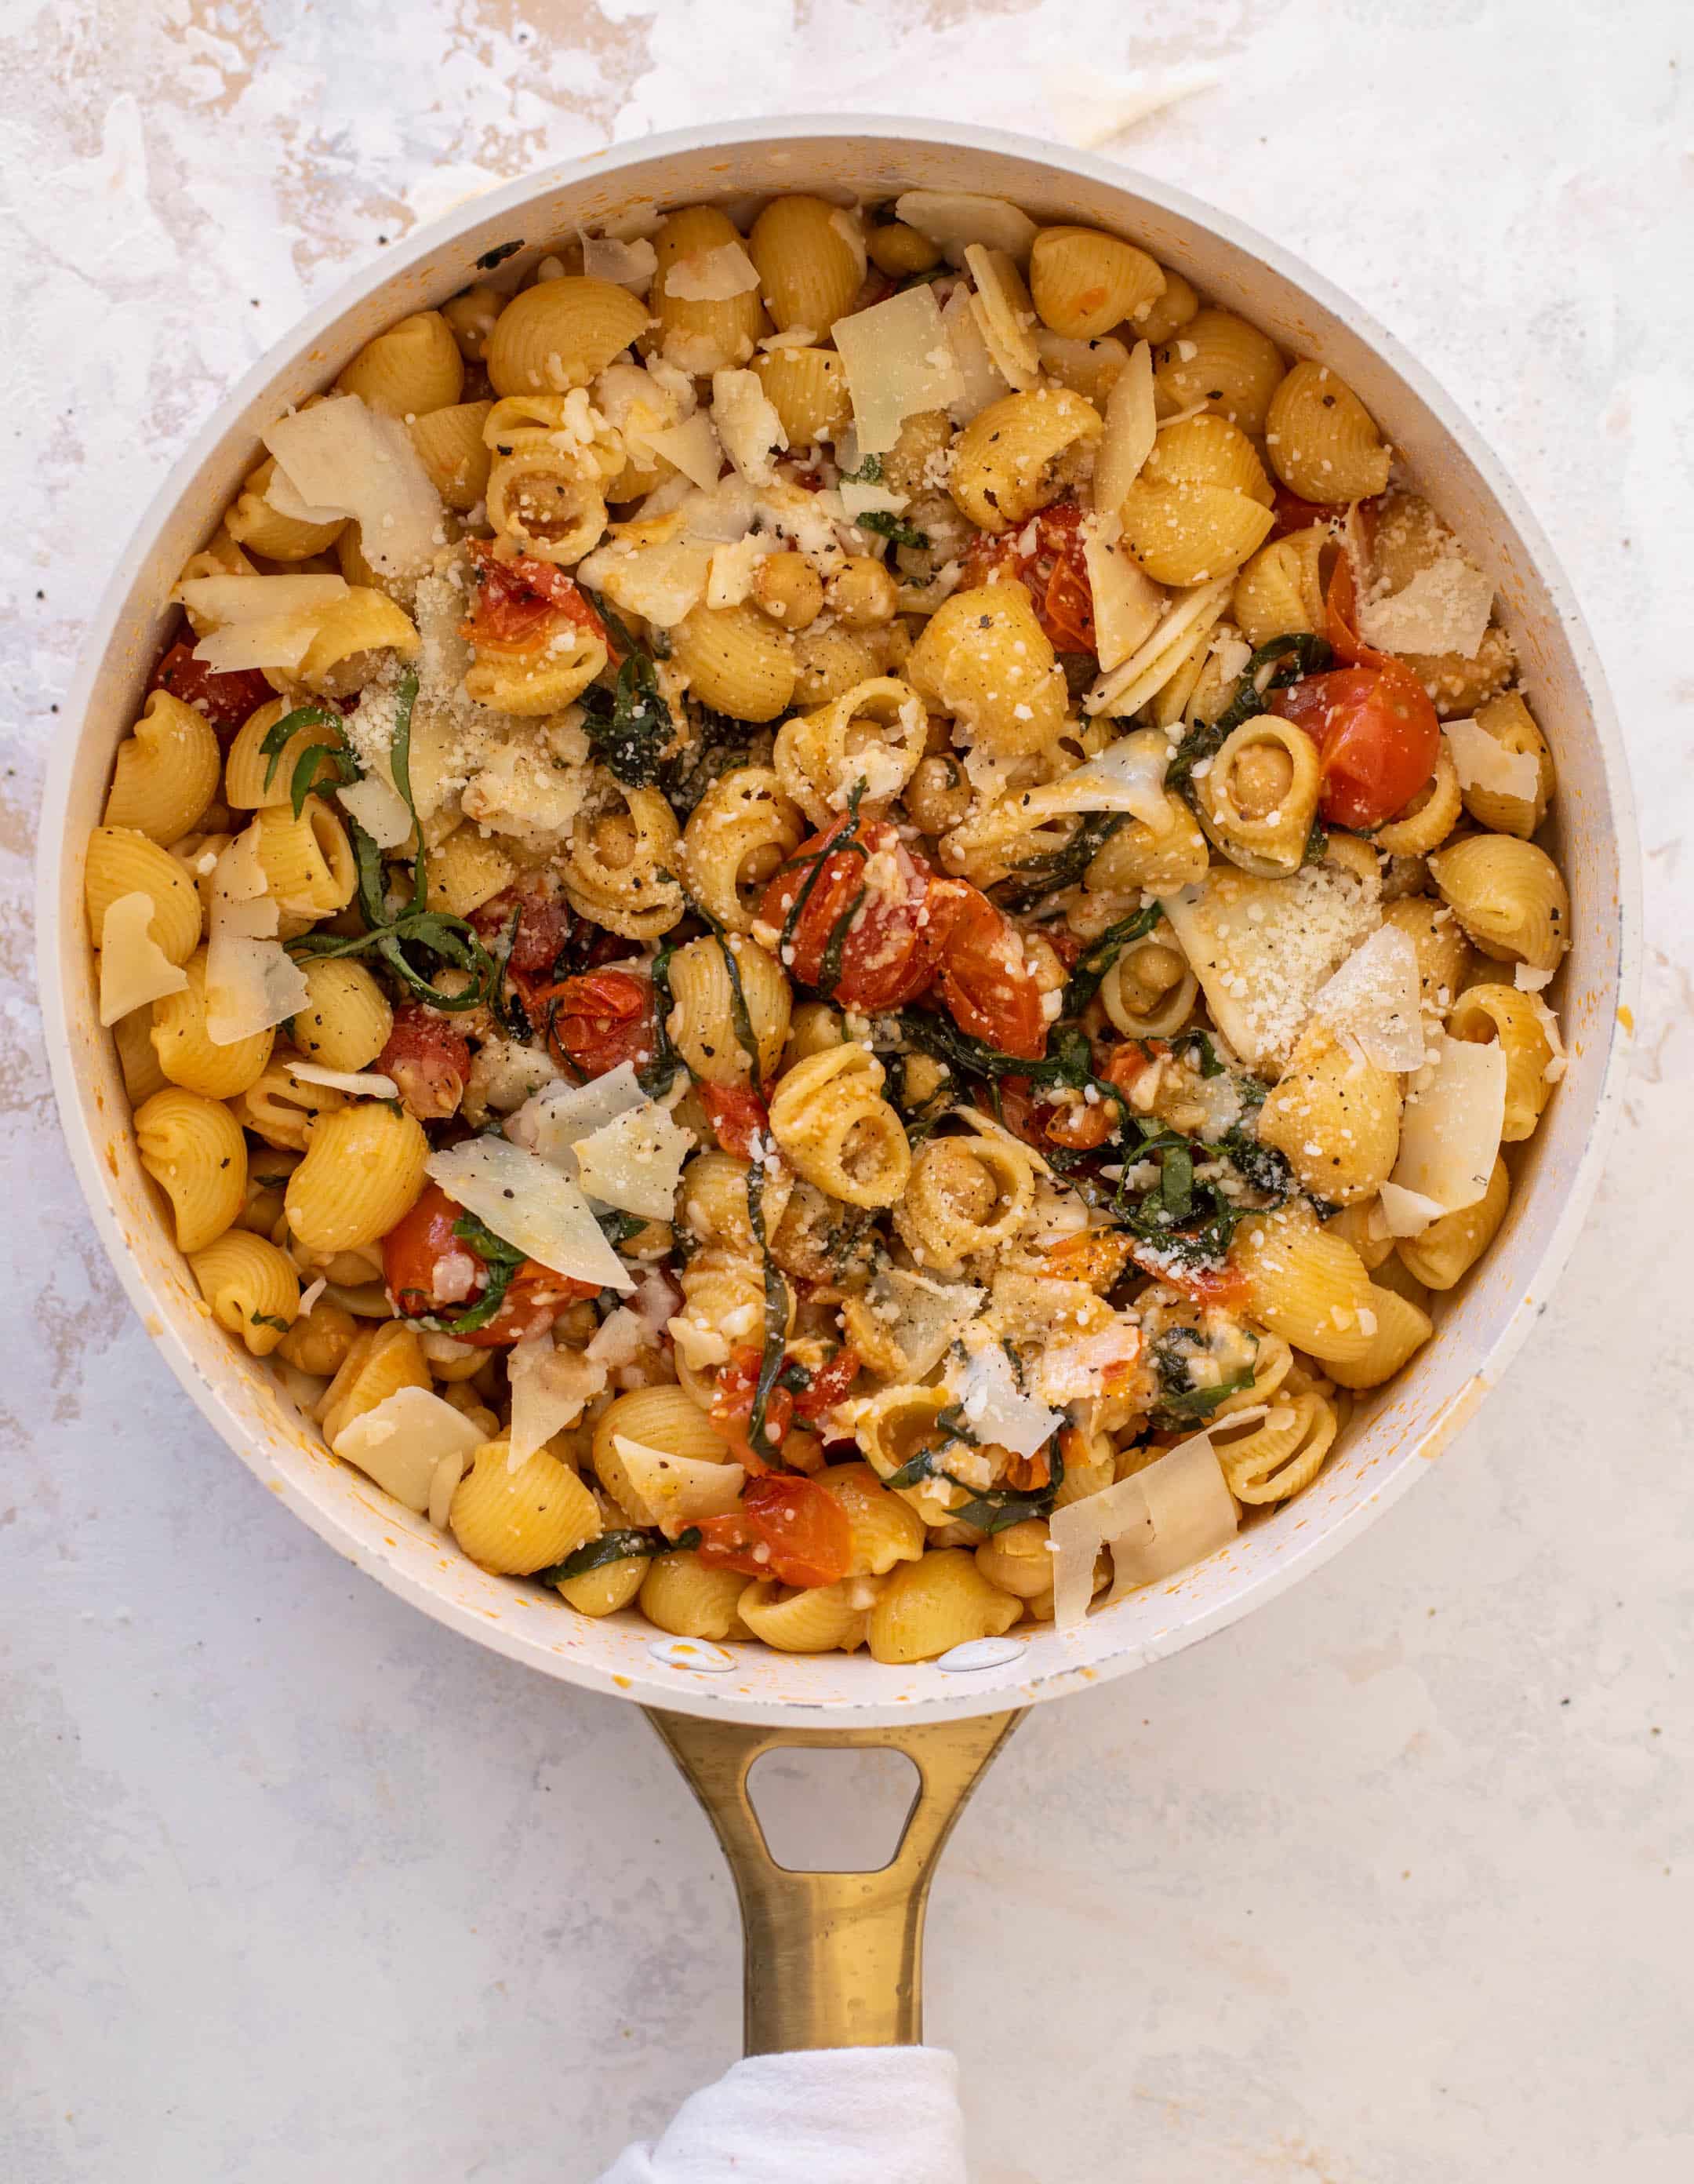
I love how the chickpeas hide in the shells here. It’s one of my kids’ favorite things too! Fun to eat and easy to make. (more…)

The post Garlicky Burst Tomato Pasta with Chickpeas. appeared first on How Sweet Eats.

Shrimp Primavera

This shrimp primavera is packed with fresh veggies and juicy shrimp, all tossed in a light and delicious sauce! Ready…

This shrimp primavera is packed with fresh veggies and juicy shrimp, all tossed in a light and delicious sauce! Ready in 30 minutes, it’s a fun and flavorful weeknight dinner idea.

Shrimp Primavera

As two cookbook authors and Mediterranean diet enthusiasts, we’ve cooked shrimp every which way. We’ve made family favorite recipes like sauteed shrimp, grilled shrimp, shrimp scampi, and even shrimp burgers! But one of our new favorites is pairing the seafood with pasta and fresh vegetables in this shrimp primavera. It’s like a classic pasta primavera with shrimp added, and smothered in a light creamy sauce, it makes a simple satisfying dinner in just 30 minutes.

Why we love shrimp primavera

With thousands of shrimp recipe ideas, why make this one? It takes a little longer than our popular 5-minute sauteed shrimp, but this one is worth it because it provides a complete meal loaded with colorful veggies. We love it most in the springtime, since primavera means spring in Italian. But you can eat it in any season! Here’s why we love this shrimp primavera:

  • It has a high veggie-to-pasta ratio so you’re getting lots of colorful veggies in your meal
  • It features a lean protein, making it more filling than classic pasta primavera
  • The cream sauce is light and made with milk, not heavy cream
  • It’s a delicious way to enjoy seasonal ingredients.

Key ingredients

Shrimp primavera ingredients: pasta, shrimp, peas, shallot, carrots, garlic, asparagus, broccoli, red pepper.

For pasta primavera with shrimp, you’ll simply toss in sauteed shrimp to your mix of favorite fresh vegetables, pasta and cream sauce. Here are the ingredients you’ll need with some notes on substitutions:

  • Pasta: We like using penne or another short pasta with shrimp, since they are similar in size. Other types of noodles that work well are rigatoni, linguine, and spaghetti. Use whole wheat pasta for Mediterranean diet, or gluten-free or legume pasta for gluten-free.
  • Shrimp: Use deveined medium shrimp for the best size for this recipe. They can be either shelled or tail on. Prioritize wild caught shrimp if possible.
  • Vegetables: Our favorite mix for primavera is asparagus, broccoli, shallot, carrot, and peas. Though it’s not a spring vegetable, we added red bell pepper since it is easy to find in any season and adds a pop of color.
  • Olive oil: Olive oil is our cooking oil of choice.
  • Butter, flour, milk, and grated Parmesan cheese: These ingredients make our favorite Parmesan cream sauce, and you’ll notice there’s no heavy cream at all.
  • Garlic powder, dill, and salt: These seasonings round out the ingredient list with a robust, savory flavor.

How to make shrimp pasta primavera: step by step

Shrimp primavera comes together simply: though we do recommend cooking with a partner if you can! There are four elements that have to come together: pasta, shrimp, veggies, and sauce.

First, bring a salted pot of water to a boil and cook the pasta to al dente, taste testing a minute or two before the package instructions indicate.

In a large skillet, heat the olive oil. Add the asparagus, shallot, broccoli, red bell pepper, carrot, and ½ teaspoon kosher salt and cook 4 to 5 minutes until asparagus is tender and bright green.

Shrimp primavera step 1: Veggies in pan.

Toss the shrimp in a bowl with salt and garlic powder. Add the shrimp and peas and continue cooking until the shrimp are cooked, about 1 to 2 minutes. Remove from the heat. Pour the shrimp and vegetables into a bowl (or if the pasta is cooked, drained, and tossed with a drizzle of olive oil you can add them right to the pasta pot). 

Shrimp primavera step 2: Shrimp and peas in skillet with vegetables.

In the same skillet (wiped out) over medium heat, melt butter. Add grated garlic and flour and whisk constantly for 1 minute, until golden. Constantly whisking, add the milk and whisk until smooth. Reduce the heat and whisk until the sauce thickens, about 4 to 5 minutes. Stir in kosher salt, dill, and the Parmesan cheese, whisking until the cheese melts, then remove from the heat.

Shrimp Primavera Step 3: Cream sauce in skillet.

Once the sauce is done, add the vegetables and shrimp to the pasta. Add more salt to taste and garnish with additional Parmesan cheese, if desired.

Where did pasta primavera come from, anyway?

You might be wondering: what’s the background of this dish? While it sounds traditionally Italian, turns out pasta primavera is an American pasta dish featuring fresh vegetables that was invented in the 1970’s. It was created by a New York chef named Sirio Maccioni at the home of an Italian businessman in Nova Scotia, of all places!

Since then, Pasta Primavera has popped up on restaurant menus across the globe, most popularly at Italian American chains like Olive Garden. There are really no requirements around the “right” way to make it. Primavera means spring in Italian, so often you’ll see it with spring vegetables like asparagus and carrot. But many spins use summer vegetables like zucchini and tomatoes as well.

Shrimp Primavera in bowl with colorful vegetables and creamy sauce.

Leftovers and make ahead tips

Shrimp primavera is best served the day it is made. You can store leftovers up to 2 days refrigerated. However, around here we’re not huge fans of next day shrimp (just our personal preference). We find pasta with shrimp typically tastes best the day of making!

To speed up prep, it’s easy to chop all the vegetables and measure out the ingredients in advance. You can even boil the pasta in advance, cooking it to 1 minute before al dente. Then simply stir it into the warm sauce and vegetables before serving.

More shrimp recipes

We’ve got loads of fun shrimp recipes for you to try that are perfect for dinner or any occasion. Here are a few more shrimp recipes you might enjoy:

Print
Shrimp Primavera

Shrimp Primavera


  • Author: Sonja Overhiser
  • Prep Time: 15 minutes
  • Cook Time: 15 minutes
  • Total Time: 30 minutes
  • Yield: 4

Description

This shrimp primavera is packed with fresh veggies and juicy shrimp, all tossed in a light and delicious sauce! Ready in 30 minutes, it’s a fun and flavorful weeknight dinner idea.


Ingredients

  • 8 ounces penne pasta
  • 1 pound shrimp, deveined and shelled or tail on, wild caught if possible
  • 1 ½ teaspoons kosher salt, divided
  • ½ teaspoon garlic powder
  • 3 tablespoons olive oil
  • 1 bunch (1 pound) asparagus, tough ends removed, sliced into 3-inch pieces
  • 1 shallot, thinly sliced
  • 1 head broccoli, chopped into florets
  • 1 red bell pepper, thinly sliced
  • 1 carrot, peeled and julienned
  • 1 cup frozen peas, thawed under warm water
  • 1 ½ tablespoons salted butter
  • ½ teaspoon dried dill
  • 2 small garlic cloves, grated
  • 2 tablespoons all purpose flour
  • 1 ½ cups 2% milk
  • ½ cup grated Parmesan cheese, plus more to garnish

Instructions

  1. Bring a salted pot of water to a boil and cook the pasta to al dente (taste testing a minute or two before the package instructions indicate). Drain and toss the pasta with a bit of olive oil once it is done.
  2. Pat the shrimp dry. Place it in a bowl and sprinkle it with ½ teaspoon kosher salt and the garlic powder. 
  3. In a large skillet, heat the olive oil over medium high heat. Add the asparagus, shallot, broccoli, red pepper, carrot, and ½ teaspoon kosher salt and cook 4 to 5 minutes until asparagus is tender and bright green. Add the shrimp and peas and continue cooking, tossing occasionally, until the shrimp are cooked, about 1 to 2 minutes. Remove from the heat. Remove the shrimp and vegetables to a bowl (or if the pasta is cooked, drained, and tossed with a drizzle of olive oil you can add them right to the pasta pot). Wipe out the skillet. 
  4. In the same skillet over medium heat, melt the butter. Add the grated garlic and flour and whisk constantly for 1 minute, until golden. Add a splash of milk and whisk it in: the sauce will instantly turn chunky. Constantly whisking, continue to gradually add the milk. Reduce the heat and cook, whisking often until the sauce thickens, about 4 to 5 minutes. Stir in ½ teaspoon kosher salt, dill, and the Parmesan cheese, stirring until the cheese melts, then remove from the heat.
  5. Add the drained pasta, vegetables, and shrimp back into the warm sauce and toss to combine. Taste and add more salt, if desired. Serve warm, garnished with fresh ground black pepper and more Parmesan cheese. Leftovers store well refrigerated for up to 2 days.
  • Category: Main dish
  • Method: Stovetop
  • Cuisine: Pasta

Keywords: Shrimp primavera, shrimp pasta primavera, pasta primavera with shrimp

Asparagus Pasta with Lemon

Craving a seasonal pasta dish? This asparagus pasta recipe pairs lemony roasted asparagus with a light sauce, fresh basil, and…

Craving a seasonal pasta dish? This asparagus pasta recipe pairs lemony roasted asparagus with a light sauce, fresh basil, and Parmesan for an easy dinner made in 30 minutes.

Asparagus pasta topped with Parmesan shavings and garnished with lemon and basil.

Once the first few warm days of spring hit, we start craving all the green vegetables. Here’s a great way to use those popular bright green spears: asparagus pasta with lemon and Parmesan.

What we love about this asparagus pasta recipe

Well, what’s not to love about asparagus in pasta? This one disappears very quickly when we make it at our house. Here are a few things we love about it:

  • This seasonal recipe is pull-out-the-stops delicious! It pairs chewy tagliatelle noodles with lemony roasted asparagus, garlic, and Parmesan. Topped seasoned breadcrumbs and peppery basil leaves, the combination of flavors is unbelievably fresh and savory.
  • It’s fast. Like many pasta recipes, it can be made in just 30 minutes.
  • The green vegetables add fiber. In a pasta dish, that’s saying something!

Key ingredients

This lemon asparagus pasta uses bold flavors to achieve a restaurant-style quality pasta recipe! There are a few secret ingredients that take the flavor up a few notches.

  • Tagliatelle or fettucine pasta: Any wide, flat noodle works well here. Tagliatelle is very wide and has a pleasant, chewy texture. You can also make it with bucatini (hollow spaghetti) or spaghetti if you prefer.
  • Asparagus: Look for asparagus spears that are thin to medium thick, which have a milder, sweet flavor.
  • Calabrian chilis or red pepper flakes: These add a hint of complexity without making for a spicy dish.
  • Parmesan shavings: The best bet here is shaved Parmesan, versus grated or shredded cheese.
  • Italian panko: Panko is a Japanese-style breadcrumb mixture that is airier and lighter than traditional breadcrumbs. Look for Italian panko: it has extra seasonings added for even more flavor.
  • Basil leaves: Fresh basil adds a fresh, peppery flavor to the dish.

How to make asparagus pasta: step by step

The basic idea? Roast asparagus and lemon wedges, then toss with pasta and a garlic olive oil mixture. Here’s what you’ll need:

Asparagus Pasta Step 1

Step 1: Trim the asparagus and toss with olive oil, salt, pepper, and lemon zest. Place 4 lemon wheels, then the asparagus on a foil lined baking sheet and roast at 425°F for 10 to 15 minutes, until tender.

Asparagus Pasta Step 2

Step 2: Meanwhile, bring a salted pot of water to a boil and cook the pasta to al dente (taste testing a minute or two before the package instructions indicate). Do not drain. 

Asparagus Pasta Step 3

Step 3: In the serving bowl, stir together olive oil, oregano, garlic and chilis. Use tongs to transfer the cooked pasta from the water to the bowl without draining. Toss with the olive oil mixture, then add the roasted asparagus.

Top with the Parmesan shavings and panko. Add basil leaves and serve immediately.

Asparagus Pasta on dish with breadcrumbs and basil.

Tips for using Italian panko

“Italian panko” means herbs and salt are added. You should be able to find Italian panko or panko easily at your local grocery store. If you only have plain panko, add a pinch of salt, and dried oregano or basil (optional). For gluten-free, look for gluten-free panko online.

Ways to serve asparagus pasta

The most important thing about serving this asparagus pasta? Pair it with a protein! It’s not loaded with protein, so you’ll want to add in a vegetarian, fish or meat protein of choice when serving. Here are a few ideas:

Storing leftovers

This pasta tastes best the day it is made, but leftovers last up to 2 days refrigerated.

Lemon asparagus pasta recipe
More asparagus recipes

‘Tis the season! Load up on recipes starring the green spears while it abounds in grocery stores. Here are a few more asparagus recipes to try:

Dietary notes

This lemon asparagus pasta recipe is vegetarian. For gluten-free, use gluten-free pasta and panko.

Can I use a different type of pasta?

Absolutely! While tagliatelle is shown, but you can use long shapes like linguine or bucatini, or short shapes like rigatoni or penne.

I don’t have fresh basil. What can I use instead?

Fresh parsley is a great substitute for the basil. You could also try fresh mint or dill.

How can I add more protein to this dish?

For a heartier meal, stir in cooked grilled chicken, sauteed shrimp, or baked tofu before serving.

Print
Asparagus Pasta

Asparagus Pasta with Lemon


  • Author: Sonja Overhiser
  • Prep Time: 20 minutes
  • Cook Time: 10 minutes
  • Total Time: 30 minutes
  • Yield: 3 to 4

Description

Craving a seasonal pasta dish? This asparagus pasta recipe pairs lemony roasted asparagus with a light sauce, fresh basil, and Parmesan for an easy dinner made in 30 minutes.


Ingredients

For the asparagus

  • 1 pound thin asparagus spears, cut into 2” pieces
  • 1 tablespoon olive oil
  • ½ teaspoon kosher salt
  • Fresh ground black pepper
  • 1 lemon (zest from half, plus slices from the other half)

For the pasta

  • 8 ounces tagliatelle or fettuccine
  • ¼ cup olive oil
  • 2 cloves garlic, grated
  • ½ teaspoon dried oregano
  • ⅛ teaspoon chopped Calabrian chilis or ¼ teaspoon red pepper flakes
  • ¼ cup Parmesan shavings
  • 2 tablespoons Italian seasoned panko
  • ¼ cup fresh basil leaves, for garnish

Instructions

  1. Preheat the oven to 425°F (220°C).
  2. Roast the asparagus: Cut off the tough bottom ends of the asparagus and cut it into 2” pieces. Add the stalks to a foil-lined baking sheet. Drizzle the asparagus with the olive oil, and add the kosher salt and a few grinds of black pepper.
  3. Slice the lemon in half crosswise. Thinly slice 4 wheels from one half of the lemon, then add them to the baking sheet. Zest the other half of the lemon, sprinkle it onto the asparagus and mix with your hands to coat. Bake 10 to 15 minutes, until tender when pierced by a fork at the thickest part. The timing will depend on the thickness of the asparagus spears.
  4. Cook the pasta: Meanwhile, bring a salted pot of water to a boil and cook the pasta to al dente (taste testing a minute or two before the package instructions indicate). Do not drain. 
  5. In the serving bowl, stir together the olive oil, oregano, grated garlic and chilis. When the pasta is done, use tongs to transfer the pasta from the boiling water into the bowl with the oil mixture without draining. Toss with the olive oil mixture until coated. Add the roasted asparagus and toss. (If desired, transfer to a serving platter or individual plates.)
  6. Top with the Parmesan shavings and panko. Add basil leaves and serve immediately. 

Notes

Storing leftovers: This pasta tastes best the day it is made, but leftovers last up to 2 days refrigerated.

  • Category: Main dish
  • Method: Roasted
  • Cuisine: Vegetables
  • Diet: Vegetarian

Keywords: Asparagus pasta, pasta with asparagus, asparagus pasta recipe

Pasta with Peas

This flavorful pasta with peas is a quick and easy meal that comes together in just 20 minutes! It’s got…

This flavorful pasta with peas is a quick and easy meal that comes together in just 20 minutes! It’s got a bright flavor from lemon and a satisfying, creamy texture from mashed peas.

Pasta with Peas on a plate with serving spoon and lemon slices.

Peas may have been an underappreciated vegetable in the past. But what’s not to love about this bright and beautiful veggie? With all the spring vegetables popping, I’ve been craving a simple way to eat peas. Enter this easy pasta with peas recipe, ready in just 20 minutes with a small handful of ingredients!

Alex and I are excited about this recipe because it’s hard to find a simple pasta that incorporates fiber and protein. This mighty legume does both: and tastes incredible with garlic, lemon, and Pecorino cheese! It shines in spring, but since it’s made with frozen peas you can make it anytime.

Jump to the recipe—now.

What we love about this bright, zingy pasta with peas

This pasta with peas recipe is a simple pasta recipe we created using frozen peas. You’ll mash some of the peas with capers, lemon, garlic, and Pecorino cheese to make a creamy sauce, then add additional peas and garnish with more Pecorino. It turns out fresh, zingy and positively delightful.

To be clear, it’s not pasta e piselli, which is a whole different thing entirely! That’s a traditional Italian dish starring both pasta and green peas. This classic recipe is more brothy, almost like a soup.

We wanted to create a recipe that was more pasta and less soup, and this rendition was born! Alex and I were pleasantly surprised on how fun this concept is and how quickly it came together. (It was his brainchild, so I can’t take all the credit!)

A few ingredient notes

Here are the ingredients you’ll need for this pasta with peas rendition, with some notes on what kind of substitutions work here.

  • Frozen peas: Frozen peas are a freezer staple that is easy to access all year long. If you have access to fresh green peas, this recipe would be fantastic! Simply boil the fresh peas for 1 minute before making this recipe, since frozen peas are blanched before flash freezing.
  • Olive oil: Extra virgin olive oil helps to sauté the garlic and make a creamy sauce.
  • Pecorino Romano cheese: Pecorino has the best salty, aged flavor and is worth seeking out (you can find it at most grocery stores in America!). Substitute Parmesan plus a few more pinches salt, or vegan Parmesan cheese and additional salt for vegan. 
  • Garlic: Fresh garlic makes the flavors sing.
  • Capers: Capers are sold in thin jars near olives in the grocery store. They add a briny pop of salt to the recipe and are important to include.
  • Lemon zest: The zest brings a citrusy zing to this recipe: it’s another required element!
  • Short pasta of choice: You can use any type of short pasta. We love it with cavatelli, which means “little hollows” in Italian (shown below). Other short pasta shapes that work well are orecchiette, penne, rigatoni, or fusilli.
Dry cavatelli pasta.

Pro tip: save that pasta water!

In many Italian pasta recipes, you’ll use some of the pasta water to create a creamy sauce: but we often forget and drain the pasta without thinking! A good trick for remembering to save out the pasta water? Once you start the pasta, place the strainer in the sink and a liquid measuring cup inside the strainer. It will remind you before you drain the pasta!

A few more notes for making the recipe

Here are a few notes for when you go to make this recipe:

  • This recipe requires mashing the peas with a potato masher to create a chunky sauce. For a creamier texture, you can blend the peas in a processor before adding them to the skillet. Feel free to adjust the amount of lemon juice and zest to your liking, depending on how bright and citrusy you prefer the dish.
  • Don’t forget the garnish here! Another drizzle of olive oil adds richness, and garnishing with a bit of Pecorino helps to bring that cheese flavor forward. It’s important for achieving the final flavor.
Pasta with peas on plate with serving spoon, peas, and lemons.

Leftover storage and serving size notes

This pasta with peas recipe is best made right before serving, because the flavors most fresh and zingy right away! As the pasta cools and after storage, it starts to lose a bit of the flavor and texture.

You can store leftovers if you have them: they last up to 2 days refrigerated. Reheat leftovers in a skillet with a drizzle of olive oil, another pinch of salt, and more Pecorino cheese.

A few more peas recipes

Did you try this recipe? Let us know in the comments: we hope you love it!

There are so many fun ways to use green peas! This underappreciated legume adds both protein and fiber to meals, making it great for serving with pasta. Here are a few more peas recipes to try:

01

Peas with Lemon

This peas recipe takes just 5 minutes! Cooking frozen peas with garlic and lemon makes an easy side dish everyone…

02

Pasta Primavera

This vibrant pasta primavera recipe bursts with fresh veggies, tossed in a creamy sauce and ready in just over 30…

03

10 Tasty Peas Recipes

Here are all the best peas recipes for using this healthy green veggie! This list of pastas, soups, and salads…

Dietary notes

This pasta with peas recipe is vegetarian. For gluten-free, use gluten-free or legume pasta. For vegan, use vegan Parmesan cheese.

Print
Pasta with Peas on a plate with serving spoon and lemon slices.

Pasta with Peas


  • Author: Sonja Overhiser
  • Prep Time: 10 minutes
  • Cook Time: 10 minutes
  • Total Time: 20 minutes
  • Yield: 3 to 4

Description

This flavorful pasta with peas is a quick and easy meal that comes together in just 20 minutes! It’s got a bright flavor from lemon and a satisfying, creamy texture from mashed peas.


Ingredients

  • 8 ounces short pasta (we like cavatelli)
  • 2 tablespoons olive oil
  • 3 garlic cloves, minced
  • 2 ½ cups frozen peas, thawed for about a minute under warm water, divided
  • 1 ½ tablespoons capers, drained
  • ¼ teaspoon dried thyme
  • ½ cup grated Pecorino Romano cheese*
  • ¼ teaspoon kosher salt
  • Zest of 1 lemon (optional)
  • Freshly ground black pepper, to taste

Instructions

  1. Cook the pasta in heavily salted water until al dente, according to the package instructions (check a few minutes before and taste to assess doneness). Reserve ½ cup of pasta water before draining**.
  2. Meanwhile, in a large skillet, heat the olive oil over medium heat. Sauté the garlic for 30 seconds. Add 1 ½ cups of the peas, capers, dried thyme and ¼ teaspoon kosher salt, and sauté for about 3 minutes until they’re bright green and tender.
  3. Turn off the heat. Add ¼ cup of reserved pasta water and use a fork or a potato masher to lightly mash the peas in the skillet, creating a chunky mixture. Add the remaining 1 cup peas and stir until warmed through.
  4. Once the pasta is cooked, drain and add it to the skillet with the Pecorino, lemon zest, lemon juice, capers, and kosher salt and black pepper. Toss to combine, adding a splash of the reserved pasta water if needed to achieve a creamy consistency.
  5. Season with salt to taste and freshly ground black pepper to taste. Serve warm, garnished with a drizzle of olive oil (required) and additional grated Pecorino cheese (optional). Leftovers last up to 2 days refrigerated, but it tastes best fresh. 

Notes

*Pecorino has the best salty, aged flavor and is worth seeking out. Substitute Parmesan plus a few more pinches salt, or vegan Parmesan cheese for vegan. 

**A good trick for remembering to save out the pasta water? Once you start the pasta, place the strainer in the sink and a liquid measuring cup inside the strainer. It will remind you before you drain the pasta!

Notes: For a creamier texture, you can blend the peas in a processor before adding them to the skillet. Feel free to adjust the amount of lemon juice and zest to your liking, depending on how bright and citrusy you prefer the dish.

Add ins: This recipe can be easily customized by adding other vegetables, such as sautéed spinach or asparagus, or by topping with crispy pancetta or prosciutto for a salty, meaty flavor.

  • Category: Pasta
  • Method: Stovetop
  • Cuisine: Pasta
  • Diet: Vegetarian

Keywords: Pasta with peas

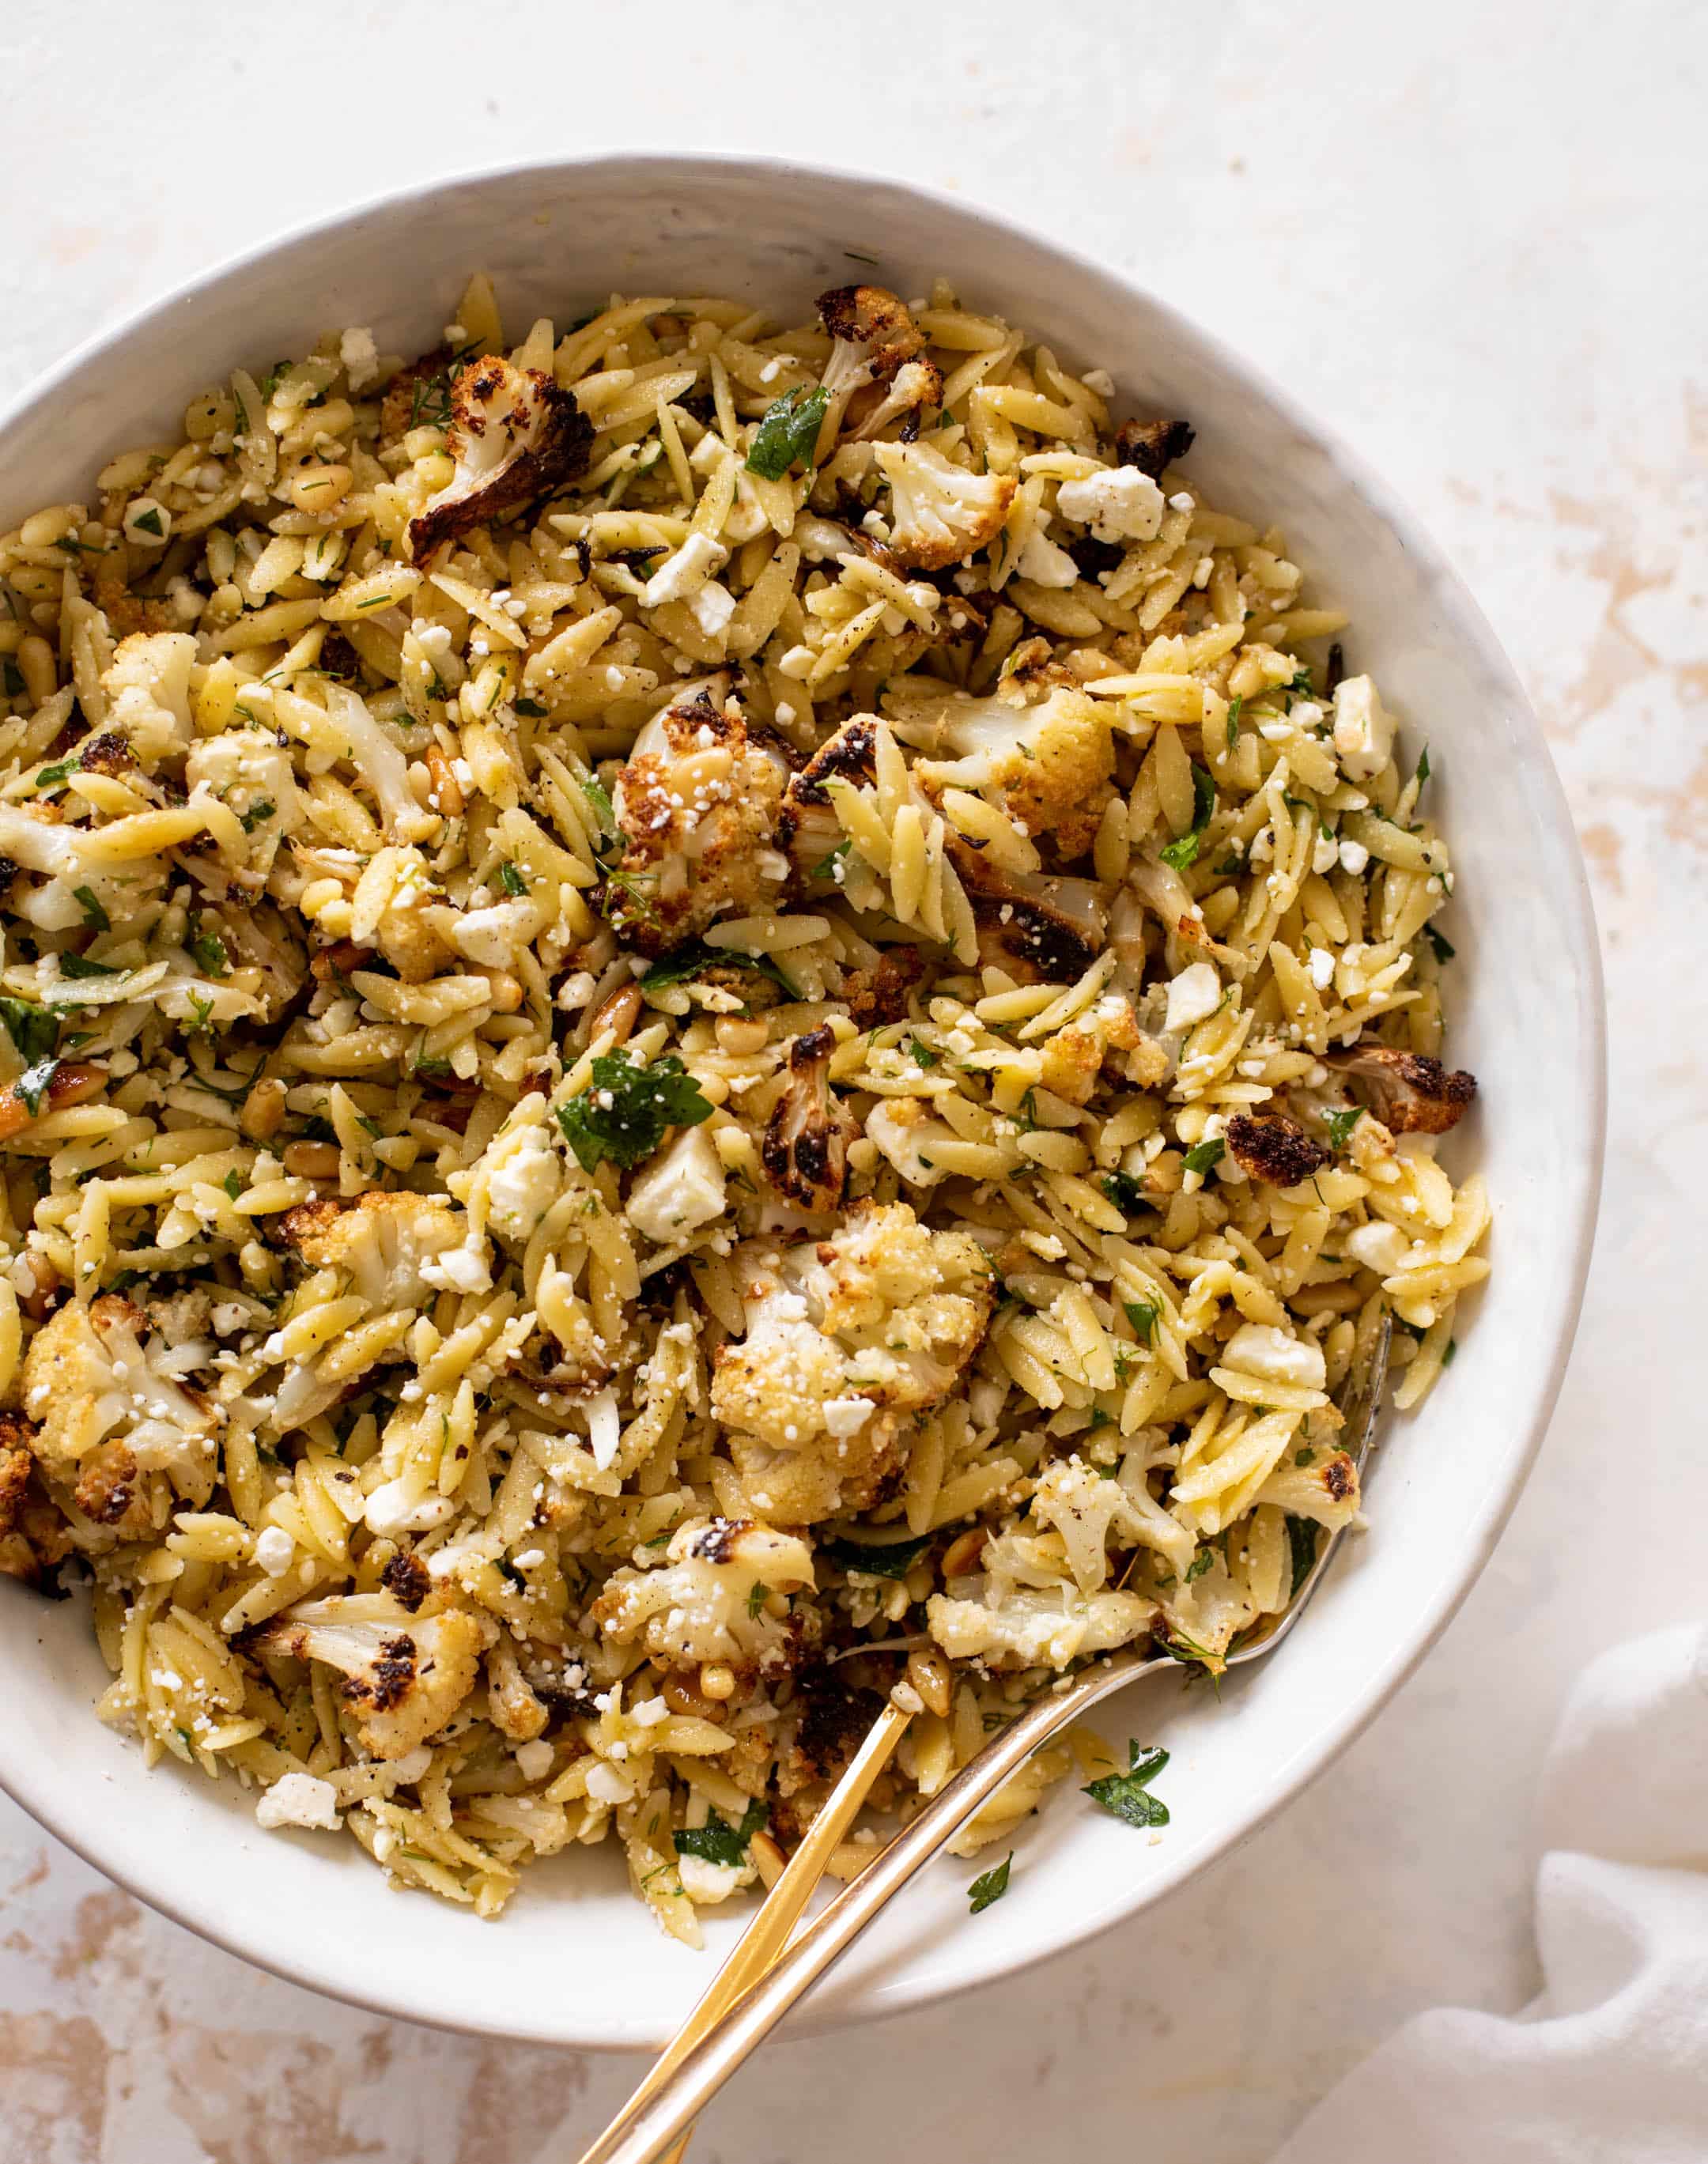
Charred Cauliflower Orzo.

This cauliflower orzo is one of our favorite side dishes. Charred, roasted cauliflower, dilly lemon dressing and tender orzo are combined with feta cheese, toasted pine nuts and tons of fresh herbs. So delicious and versatile! I’ve got this dish on repeat. This charred cauliflower orzo salad is filled with feta cheese, crunchy pine nuts, […]

The post Charred Cauliflower Orzo. appeared first on How Sweet Eats.

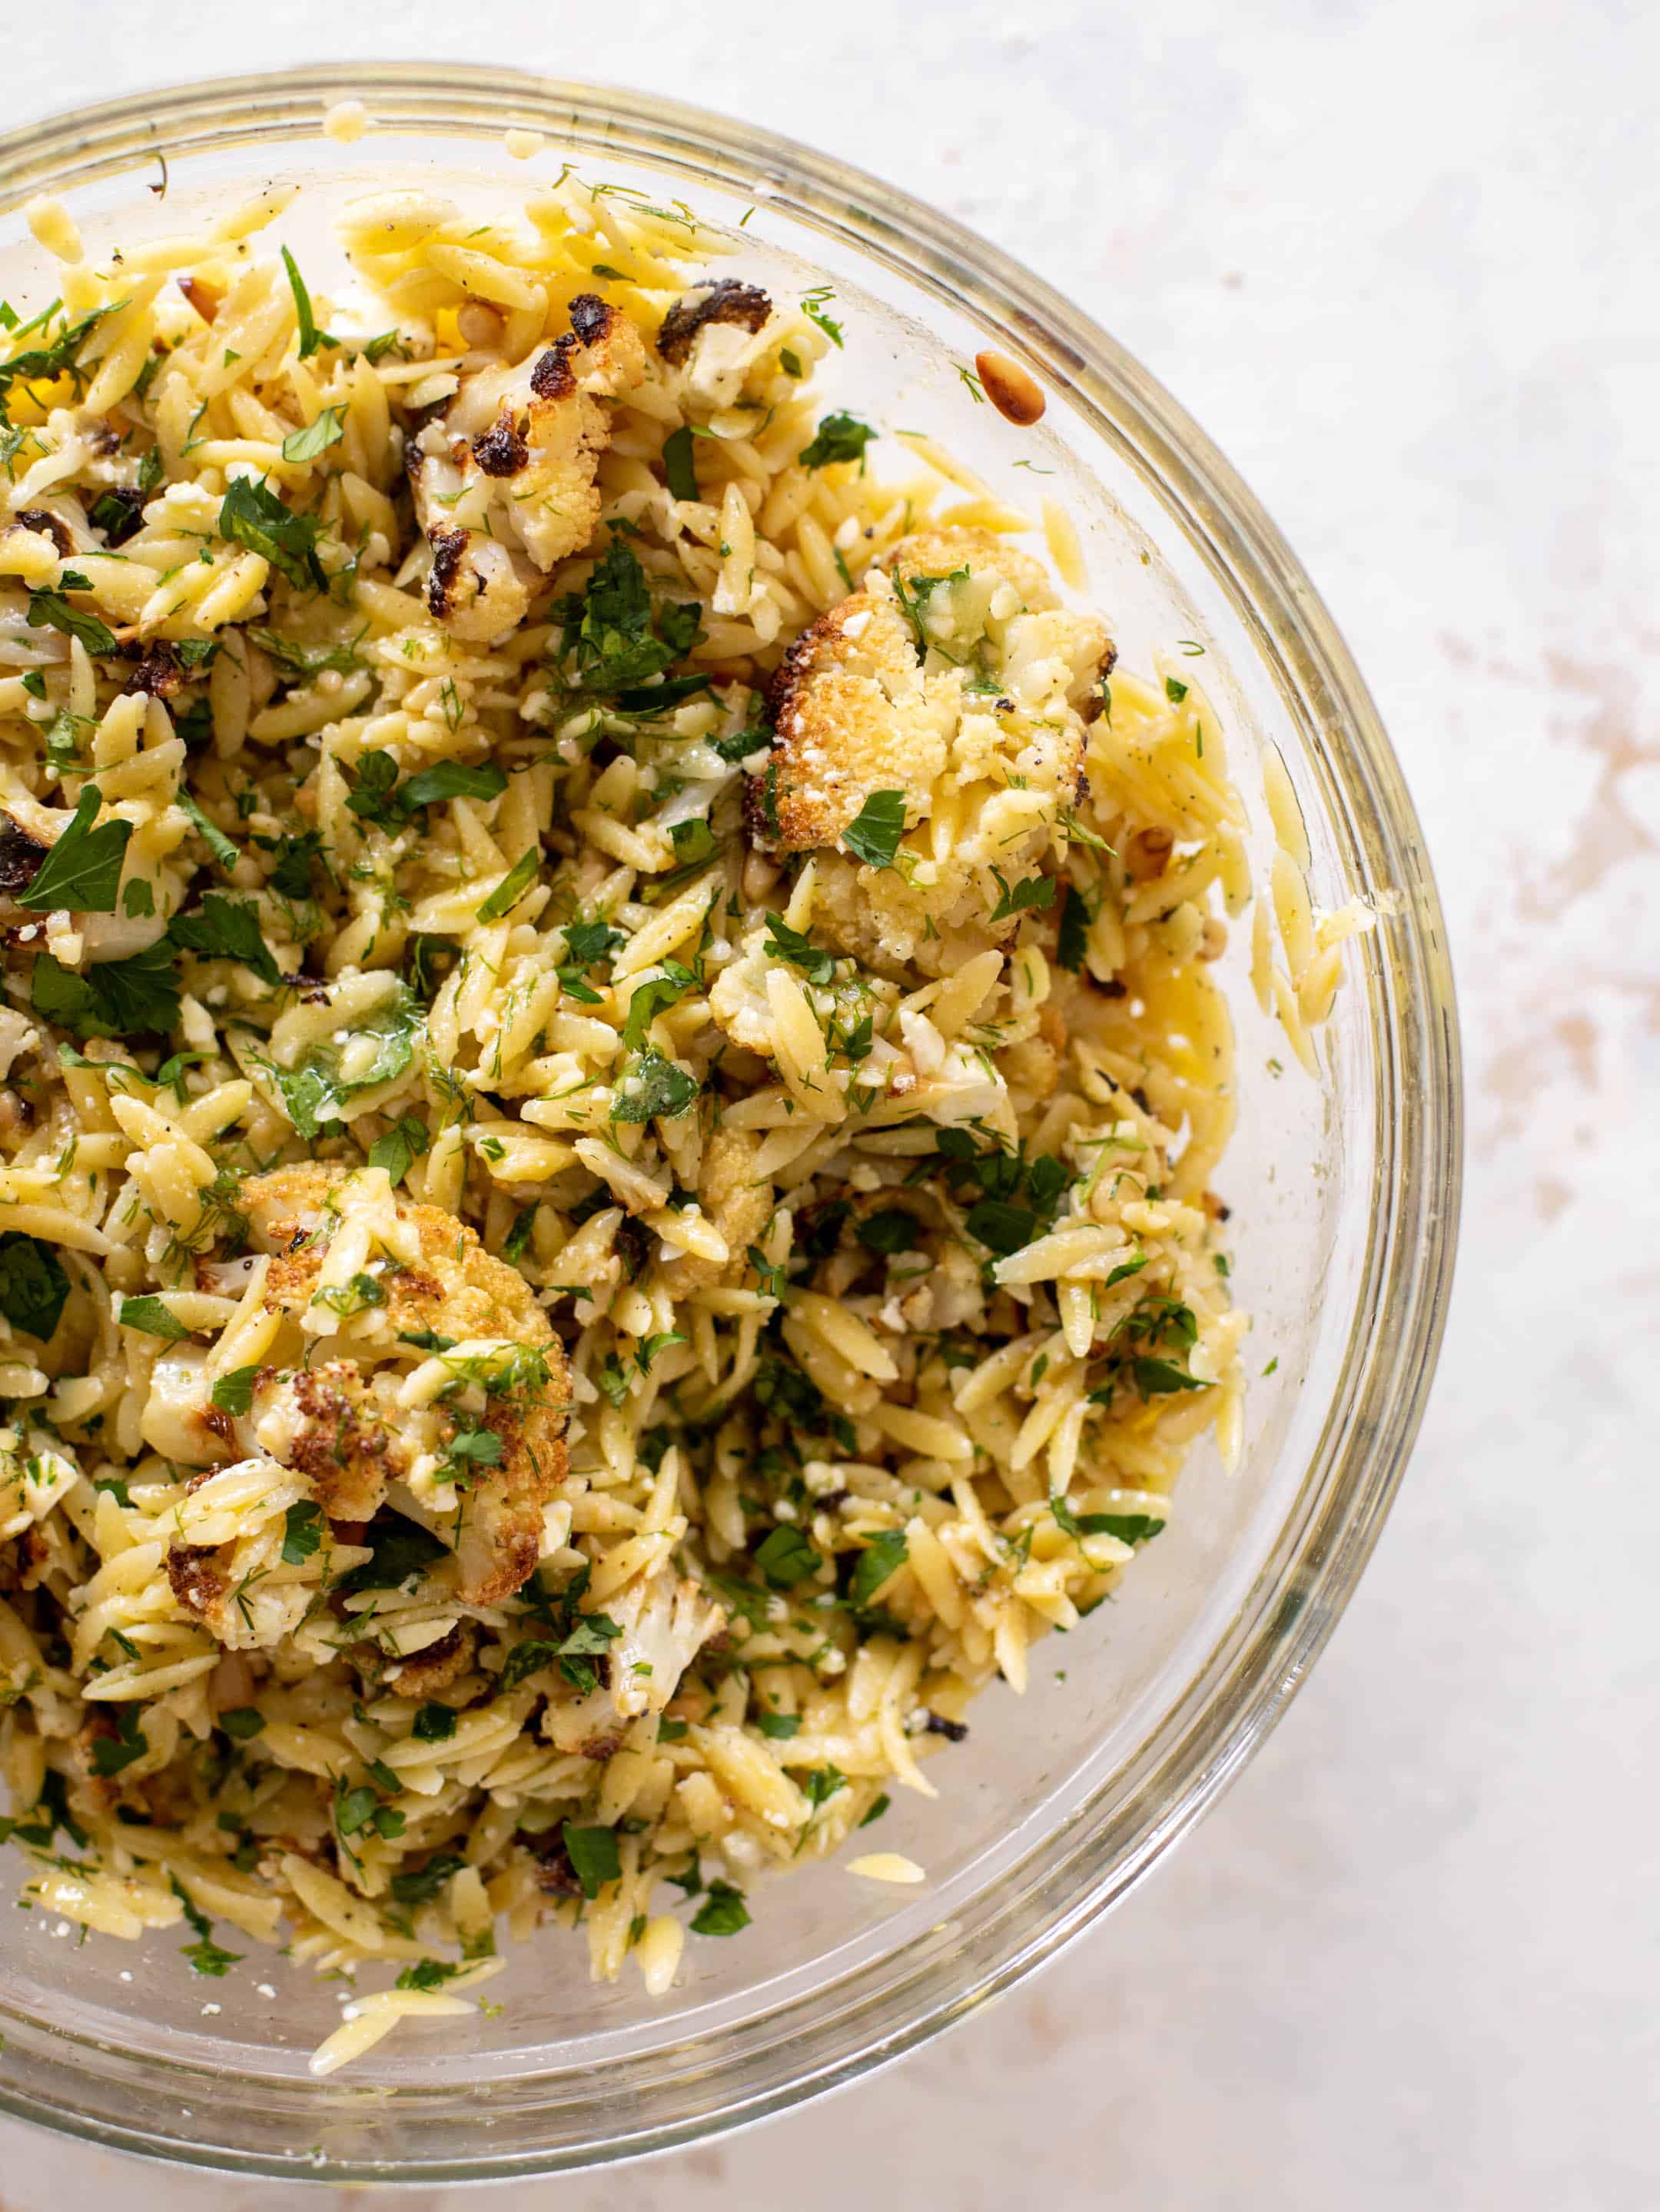
This cauliflower orzo is one of our favorite side dishes. Charred, roasted cauliflower, dilly lemon dressing and tender orzo are combined with feta cheese, toasted pine nuts and tons of fresh herbs. So delicious and versatile!

I’ve got this dish on repeat.

charred cauliflower orzo

This charred cauliflower orzo salad is filled with feta cheese, crunchy pine nuts, tons of fresh herbs and a delish dressing. It’s easy, comes together fast and lasts great in the fridge! 

charred cauliflower orzo

Dishes like this might just be my signature. Hearty pasta-based salads that are packed with flavor and texture and can be used in a multitude of ways.

Adore it. 

charred cauliflower orzo

I love my charred cauliflower carbonara so much. I’m always looking for new ways to incorporate that cauliflower, and I’m so excited that I’ve found it.

It sounds crazy, but I’ve always said that roasted cauliflower tastes like popcorn. Not fully like popcorn, but it takes on a toasty, buttery flavor and it was one of the first vegetables I learned to enjoy. It’s easy and simple and doesn’t require a lot, and you know when I can eat a vegetable with parmesan, it’s good. 

charred cauliflower orzo

I love that this salad can be served warm or at room temperature. Or even cold straight out of the fridge. It can be both a main dish and a side dish, served over greens as a salad or even the base for another protein. 

We’ve added chicken, chickpeas and I’ve even thrown some tuna in here.

It’s good! 

charred cauliflower orzo

Here’s how it comes together! 

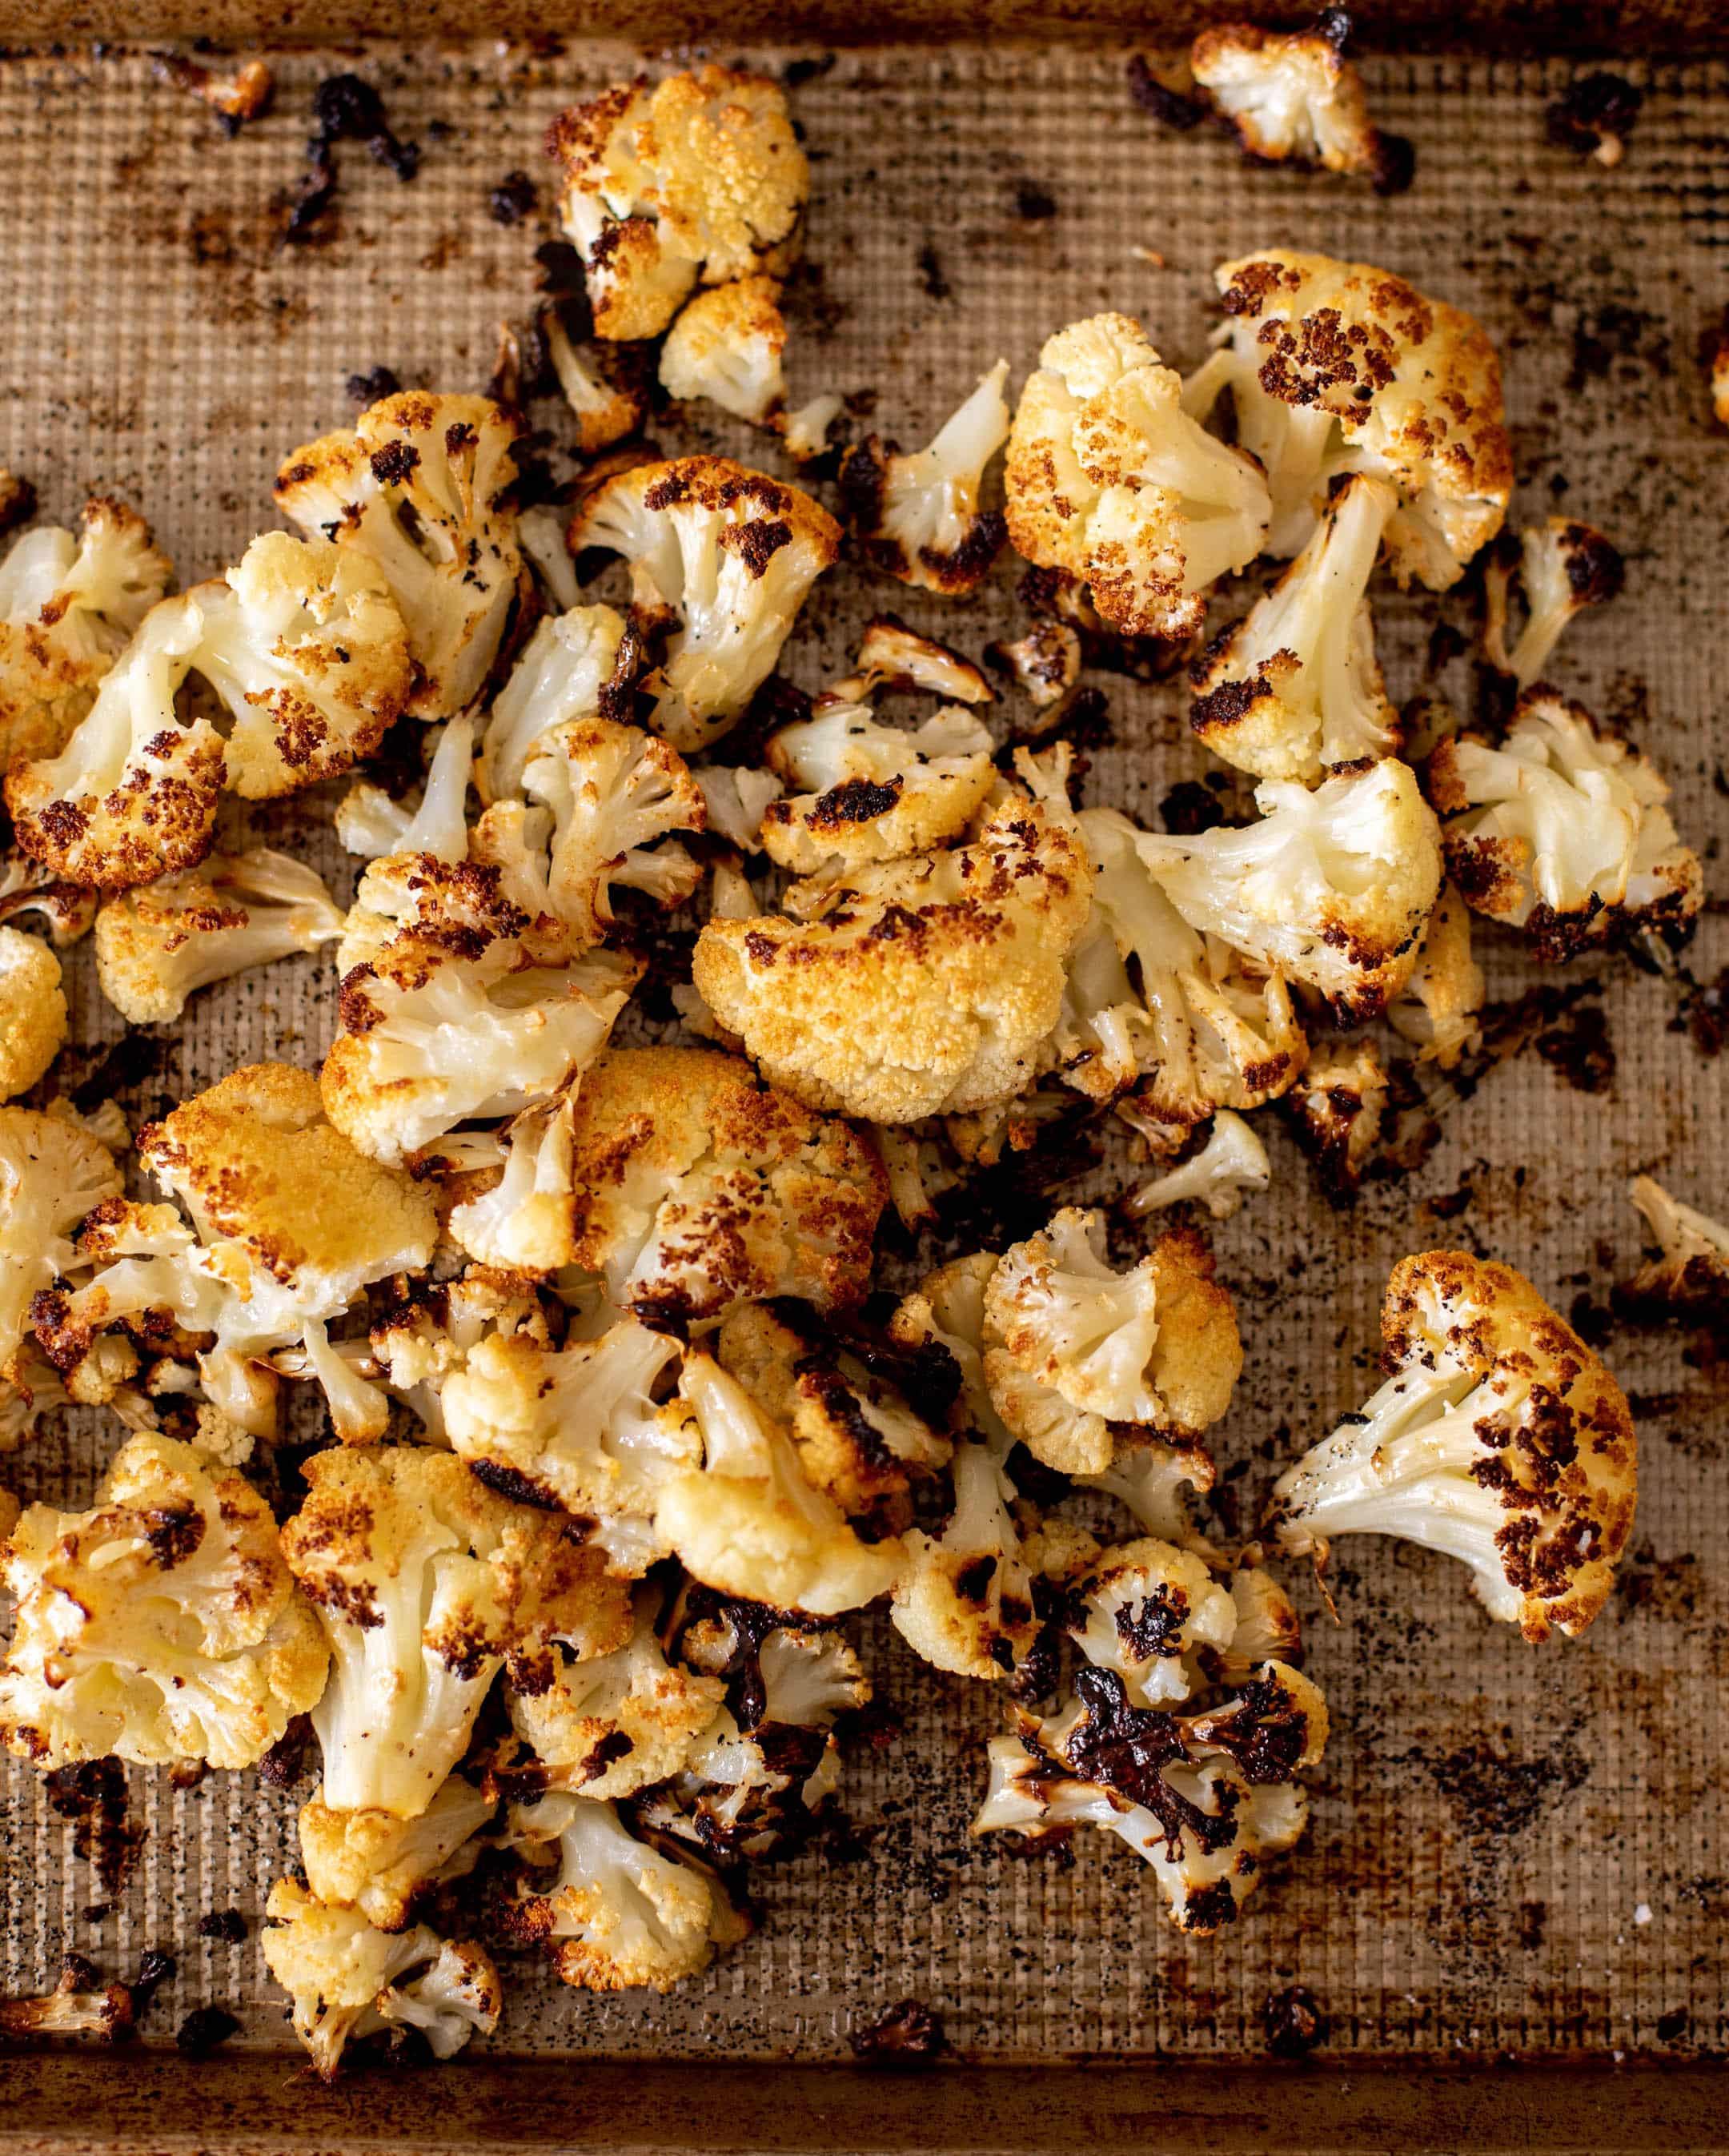
I roast some cauliflower to the high heavens. Get it TOASTY. Those dark bits of flavor are what makes this dish shine. 

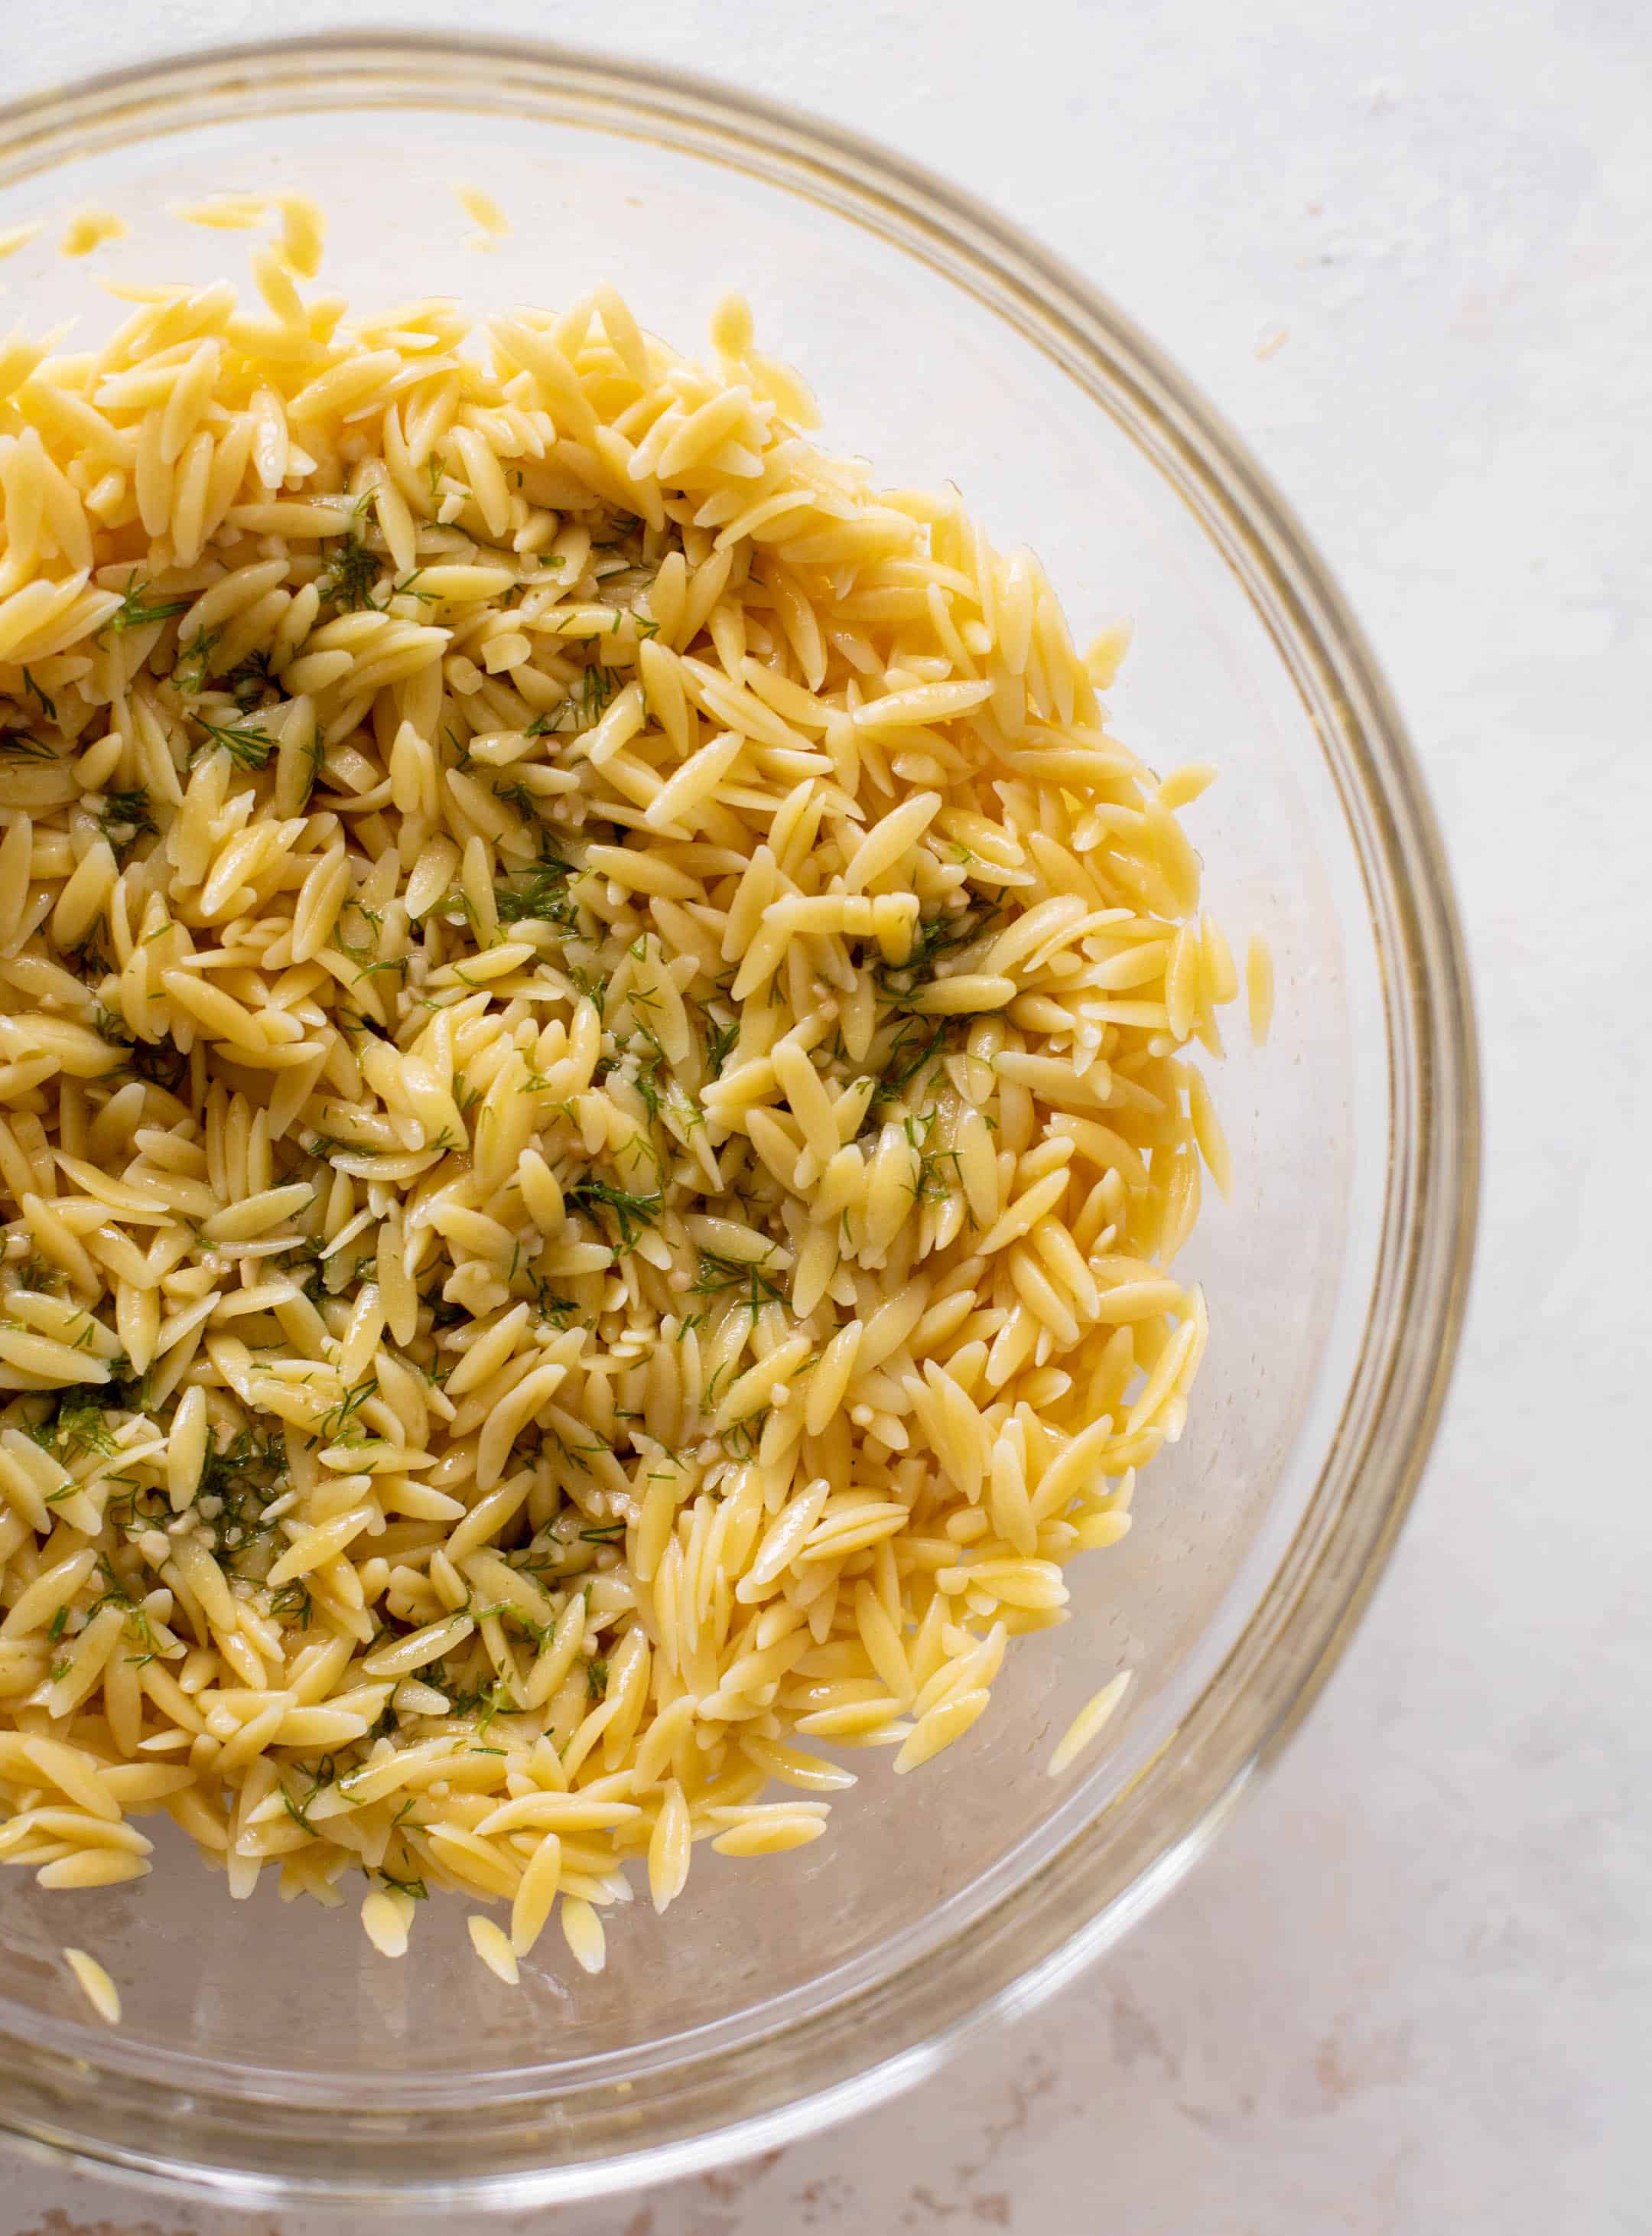
While the cauliflower roasts, I cook the orzo. If you’re serving this as a chilled/room temp salad, you can even cook the orzo ahead of time and store it in the fridge! 

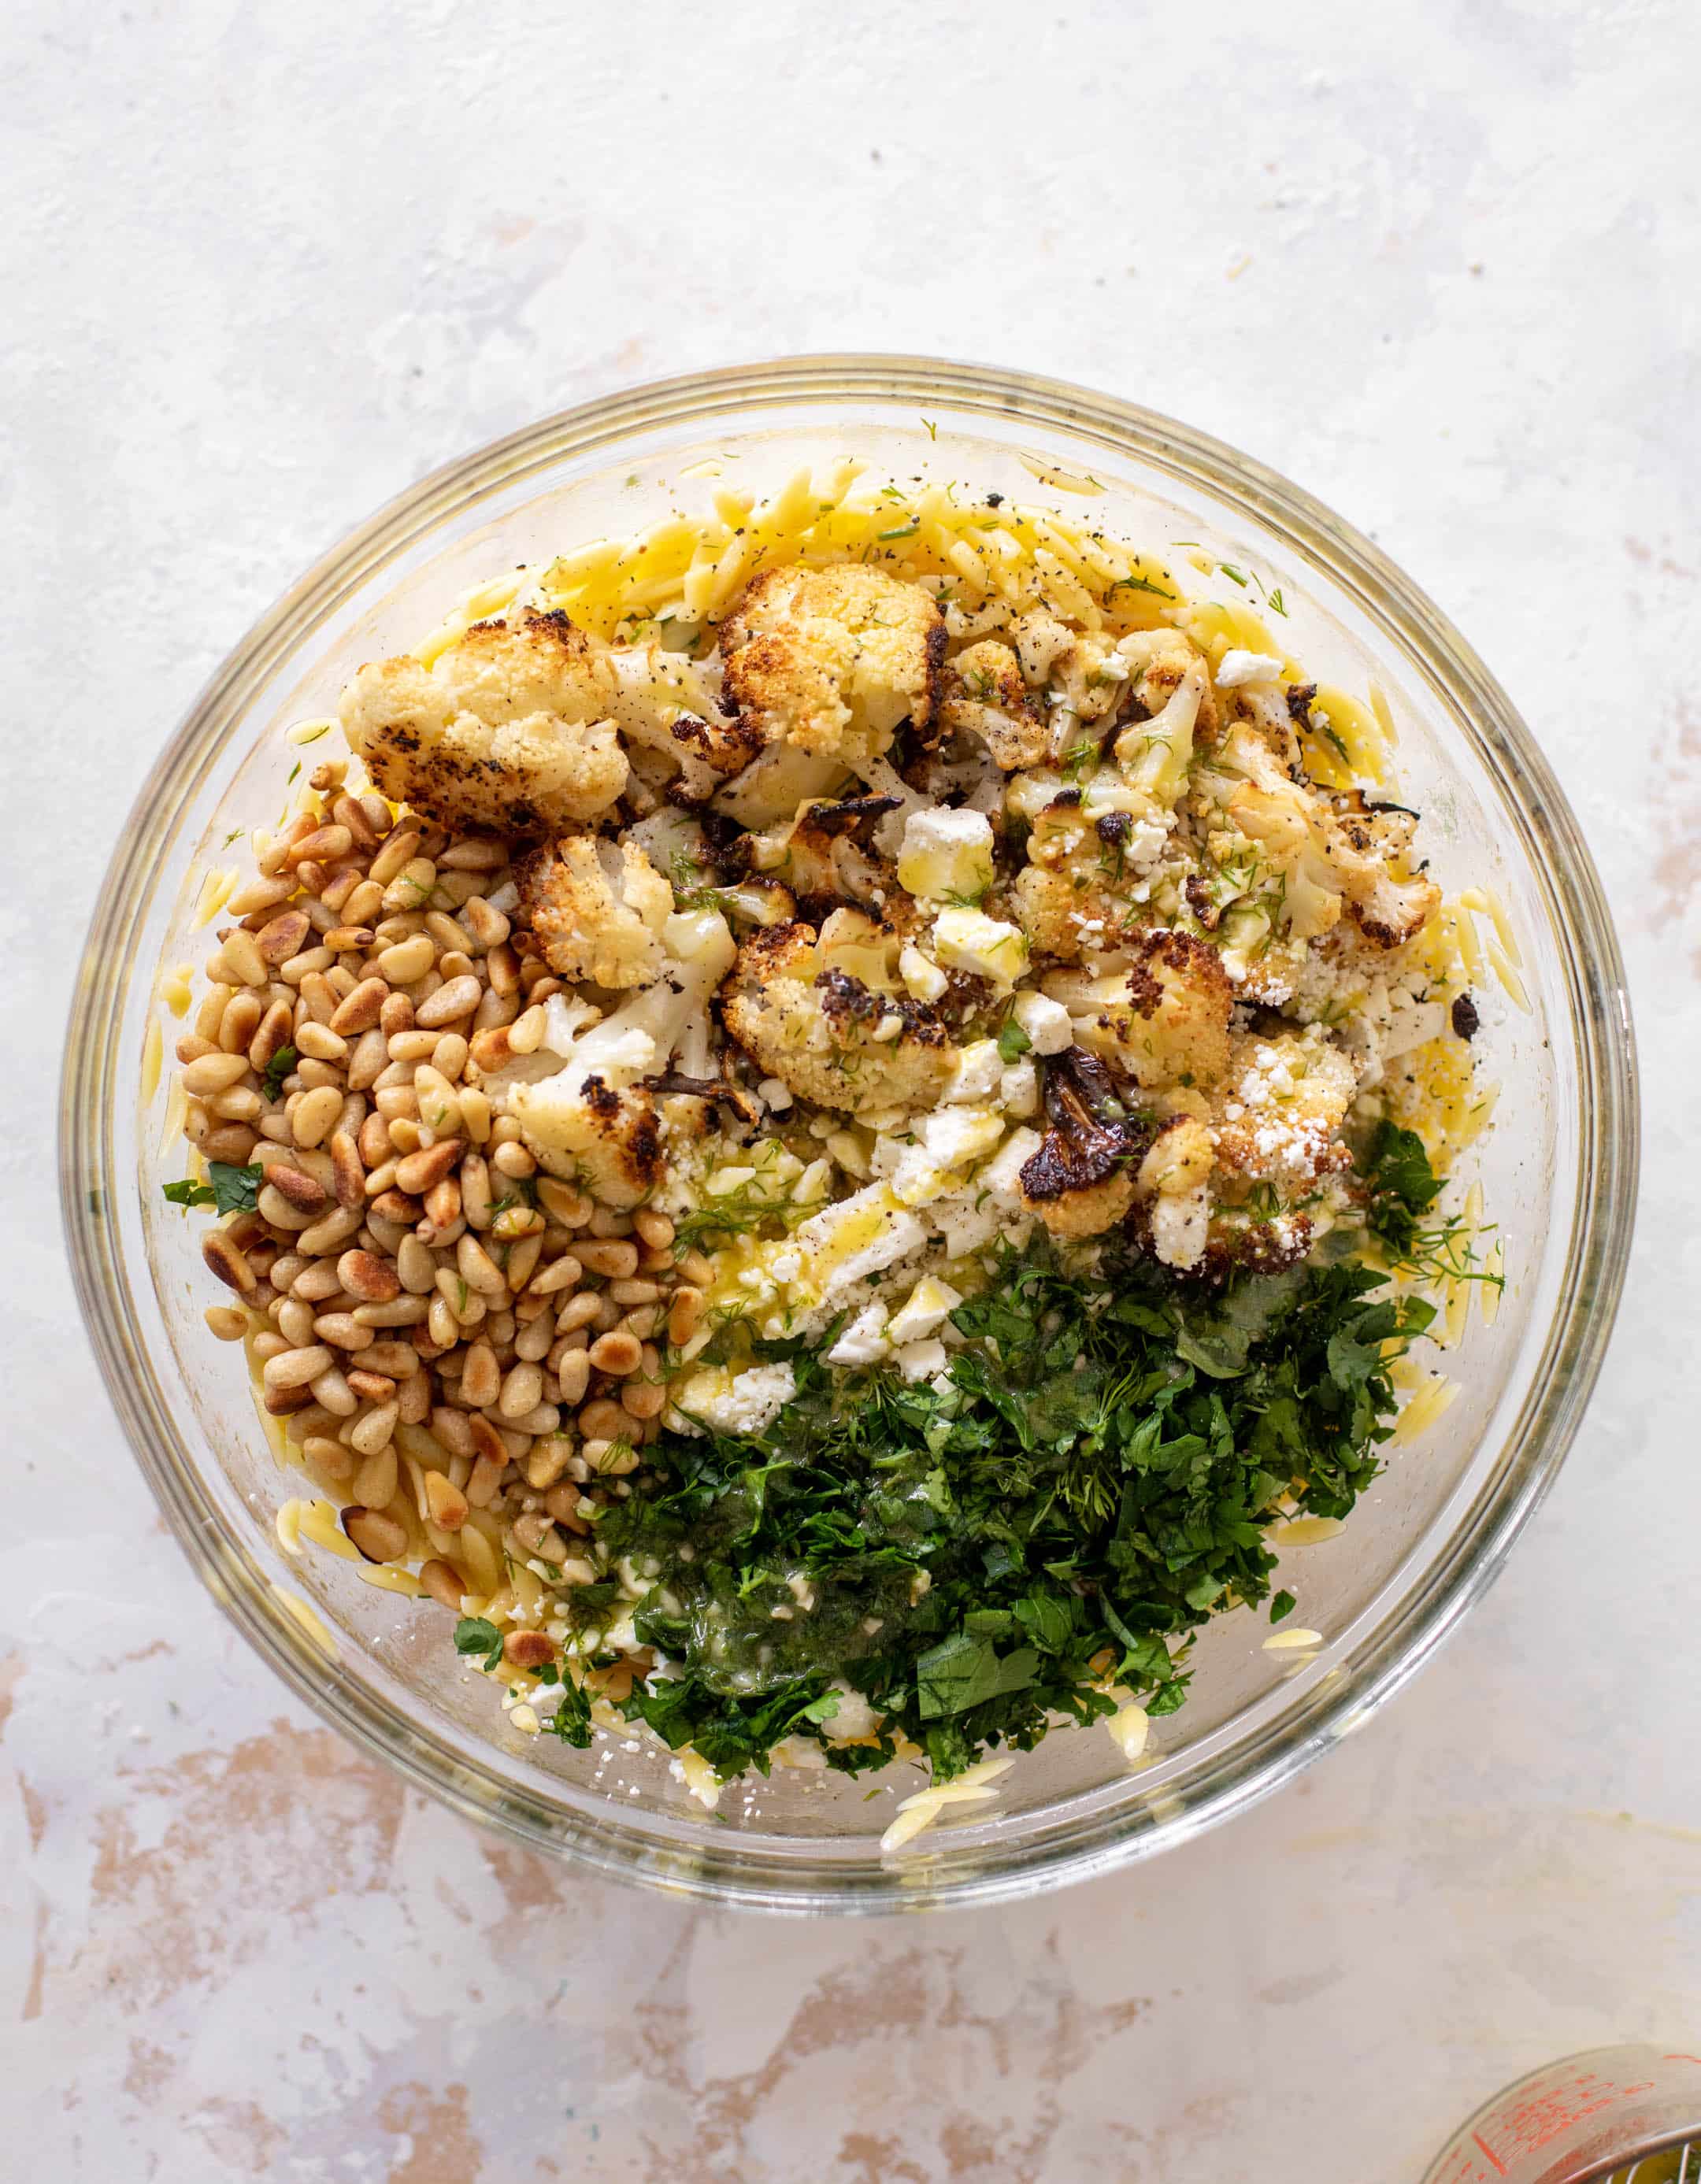
I also get all of my other ingredients ready. I toast some pine nuts, chop a ton of fresh herbs, crumble some feta cheese and make the dressing.

charred cauliflower orzo

As usual, the dressing is one of my favorite parts. I like to serve this with a dilly lemon vinaigrette and it’s super easy. Whisk it all together and boom, done. And! It can be made ahead of time.

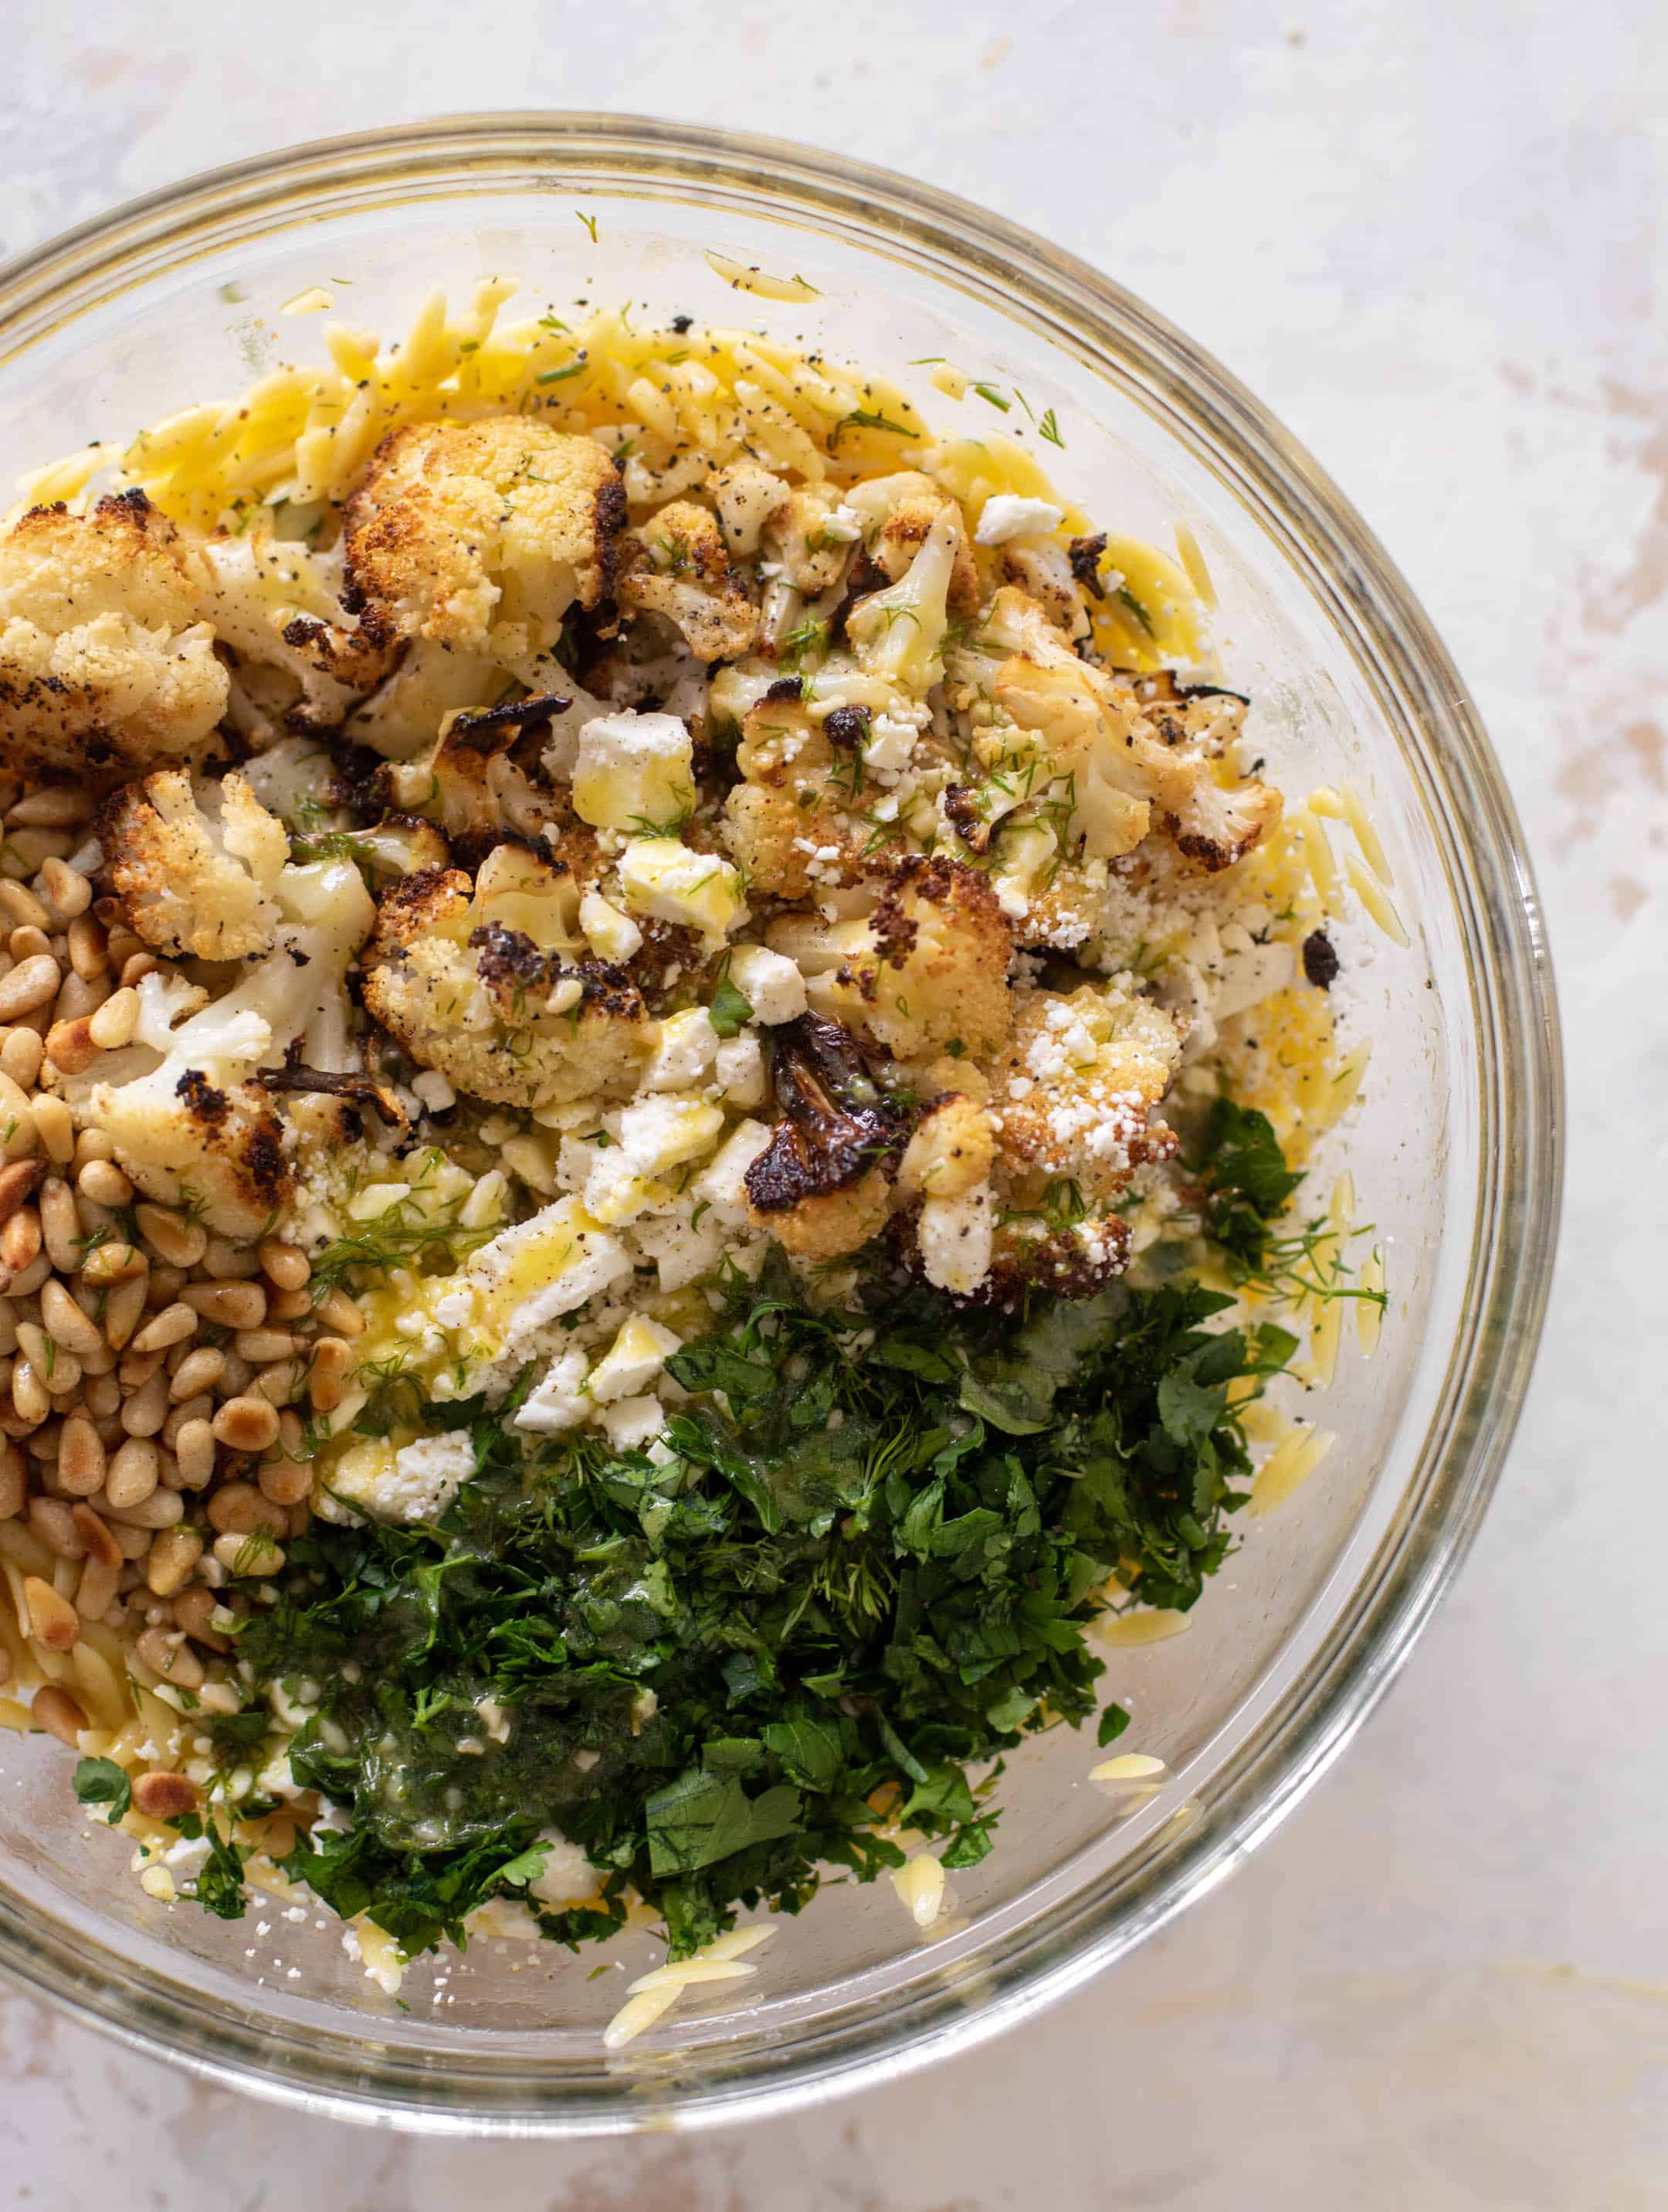
Next, throw everything in the bowl. I do like to toss the orzo with some of the dressing first just to get everything coated and incorporated.  (more…)

The post Charred Cauliflower Orzo. appeared first on How Sweet Eats.

Pasta Puttanesca

Pasta nights are always the best nights. A few favorite pasta dishes include: spaghetti, baked ziti, spaghetti carbonara, and pasta primavera. Another winning pasta dish is Pasta Puttanesca. This classic pasta is full of flavor and so easy to make! Put…

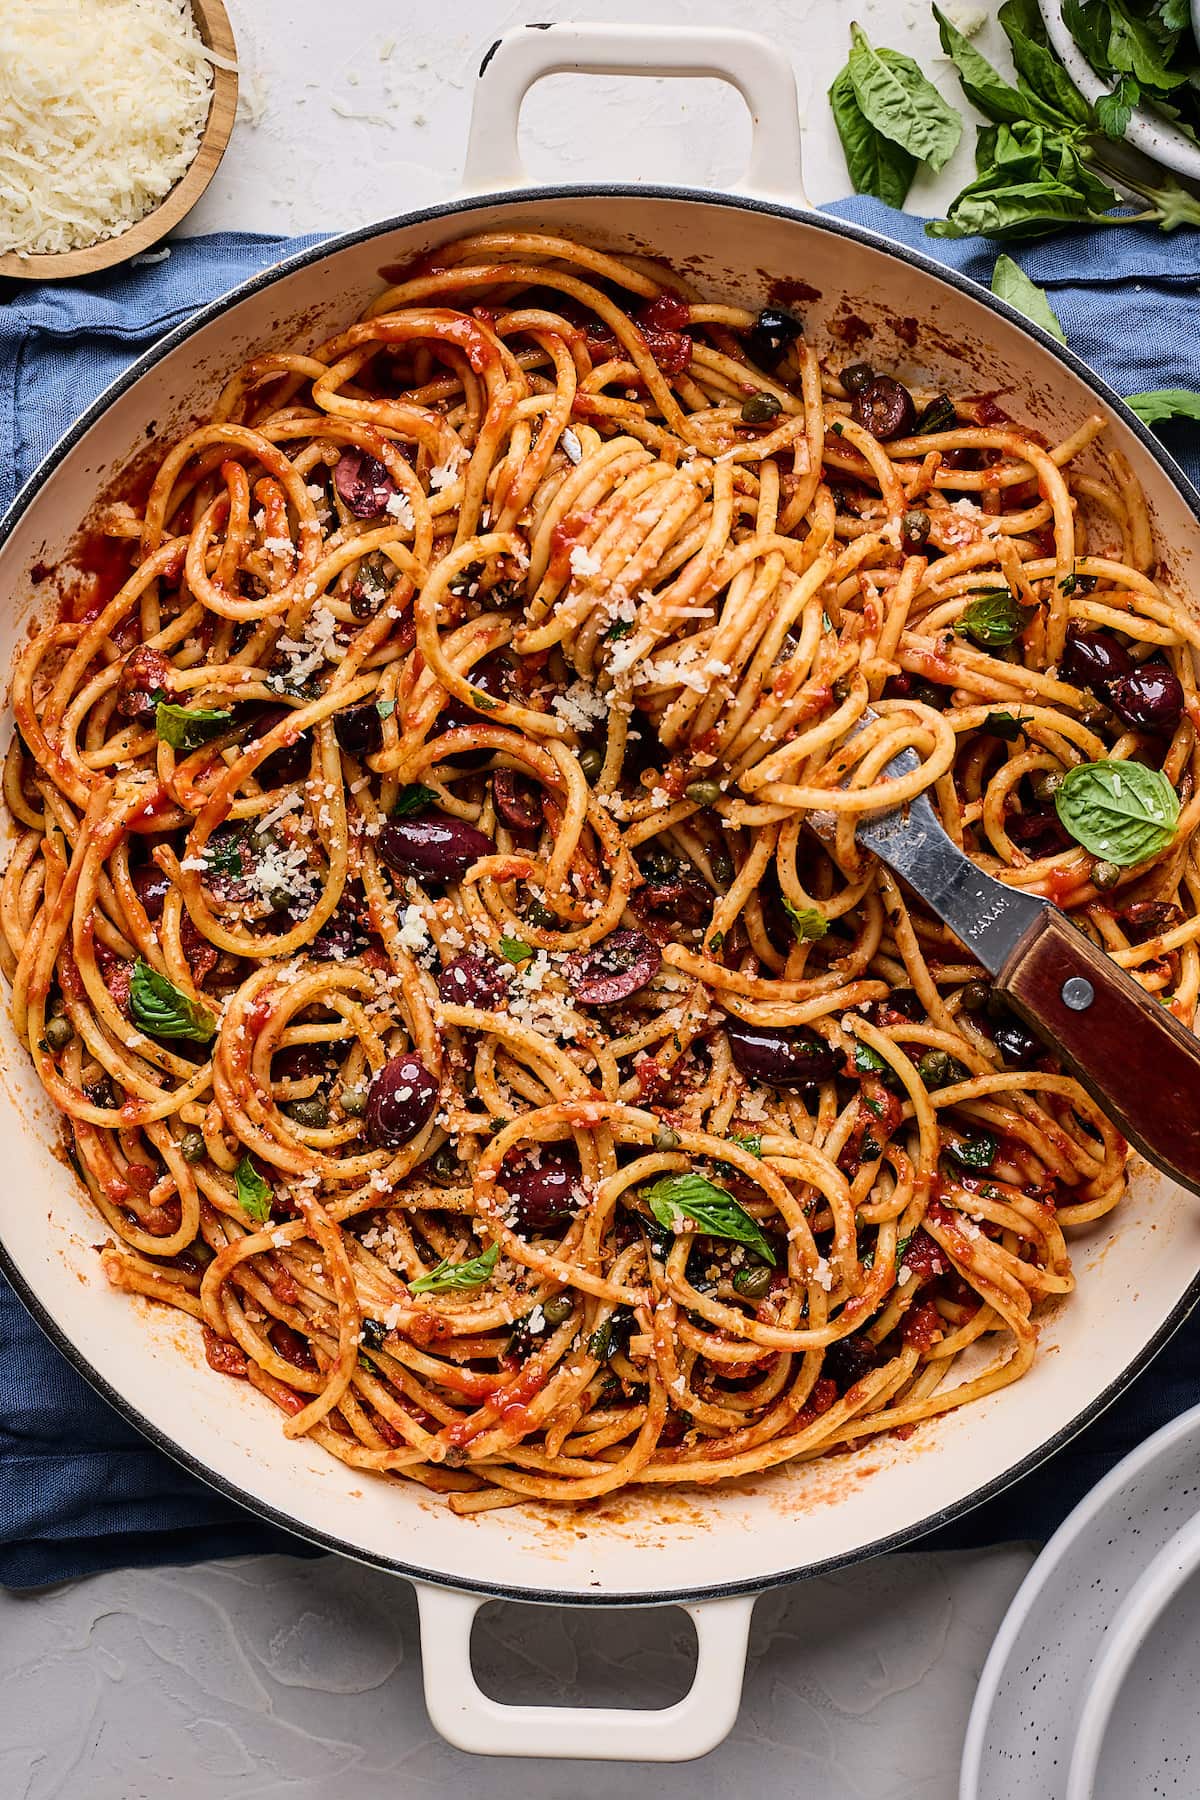
Pasta nights are always the best nights. A few favorite pasta dishes include: spaghetti, baked ziti, spaghetti carbonara, and pasta primavera. Another winning pasta dish is Pasta Puttanesca. This classic pasta is full of flavor and so easy to make! Puttanesca sauce is made with basic ingredients that you probably have in your pantry; olive…