Overnight Oats (Base Recipe plus Variations)

These easy Overnight Oats are the ultimate introduction to budget-friendly meal prep. They’re no-cook, ideal for on-the-go, and customizable!

The post Overnight Oats (Base Recipe plus Variations) appeared first on Budget Bytes.

Overnight Oats are the ultimate introduction to budget-friendly meal prep! With the busy lives we all lead, it’s hard to fit in time for breakfast before rushing out the door, but this no-cook recipe is the magical solution, trust me! My overnight oats base recipe is absolutely delicious as-is but is also the perfect vessel for your favorite toppings. And don’t worry if you’re not feeling particularly creative; I’ve shared 3 of my favorite flavor variations below.

Overhead view of overnight oats with various toppings

I must confess: I almost always skip breakfast if I don’t plan ahead! Then, noon rolls around, and I am hangry. It’s not a good look—just ask my husband! That’s why having this overnight oatmeal in the fridge at all times is a MUST. Oats are full of fiber, which keeps me full until lunchtime, and I love the blank canvas to turn them into a unique treat, depending on my craving that day.

What Are Overnight Oats?

Think of overnight oats as the cooler, more convenient cousin of traditional oatmeal. Instead of cooking the oats on a stovetop or in a microwave, they soak overnight in liquid (usually milk) and soften to the perfect texture without heat. I also add brown sugar, chia seeds, and cinnamon to my base recipe to create a delicious, well-rounded breakfast. Mix it all in a mason jar and let it sit in the fridge overnight for a grab-and-go breakfast in the morning!

Ingredients for Overnight Oats

Here’s what you’ll need to make my easy overnight oats recipe:

  • Oats: I use old-fashioned oats (also known as rolled oats) for my overnight oatmeal. Quick-cook oats and steel-cut oats don’t work as well, as they absorb liquid differently.
  • Milk: I like to make mine with dairy-free milk, but I whipped these oats up a few times with whole milk, 2% milk, and almond milk, so I can tell you this recipe works no matter your preference!
  • Brown Sugar: Adds just the right amount of sweetness.
  • Cinnamon: You can also use a different spice depending on the toppings you’ll add—pumpkin pie spice, nutmeg, or whatever you like!
  • Chia Seeds: At its core, overnight oats only require two ingredients: oats and milk. But I highly recommend adding chia seeds! They soak up liquid like crazy and create a chia oatmeal pudding-like texture. They’re also nutrient-dense, providing fiber, iron, and omega-3s.
  • Salt: Just a pinch will enhance the other flavors.
  • Toppings: Add any toppings you love to your jar! I’ve listed some of my favorites below, but you really can’t go wrong with any combination.

Are Overnight Oats Healthy?

Oats are a great source of fiber, protein, vitamins, and minerals! They’ll keep you full and satisfied for longer, making them a great breakfast option. Adding milk, chia seeds, fresh fruit, and nuts only adds to their nutritional value. You can leave out the brown sugar if you want to reduce the added sugar, but overall, overnight oats with chia seeds can definitely be considered a healthy choice!

Tips and Suggestions

  • The perfect ratio for oats to milk is 1:1, in my opinion. I use ½ cup of oats and ½ cup of milk to make one serving. You don’t need to reduce the milk if you omit the chia seeds.
  • Add fresh fruit just before eating to stop them from getting mushy. The same goes for granola or anything else you want to stay crunchy.
  • Let the oats sit overnight (about 8 hours) for the best texture, but 15 minutes or so is okay if you’re in a hurry. This is enough time for the chia seeds to absorb some liquid and for the oats to soften slightly.
  • Overnight oats are meant to be enjoyed cold, but you can absolutely heat them up if you prefer a warm breakfast. 60-90 seconds in a microwave-safe container should do the trick!

how long do overnight oats last?

These oats can last in the fridge for 4-5 days, making them great for meal-prepping. I prefer enjoying them within 12 hours for the best texture, but they’ll still taste good after a few days—maybe just a bit softer. Store them in an airtight container to keep them fresh, and don’t add any toppings until you’re ready to eat them.

Overnight Oats Variations

I am super picky when it comes to my oatmeal: 1. I want a lot of varied textures, 2. I want it to be nutrient-dense and have healthy components, and 3. It has to come together FAST! These flavor variations check everything off my list:

Peanut BUTTER and Jelly

Your childhood favorite gets an upgrade with my peanut butter and jelly overnight oat recipe. I layer blueberry jam with crunchy peanut butter AND peanuts for extra crunch. Add a few fresh blueberries and you’re good to go!

Chocolate Raspberry

Will chocolate and fresh berries ever not be a match made in heaven? I don’t think so. You only need some raspberry jam, dark chocolate chips, and fresh raspberries to make a breakfast that tastes just like dessert.

Banana Walnut

Banana bread is my go-to coffee shop snack, so I always have an overnight oat version in the fridge. Simply mix in some walnuts and add sliced bananas on top for a delicious and satisfying breakfast that’ll keep you feeling full all morning!

Side view of overnight oats in mason jars
Overhead view of overnight oats with various toppings
Print

Overnight Oats (Base Recipe plus Variations)

These easy Overnight Oats are the ultimate introduction to budget-friendly meal prep. They're no-cook, ideal for on-the-go, and customizable!
Course Breakfast
Cuisine Amercian
Total Cost $1.04 serving
Prep Time 5 minutes
Chill Time 8 hours
Total Time 8 hours 5 minutes
Servings 1 8 oz mason jar
Calories 302kcal

Ingredients

Overnight Oats Base Recipe

  • ½ cup old fashioned oats $0.82
  • ½ cup milk $0.09
  • ½ Tbsp brown sugar* $0.04
  • tsp cinnamon $0.01
  • ½ Tbsp chia seeds $0.07
  • pinch of salt $0.01

Peanut Butter and Jelly Variation (total: $1.93 per serving)

  • base recipe $1.04
  • 1 tsp blueberry jam $0.04
  • 1 Tbsp peanuts $0.10
  • 1 Tbsp crunchy peanut butter $0.49
  • a few blueberries, if desired $0.23

Chocolate Raspberry Variation (total: $1.56 per serving)

  • base recipe $1.04
  • 1 tsp red raspberry jam $0.04
  • 1 Tbsp dark chocolate chips $0.11
  • a few raspberries, if desired $0.34

Banana Walnut Variation (total: $1.42 per serving)

  • base recipe $1.04
  • 1 Tbsp walnuts $0.29
  • of a banana, diced $0.09

Instructions

  • Combine old fashioned oats, brown sugar, cinnamon, chia seeds, and salt in an 8 oz. Mason Jar.
  • Pour in milk.
  • Stir or shake to combine, making sure all ingredients are mixed in evenly to avoid clumps of chia or brown sugar.
  • Put the lid onto your mason jar and place it in the fridge.
  • Refrigerate for 15 minutes or up to 12 hours before enjoying.

See how we calculate recipe costs here.

Notes

*If you don’t want added sugar, skip it! The ratios in this recipe come out great with or without the brown sugar.

Nutrition

Serving: 18 oz jar (base recipe only) | Calories: 302kcal | Carbohydrates: 48g | Protein: 10g | Fat: 8g | Sodium: 344mg | Fiber: 6g
Side view of 4 jars of overnight oats with a wooden spoon taking some from one of the jars

how to make Overnight Oats – step by step photos

Ingredients for overnight oats

Combine ½ cup old fashioned oats, 1/2 Tbsp brown sugar, ⅛ tsp cinnamon, ½ Tbsp chia seeds, and a pinch of salt in an 8 oz. Mason Jar.

Ingredients for overnight oats in a mason jar with milk being poured in

Pour in ½ cup milk.

A spoon mixing the ingredients for overnight oats in a mason jar

Stir or shake to combine, making sure all ingredients are mixed in evenly to avoid clumps of chia or brown sugar.

Overnight oats in a mason jar before being refrigerated

Put the lid onto your mason jar and place it in the fridge.

Overnight oats in a mason jar after being refrigerated

Refrigerate for 15 minutes or up to 12 hours before enjoying.

Overhead view of 4 mason jars filled with overnight oats

Never skip breakfast again with this easy and satisfying recipe for overnight oats!

The post Overnight Oats (Base Recipe plus Variations) appeared first on Budget Bytes.

Granola Bars

Homemade Granola Bars are wholesome and healthy! Loaded with oats, dates, peanut butter, walnuts, and chocolate chips.

The post Granola Bars appeared first on Budget Bytes.

When I’m looking for a snack, I want it to be wholesome. These Homemade Granola Bars are delicious and free of all the junk and preservatives you can’t pronounce on most boxes of affordable store-bought granola bars. Instead, I loaded mine with quick rolled oats, Medjool dates, peanut butter, walnuts, and chocolate chips. They still taste amazing and are much healthier with whole food ingredients.

3 stacked granola bars on a white plate.

I’m not ashamed to say that I’m a bit crunchy… the kind of “crunchy” who left the city for the county, lives on a farm, grows their own vegetables, and makes their own Granola Bars. Guilty as charged! I love a hearty, chewy granola bar with a variety of textures, and this recipe is all of that and more! Marsha and I break these out of the freezer at the Budget Bytes studio on a regular basis; they make one heck of a snack.

Bonus: Because there’s no heat involved, these homemade granola bars are also fun to make with kids! They can mold the dough into fun shapes and help you in the kitchen!

Are Granola Bars Healthy?

That depends on a lot of factors. In general, granola bars are a good source of fiber (and sometimes protein, too!). However, many times, they also contain as much sugar and calories as candy bars. As a general rule, if I check the ingredient label on something and I can’t recognize or pronounce the majority of the ingredients, I usually put it back.

My homemade bars are made with Medjool dates and honey as the primary sweeteners, which are both lower on the glycemic index, making these bars more nutrient-dense and healthier than ones made with straight up sugar or corn syrup. The peanut butter and walnuts add a good bit of protein, and the oats up the fiber content. Overall, these homemade granola bars are much healthier than store-bought, but taste even better!

Ingredients

Here’s what you’ll need to make granola bars:

  • Medjool Dates: Sweeten the bars and help bind them together.
  • Chunky Peanut Butter: Adds creaminess and crunch, and also helps bind everything together.
  • Walnuts: Add extra crunch and protein.
  • Cinnamon: Adds a touch of warmth to the bars that enhances their overall flavor.
  • Sea Salt: Enhances the flavors of these bars.
  • Quick Rolled Oats: These are cut into smaller pieces than traditional rolled oats, making for a more cohesive bar.
  • Honey: Adds a little extra sweetness and helps the bars harden.
  • Chocolate Chips: Add a pop of rich chocolate flavor!

Is it cheaper to make your own granola bars?

Sometimes! I like to buy peanut butter and oats in bulk whenever they’re on sale since they keep well for a long time unopened. This really helps me cut down on costs. Some value-sized packs of store-bought granola bars are cheaper than my homemade recipe, but I can guarantee the ingredients aren’t nearly as wholesome. At just $0.72 per bar, these healthy homemade granola bars are good for your wallet and better for your body!

What Else Can I Add?

These bars are a great base for all kinds of mix-ins. Try:

  • White chocolate chips
  • Dried or freeze-dried fruits
  • Nuts or seeds
  • Mini marshmallows
  • Crushed pretzels

Do you have a peanut allergy? Try swapping peanut butter and peanuts for almond butter. If you’re allergic to all tree nuts, try tahini and pumpkin seeds instead!

overhead view of 10 granola bars.
3 stacked granola bars on a white plate.
Print

Granola Bars

Homemade Granola Bars are wholesome and healthy! Loaded with oats, dates, peanut butter, walnuts, and chocolate chips.
Course Breakfast, Snack
Cuisine American
Total Cost ($7.42 recipe / $0.72 serving)
Prep Time 1 hour 10 minutes
Cook Time 0 minutes
Total Time 1 hour 10 minutes
Servings 10 (1 bar each)
Calories 222kcal

Ingredients

  • 1 cup Medjool dates, pitted $2.99
  • 1/2 cup chunky peanut butter $0.29
  • 1/4 cup walnuts $0.87
  • 1/2 tsp ground cinnamon $0.05
  • 1/4 tsp sea salt $0.01
  • 1 1/2 cups quick rolled oats $2.23
  • 1/4 cup honey $0.78
  • 2 Tbsp dark chocolate chips $0.20

Instructions

  • Gather ingredients. In a food processor, process dates (make sure all of them are pitted!) until they form a big ball of “dough”
  • In a mixing bowl, combine Medjool date "dough", chunky peanut butter, walnuts, ground cinnamon, sea salt, cups quick rolled oats, honey, and dark chocolate chips and mix together by hand (it’s going to be sticky!)
  • Spread granola bar batter into a lined baking dish and freeze for 1-2 hours until firm but not completely solid.
  • Remove from freezer. Cut bars into the size and shape you want. These will keep in the fridge in an airtight container for up to one month!

See how we calculate recipe costs here.

Nutrition

Serving: 1bar | Calories: 222kcal | Carbohydrates: 31g | Protein: 6g | Fat: 10g | Sodium: 122mg | Fiber: 3g
overhead view of 2 granola bars on a white plate next to granola bars on parchment.

how to make Granola Bars – step by step photos

medjool date paste in a food processor.

Gather ingredients. In a food processor, process 1 cup pitted Medjool dates (make sure all of them are pitted!) until they form a big ball of “dough”

pouring honey into a bowl with granola bar ingredients.

In a mixing bowl, combine combine Medjool date “dough”, 1/2 cup chunky peanut butter, 1/4 cup walnuts, 1/2 tsp ground cinnamon, 1/4 tsp sea salt, 1 1/2 cups quick rolled oats, 1/4 cup honey, and 2 Tbsp dark chocolate chips and mix together by hand (it’s going to be sticky!)

spreading granola bar mix into a baking pan with a rubber spatula.

Spread the granola bar batter into a lined baking dish and freeze for 1-2 hours until firm but not completely solid.

cutting granola bars on a cutting board.

Remove from freezer. Cut bars into the size and shape you want. These will keep in the fridge in an airtight container for up to one month!

3 stacked granola bars on a white plate.

You’ll never buy store-bought granola bars again!

The post Granola Bars appeared first on Budget Bytes.

Apple Cranberry Baked Oatmeal

This Cranberry Apple Baked Oatmeal recipe is an easy, warm, and comforting breakfast that is perfect for fall and winter meal prep.

The post Apple Cranberry Baked Oatmeal appeared first on Budget Bytes.

I have an intense love for cranberries, but you can usually only find them in the supermarket for a few months out of the year. So this year, I bought a couple extra bags and tossed them in the freezer so I could enjoy them for months after the season had ended. Well, that day is today and I used some of my cranberry stash to make this delicious Apple Cranberry Baked Oatmeal. And if you didn’t happen to stash any cranberries last fall, you can sometimes find them in the freezer section year-round. Baked oatmeal is one of my favorite breakfast meal preps because it’s SO easy to make and the leftovers are great. Plus, it’s freezer-friendly!
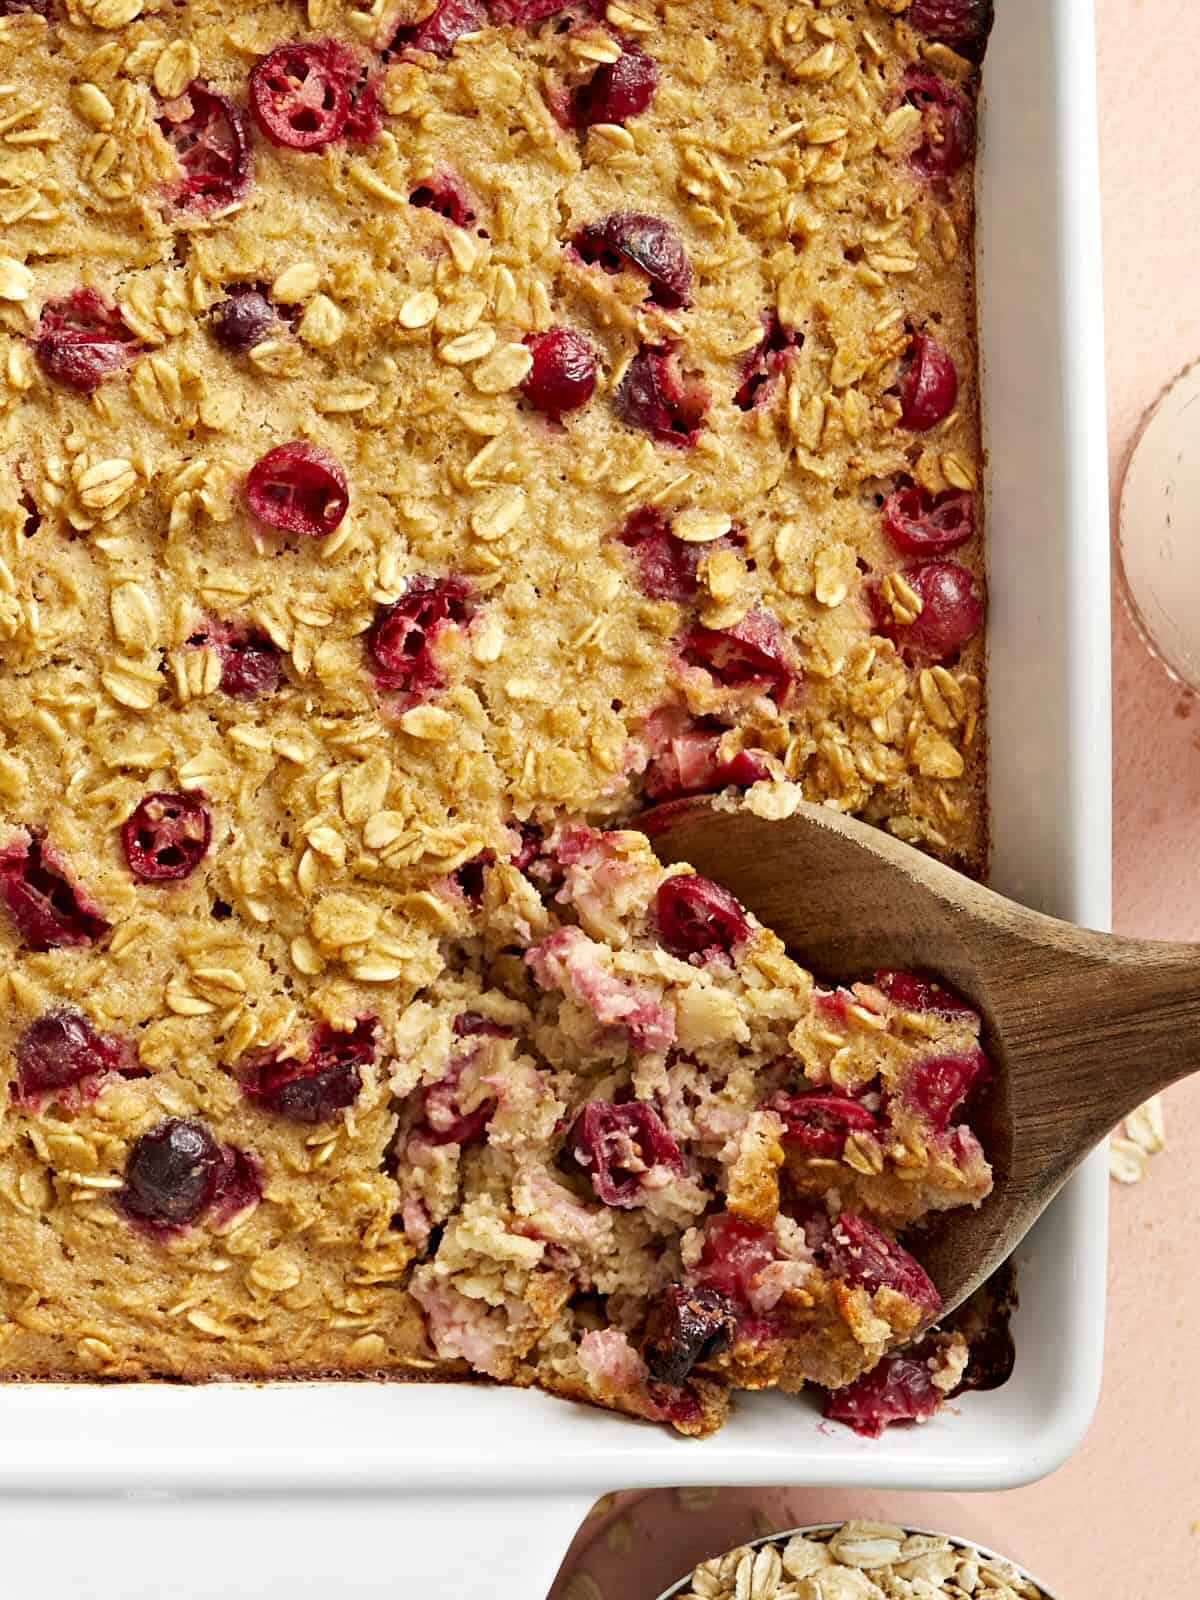
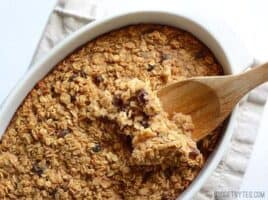
Close up overhead view of a casserole dish full of cranberry apple baked oatmeal and a wooden spoon scooping some out.

What is Baked Oatmeal?

Baked oatmeal is a lot like bread pudding, but instead of chunks of hearty bread baked into the custard, it’s rolled oats. The end result is a soft, moist, scoopable oatmeal that is not at all gloopy like those instant oatmeal packets. It’s filling, rich, slightly sweet, and one of my absolute favorite ways to enjoy oats.

Ingredients for Apple Cranberry Baked Oatmeal

Baked oatmeal recipes are super simple by nature, and this apple cranberry version is no exception. Here’s all you’ll need to make this baked oatmeal recipe:

  • Applesauce: Unsweetened applesauce keeps the baked oatmeal soft and moist, adds a delicious apple flavor, and provides some natural sweetness to the baked oatmeal so you don’t have to add as much sugar.
  • Eggs: Eggs combine with the milk to create the custard that helps the baked oatmeal bake firm up into a scoopable texture instead of the thick porridge-like texture that you get with stovetop cooked oats.
  • Brown Sugar: A little extra sugar helps balance the tart flavor of the cranberries and makes the baked oats just sweet enough that you feel like you’re having a treat.
  • Vanilla: Vanilla extract helps the oats taste extra rich.
  • Cinnamon: A touch of cinnamon gives the baked oatmeal a warm and cozy flavor.
  • Salt: Salt helps all of the individual flavors of the oatmeal pop.
  • Baking Powder: A small amount of baking powder gives the baked oatmeal loft so it’s not quite so dense.
  • Milk: Milk softens the oats and combines with the egg to create a rich custard.
  • Cranberries: Cranberries give the baked oatmeal a deliciously sweet-tart flavor and gorgeous pink color. We used cranberries that had been previously frozen, but you can use fresh as well.
  • Old-Fashioned Rolled Oats: Oats are the main ingredient, the star of the show. Make sure to get old-fashioned rolled oats instead of quick oats because they have a lot more texture and will keep your baked oatmeal from being too mushy.

Is It Breakfast or Dessert?

Baked oatmeal can be served as either breakfast or dessert! It’s only slightly sweet, so it’s still a balanced breakfast, but it’s delicious enough that I’d happily eat it as a dessert or sweet treat. If you want to make it even more dessert-like, try topping it with a simple streusel before baking. Just combine ¼ cup flour, 2 Tbsp brown sugar, 2 Tbsp white sugar, and 3 Tbsp softened butter until it forms a crumbly mixture that resembles wet sand. Sprinkle that over the baked oatmeal before baking and it turns this baked oatmeal into a decadent dessert!

How to Serve Baked Oatmeal

People always ask if baked oatmeal is supposed to be served hot or cold, and the answer is that it can be enjoyed either way! I love it when it’s still warm out of the oven and topped off with a splash of cold milk. But when I’m eating the leftovers for meal prep, sometimes I eat it cold and sometimes I warm it in the microwave. It’s totally up to you!

Whether you enjoy it hot or cold, I love to add a little milk or half and half to my bowl, or even a scoop of Greek yogurt for extra protein. If you have any walnuts on hand, they would also make a great topper for this Apple Cranberry Baked Oatmeal flavor. Or, if you want it a little sweeter, try topping it with some maple syrup!

How to Store The Leftovers

To store the leftovers of your baked oatmeal for meal prep, divide it into single portions and place them into air-tight food storage containers. They can be refrigerated for up to five days. Or, once cooled in the refrigerator, you can transfer them to the freezer for longer storage (about 3 months). To reheat frozen baked oatmeal either let it thaw in the refrigerator overnight and then microwave until hot, or reheat straight from the freezer using the microwave’s defrost function.
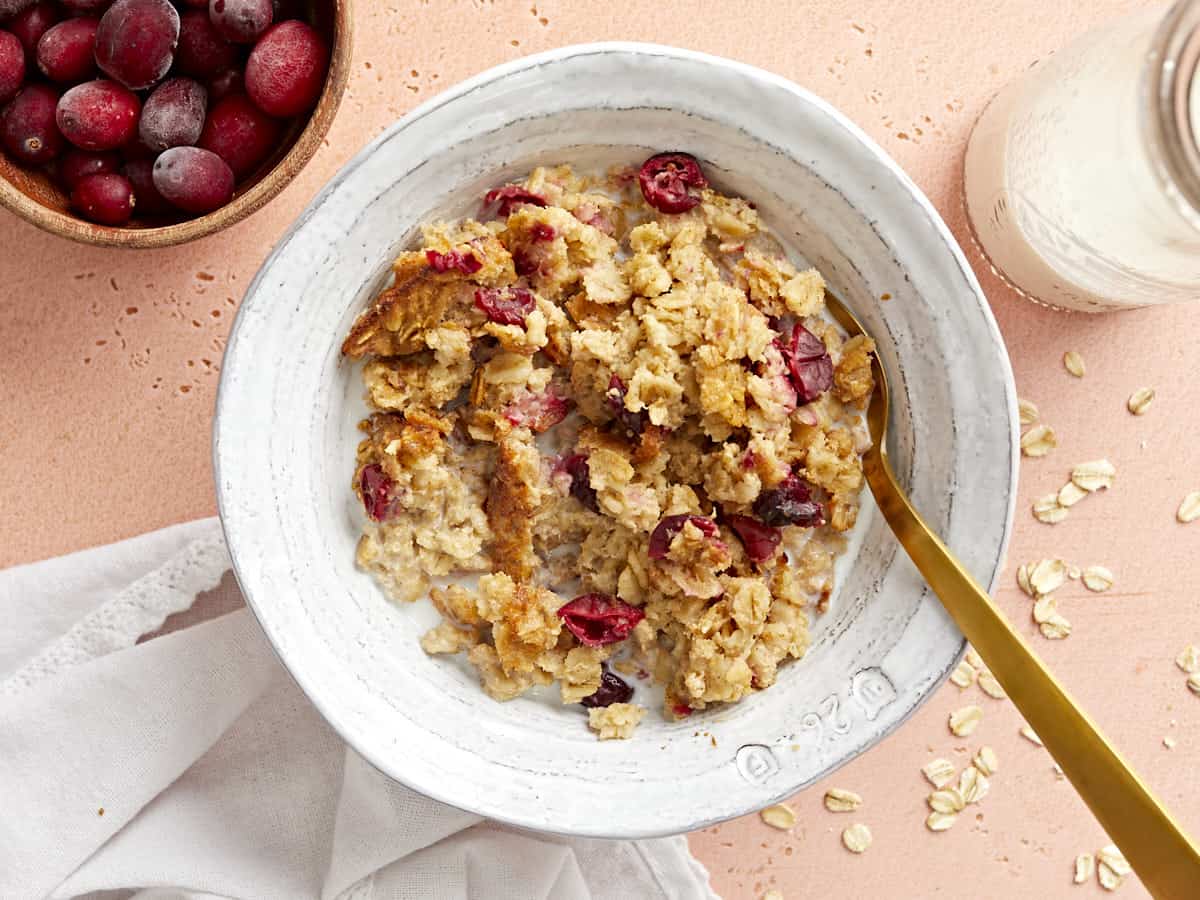
Overhead view of cranberry apple baked oatmeal in a bowl with a golden spoon.
Baked oatmeal being scooped out of the casserole dish with a wooden spoon.
Print

Apple Cranberry Baked Oatmeal

This Apple Cranberry Baked Oatmeal recipe is an easy, warm, and comforting breakfast that is perfect for fall and winter meal prep.
Course Breakfast, Dessert
Cuisine American
Total Cost $3.51 recipe / $0.59 serving
Prep Time 15 minutes
Cook Time 45 minutes
Total Time 1 hour
Servings 6
Calories 220kcal

Ingredients

  • 1 1/2 cups unsweetened apple sauce $0.95
  • 2 large eggs $0.28
  • 1/4 cup brown sugar $0.14
  • 1/2 tsp vanilla extract $0.30
  • 1/2 tsp cinnamon $0.05
  • 1/2 tsp salt $0.02
  • 3/4 tsp baking powder $0.04
  • 1 cup milk* $0.48
  • 1 cup cranberries (frozen or fresh) $0.67
  • 2 cups old-fashioned rolled oats $0.58

Instructions

  • Preheat the oven to 375ºF. Add the apple sauce, eggs, brown sugar, vanilla, cinnamon, salt, and baking powder to a large bowl and whisk together until smooth. Add the milk and whisk until smooth again.
  • Slice the cranberries in half (no need to thaw if frozen) and add them to the bowl of wet ingredients along with the rolled oats. Stir until everything is evenly combined.
  • Pour the oat mixture into a 2-quart casserole dish. Bake the oatmeal in the preheated 375ºF oven for 45 minutes, or until the surface is a light golden brown and it is no longer sticky in the center. Serve hot or refrigerate until ready to eat.

See how we calculate recipe costs here.

Nutrition
Serving: 1Serving | Calories: 220kcal | Carbohydrates: 39g | Protein: 7g | Fat: 5g | Sodium: 292mg | Fiber: 4g
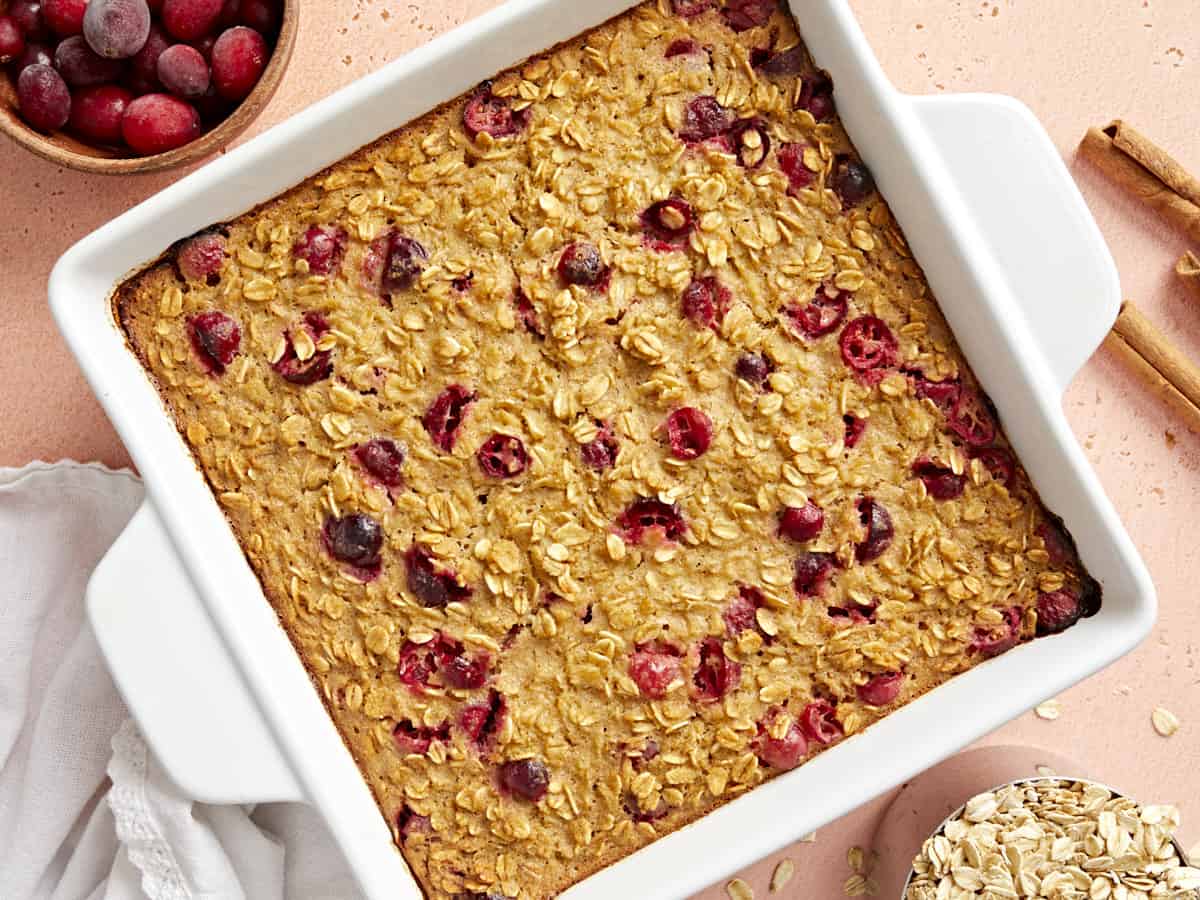
Overhead view of cranberry apple baked oatmeal in the casserole dish, freshly baked.

How to Make Cranberry Apple Baked Oatmeal – Step by Step Photos
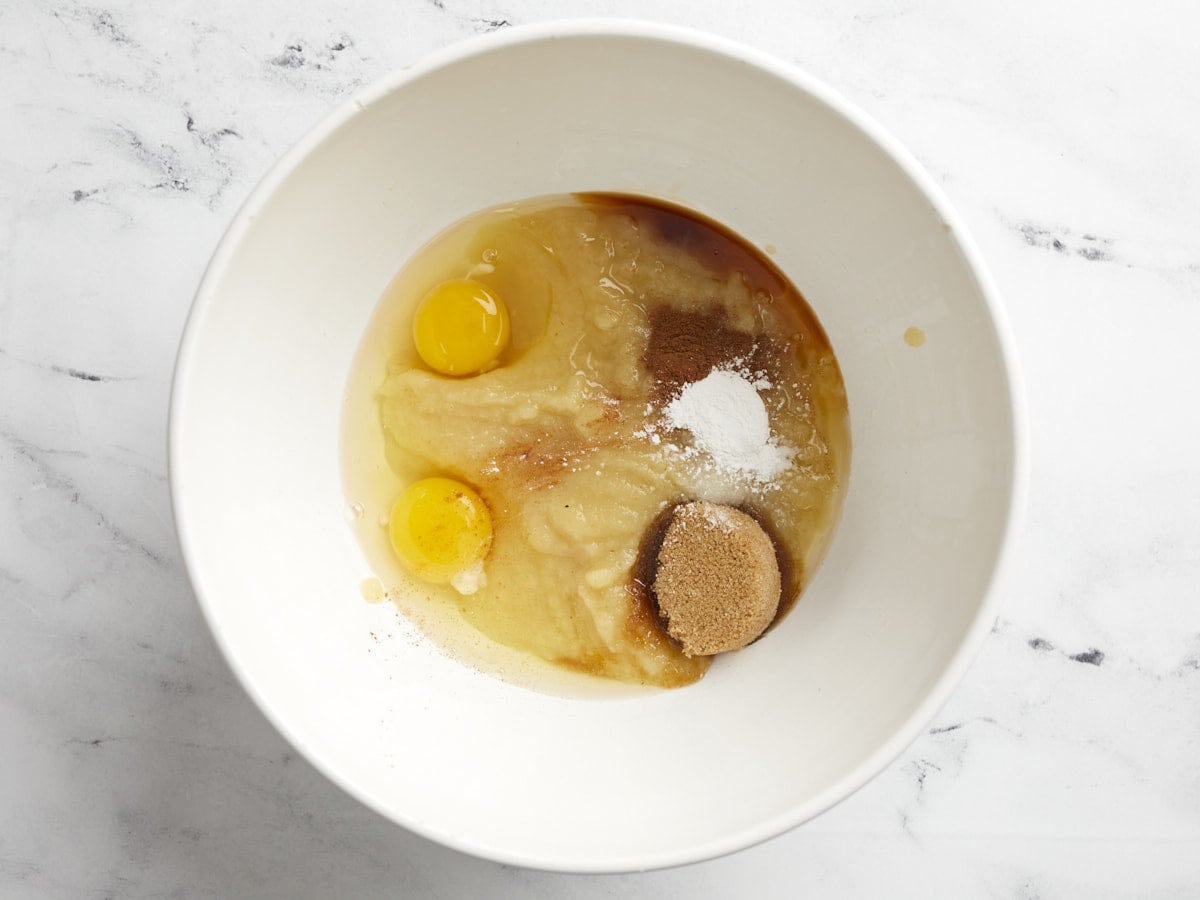
Wet ingredients for the baked oatmeal in a bowl.

Preheat the oven to 375ºF. In a large bowl, whisk together 1.5 cups of unsweetened applesauce, 2 large eggs, ¼ cup brown sugar, ½ teaspoon vanilla, ½ teaspoon cinnamon, ½ teaspoon salt, and ¾ teaspoon baking powder.
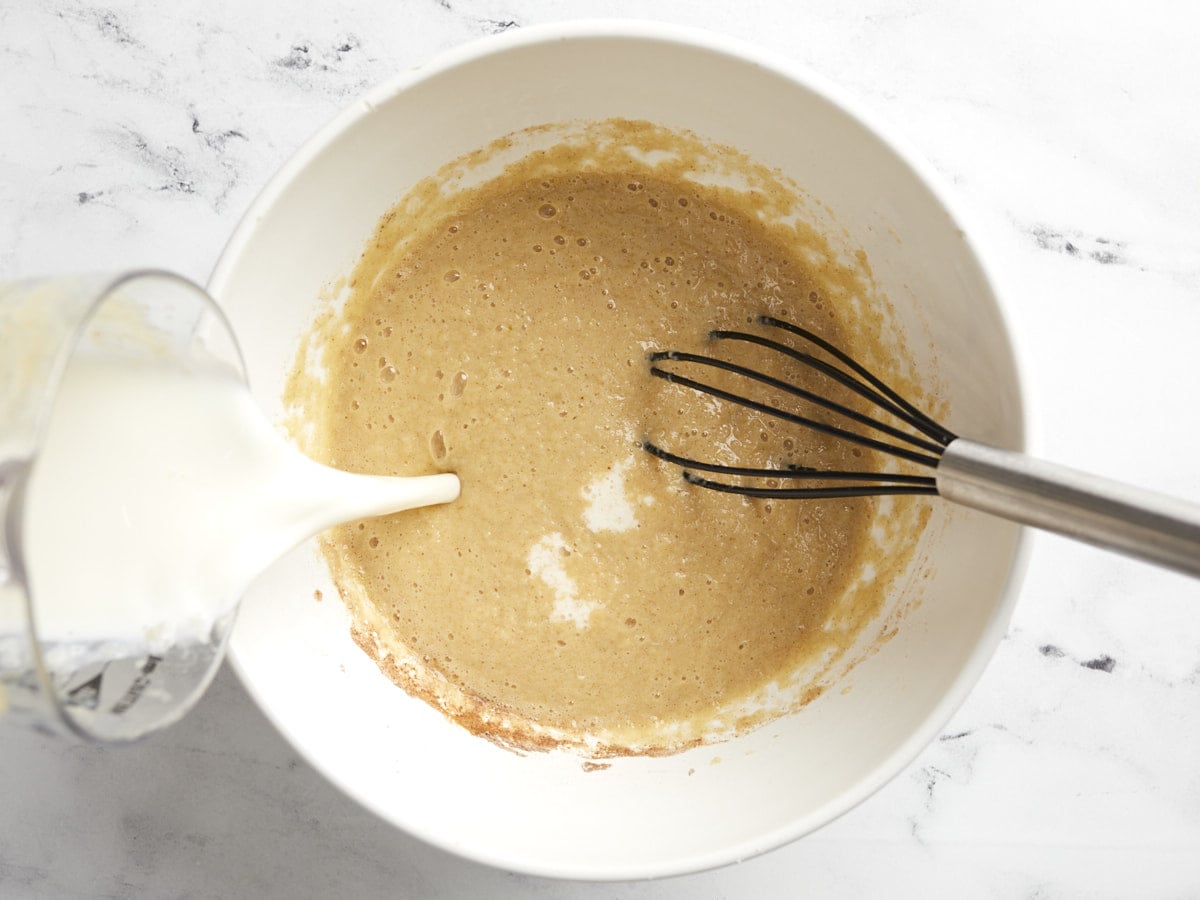
Milk pouring into the side of the bowl with the applesauce mixture.

Once the previous ingredients are evenly combined, add 1 cup of milk and whisk again until evenly combined.
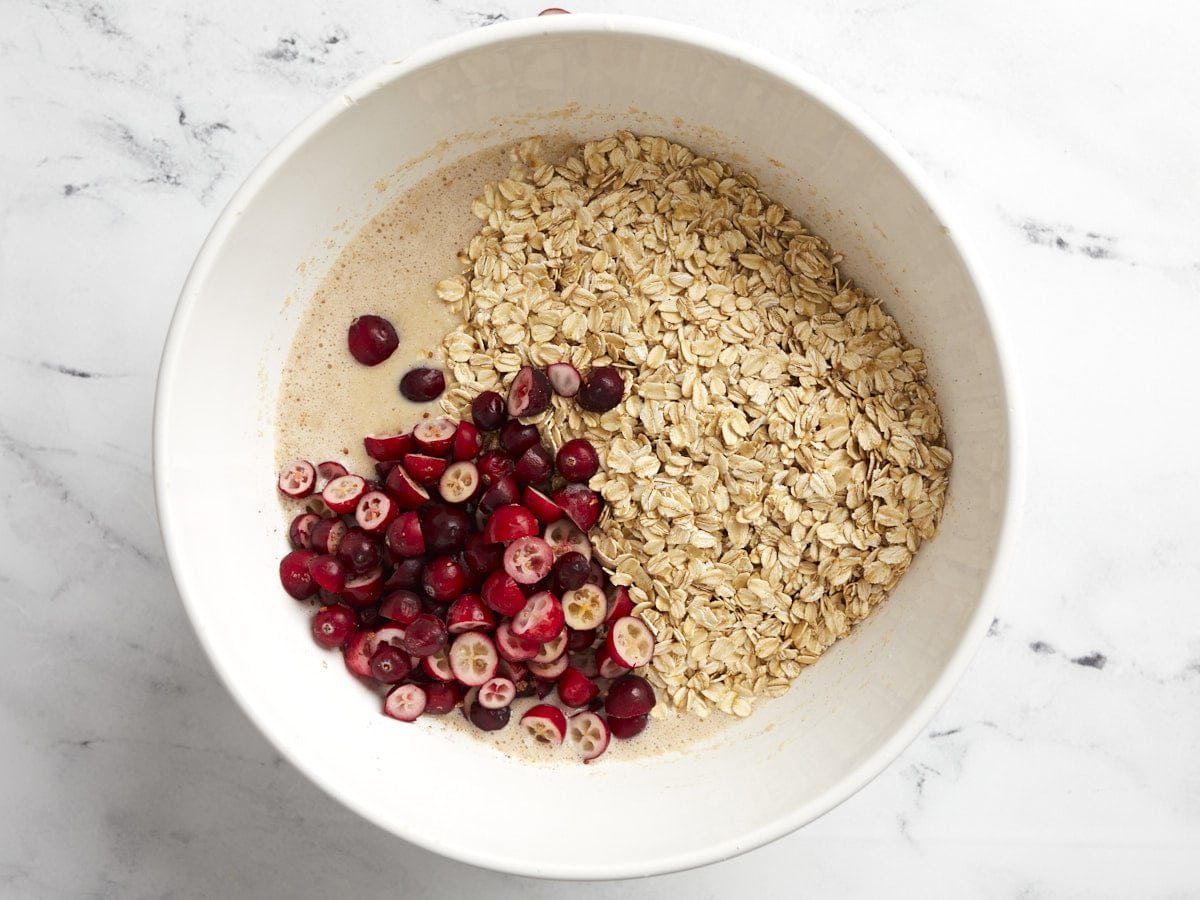
Sliced cranberries and dry oats added to the bowl.

Slice one cup of cranberries in half (if frozen, no need to thaw) and add them to the bowl along with 2 cups of old-fashioned rolled oats. Stir the cranberries and oats into the milk mixture.
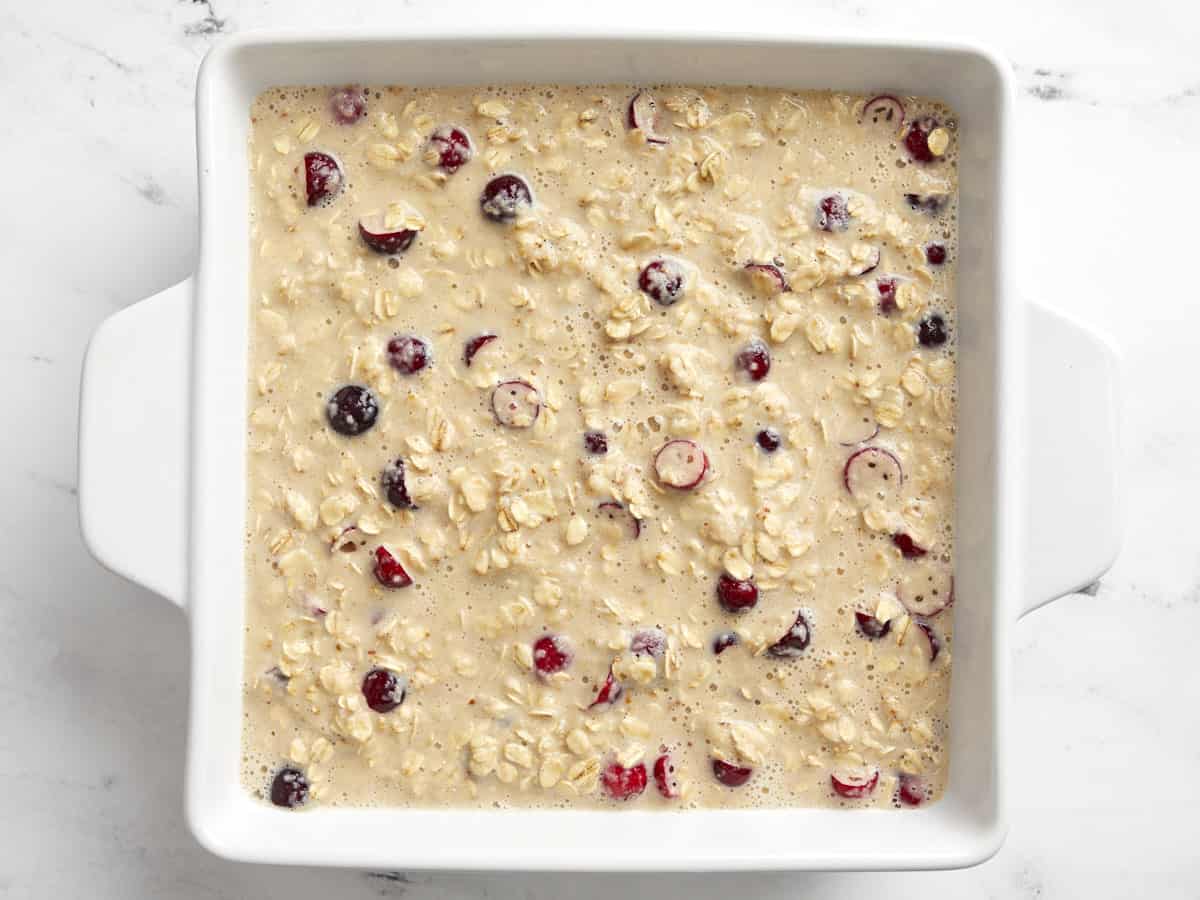
Baked oatmeal mixture in the casserole dish before being baked.

Pour the oat mixture into a 9×9-inch (or 2-quart) casserole dish.
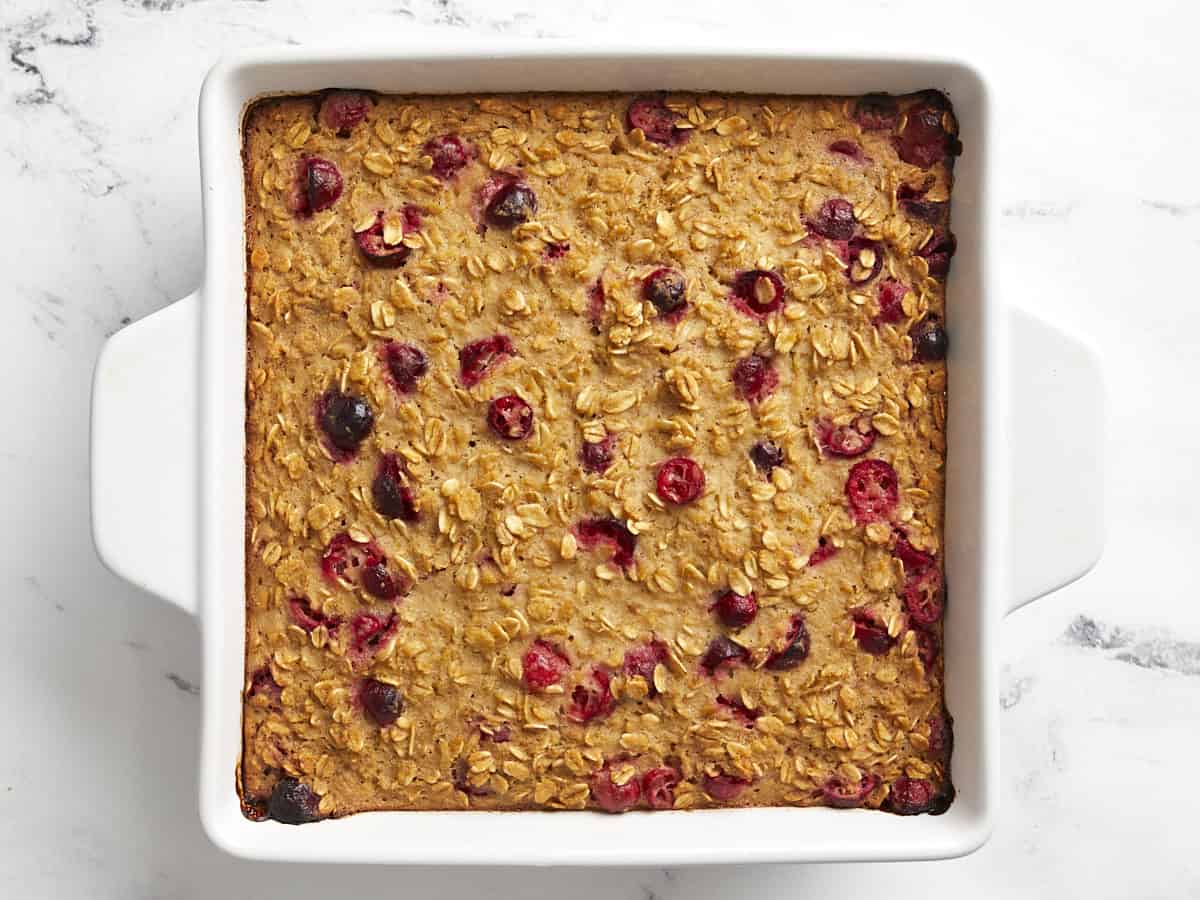
Baked oatmeal in the casserole dish after coming out of the oven.

Bake the oatmeal for 45 minutes or until it’s golden brown on top and the center is no longer wet.
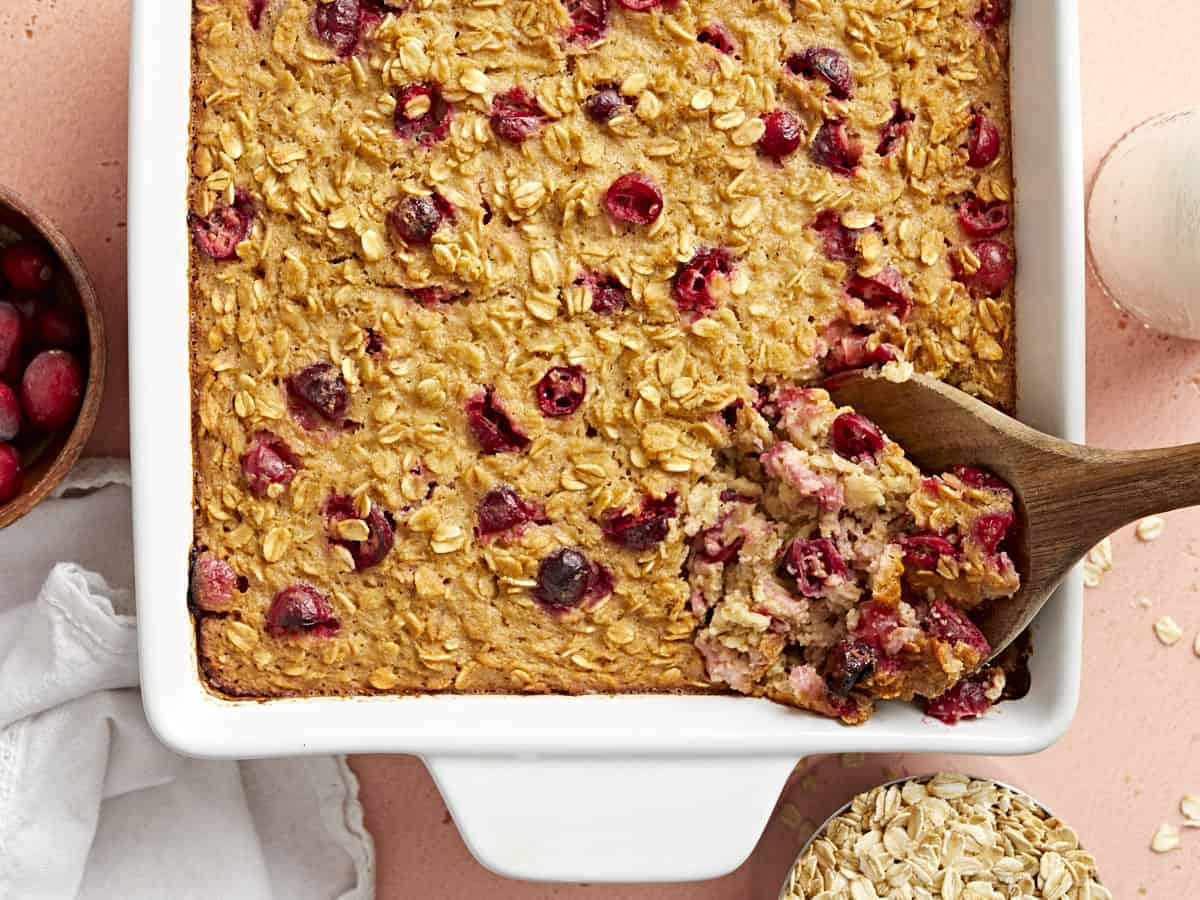
Baked oatmeal being scooped out of the casserole dish with a wooden spoon.

Serve the apple cranberry baked oatmeal warm or divide into single portions and refrigerate until ready to eat!
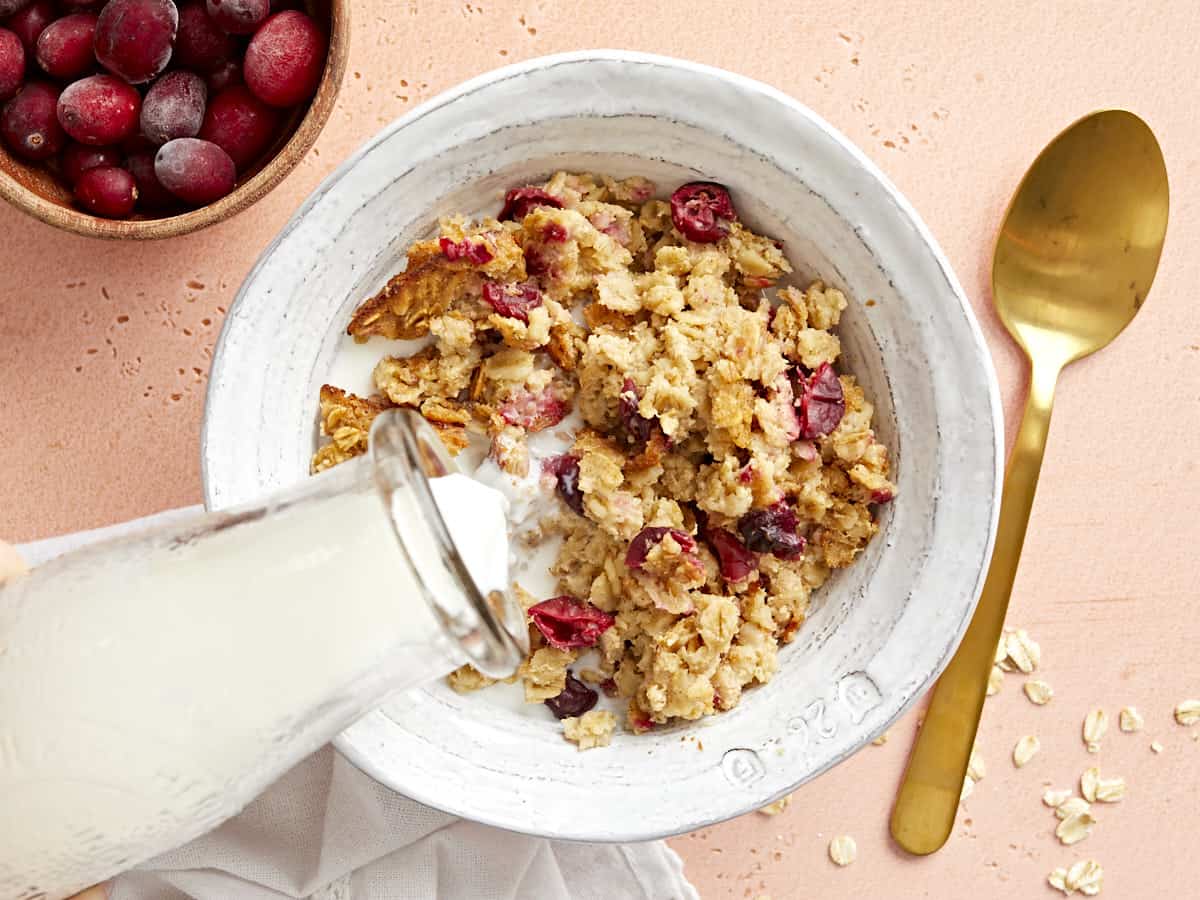
Milk being poured over a bowl of cranberry apple baked oatmeal.

I like to enjoy my Apple Cranberry Baked Oatmeal with cold milk poured over top! 🤤

The post Apple Cranberry Baked Oatmeal appeared first on Budget Bytes.
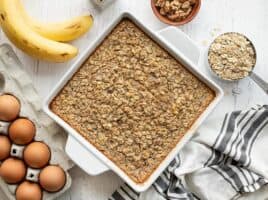
Oatmeal Cookies

These delicious Oatmeal Cookies are crispy around the edges and soft & chewy in the center. The perfect way to satisfy your sweet tooth!

The post Oatmeal Cookies appeared first on Budget Bytes.

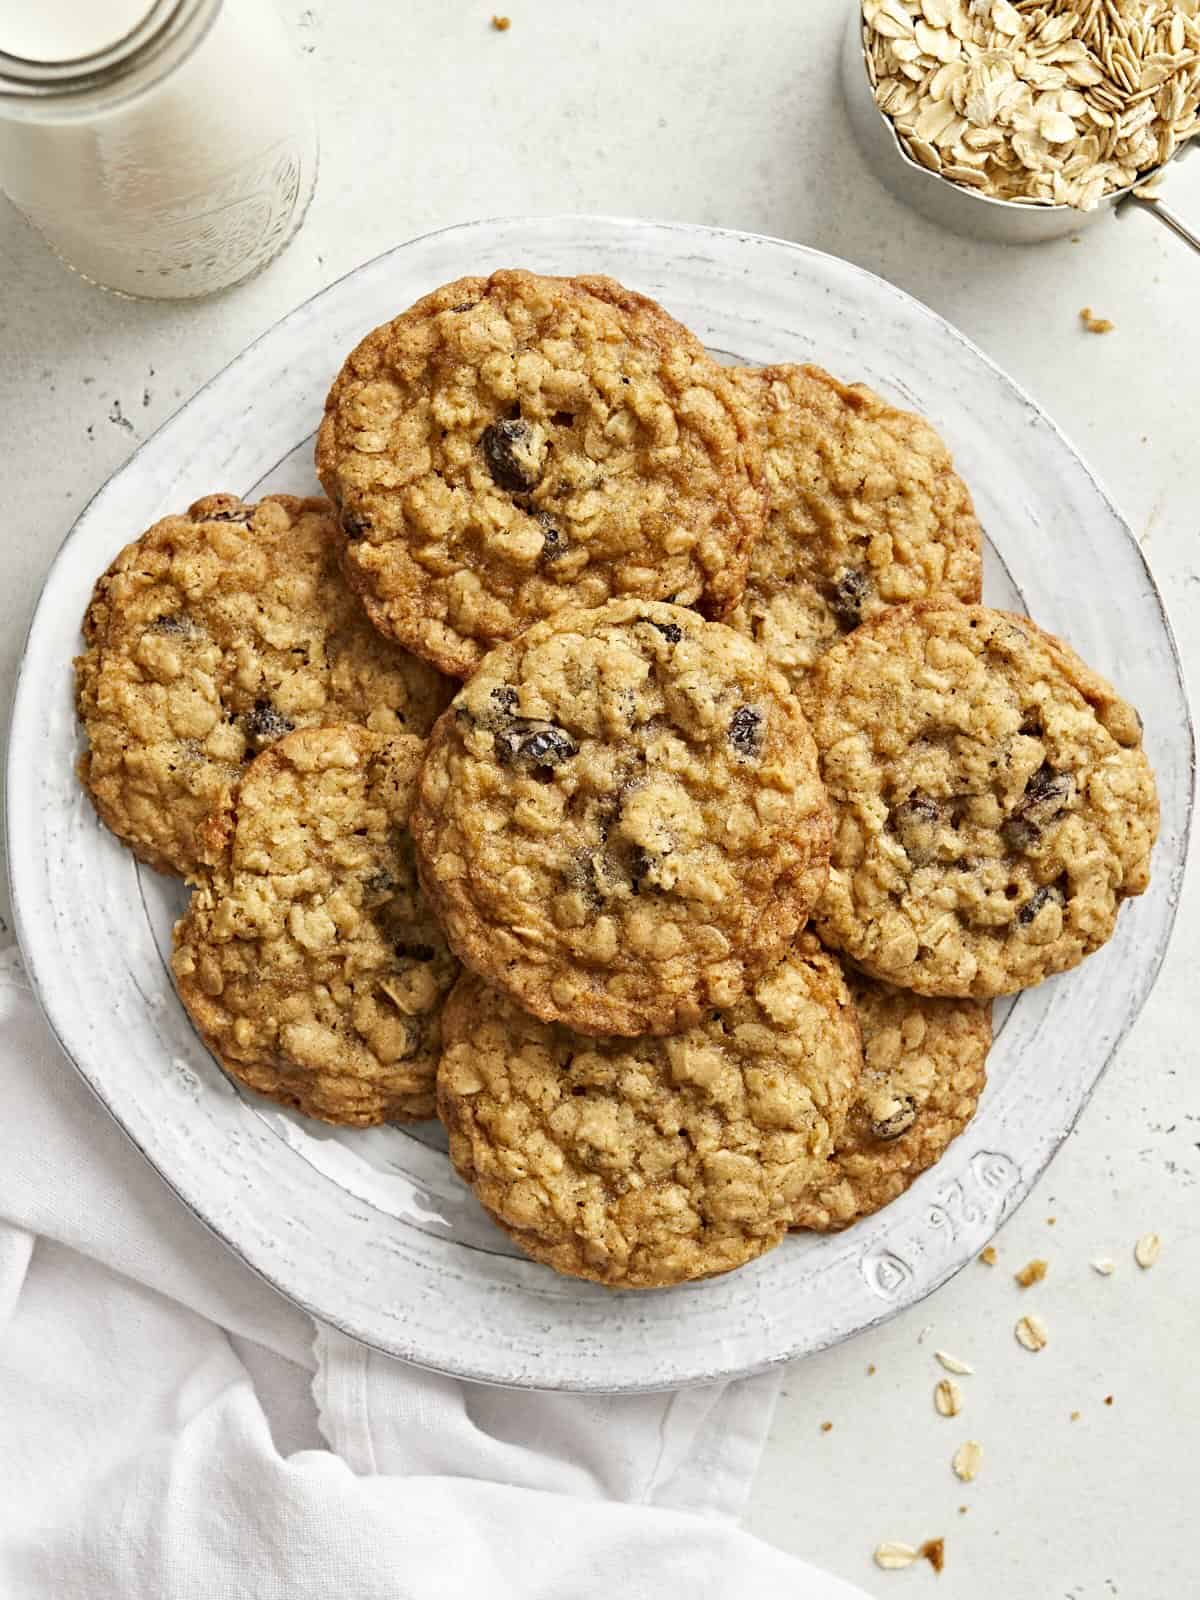
What could possibly be so good that it keeps our team talking about it for weeks? You guessed it…these insanely delicious Oatmeal Cookies! The golden crispy edges and chewy center had us hooked! We added raisins for the classic oatmeal raisin cookie, but feel free to swap out the raisins for your own favorite cookie add-ins. I’ll share a few different options below. Just know these oatmeal cookies are the absolute best way to satisfy your sweet tooth on a budget!😉

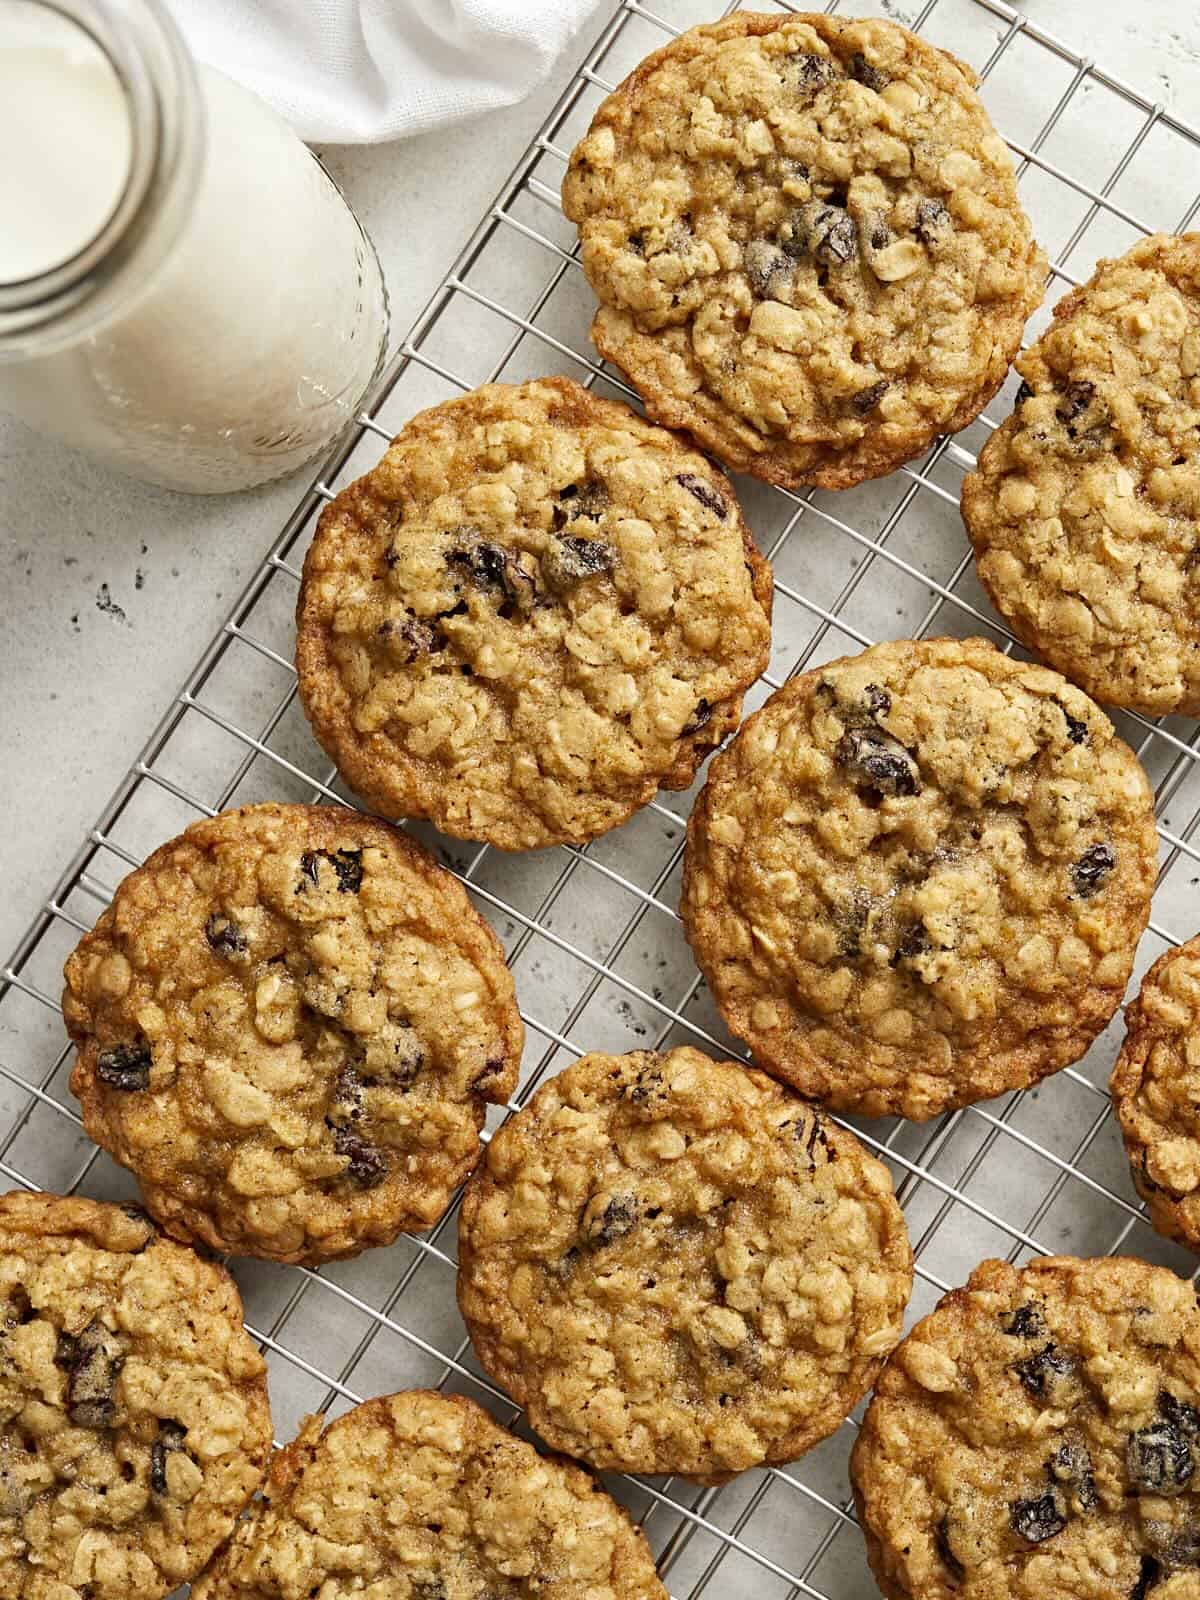
Overhead view of oatmeal raisin cookies on a cooling rack.

Ingredients For Oatmeal Cookies

Here are the ingredients you need to make these delicious oatmeal raisin cookies:

  • Old-fashioned Rolled Oats:  It wouldn’t be an oatmeal cookie without the oats! The oats provide a chewy texture to the cookies. Make sure to use old-fashioned rolled oats and not quick oats.
  • Butter: Butter is the base for many cookies. It gives the cookies plenty of richness and creamy buttery flavor.
  • Brown sugar & Granulated white sugar: I like using a combination of both brown and white sugar to sweeten the cookies.
  • Egg: Egg helps bind all of the ingredients together.
  • Vanilla: Vanilla extract adds a touch of warm flavor to the cookies.
  • Baking Soda: A small amount of baking soda helps the cookies rise just a little bit.
  • Flour: All-purpose flour gives the cookies structure.
  • Cinnamon: Cinnamon spice adds just a little bit more flavor and the perfect finishing touch to these chewy cookies.
  • Raisins: Raisins are a classic addition to oatmeal cookies with the perfect contrast and sweetness. But feel free to try some other variations if you wan’t a slightly different flavor profile. We’ll list a few suggestions below.

Oatmeal Cookie Variations

Here are a few different options if you want to switch things up with your oatmeal cookies:

  • Dried cranberries: I love swapping the raisins for Craisins or dried cranberries whenever I can catch them on sale at my local grocery store.
  • Chopped nuts: Looking for a little crunch? Add about 1/2 cup of chopped pecans or walnuts to the dough.
  • Chocolate or Butterscotch chips: These oatmeal cookies also taste great with your favorite baking chips. My favorite combination is a few butterscotch chips and a few chopped pecans. SO good! If you’re adding chocolate or butterscotch chips, I would add them in place of the raisins.

Many cookie recipes suggest chilling the cookie dough in the refrigerator prior to baking. This is to prevent the cookies from spreading too much in the oven as they bake. We tested these oatmeal cookies two different ways. First, chilling the dough for 30 minutes prior to baking, and second, baking the cookies without chilling the dough. We actually preferred the texture of the cookies without chilling the dough. It yielded a thinner cookie with crispy edges and a perfect chewy center. However, this is more of a personal preference. If you prefer a thicker cookie, then feel free to refrigerate the cookie dough for 30-60 minutes prior to baking.

Storing Oatmeal Cookies

So what happens when you’re feeling snack-ish, you’re craving something sweet, and you forgot about the extra oatmeal cookies that you stashed in your freezer? You realize you just hit the jackpot!! That’s exactly what happened to us at the studio. We had extra cookies that we stored in the freezer and were super excited to gobble them up 2 weeks later. These cookies store very well in an air-tight container at room temperature for up to 1 week or store in a freezer-safe bag for up to 3 months. When you’re in the mood for a little something sweet, just take one or two cookies out of the freezer, thaw at room temperature and enjoy!

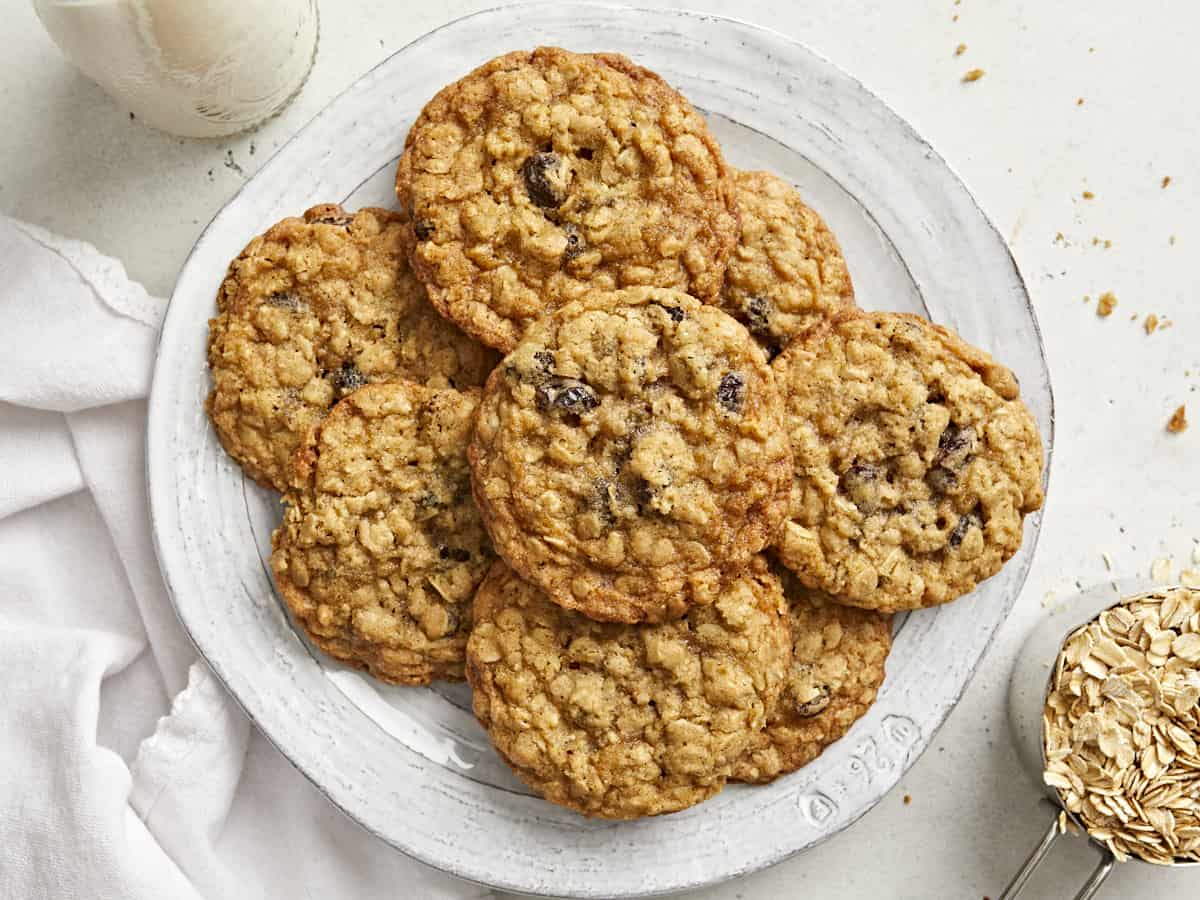
Overhead view of a pile of oatmeal cookies on a plate with a white napkin and a cup of milk on the side.
Print

Oatmeal Cookies

These delicious Oatmeal Cookies are crispy around the edges and soft & chewy in the center. The perfect way to satisfy your sweet tooth!
Course Dessert
Cuisine American
Total Cost $3.77 recipe / $0.21 each
Prep Time 15 minutes
Cook Time 13 minutes
Total Time 28 minutes
Servings 18 cookies
Calories 173kcal

Ingredients

  • 10 Tbsp salted butter, softened $1.33
  • 1/2 cup granulated white sugar $0.17
  • 1/2 cup brown sugar $0.27
  • 1 egg $0.14
  • 1 tsp vanilla extract $0.25
  • 1 cup all-purpose flour $0.20
  • 1/2 tsp salt $0.02
  • 1/2 tsp baking soda $0.02
  • 1/2 tsp cinnamon $0.05
  • 1.5 cups old-fashioned rolled oats $0.39
  • 3/4 cup raisins $0.93

Instructions

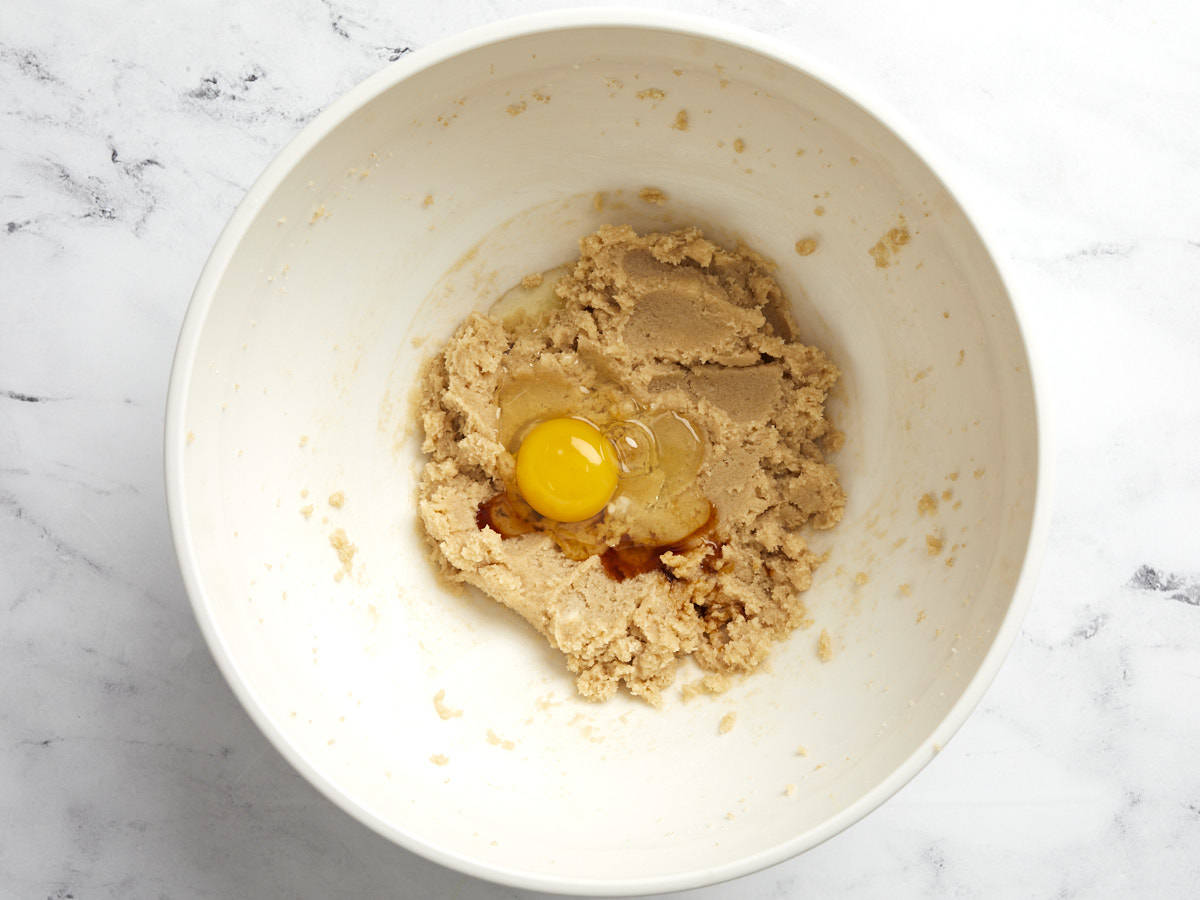
  • Preheat the oven to 350°F. In a large mixing bowl, add the softened butter, white sugar, and brown sugar. Blend the ingredients together with a hand mixer until smooth.
  • Add the egg and vanilla extract to the bowl and blend with the sugar mixture until smooth.
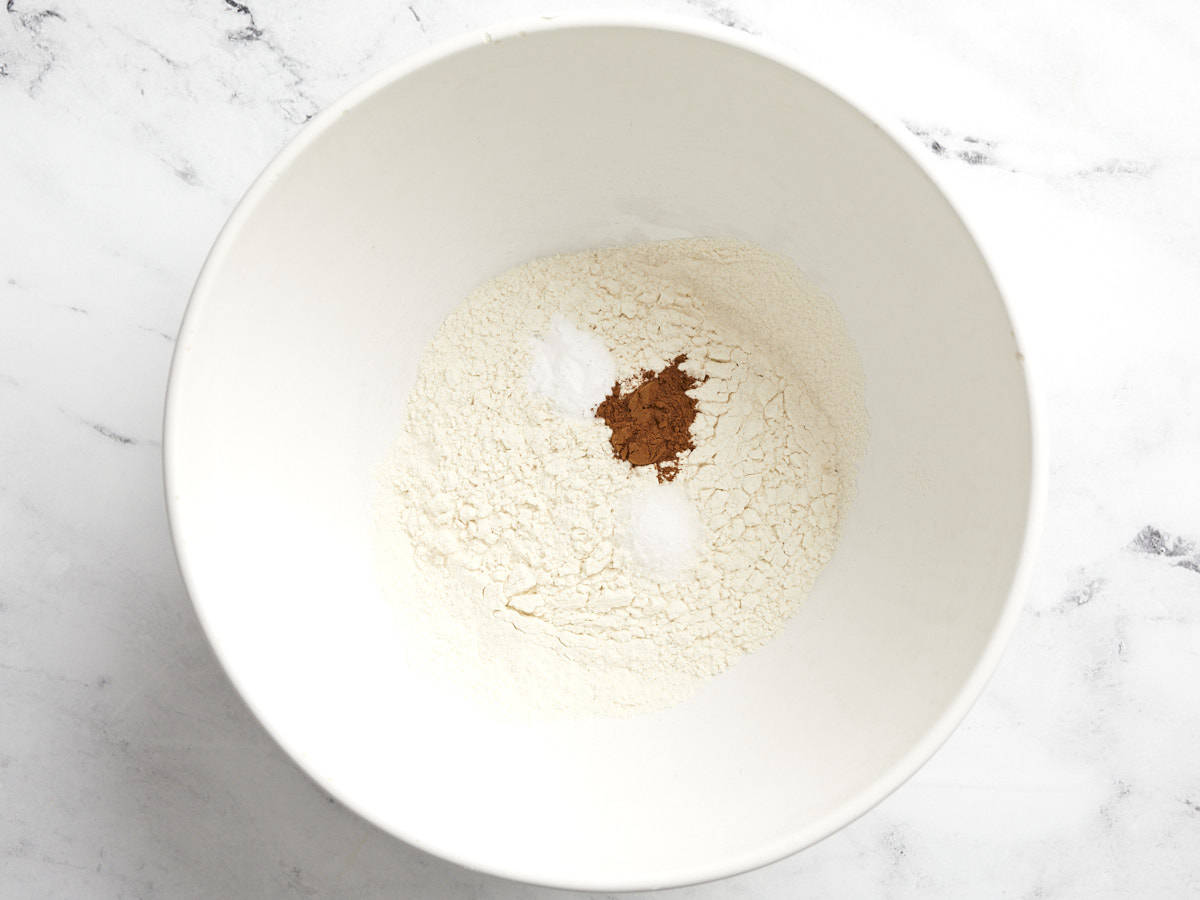
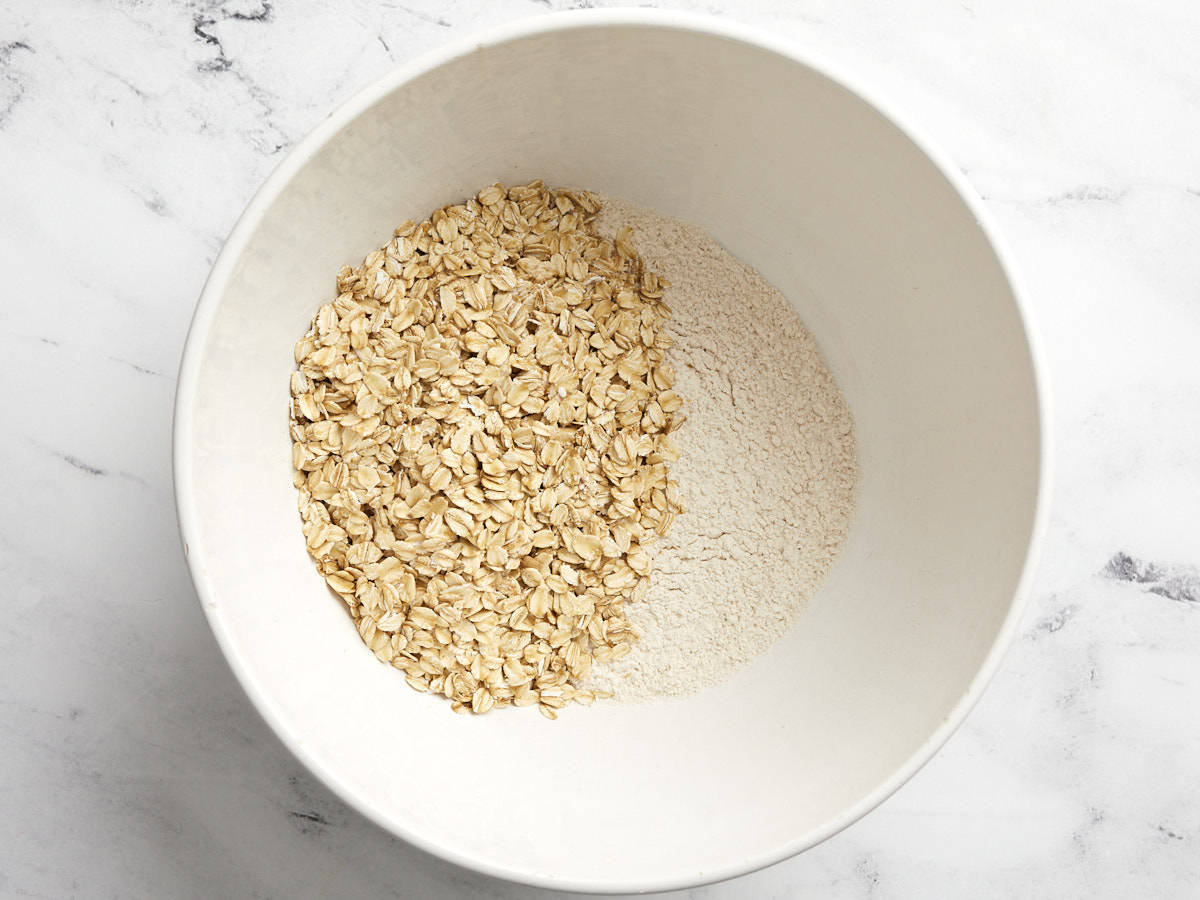
  • Next in a separate bowl, whisk together the dry ingredients (flour, salt, baking soda, and cinnamon) until well combined. Add the rolled oats to the dry ingredients and mix until combined.
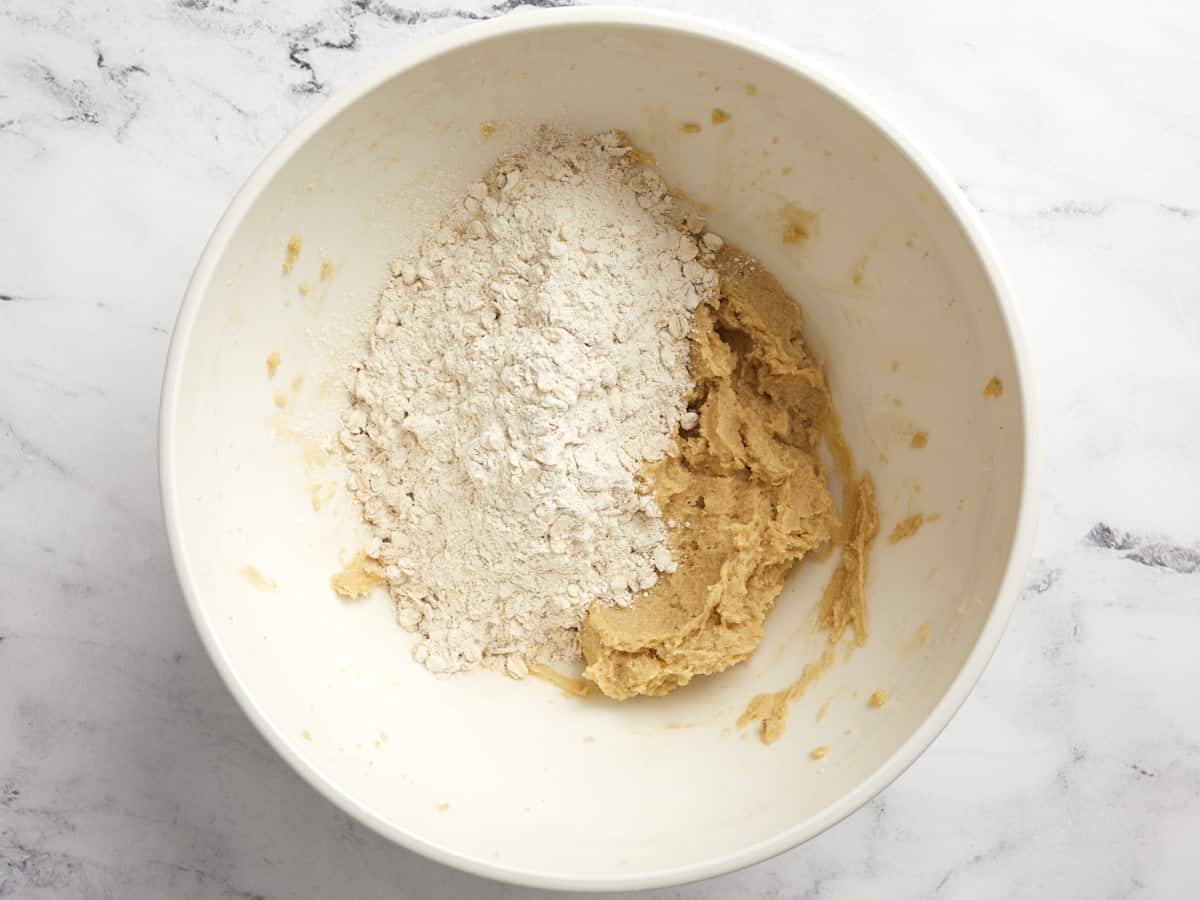
  • Add all of the dry ingredients to the same bowl as the sugar mixture. Blend the ingredients together with a hand mixer on low speed until just combined. Do not overmix.
  • Next add the raisins to the bowl and fold them into the cookie dough with a spatula.
  • Using a medium cookie scoop or your hands, scoop the cookie dough into roughly 2 Tbsp portions then roll into a ball. Place the cookies on a parchment lined baking sheet about 2-3 inches apart. You'll likely need to cook the cookies in two batches, so keep the remaining dough chilled until ready to roll and bake.*
  • Bake the cookies for 13-14 minutes or until lightly golden brown. The center of the cookies may look too soft when you remove them from the oven, but keep in mind the cookies will continue to set as they cool. Let the cookies cool slightly on the baking sheet before transferring to a wire rack to cool completely. Enjoy!

See how we calculate recipe costs here.

Notes

*Feel free to chill the entire dough in the refrigerator for 30 minutes if you do not want the cookies to spread too much. 

Nutrition

Serving: 1cookie | Calories: 173kcal | Carbohydrates: 26g | Protein: 2g | Fat: 7g | Sodium: 153mg | Fiber: 1g
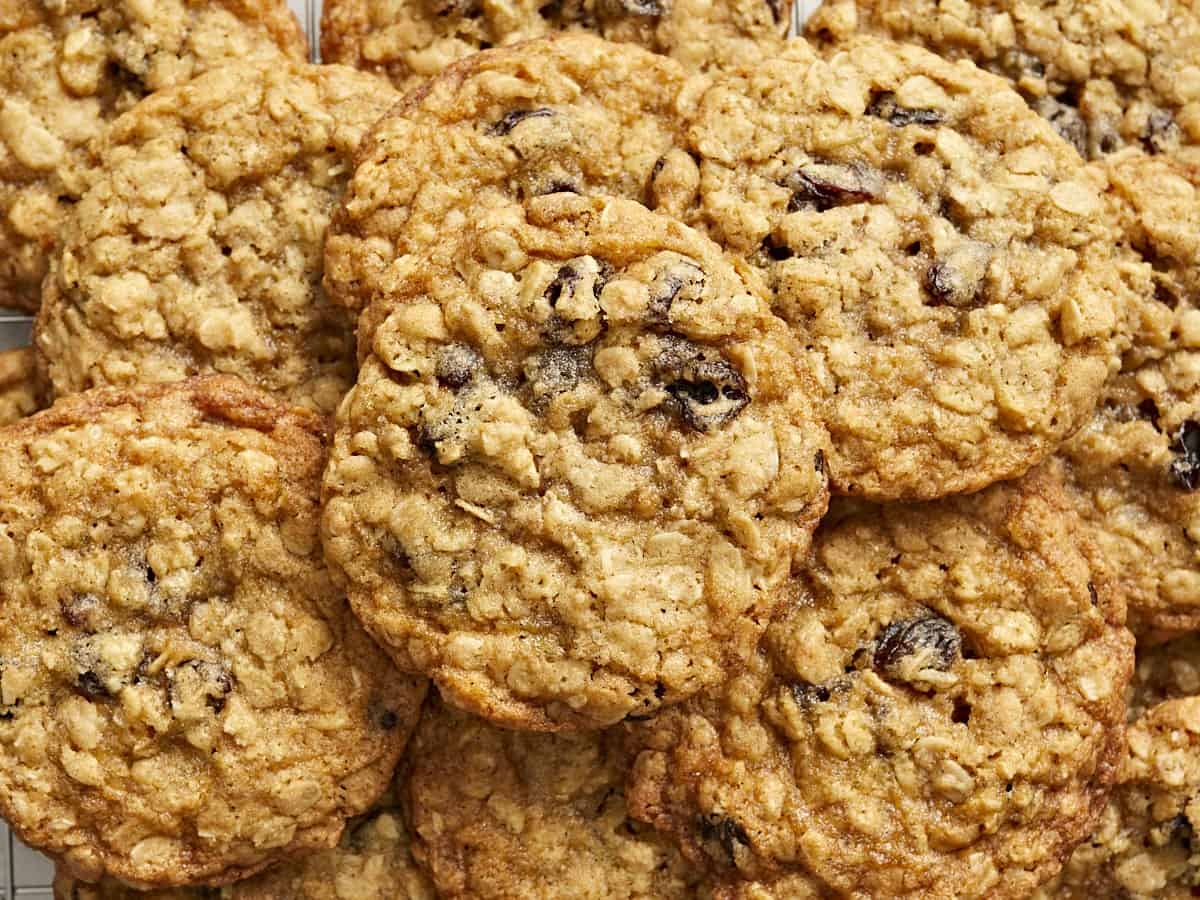
Very close up view of a pile of oatmeal cookies.

How to Make Oatmeal Cookies – Step by Step Photos

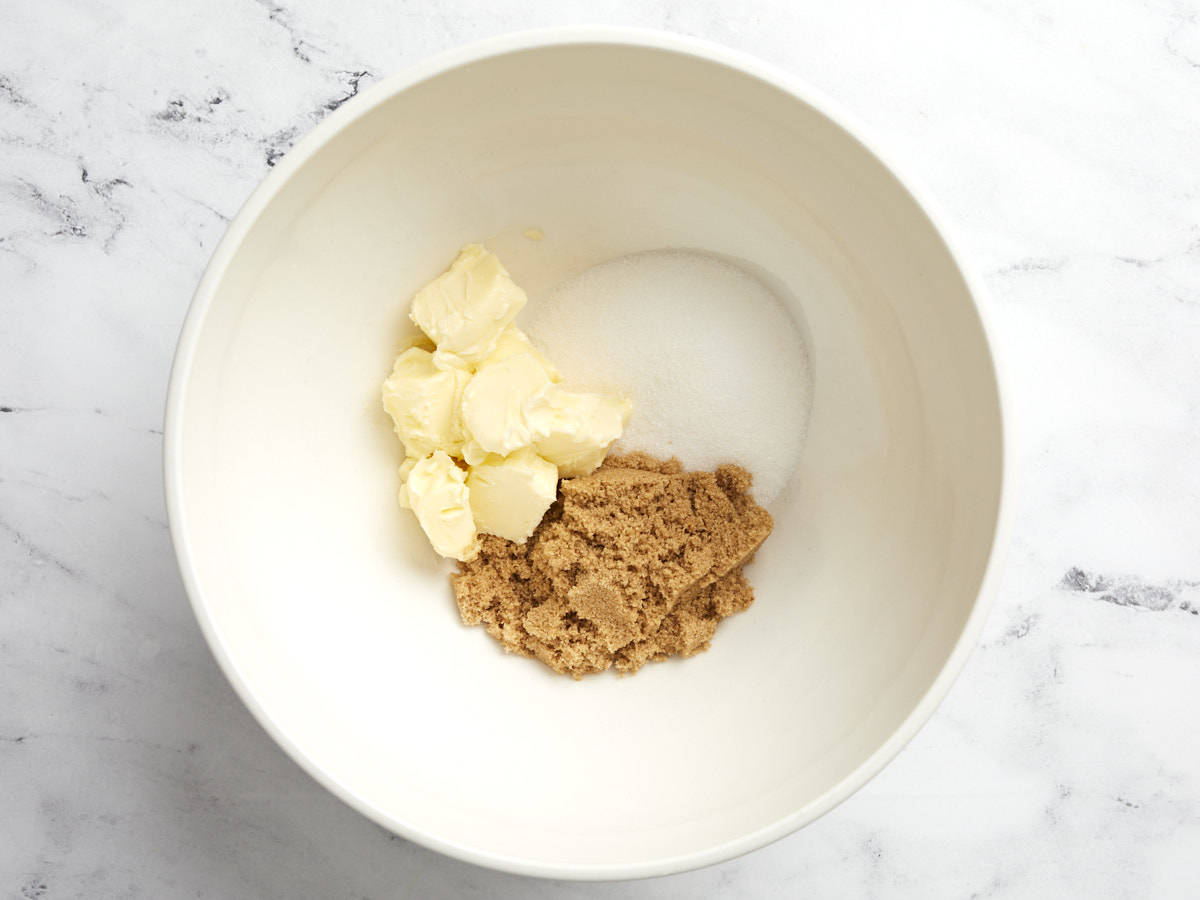
Butter, white sugar and brown sugar in a bowl.

Preheat the oven to 350°F. In a large mixing bowl, add 10 Tbsp of softened butter, 1/2 cup granulated white sugar, and 1/2 cup brown sugar. Blend the ingredients together with a hand mixer until smooth.

Egg and vanilla added to the sugar mixture in a bowl.

Add 1 egg and 1 tsp vanilla extract to the bowl and blend with the sugar mixture until smooth.

Flour, cinnamon and dry ingredients added to a bowl.

In a separate bowl, whisk together 1 cup all-purpose flour, 1/2 tsp salt, 1/2 tsp baking soda, and 1/2 tsp cinnamon until well combined.

Oats mixed with flour in a bowl.

Add 1 1/2 cups old-fashioned rolled oats to the dry ingredients and mix until combined.

Oat and flour mixture added to butter and sugar mixture in a bowl.

Add all of the dry ingredients to the same bowl as the sugar mixture. Blend the ingredients together with a hand mixer on low speed until just combined. Do not overmix.

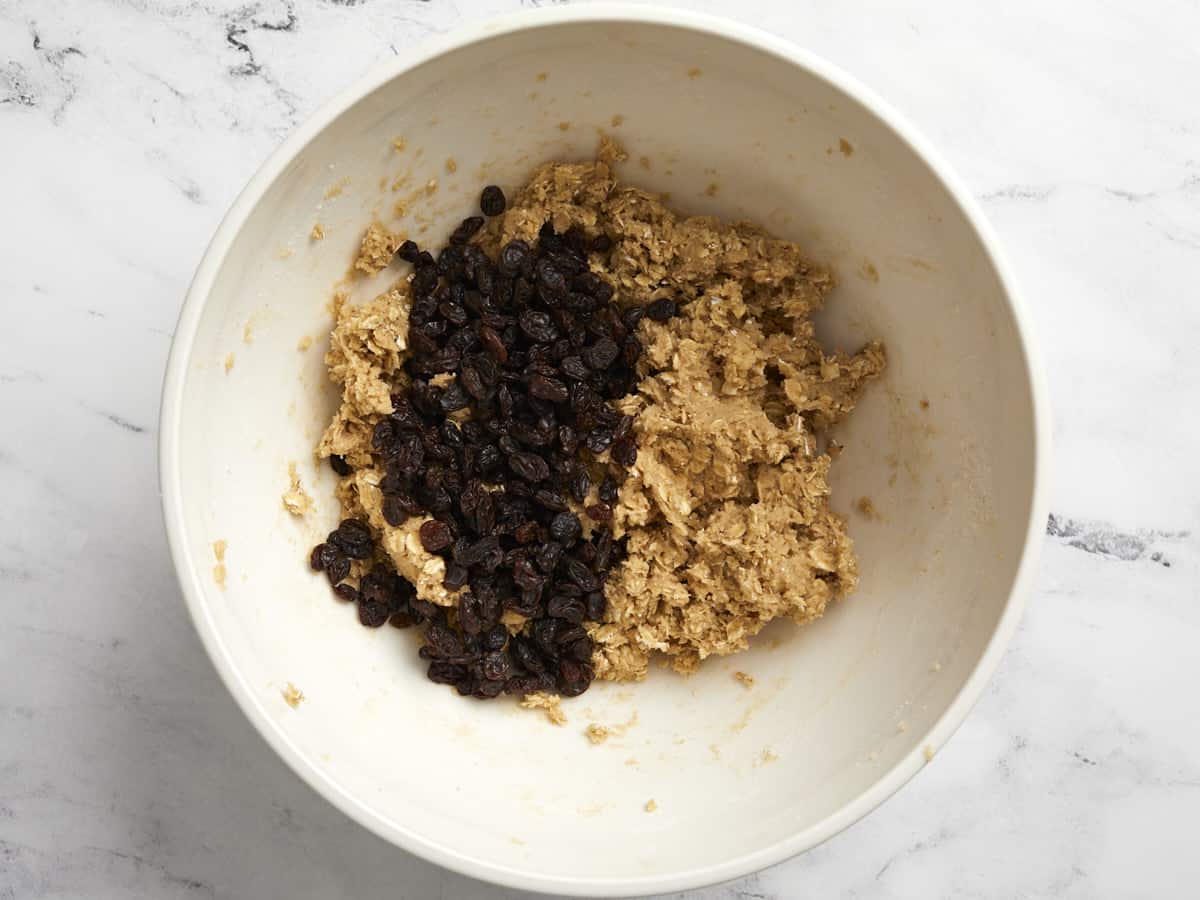
Raisins added to cookie batter in a bowl.

Next add 3/4 cup of raisins to the bowl and fold them into the cookie dough with a spatula.

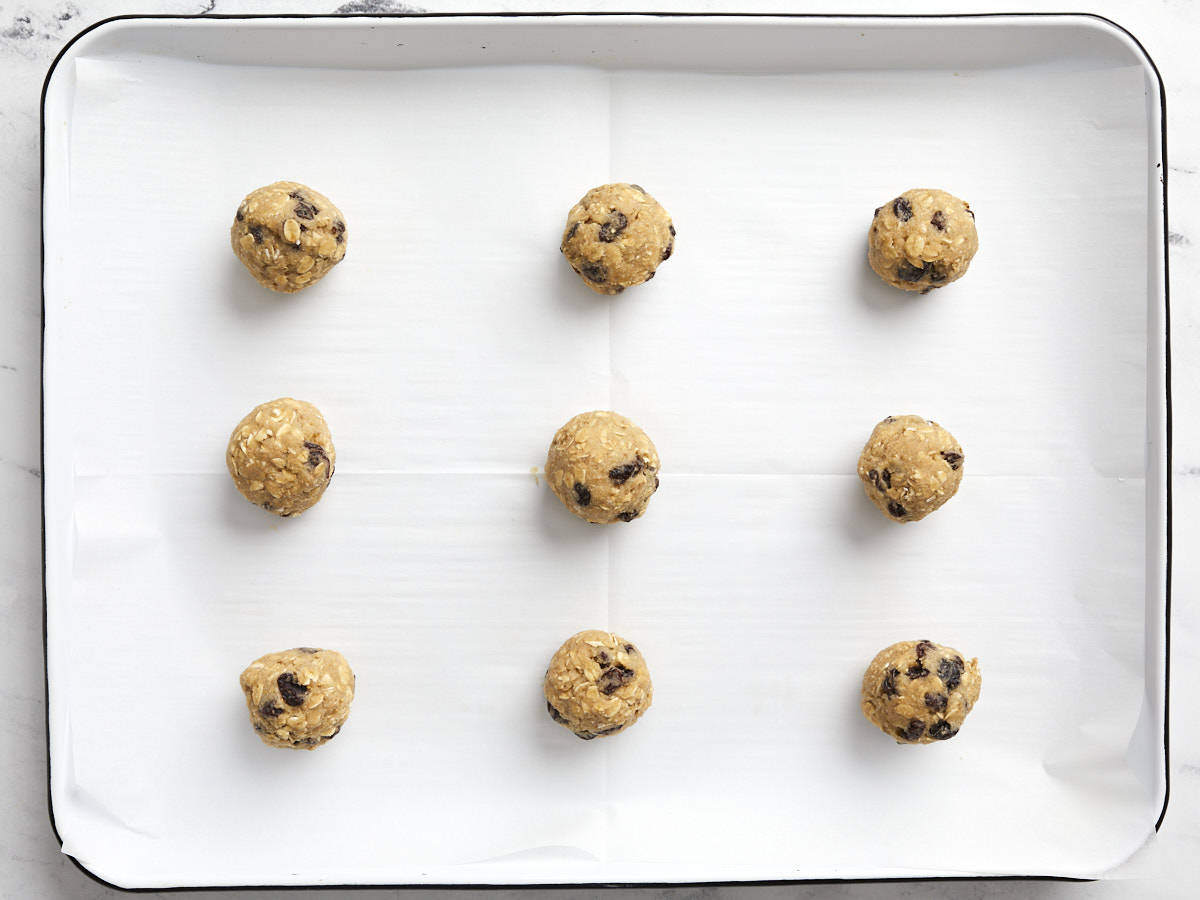
Cookie dough shaped on a parchment lined baking sheet.

Using a medium cookie scoop or your hands, scoop the cookie dough into roughly 2 Tbsp portions, then roll into a ball. Place the cookies on a parchment lined baking sheet about 2-3 inches apart. You’ll likely need to cook the cookies in two batches, so keep the remaining dough chilled until ready to roll and bake.

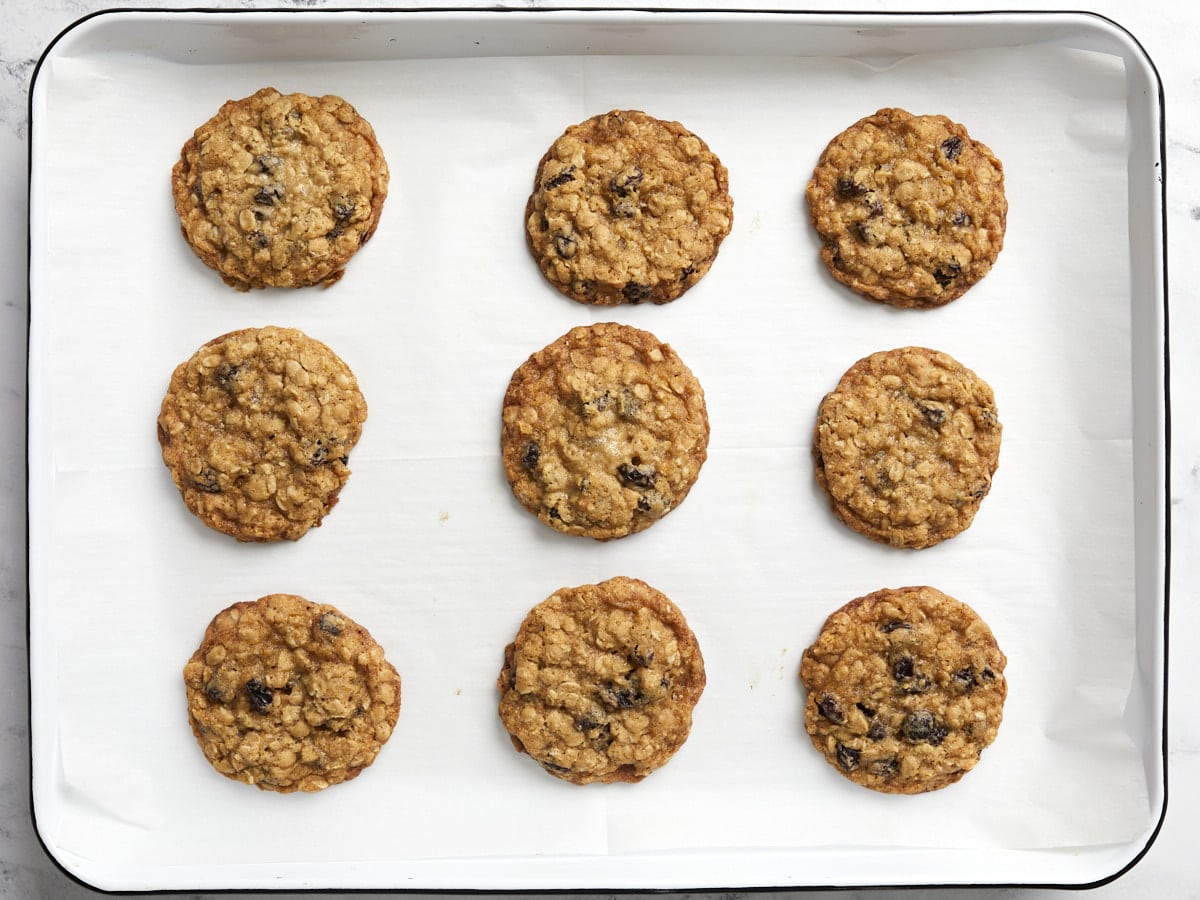
Baked oatmeal raisin cookies on a parchment lined baking sheet.

Bake the cookies for 13-14 minutes or until lightly golden brown. The center of the cookies may look too soft when you remove them from the oven, but keep in mind the cookies will continue to set as they cool.

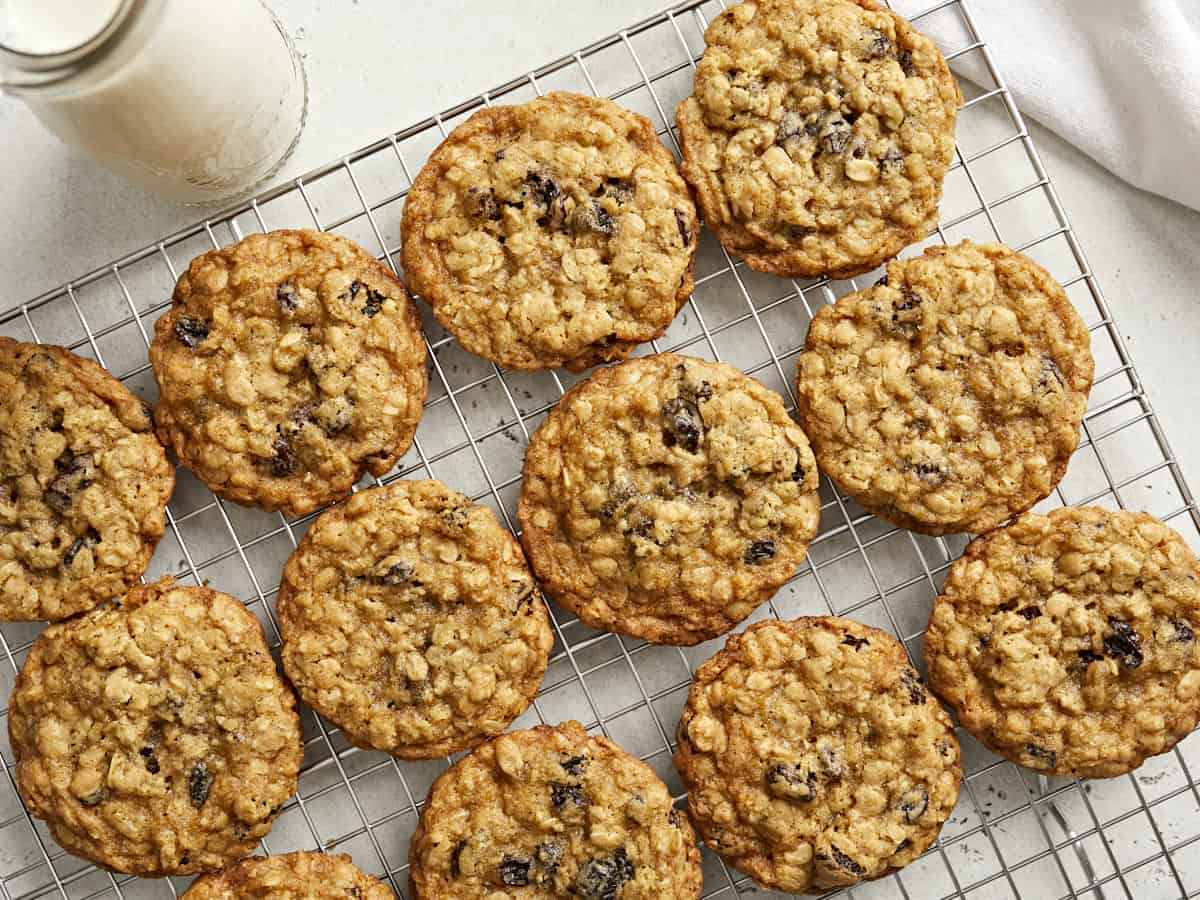
Overhead view of oatmeal raisin cookies on a cooling rack.

Let the cookies cool slightly on the baking sheet before transferring to a wire rack to cool completely. Enjoy these irresistible oatmeal cookies with a glass of milk or simply enjoy by themselves and don’t forget to share with your family and friends!😊

Overhead view of a pile of oatmeal cookies on a plate with a white napkin and a cup of milk on the side.

The post Oatmeal Cookies appeared first on Budget Bytes.

Apple Cinnamon Baked Oatmeal

This cozy apple cinnamon baked oatmeal is the perfect hot breakfast for cool fall mornings, and it’s great for meal prep, too!

The post Apple Cinnamon Baked Oatmeal appeared first on Budget Bytes.
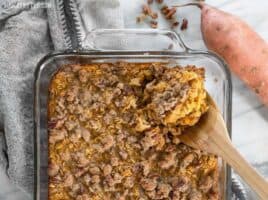
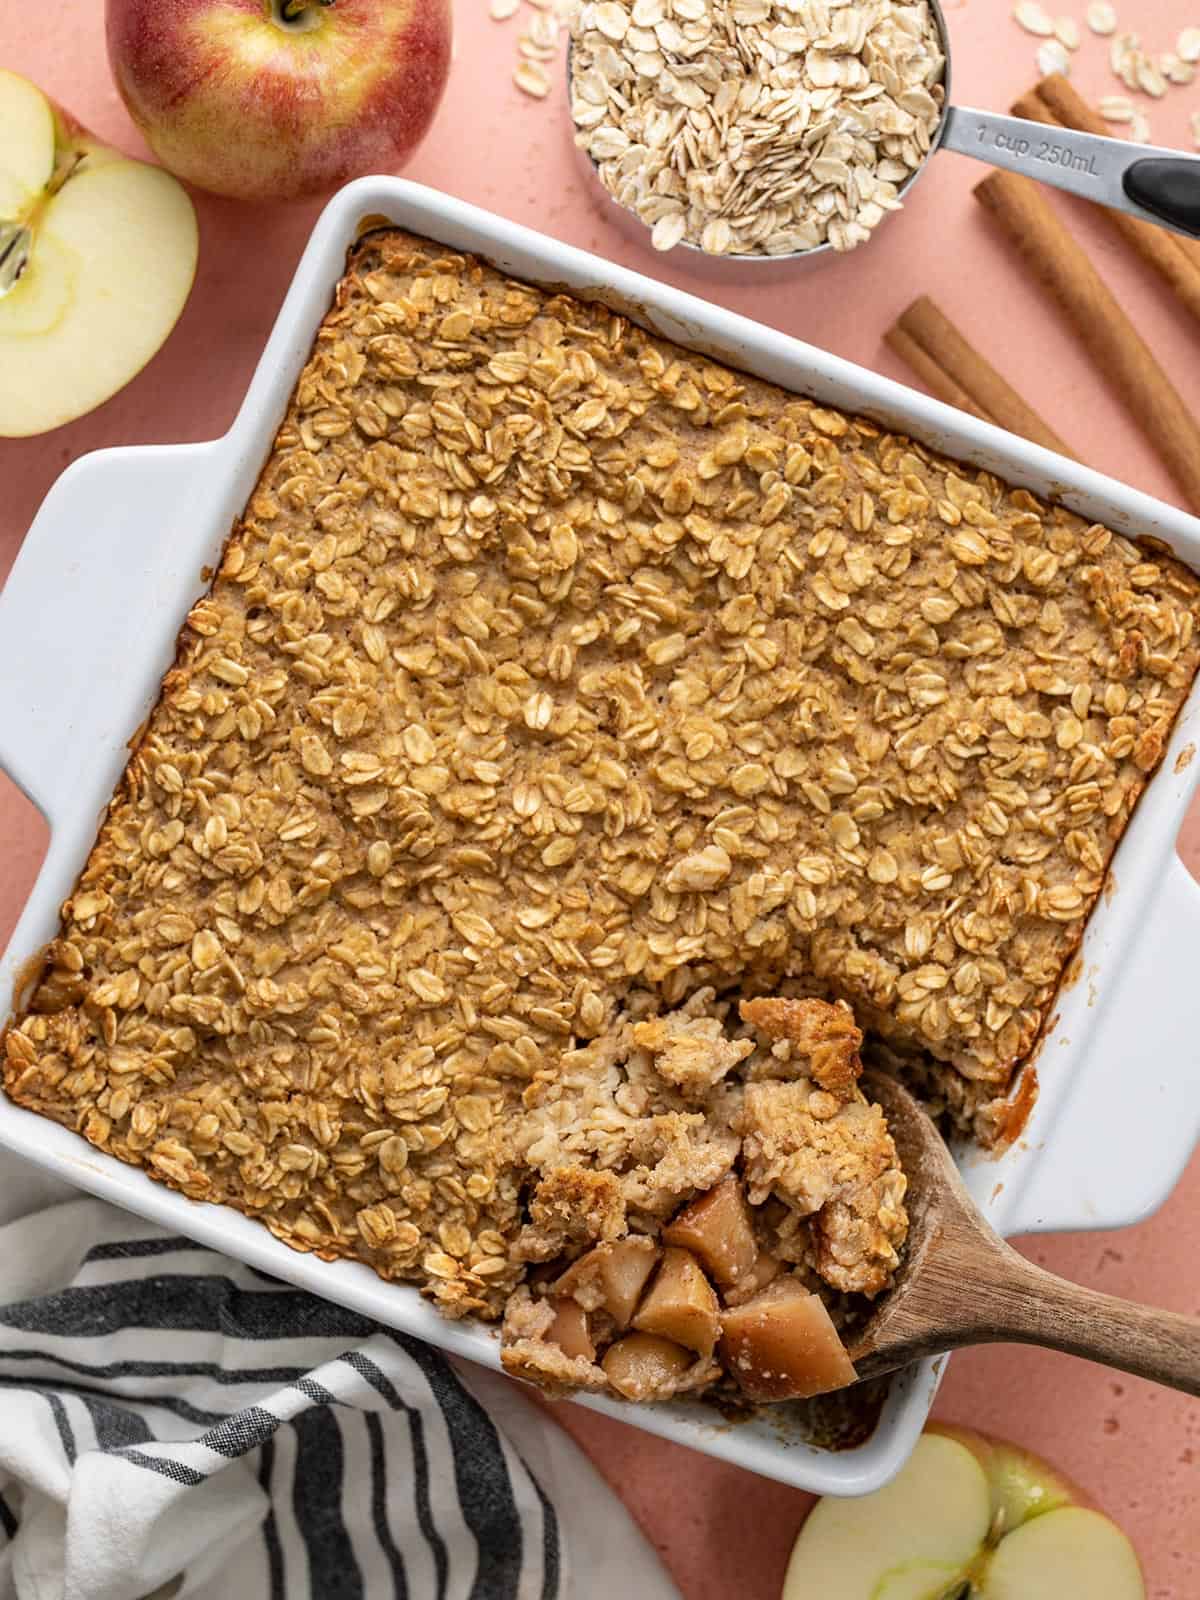
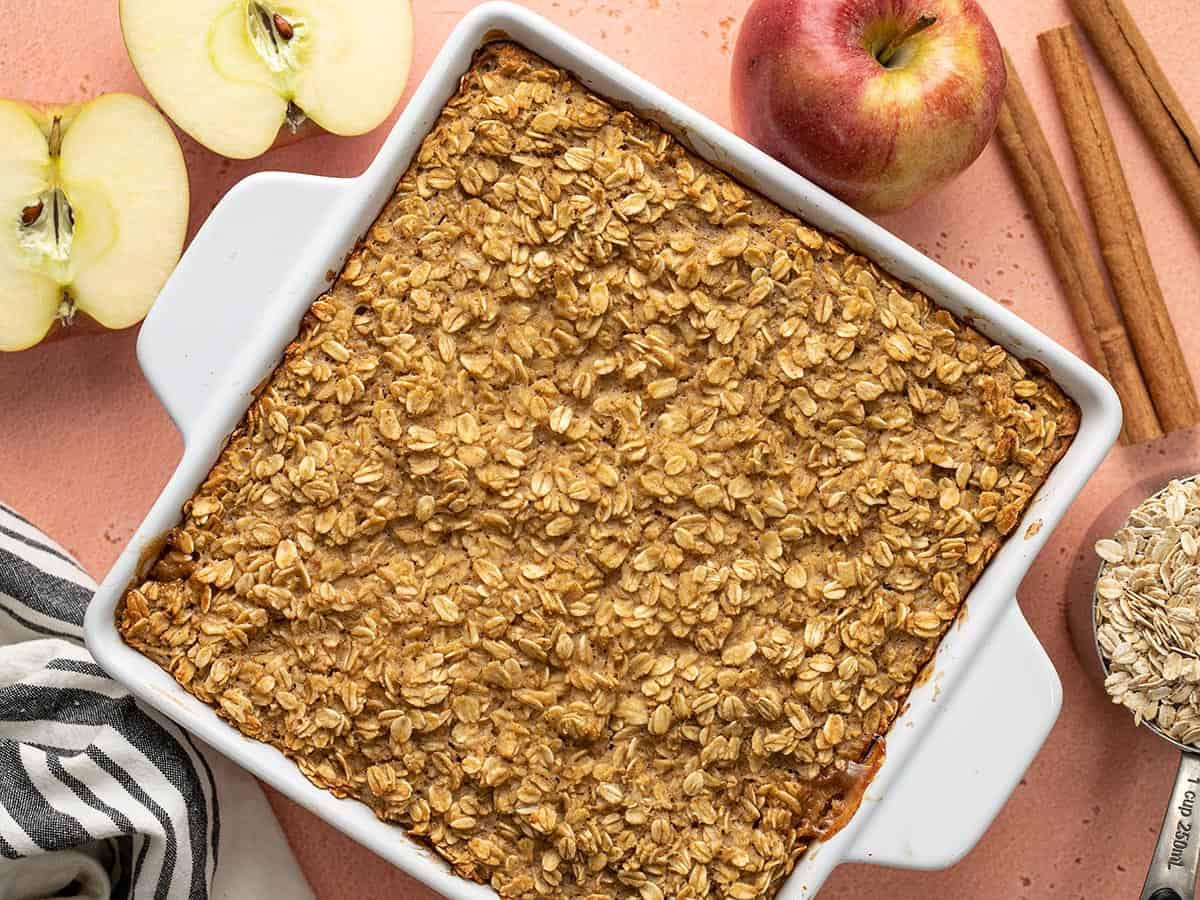
Who needs those autumn-themed candles when you’ve got Apple Cinnamon Baked Oatmeal in the oven? NO ONE. This warm and cozy oatmeal casserole, of sorts, is the epitome of fall vibes. Not only will this baked oatmeal make your house smell amazing, but it’s an easy way to meal prep breakfast for the week ahead. It’s cozy, delicious, filling, and EASY. 🙌

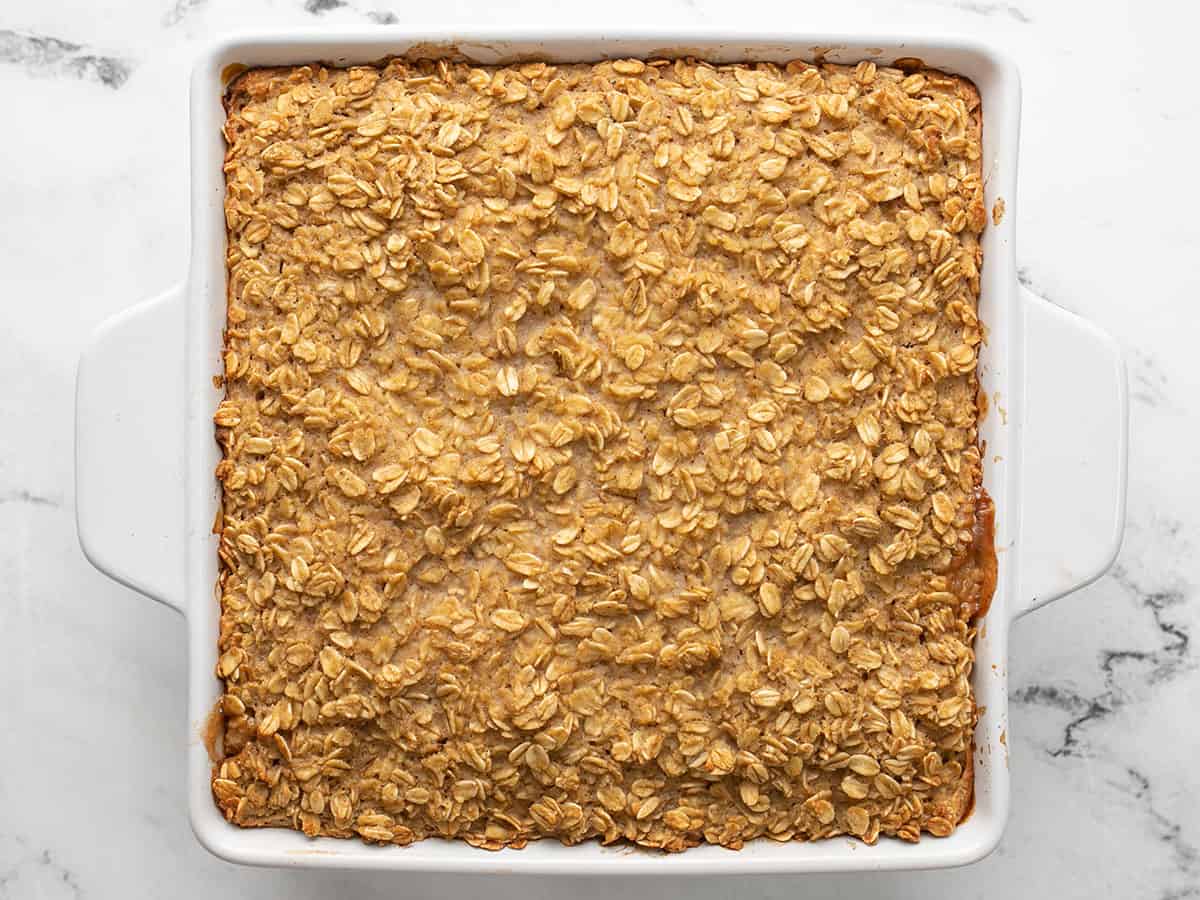
Overhead view of a casserole dish full of apple cinnamon baked oatmeal with the corner being scooped out.

What is Baked Oatmeal?

If you’re new to baked oatmeal, it’s kind of like bread pudding, but made with oats instead of chunks of bread. It’s sweet, rich, hearty, and absolutely amazing. The texture is soft and moist, but not goopy like traditional oatmeal can be, and it gets just a little bit crispy around the edges of the baking dish. You can eat it hot out of the oven and the leftovers can be eaten cold or reheated in the microwave. I like to pour a little cold milk over top for a delicious hot-cold combo. Baked oatmeal can also be frozen in single-serving containers for quick reheatable weekday breakfasts!

Ingredients for Apple Cinnamon Baked Oatmeal

This apple cinnamon baked oatmeal combines our usual baked oatmeal base with apples that are coated in a little cinnamon and sugar, and then baked until they form an apple pie-like layer on the bottom of the oats. Here are the ingredients you’ll need to make this incredible apple cinnamon baked oatmeal:

  • Fresh apples: Pick a sweet or semi-sweet variety of apple, like Fuji, Gala, or Honeycrisp. And, of course, take advantage of the fresh fall apples for the best price and flavor!
  • Oats: Make sure to use old-fashioned rolled oats for this recipe, not quick oats or minute oats, to achieve the best texture. Quick oats are too thin and will create a mushier texture.
  • Milk and eggs: Milk and eggs create a custard that keeps the baked oats soft, tender, and moist. I like to use whole milk, but you can substitute it with non-dairy milk if needed.
  • Brown sugar and applesauce: Using both broth sugar and applesauce to sweeten the baked oatmeal creates an even bigger apple pie-like flavor without having to use too much added sugar.
  • Spices: Cinnamon, cloves, and vanilla make these baked oats that classic fall aroma!
  • Lemon juice: A little lemon juice brightens up the baked apples and really makes their flavor shine.
  • Cornstarch and baking powder: These two ingredients are added for texture. The cornstarch helps thicken the apple juices as they bake, creating a pie-filling-like texture. The baking powder lightens the oat mixture just a touch so it’s not quite so heavy.

How to Serve Apple Cinnamon Baked Oatmeal

Baked oatmeal is pretty versatile. You can eat it either hot OR cold. I love it just out of the oven with a little cold milk poured over top, but it’s also great cold after it’s been refrigerated overnight. You can top it with some nuts or even some whipped cream for an even more dessert-like treat!

How to Store The Leftovers

After baking, divide the oatmeal into single-serving portions and refrigerate until completely cool. The baked oatmeal can be stored in the refrigerator for 4-5 days, or you can transfer it to the freezer for longer storage (about three months). Refrigerated or frozen baked oatmeal can be reheated quickly in the microwave.

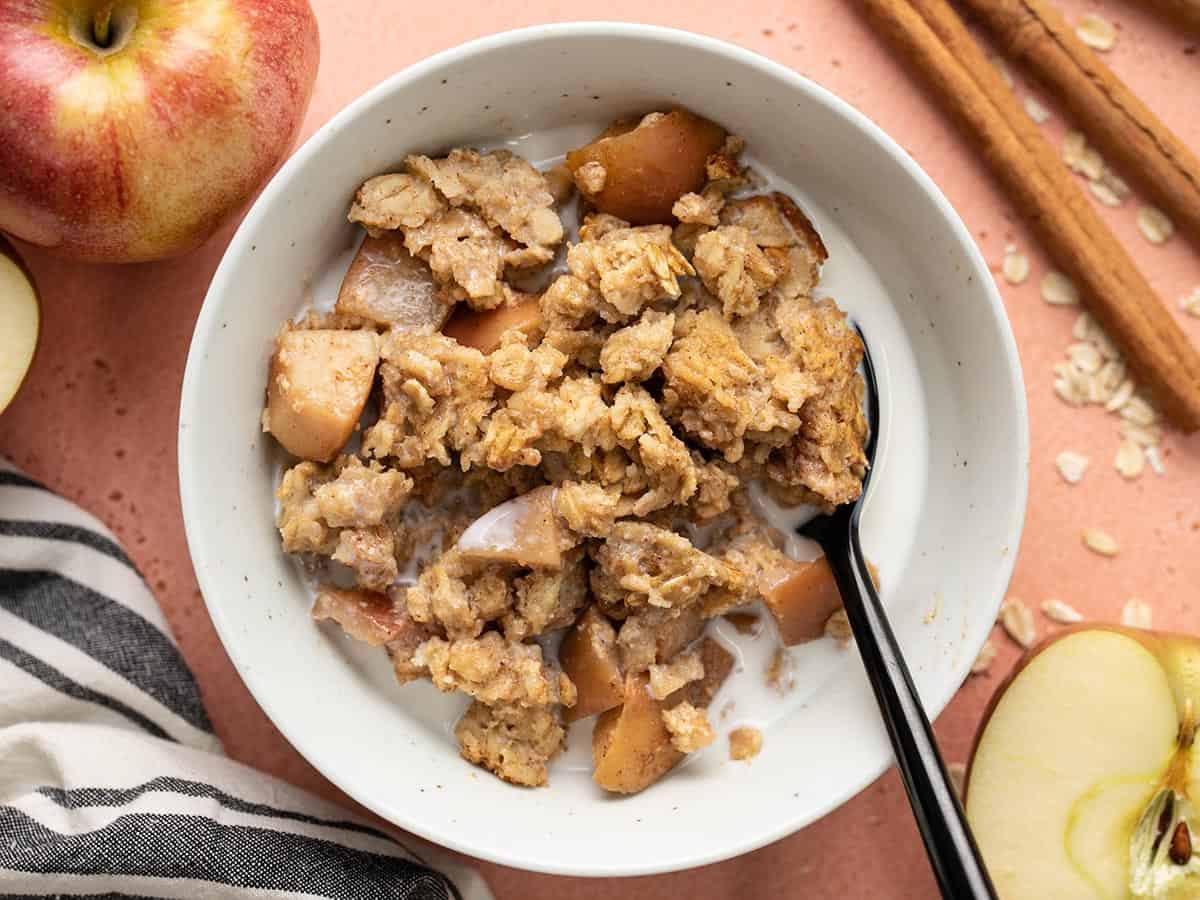
A bowl full of apple cinnamon baked oatmeal with milk.
Overhead view of a casserole dish of apple cinnamon baked oatmeal with the corner being scooped out.
Print

Apple Cinnamon Baked Oatmeal

This cozy apple cinnamon baked oatmeal is the perfect hot breakfast for cool fall mornings, and it's great for meal prep, too!
Course Breakfast, Brunch
Cuisine American
Total Cost $5.92 recipe / $0.99 serving
Prep Time 15 minutes
Cook Time 45 minutes
Total Time 1 hour
Servings 6 (about 1.3 cups each)
Calories 336kcal

Ingredients

Baked Apple Layer

  • 4 medium apples (about 2 lbs. total) $2.66
  • 1 Tbsp lemon juice $0.06
  • 2 Tbsp brown sugar $0.06
  • 1 Tbsp cornstarch $0.03
  • 1/2 tsp cinnamon $0.05
  • 1/8 tsp cloves $0.02

Baked Oatmeal Layer

  • 1.5 cups unsweetened applesauce $0.91
  • 1/4 cup brown sugar $0.12
  • 2 large eggs $0.18
  • 1 tsp vanilla extract $0.59
  • 1 tsp salt $0.05
  • 1 tsp baking powder $0.06
  • 1 tsp cinnamon $0.10
  • 1.5 cups milk* $0.72
  • 2.5 cups old-fashioned rolled oats $0.72

Instructions

  • Preheat the oven to 375ºF. Core and dice the apples.
  • Place the diced apples in the bottom of a 9×9-inch (or 2 qt.) casserole dish. Add the lemon juice, brown sugar, cornstarch, cinnamon, and cloves. Stir until the apples are coated in sugar and spices.
  • Cover the dish with foil and bake for 15 minutes.
  • While the apples are baking, prepare the baked oatmeal mixture. In a large bowl, whisk together the applesauce, brown sugar, eggs, vanilla, salt, baking powder, and cinnamon. Then add the milk and whisk to combine again.
  • Finally, stir the dry oats into the applesauce mixture and stir until fully combined.
  • After the apples come out of the oven, give them a good stir, then pour the oat mixture over top. Return the dish to the oven (uncovered) and bake for an additional 30 minutes.
  • After baking for 30 more minutes the oats should be golden brown on top and you may see some of the apple cinnamon layer bubbling up around the edges. Let the oats cool for about five minutes before serving.

See how we calculate recipe costs here.

Notes

*I use whole milk but you can use any type of milk, including non-dairy varieties.

Nutrition

Serving: 1.3cups | Calories: 336kcal | Carbohydrates: 64g | Protein: 9g | Fat: 6g | Sodium: 514mg | Fiber: 7g
Overhead view of a casserole dish full of apple cinnamon baked oatmeal with ingredients on the sides.

How to Make Apple Cinnamon Baked Oatmeal – Step by Step Photos

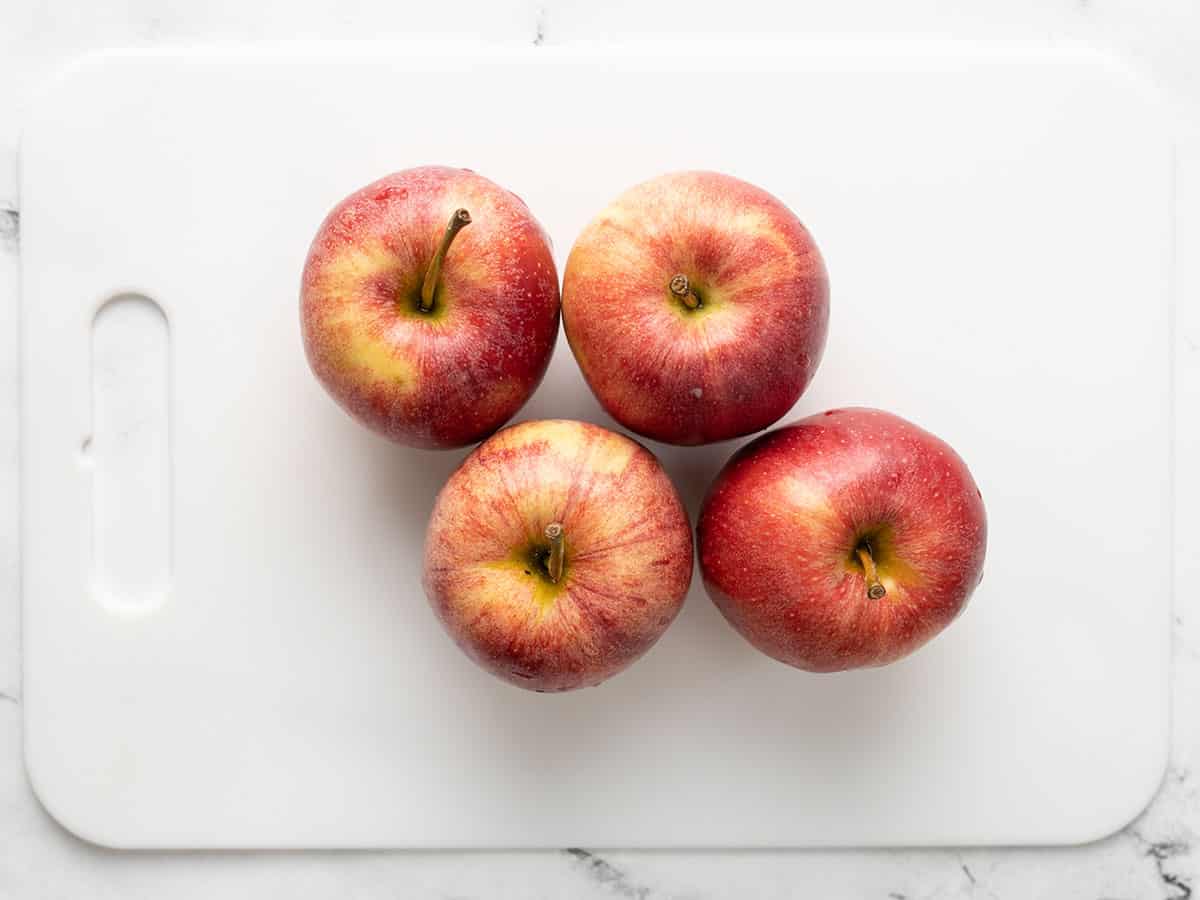
Four apples on a cutting board.

Preheat the oven to 375ºF. Core and dice four medium apples (about ½ lb. each).

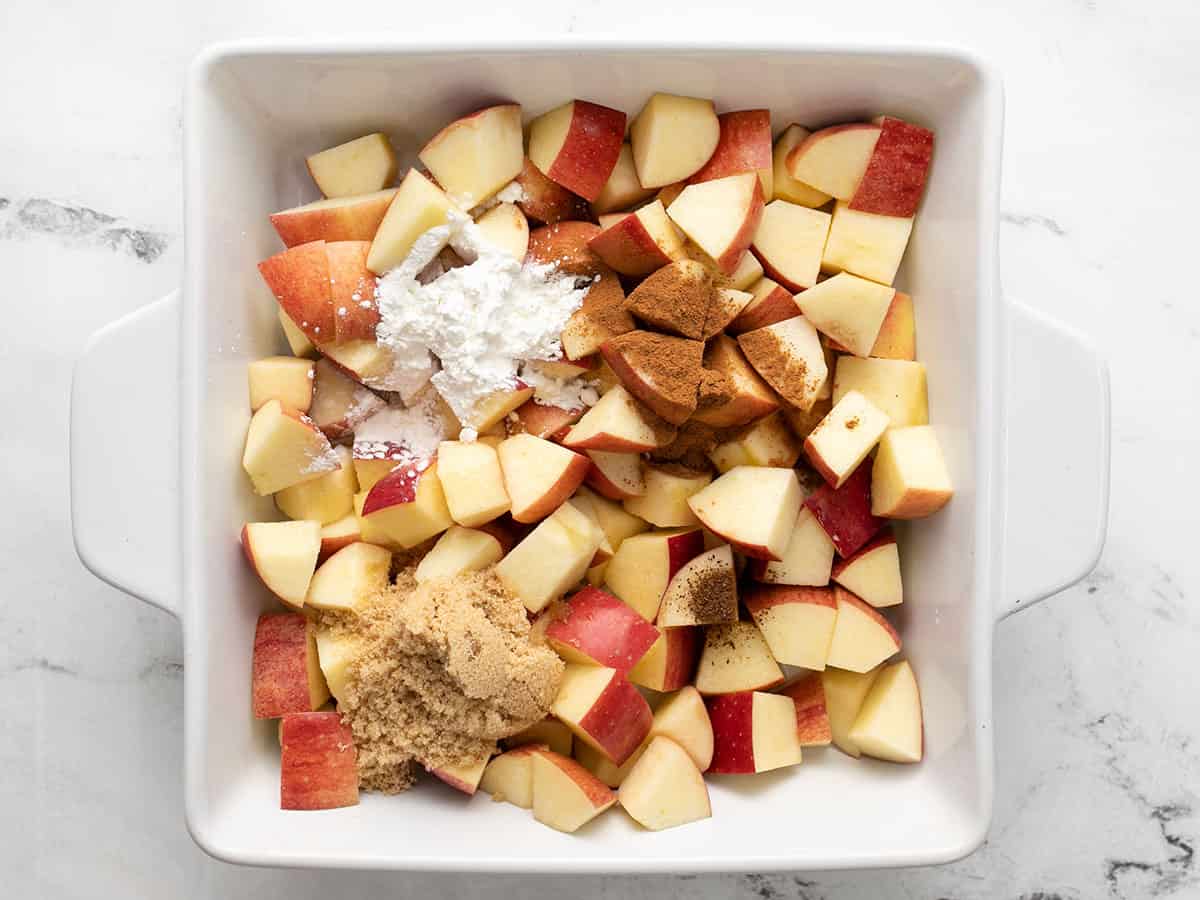
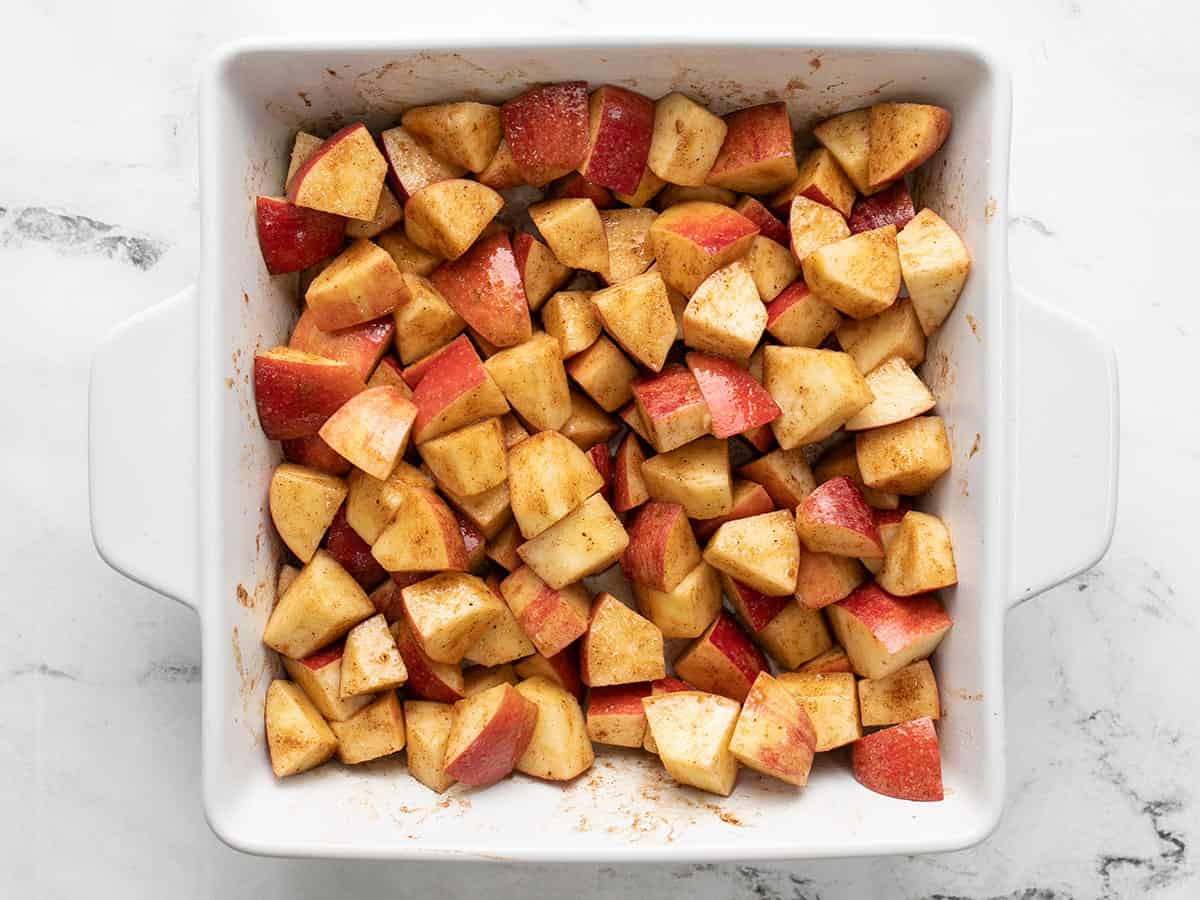
Apples in the casserole dish with sugar, spices, and cornstarch added.

Place the apples in the bottom of a 9×9-inch or 2-quart casserole dish. Add 1 Tbsp lemon juice, 2 Tbsp brown sugar, 1 Tbsp cornstarch, ½ tsp cinnamon, and ⅛ tsp cloves. Stir until the apples are evenly coated in sugar and spices.

Baked apples in the casserole dish.

Cover the dish with foil and bake the apples for 15 minutes in the preheated 375ºF oven.

Eggs, applesauce, sugar, and spices in a bowl.

While the apples are baking, begin preparing the oat mixture. In a large bowl, whisk together 2 large eggs, 1.5 cups unsweetened applesauce, 1 tsp vanilla, 1 tsp salt, 1 tsp baking powder, 1 tsp cinnamon, and ¼ cup brown sugar.

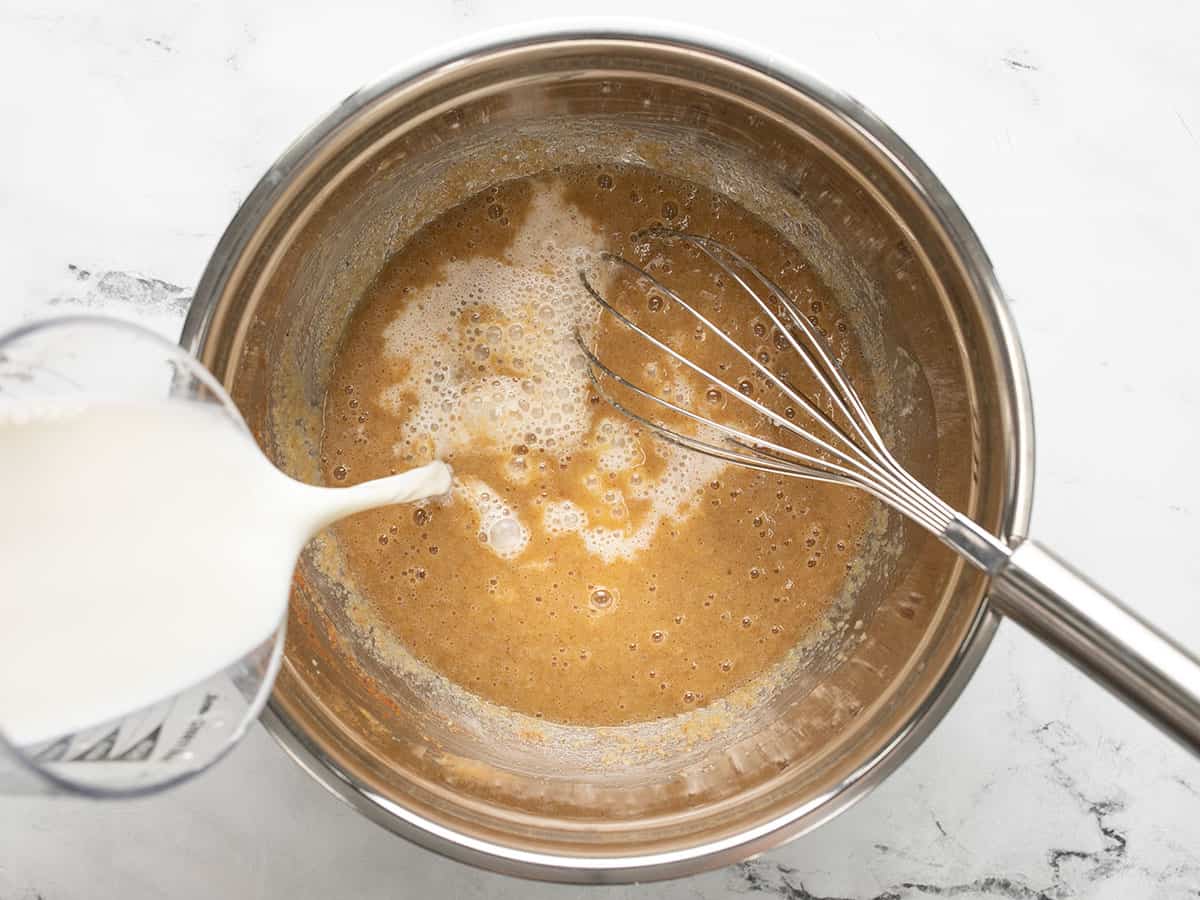
Milk being poured into the bowl of applesauce mixture.

Add 1.5 cups milk to the applesauce mixture, then whisk again to combine.

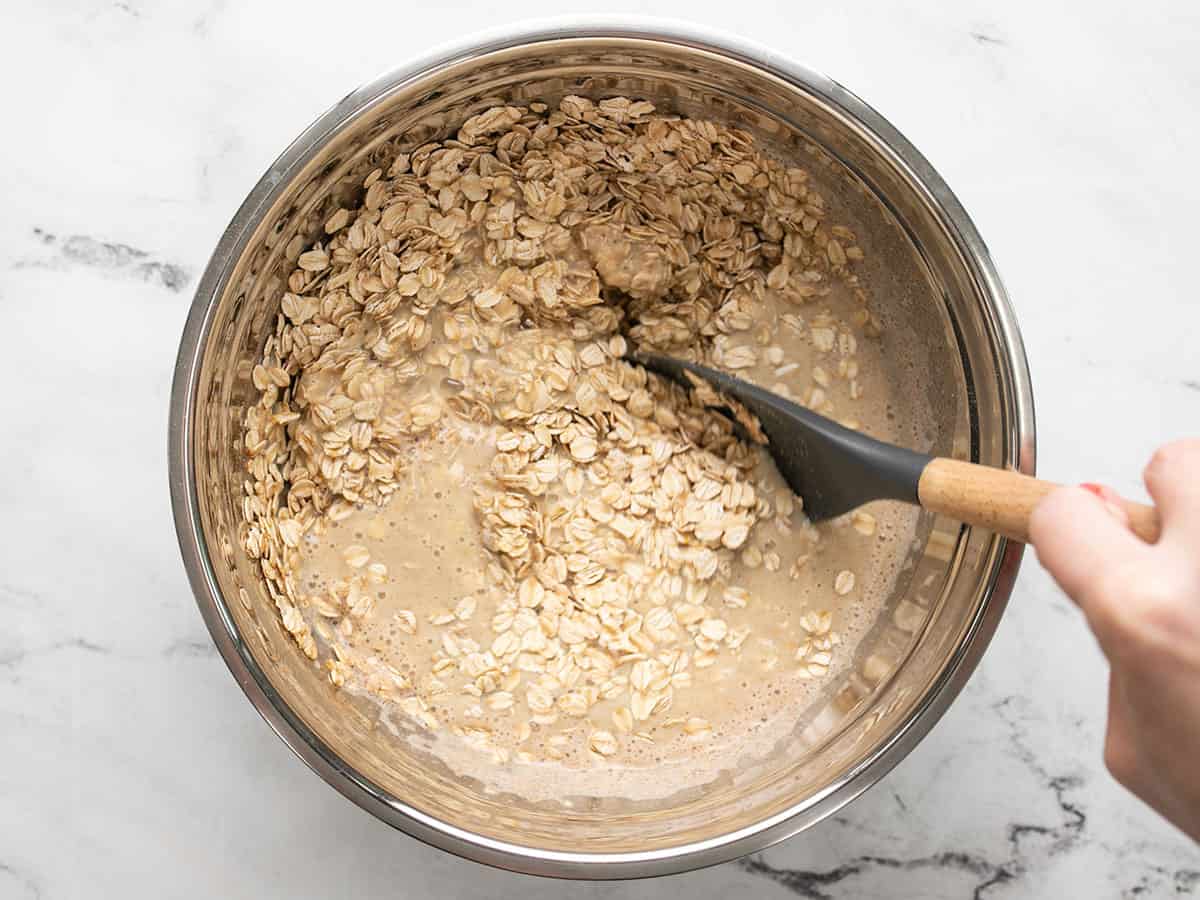
Dry oats stirred into the applesauce and milk mixture.

Add 2.5 cups rolled oats (not quick oats) and stir until everything is evenly combined.

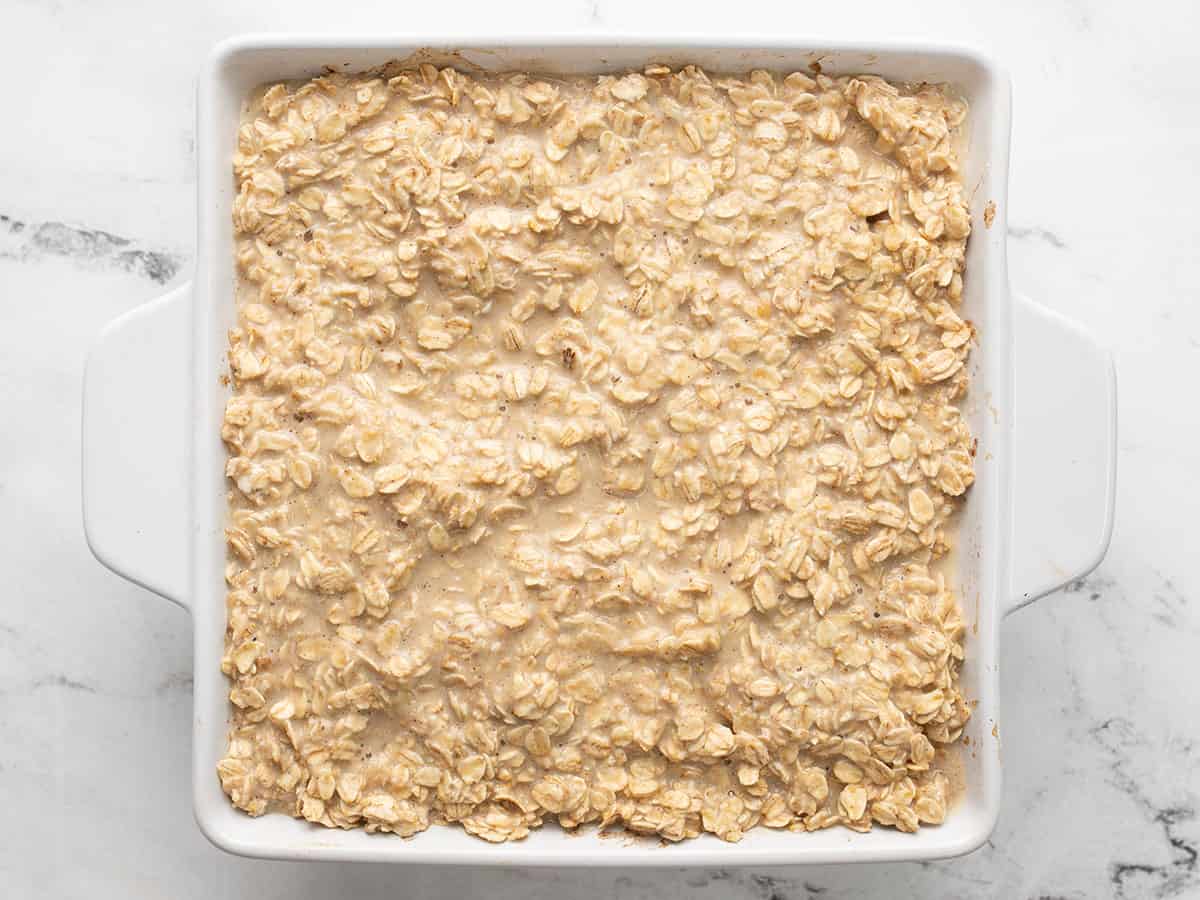
Oat mixture in the casserole dish on top of the baked apples.

After the baked apples come out of the oven, give them a stir, then pour the oat mixture over top of the apples. Place the dish back into the oven (uncovered) and bake for 30 minutes more.

Baked oatmeal in the casserole dish from above.

After 30 minutes the oats should be golden brown around the edges and you might see some of the apple cinnamon layer bubbling up around the edges. Remove the baked oatmeal from the oven and let it cool for about 5 minutes before serving.

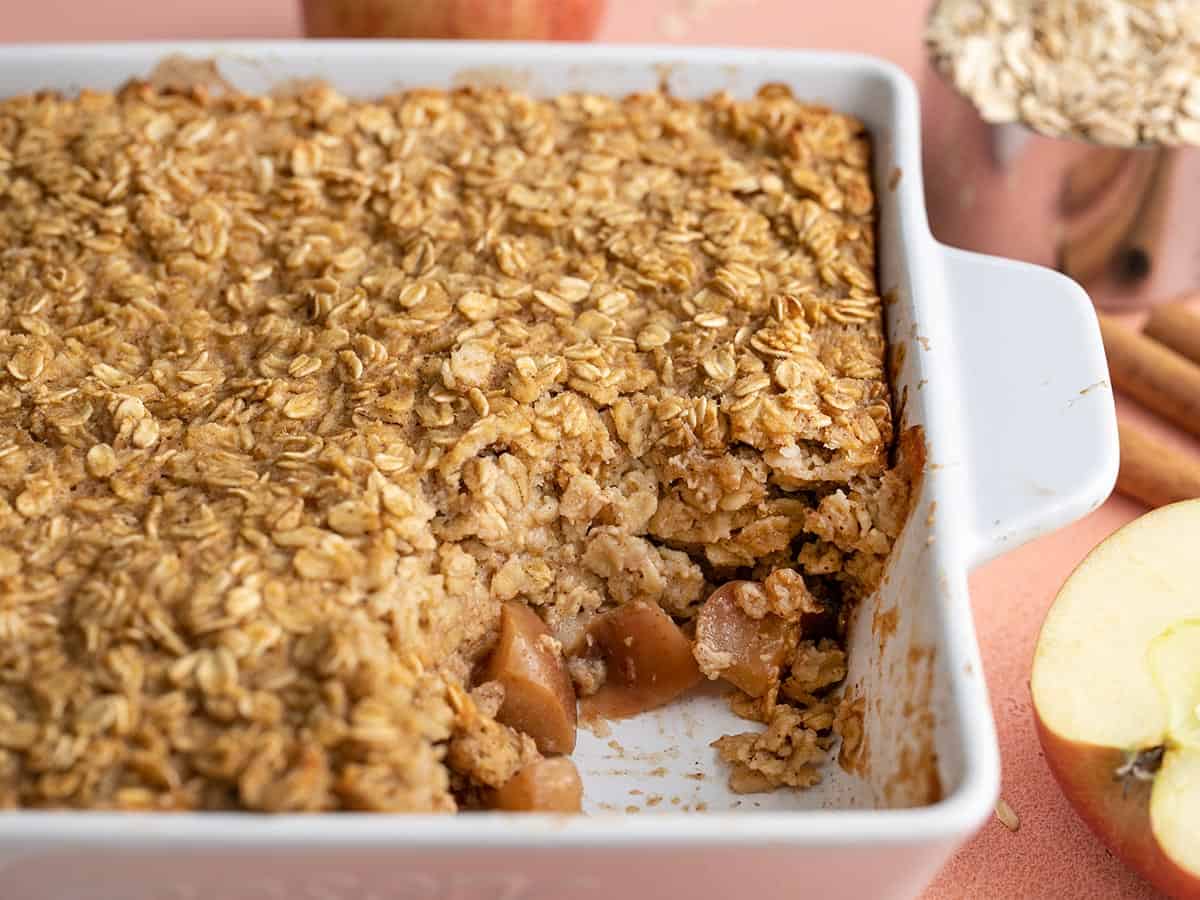
Side view of a casserole dish full of apple cinnamon baked oatmeal with a portion scooped out.

The bottom layer will be sweet and tender baked apples and the top layer will be a soft baked oatmeal. SO GOOD!

Milk being poured into a bowl of apple cinnamon baked oatmeal.

I like to eat my apple cinnamon baked oatmeal with a splash of cold milk on top!

The post Apple Cinnamon Baked Oatmeal appeared first on Budget Bytes.

How to Make Oat Milk

Learn how to make oat milk with just four simple ingredients and enjoy the creamiest, most refreshing oat milk for pennies on the dollar.

The post How to Make Oat Milk appeared first on Budget Bytes.

This one goes out to all of my lactose-intolerant friends out there! If you’re not already making your own homemade oat milk, promise me you’ll try this recipe. Because they’re charging waaaaay too much for it at the store, considering how simple it is to make. It literally takes about five minutes and it tastes SO GOOD. Like, I usually feel kind of “meh” about oat milk, but I wanted to guzzle the entire batch because it was so cool, creamy, and refreshing. So promise me you’ll bookmark this page and give it a try this weekend, K?

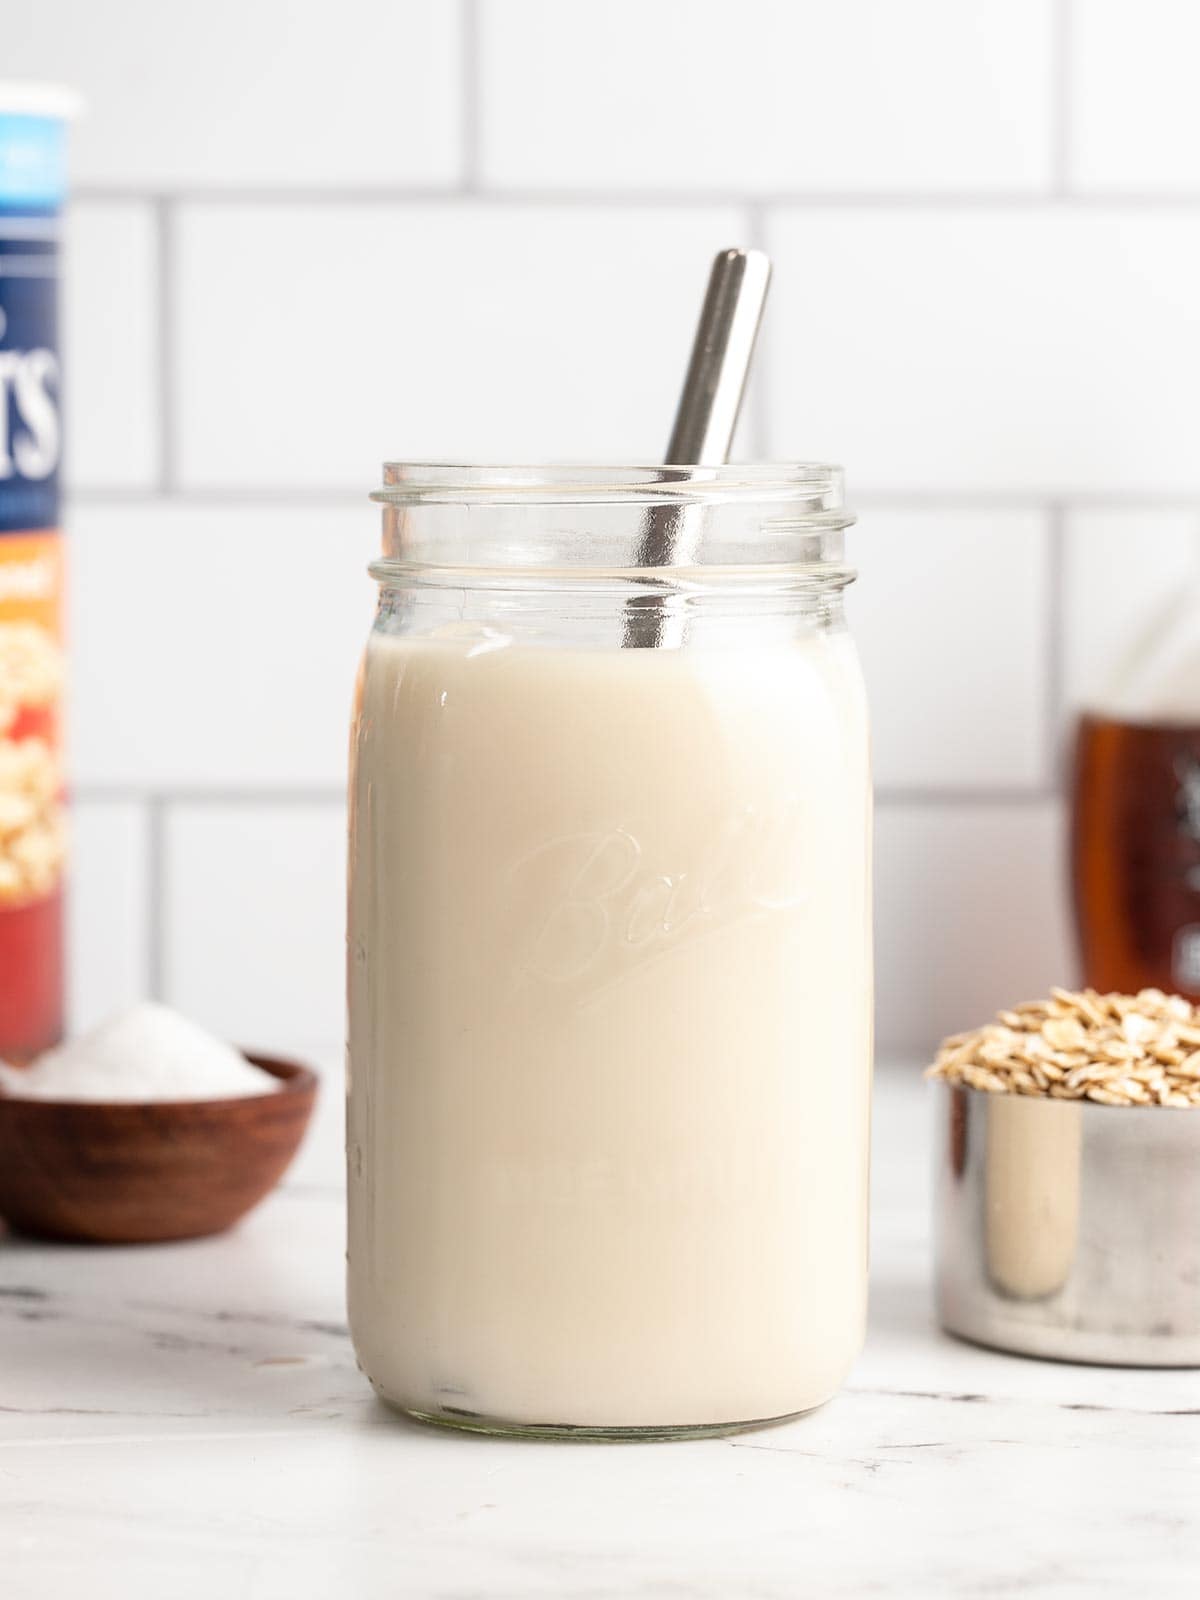
A jar of oat milk with a metal straw and ingredients in the background.

What’s in Oat milk?

When I tell you how simple this oat milk is, you might have a little heart attack when you realize how much you’ve been paying for it at the store. Oat milk is literally just oats, water, salt, vanilla (optional), and a sweetener (optional). That’s it. Five simple ingredients! Here’s a little more detail about what I used to make my homemade oat milk:

  • Oats – I tested both old-fashioned rolled oats and quick oats for this recipe and old-fashioned oats were the clear winner. Old-fashioned rolled oats break down just enough when blended to yield a creamy milk that is not too thick or slimy. Quick oats are so powdery to begin with that they completely disintegrated in the water and make a thick, sludge-like oat milk. #nothanks
  • Water – Make sure to use cold water to make your homemade oat milk so the starches in the oats don’t get too hydrated. That will lead to thick and slimy oat milk.
  • Salt – Just a pinch will do! Salt helps our tongues differentiate between flavors so you can taste the full dimensions of vanilla, sweet, and creamy.
  • Vanilla – I think adding a little vanilla really rounds out the flavor of the oat milk so it’s more interesting and enjoyable. You can skip it, but I really feel like the vanilla takes the oat milk from good to GREAT.
  • Sweetener – A little bit of sweetness goes a long way with oat milk. I used brown sugar because it offered a good balance between being budget-friendly and adding a slight caramel flavor from the molasses, but maple syrup is even more delicious (just more expensive). Other options are white sugar, honey, agave, stevia, monk fruit, or any other sweetener that dissolves easily in water.
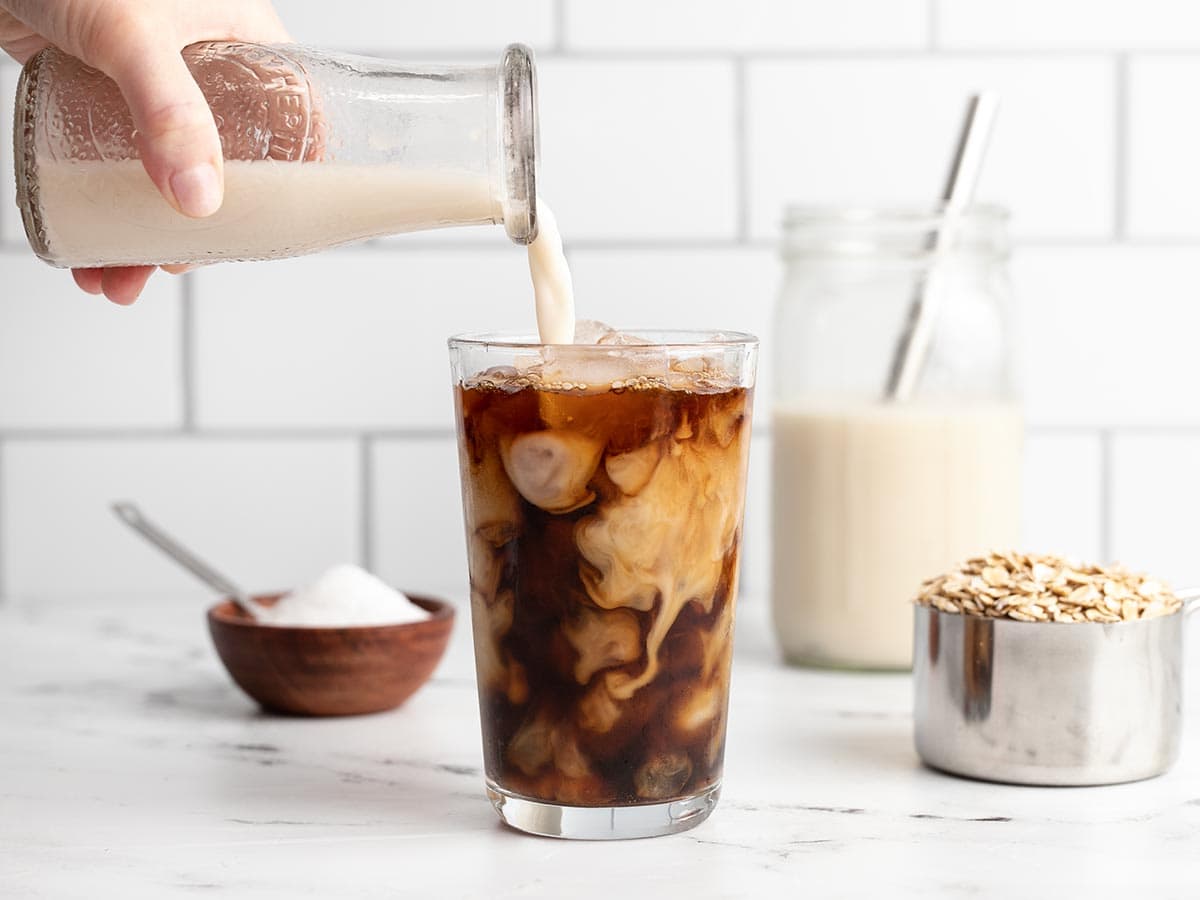
Oat milk being poured into an iced coffee from a glass carafe.

What kind of Strainer to Use

Straining is one of the most important steps in the oat milk-making process because it can change the texture of the oat milk quite a bit. I tested a few different methods for straining so I could give you some options. Here’s what I found:

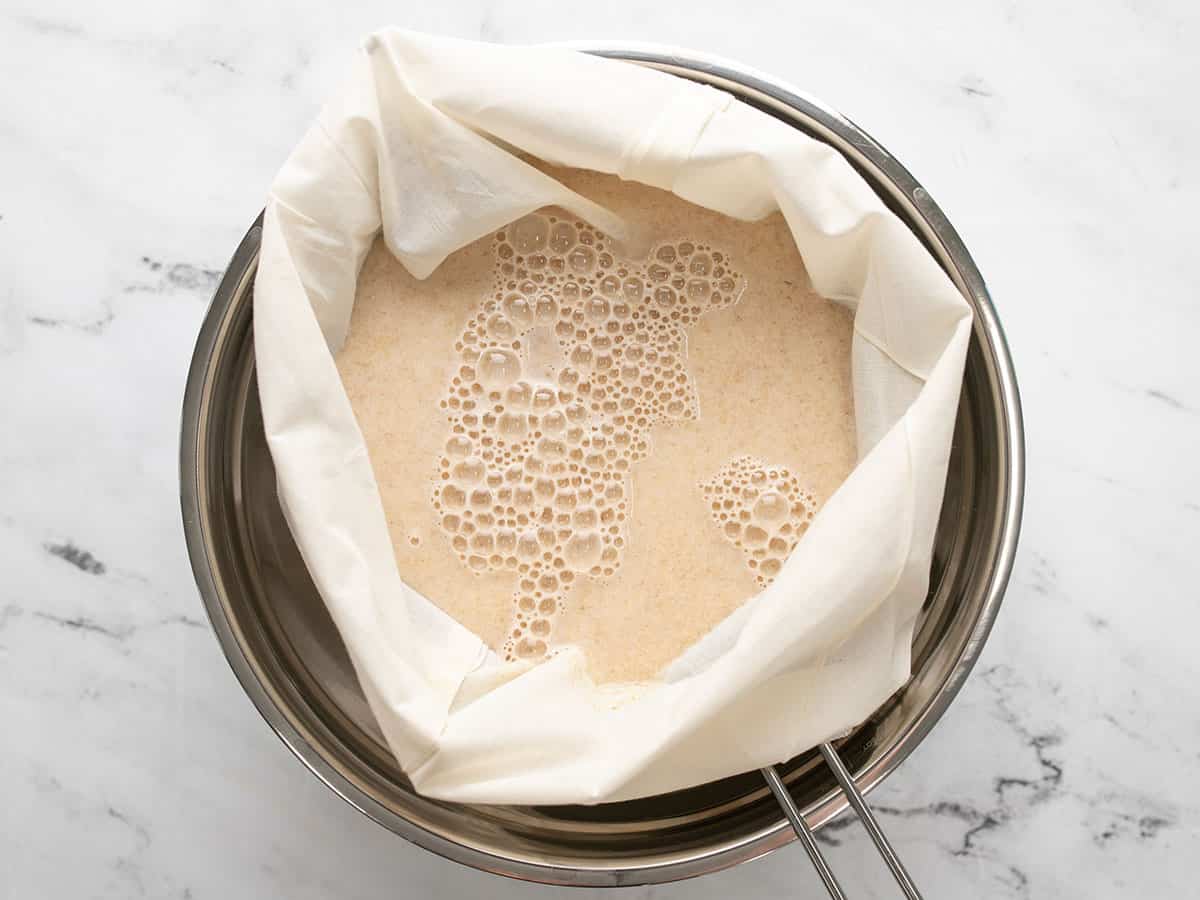
  • Nut Bags or Cheesecloth: These are great options if you plan to make a lot of oat milk because they’re inexpensive and most can be laundered and re-used (check the package for the cheesecloth because depending on the quality, some are not reusable). The key to using nut bags and cheesecloth is to NOT squeeze the liquid through the cloth. Squeezing allows too many starches through, making the oat milk thick and slimy.
  • Metal Strainers or Sieves: Metal strainers have quite a large weave and they allow a lot of the oat particulate through, which can result in a thick and powdery-flavored milk. Stacking two strainers on top of each other does help a lot, if this is your only option.
  • Lint-Free Dishcloth: The weave on a dishcloth is pretty tight, which makes it hard for the oat milk to flow through. I found this method to be pretty messy and I had to squeeze the oats to get the milk to pass through, which can lead to a slimy oat milk.
  • Metal Coffee Filter: Metal coffee filters were my favorite strainer for oat milk! It created just the right texture for the milk and was easy to clean and reuse. So if you happen to have one of these on hand, or want to make an investment for oat milk-making, this is the best option!

Can you Froth Homemade Oat milk?

I tried frothing this homemade oat milk with a handheld frother, and, unfortunately, it does not create a nice foam. Oats do not contain a lot of fat or protein, which is needed to create a stable foam, so store-bought oat milk usually has to have thickeners or stabilizers added to help it foam.

How to Enjoy Oat Milk

I’m not kidding when I say this oat milk was so good that I wanted to chug it straight from the jar. But keep in mind that homemade oat milk does not contain emulsifiers or stabilizers like store-bought oat milk, so you will need to shake it very well before you pour, every time.

Oat milk is great added to coffee or poured over a bowl of cereal (or maybe even oatmeal – how meta). I haven’t tested baking with this oat milk or using it as a substitute for dairy milk in recipes, so proceed with caution. Remember that oat milk does not contain as much fat or protein as dairy milk, which may cause it to react differently in recipes.

Tips for Making Homemade Oat Milk

  • Use rolled oats, not quick oats, for a creamy yet light and refreshing oat milk
  • Use cold water to prevent a slimy texture
  • Strain the oat milk well to keep the texture light, but DO NOT squeeze it through your strainer
  • For maximum deliciousness, let the oat milk chill completely in the refrigerator before serving
  • Shake the oat milk very well each time before enjoying
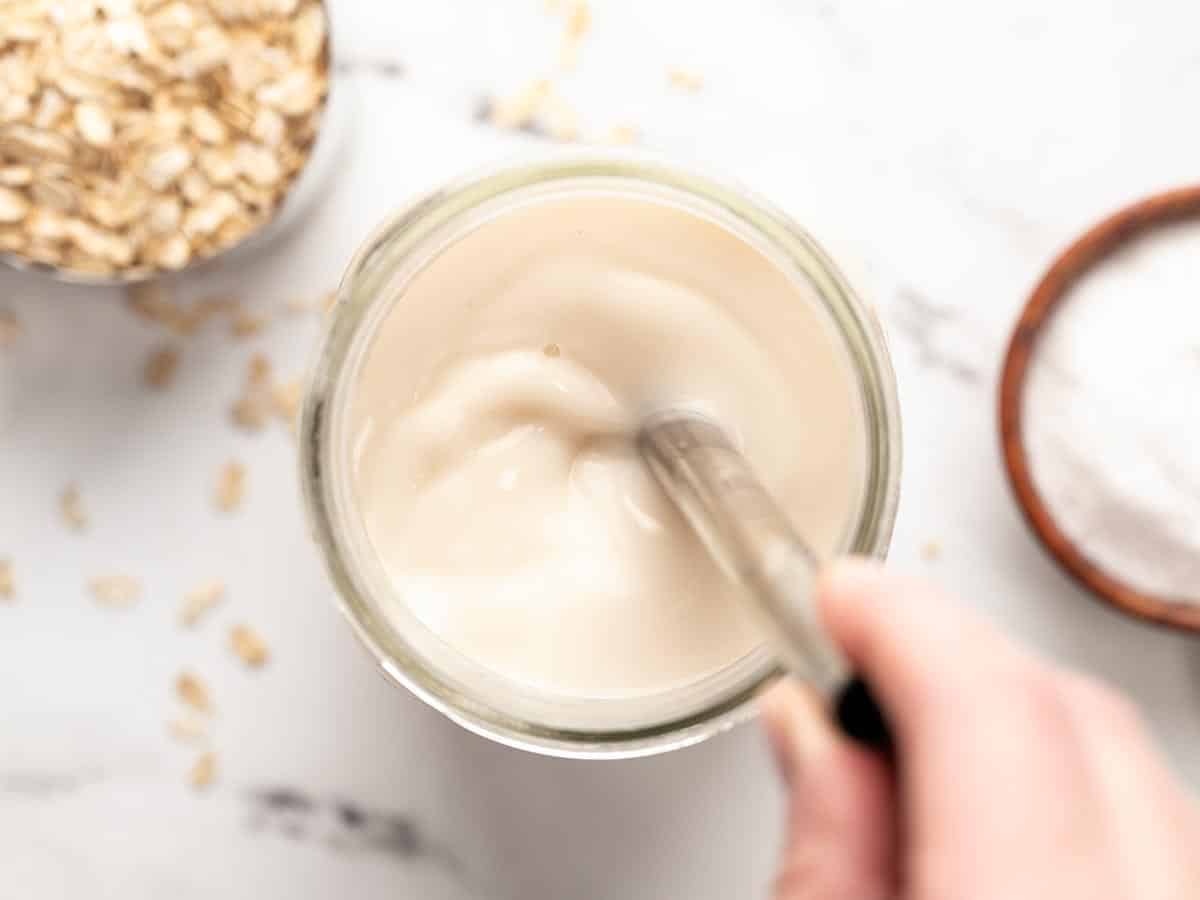
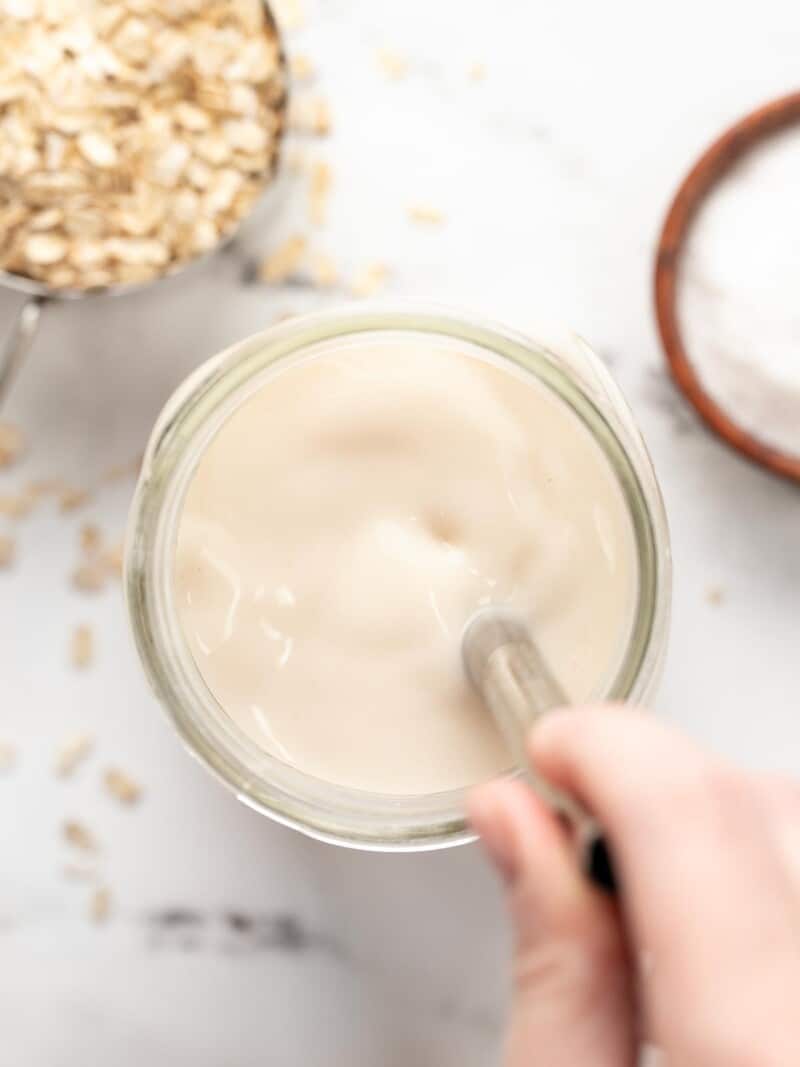
A jar of oat milk being stirred with a metal straw, as seen from above.
A jar of homemade oat milk with a metal straw and ingredients on the sides.
Print

Homemade Oat Milk

Learn how to make oat milk with just four simple ingredients and enjoy the creamiest, most refreshing oat milk for pennies on the dollar.
Course Beverage
Cuisine American
Total Cost $0.75 recipe / $0.19 serving
Prep Time 5 minutes
Total Time 5 minutes
Servings 4 (1 cup each)
Calories

Ingredients

  • 4 cups cold water $0.00
  • 1/2 tsp vanilla extract $0.36
  • 2 Tbsp brown sugar $0.08
  • 1 cup old-fashioned rolled oats (NOT quick oats) $0.29
  • 1/4 tsp salt $0.02

Instructions

  • Stir the vanilla and brown sugar into the cold water until dissolved.
  • Add the oats, salt, and water mixture to a blender. Blend on high for 30 seconds.
  • Pour the blended oat mixture through a strainer like a nut bag, cheese cloth, metal coffee filter, or a double layer of metal sieves to filter out the oat pieces.
  • Chill the oat milk completely (preferably overnight), then shake very well before serving. Keep the oat milk refrigerated for up to four days.

See how we calculate recipe costs here.

Notes

*You can use any type of sweetener that dissolves easily in cold water.
**There is no nutritional information for this recipe because nutritional calculators can not account for the oats that are discarded in the straining process.

How to Make Oat Milk – Step by Step Photos

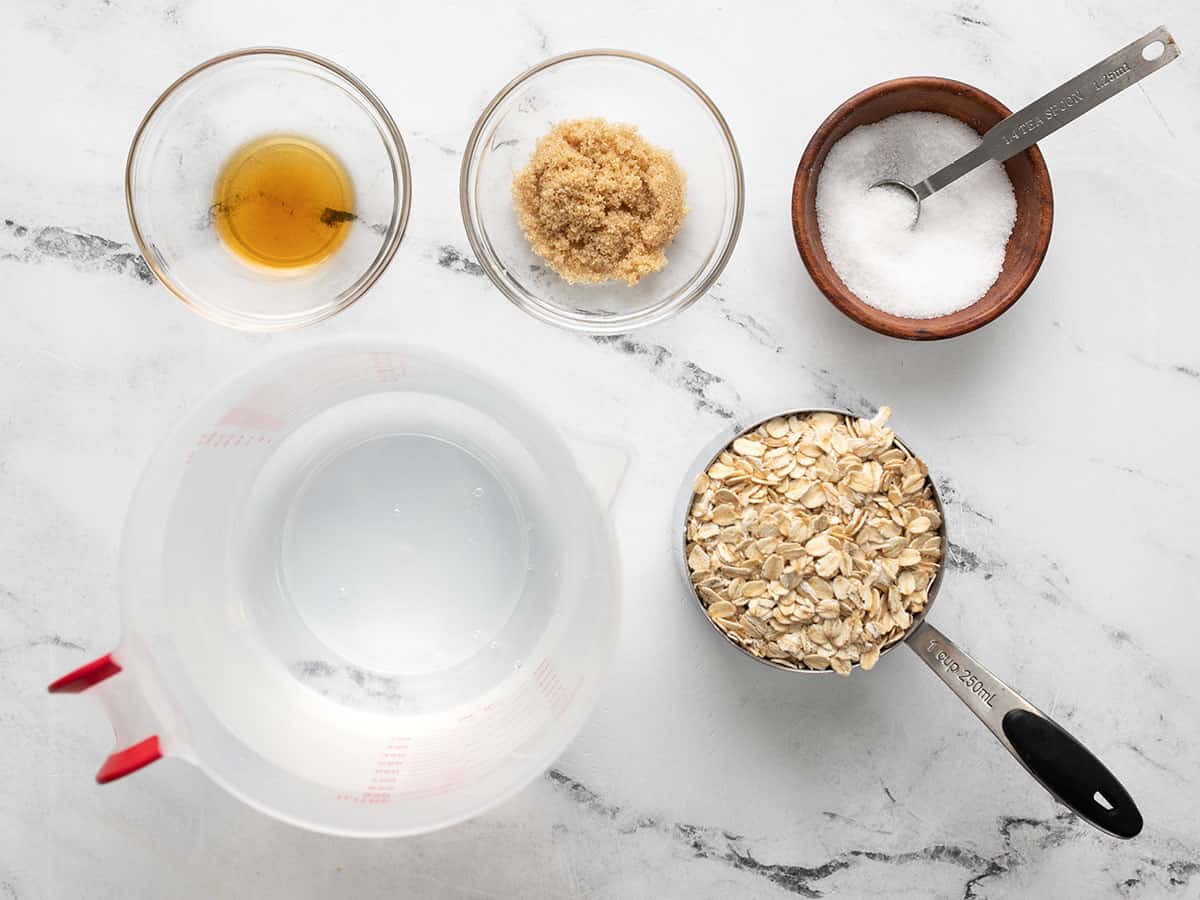
Oat milk ingredients laid out on a surface.

All you need to make your own oat milk is 4 cups cold water, 1 cup rolled oats (NOT quick oats), 1/4 tsp salt, 1/2 tsp vanilla extract, and sweetener (I used 2 Tbsp brown sugar).

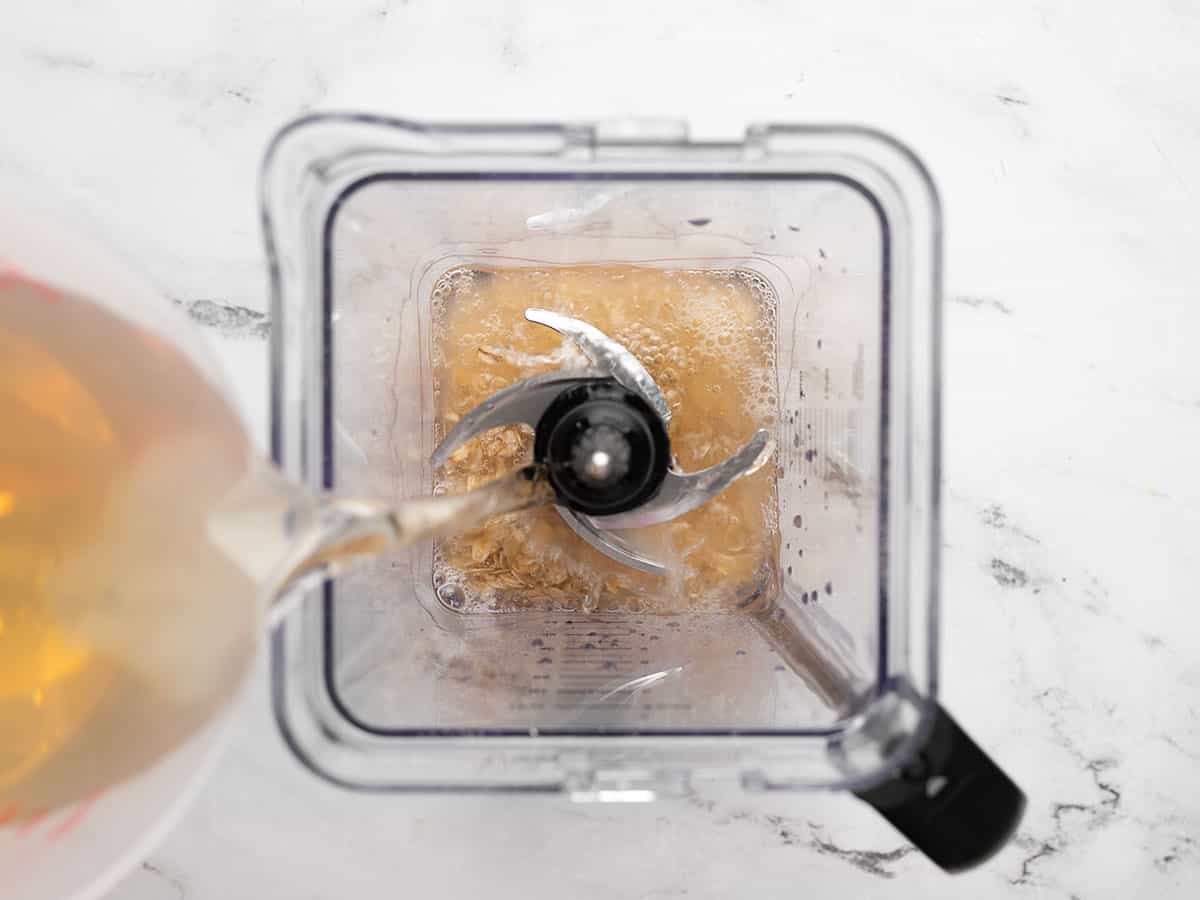
Maple water being poured into a blender with oats and salt.

Add 2 Tbsp brown sugar and ½ tsp vanilla to 4 cups cold water and stir until the sugar is dissolved. Add the rolled oats, salt, and water mixture to a blender. I used our big blender for a four-cup batch, but I also tested a half-cup batch in our mini blender and it worked fine.

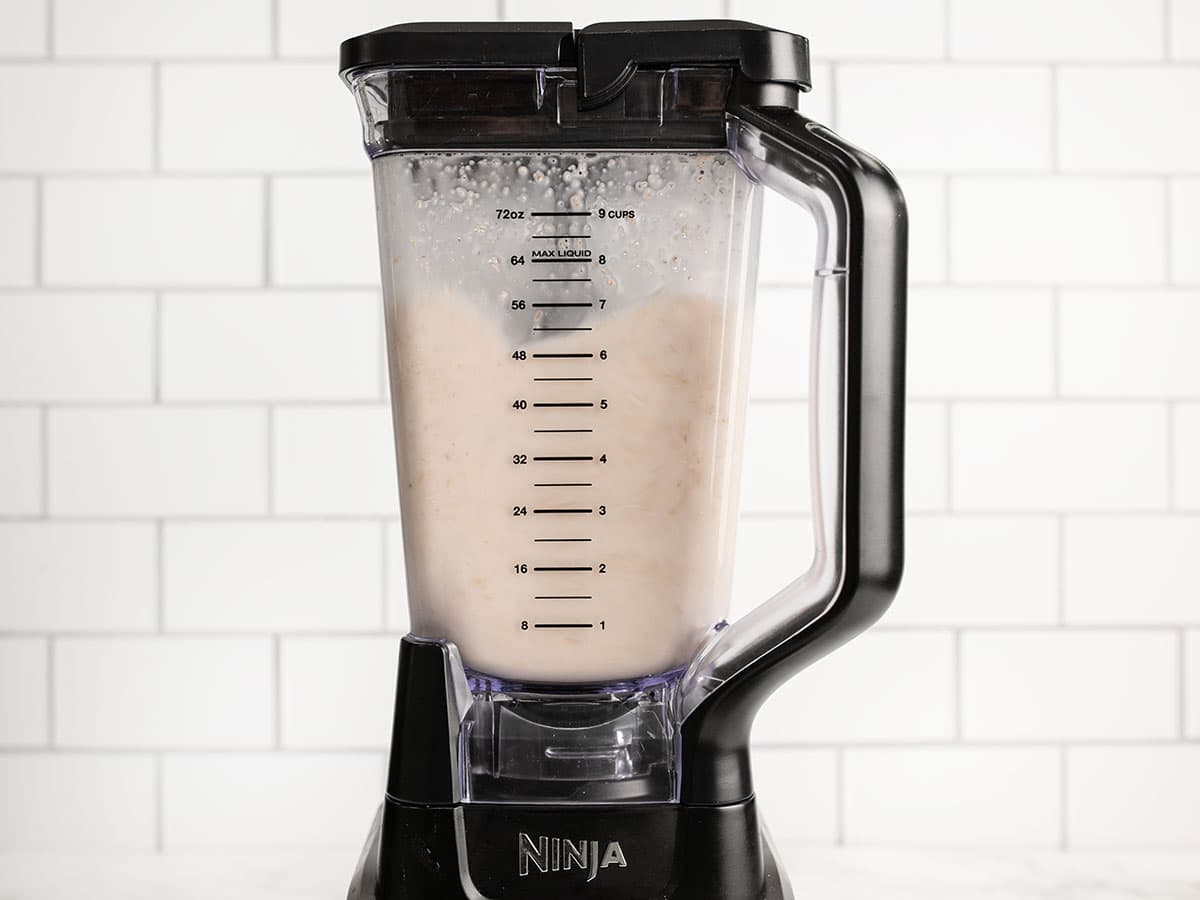
Oats and water being blended in a blender.

Blend the oats and water for 30 seconds, no more! It’s a good idea to time this on your watch or phone so you don’t accidentally count too fast or too slow. Over-blending the mixture can make the oat milk too thick or slimy.

Oat milk poured into a nut bag over a strainer and bowl.

Immediately pour the mixture through a strainer into a bowl. I’m showing the oat milk poured into a nut bag supported by a metal strainer over the bowl, but you can also use cheesecloth or metal coffee filters (see blog text above the recipe for details on each method).

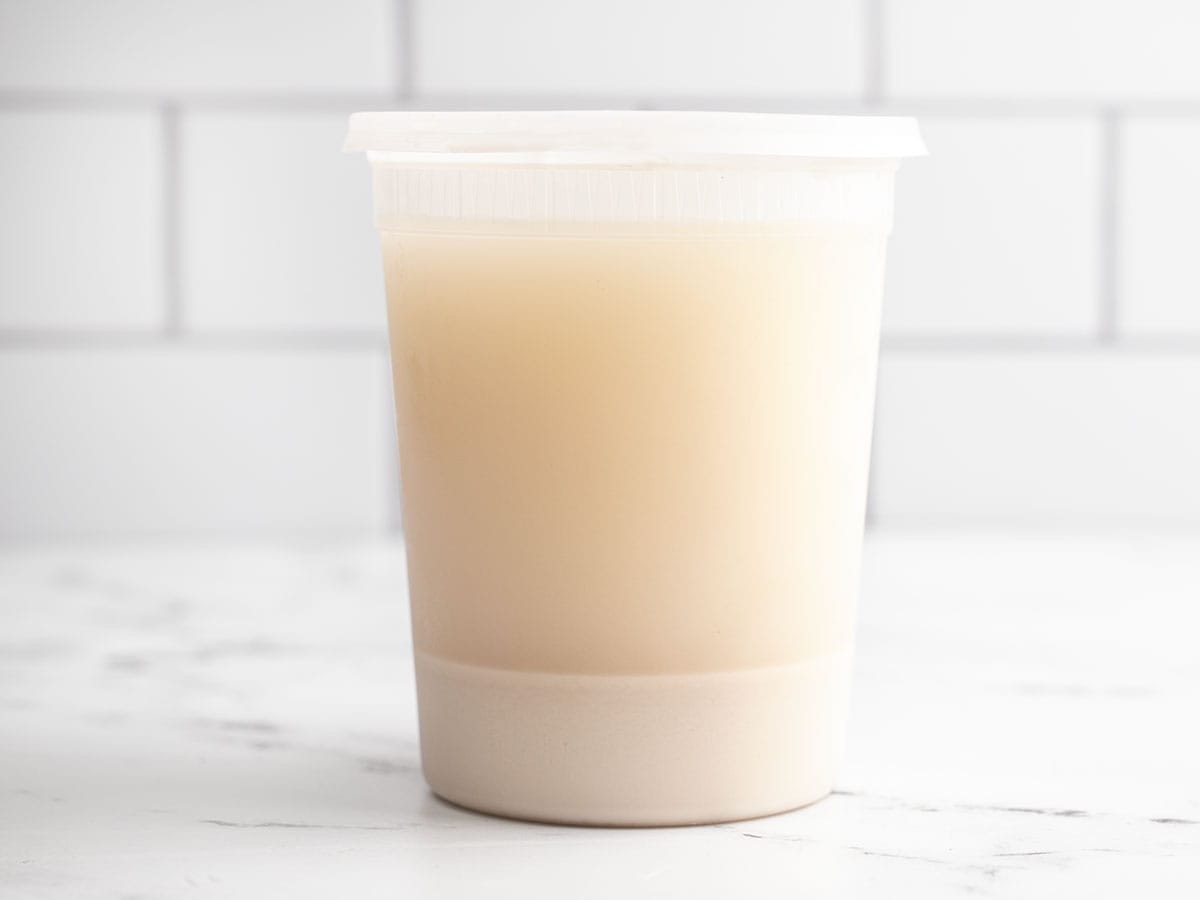
Chilled oat milk in a plastic quart container.

Make sure to chill the oat milk completely (like, overnight) for the best flavor. Because this is homemade and doesn’t have added emulsifiers or stabilizers, it will separate like in the photo above. Just give it a good shake shake shake before enjoying it each time and it will be as right as rain!

Overhead view of a jar of oat milk being stirred.

The oat milk will keep in the refrigerator for about four days, so make a half batch if needed to make sure none goes to waste!

The post How to Make Oat Milk appeared first on Budget Bytes.

Peach Baked Oatmeal

Crispy and caramelized on the outside and velvety on the inside, this easy breakfast dish will become a morning favorite.

The post Peach Baked Oatmeal appeared first on Budget Bytes.
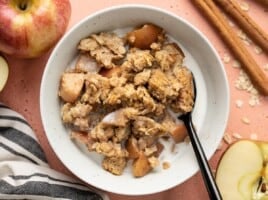
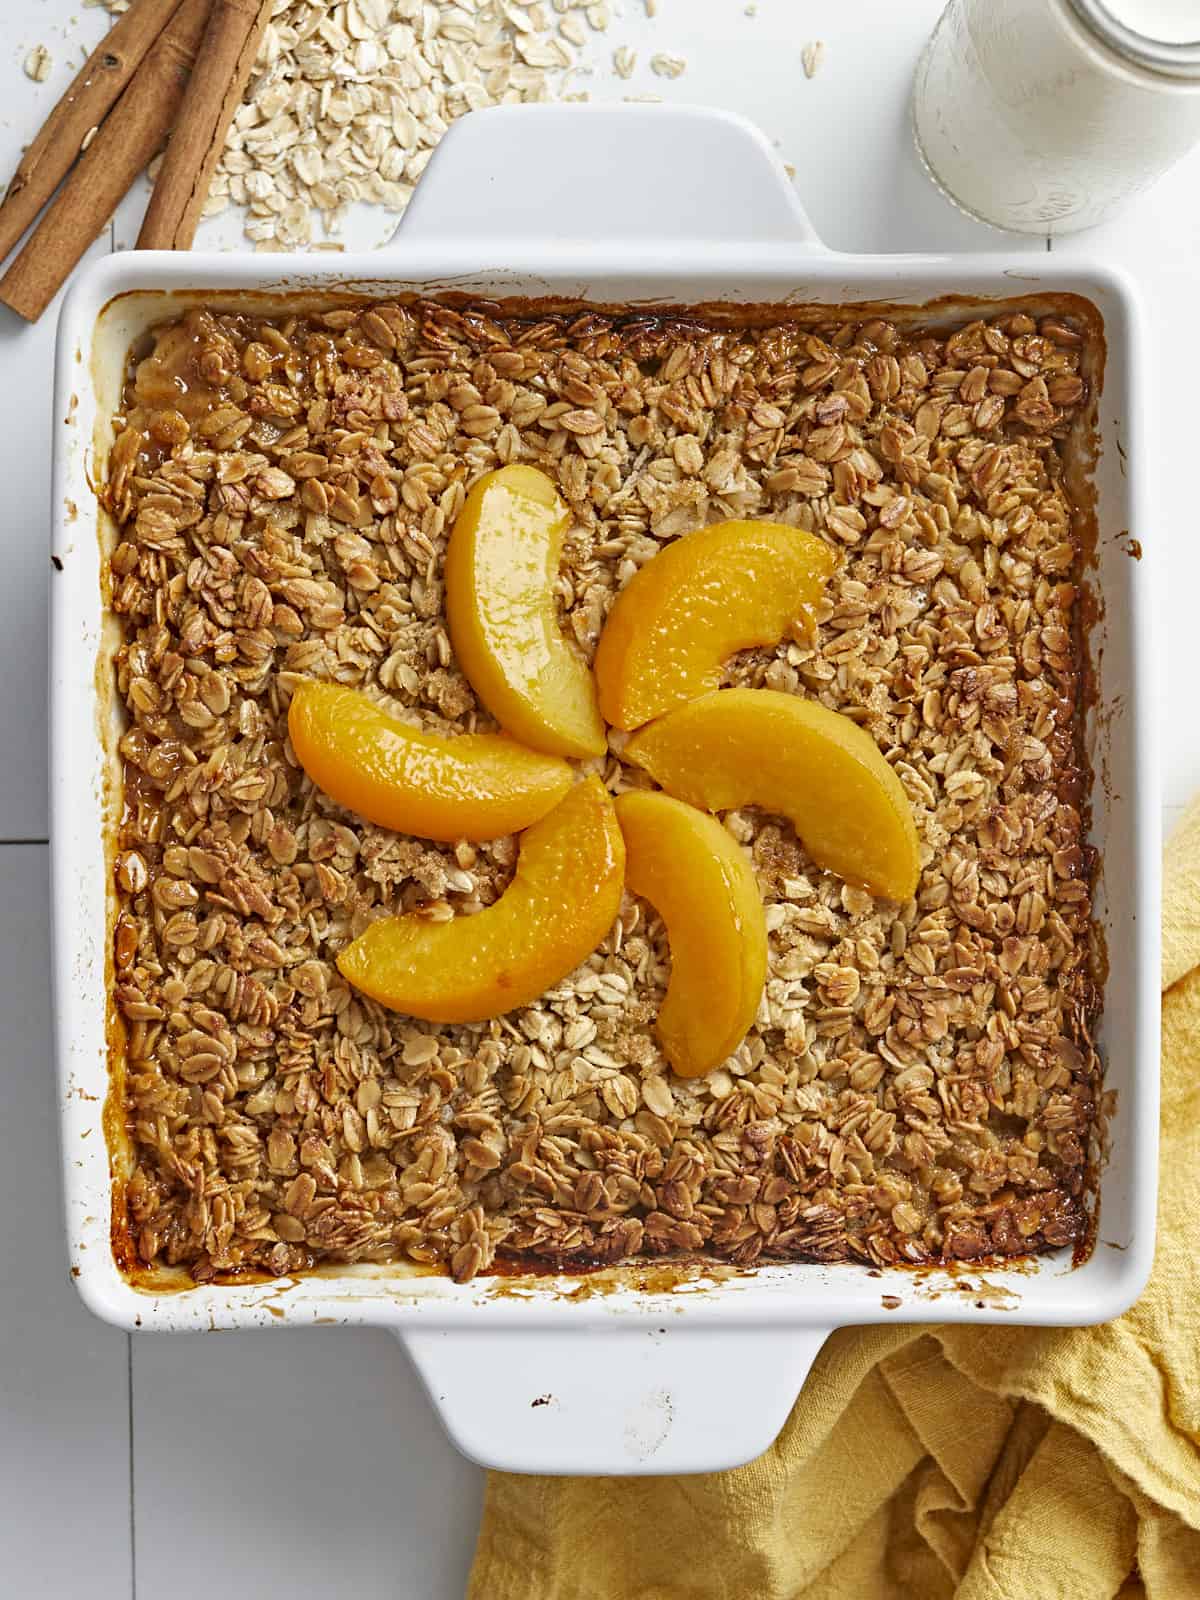
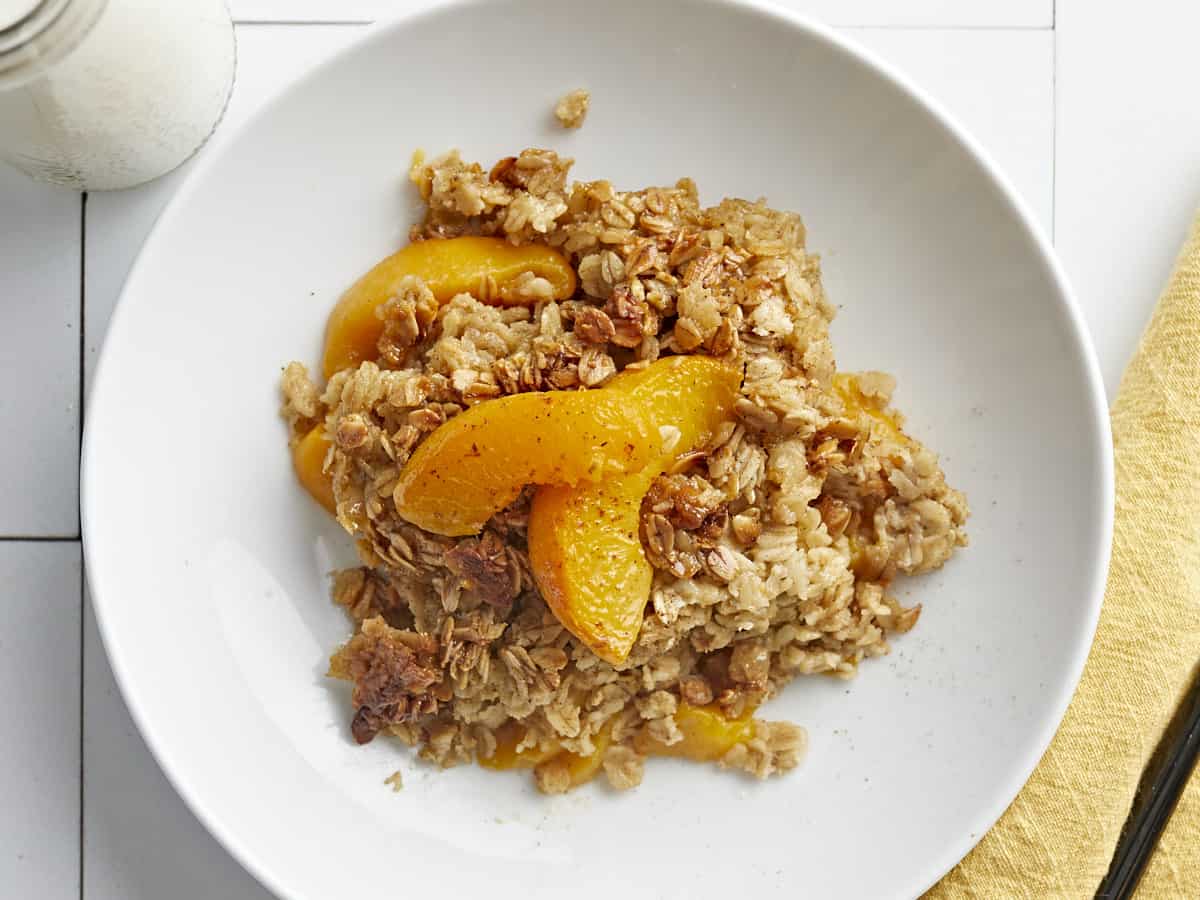
I know this recipe for buttery Peach Baked Oatmeal is awesome because everyone in the studio got quiet when they were eating it, a rare moment with our lively group! Crispy and caramelized on the outside and velvety on the inside, this easy breakfast dish will become a morning favorite. Did I mention this baked oatmeal comes in at a little over a dollar per serving?? You’ve got to make this recipe!

Overhead shot of Peach Baked Oatmeal in a white baking dish.

What is Baked Oatmeal?

Baked oatmeal is exactly what it sounds like. It’s oats mixed with a liquid, a binder (like eggs), a sweetener, a fat (like butter), and other ingredients to add flavor and texture, like fruit, nuts, and spices. The oatmeal absorbs all of the flavors that were mixed into it so it blossoms when you taste it. My recipe is less custardy than our website’s other baked oatmeal recipes. It has more of a bite, like pasta. That’s because I use less liquid, so the oats retain their shape and get these crispy golden edges… OMG, I have to stop writing about it cause I’m going to end up in my kitchen making baked oatmeal at 10 o’clock at night like a crazy person. Just trust. It’s fantastic.

Ingredients For Baked Oatmeal

The best thing about baked oatmeal is that it’s endlessly customizable. You can use any fruit, nuts, or spices you like. This is what you’ll need to make my favorite combination:

  • Oatmeal– Skip the instant oats which turn to mush in a heartbeat and stick to old-fashioned, which will give you a better texture. While you can bake steel-cut oats, the liquid-to-oats ratio is different, and I haven’t tested that, so I can’t give you any direction.
  • Peaches– Canned in their own juices is my go-to, as I use the juices in the recipe. If using fresh or frozen, you’ll need to add a cup of water to the mix. You can substitute peaches with apples, pears, or bananas, also adding a cup of water to the mix.
  • Butter– because you can’t get those crispy edges without it and those crispy edges are EVERYTHING. Substitute with vegan butter if you’re dairy-free.
  • Cream– helps create a velvety texture. You can use whole milk as well, though I’d add an additional tablespoon of butter. Use coconut cream if you want to skip the dairy. Just make sure it’s full fat. You need it.
  • Eggs– will help bind the oatmeal. If you want to skip the eggs you can try using 2 ripe bananas as a binder.
  • Brown Sugar– mixes with the butter to develop deep caramel notes. You can substitute it with your preferred sweetener.
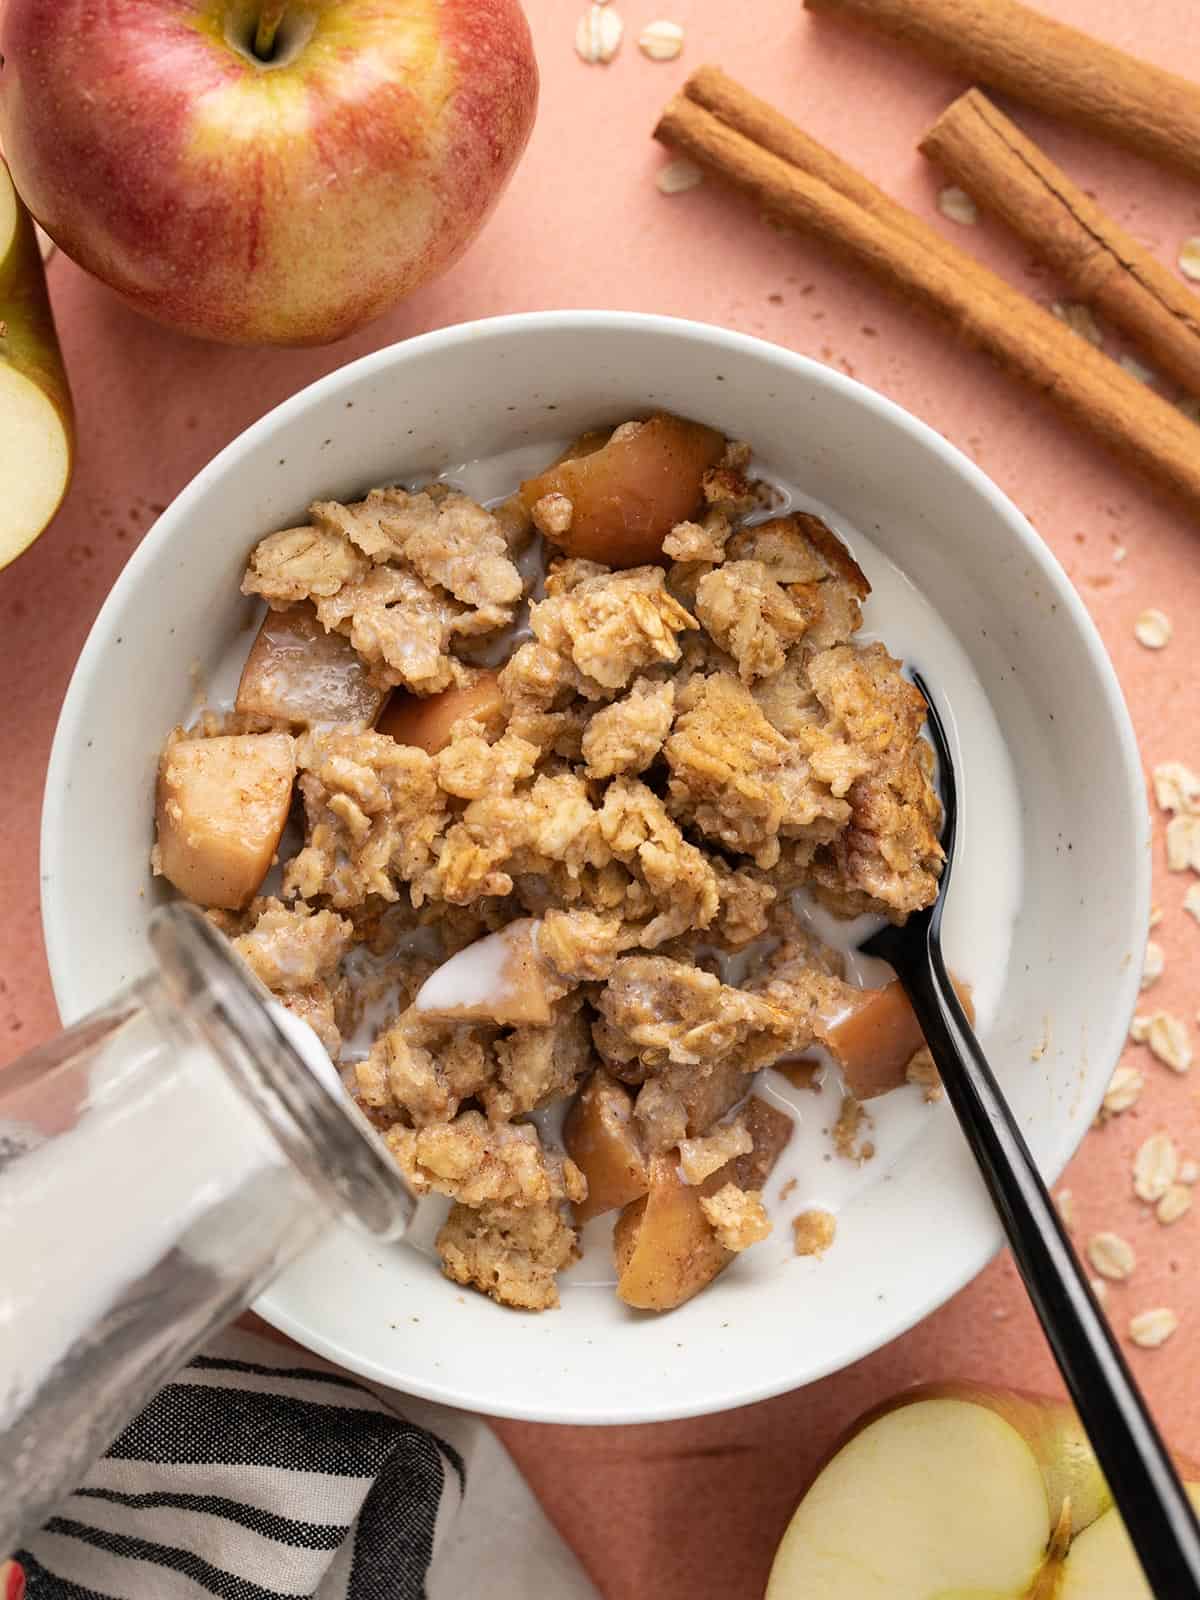
  • Cinnamon and Vanilla– season and scent the oatmeal. They also pair exquisitely with peaches and help elevate the fruit’s flavors.
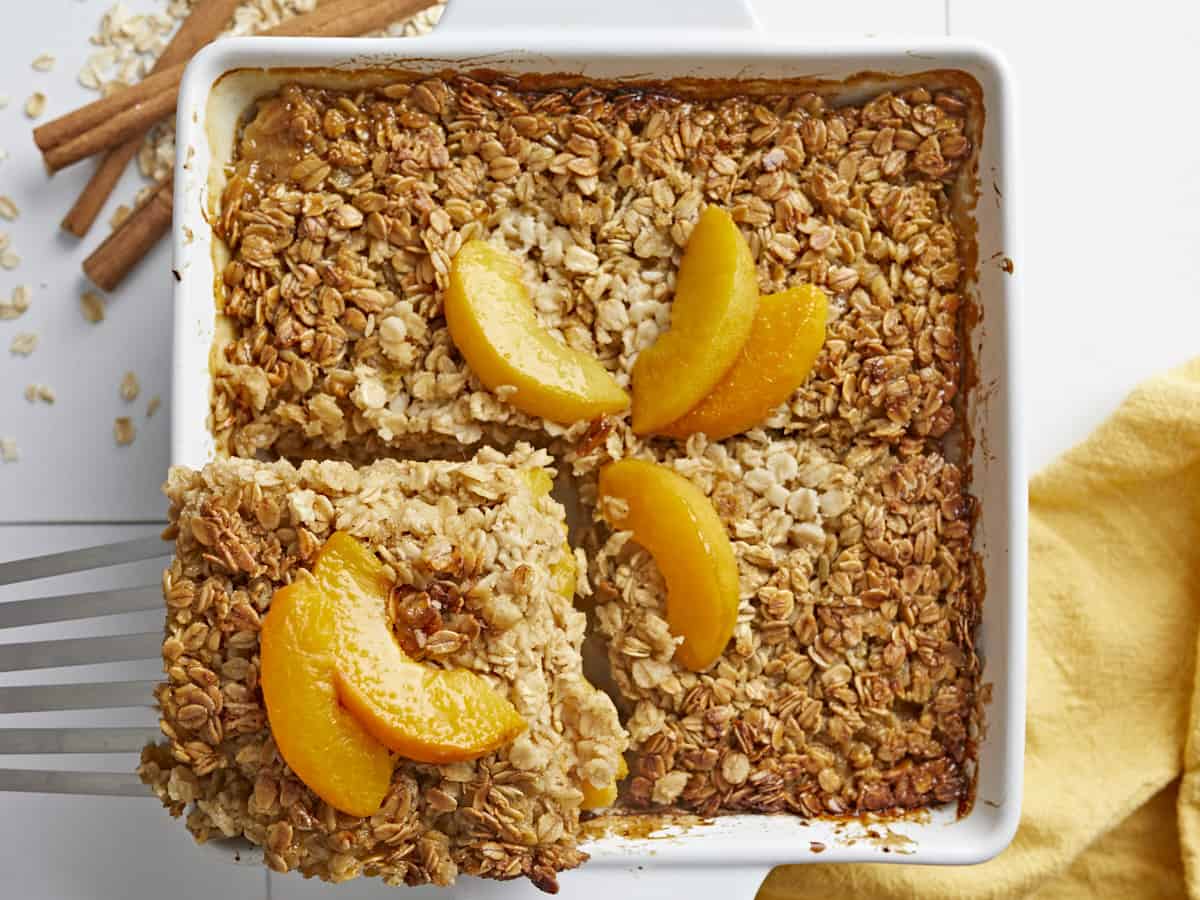
Overhead shot of a portion of Peach Baked Oatmeal being lifted out of a white baking dish.

Tips For The Best Baked Oatmeal

  1. Use old-fashioned oats instead of quick oats. Old-fashioned oats will give your baked oatmeal a chewier texture.
  2. Don’t overmix the batter. Overmixing will make your baked oatmeal tough. Fold the ingredients in and mix until they are barely combined.
  3. Bake the oatmeal until it’s cooked through. Underbaked oatmeal will be mushy. You want the oatmeal to have a slight bite.

Baked Oatmeal Toppings

If you’re looking to add a little extra oomph to your Peach Baked Oatmeal, it pairs beautifully with our Homemade Whipped Cream. You can also top it with Strawberry Syrup, Blueberry Sauce, or our Lemon Curd. Or you can go wild and use all four! ( Editor’s Note: I know it seems like too much sugar, Beth- but think of how amazing it would be to start your day with such decadence! Don’t fight it. )

Storing and Reheating Leftovers

Cool leftovers completely before storing them so the oatmeal doesn’t get soggy. Store baked oatmeal in an airtight container. It will keep in the refrigerator for up to three days and in the freezer for three months. To reheat, microwave it for a few minutes until steaming.

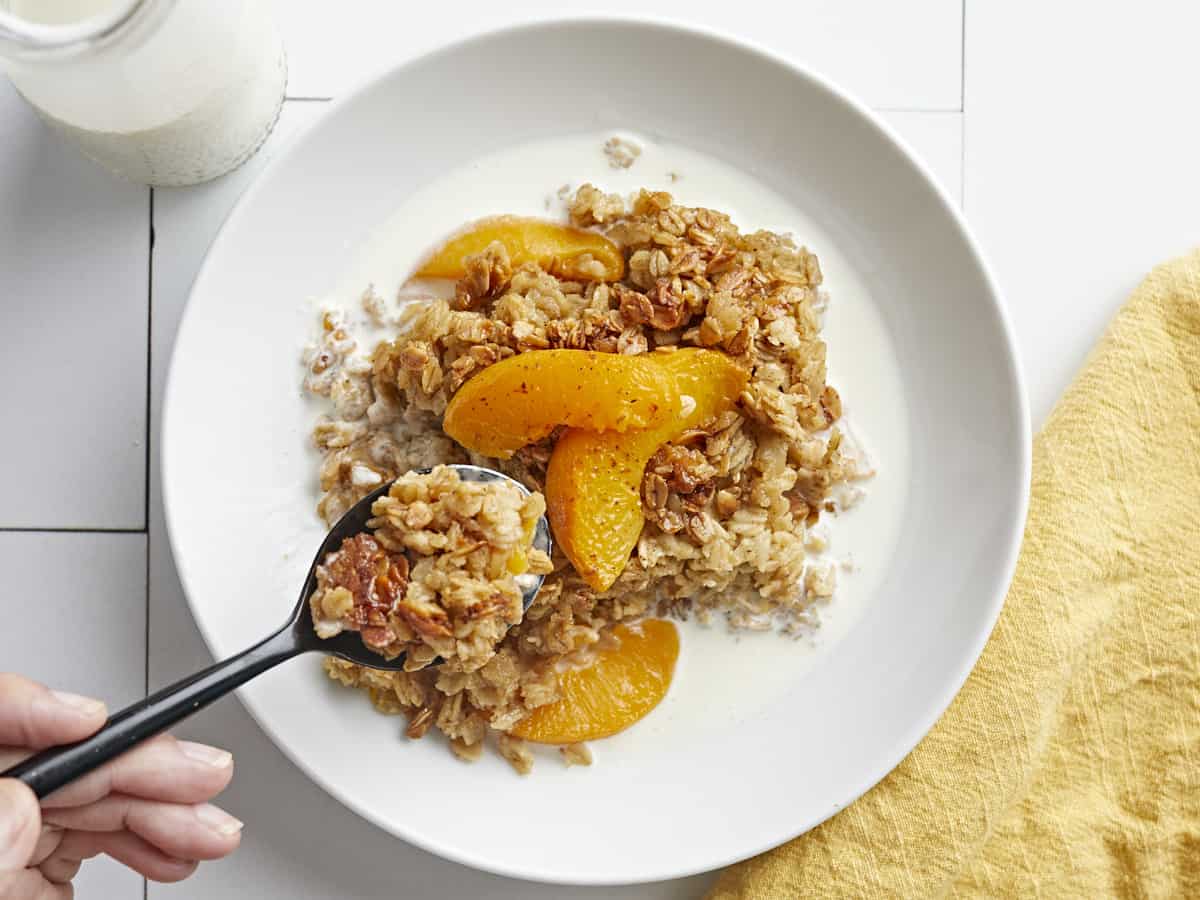
Overhead shot of Peach Baked Oatmeal in a white bowl with cream in it.
Overhead shot of Peach Baked Oatmeal in a white baking dish.
Print

Peach Baked Oatmeal

Crispy and caramelized on the outside and velvety on the inside, this easy and budget-friendly breakfast dish will become a morning favorite.
Course Breakfast
Cuisine American
Total Cost ($6.30 recipe / $1.05 serving)
Prep Time 10 minutes
Cook Time 45 minutes
Resting Time 15 minutes
Total Time 1 hour 10 minutes
Servings 6 servings
Calories 508kcal

Ingredients

  • 2 15oz. cans sliced peaches in their juices $3.18
  • 1/2 cup brown sugar, divided $0.24
  • 8 Tbsp salted butter, divided $1.12
  • 1/2 tsp vanilla, divided $0.25
  • 1/2 tsp cinnamon, divided $0.05
  • 1 pinch salt $0.01
  • 3 cups oats (old-fashioned or rolled) $0.54
  • 1/2 cup heavy cream $0.69
  • 2 large eggs, beaten $0.22

Instructions

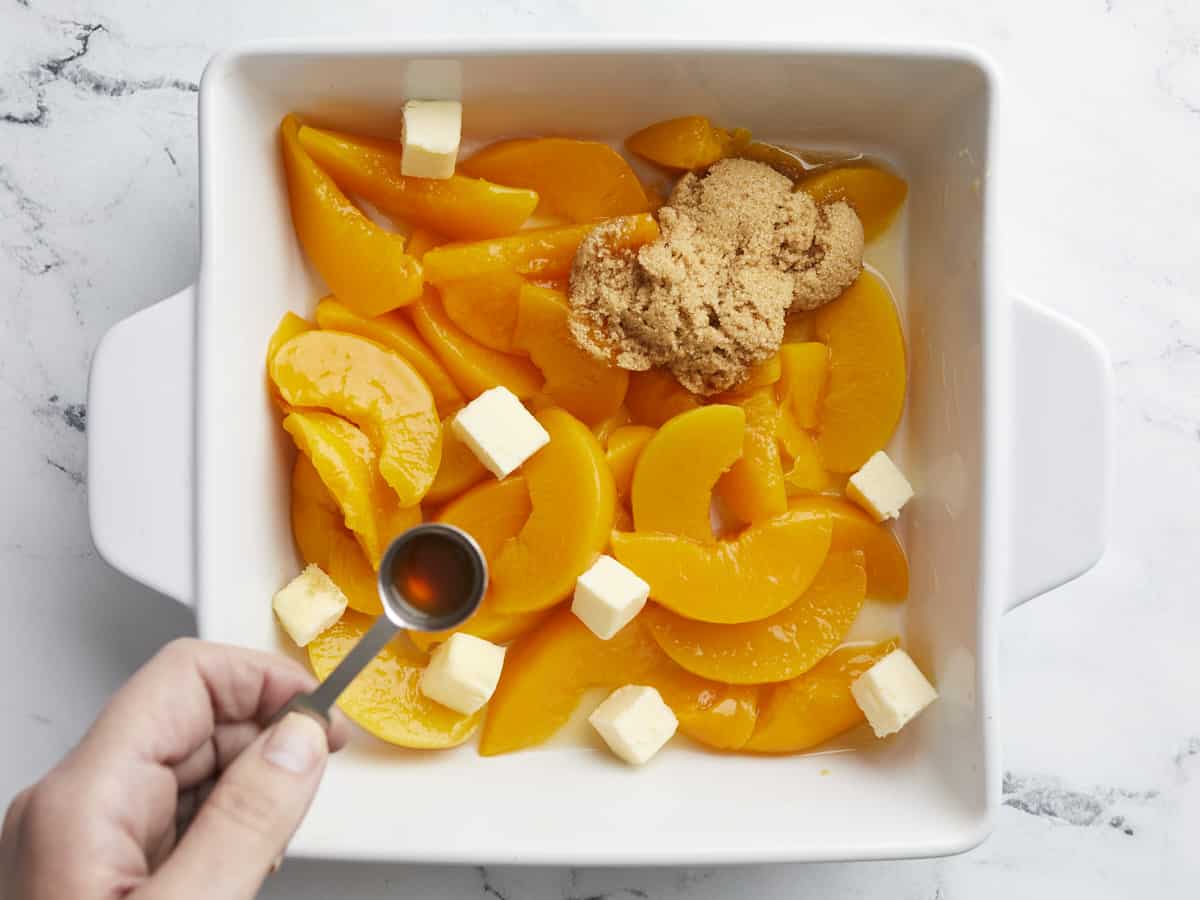
  • Set an oven rack in the middle of your oven and preheat it to 375°F. Drain the cans of peaches, reserving the juices. Add the drained peaches to a 13×9 inch baking dish, reserving six slices for garnish. Add 1/4cup brown sugar to the peaches. Dice 4 tablespoons of butter and sprinkle over the peaches. Finish with 1/4 teaspoon of vanilla. Mix thoroughly.
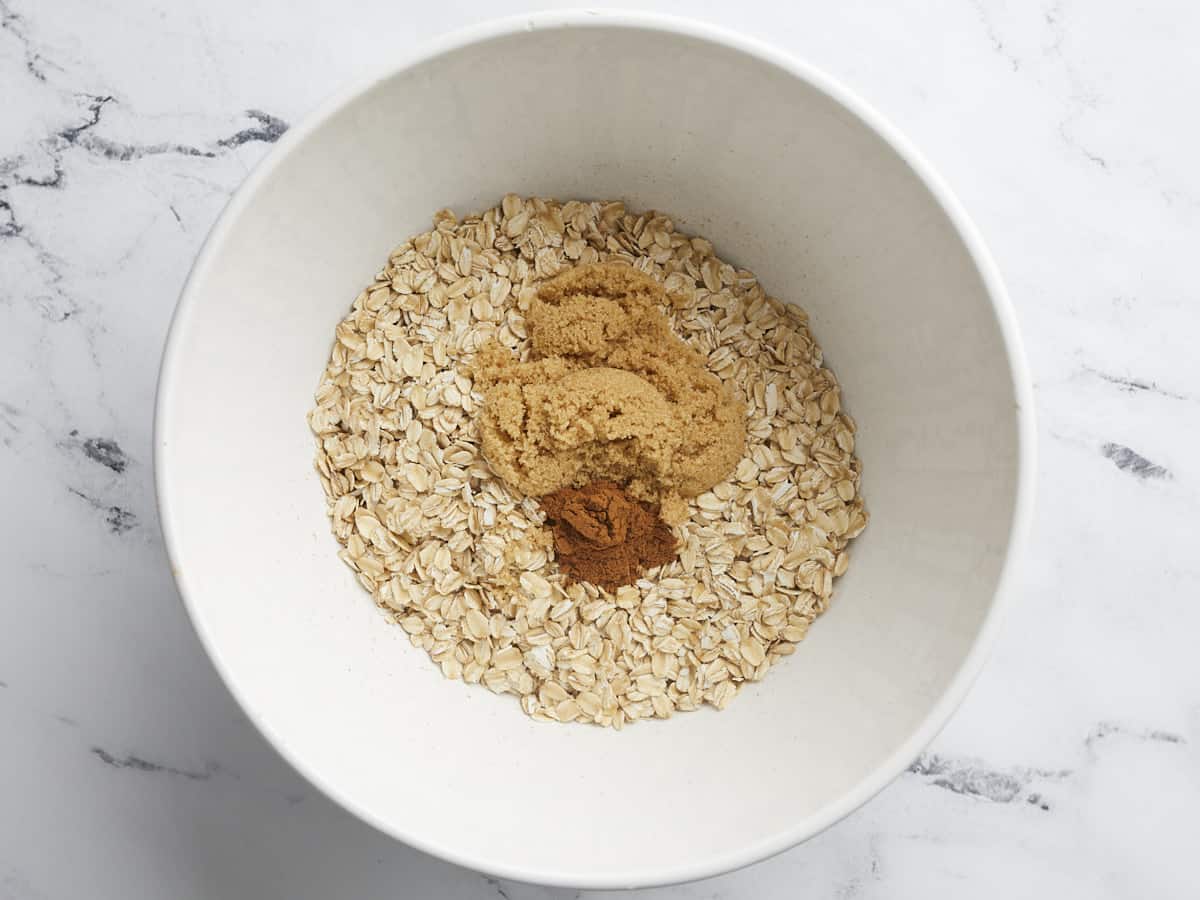
  • Add the old-fashioned or rolled oats to a large bowl. Add 1/4teaspoon cinnamon and the remaining 1/4cup brown sugar and mix well.
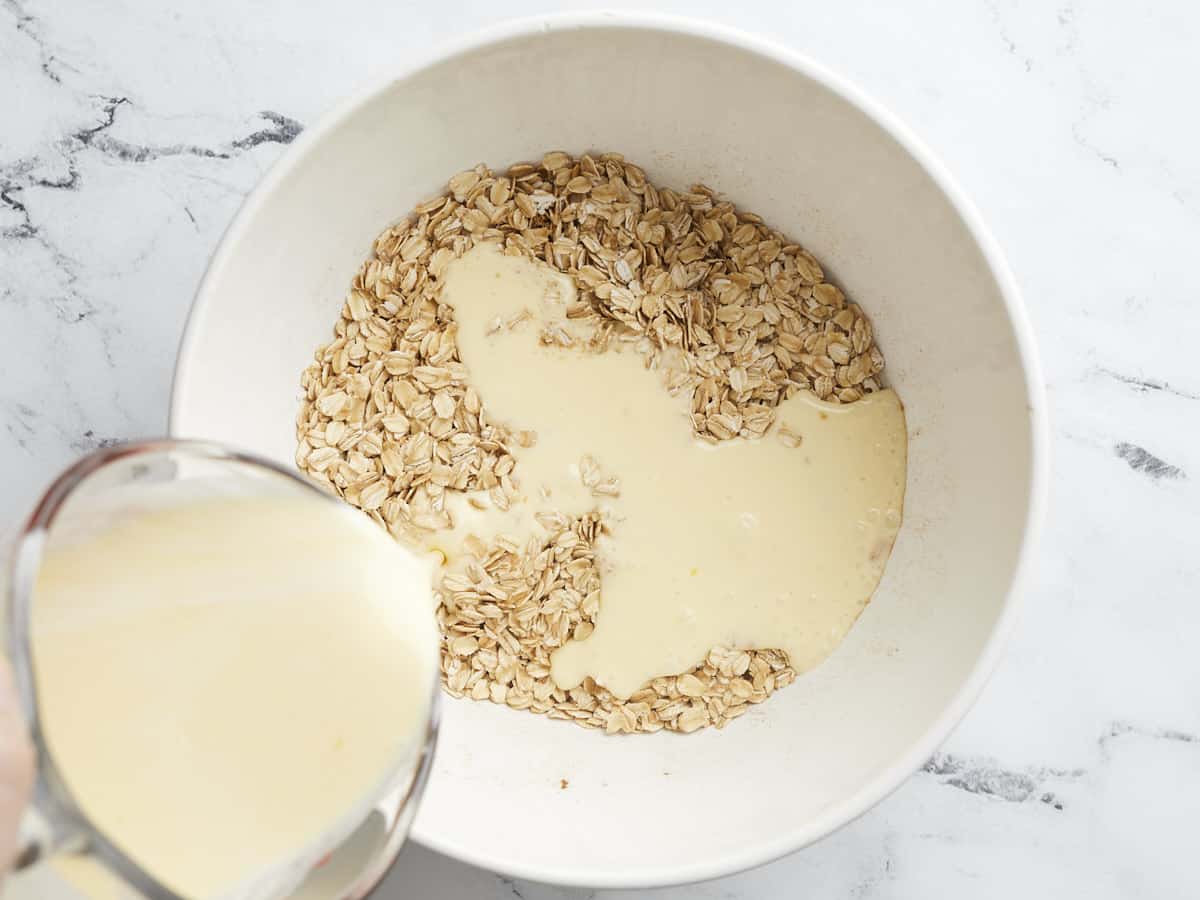
  • Mix 1 cup of peach juices with the cream and the remaining 1/4 teaspoon of vanilla. Add the beaten eggs and mix. Add the wet mixture to the oatmeal and stir just until incorporated.
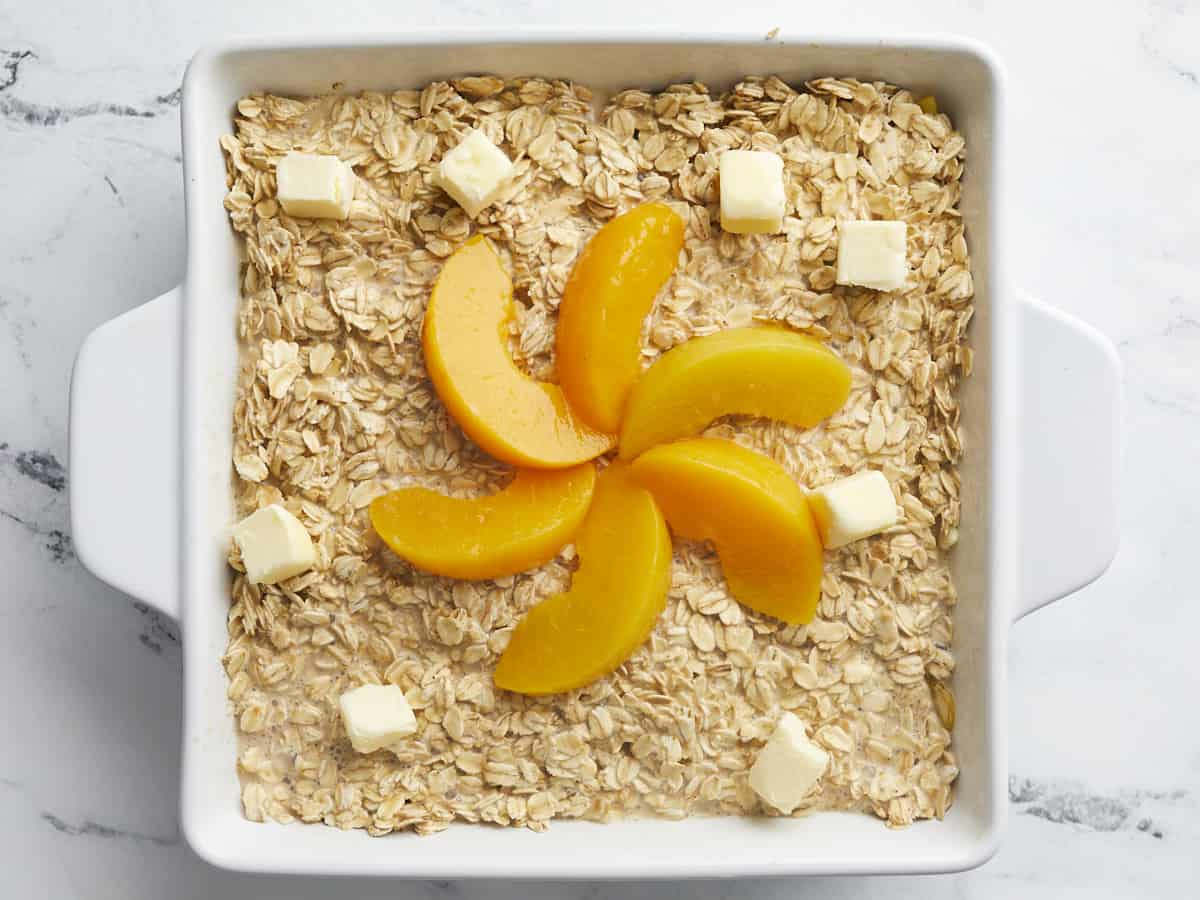
  • Dollop the oats over the peaches. Dice the remaining 4 tablespoons of butter and sprinkle over the top. Garnish with peach slices.
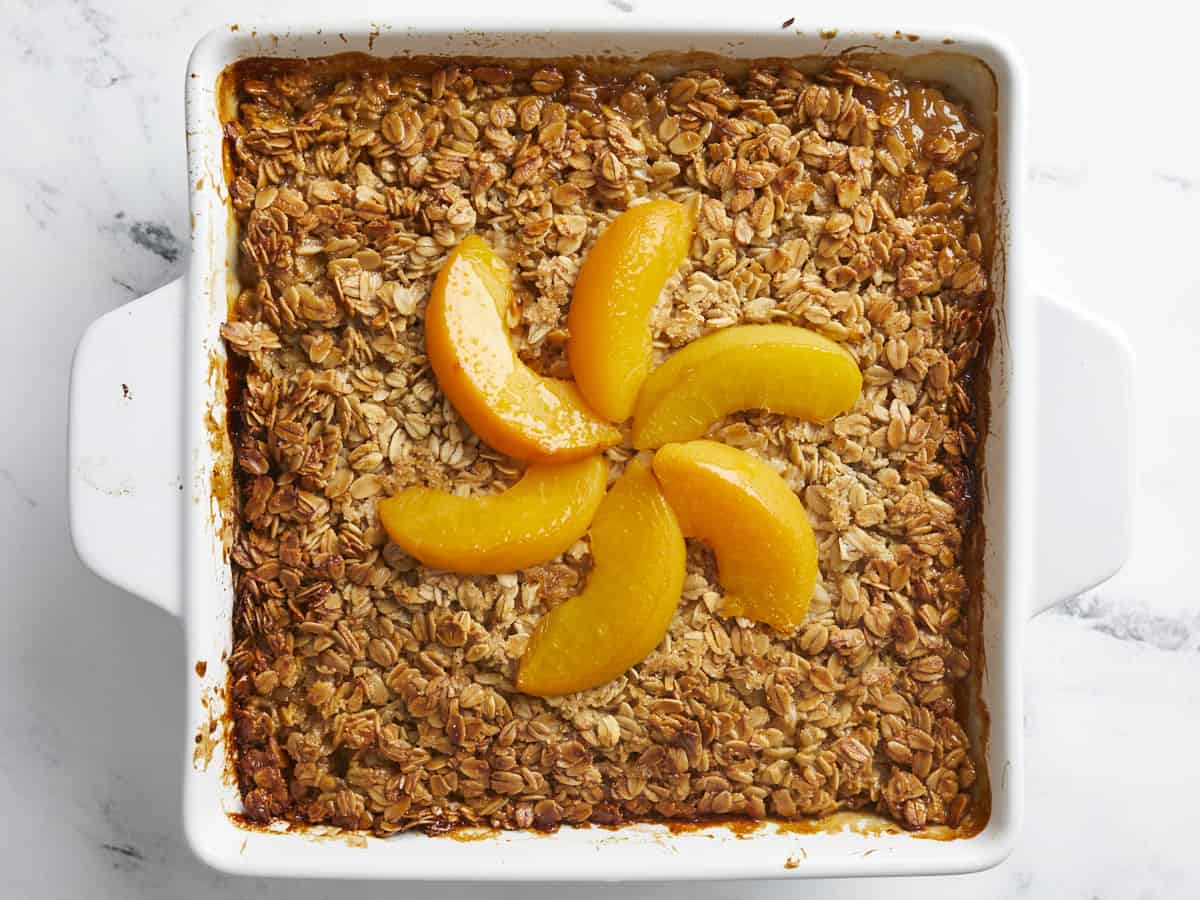
  • Bake until it is golden brown and crispy, about 45 minutes. Cool for 15 minutes. Enjoy as is or serve with a little cream!

See how we calculate recipe costs here.

Nutrition

Serving: 1serving | Calories: 508kcal | Carbohydrates: 61g | Protein: 9g | Fat: 27g | Sodium: 179mg | Fiber: 6g
Overhead shot of Peach Baked Oatmeal in a white bowl with cream in it with a spoon lifting a portion out of it.

How to Make Peach baked Oatmeal – Step by Step Photos

Set a rack in the middle of your oven and preheat it to 375°F. Drain the 2 (15oz) cans of peaches, reserving the juices. Add the drained peaches to a 13 x 9 baking dish, reserving six slices for garnish. Add 1/4 cup brown sugar to the peaches. Dice 1/2 stick of butter and sprinkle it over the peaches. Finish with 1/4 teaspoon of vanilla.

Add 3 cups of old-fashioned or rolled oats to a large bowl. Add 1/4 teaspoon cinnamon and the remaining 1/4 cup brown sugar and mix well.

Mix 1 cup of peach juice with the 1/2 cup of heavy cream and the remaining 1/4 teaspoon of vanilla. Add the 2 beaten eggs and mix. Add the wet mixture to the oatmeal and stir just until incorporated.

Overhead shot of raw Peach Baked Oatmeal in a white baking dish.

Dollop the oats over the peaches. Dice the remaining 4 tablespoons of butter and sprinkle over the top. Garnish with peach slices.

Overhead shot of Peach Baked Oatmeal in a white baking dish.

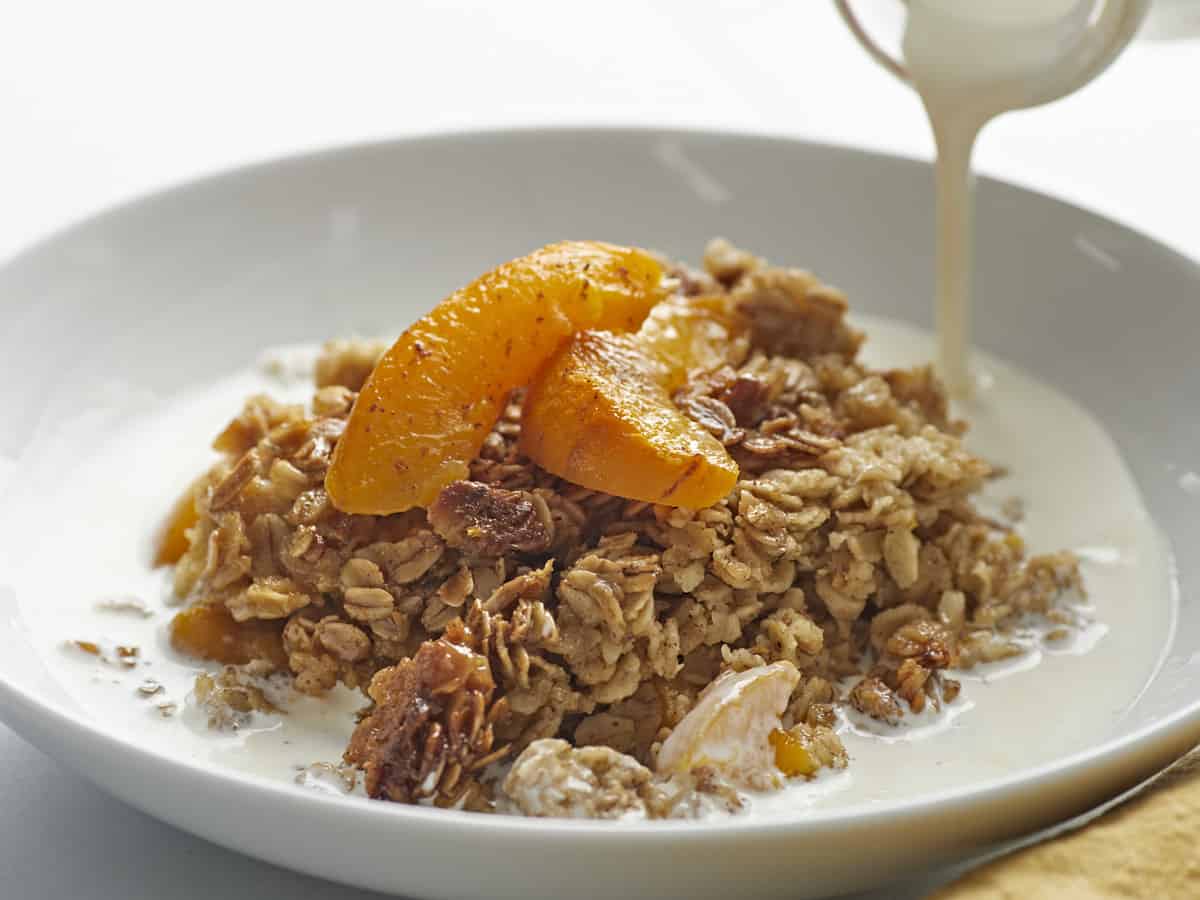
Bake until it is golden brown and crispy, about 45 minutes. Cool for 15 minutes before serving! (If you can wait for that long. I’ve yet to accomplish this feat. But I don’t mind eating peach-flavored lava. You do you.) I like to serve it with a little cream in a bowl that I refill over and over and over again. Enjoy!

Side shot of Peach Baked Oatmeal in a white bowl with cream being poured into it.

More Baked Oatmeal Recipes

The post Peach Baked Oatmeal appeared first on Budget Bytes.