I don’t know how I let Beth talk me into making these porcupine meatballs, but I’m glad she did!😄 They’re incredibly tender, super flavorful, very filling, and so delicious! They were a hit in my house and my husband and kids absolutely loved them! And don’t let the name scare you, these meatballs are simply made with ground beef, rice, seasoning and a savory homemade tomato sauce. Adding in inexpensive rice is also a great way to stretch a pound of beef into more servings. And did I mention this meatball recipe is also perfect for meal prep!

What Are Porcupine Meatballs?
Porcupine meatballs are an American comfort food dish that was popular during the Great Depression. During that time supply was limited and these porcupine meatballs only required a few basic ingredients like ground beef, rice, and tomato soup. Their funny name comes from their unique appearance. As the meatballs cook the rice begins to poke out of the side, resembling the look of a porcupine! Does anyone else remember these tasty little meatballs growing up?
Ingredients For Porcupine Meatballs
Here’s everything you need to make these easy porcupine meatballs:
- Lean Ground Beef: I used 93% lean ground beef to reduce the amount of grease that collects inside the pot while the meatballs are cooking. But 85% lean should also work pretty well.
- Long Grain White Rice: Rice is a key ingredient! Not only does it help bulk up the meatballs and makes them more filling, but it’s also how you get the classic porcupine look! You’ll want to use long-grain white rice for this recipe.
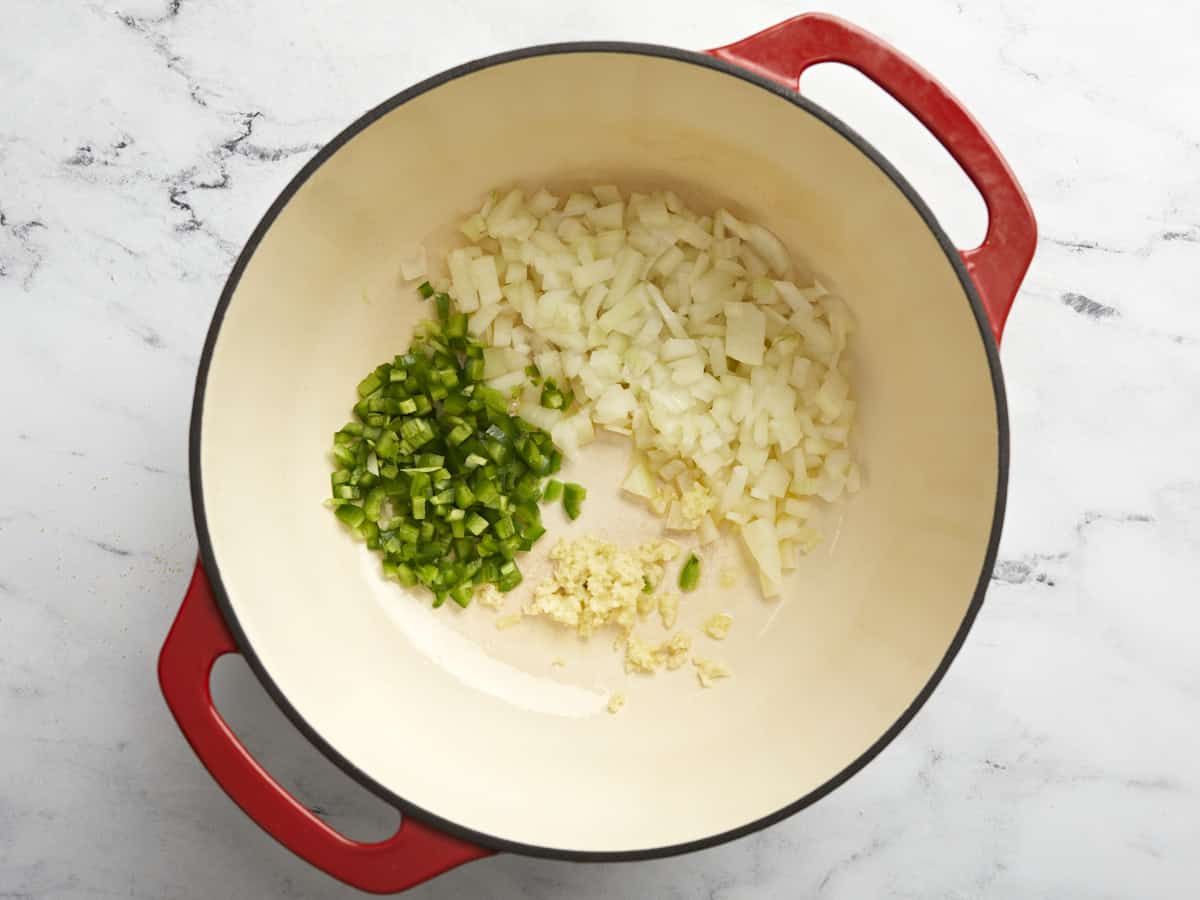
- Onion and Garlic: Onion and garlic creates a wonderful flavor base for the meatballs.
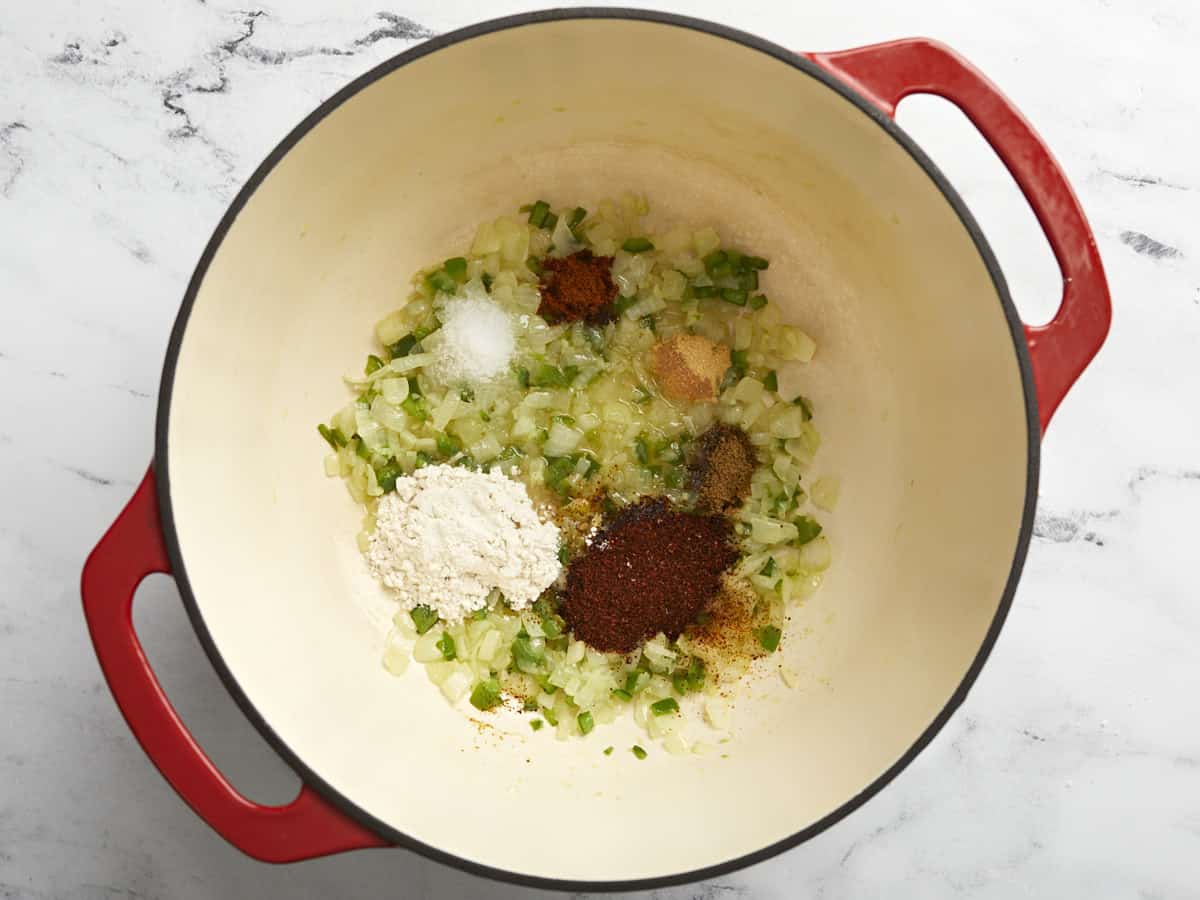
- Seasoning: The meatballs are seasoned with Italian seasoning for lots of herbal flavor along with onion powder, garlic powder, salt and pepper.
- Egg: The egg is used as a binder to help keep the meatballs from falling apart.
- Tomato Sauce: Another key part of this meatball recipe is the delicious tomato sauce. Instead of just using a can of plain tomato sauce, I added Worcestershire sauce, garlic powder, and black pepper to add more depth of flavor. I also added a can of crushed tomatoes to thicken the sauce, a little bit of sugar to balance the acidity of the tomatoes, and water to help the rice cook. All together this sauce adds wonderful flavor to these porcupine meatballs!
Should You Cook The Rice First?
You may be wondering if you have to cook the rice first before adding it to the meatballs. The answer is no. Cooking the rice first just adds an extra step to the process, and I didn’t find it necessary. Using uncooked rice allows the rice to cook at the same time as the meatballs and soak up all the seasoning and flavors from the dish.
How To Store & Freeze Porcupine Meatballs
You can store any leftover cooked meatballs in an airtight container in the refrigerator for up to 4 days. To reheat, simply microwave for about 2 minutes, or until heated through.
If you want to freeze the meatballs, I suggest freezing them uncooked, then make the tomato sauce fresh when you need a quick weeknight dinner meal. To freeze uncooked meatballs, place the raw meatballs on a parchment-lined baking sheet and freeze on the baking sheet until solid (1-2 hours) before transferring to a gallon-sized freezer bag to store for up to three months. When you’re ready to cook them, thaw the meatballs in the fridge overnight, then simmer them in the sauce as directed.
Serving Suggestions
You can easily serve these porcupine meatballs with a simple side salad or caesar salad. We served them over a bed of rice, but mashed potatoes or pasta would also be good.

Porcupine Meatballs
Equipment
Ingredients
Meatballs
- 2 tsp Italian seasoning $0.20
- 1/2 tsp onion powder $0.05
- 1/2 tsp garlic powder $0.05
- 1 1/2 tsp salt $0.06
- 1/4 tsp freshly cracked black pepper $0.02
- 1/2 cup long grain white rice, uncooked $0.15
- 1 lb. lean ground beef $7.49
- 1/2 yellow onion, finely diced $0.18
- 2 cloves garlic, minced $0.16
- 1 large egg $0.17
- 2 Tbsp chopped parsley (to garnish) $0.18
Tomato Sauce
- 1 15oz. can tomato sauce $1.00
- 1 15oz. can crushed tomatoes $1.50
- 1 Tbsp Worcestershire sauce $0.06
- 1 Tbsp sugar $0.02
- 1/4 tsp freshly cracked black pepper $0.02
- 1/4 tsp garlic powder $0.03
- 1/2 cup water $0.00
Instructions
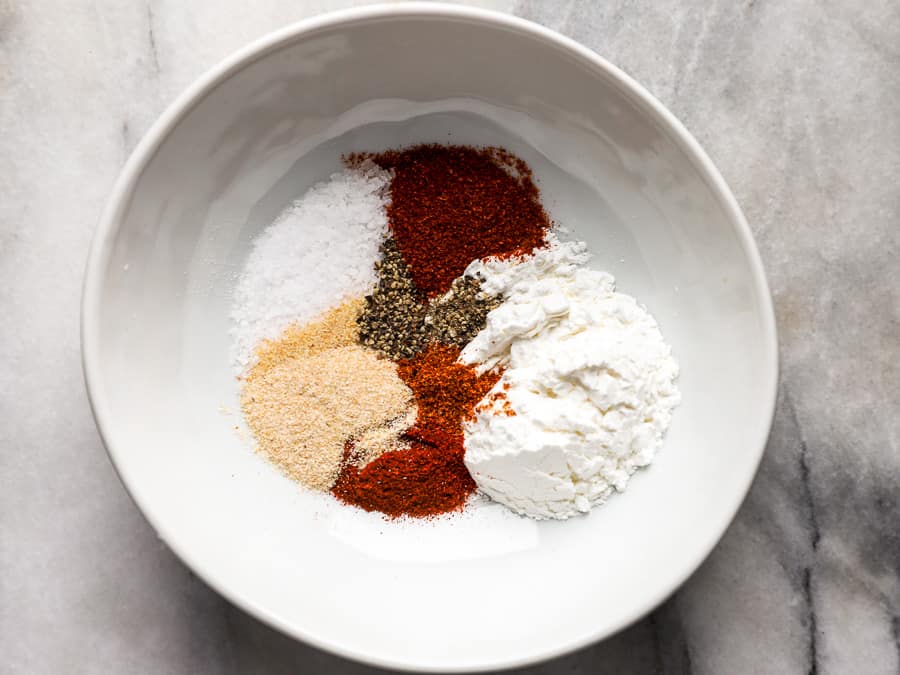
- In a small bowl, stir together the Italian seasoning, onion powder, garlic powder, salt, and black pepper.
- Rinse the rice in cool water and drain well. Add the lean ground beef to a large bowl along with the rice, finely diced onion, minced garlic, egg, and the seasoning mixture.
- Use your hands to mix everything together until evenly combined. Try not to overmix as this can make the meatballs tough.
- Divide and shape the meat mixture into 24 meatballs, about two tablespoons each. Place the shaped meatballs into a large pot or dutch oven. It’s ok if the meatballs are touching each other. I also stacked a few on top of each other.
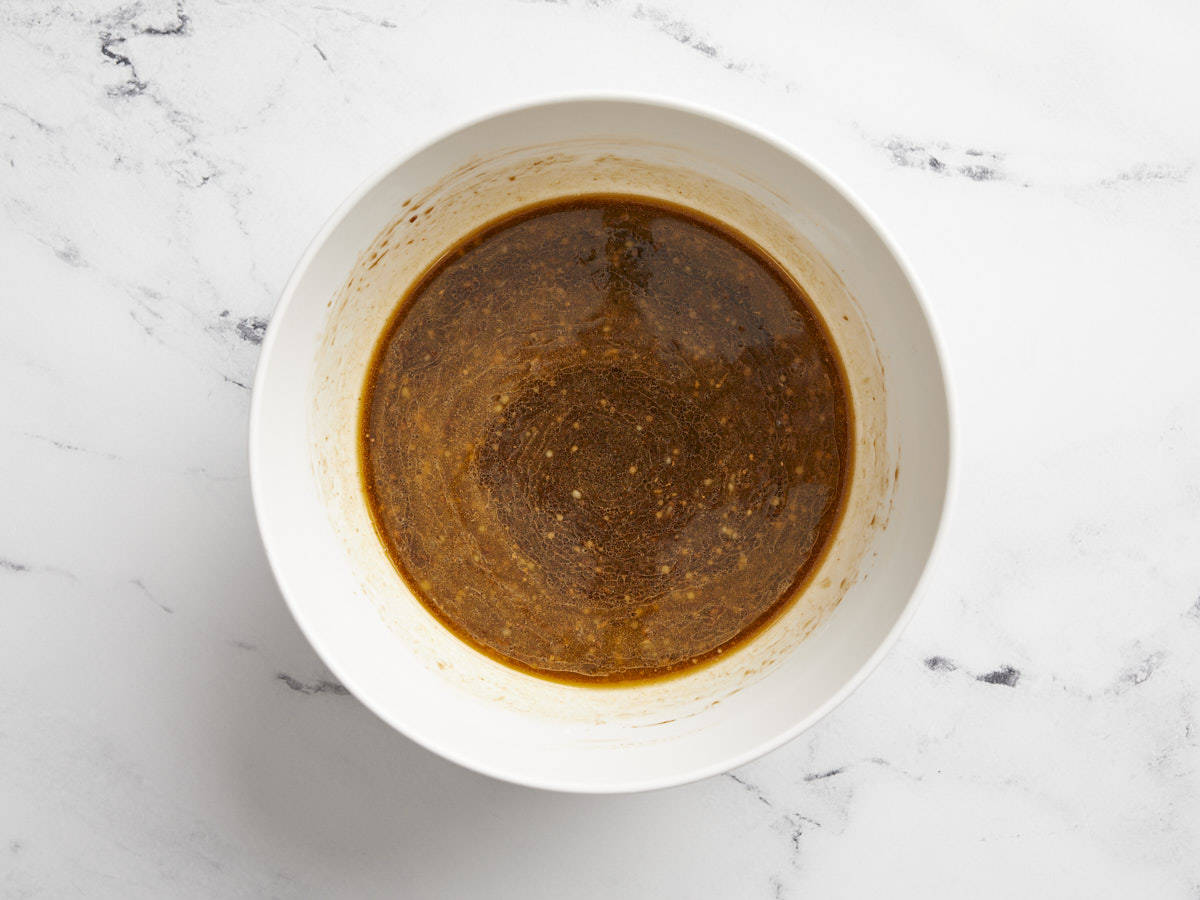
- Now make the sauce. In a medium bowl combine the tomato sauce, crushed tomatoes, Worcestershire sauce, sugar, black pepper, garlic powder, and water. Mix all the ingredients together until well combined. Pour the tomato sauce mixture over the meatballs.
- Cover the pot with a lid and bring the pot to a low boil. Once boiling, turn the heat down to medium-low and let the meatballs simmer for 35-40 minutes.
- Serve over rice or mashed potatoes with fresh chopped parsley on top and enjoy!
See how we calculate recipe costs here.
Nutrition

How to Make Porcupine Meatballs – Step by Step Photos

In a small bowl, stir together 2 tsp Italian seasoning, 1/2 tsp onion powder, 1/2 tsp garlic powder, 1 1/2 tsp salt, and 1/4 tsp freshly cracked black pepper.
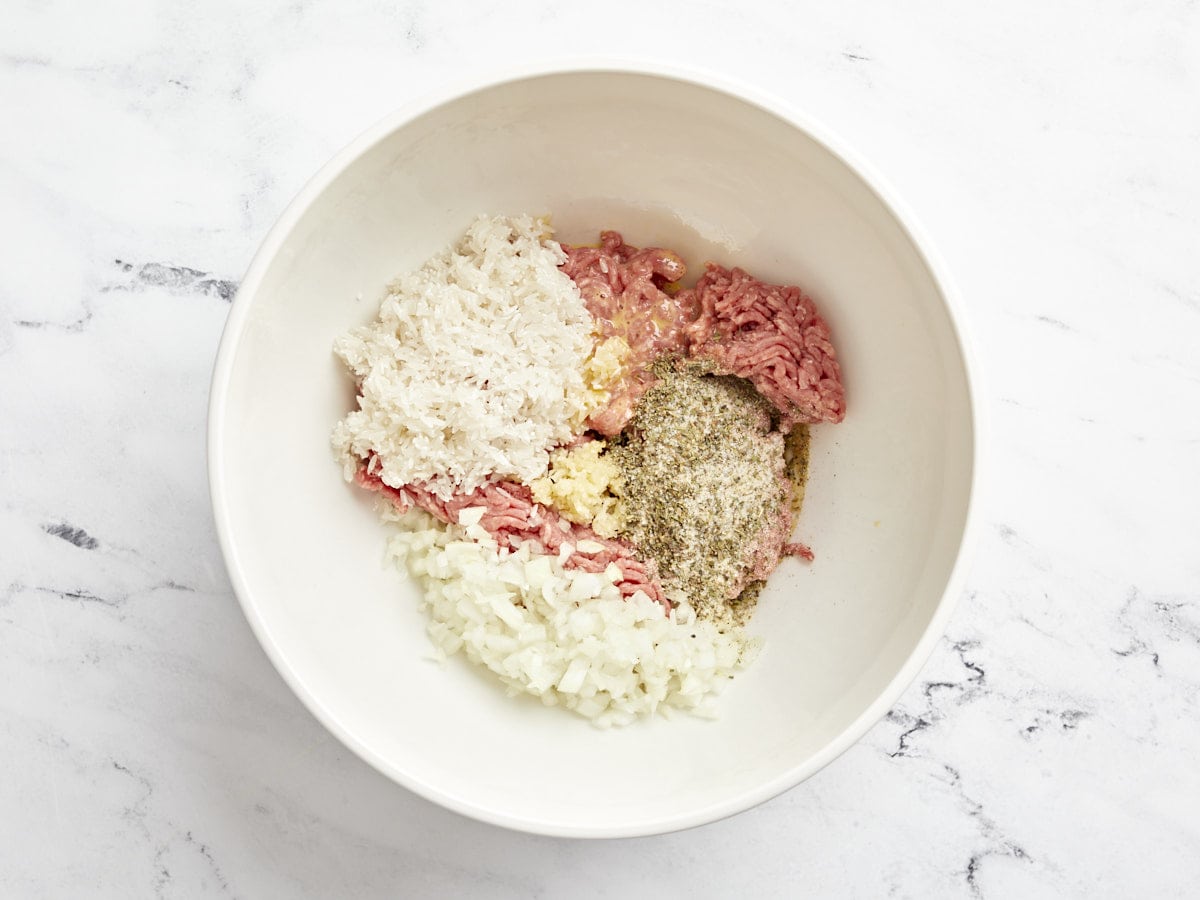
Rinse 1/2 cup uncooked long grain white rice in cool water and drain well. Add 1 lb. lean ground beef to a large bowl along with the rice, 1/2 finely diced onion, 2 minced garlic cloves, 1 egg, and the seasoning mixture. Use your hands to mix everything together until evenly combined. Try not to overmix as this can make the meatballs tough.

Divide and shape the meat mixture into 24 meatballs, about two tablespoons each.

Place the shaped meatballs into a large pot or dutch oven. It’s ok if the meatballs are touching each other. I also stacked a few on top of each other.
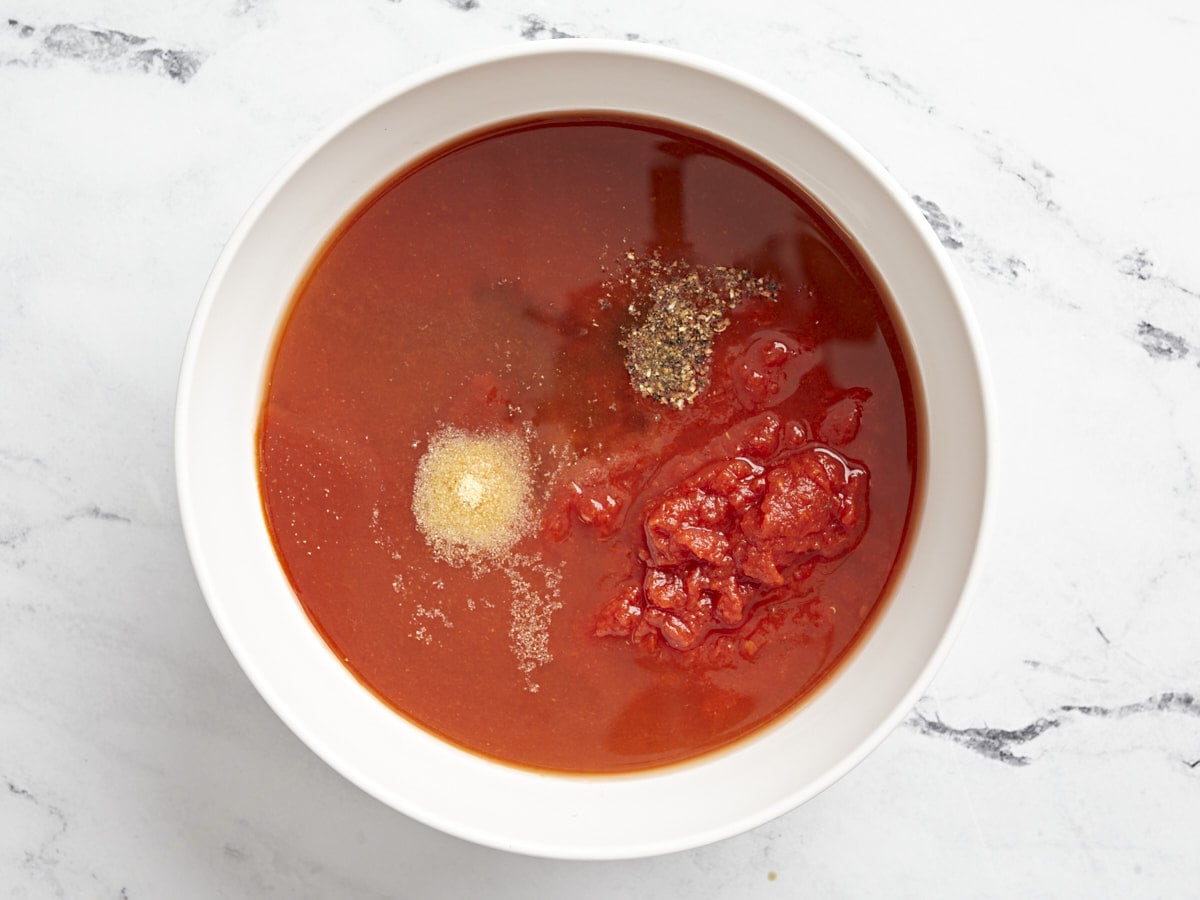
Now make the sauce. In a medium bowl combine one 15oz. can tomato sauce, one 15oz. can crushed tomatoes, 1 Tbsp Worcestershire sauce, 1 Tbsp sugar, 1/4 tsp freshly cracked black pepper, 1/4 tsp garlic powder, and 1/2 cup water. Mix all the ingredients together until well combined.
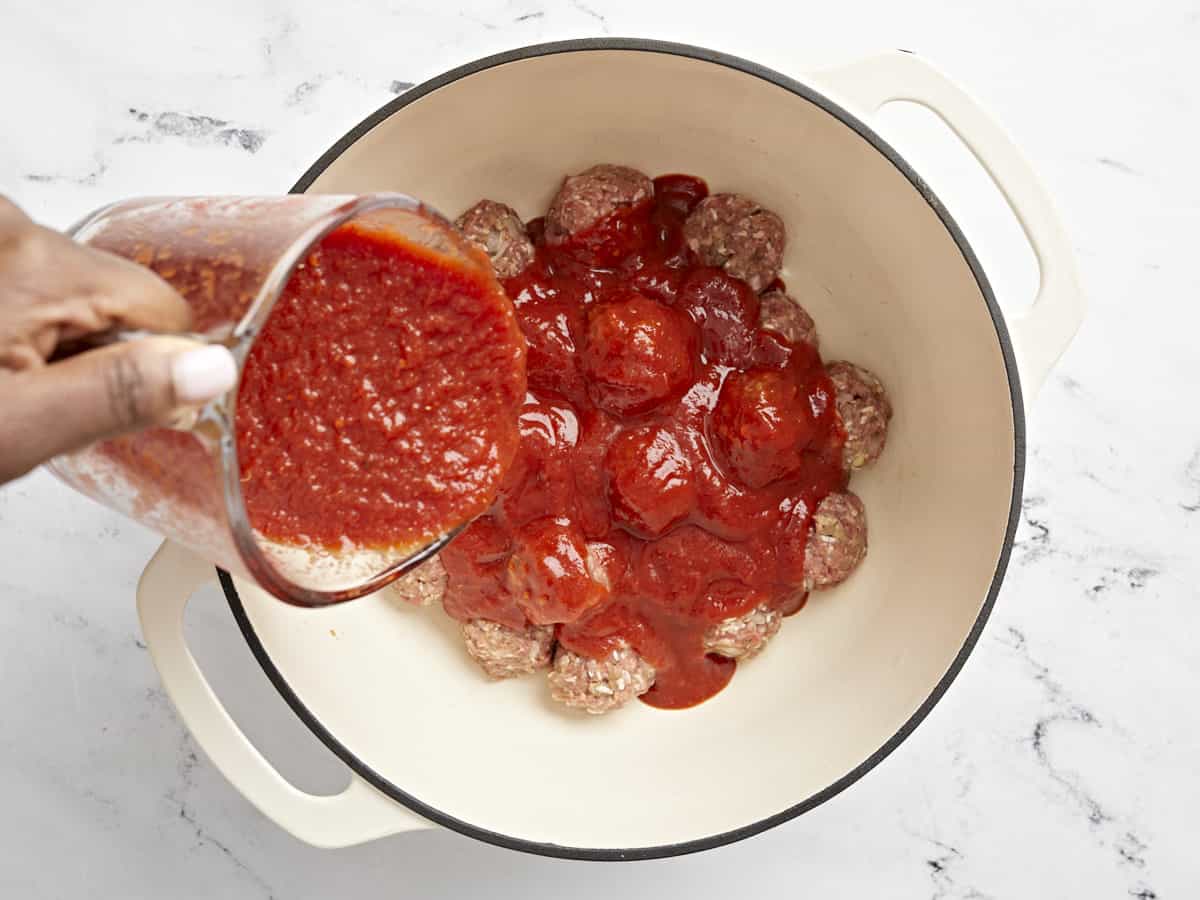
Pour the tomato sauce mixture over the meatballs.
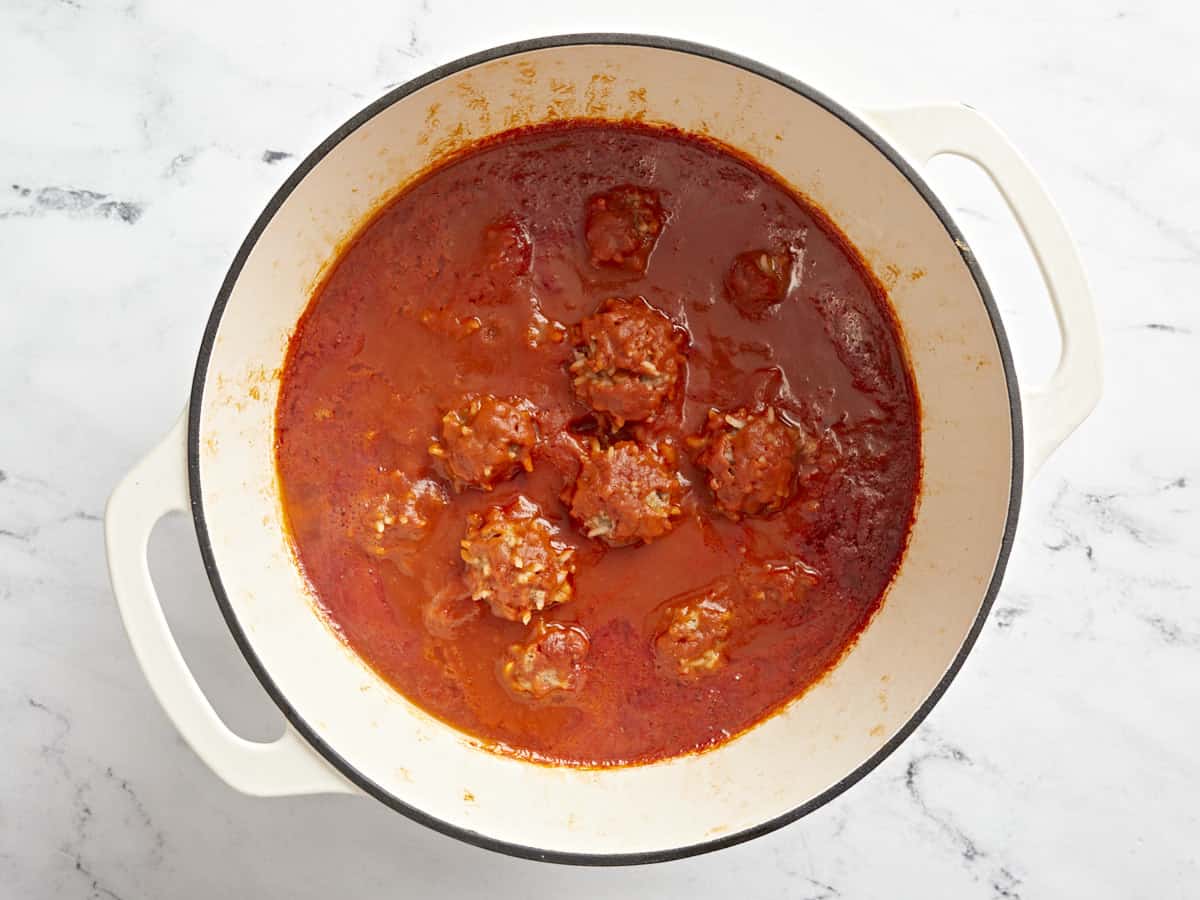
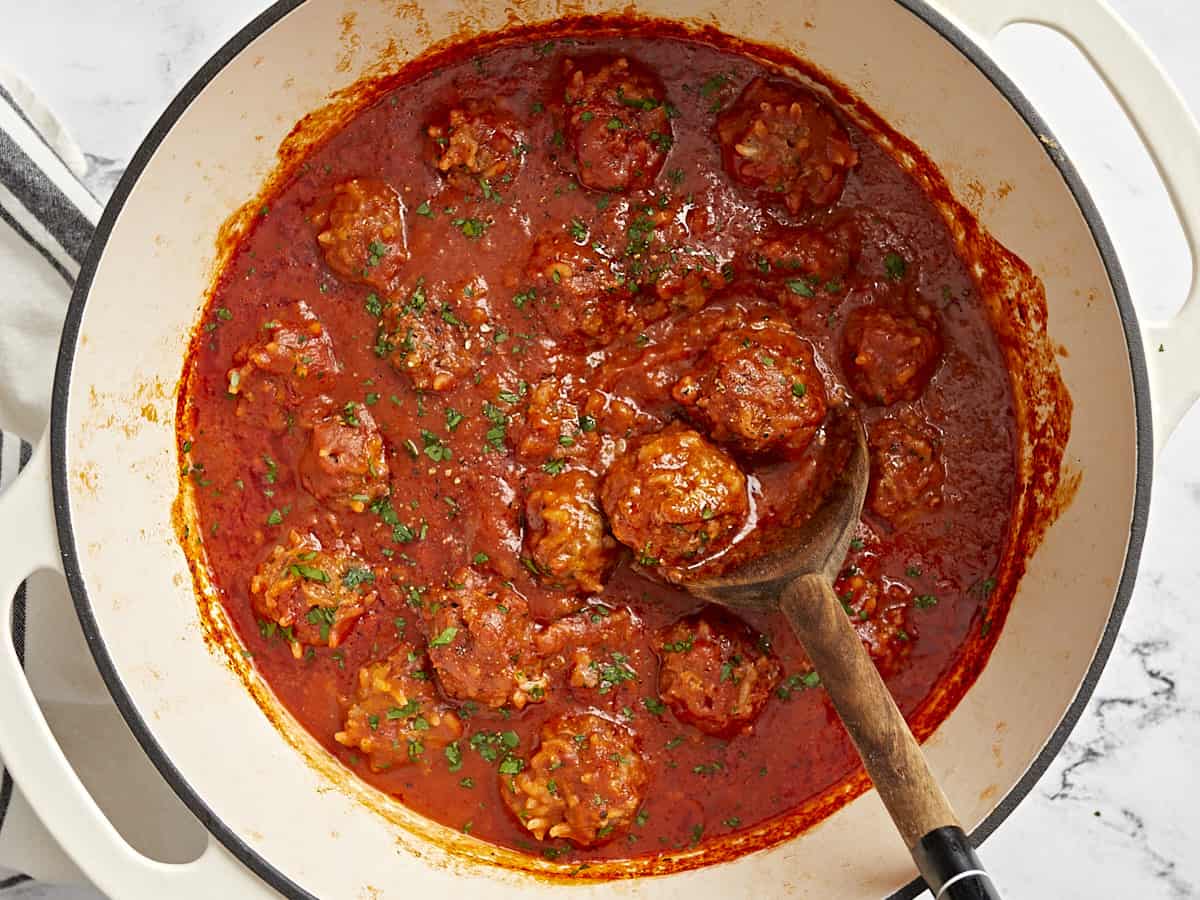
Cover the pot with a lid and bring the pot to a low boil. Once boiling, turn the heat down to medium-low and let the meatballs simmer for 35-40 minutes.

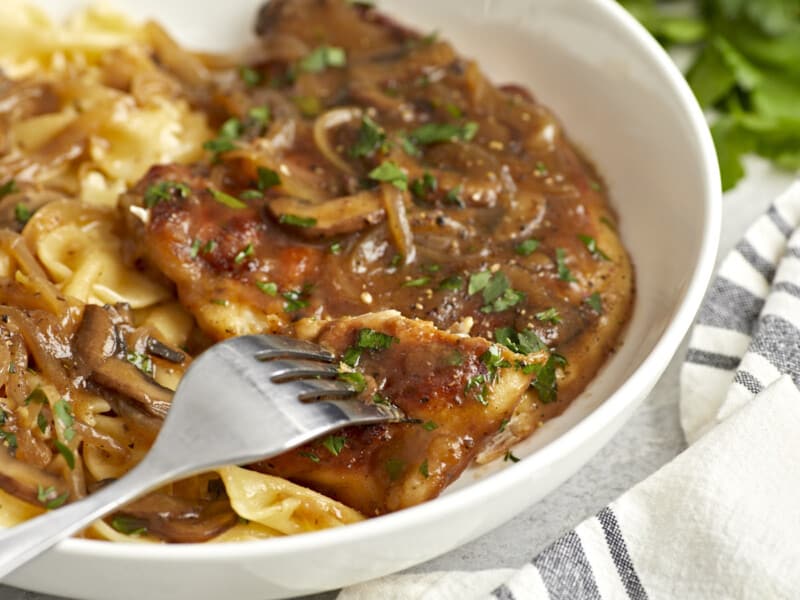
Enjoy by themselves or serve over extra rice or mashed potatoes and top with fresh chopped parsley. I’m a believer now Beth, you were right about this one!😄

More Meatball Recipes


The post Porcupine Meatballs appeared first on Budget Bytes.