Listen, I love Taco Tuesday as much as the next gal, but Taco Salads are really where it’s at. I have always said that salad is the ultimate “fast food”, and I’m sticking to it. Think about it, they’re quick, easy, and almost always require very little cooking. When you want a little extra somethin’ special, this taco salad with lean ground beef is it. You can make taco salad at home for a fraction of the price and have enough salad to meal prep all week long.

What Is Taco Salad?
Taco salad is everything you love about crispy beef tacos but in salad form! I’ve made sure it’s jam-packed with lettuce and extra veggies to keep you full all day long.
Ingredients
Here’s what you’ll need to make this taco salad:
- Sour Cream: Forms the creamy and tangy base of the dressing.
- Lime: The juice and zest of two limes adds acidity and bright citrus flavor to the dressing.
- Garlic: Adds a balancing earthiness to the dressing.
- Seasonings: Salt, chili powder, and sugar balance out the flavor of the dressing.
- Olive Oil: Helps to emulsify the dressing.
- Ground Beef: The classic choice for a taco salad. You could easily swap for ground chicken or turkey if you prefer. I used a lean ground beef, so I didn’t have to strain off any fat from cooking, saving me a little time. Vegetarian? No problem! This salad is crazy flavorful with or without the meat.
- Taco Seasoning: Adds that classic Mexican flavor.
- Vegetables: Red onion, tomato, corn, avocado, and jalapeño add freshness, crunch, and a touch of spice.
- Black Beans: Add creaminess and extra protein.
- Corn Chips: Add saltiness and crunch.
- Cheddar Cheese: Adds creamy, cheesy flavor.
- Iceberg Lettuce: The perfect neutral crunchy base lettuce to let the veggies shine.
What Else Can I Add?
I love that this is a great recipe to clean out those leftovers from the fridge. Here are some ideas:
- Veggies: Roasted Summer Vegetables, Chili Roasted Sweet Potatoes, or Roasted Red Peppers.
- Pickled Vegetables: Pickled Jalapeños or Pickled Red Onions.
- Salsa: Chipotle Peach Salsa, Cowboy Caviar, or Pico de Gallo.
Recipe Tip!
This salad is a crowd-pleaser! If I’m entertaining and have guests or family members who don’t eat certain ingredients, I keep everything separate so everyone can build their own perfect taco salad! I like mine without the ground beef and always use extra beans… yum! I love that everyone can enjoy this salad together with a wide range of toppings and feel full and content.


Taco Salad
Ingredients
Dressing
- 4 oz. sour cream $0.49
- 2 limes, juiced and zested $1.00
- 1 clove minced garlic $0.05
- 1/4 tsp salt $0.01
- 1/4 tsp chili powder $0.03
- 1/2 tsp sugar $0.01
- 4 Tbsp olive oil $0.80
Ground Beef Mixture
- 1 lb lean ground beef $4.99
- 1 1-oz. packet taco seasoning $0.59
Additional Toppings
- 1/2 red onion, julienned $0.37
- 2 roma tomatoes $0.60
- 1 cup corn kernels $1.66
- 1 15-oz. can black beans, drained and rinsed $0.89
- 1 avocado, diced $0.99
- 1 cup tortilla chips, crushed $1.44
- 1 cup shredded cheddar (about 1/2 of an 8-oz. block) $1.25
- 1 jalapeno, sliced into thin rings $0.30
- 1 head iceberg lettuce, chopped into bite-sized pieces $1.79
Instructions
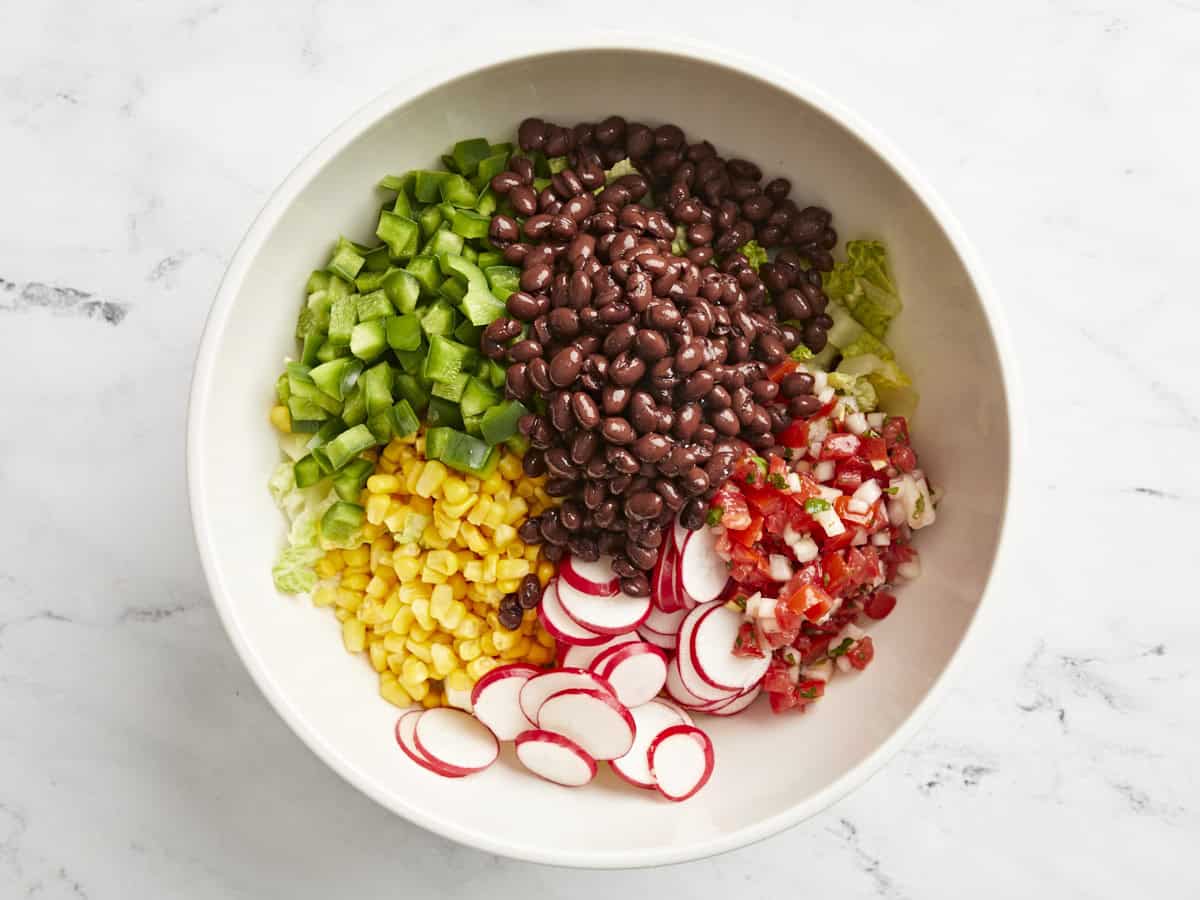
- Gather and prep all topping ingredients: julienne red onion, chop tomato, defrost frozen corn, drain and rinse black beans, dice avocado, crush tortilla chips, shred cheddar cheese, and slice jalapeno. Set aside or mix together in a large serving bowl.
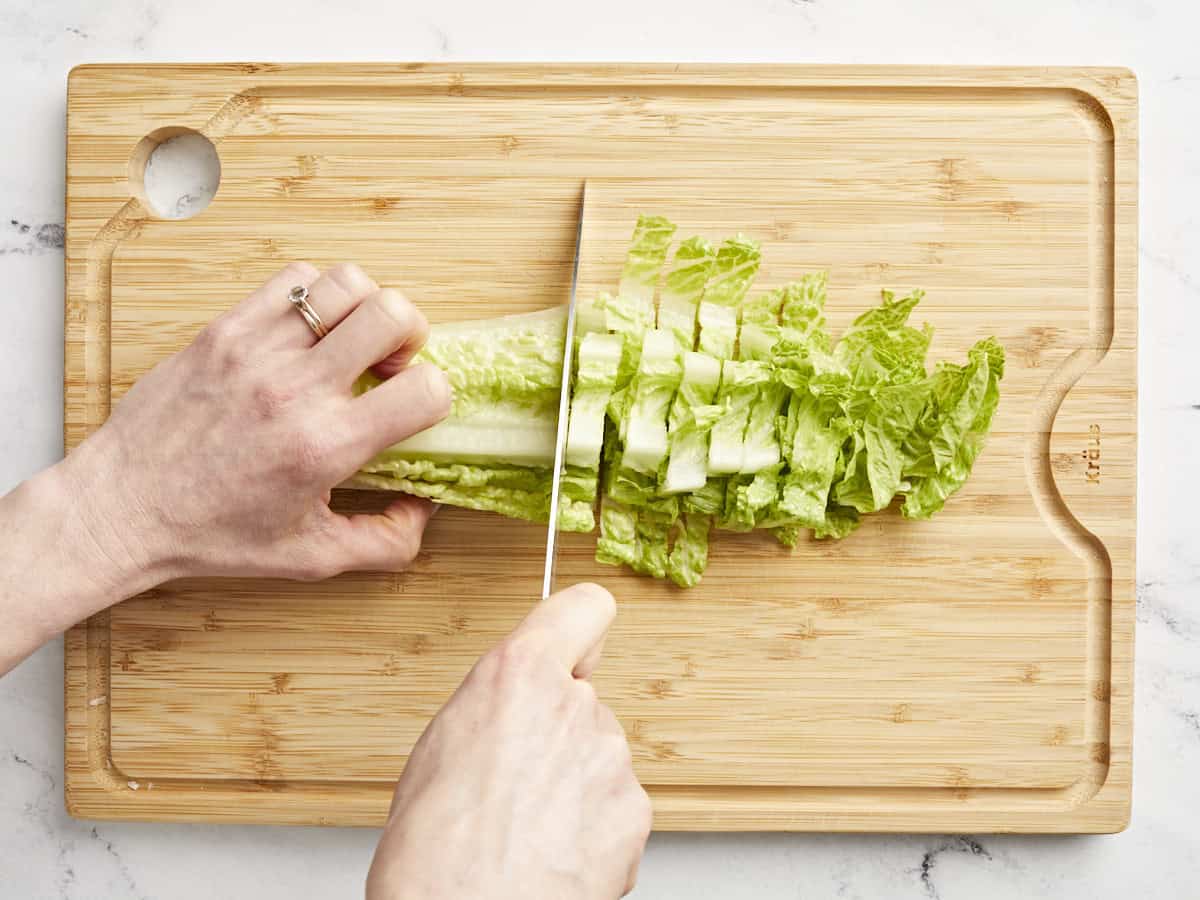
- Chop iceberg lettuce into bite-sized pieces.
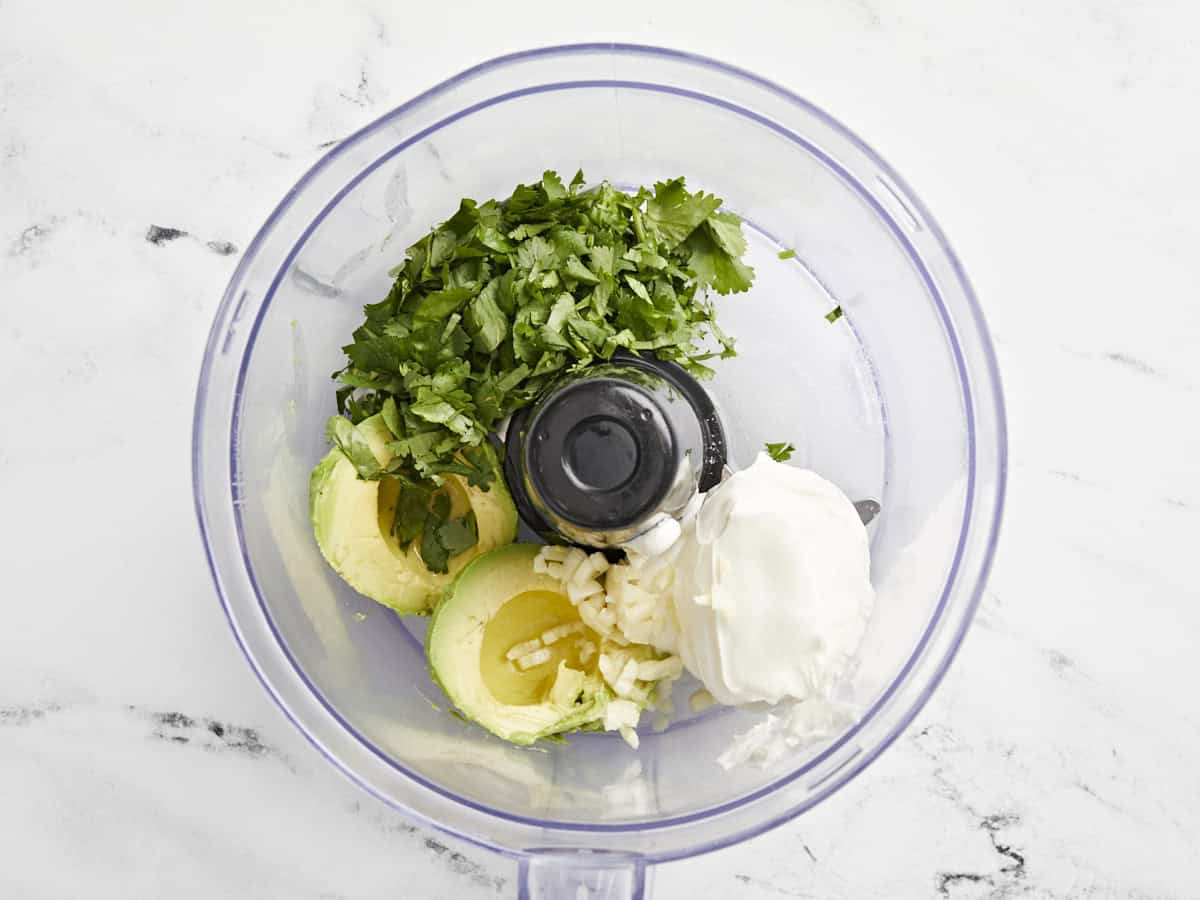
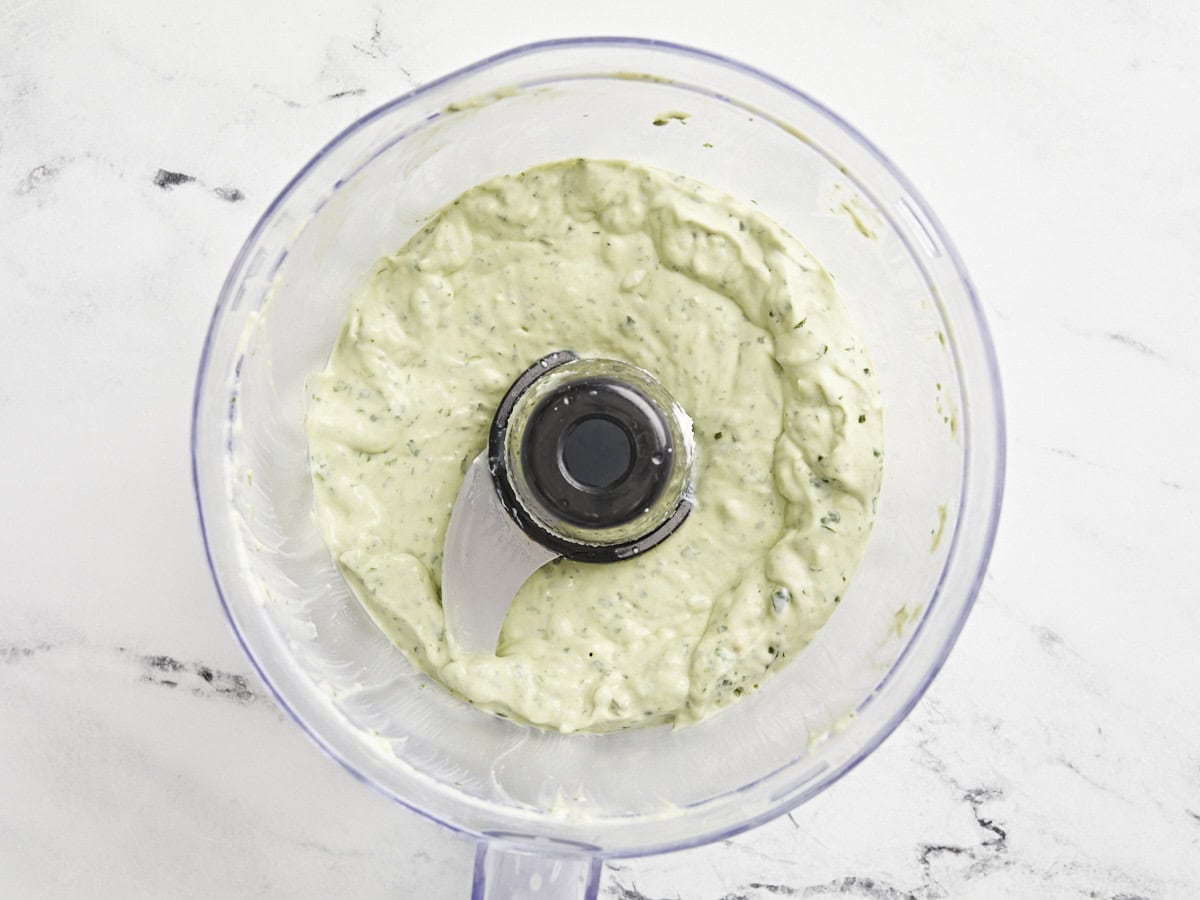
- Combine sour cream, juice and zest from limes, minced garlic, salt, chili powder, sugar, and oil in a small mixing bowl. Whisk to combine.
- Add lean ground beef and taco seasoning packet to skillet. Break apart the ground beef with a spatula and mix in the taco seasoning. Cook until all of the ground beef has turned brown.*
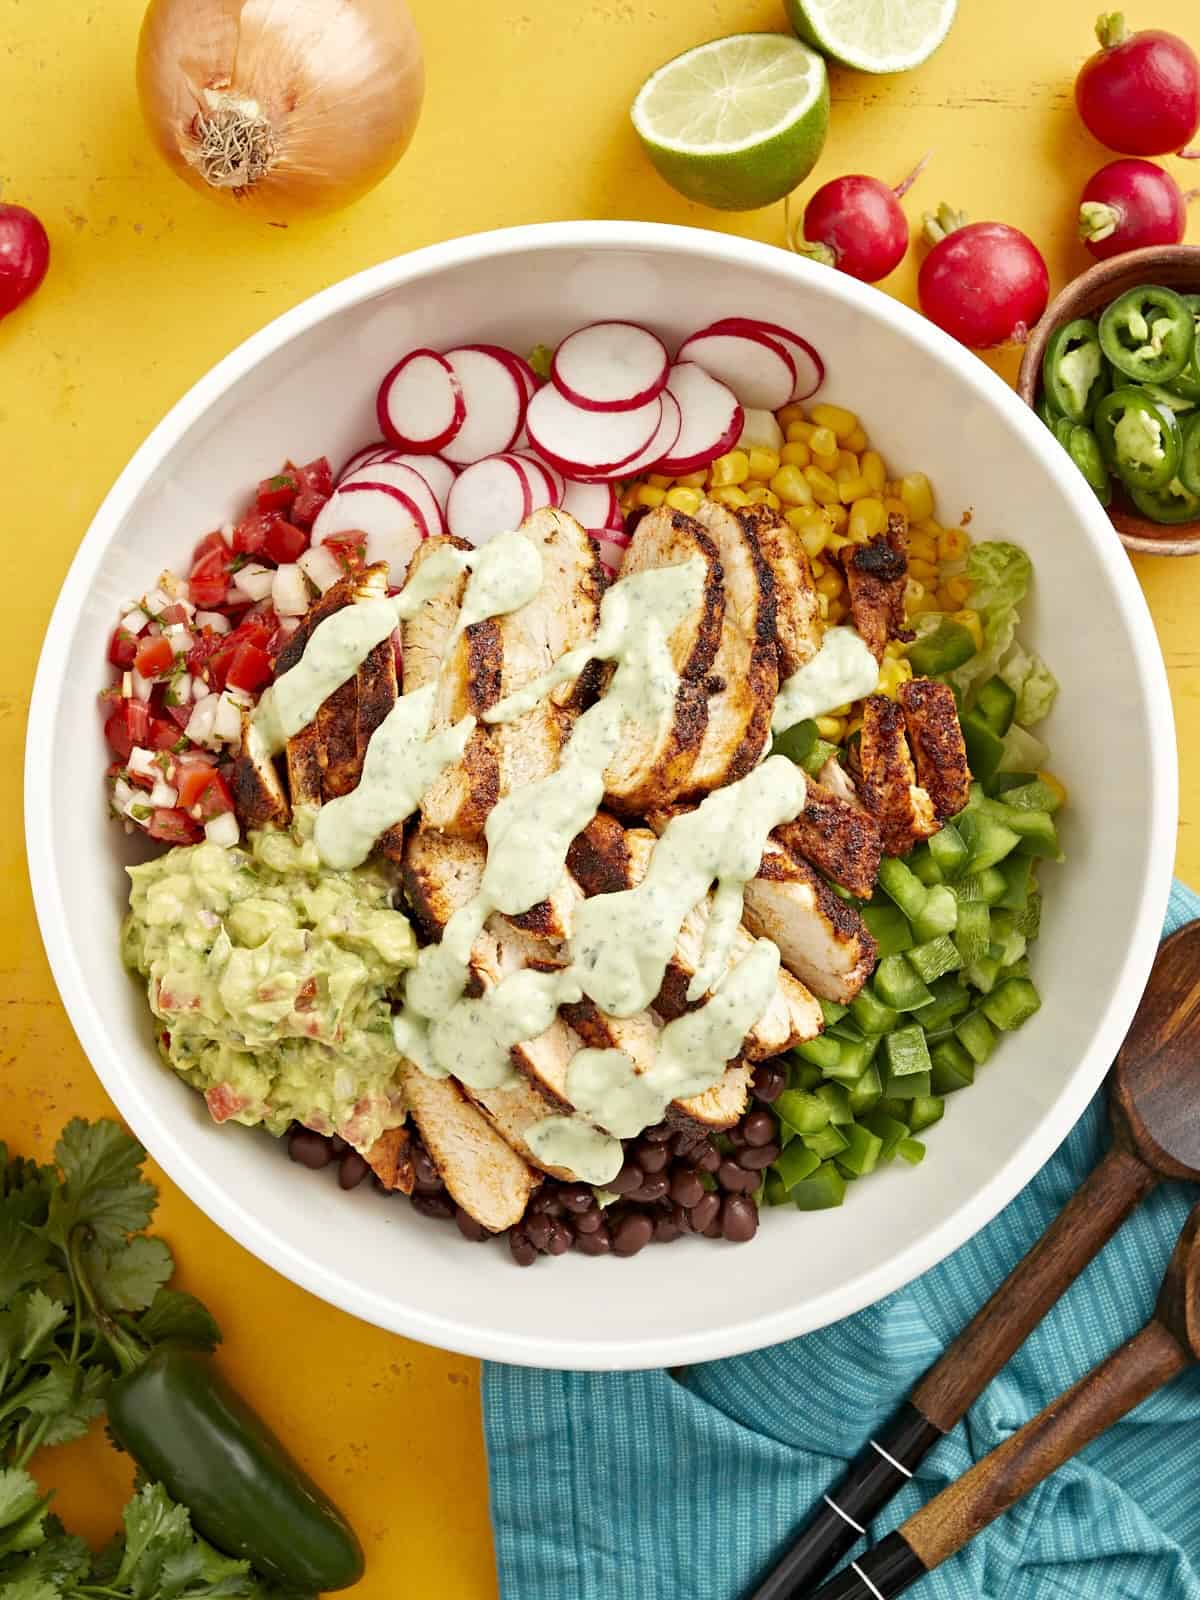
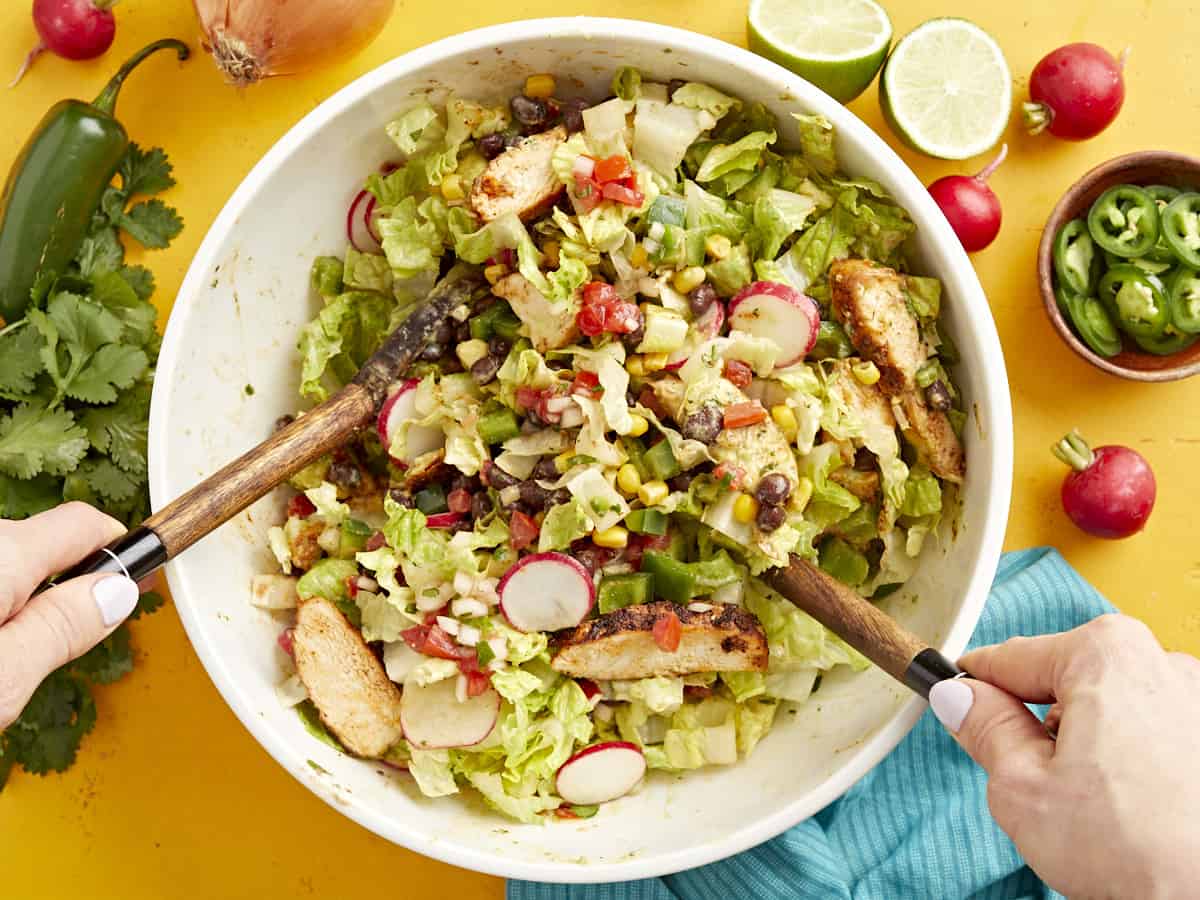
- Top chopped lettuce with prepped veggies and cooked ground beef. Toss all ingredients together.
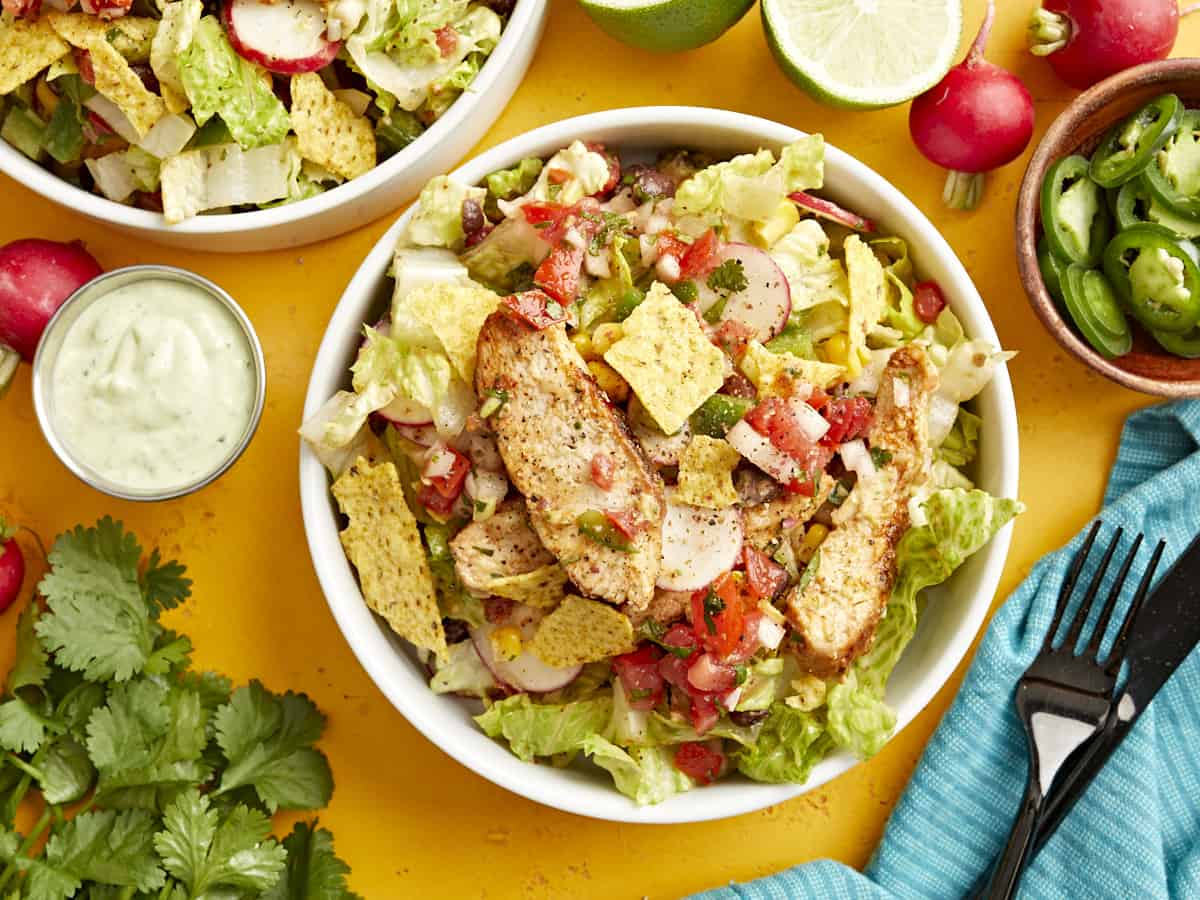
- Drizzle a generous helping of dressing over the top with crumbled tortilla chips! Serve and enjoy.**
See how we calculate recipe costs here.
Notes
Nutrition

how to make Taco Salad – step by step photos

Gather all topping ingredients. Julienne 1/2 red onion, chop 2 roma tomatoes, defrost 1 cup frozen corn, drain and rinse 1 can black beans, dice 1 avocado, crush 3 cups of tortilla chips, shred 1 cup cheddar cheese, slice 1 jalapeno. Set aside or mix together in a large serving bowl.
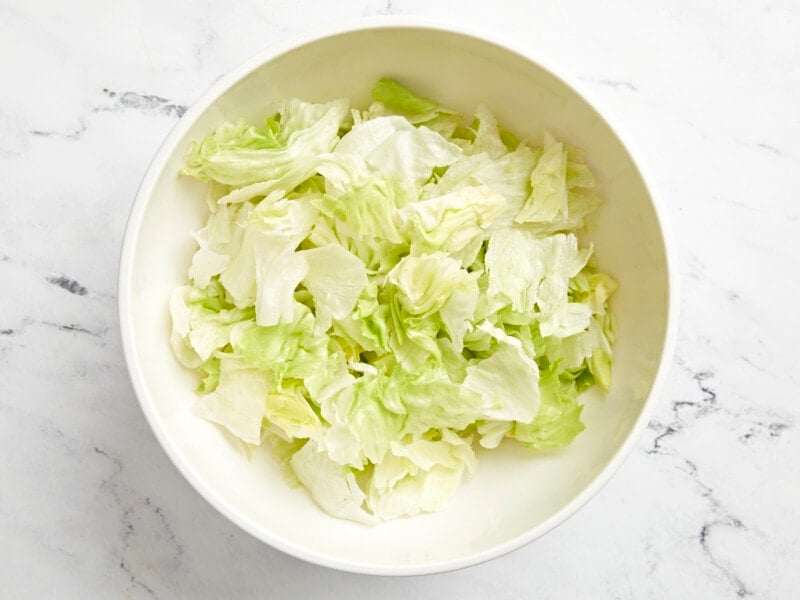
Chop 1 head of iceberg lettuce into bite-sized pieces.

Combine 4 oz sour cream, juice and zest from 2 limes, 1 clove of minced garlic, 1/4 tsp salt, 1/4 tsp chili powder, 1/2 tsp sugar, and 4 Tbsp oil in a small mixing bowl.

Whisk to combine.

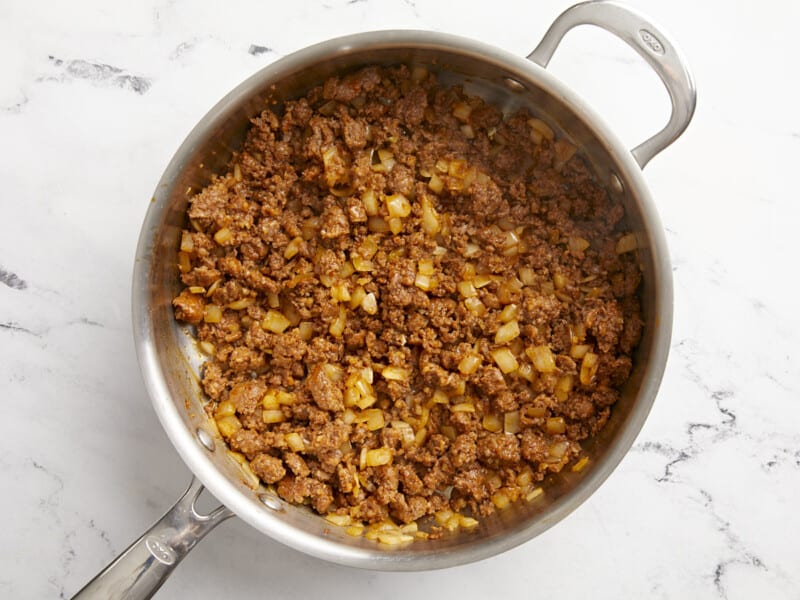
Add 1 pound lean ground beef and 1 packet of taco seasoning to skillet. Break apart the ground beef with a spatula and mix in the taco seasoning.
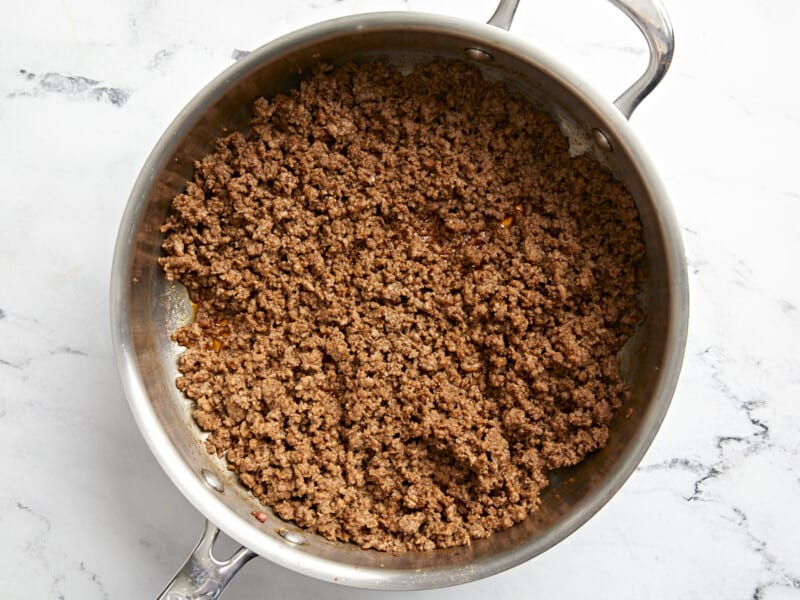
Cook until all of the ground beef has turned brown. I used a lean ground beef, so I added my seasoning and beef at the same time. I didn’t have any fat to strain off at the end, which saved me a little prep time.
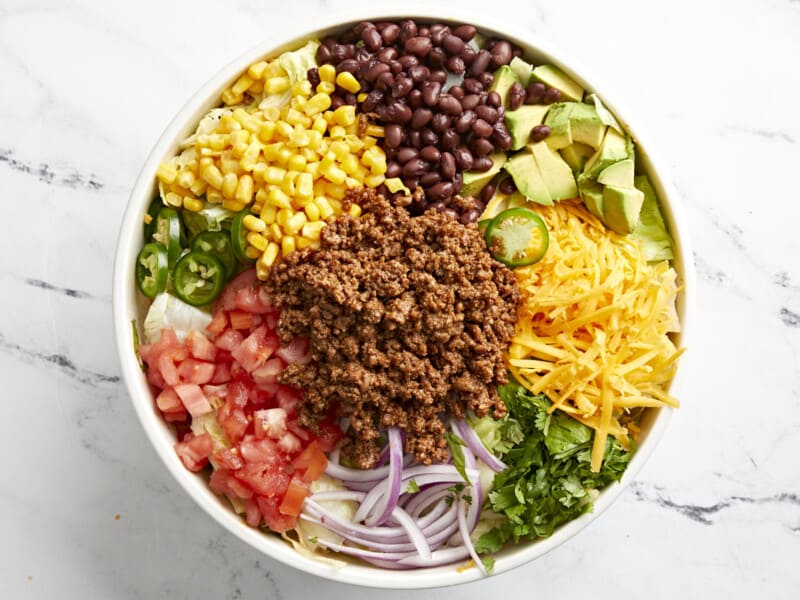
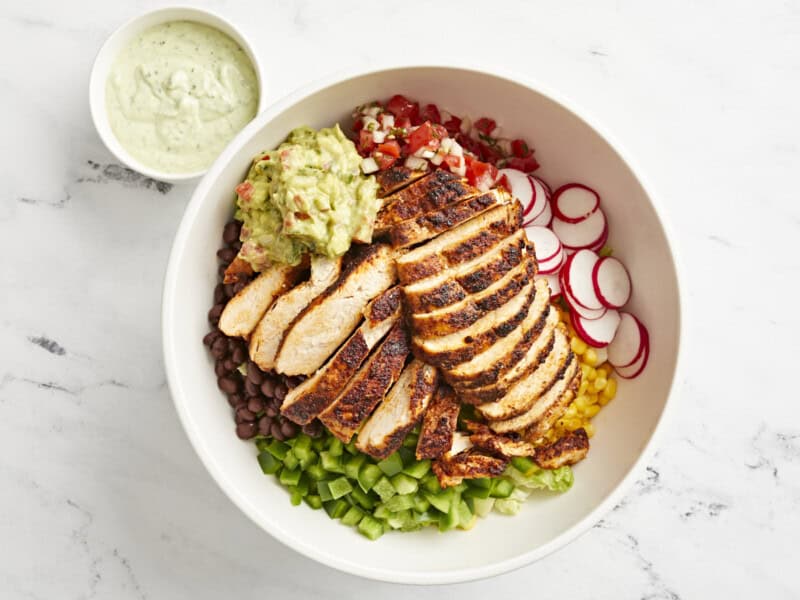
Top chopped lettuce with prepped veggies and cooked ground beef.
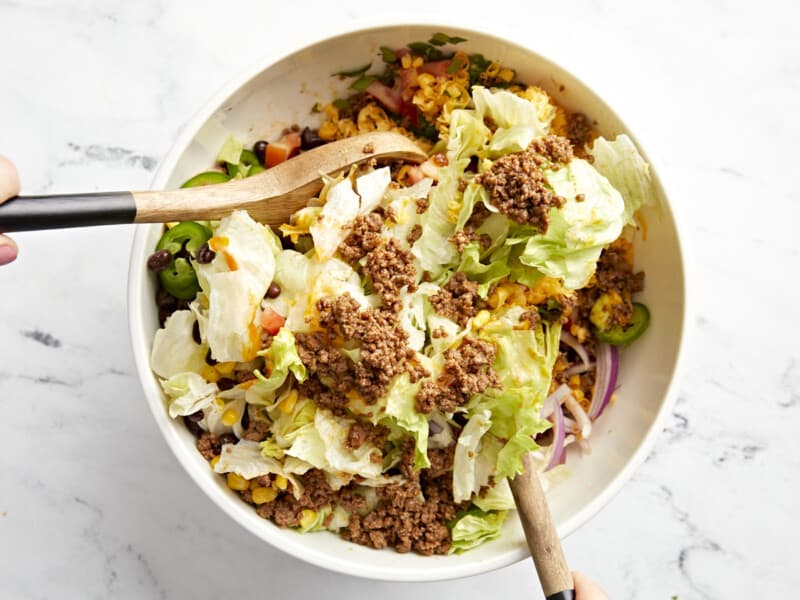
Toss all ingredients together.
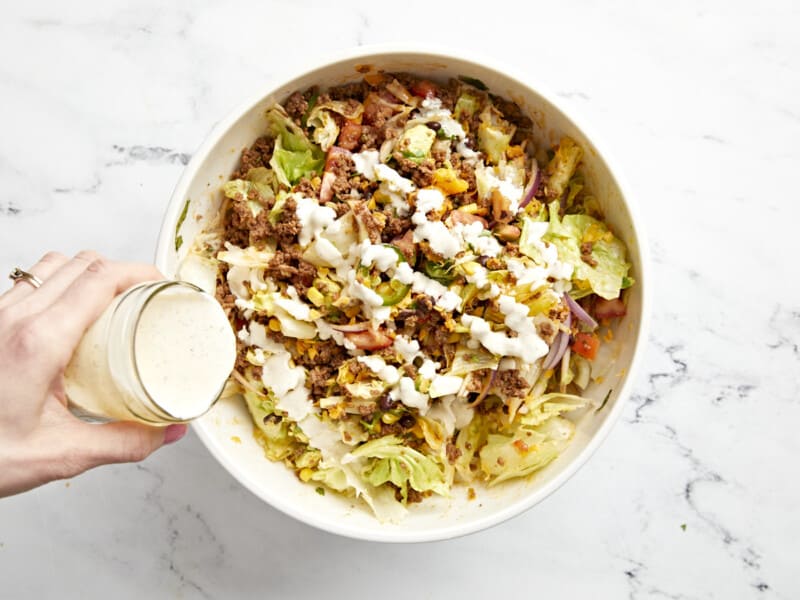
Drizzle a generous helping of dressing over the top with crumbled tortilla chips! Serve and enjoy.

This hearty taco salad is sure to satisfy!
More Southwest-Inspired Recipes


The post Taco Salad appeared first on Budget Bytes.