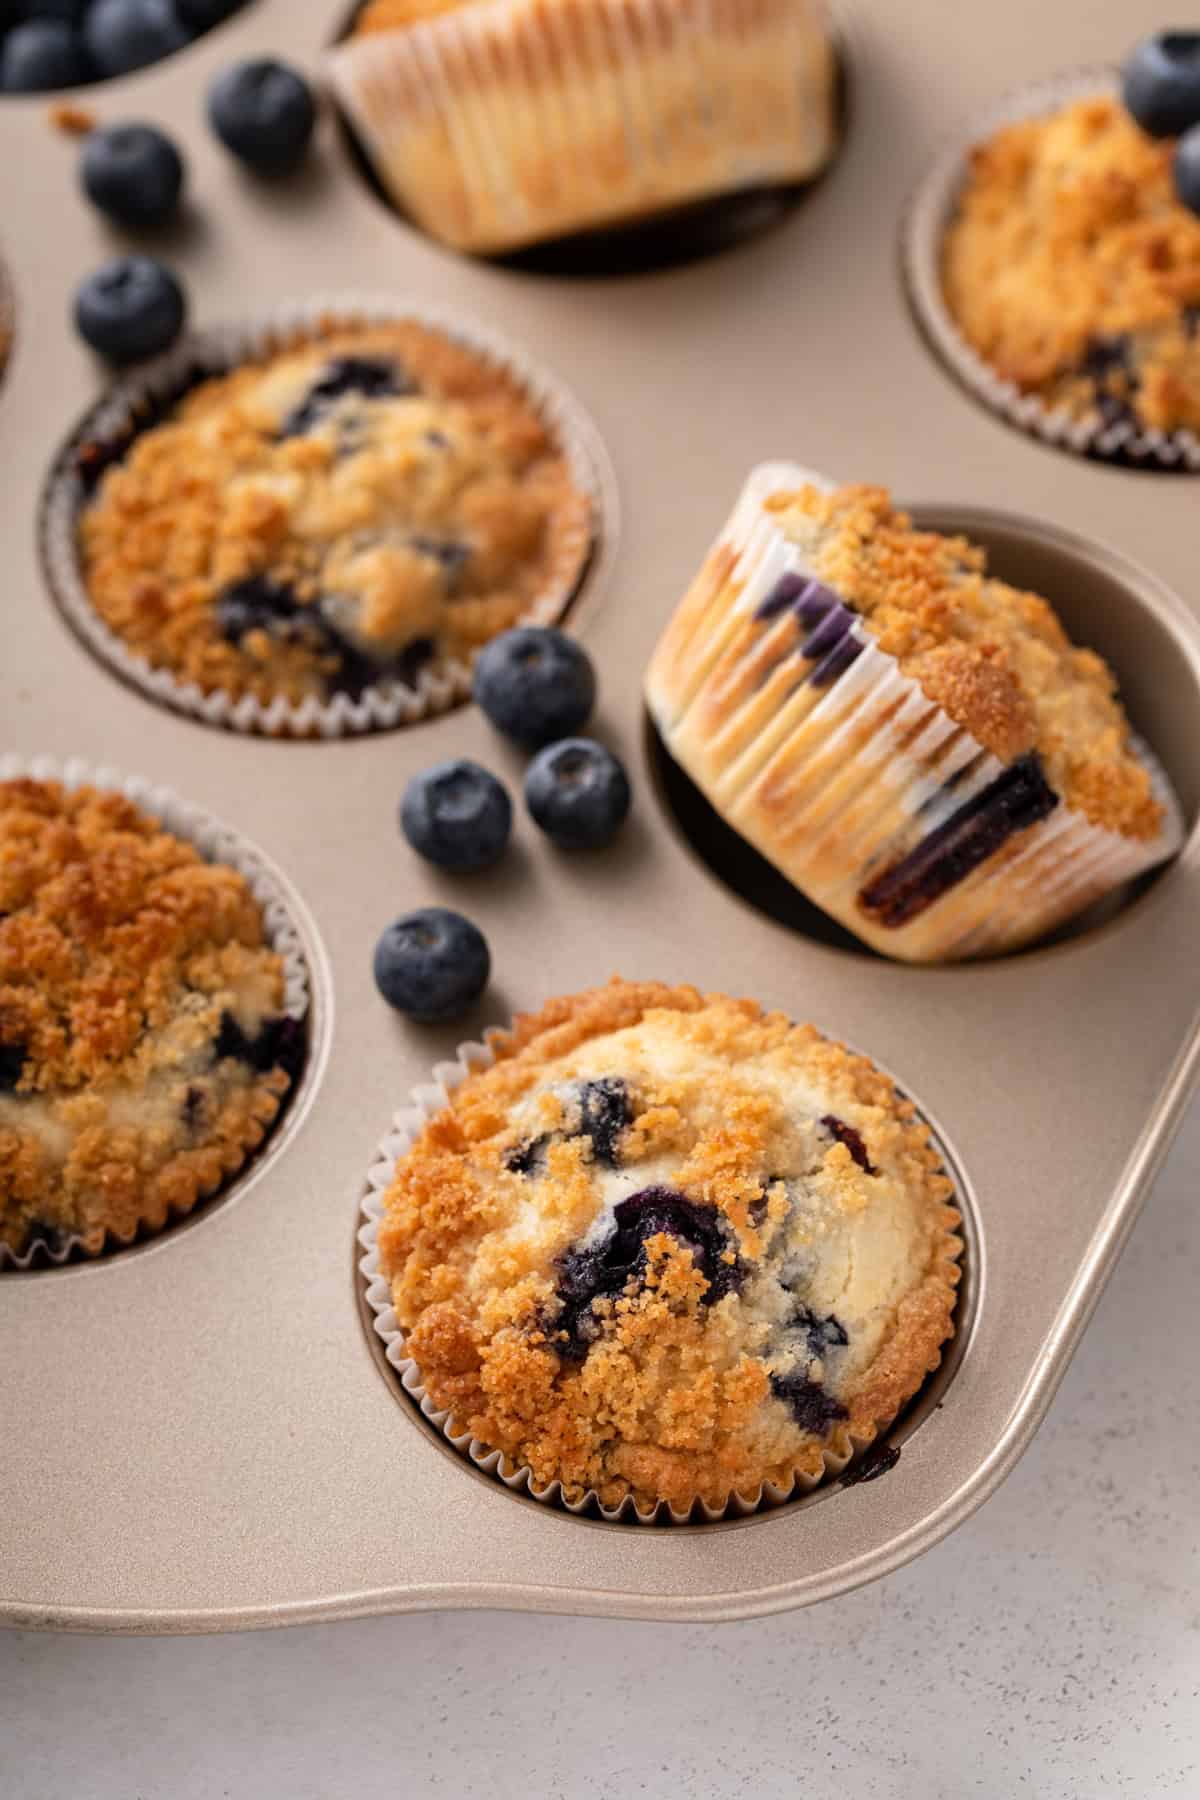
Blueberry Biscuits

Tall, fluffy blueberry biscuits are topped with honey butter for a perfectly sweet start to the day. This easy recipe…

The post Blueberry Biscuits appeared first on My Baking Addiction.
Tall, fluffy blueberry biscuits are topped with honey butter for a perfectly sweet start to the day. This easy recipe requires zero cutting or rolling!

White plate holding two blueberry biscuits next to a small bowl of butter.

It’s been a while since I was this excited about a recipe. And I get pretty excited about our recipes, so that should tell you how awesome this one is.

During the March Madness finals, Elle and Eric went to one of the games and I stayed home with the baby. While I was scrolling through Reddit, I found a post from someone saying their boyfriend had made the best biscuits they’d ever had.

Obviously I had to click through, and thankfully the poster shared the recipe in the comments, which they said they got from America’s Test Kitchen.

I had a bottle of buttermilk in my fridge that needed to be used, so I made these blueberry biscuits first thing the next morning. Then I immediately texted Stephie that she needed to try them, too.

She took one bite and texted me, “Can I just live inside of this blueberry biscuit?”

So yeah. These biscuits? You need to make them immediately. You can thank us later.

(more…)

The post Blueberry Biscuits appeared first on My Baking Addiction.
Strawberry Oatmeal Bars

Made with a simple oat-packed crust and a fresh strawberry filling, strawberry oatmeal bars are a delicious way to welcome…

The post Strawberry Oatmeal Bars appeared first on My Baking Addiction.
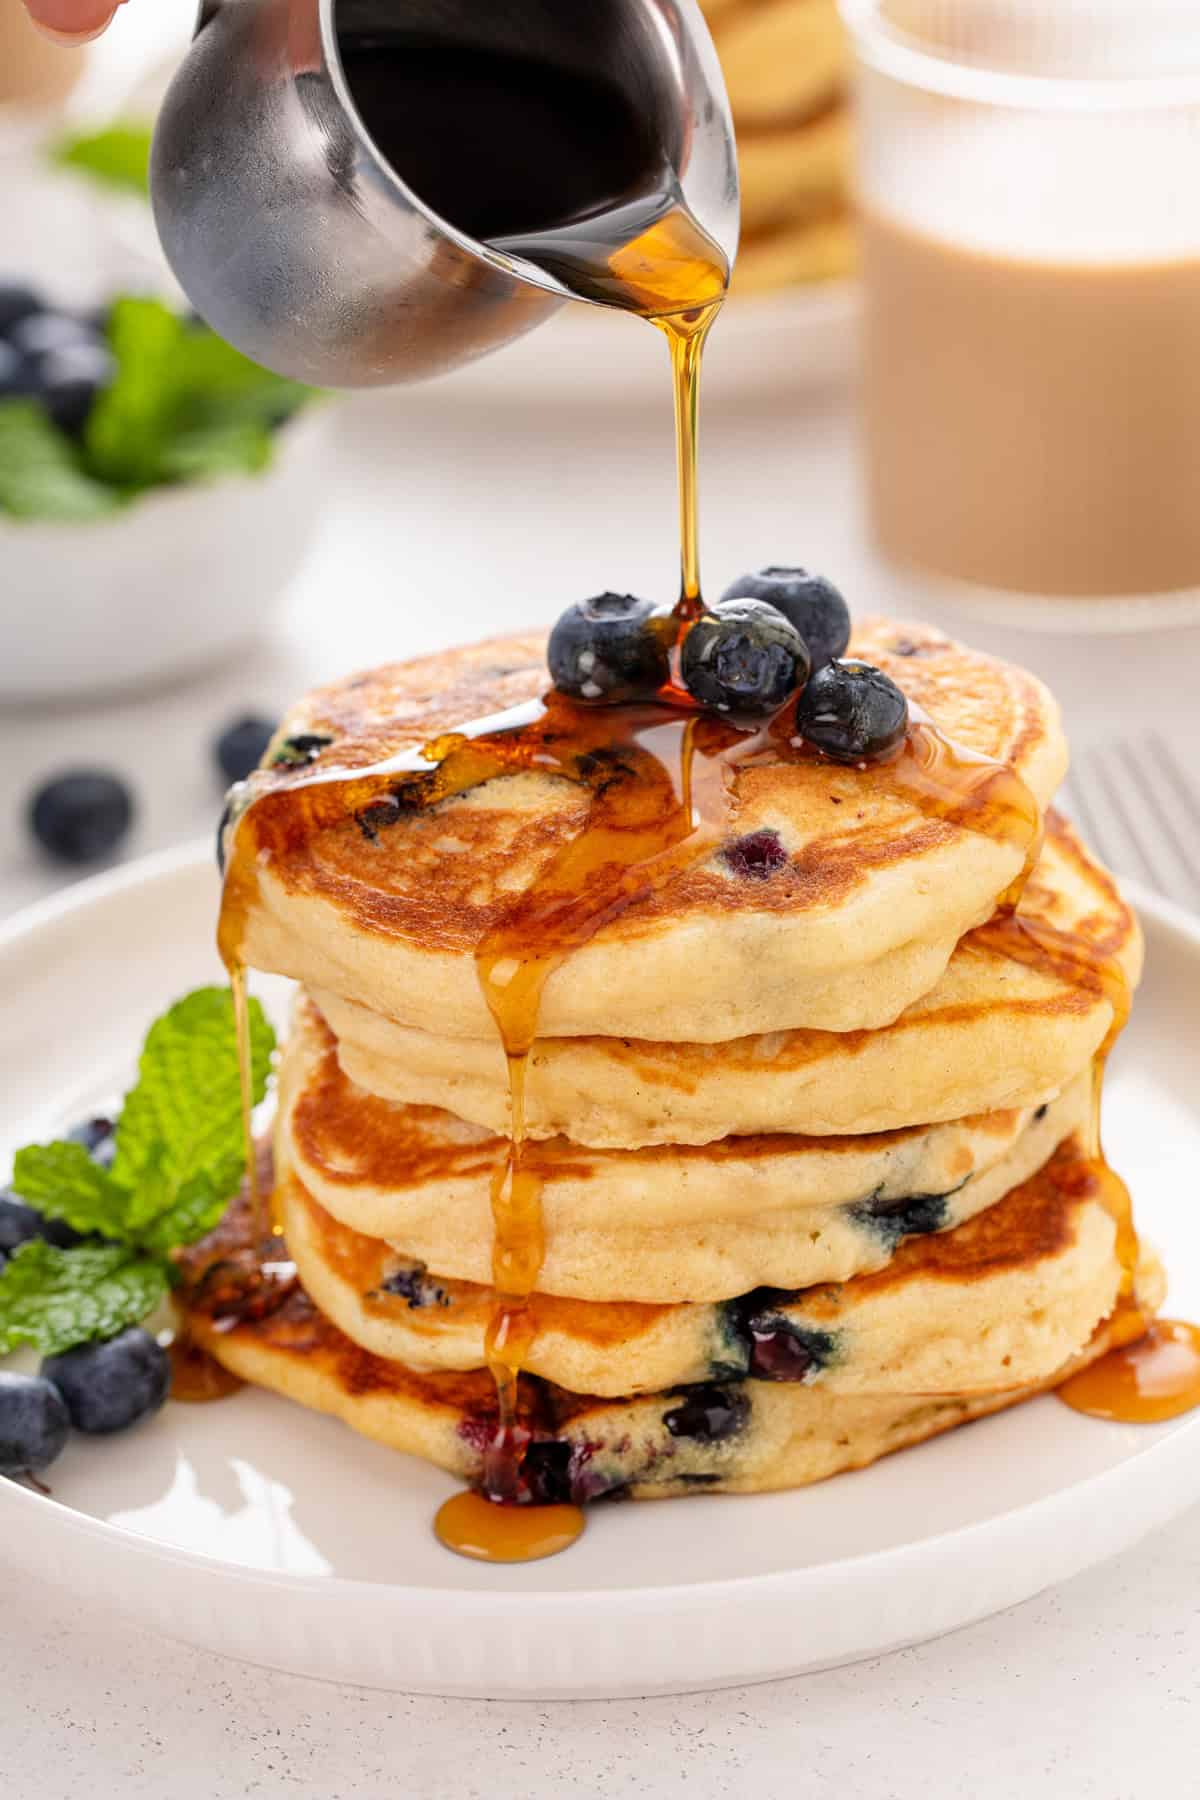
Made with a simple oat-packed crust and a fresh strawberry filling, strawberry oatmeal bars are a delicious way to welcome berry season.

Close up view of sliced strawberry oatmeal bars on a piece of parchment paper.

As you can probably guess, my team and I spend a lot of time at the grocery store. And we’ve all been noticing that fresh berries are starting to come back in stock.

In my mind, fresh berries are a sure sign that the seasons are changing, even if it’s still sweatshirt weather here in Ohio. And while peak strawberry season won’t hit my region for a little while yet, I love making recipes that allow even pre-season berries to sing.

From strawberry banana muffins to strawberry popsicles to these strawberry oatmeal bars, these recipes keep me going even when the weather isn’t so great.

(more…)

The post Strawberry Oatmeal Bars appeared first on My Baking Addiction.

Summer Fruit Galette

Being a baker, summer is my favorite time of year. Not only are peaches, nectarines, cherries and plums abundant at the market, but as the seasons progress, the volume of fruits lowers the price, and I stock up on whatever I can, whenever I can. At Paris markets, I try to search out producteurs, the vendors who grow the food they sell, and every summer, one in…

Being a baker, summer is my favorite time of year. Not only are peaches, nectarines, cherries and plums abundant at the market, but as the seasons progress, the volume of fruits lowers the price, and I stock up on whatever I can, whenever I can.

At Paris markets, I try to search out producteurs, the vendors who grow the food they sell, and every summer, one in particular shows up at my market with lots of Reine Claude and mirabelle plums, a few different varieties of cherries, plump melons that you can smell standing a few feet away, tender figs, and fresh apricots.

Making the shopping experience even better, were the fellows who sold the fruits. Not only were they easy on the eyes, but they often put punky-looking cherries in baskets, labeling them “for clafoutis” (a nicer way of saying “for baking”) and selling them at a reduced price. This year, there seems to have been a turnover in staff – zut – but the replacements also offer up the imperfect fruit, or even an overload, at a discount.

Continue Reading Summer Fruit Galette...

Easy Blackberry Cobbler

This easy blackberry cobbler is made with Bisquick for a simple yet delicious dessert. Serve it with whipped cream or vanilla ice cream for the perfect ending to a summer meal. Now that we’re into summer, it’s all about berries for me. Strawberry shortcake, lemon raspberry scones, and berry crisp are just a few of …

The post Easy Blackberry Cobbler appeared first on My Baking Addiction.
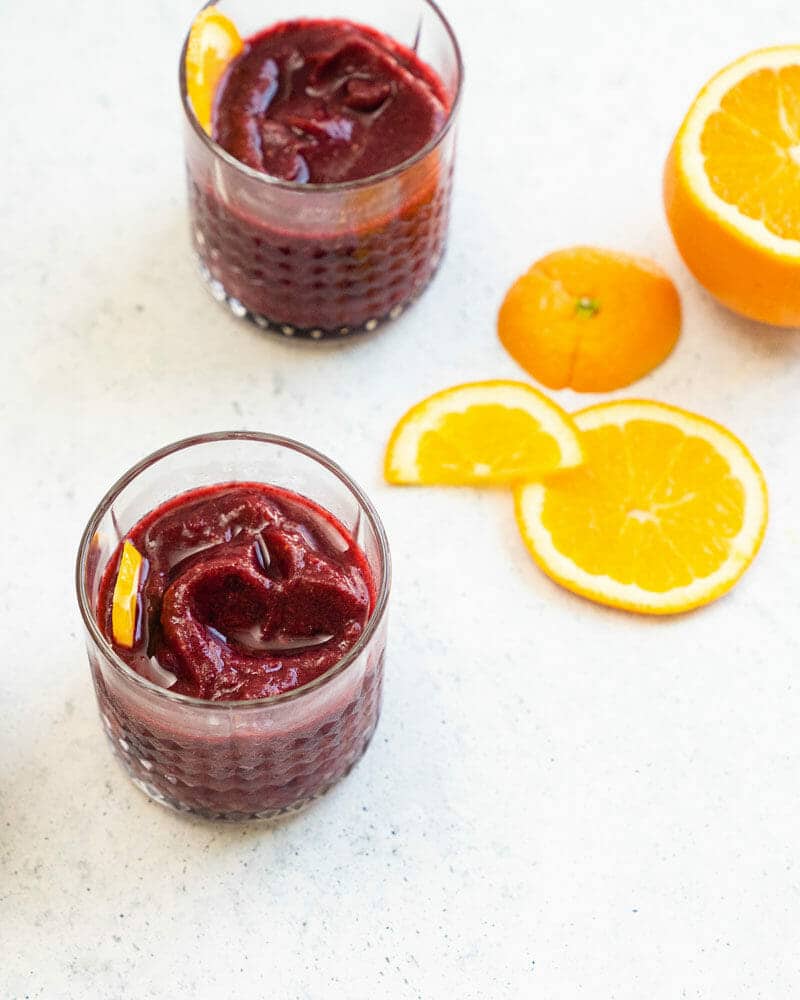
This easy blackberry cobbler is made with Bisquick for a simple yet delicious dessert. Serve it with whipped cream or vanilla ice cream for the perfect ending to a summer meal.

Fork cutting a bite from the corner of a piece of blackberry cobbler topped with ice cream.

Now that we’re into summer, it’s all about berries for me.

Strawberry shortcake, lemon raspberry scones, and berry crisp are just a few of the recipes that are at the top of my list every summer.

And don’t forget a good blackberry cobbler!

This easy blackberry cobbler recipe is simple to throw together and makes a great summer dessert that pairs well with whipped cream or a scoop of vanilla ice cream. It’s the simplicity of this one that makes it so perfect – no frills, no fuss, all delicious. 

A slice of blackberry cobbler on a cake server over the pan of easy blackberry cobbler.

CRISPS, COBBLERS & CRUMBLES: WHAT’S THE DIFFERENCE?

There’s not a single season of the year where I don’t crave some kind of crisp or cobbler. Apple in the fall and winter, rhubarb in the spring, and berries in the summer.

But what exactly is the difference between a crisp, a cobbler, and a crumble? Well, it’s all in the topping!

  • Cobblers can have a drop biscuit topping, a pie crust-like topping, or even a cakey topping (like with this easy blackberry cobbler or easy peach cobbler). 
  • Crisps have a streusel topping that has oats in it, making the topping…well, crispy! (Don’t miss my cherry crisp.)
  • Crumbles are similar to crisps but traditionally don’t have any oats in the streusel topping, like in Apple Crumble. Although the lines are sometimes a little bit blurred between crisps and crumbles and the names are often used interchangeably.

This easy blackberry cobbler falls into the cakey category. It has a cake-like base that rises around the fruit to become both a base and a topping.

It’s sweet, simple, and incredibly delicious! Absolutely a summer must-make recipe.

Plated slice of easy blackberry cobbler topped with a scoop of vanilla ice cream.

HOW TO MAKE BLACKBERRY COBBLER WITH BISQUICK

Easy blackberry cobbler uses Bisquick mix in the batter, so there are only a few ingredients that you’ll need and it’s simple to mix together.

To get started, stir together your blackberries with ½ cup of granulated sugar and some pumpkin pie spice. I like using pumpkin pie spice in this recipe because I think all of the spices (especially the ginger) pair really well with the blackberries.

Ingredients for blackberry cobbler arranged on a white countertop.

Let the berries rest for 15-20 minutes before moving on with the batter. Give them a stir occasionally while they rest.

After the berries have rested, grab another bowl and whisk together the Bisquick mix with the remaining sugar and the whole milk. Once that is well combined, whisk in the melted butter and pour the batter into a greased 9×9-inch baking pan. 

Now, sprinkle the sugared blackberries evenly over the top of the batter. Don’t forget to include any sugar or juice that is still in the bowl with the berries! You want all of that goodness in the cobbler.

Fresh blackberries stirred together with sugar in a white mixing bowl.

Before popping this cobbler in the oven, you can sprinkle the top with a bit of coarse sugar for some extra crunch and sparkle, but that’s totally up to you.

Let the blackberry cobbler bake for 50-60 minutes, or until the top is golden brown. I love this served warm from the oven with a scoop of vanilla ice cream, but it’s delicious at room temperature as well!

Batter for easy blackberry cobbler being whisked together in a white mixing bowl.

RECIPE FAQS

Can I use frozen blackberries?

This recipe is best with fresh blackberries but you can certainly use frozen blackberries when fresh are out of season!

If using frozen blackberries, make sure that they are thawed and drained before you get started.

Can I swap out the blackberries for a different fruit?

Because of the method and the way that the cobbler bakes up, it is pretty specific to blackberries. I would not recommend using a different fruit for this particular cobbler recipe. 

Easy blackberry cobbler assembled in the pan and ready go to in the oven.

Do I have to use Bisquick?

I like making this easy blackberry cobbler with Bisquick mix because it has several ingredients in one. If you don’t have any store-bought Bisquick on hand or don’t like using the store-bought stuff, you can use my homemade Bisquick instead. 

I have not tried this recipe with other brands of baking mix, so I cannot attest to the results of those.

Baked pan of easy blackberry cobbler on a wire cooling rack.

What if I don’t have pumpkin pie spice?

As I mentioned above, I like using pumpkin pie spice because the mix of spices pairs surprisingly well with blackberries.

If you don’t have pumpkin pie spice, apple pie spice would work as well. You can also just use ground cinnamon if that’s what you have! 

Does this blackberry cobbler have to be refrigerated?

You can store this easy blackberry cobbler, covered, at room temperature for up to 2 days. If you need longer-term storage, pop it into the refrigerator for up to 4 days. 

To reheat a serving of cobbler, simply microwave it for 15-30 seconds before enjoying.

Slice of easy blackberry cobbler topped with a scoop of vanilla ice cream on a white plate. A bowl of blackberries is in the background.
Cake server lifting a slice of easy blackberry cobbler out of the pan.
Print

Easy Blackberry Cobbler

This easy blackberry cobbler is made with Bisquick for a simple yet delicious dessert. Serve it with whipped cream or vanilla ice cream for the perfect ending to a summer meal.
Course Dessert
Keyword berries, cobbler, summer dessert, summer recipe
Prep Time 30 minutes
Cook Time 50 minutes
Total Time 1 hour 20 minutes
Servings 6
Calories 465kcal

Ingredients

  • 2 to 2 ½ cups fresh blackberries or frozen, thawed and drained
  • 1 cup granulated sugar divided use
  • ½ teaspoon pumpkin pie spice
  • 1 ¾ cups Bisquick mix
  • 1 cup whole milk
  • ½ cup unsalted butter melted

Instructions

  • Preheat oven to 350°F. Spray a 9×9-inch pan with cooking spray. Set aside.
  • In a bowl, stir together the berries, ½ cup of the sugar, and the pumpkin pie spice. Let rest for 15-20 minutes, stirring occasionally.
  • In a separate bowl, whisk together the rest of the sugar with the Bisquick mix and whole milk until well combined. Whisk in the melted butter and pour the batter into the prepared pan.
  • Evenly sprinkle the sugared berries over the top of the batter, making sure to include any sugar that may be remaining in the bowl. If desired, you can sprinkle the top with coarse sugar.
  • Bake for 50-60 minutes or until golden on top. Best served warm with a scoop of ice cream.

Video

Nutrition

Calories: 465kcal | Carbohydrates: 63g | Protein: 5g | Fat: 22g | Saturated Fat: 12g | Polyunsaturated Fat: 1g | Monounsaturated Fat: 7g | Trans Fat: 1g | Cholesterol: 46mg | Sodium: 465mg | Potassium: 222mg | Fiber: 4g | Sugar: 42g | Vitamin A: 669IU | Vitamin C: 13mg | Calcium: 136mg | Iron: 1mg

The post Easy Blackberry Cobbler appeared first on My Baking Addiction.
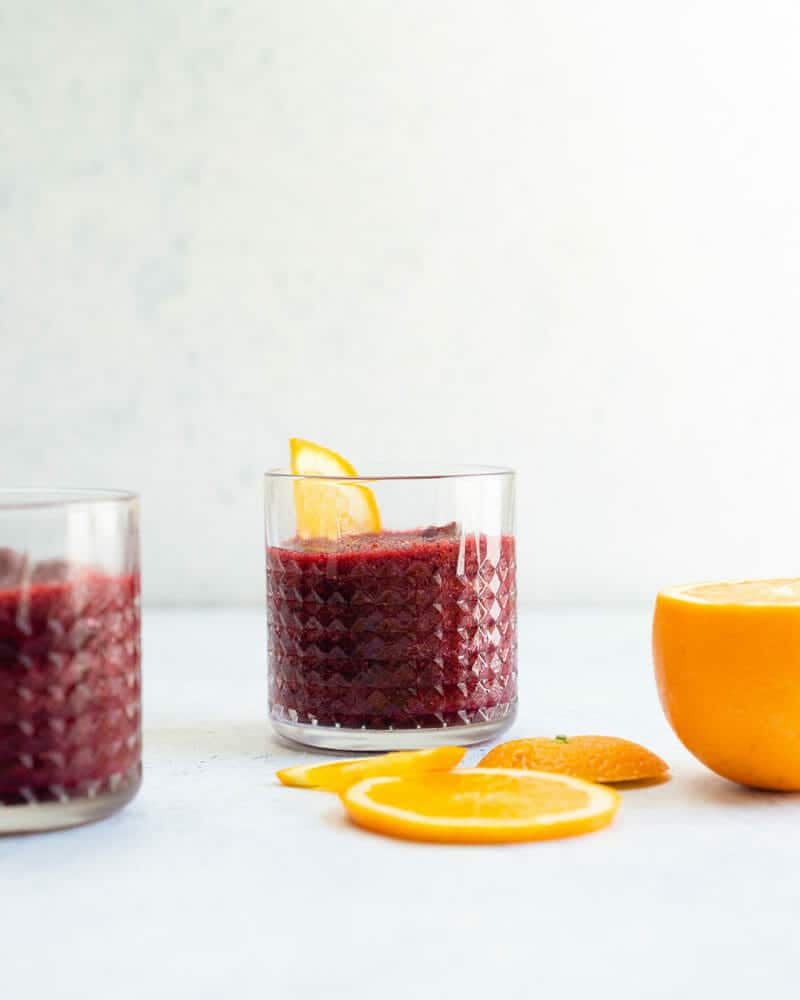
Easy Gluten-Free Crepes (Dairy-Free, Naturally Sweetened)

Your search for the perfect gluten-free crepe is over. These EASY, 7-ingredient crepes are just like the classics — thin and delicate with perfectly crisp edges, and they fold beautifully without breaking! Plus, dairy-free, naturally sweetened, and mad…

Easy Gluten-Free Crepes (Dairy-Free, Naturally Sweetened)

Your search for the perfect gluten-free crepe is over. These EASY, 7-ingredient crepes are just like the classics — thin and delicate with perfectly crisp edges, and they fold beautifully without breaking! Plus, dairy-free, naturally sweetened, and made in just 1 bowl!

Add your favorite crepe fillings and prepare for your breakfast, brunch, or dessert dreams to come true! Let’s do like the French do and make some crepes!

Easy Gluten-Free Crepes (Dairy-Free, Naturally Sweetened) from Minimalist Baker →

No Churn Crème Fraîche and Blueberry Ice Cream

This no churn blueberry and crème fraîche ice cream is a super simplified version of one of my favorite ice cream recipes from my book, Sweeter off the Vine, and you don’t need any special equipment to make it! I know when I want ice cream, I don’t want to wait a full 24 hours for the bowl of my ice cream maker to freeze. Not to mention the fact that there is usually so much other stuff in my tiny freezer that the bowl doesn’t even fit.

No churn ice cream recipes all have pretty much the same ingredients: heavy cream, sweetened condensed milk, and whatever flavorings you’re in the mood for. This version swaps a bit of tangy cultured crème fraîche, for the heavy cream which gives the base a bit of tangy richness. The gorgeous blueberry ripple adds bright berry flavor and beautiful color.

The base comes together in no time flat, all you need to do is whip the cream and creme fraiche, then fold it into the sweetened condensed milk. That mixture is layered and swirled with the blueberry sauce in a loaf pan. You do have to wait for the mixture to freeze overnight, so don’t forget to plan ahead. You could substitute just about any berry or stone fruit for the blueberries here in equal quantity.


No Churn Crème Fraîche and Blueberry Ice Cream

Makes about 4 cups

The subtle tang of crème fraîche and sweet blueberry sauce are a perfect pair in this easy to make creamy frozen treat. Substitute any berries or stone fruit you like for the blueberries.


Blueberry Swirl

1 cup/140g blueberries

3 tablespoons granulated sugar

1 tablespoon freshly squeezed lemon juice


Base

1 14 oz can sweetened condensed milk

1 tablespoon vanilla extract or vanilla bean paste

Pinch salt

1 cup/240ml heavy cream, cold

1 cup/225g crème fraiche, cold


In a small saucepan, combine the blueberries and sugar with 1 tablespoon water and smash with a potato masher. Bring the mixture to a boil over medium heat and cook until the blueberries are broken down and the liquid has thickened until syrupy, about 3 minutes. Stir in the lemon juice. Blend the mixture with an immersion blender, then transfer to a heat proof container and refrigerate until completely cold.

When the blueberry mixture is cold, make the base.

To make the base: In a large bowl, whisk the sweetened condensed milk, vanilla extract, and a pinch of salt.

In a separate large bowl combine the heavy cream and crème fraiche and use an electric mixer to whip the mixture to stiff peaks. 

Stir a large spoonful of the cream into the condensed milk to lighten it, then add the remaining cream and fold it until just combined. 

To assemble: Spoon 1/3 of the base into a loaf pan, then spoon 1/3 of the blueberry mixture over the top. Use a skewer to swirl the blueberry into the base. Repeat 2 more times with the remaining base and blueberries. Loosely cover the pan then freeze until firm, 6 hours or overnight.

No Bake Blueberry Cheesecake

In the heat of summer, I am always looking for fun low (or no) cook ways to make and enjoy a little dessert. Give me all of your icebox cakes, no bake bars, and no bake cheesecakes! No bake cheesecake has all of the rich cream cheese flavor of its baked counterpart, but it is a bit lighter in texture and so easy to make. There are no water baths to fuss with and no worry about the top splitting on you.

This no bake cheese cake is a great base for all sorts of summer fruit, but it would also be delicious with caramel or chocolate drizzled over the top instead. This version uses a heap of gorgeous fresh blueberries.

The salty pretzel and nutty browned butter crust comes together quickly too, no baking required. It also ensures that the whole dessert is nice and balanced, and not too sweet. For a sweeter version feel free to substitute graham cracker or biscoff cookie crumbs for the preztels. You could even skip browning the butter in favor of just melting it, but the browned butter adds a ton of great flavor so I wouldn’t!

The topping is a combination of fresh and cooked blueberries, the cooked ones make it a little saucy and help the blueberries stick together instead of sliding all over the place. I topped the whole thing with a few small leaves from my basil plant that look little little blueberry leaves. Mint would work too but the herbs are totally optional.


No Bake Blueberry Cheesecake

Salty pretzels make a perfect base for this not to sweet cheesecake, but you could use graham crackers or biscoff cookie crumbs for a sweeter version - use gluten free cookies to make this desert for your gluten avoiding friends and family. The blueberry topping is partially cooked which creates some sauciness that helps the blueberries stick together, but if that’s a bridge too far for lazy summer cooking, you can just pile the top with lots of fresh blueberries. They may roll of when you slice it though!


Crust

175g/ 1 1/2 cups finely ground pretzels

50g/ 1/4 cup granulated sugar

170g/12 tablespoons unsalted butter

Filling

450g/ 1 pound cream cheese, at room temperature

100g/ 1/2 cup granulated sugar

2 tablespoons freshly squeezed lemon juice

1 tablespoon vanilla paste or extract

240ml/ 1 cup heavy cream, cold

Topping

490g/ 3 1/2 cups blueberries

1 tablespoon sugar

1 teaspoon cornstarch

Mint or basil leaves if desired


To make the crust: Combine the pretzels and sugar in a large bowl. Melt the butter in a small saucepan set over medium heat. Cook the butter while scraping the bottom and sides of the pan occasionally with a rubber spatula. The butter will foam, then the solids will turn deep golden brown and smell nutty.

Once the butter has browned pour it over the pretzels in the bowl then stir to combine. Let the mixture cool for a minute or two then pour it into a 9-inch pie pan.

Carefully press it evenly on the bottom and up the sides of the pan, a 1/3 cup measure is a great tool for this. Set the pan in the freezer while you prepare the filling.

To make the filling: In the bowl of a stand mixer fitted with the paddle attachment mix the cream cheese and sugar on low speed until combined. Turn the mixer up to medium and beat until smooth and fluffy, about 3 minutes. Scrape the bottom and sides of the bowl occasionally to ensure even mixing. 

Add the vanilla and lemon and stir to combine.

Switch to the whisk attachment and with the mixer on low, add the heavy cream. Turn the mixer up to medium high and whip until the mixture comes to stiff peaks, about 3 minutes.

Spoon the filling into the chilled crust and smooth the top. Refrigerate for about 8 hours or overnight. 

To make the topping: When you are ready to serve the cheesecake put 280g/2 cups of the blueberries in a large bowl and set aside. Combine 140g/1 cup of the blueberries, 2 tablespoons of water, and 1 tablespoon sugar in a saucepan over medium heat. Cover the pan and cook until the blueberries have burst and released their juices, about 2 minutes. 

In a small bowl stir the cornstarch with 1 tablespoon of water, slowly pour it into the blueberry mixture in the pan while stirring constantly. Bring the mixture to a simmer, stirring constantly for 45 seconds, until thick and glossy.

Pour the mixture over the blueberries in the bowl and stir to combine. Pour the blueberries over the chilled cheesecake and scatter the remaining 70g/ 1/2 cup blueberries over the top. Sprinkle mint or basil over the top and let the pie sit for a few minutes before slicing. Store leftovers in the fridge for a few days.  

Any Fruit Galette

Hello! This post is a little refresh of my very favorite recipe - Galettes! If you follow me on instagram you know that I am a galette evangelist. I think galettes are the very best and most fun dessert because they are so easy to make and adaptable, but my recipe was a little bit hidden in the archives so I am pulling it out into the spotlight with this easy to find post. You can use just about any fruit you like or a combination of fruits, and feel free to adjust the sugar to taste. Be free! Don’t worry about it too much! Have fun!

If you bake a galette make sure to tag me and #summerofgalettes on instagram and feel free to message me with any questions. I love seeing what you bake!

All Butter Pie Crust

All pie crust is made from the same basic ingredients: flour, fat, water, and salt. I am partial to an all-butter crust because I think it tastes the best. The key to flaky pie crust is to keep the ingredients nice and cold— especially the butter and water—and to work quickly and intentionally. I like to mix pie crust with my hands rather than a food processor or pastry blender because I can control the exact size and shape of the butter pieces for the flakiest results. Add a few teaspoons of sugar if you prefer a sweetened crust.

Ingredients

2 2⁄3 cups (340g) all purpose flour

1 teaspoon kosher salt

1 cup plus 2 tablespoons (255g) very cold unsalted butter

1 tablespoon apple cider vinegar

8-10 tablespoons (120ml) ice water

Whisk the flour and salt together in a large bowl, cut the butter into 1⁄2-inch cubes, and add the apple cider vinegar to the ice water.

Working quickly, add the butter to the flour and toss to coat. Then use your fingers or the palms of your hands to press each cube of butter into a flat sheet. Keep tossing the butter in the flour as you go to ensure that each butter piece is coated with flour. The idea is to create flat, thin shards of butter that range from about the size of a dime to about the size of a quarter. If at any time the butter seems warm or soft, briefly refrigerate the bowl.

Sprinkle about 6 tablespoons of the icy cold vinegar-water mixture over the flour mixture. Use a gentle hand or wooden spoon to stir the water into the flour until just combined. If the dough seems dry, add more cold water a couple of teaspoons at a time. You have added enough water when you can pick up a handful of the dough and easily squeeze it together without it falling apart.

Press the dough together, then split it in half. Form each half into a disk, and wrap each disk in plastic wrap. Chill the dough for at least 2 hours before using, but preferably overnight. Keeps for up to three months in the freezer wrapped in a double layer of plastic wrap and a layer of foil. Thaw in the refrigerator before using.

VARIATIONS: For a rye variation, substitute 11⁄3 cups (175g) rye flour for an equal amount of the all purpose flour. For a spelt variation, substitute 11⁄3 cups (175g) spelt flour for an equal amount of the all purpose flour. You also may need a bit more water to bind the dough for these variations.

Any Fruit Galette

Yield: One 8-inch galette

You can use this formula with just about any seasonal fruit. For apples, pears, and stone fruit peel if desired then slice into 1/4-1/3-inch slices. Apricots (my fave!) can be gently torn in half or cut into quarters. Slice strawberries in halves or quarters if they are large. Rhubarb can be sliced into thin batons or 1/2-inch chunks. Feel free to experiment with combining your favorite fruits. I love stone fruit and berries together in the summer. Also, the apricot jam can be replaced with any jam or marmalade you like that will compliment the fruit you are using.

1 disc pie crust

3/4 pound (340g) fresh fruit

1/4 cup apricot jam

1/4 cup (50g) granulated sugar, to taste

2 tablespoons flour

1/2 teaspoon lemon zest

seeds of one vanilla bean (optional)

pinch salt

1 egg, for egg wash

turbinado sugar and flaky salt for sprinkling

Arrange a rack in the oven in the lower third and preheat oven to 425ºF. Line a baking sheet with parchment paper.

Combine the sugar vanilla bean seeds, lemon zest, flour and salt in a bowl. Add the fruit to a large bowl and sprinkle the sugar mixture over the top, but don’t stir quite yet.

On a lightly floured surface roll the dough into a rough circle between 1/8-1/4-inch thick and transfer it to a parchment lined baking sheet. Gently stir the fruit mixture until well combined.

Spread the jam onto the center of the dough, then pour the fruit into the center of the galette. Press gently to compact the fruit into an even layer. Fold the edges of the dough up and over the fruit and press the folds gently to seal. Refrigerate the formed galettes until the dough is very firm.

Brush the galette with egg wash, sprinkle with turbinado sugar and flaky salt if desired and bake until deep golden brown and bubbling, 45-55 minutes. Serve warm with vanilla ice cream.

Crushed Raspberry and Strawberry Pavlova


We are still in a bit of an in between produce season, but the weather is warming up and the sun is out so I am craving fresh fruit desserts like it’s my job. I guess it kind of is my job…I love to make desserts like this pavlova because it is fairly low lift and aside from a low, slow bake in the oven for the meringue (which you can make the day before if it’s not too humid where you live) everything comes together in a few minutes.

The tart crushed raspberries provide some nice sauciness here and contrast well with sweet strawberries and the crisp, pillowy meringue. Make sure to use the best strawberries you can find for this dessert, and adjust the sugar to your personal tastes. In NYC we get some really nice organic berries from California but they are $$ so you may just want to bookmark this until they are in season locally where you live. The mini mint leaves are also totally optional, but they do add a nice freshness and beautiful pop of contrasting color.


Crushed Raspberry and Strawberry Pavlova

Crisp and chewy meringue, pillowy whipped cream, and sweet-tart berries are combined to make this super springy, and fairly simple dessert. Assemble just before serving for the best textural experience as the meringue will weep and melt as it sits.

Meringue

4 large egg whites

1 cup (200g) superfine sugar

1 1/2 teaspoons cornstarch

1/4 teaspoon salt

1/8 teaspoon cream of tartar

1 teaspoon vanilla extract

1 teaspoon white vinegar

Berries

1 pound of the best strawberries you can find

1/2 cup fresh raspberries

2 teaspoons sugar

1/2 vanilla bean, seeds scraped

pinch salt

To Serve

1 cup (240ml) heavy cream 

1 tablespoon sugar

mint leaves

To make the meringue: Preheat the oven to 250ºF (130ºC/Gas Mark 1/2). Trace an 8-inch (20cm) circle onto a piece of parchment paper and flip it upside down on a baking sheet.

Stir the cornstarch and sugar together in a small bowl. In the bowl of a stand mixer fitted with the whisk attachment or with a handheld electric mixer in a large bowl, beat the egg whites, salt, and cream of tartar on high speed until soft peaks form. With the mixer running, slowly add the sugar mixture about one tablespoon at a time until you have added all of the sugar and the egg whites are stiff and glossy about 7 minutes. Add the vanilla extract and vinegar and mix for 30 more seconds.

Dollop the meringue onto the prepared baking sheet and use an offset spatula to spread it evenly to the edges of the traced circle. Make a shallow indent in the center of the meringue which will hold all of the delicious toppings. Bake the meringue for 1-1 1/2 hours or until the outside looks dry and slightly creamy in color. Turn off the oven and prop the door ajar with a wooden spoon. Let the meringue cool completely in the oven. It should feel firm and crackly when you press it, but will be soft and marshmallowy in the center. When cooled, you should be able to gently peel it off of the parchment paper and place it on a serving platter or cake stand.  

To make the topping: Slice the strawberries in half if they are small, quarters if they are large. Combine the raspberries, sugar, vanilla bean seeds and a pinch of salt in a large bowl and crush the berries with a fork. Gently stir in the strawberries and let the fruit macerate for a few minutes. Taste and add a bit more sugar if desired, keeping in mind that the meringue will be quite sweet.

Whip the cream and sugar together to soft peaks. Top the cooled meringue with the whipped heavy cream, followed by the berries. Sprinkle mint leaves over the top and serve immediately.