A round up of the BEST Mother’s Day Brunch Ideas to start the day off right for the most important woman in your life!
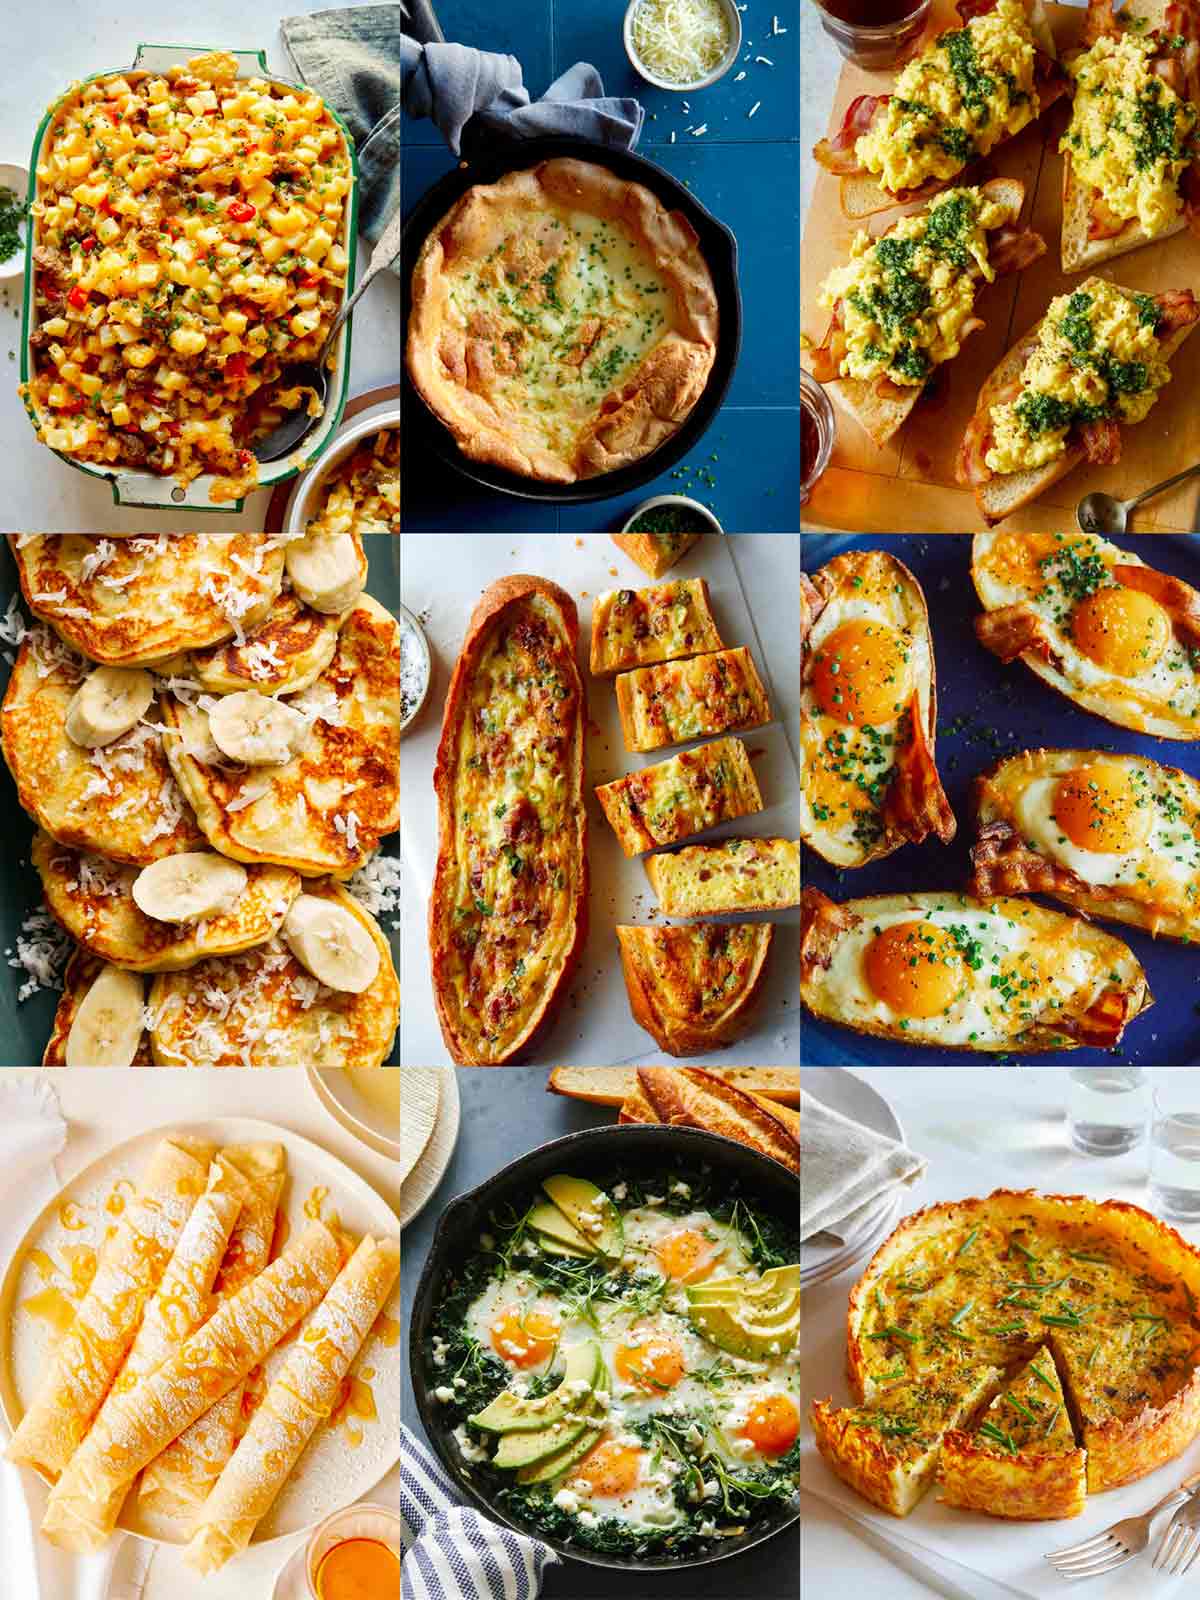
With Mother’s Day just around the corner, we thought we would round up our favorite Mother’s Day Brunch Ideas that are perfect to celebrate mom or the mother figure in your life. We choose some savory brunch recipes, some sweet ones, and some super easy recipes that are perfect for making with kids!
Brunch Basics
Whether you’re having a simple Mother’s Day spread or need some tips on how to make your regular breakfast options extra special for Mom’s special day, these simple recipes are sure to impress!
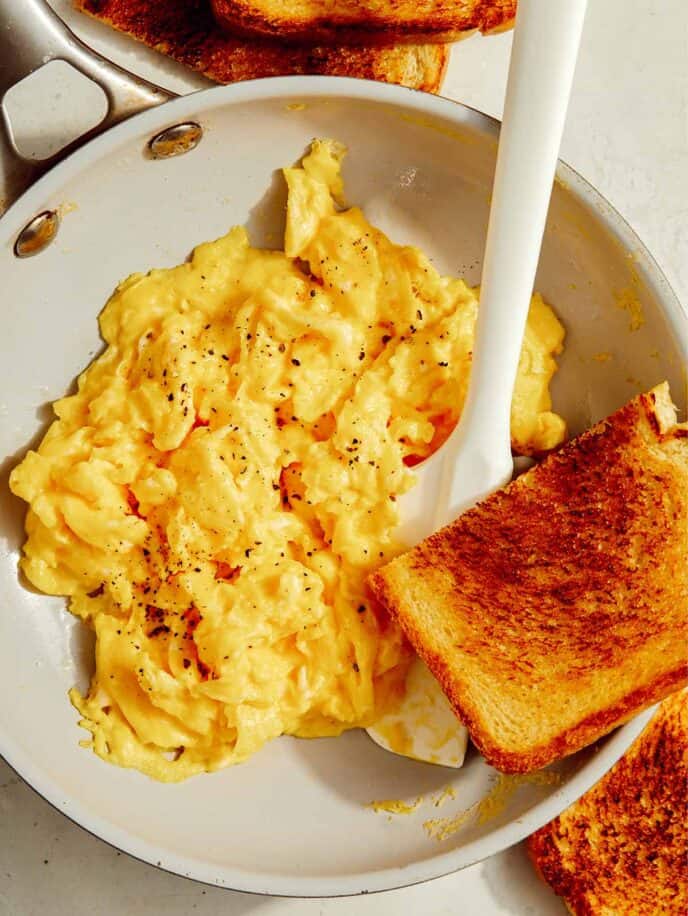
- Make Perfect Scrambled Eggs to serve with breakfast. The simple technique used for these scrambled eggs will give you soft, fluffy, and flavorful eggs each and every time.
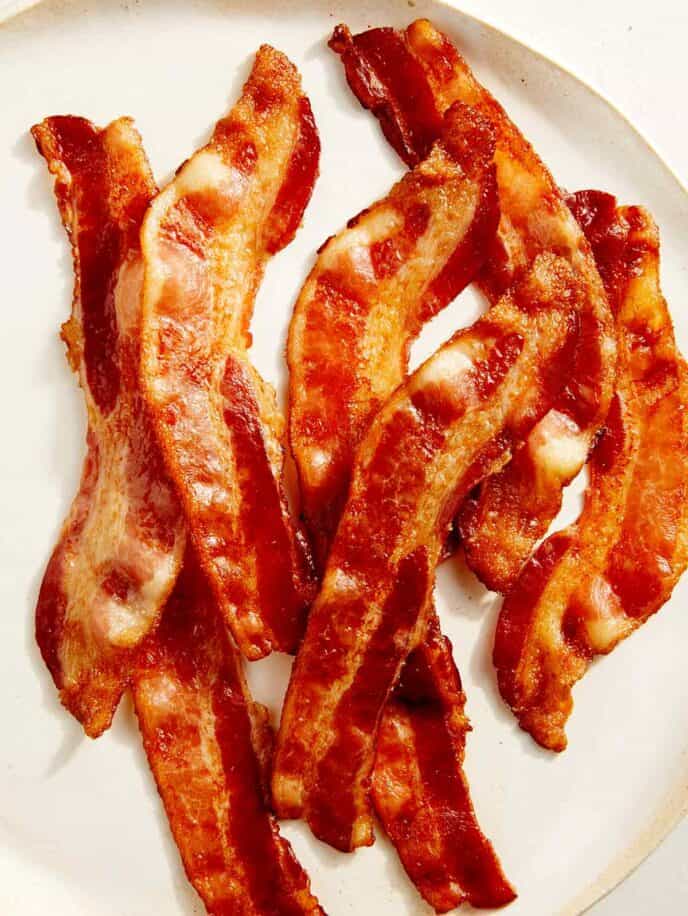
- Skip the messy grease splatter by making a batch of our Oven Baked Bacon. It’s crispy and delicious with minimal effort and will keep your stovetop clean and available for the other brunch goodies you have cooking up!
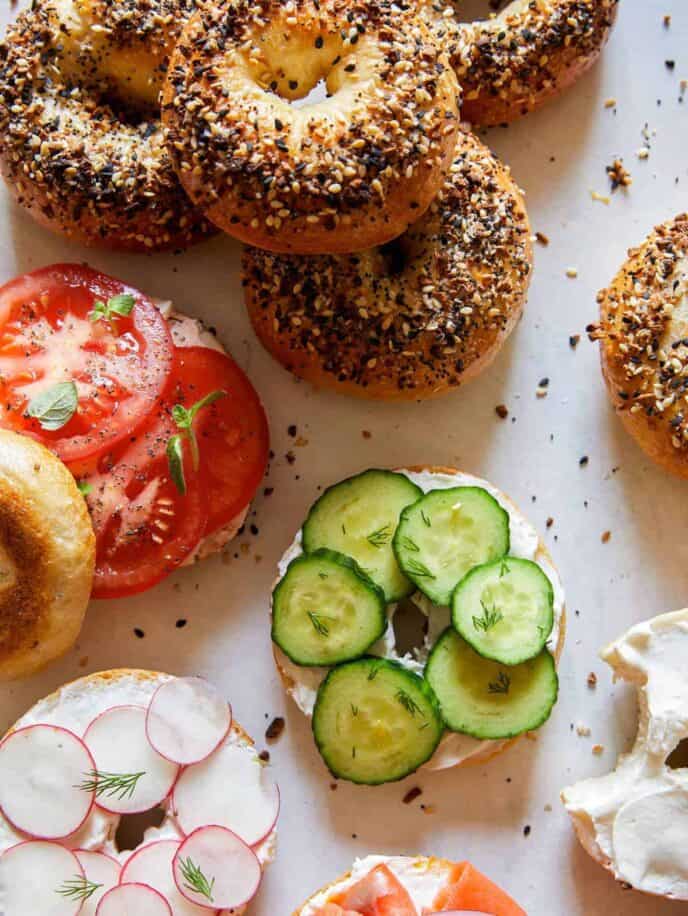
- Homemade Bagels are a staple at the brunch table. Slather them with your favorite sweet or savory cream cheese. Not your thing? Then just pile on eggs and bacon for an easy breakfast bagel sandwich!
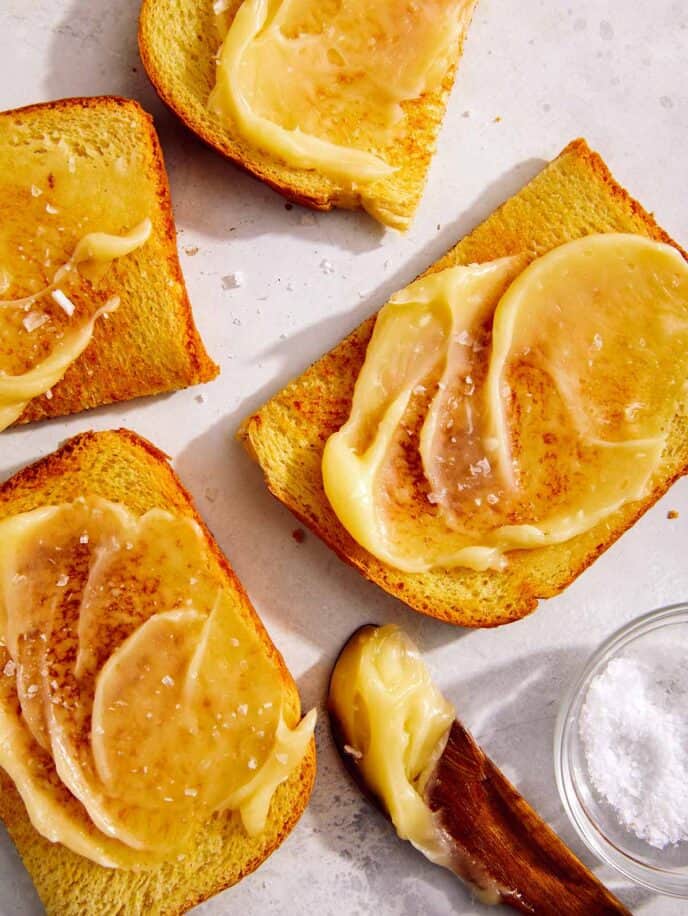
- Honey Butter is the perfect condiment to use for toast, bagels, french toast, pancakes, or anything else that needs a sweet and creamy final touch.
Egg Dishes for Mother’s Day Brunch
No Mother’s Day brunch is complete without eggs. Whether scrambled, baked into a casserole or strata, or sunny side up over potatoes or toast, these high-protein, high-flavor recipes are perfect for your Mother’s Day celebration.
- This simple Breakfast Casserole is easy to make ahead, cutting down on Sunday morning prep time! It’s the perfect addition to any brunch, especially if you’re planning more of a potluck or buffet-style spread! Make sure to check out our tips and tricks for this recipe to ensure success!
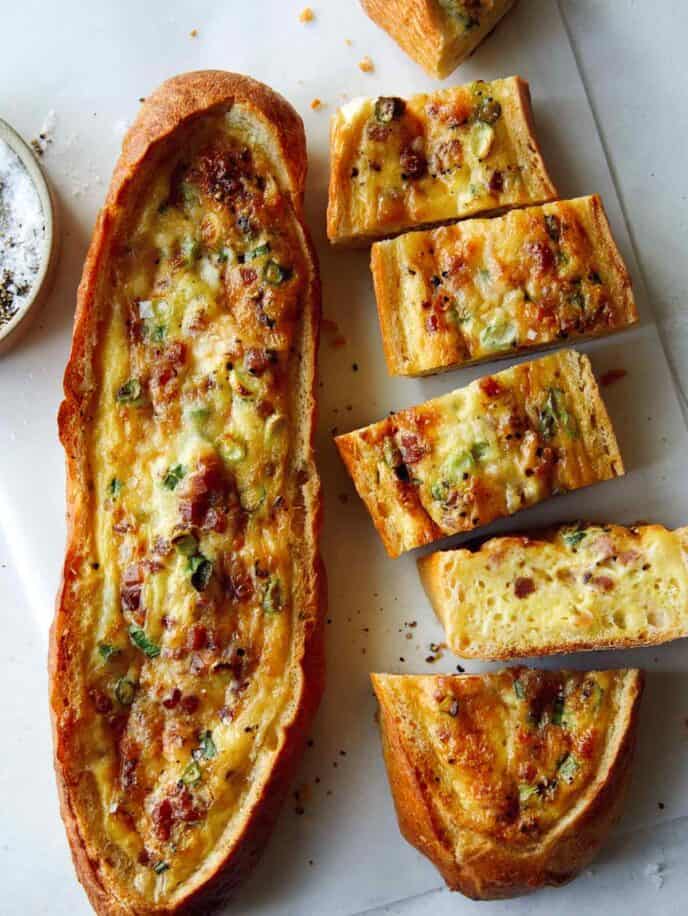
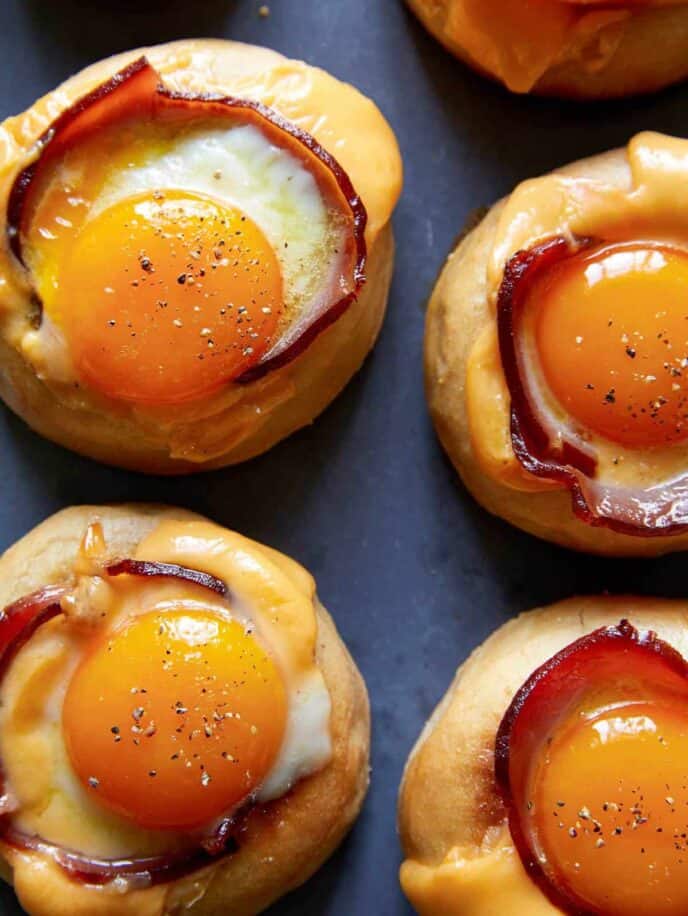
- Baked Egg Boats – This is probably the most popular breakfast and brunch recipe on our site! It is essential to your Mother’s Day brunch menu! It’s super delicious, easily customizable, and perfect for Mom’s special day.
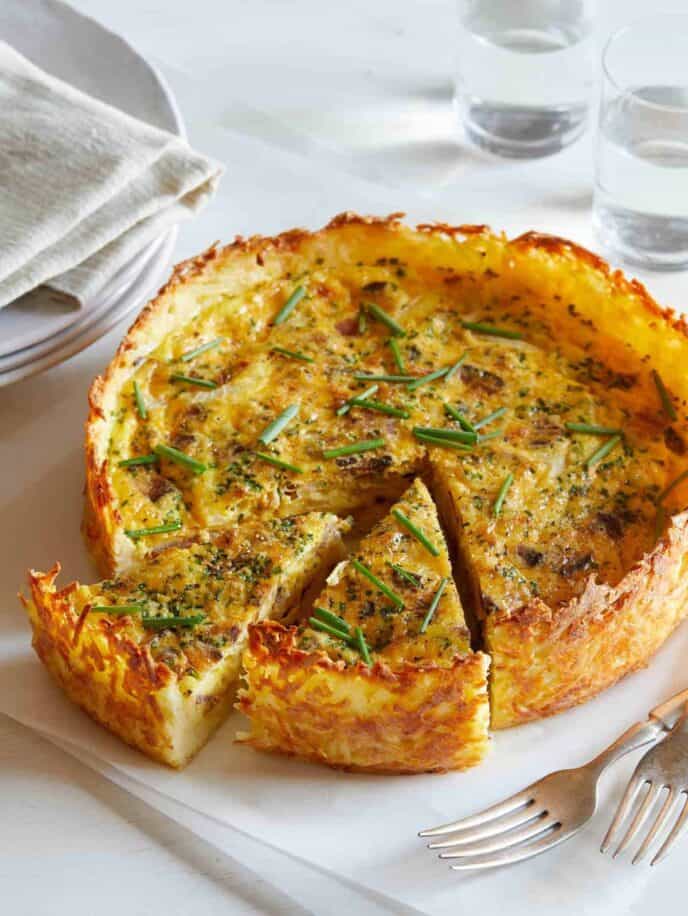
- While this Hash Brown Crust Bacon and Cheddar Quiche is a little time-consuming, you can easily make it ahead of time. But don’t worry — the extra effort is 100% worth it! It fits all of your breakfast favorites into one delicious quiche and is sure to be a crowd-pleaser.
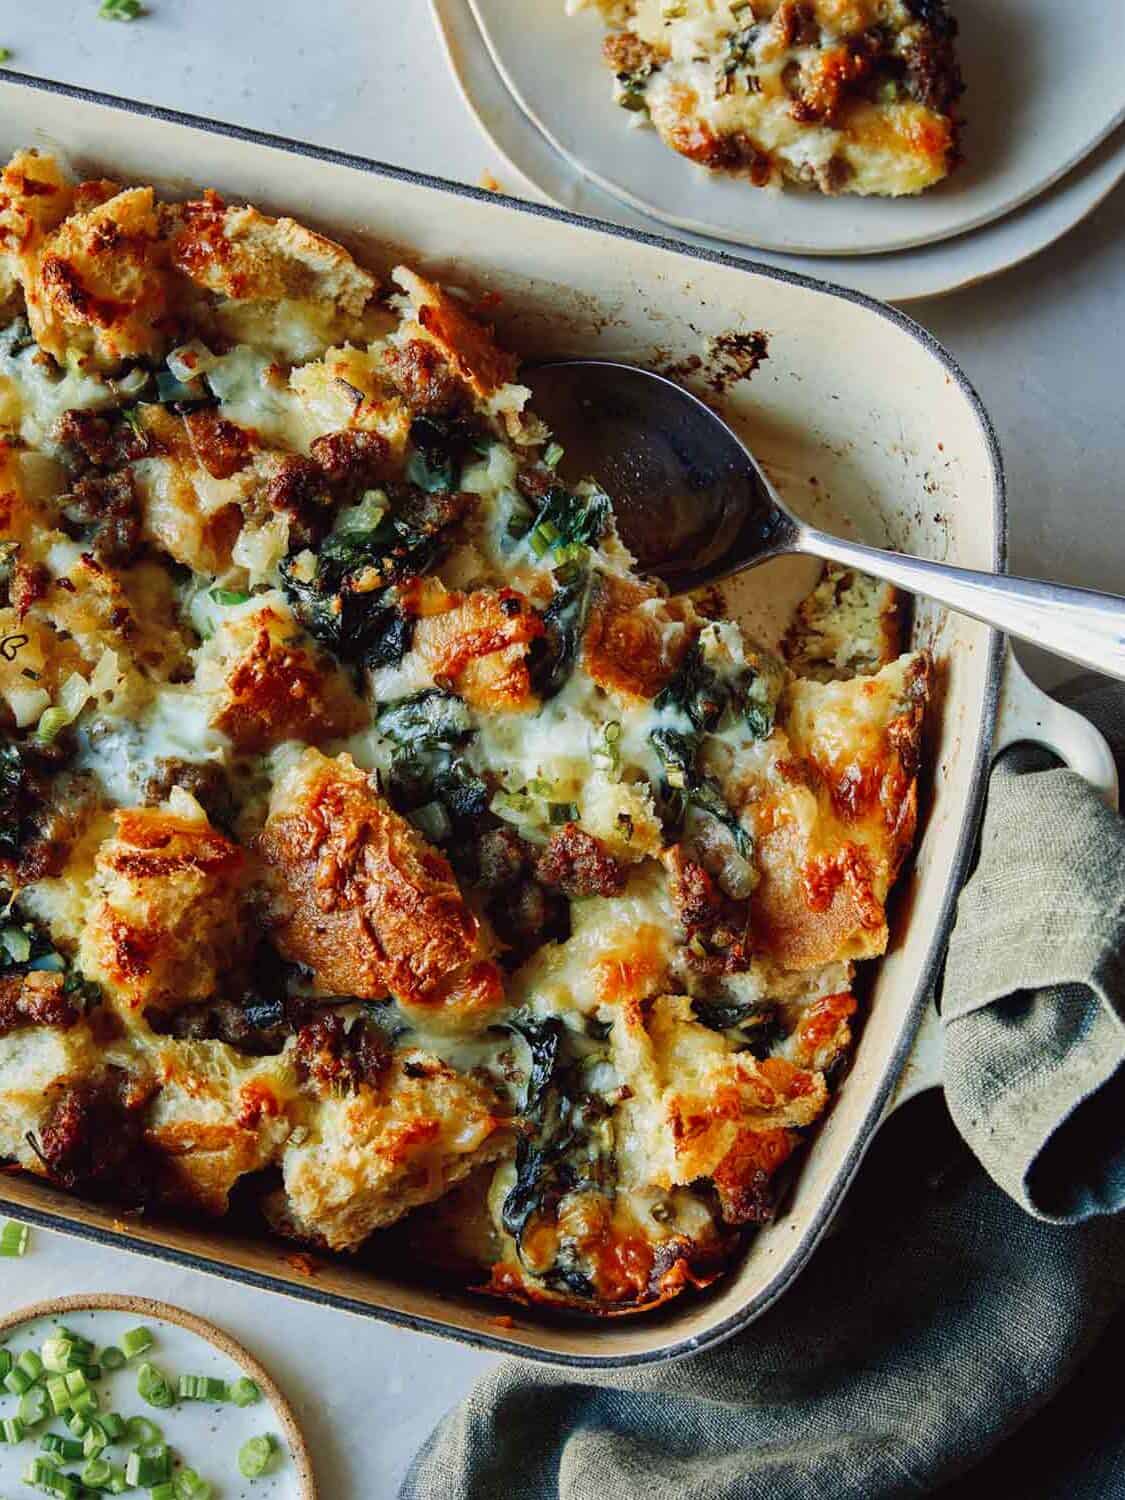
- Sausage Strata is bread pudding’s craveable savory cousin. We loaded this casserole up with sausage, cheese, cream, and eggs — perfect for a crowd!
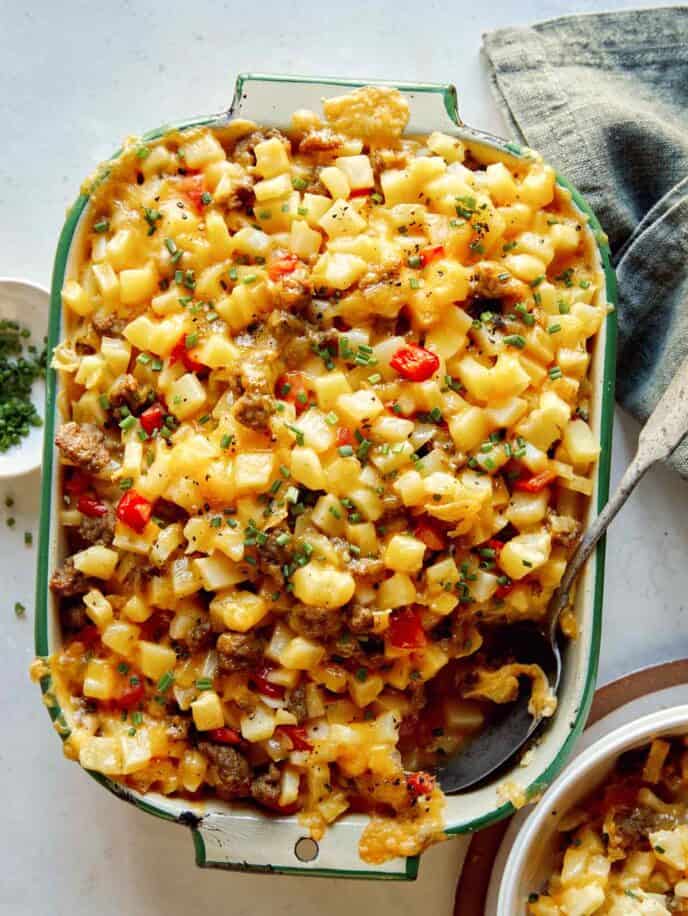
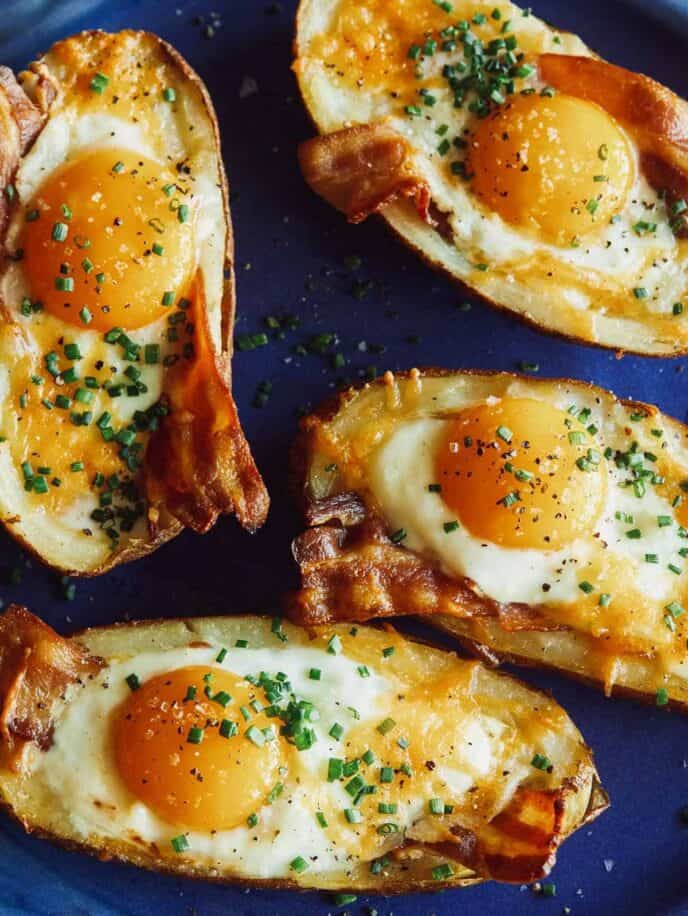
- Prep for these Twice Baked Breakfast Potatoes the day before to assemble and bake on Mother’s Day morning. With dippy eggs, crispy bacon, and plenty of melty cheese nestled inside tender potatoes, you can’t go wrong with this recipe!
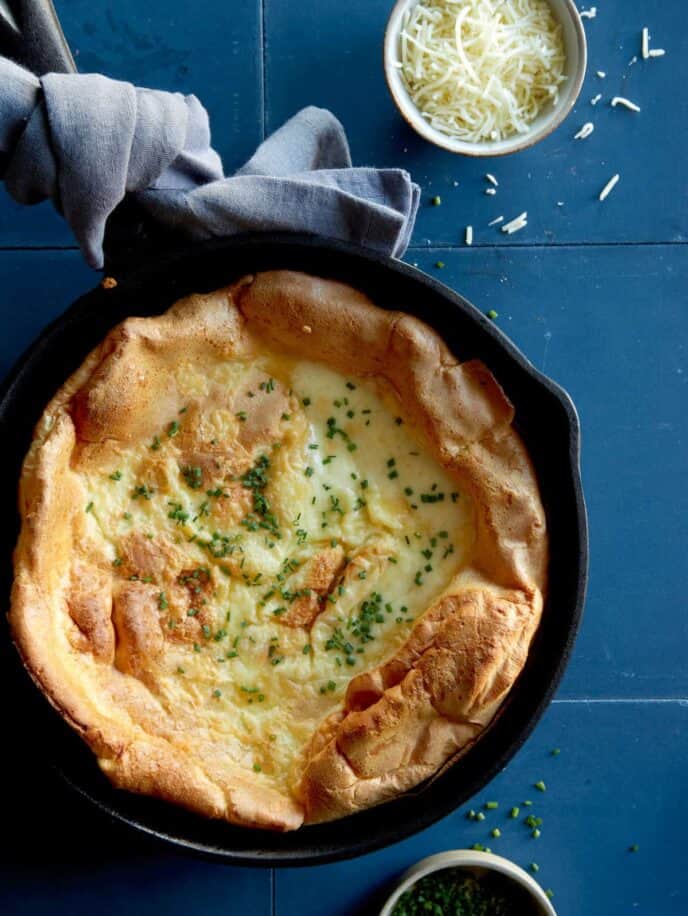
- This savory Herb and Cheese Dutch Baby is part soufflé, part pancake, and 100% beautiful straight out of the oven. We top ours with lots of gruyere cheese and serve it alongside crispy bacon and a fresh green salad, perfect for any brunch!
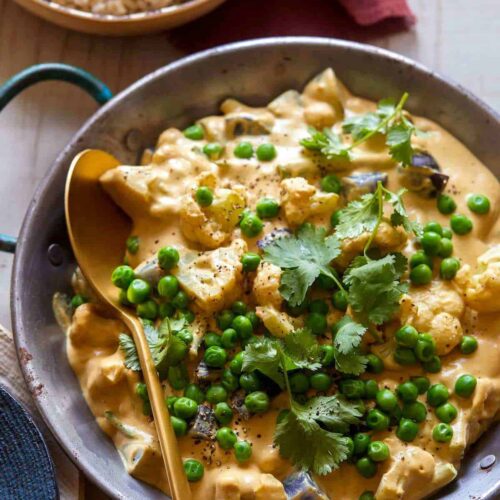
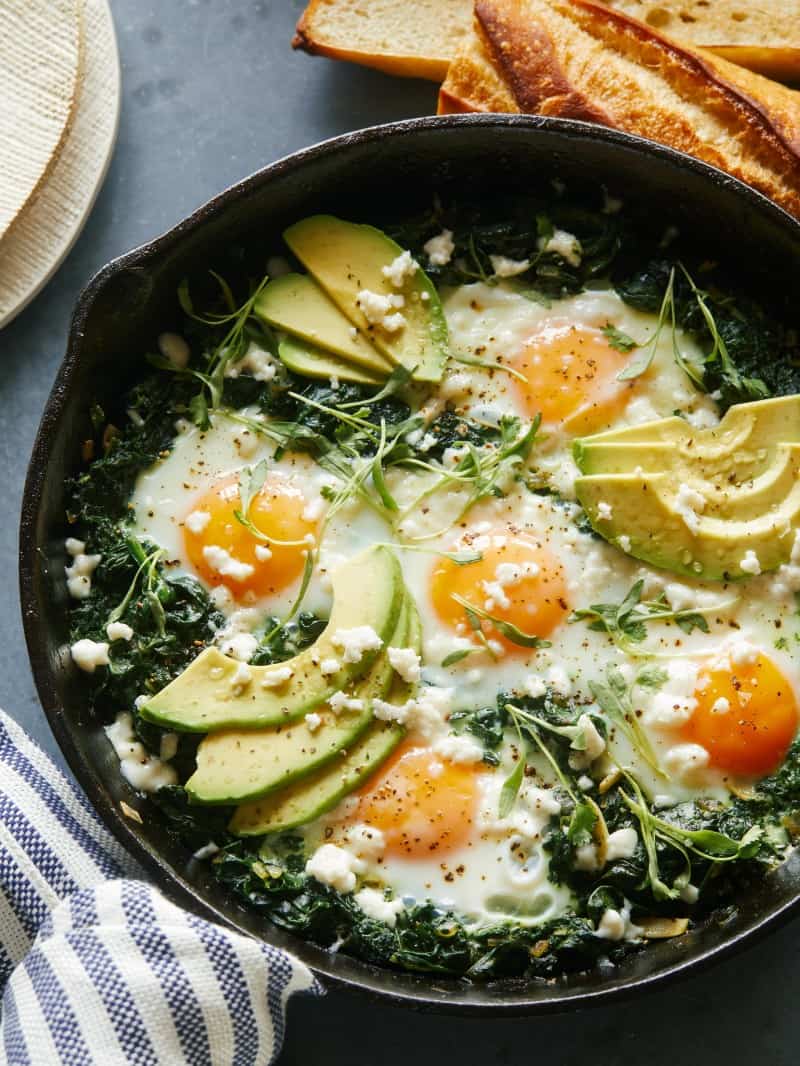
- Need a healthier brunch recipe for Mother’s Day? This Green Shakshuka is packed with spinach and some spice for a big flavor punch that will not disappoint! It’s gluten-free, low-carb, and packed with protein. It’s a really beautiful dish that’s also one of our favorite Mother’s Day brunch recipes!
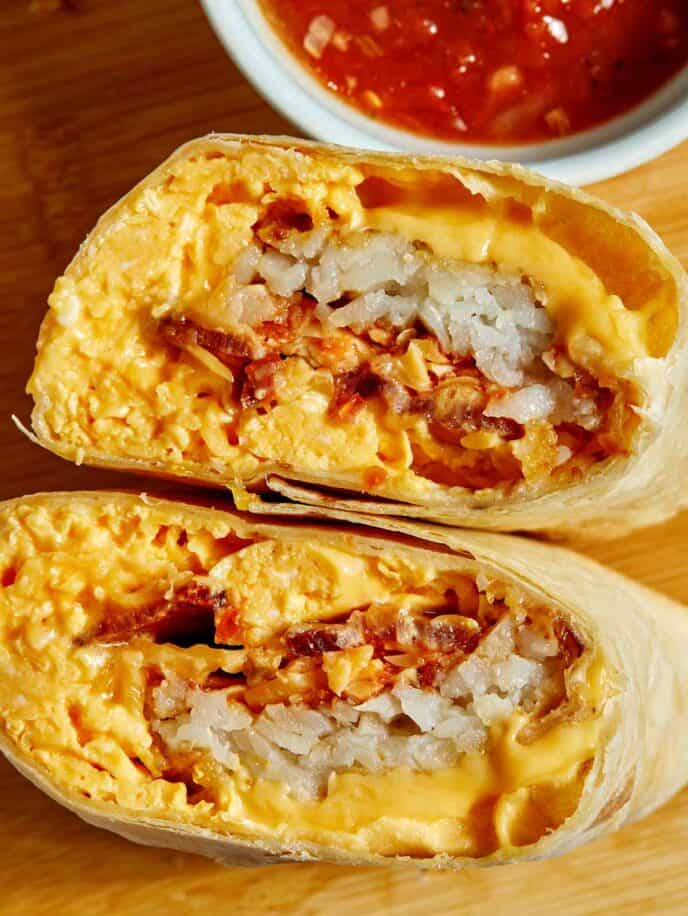
- Nothing is as customizable as a classic Breakfast Burrito. We stuff ours with eggs, hashbrowns, bacon, and plenty of cheese. We’ve also included several variations to make a breakfast burrito that will satisfy anyone’s tastebuds.
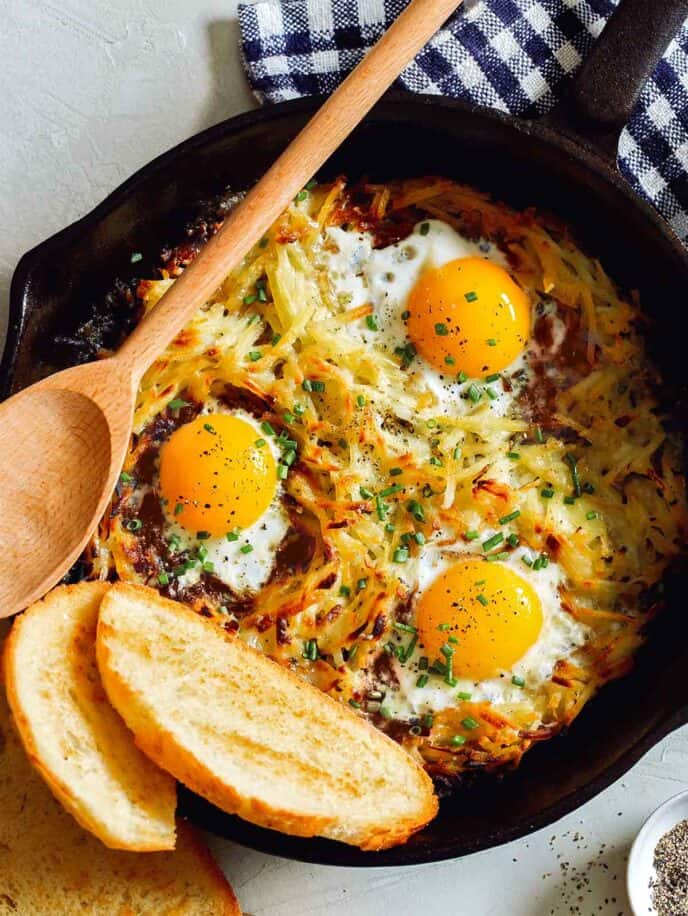
- This savory, Simple Cheesy Skillet Hash Browns and Eggs takes less than 30 minutes to whip up! The hash browns get crispy on the bottom, while the the yolks stay nice and runny. Add some bacon and buttery toast on the side, and you have the perfect brunch dish!
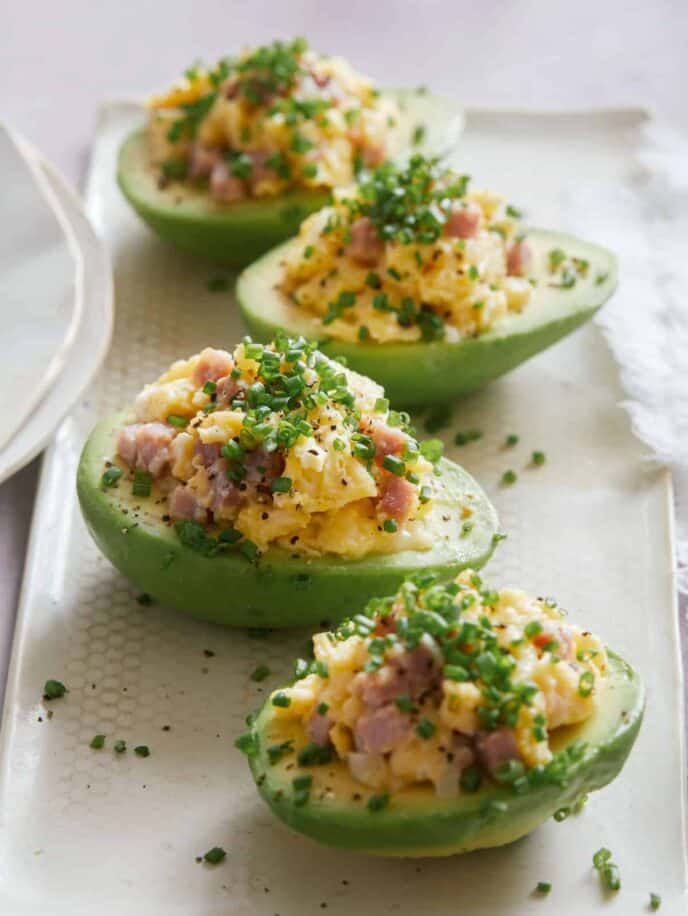
- Breakfast Scramble Stuffed Avocado is a quick and easy brunch recipe. It can be easily altered to suit mom’s taste (like subbing the ham for bacon or sautéed diced mushrooms). Also, if your mom is an avocado fan, this recipe is perfect! Pro tip: Buy your avocados in advance! Then they can be perfectly ripe when it’s time to whip up this recipe!
Egg-Free Savory Mother’s Day Brunch Ideas
Savory brunch food doesn’t always have to include eggs. These savory options are sure to hit the spot of everyone around the table on Sunday.
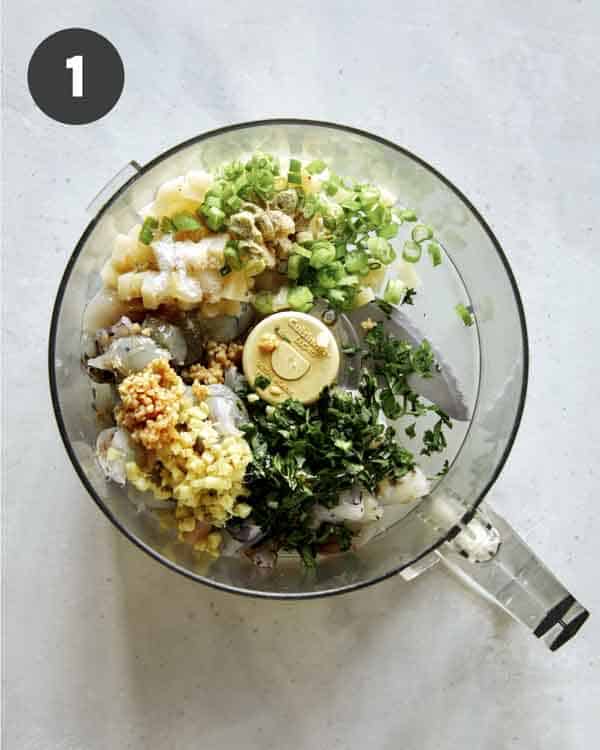
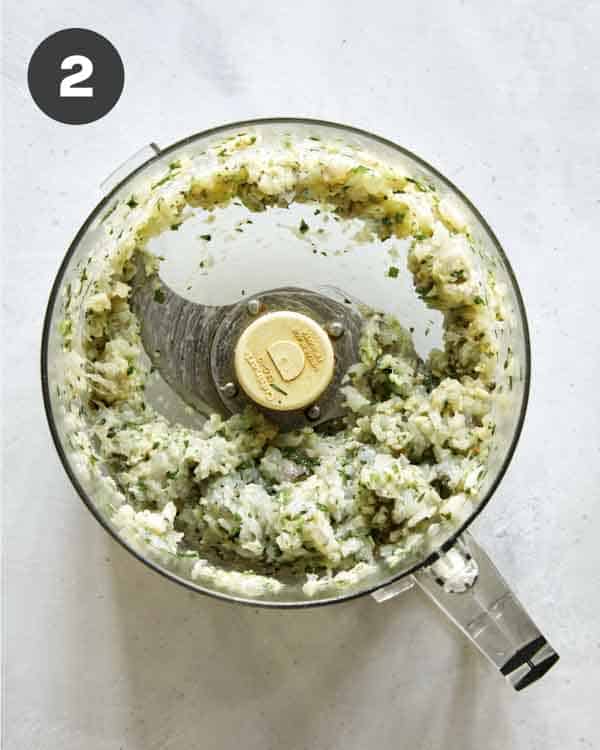
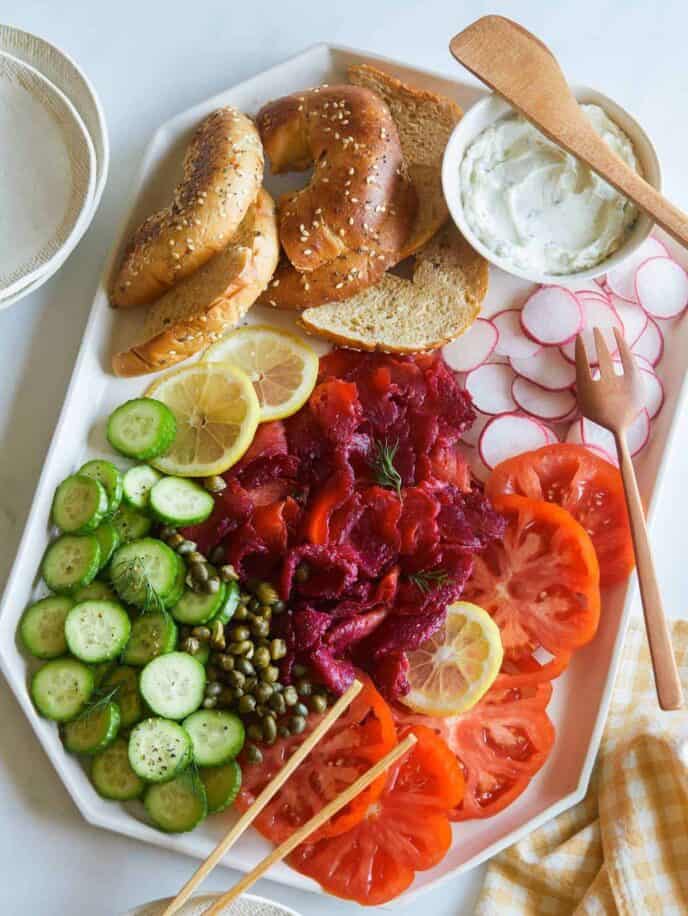
- If you’re looking for something on the lighter side, our Beet-Cured Salmon Brunch Platter is exactly what you need. Make it ahead and serve with your favorite local bagels and toppings to make this a stress-free breakfast or brunch celebration!
- BBQ Chicken Salad – This classic salad is one of our go-to entree salads. Filled with chopped greens, corn, bacon, tomatoes, chicken, and more! Everyone, especially mom, will go nuts over this hearty and delicious salad!

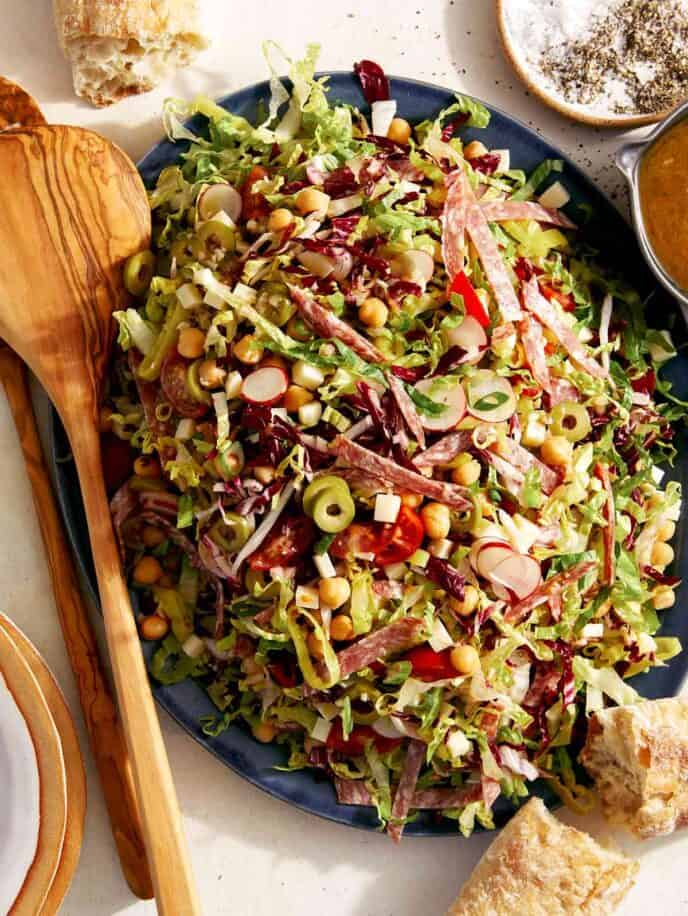
- Our Italian Chopped Salad is an explosion of flavor and texture in the best way possible! Tangy pepperoncini, olives, and radishes shredded romaine and radicchio, and plenty of beans, salami, and provolone cheese. Serve a big bowl on the Mother’s Day brunch table and watch it quickly disappear!
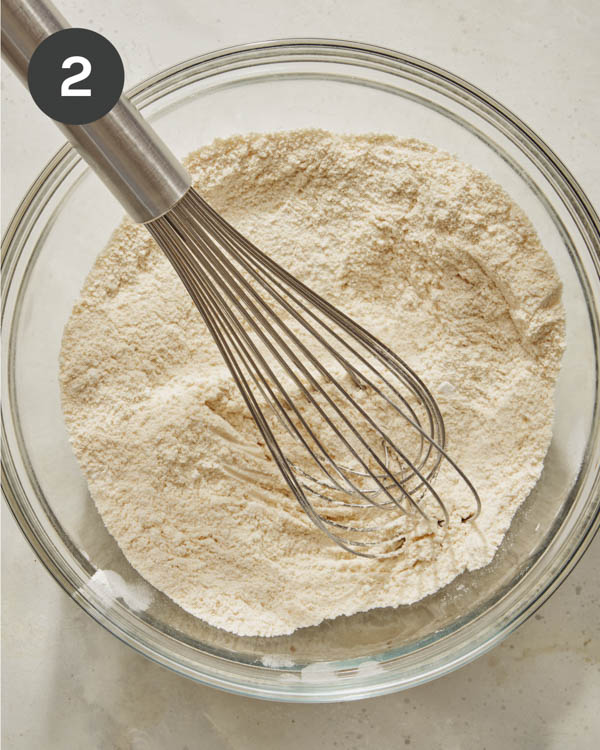
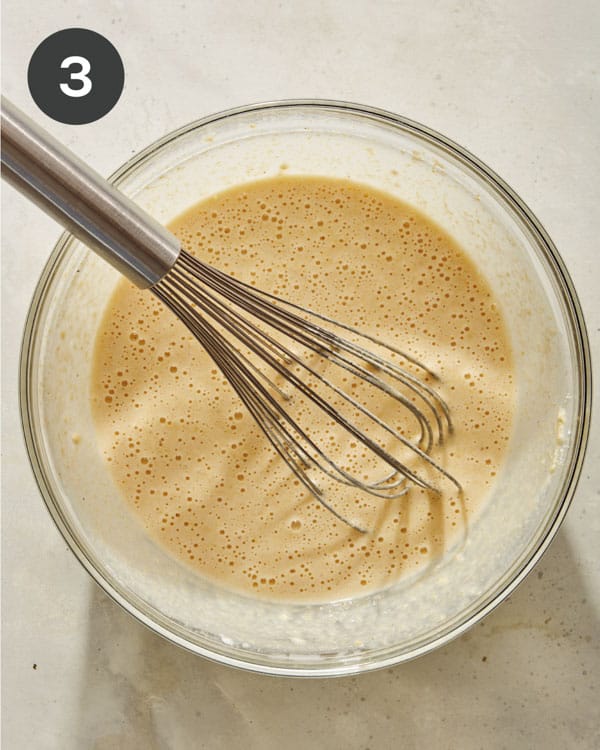
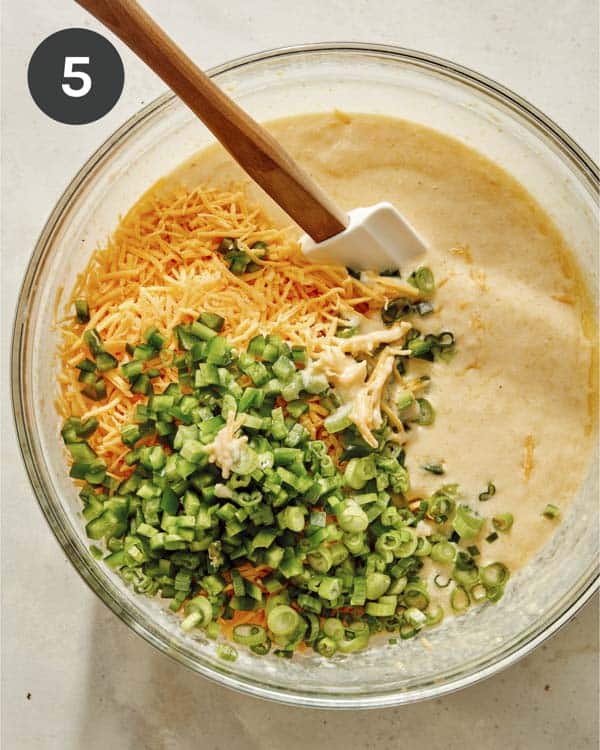
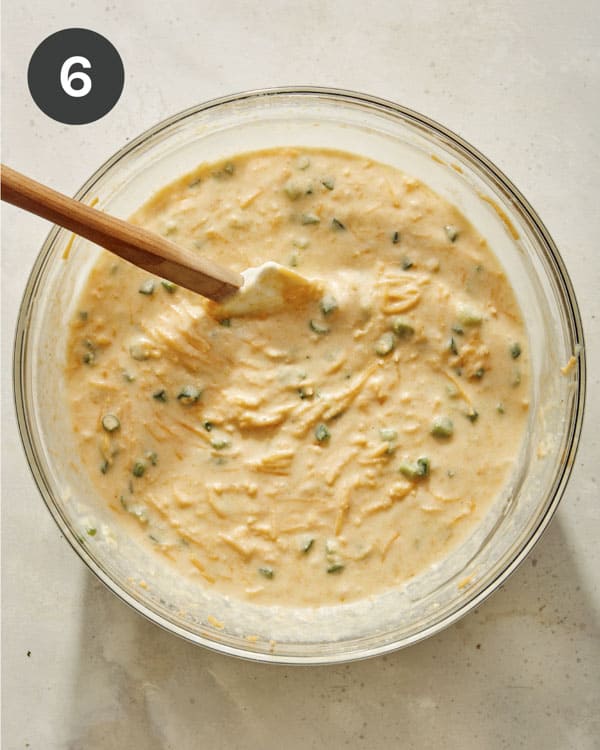
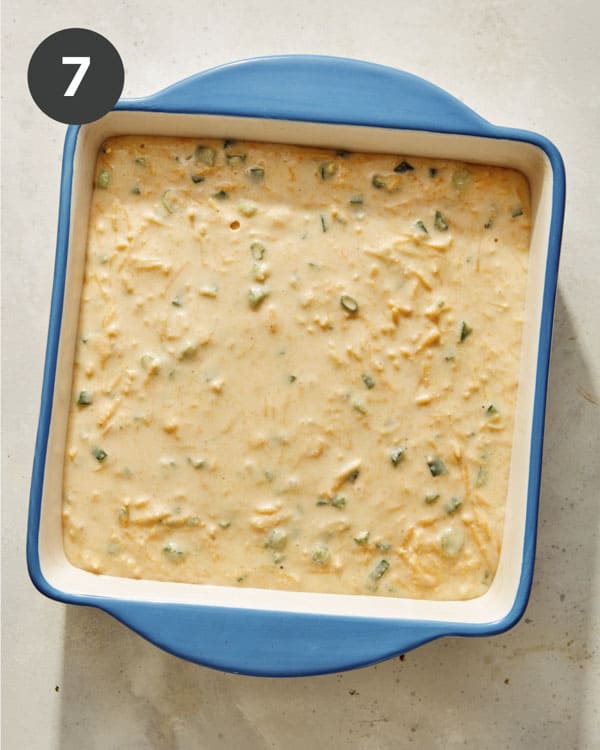
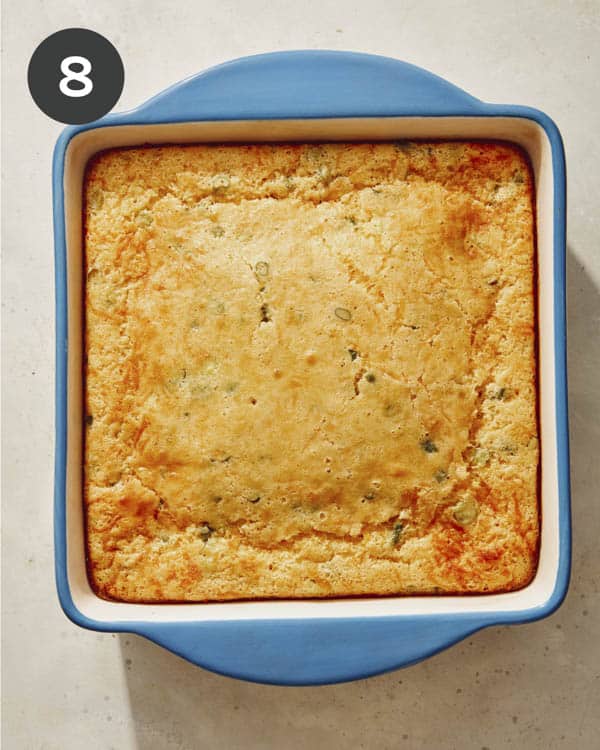
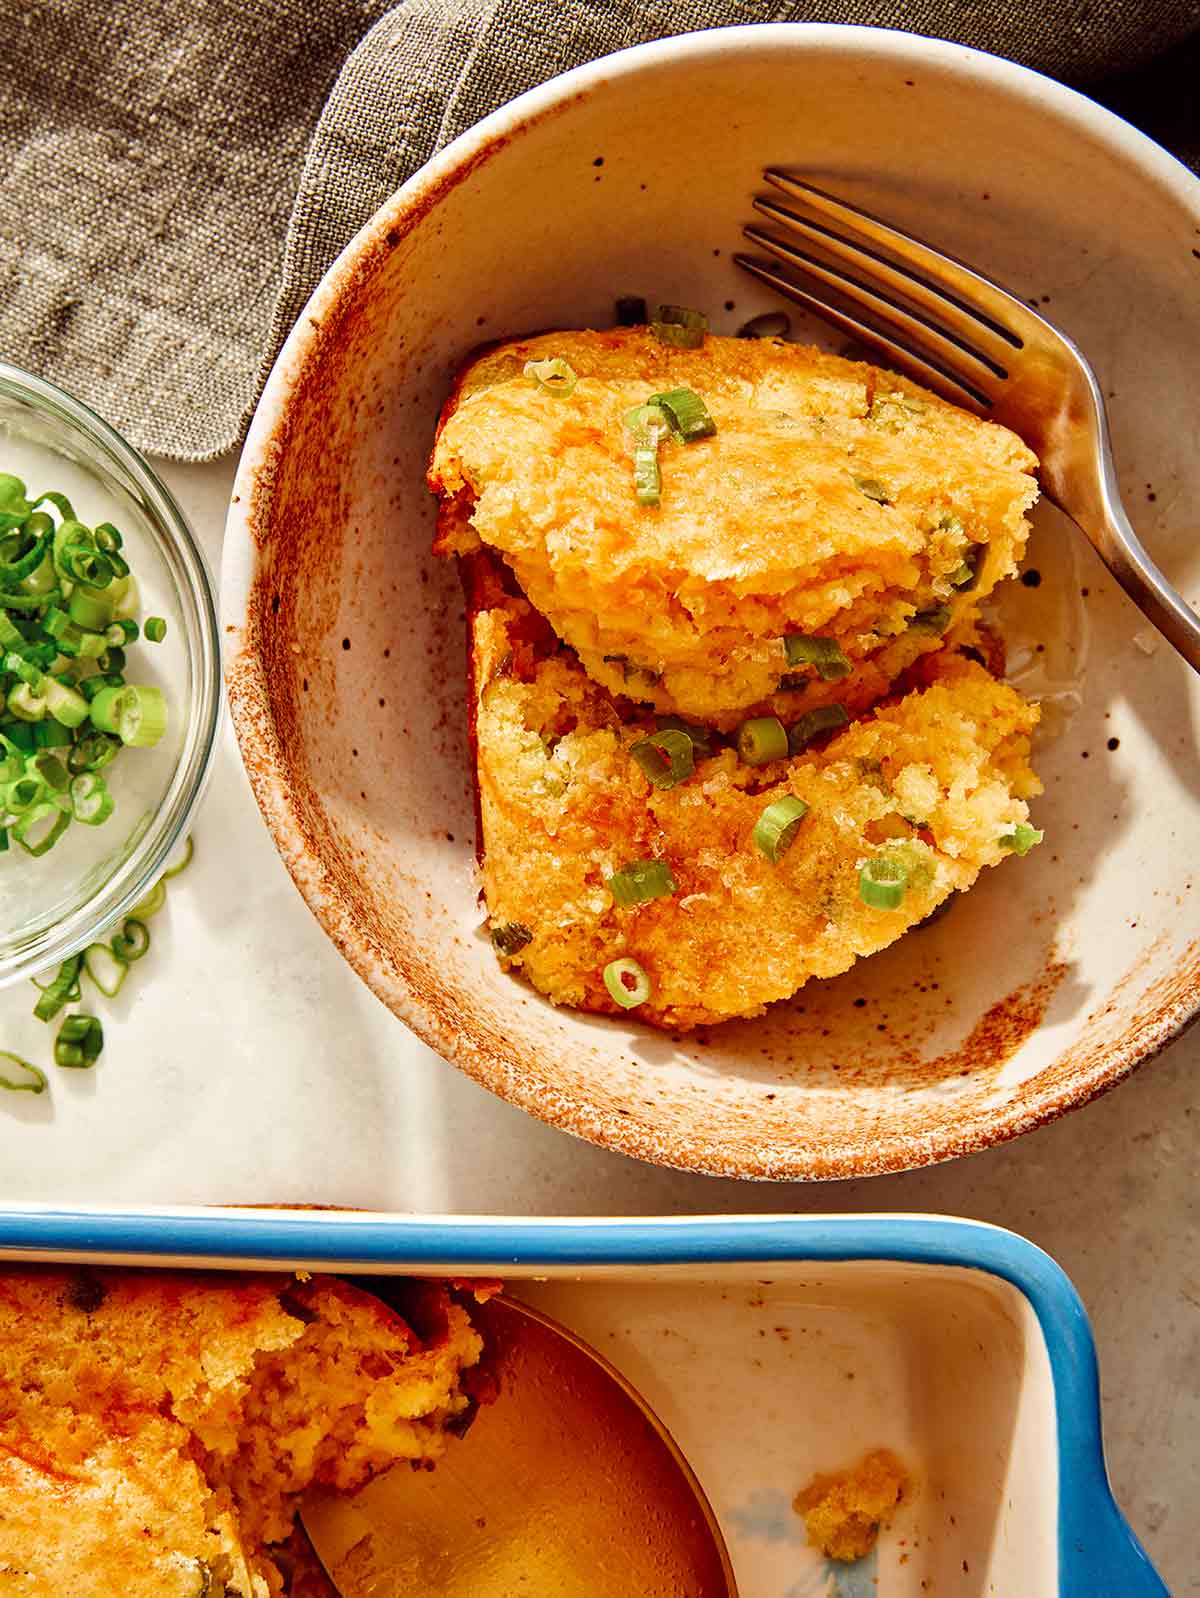
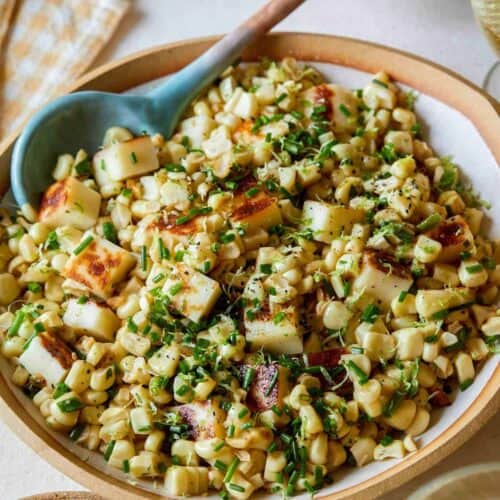
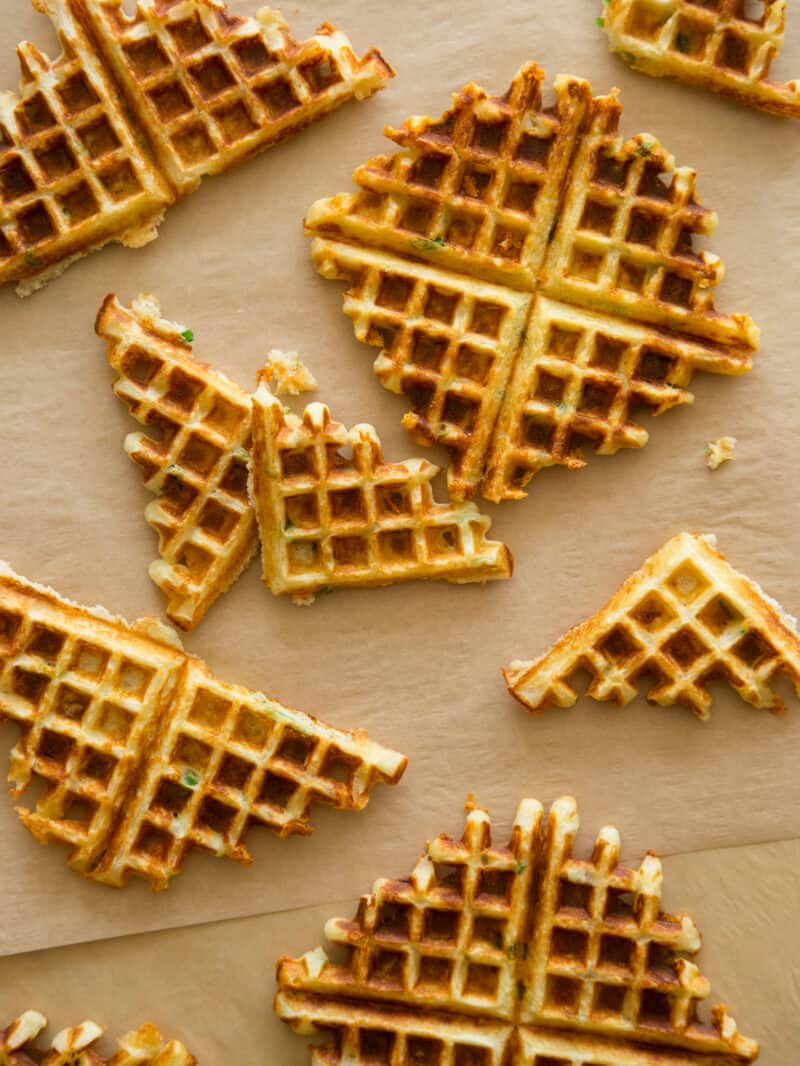
- Who said waffles have to be sweet? Try these incredible savory Gruyere Green Onion Waffles slathered with butter on your next Mother’s Day menu.
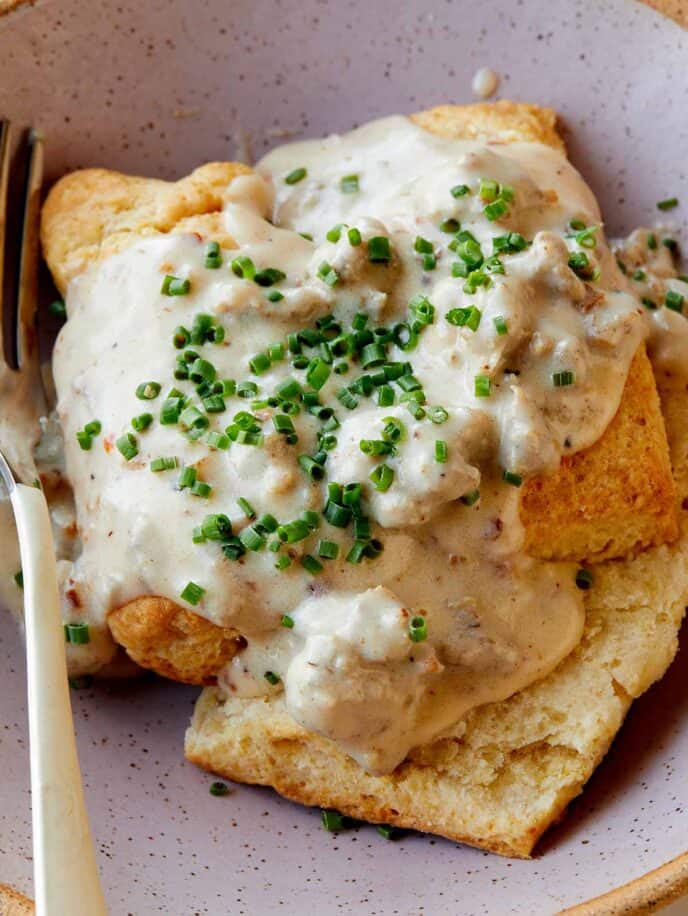
- No brunch is complete without a big batch of Biscuits and Gravy on the table. The biscuits are perfectly crispy on the outside and fluffy on the inside. They swim in an addictive creamy seasoned sausage gravy.
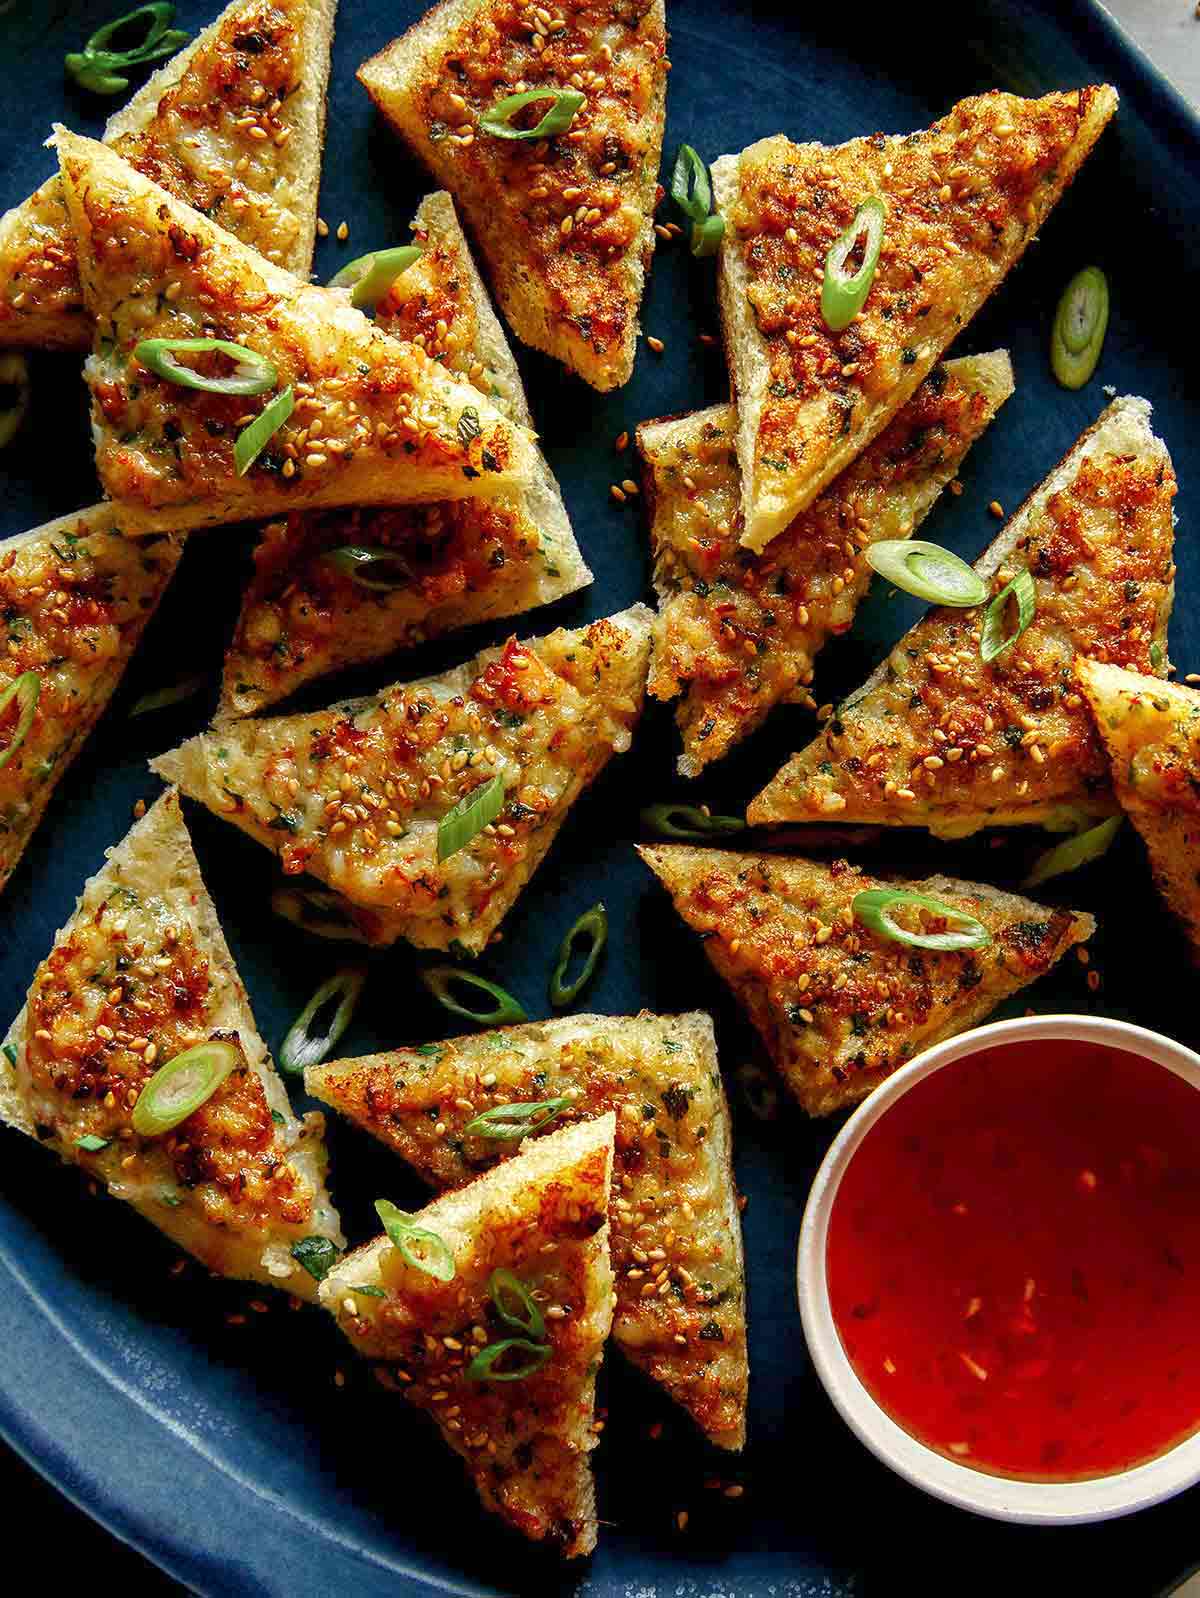
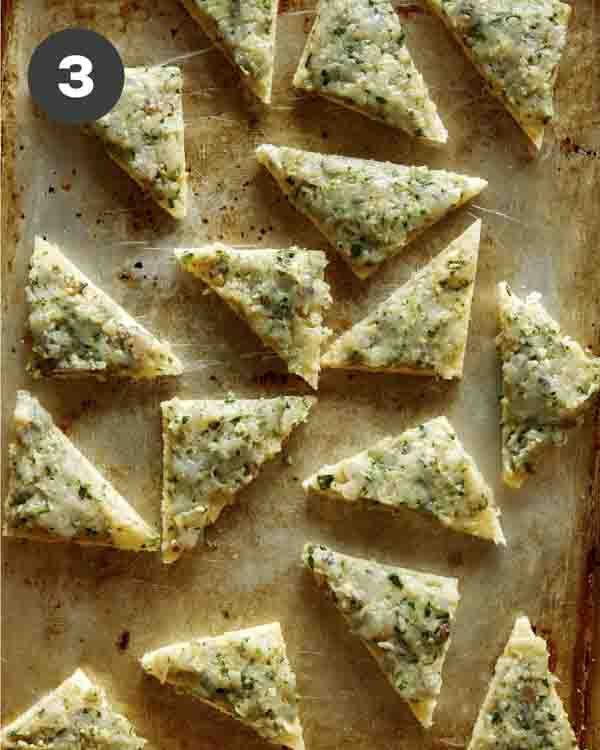
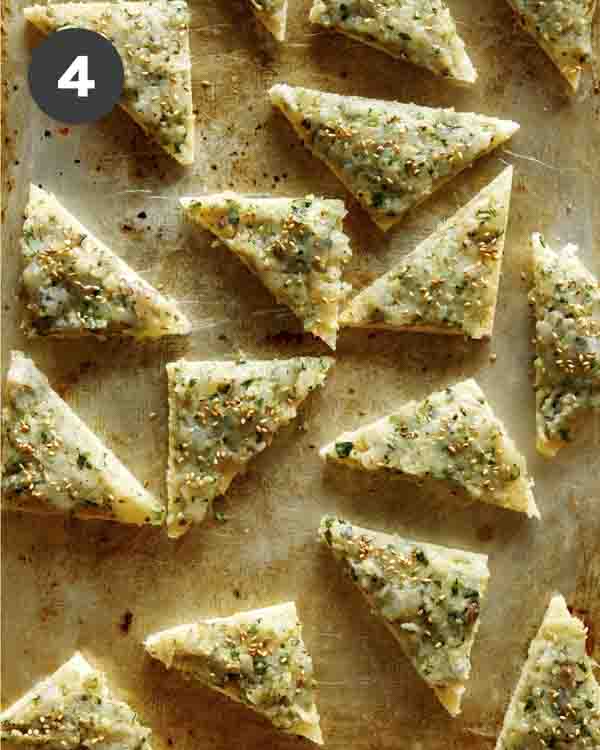
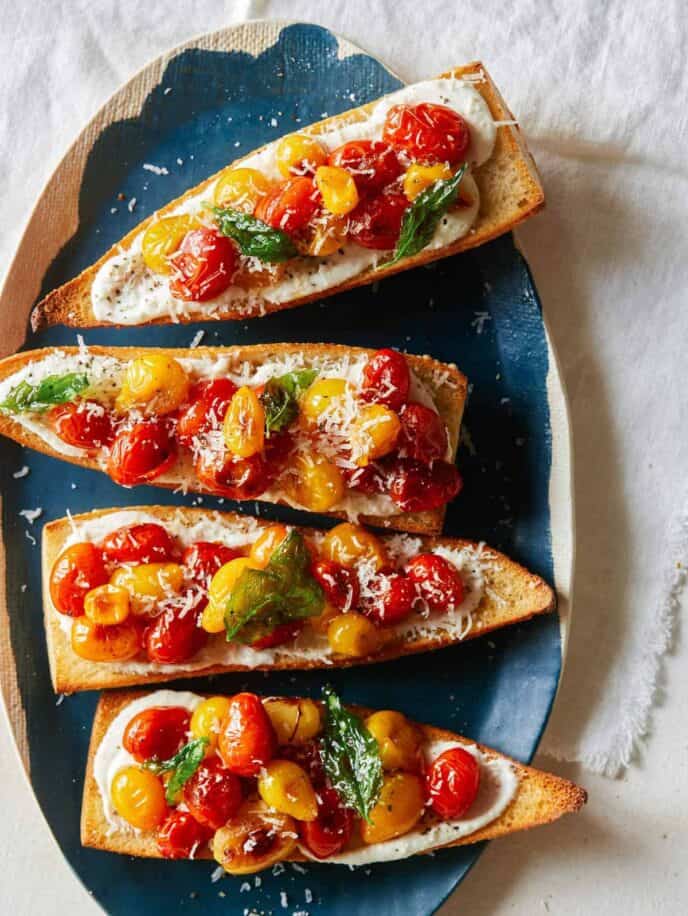
- Need a savory finger food for your Mother’s Day brunch spread? Try these Roasted Cherry Tomato and Feta Toast Points for a crowd-pleasing snack. Dreamy whipped feta topped with roasted garlic-infused cherry tomatoes, all on crispy toast points, make this recipe a true fan-favorite!
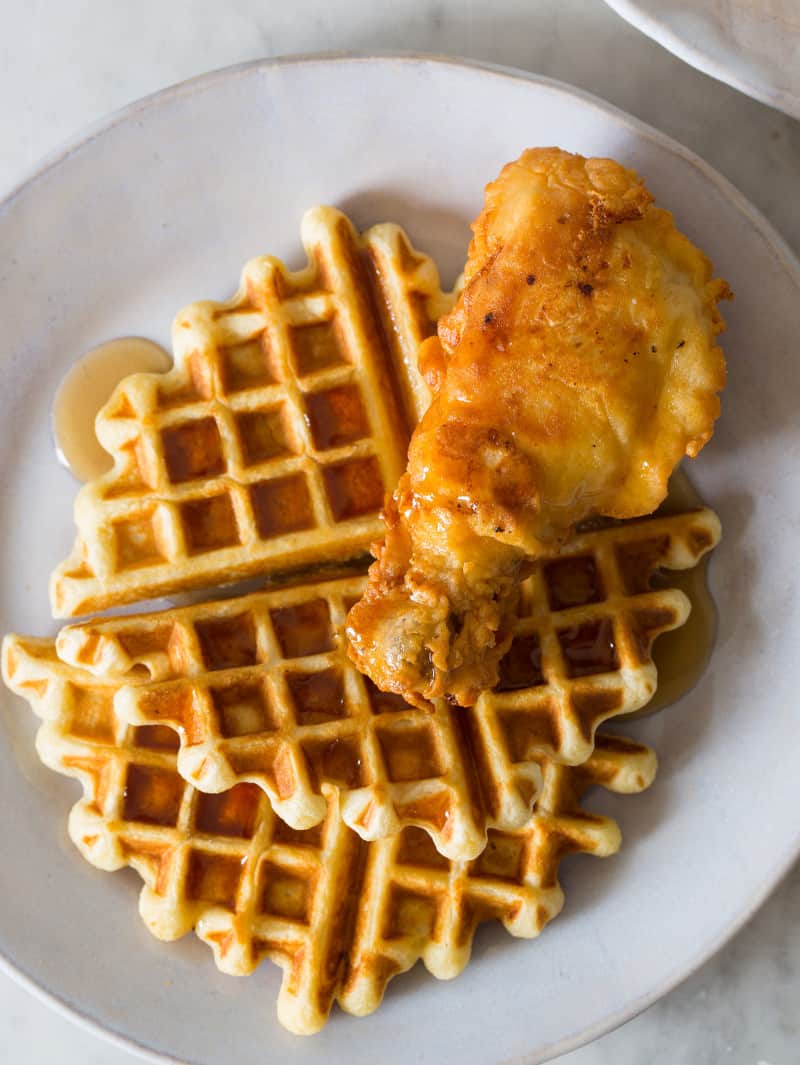
- A little savory, a little sweet — we weren’t sure exactly where to put the Chicken and Waffles, but they deserve a spot at brunch. Crispy oven-baked chicken over pillowy waffles slathered in maple syrup — yum!
Pancakes, Waffles, and French Toast for Mother’s Day
It isn’t brunch without a waffle, french toast, or pancake being served up! These recipes take ordinary breakfast foods to the next level with extra flavor and decadent ingredients – perfect for any special occasion.
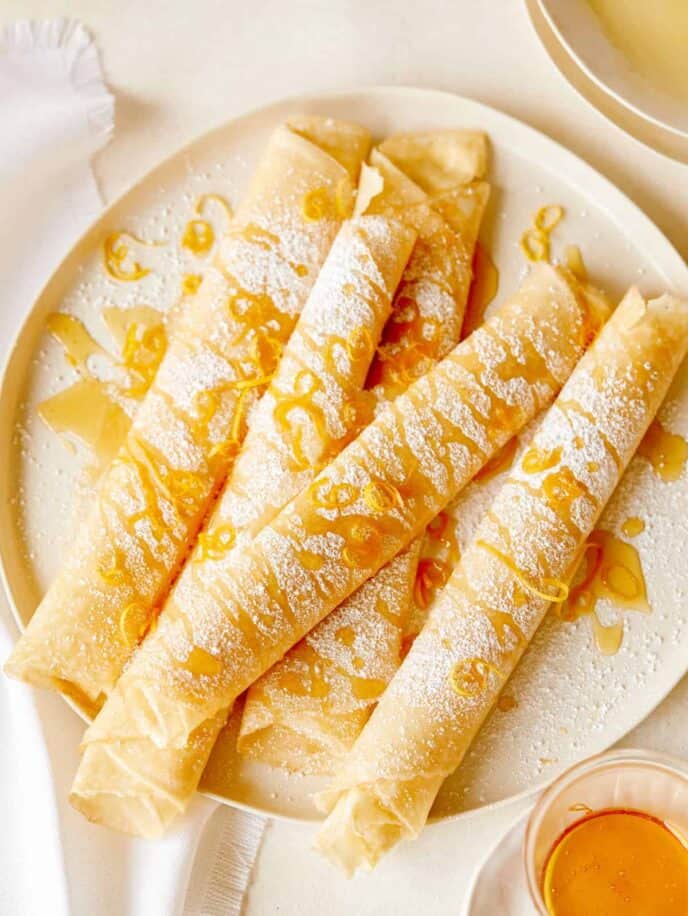
- Meyer Lemon and Ricotta Stuffed Crepes – I love this recipe. It’s such a perfect treat to make for Mother’s Day! Delicious crepes are filled with ricotta and lemon zest. Then they’re drizzled with honey, but maple syrup can be used instead. Also, if you can’t get your hands on Meyer lemons, use whatever citrus you have on hand or prefer. They will be delicious regardless of the citrus used!
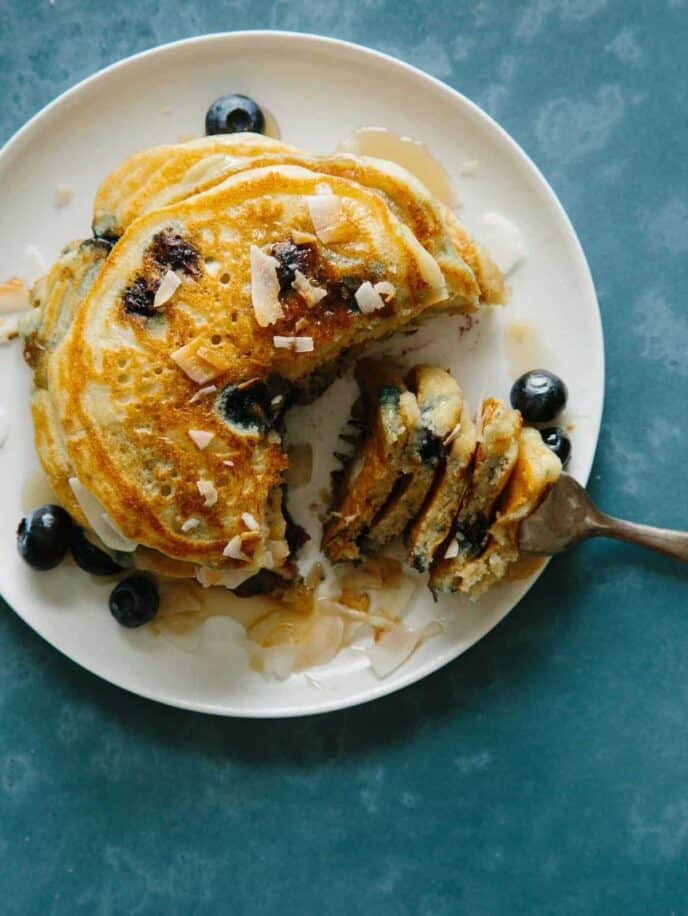
- Brown Sugar, Coconut, and Blueberry Pancakes are simple, sweet and loaded with fresh blueberries! Each bite is soft, fluffy, and full of a light coconut flavor and unmistakable brown sugar taste.
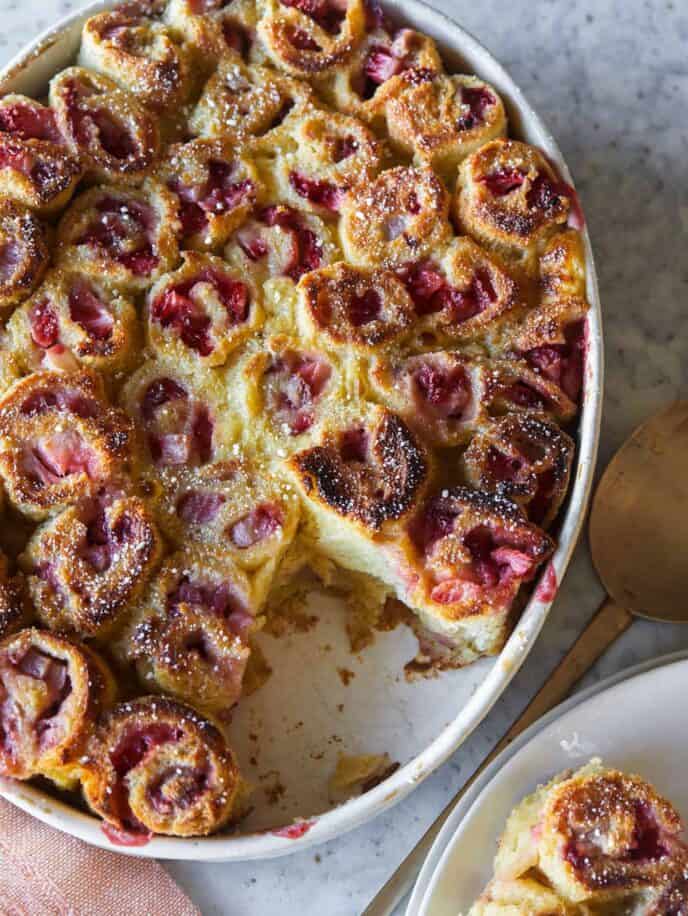
- These tasty Strawberry and Cinnamon French Toast Roll Ups are so fun! They use slices of bread that are stuffed and rolled like cinnamon rolls! It makes for such a delicious breakfast or brunch recipe. You can also switch up the berries in this recipe – we love subbing in blueberries!
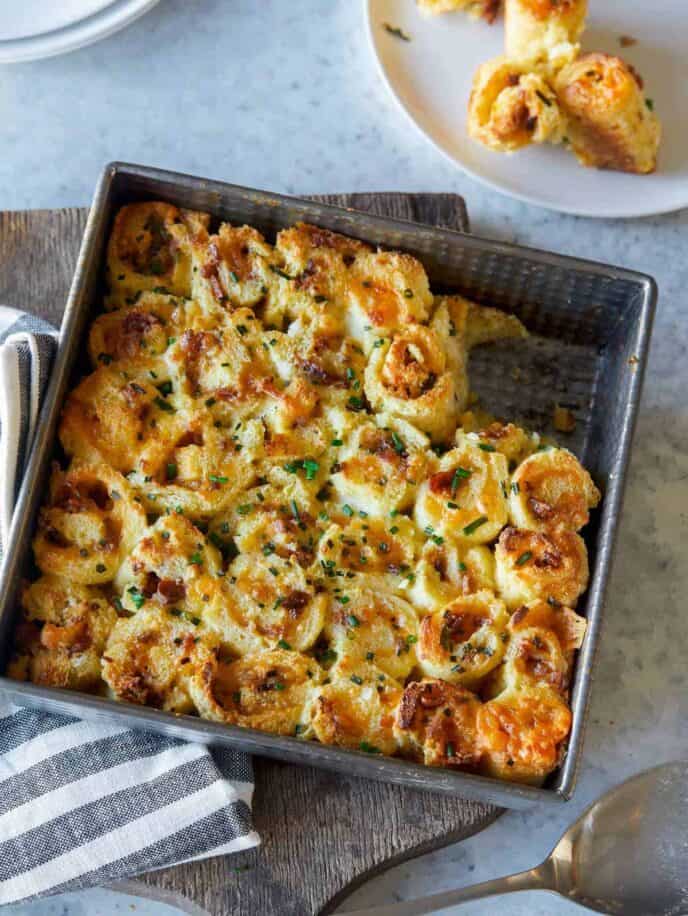
- If you’re not in the mood for sweets, try these Savory French Toast Roll Ups, instead! With cheese and bacon stuffed in each roll, you can enjoy them slathered in butter! Change it up with a drizzle of maple syrup for an addicting sweet and savory combo.
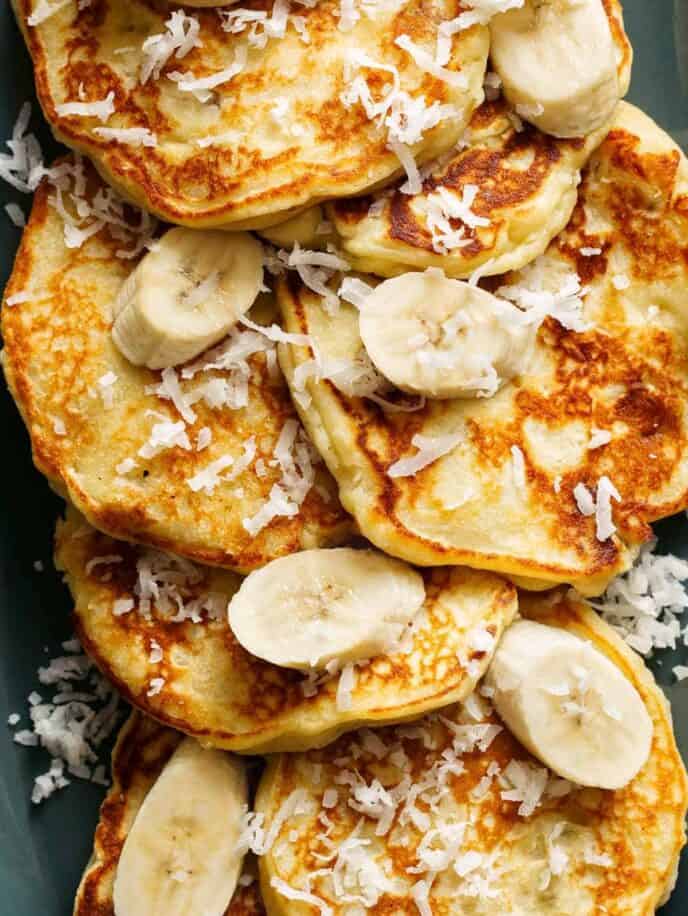
- These delicious and fluffy Coconut Banana Pancakes are a classic Mother’s Day food. Adding coconut to basic banana pancakes makes them over-the-top delicious. You can also make them extra indulgent by slathering warm peanut butter over the top for a special treat!
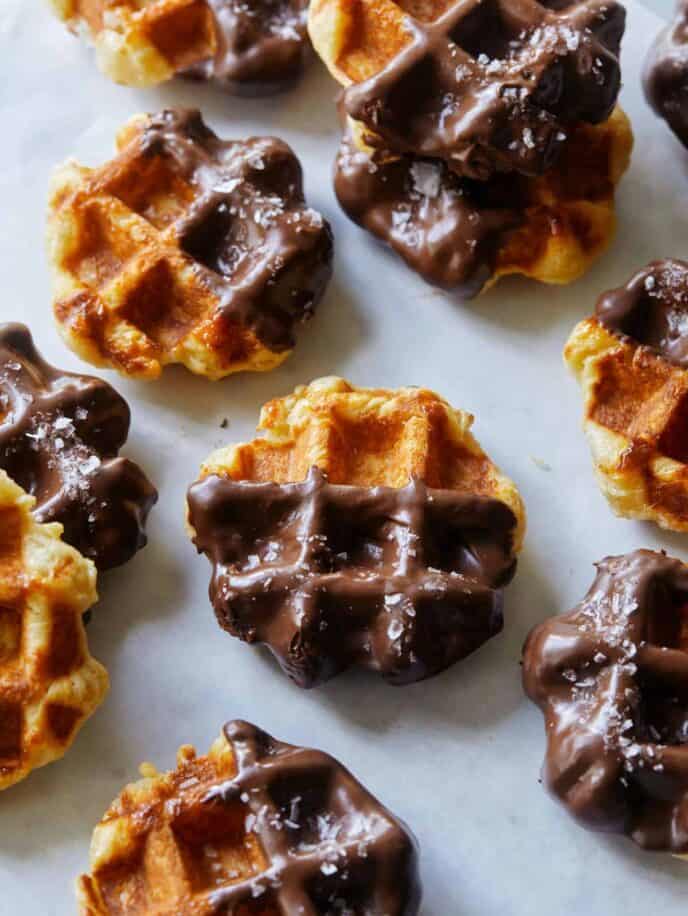
- If you’ve never had our Salted Chocolate Dipped Liege Waffles, an occasion like Mother’s Day is the perfect time to give them a try! They take a little more time and effort to make, but it’s so worth it! The Swedish pearl sugar adds lovely caramelized bits throughout the waffles and gives them a delightfully chewy texture!
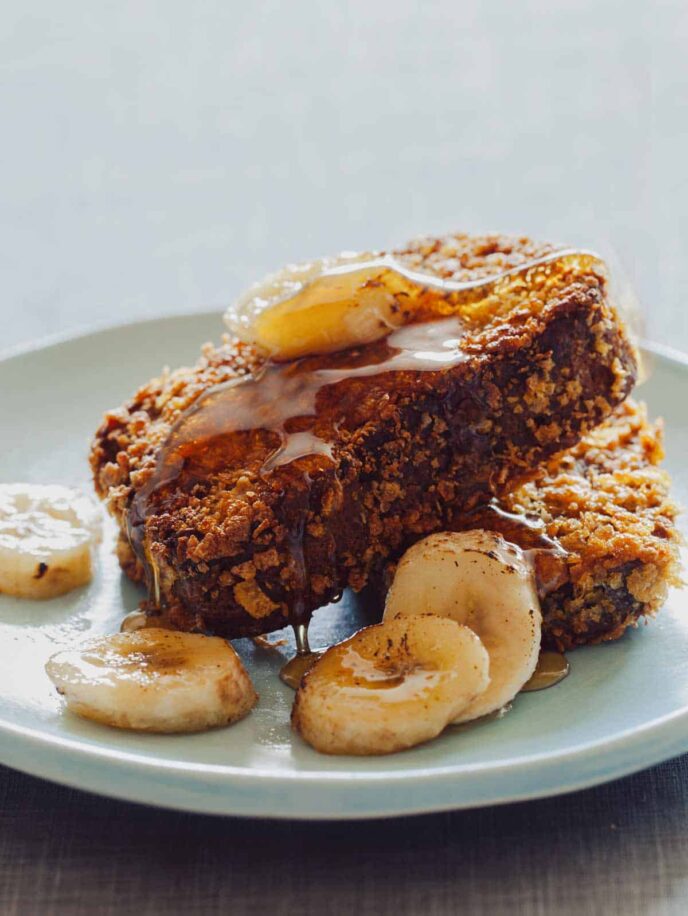
- Make a double batch of our banana bread and whip up a perfect batch of our Banana Bread French Toast! Lucious banana bread coated in crushed sweet and crunchy cornflakes for a sweet and fluffy on the inside, crispy on the outside decadent French toast — the perfect Mother’s Day treat!
Cakes and Other Brunch-Worthy Desserts
Special occasions call for extra special desserts. If Mom has a sweet tooth, serve any of these brunch desserts along with some of the savory options above.
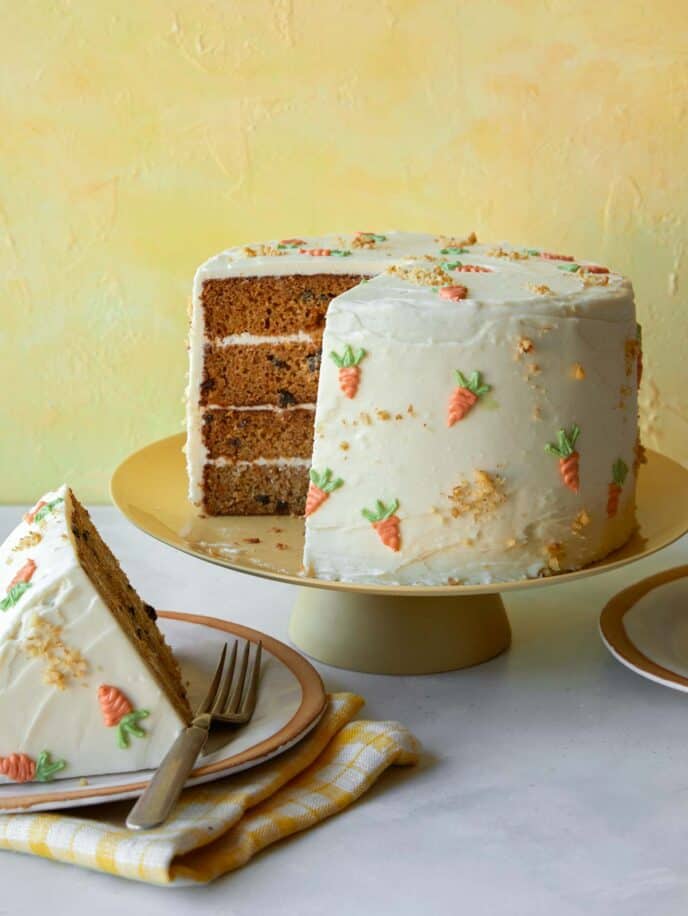
- This ridiculously delicious Carrot Cake with Cream Cheese Frosting is just what mom deserves! Not only is the cake moist, flavorful, and tender, but the cream cheese frosting might be the best thing ever! It’s incredibly creamy, rich and decadent – the perfect paring!
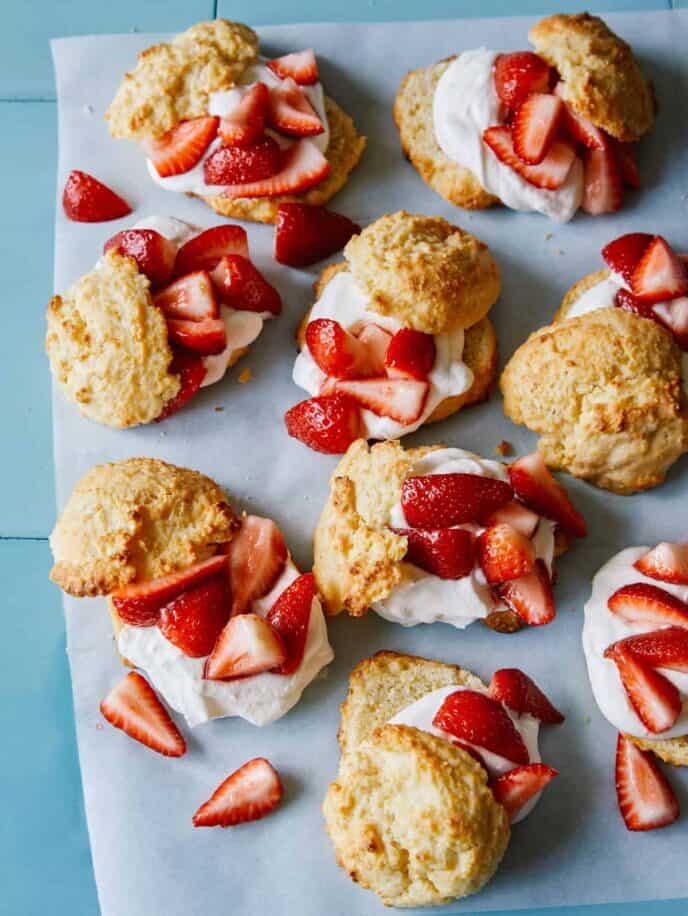
- A beautifully bright and fresh Strawberry Shortcake is just what your brunch table needs. Big Cornmeal biscuits topped with sweet strawberries and a massive dollop of whipped cream! It’s the perfect spring dessert mom will love!
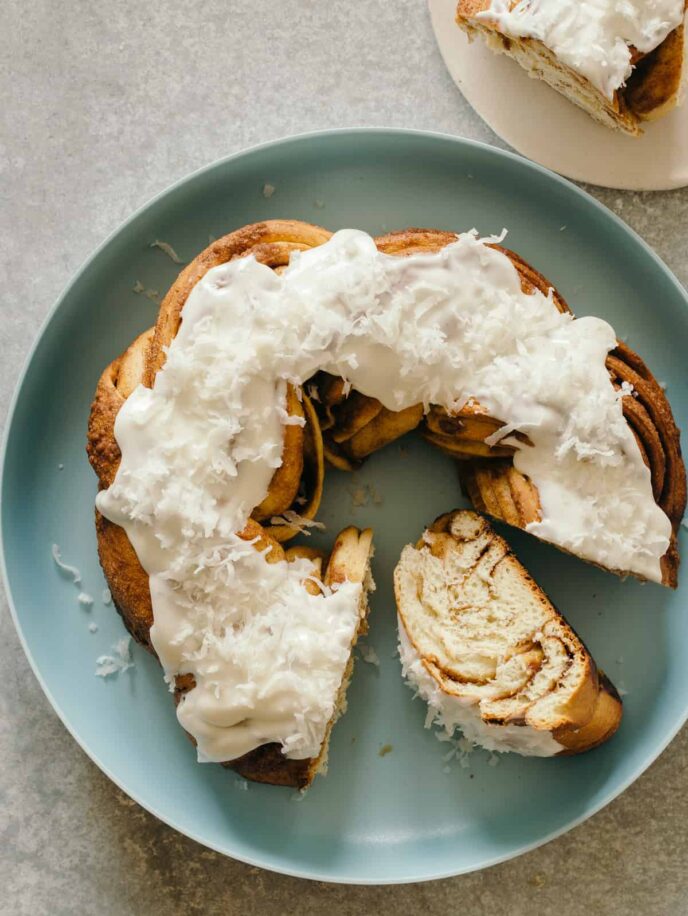
- We love this impressive Brown Butter Braided Cinnamon Roll Cake made with braided cinnamon roll dough. The results are this stunning cinnamon roll cake – perfect for a special celebration!
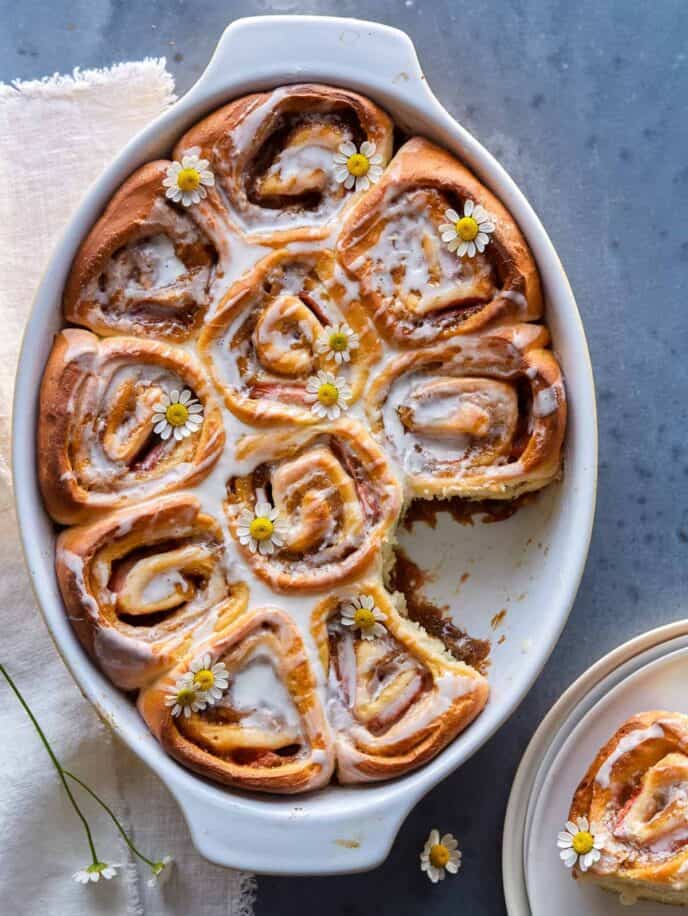
- This Strawberry Studded Cinnamon Rolls with Chamomile and Vanilla Glaze is a special variation of traditional cinnamon rolls. It’s stuffed with strawberries and then drizzled with chamomile and vanilla glaze. Yum!!
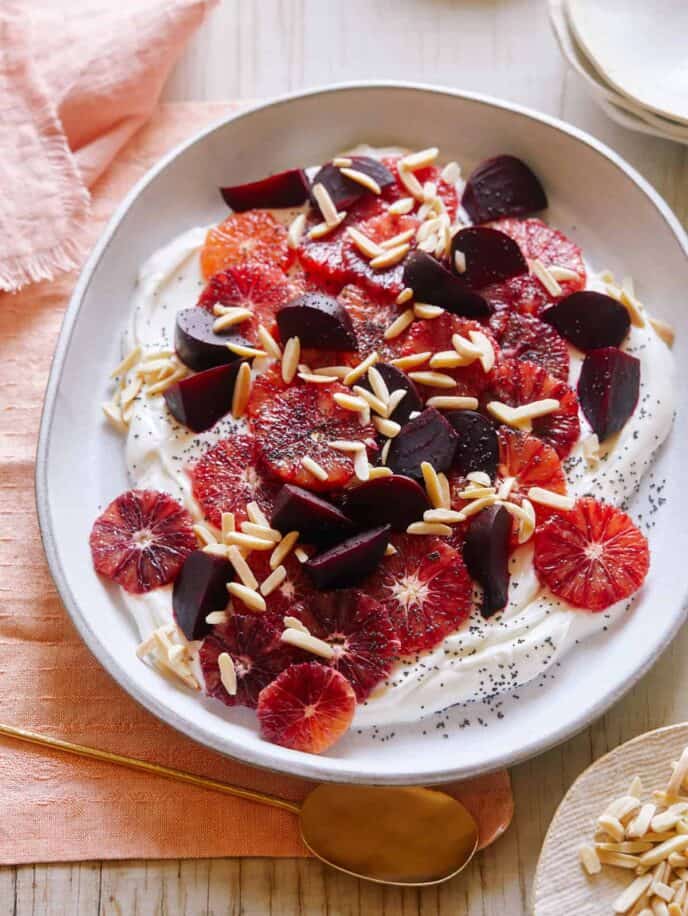
- Blood Orange and Beet Salad over Honey Yogurt is a beautiful, light and bright breakfast. It’s naturally sweetened with blood oranges and honey. It looks almost as good as it tastes!
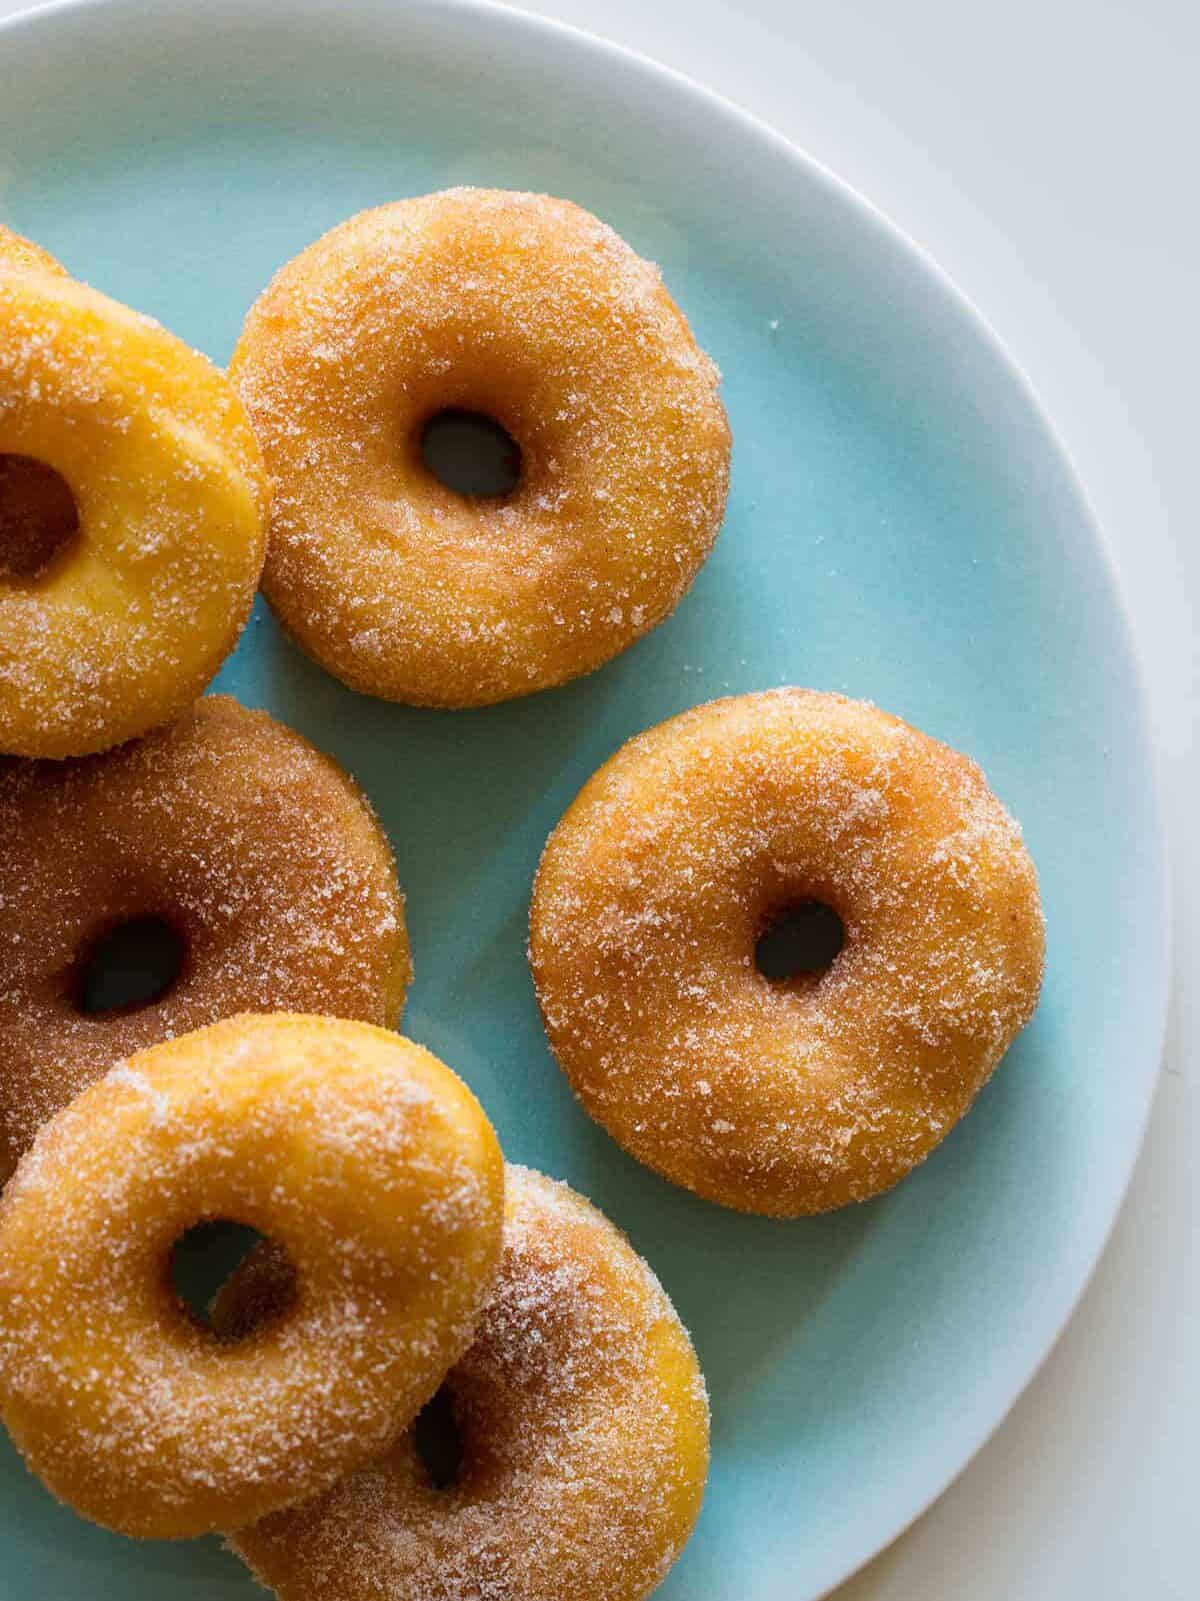
- Try these Sweet Potato Donuts, which swap some of the flour for mashed sweet potatoes. The cloud-like texture is unbeatable. Dipped in butter and rolled in cinnamon sugar, everyone at the table will be asking for more!
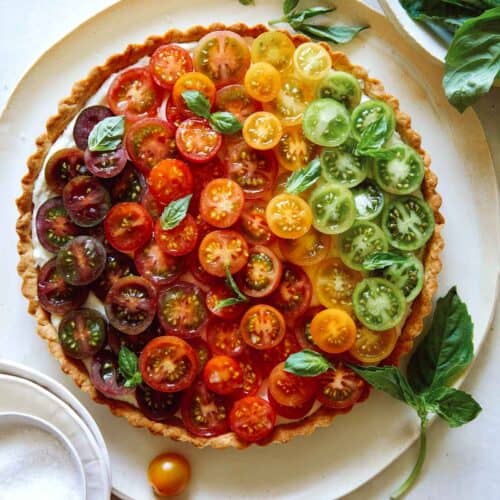
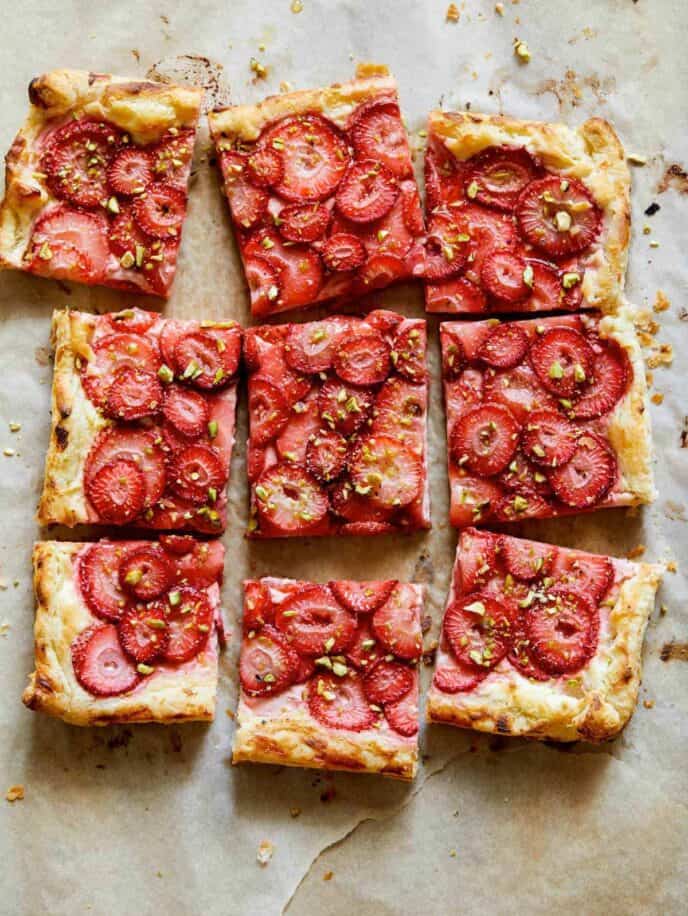
- A true 30-minute dessert, this Strawberry and Pistachio Tart is a simple, beautiful, and tasty dessert for Mother’s Day. Ripe strawberries, honey, cream cheese, and pistachios are spread on top of puff pastry. No one will believe how easy this stunning dessert is!
Easy Recipes for Mom to Make With the Kids!
With small kiddos, Mother’s Day can be the perfect time to get them involved, making something special for mom! Whether mom is getting in the kitchen with them or they’re helping make mom a meal to remember, these simple recipes will do the trick.
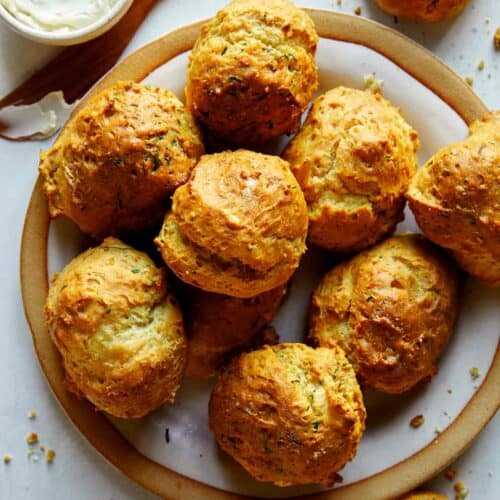
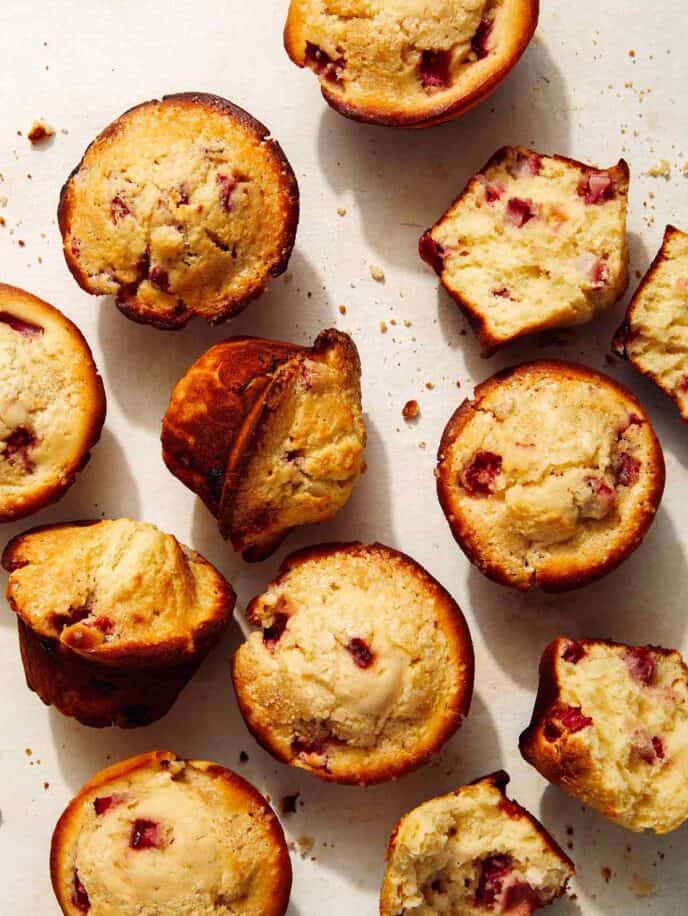
- Strawberry Muffins are the perfect Mother’s Day brunch treats to make with the kiddos! It’s a super simple, absolutely delicious recipe. Kids can help with combining the wet and dry ingredients and stirring the batter. They can also help with folding in strawberries, and filling the muffin tins.
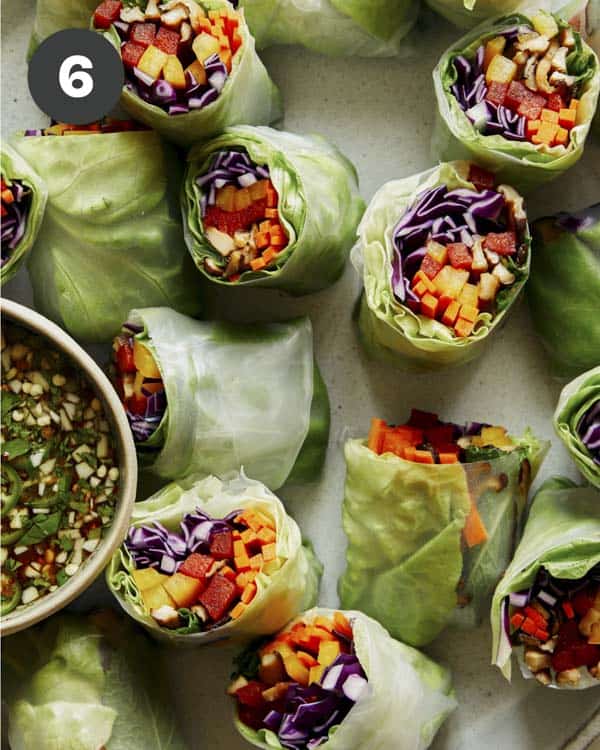
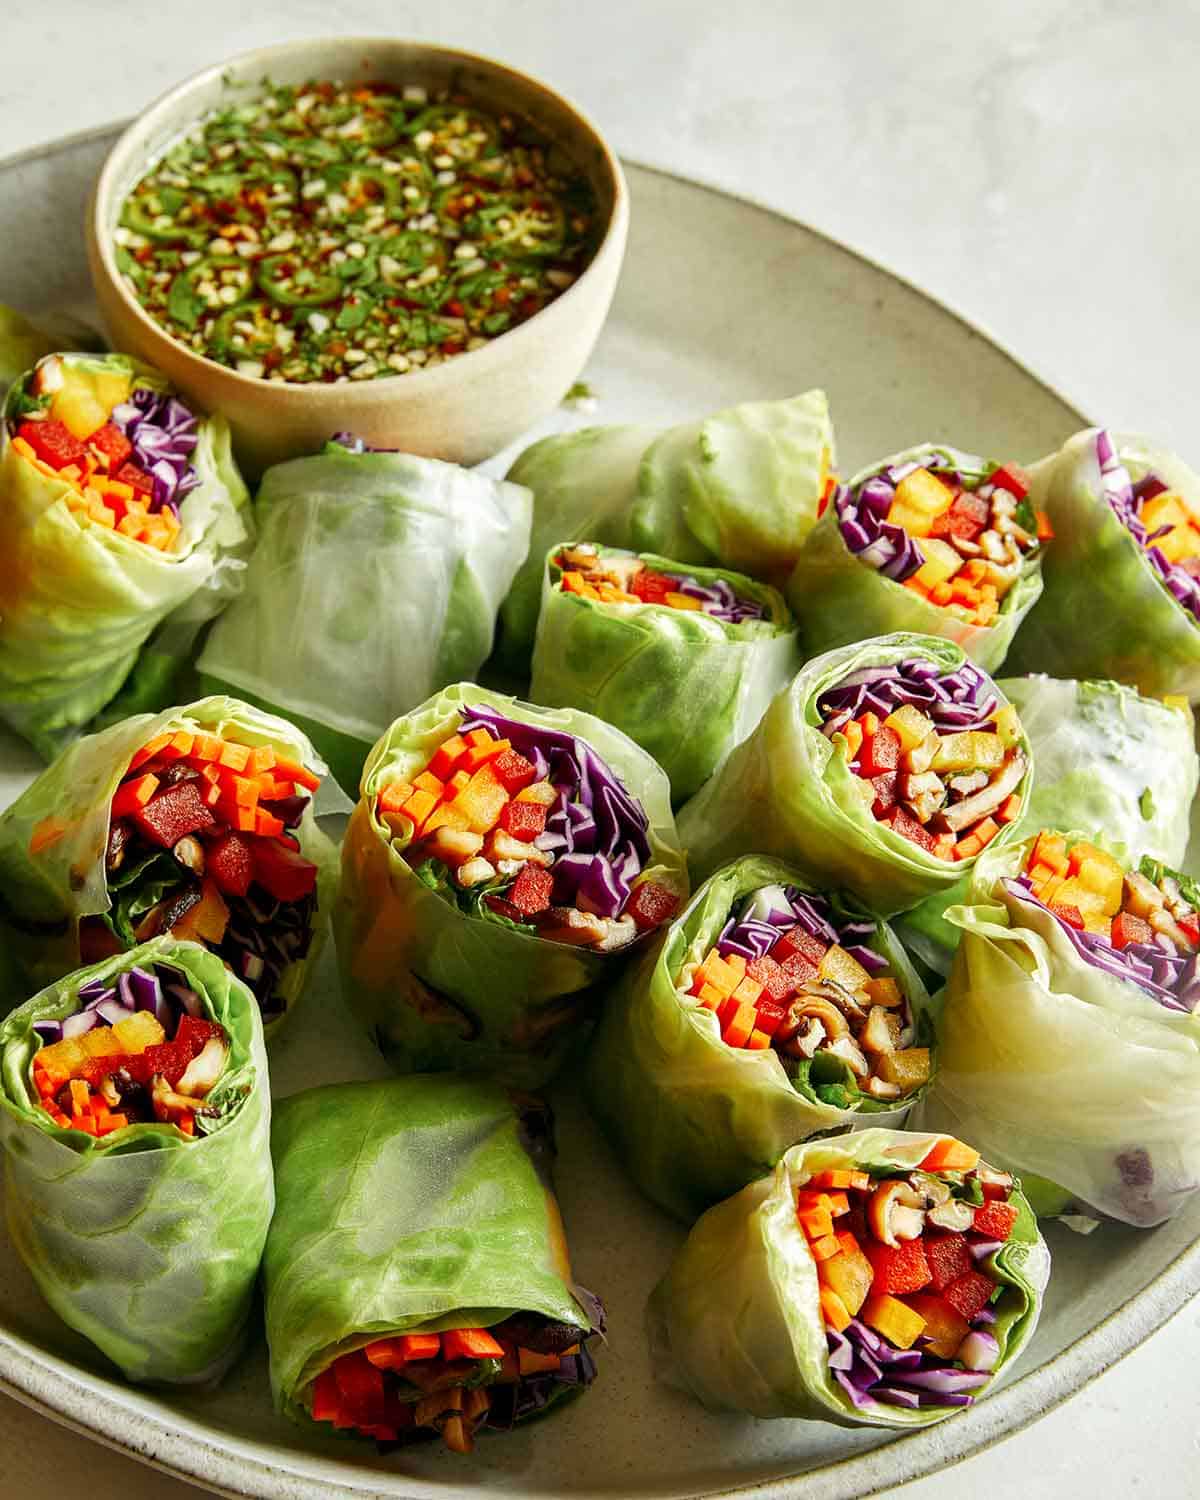
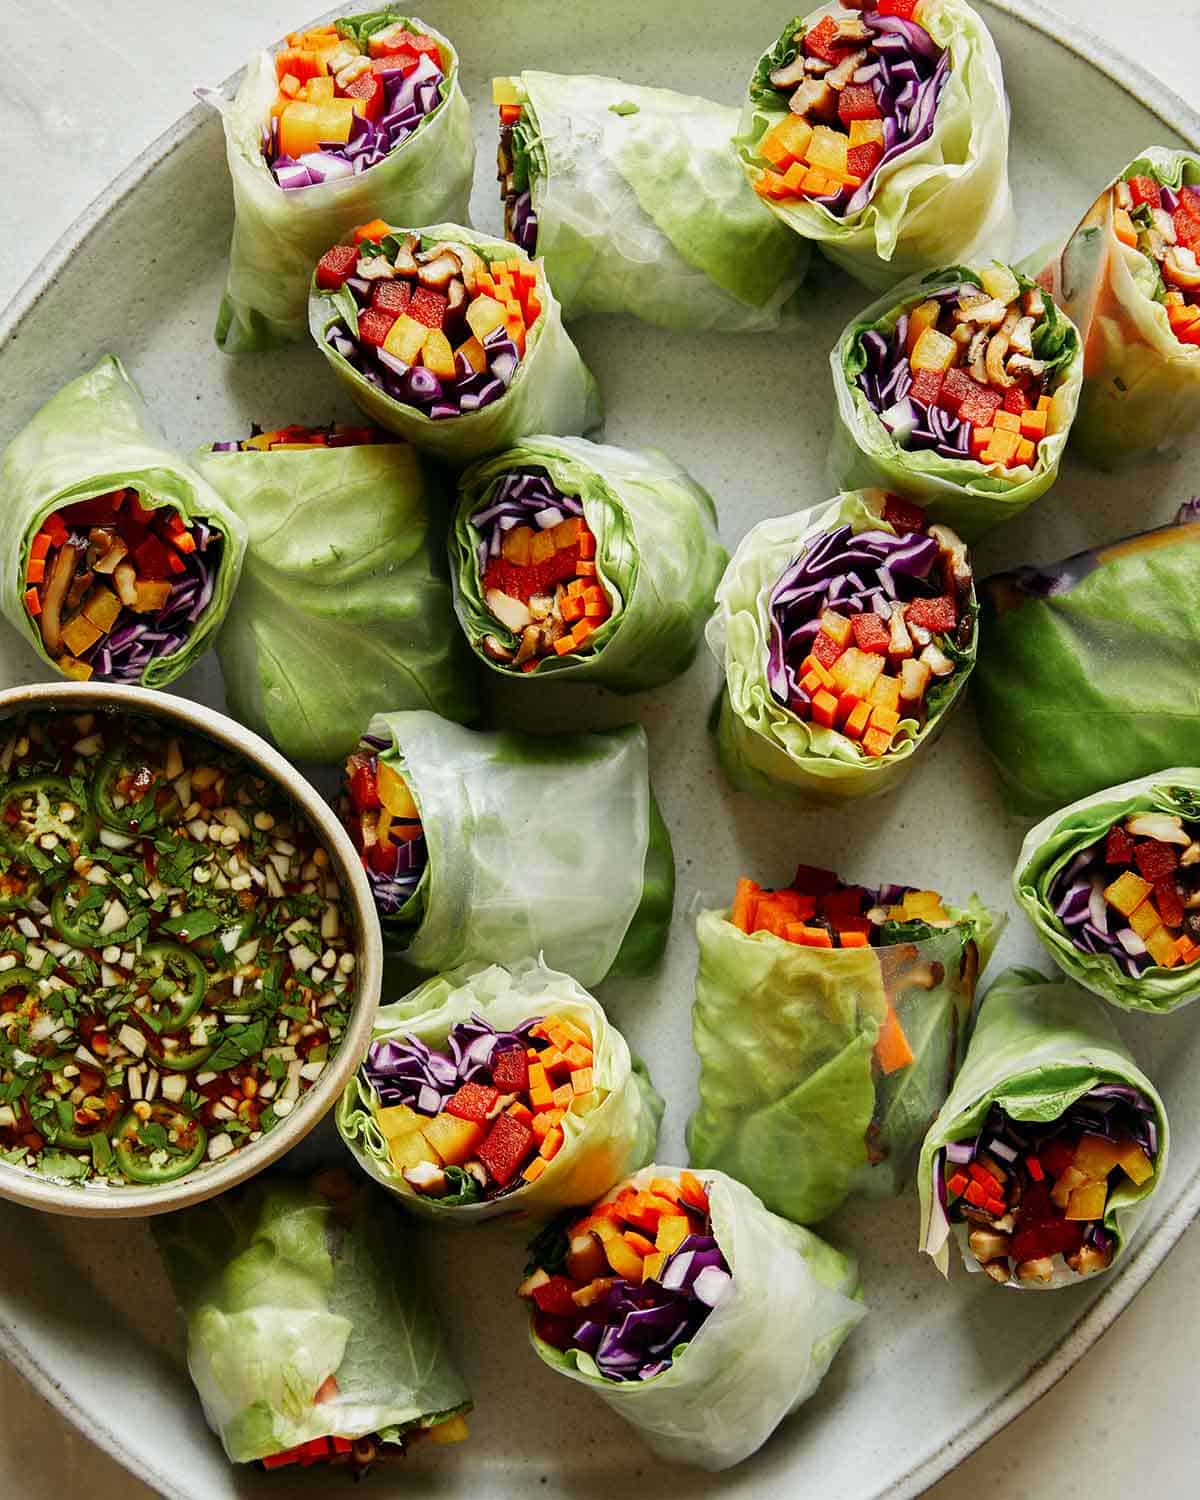
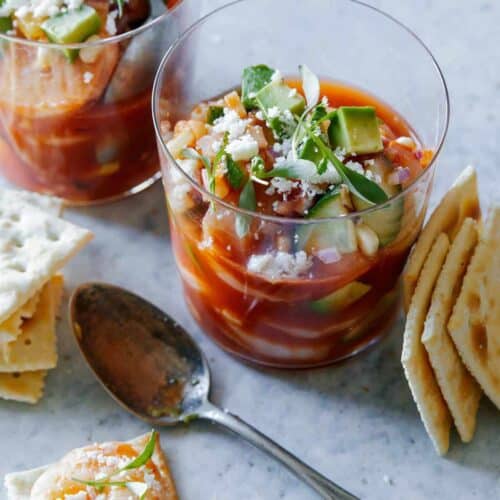
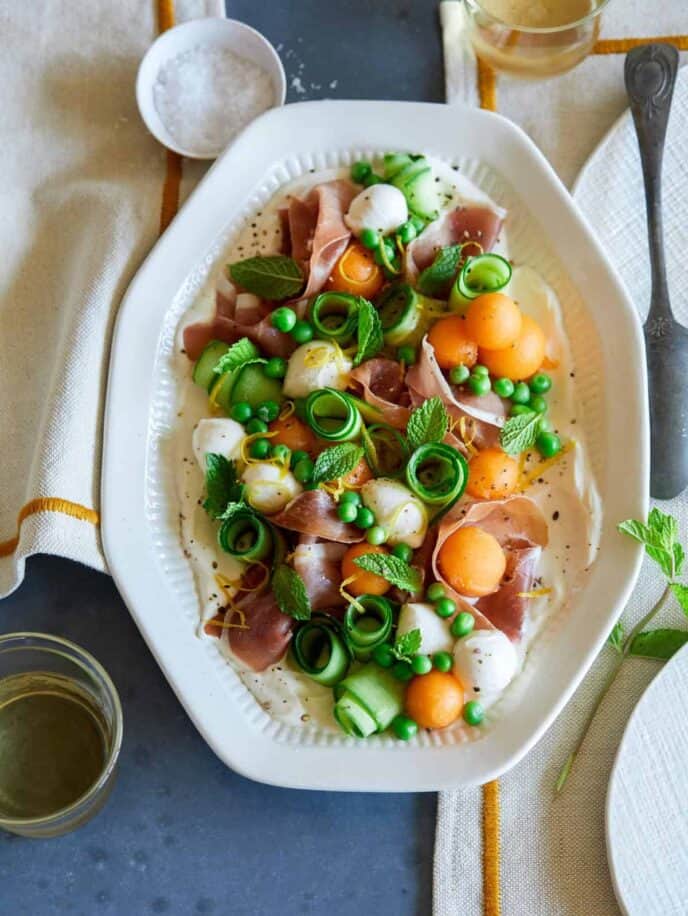
- This Fresh Summer Appetizer Platter is not only gorgeous but super tasty! There’s no cooking or baking involved, and kids LOVE making all those cute little melon balls. Kids can get their creative juices flowing by assembling the platter, making it a beautiful spread for mom!
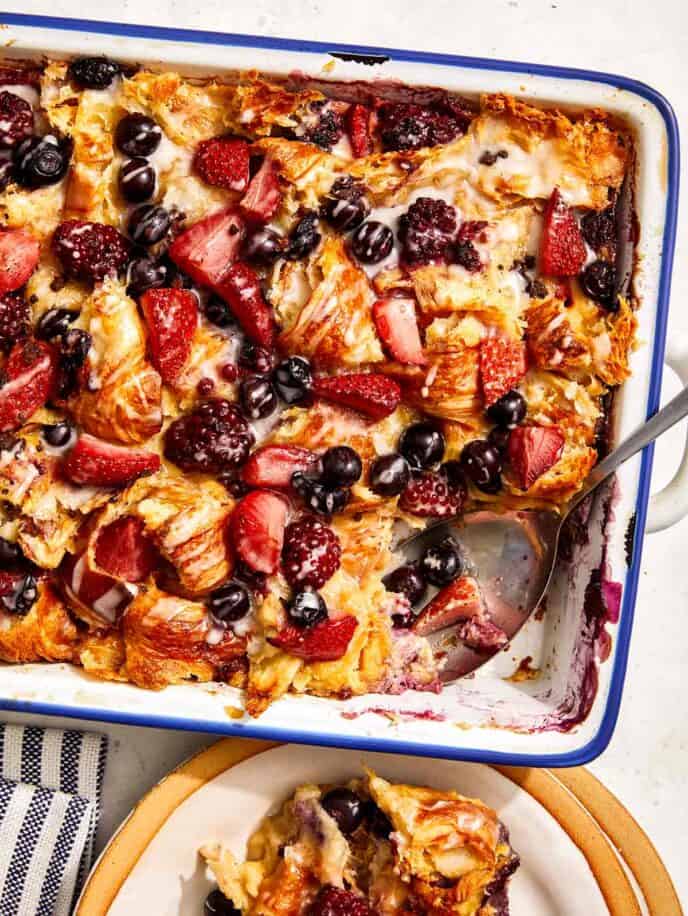
- Triple Berry Bread Pudding is a decadent and rich dish that’s so simple to toss together and tastes incredible. Have the kids help rip apart the croissants, or pour ingredients into the custard mixture! They can also help to drizzle the salted vanilla glaze on top!
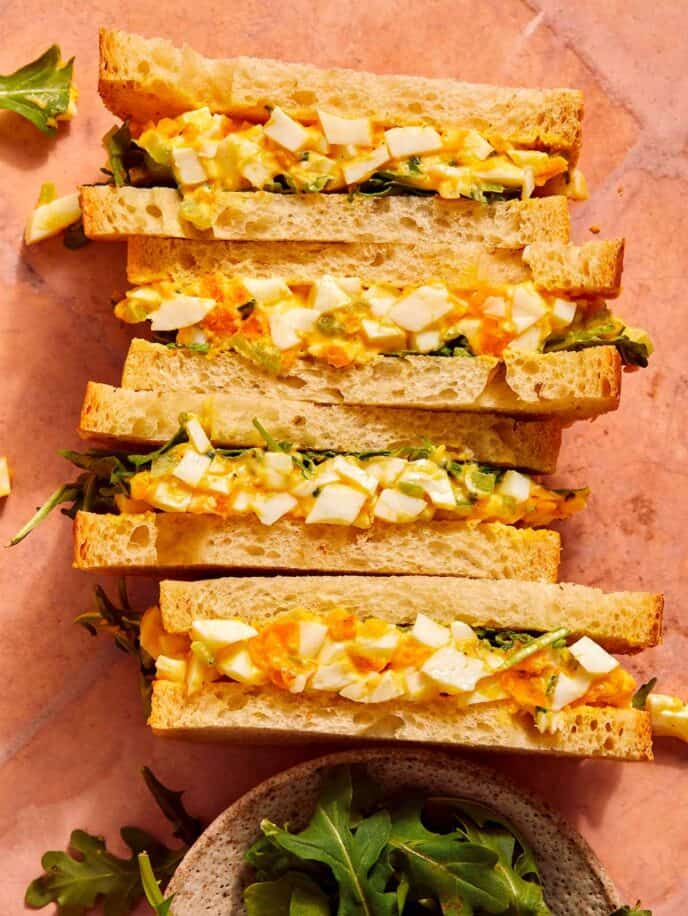
- For super simple finger food, have the kids help put together Egg Salad Sandwiches! Make hard-boiled eggs, peel them, and stir in a few flavor-packed ingredients. Then spread it all on slices of Mom’s favorite bread!
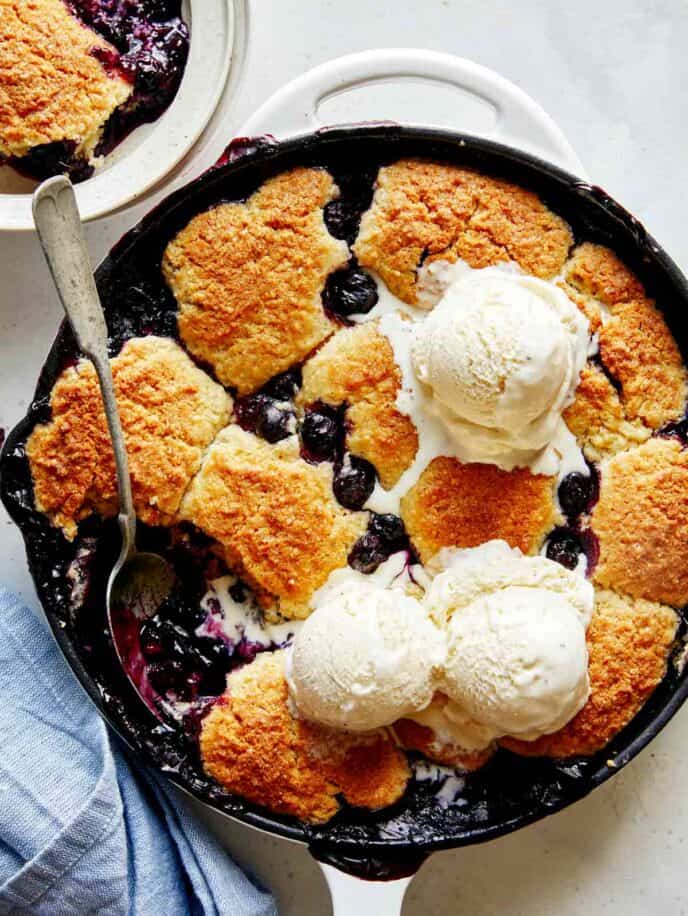
- Blueberry Cobbler is a recipe kids love helping to make! They love stirring up the simple blueberry filling and pouring it into the skillet. They also love to scoop big dollops of the thick batter over the filling and sprinkle the sugar over everything! We highly recommend serving this dessert with big scoops of vanilla ice cream!
- Our Egg McMuffins allow kids to work on their egg-cracking skills while providing mom with a decadently delicious dish to enjoy on her special day! You can also make homemade English muffins, which would make these extra memorable.
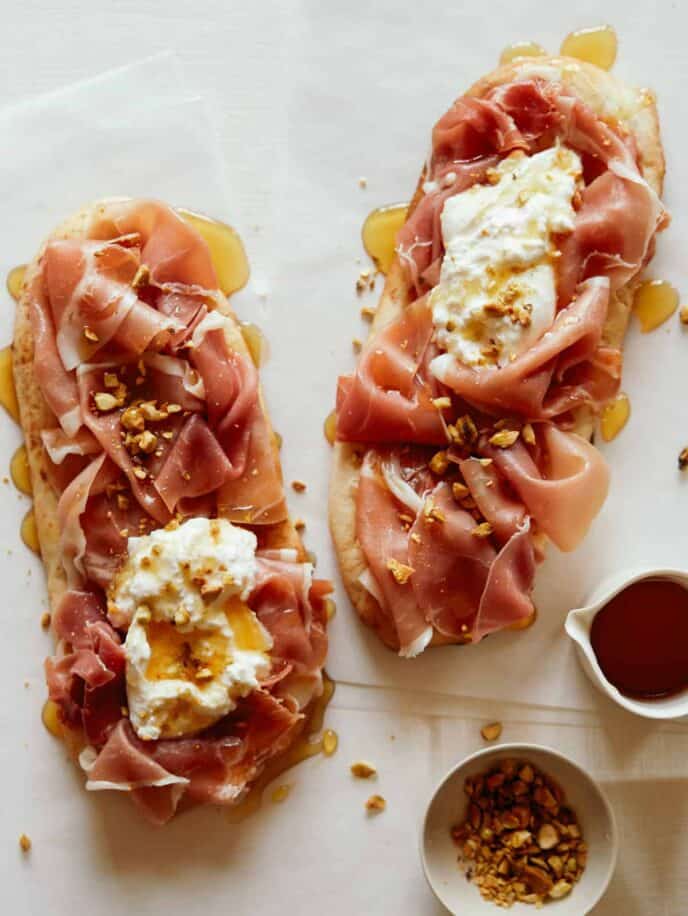
- Simple Charcuterie Flatbreads is another no-cook, no-bake recipe that (depending on their age) kids can do all by themselves! The flatbreads come together quickly; plus, they can be taken on the go, making them perfect picnic food. Simply add the drizzle of honey just before serving!
The post Mother’s Day Brunch Ideas appeared first on Spoon Fork Bacon.