This article is from Delicious Everyday.
Get ready to go bananas over this banana pound cake! It’s perfectly moist, rich and buttery, and ready in under an hour. Yum! If you’re anything like me, you’re always on the lookout for new dessert recip…
Get ready to go bananas over this banana pound cake! It’s perfectly moist, rich and buttery, and ready in under an hour. Yum! If you're anything like me, you're always on the lookout for new dessert recipes that are both delicious and easy to make. And if you're a fan of bananas, you're going to...
Chocolate and orange together in one mouthwatering muffin! Studded with dark chocolate chunks and piled high with a crunchy chocolate streusel topping, these muffins are, simply put, showstoppers. These orange-scented muffins are studded with dark chocolate chunks and topped with a sweet and salty cocoa streusel that bakes up delightfully crisp and crunchy, providing the […]
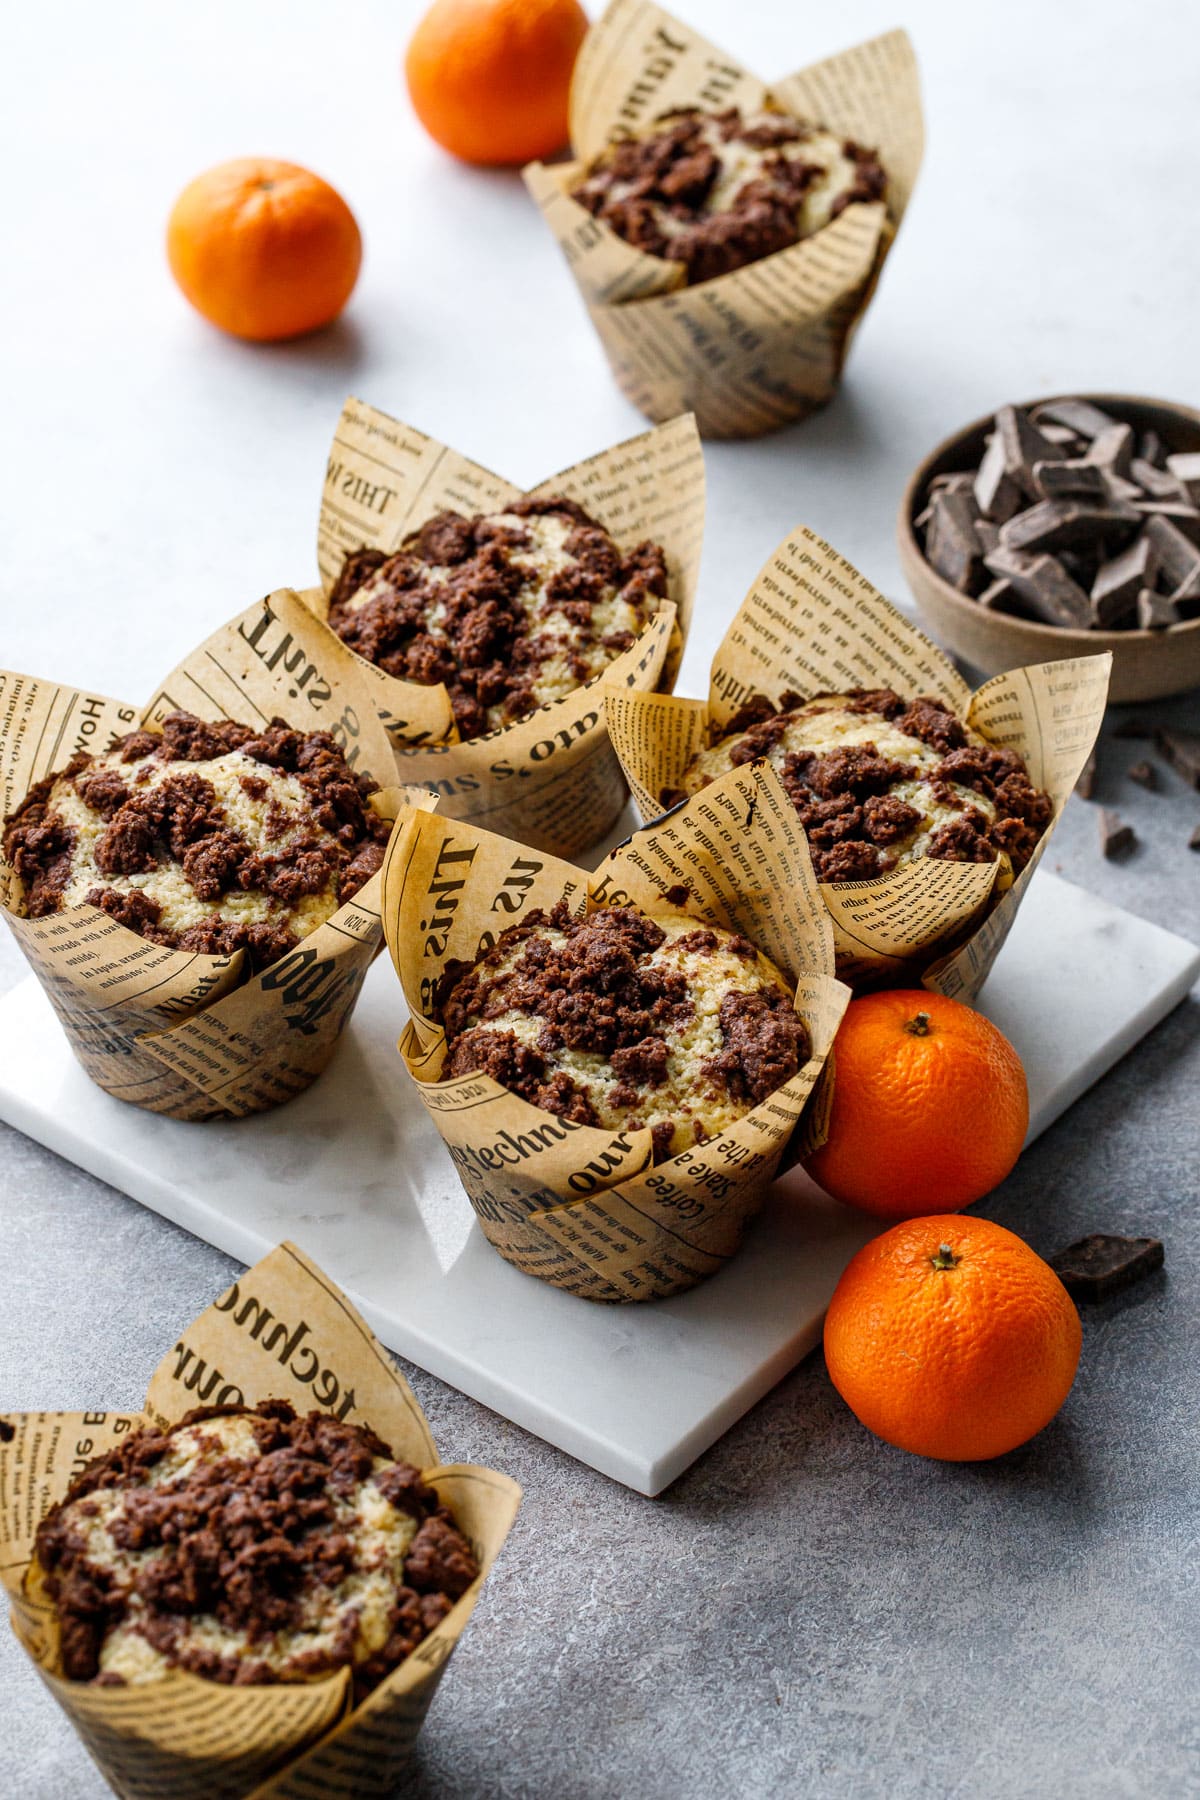
Chocolate and orange together in one mouthwatering muffin! Studded with dark chocolate chunks and piled high with a crunchy chocolate streusel topping, these muffins are, simply put, showstoppers.
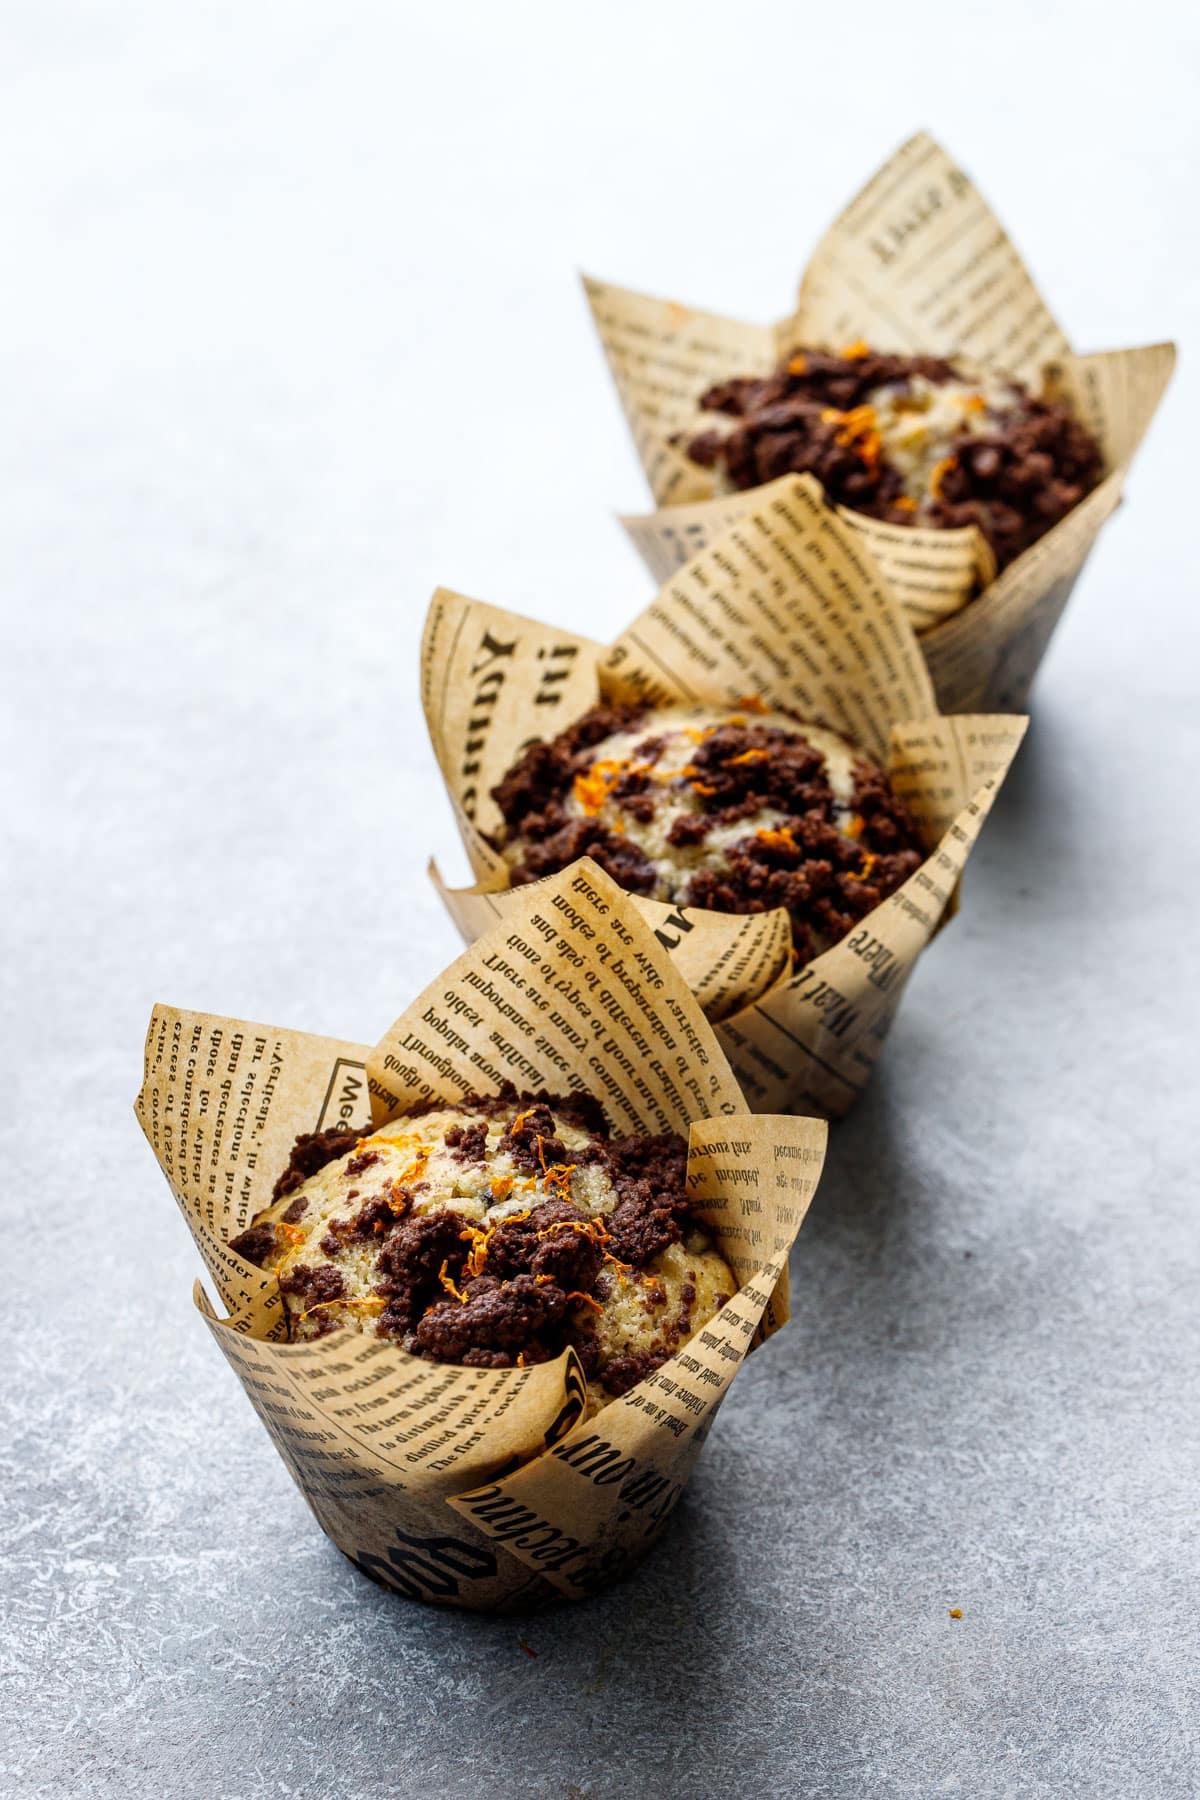
These orange-scented muffins are studded with dark chocolate chunks and topped with a sweet and salty cocoa streusel that bakes up delightfully crisp and crunchy, providing the perfect textural contrast to the lusciously soft and moist interior.
Ever wonder about the evolution of a recipe?
In this case, I actually set out to make craquelin-topped muffins, where I placed a disc of craquelin on top of the unbaked muffin batter, hoping it’d rise and crackle like a cream puff.
My first test came out surprisingly well (I was shocked, actually), but subsequent batches were not quite so aesthetically pleasing. Ultimately I nixed the idea (brilliant as it may be) just because the results were so inconsistent.
But I loved the taste and texture of the crispy craquelin on top of the softer muffin base—the rich chocolate flavor and punch of salt was the perfect contrast to the tender orange muffin. I didn’t want to lose that, so I decided to replace the craquelin with a chocolate streusel topping instead to achieve the same textural contrast but hopefully with more consistent results.
I quickly realized that a chocolate streusel is nearly identical to the components of chocolate craquelin—flour, brown sugar, cocoa powder, butter and salt—just with slightly more flour and crumbled instead of rolled into disks. So really, I didn’t have to sacrifice anything in the end!
I tested chocolate streusels with both melted and cold butter, and ultimately decided on the cold butter version as I found it to be crunchier and less prone to sinking than the melted version. It comes together somewhat like a pie dough, although you want to keep working it and rubbing the butter into the flour and sugar mixture until it comes together into a dry dough; you won’t have visible chunks of butter like with pie dough.
The crunchy muffin tops are arguably the best part of any muffin, doubly so for this version with its crunchy, salty chocolate streusel topping. That said, you can skip the streusel if you really want to; instead, sprinkle the tops with granulated sugar and add few chunks of chocolate to finish them off.
This article is from Delicious Everyday.
Orange olive oil cake is a type of cake that is made with olive oil and fresh orange juice and zest. It’s a simple yet elegant cake that is perfect for a variety of occasions, from dinner parties to afternoon t…
Orange olive oil cake is a type of cake that is made with olive oil and fresh orange juice and zest. It's a simple yet elegant cake that is perfect for a variety of occasions, from dinner parties to afternoon tea. If you have not tried this orange juice and olive oil cake add it...
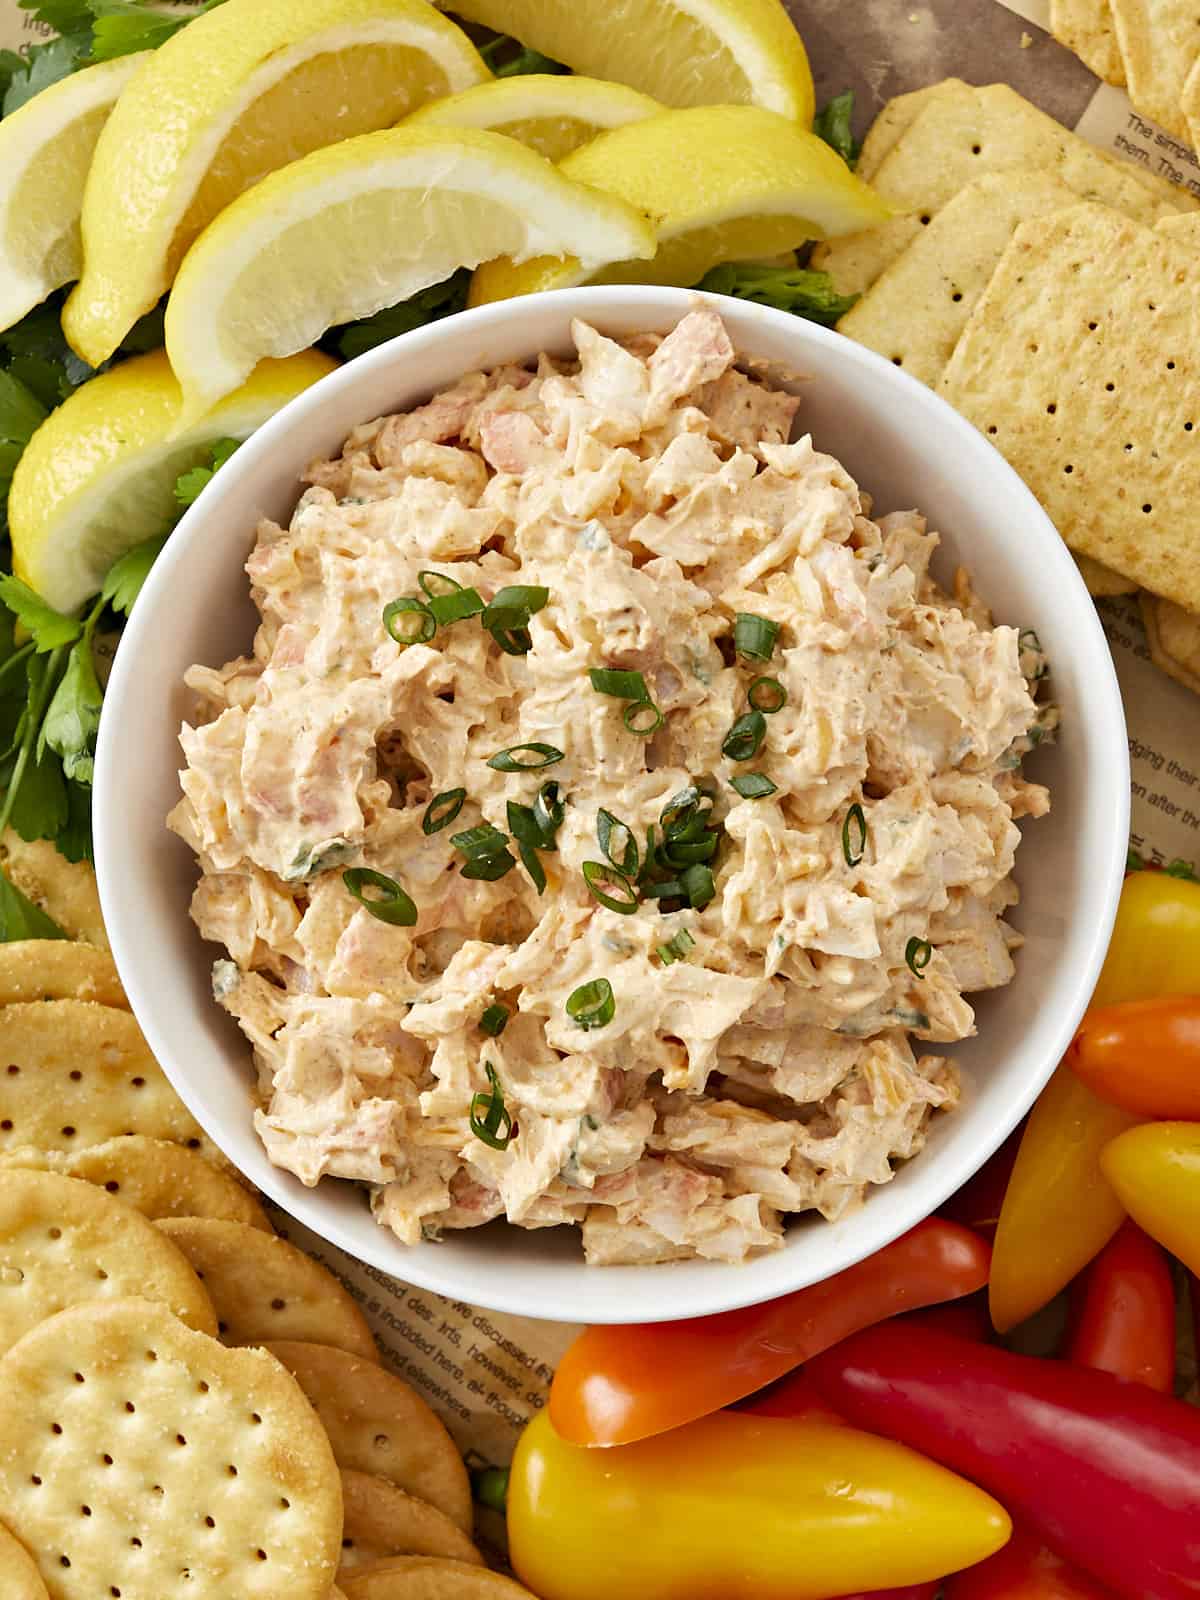
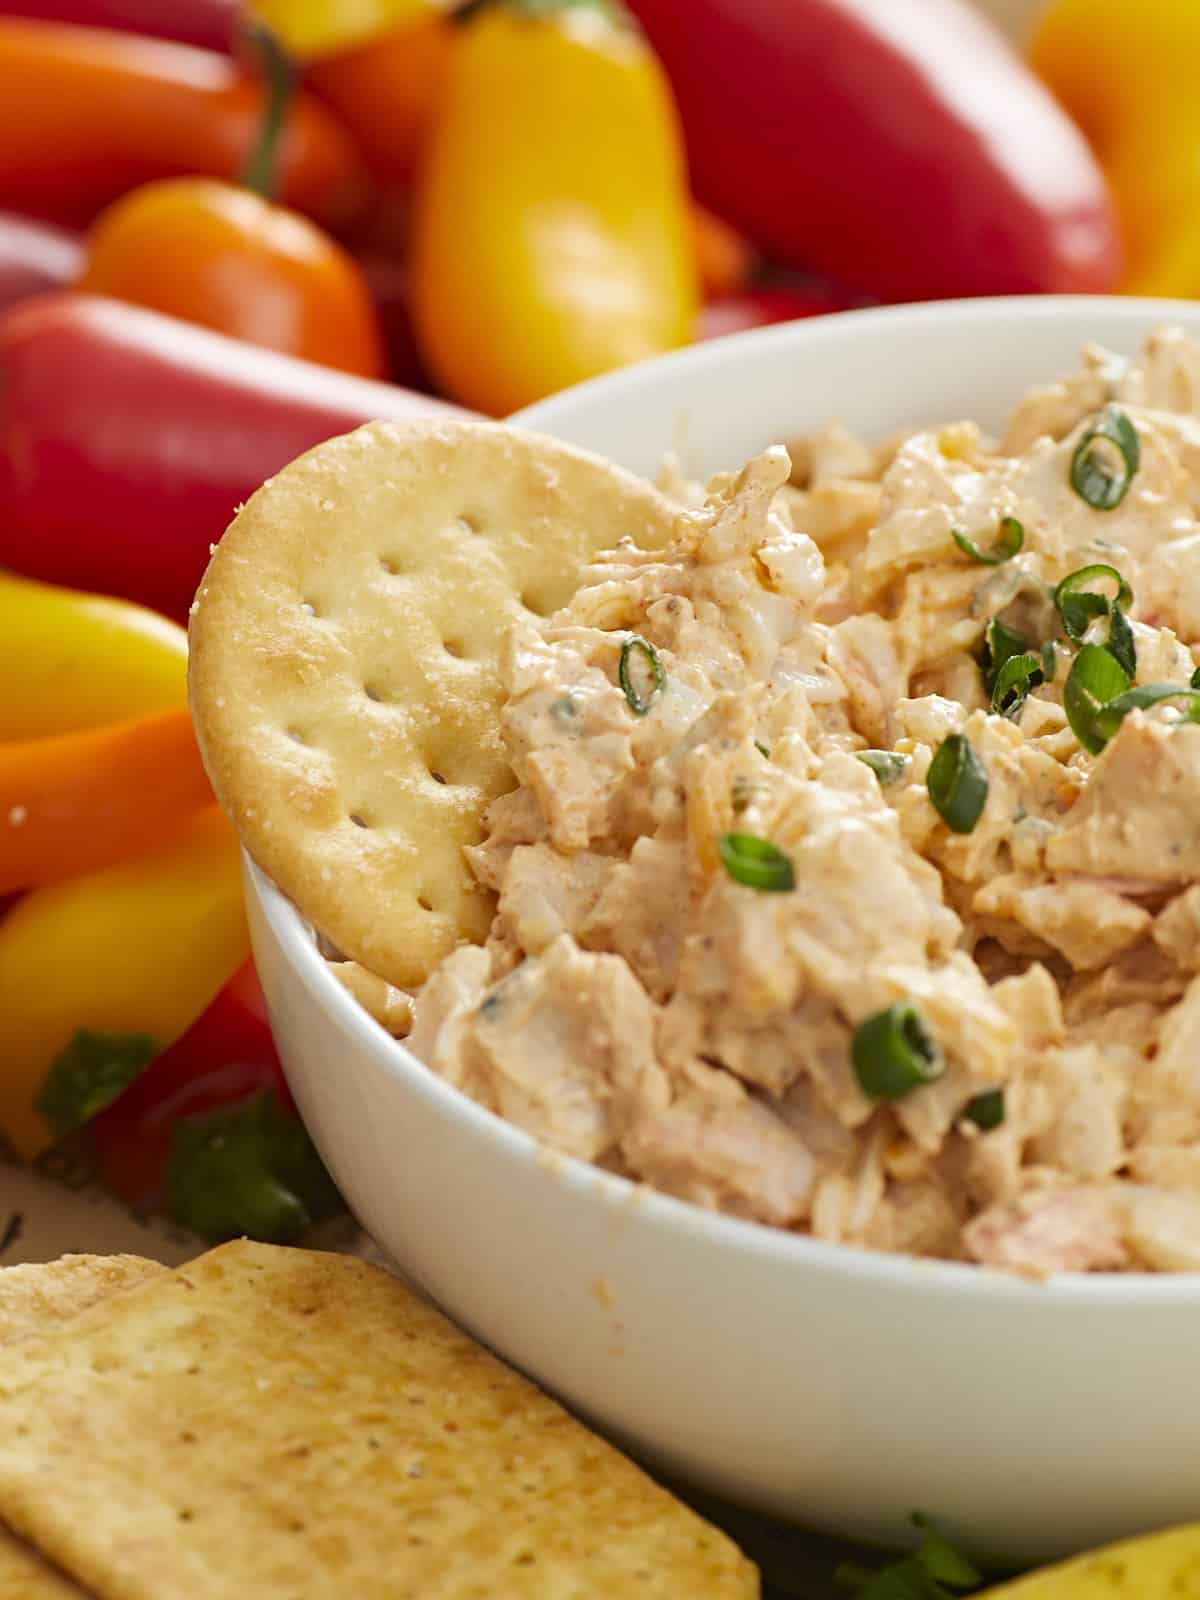
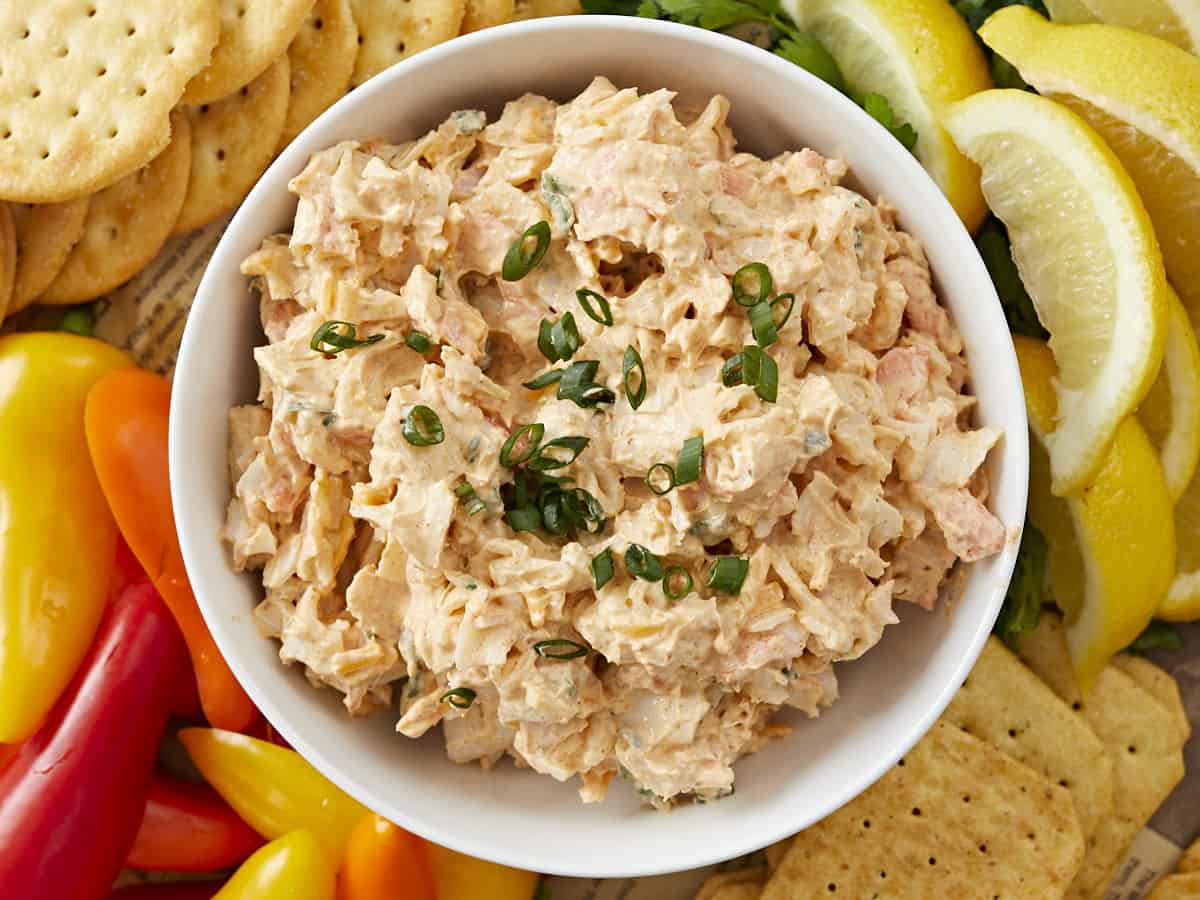
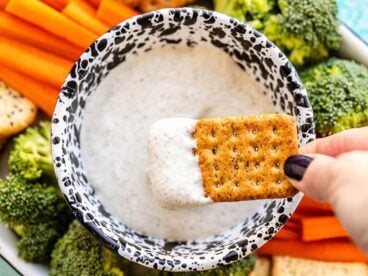
This creamy, spicy crab dip is so good you’ll be pushing a cracker into the corners of your serving dish to scoop up the last schmear. At least that’s what Beth and I did when we annihilated it in the Budget Bytes Kitchen (In the name of research, of course, 😂 ). It’s so easy that it comes together in three steps. And you can serve it hot or cold! Get ready for your new favorite thing to bring to the party.
What You’ll Need
This crab dip comes together in ten minutes. You should chill it before serving to thicken the cream cheese base, but you don’t have to if you’re low on time. Just serve it in a container set over ice. You can also bake it for a few minutes if you prefer to serve it hot.
Crab Meat – the real stuff is expensive, so we used imitation crab meat, and the results were divine. Choose your own adventure, but my money’s on the fish forgery. If you use real crab, drain it well, or your dip will end up runny.
Cream Cheese – acts like a binder and helps keep everything together. It also thickens the consistency of your dip.
Sour cream – adds an undeniable tang and smooth mouth feel.
Cheddar Cheese – the shreds will add texture and a sharp, earthy flavor.
Old Bay Seasoning – this blend of celery salt, red and black pepper, mustard powder, cayenne, and paprika adds a citrusy heat that doesn’t overpower the sweetness of the crab meat. You can substitute it with Cajun seasoning or Crab Boil seasoning.
Garlic Powder – raw garlic has a robust flavor that takes over a crab dip. Instead, use garlic powder which has mellow, roasted notes.
Hot Sauce – adds a smoky heat. Use as much (or as little) as your heart desires. You can substitute hot sauce with red pepper flakes or cayenne.
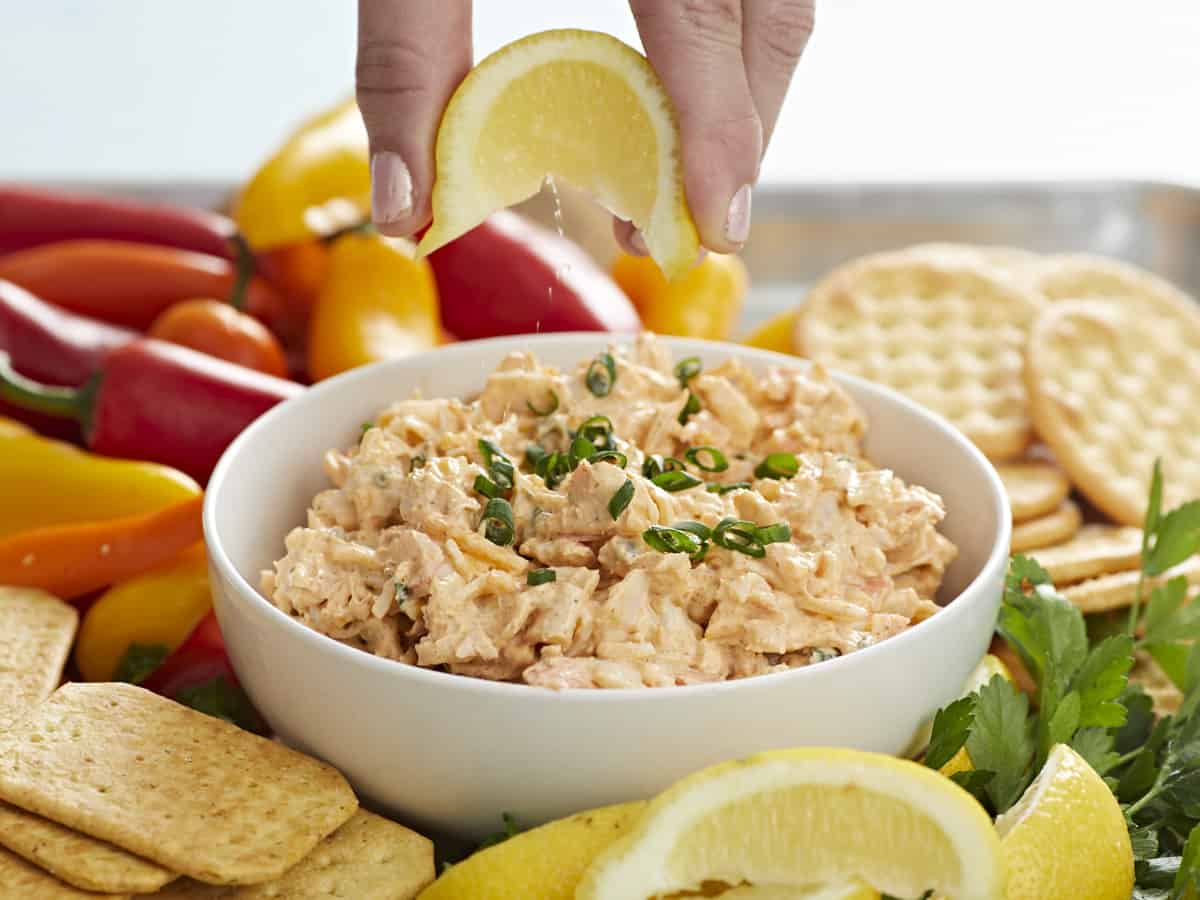
Lemon Juice – you need this hit of acid to break through the fattiness of the cream cheese and sour cream. If you don’t have lemon, use any white vinegar.
Scallions -add a soft onion flavor, texture, and freshness. You can also garnish with chopped Italian parsley or finely chopped raw onion. Soak raw onion in cold water for a minute to decrease its sharpness.
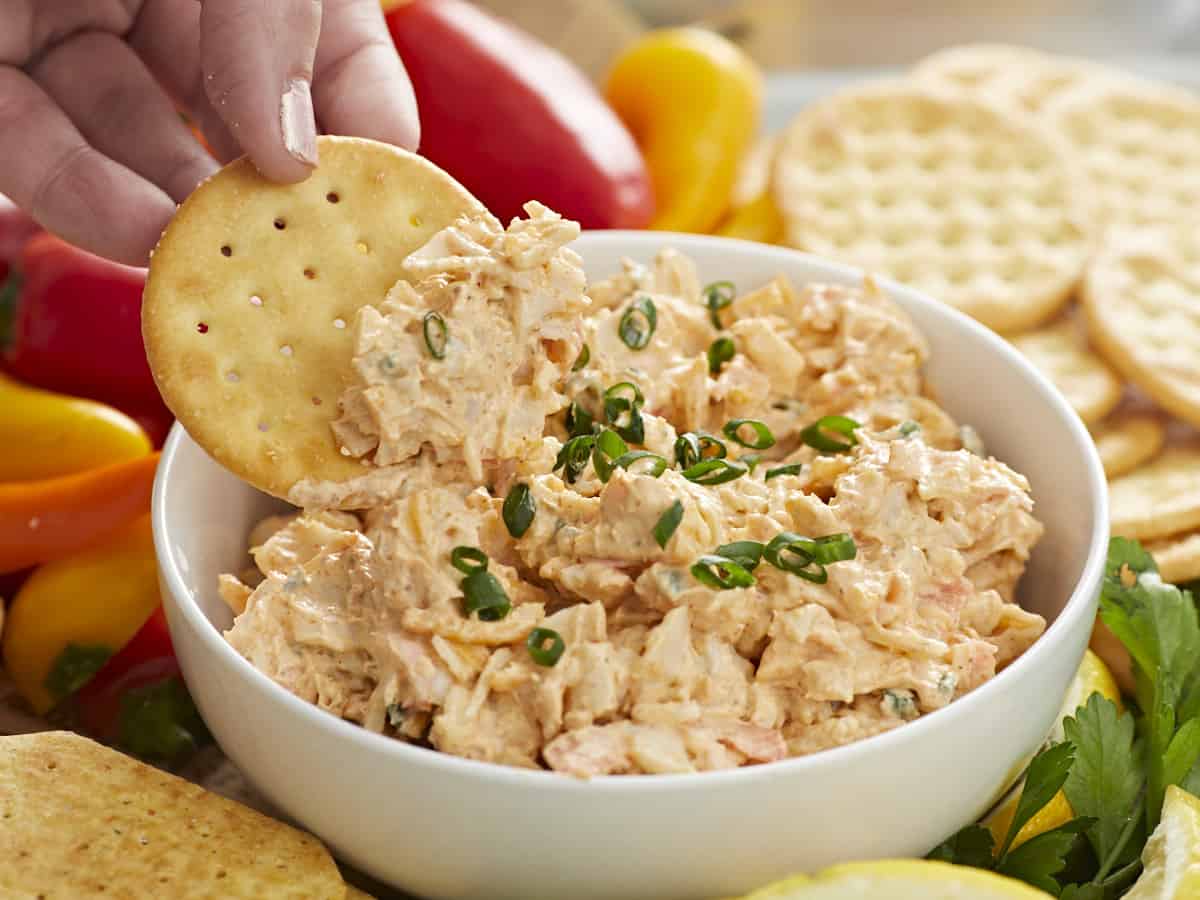
Crackers, Toasted Bread, Chips, Raw Veggies – lean into plain or lightly flavored crackers, so they don’t overpower the crab. Toasted bread and chips should be sturdy so they don’t break when dipped. Sweet peppers, celery sticks, and carrots sticks are all easy and economical choices.
Do I Serve Crab Dip Hot or Cold?
You can do both! If you want to prepare a hot version, sprinkle an additional 1/4 cup of shredded cheddar over the top and then warm in a 350°F oven until the cheese has melted and the crab dip is bubbly—about fifteen minutes. To serve cold, chill it in the fridge for at least a half hour. If you’re low on time, place the crab dip container over a bed of ice and serve right away.
What Goes With Crab Dip?
Crackers, toasted bread, chips, and raw vegetables are the traditional items served with crab dip. But you can also use it as a spread on toast or chicken. Drizzle it on fried eggs or french fries. Try to stick with milder flavors that won’t overpower the sweetness of the crab.
How To Store Leftovers
Place leftovers in an air-tight container with plastic film or wax paper directly over the surface of the dip. Refrigerate for up to five days and freeze for up to 3 months. Thaw frozen crab dip in the refrigerator overnight. Reheat thawed crab dip that you’d like to serve hot in a 350°F oven.
This creamy, spicy crab dip is so good you'll be pushing a cracker into the corners of your serving dish to scoop up the last schmear! It comes together in three easy steps and you can serve it hot or cold.
*Use 1/4 cup more shredded cheddar to melt on top of the dip if you are serving it hot*If you are serving the crab dip hot, top it with an additional 1/4 cup of shredded cheddar cheese and warm it in a 350°F oven until the cheese has melted and the crab dip is bubbly, about fifteen minutes.
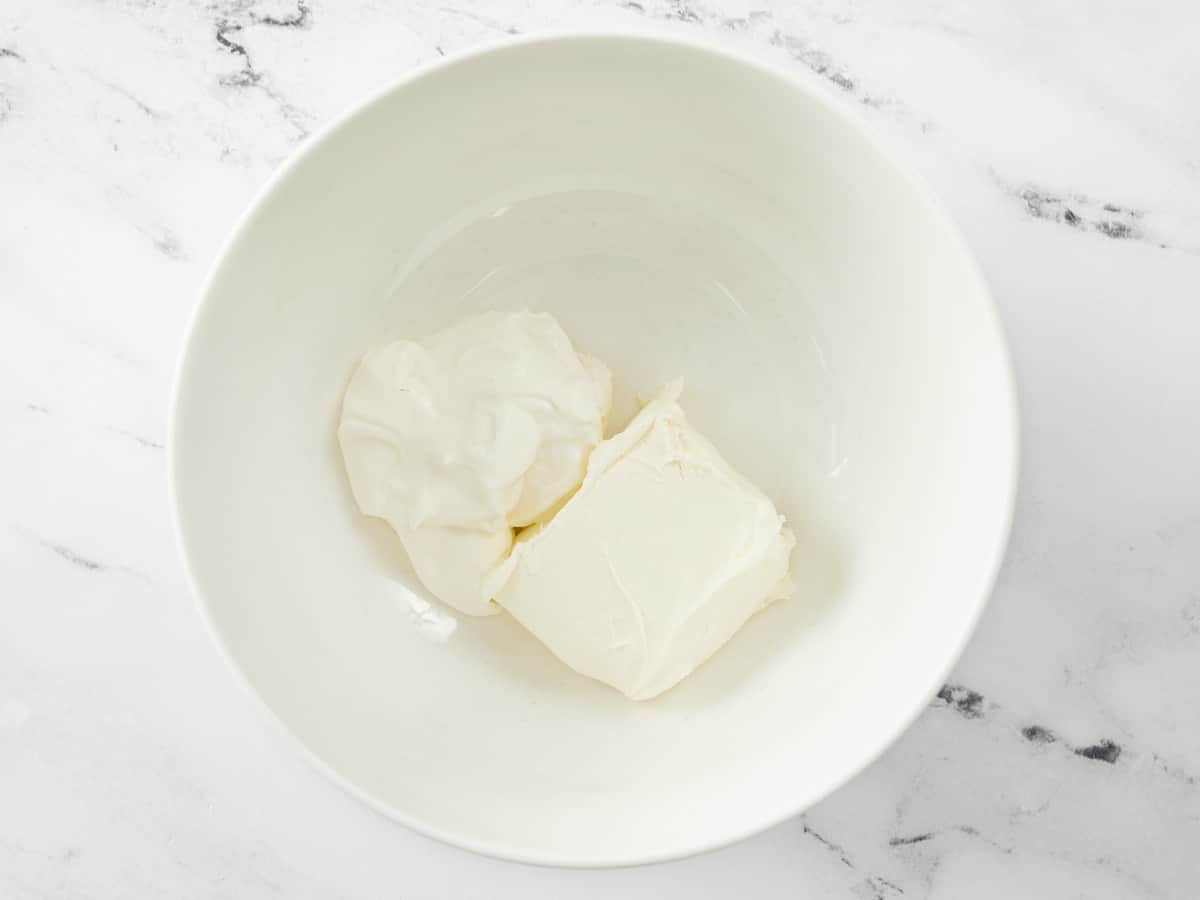
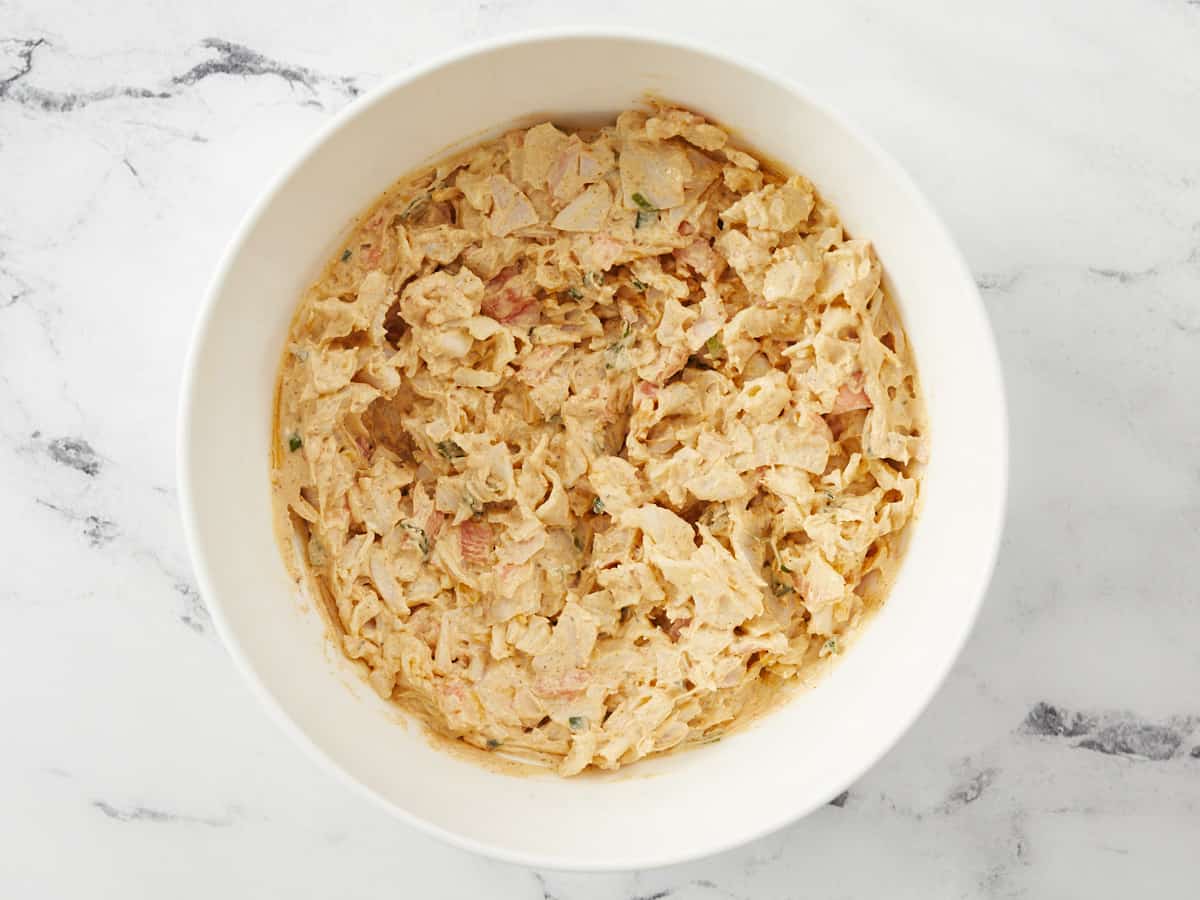
In a medium bowl, mix the 4 ounces of cream cheese and 1/4 cup of sour cream until smooth.
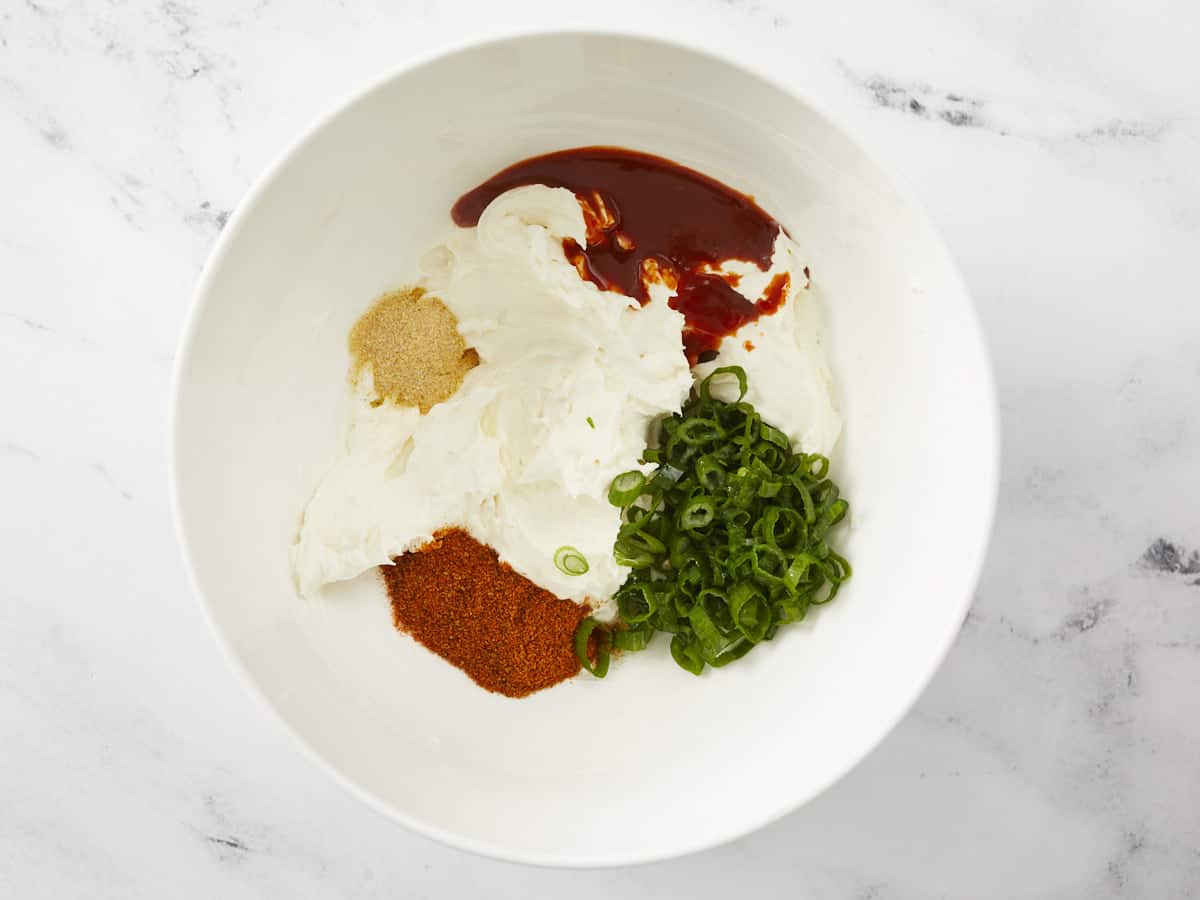
Mix in 1 1/2 teaspoons of Old Bay Seasoning, 1 1/2 teaspoons of fresh lemon juice, 2 teaspoons of hot sauce, 1/2 teaspoon of garlic powder, and 2 green onions sliced in 1/8th inch rounds (about 2 tablespoons).
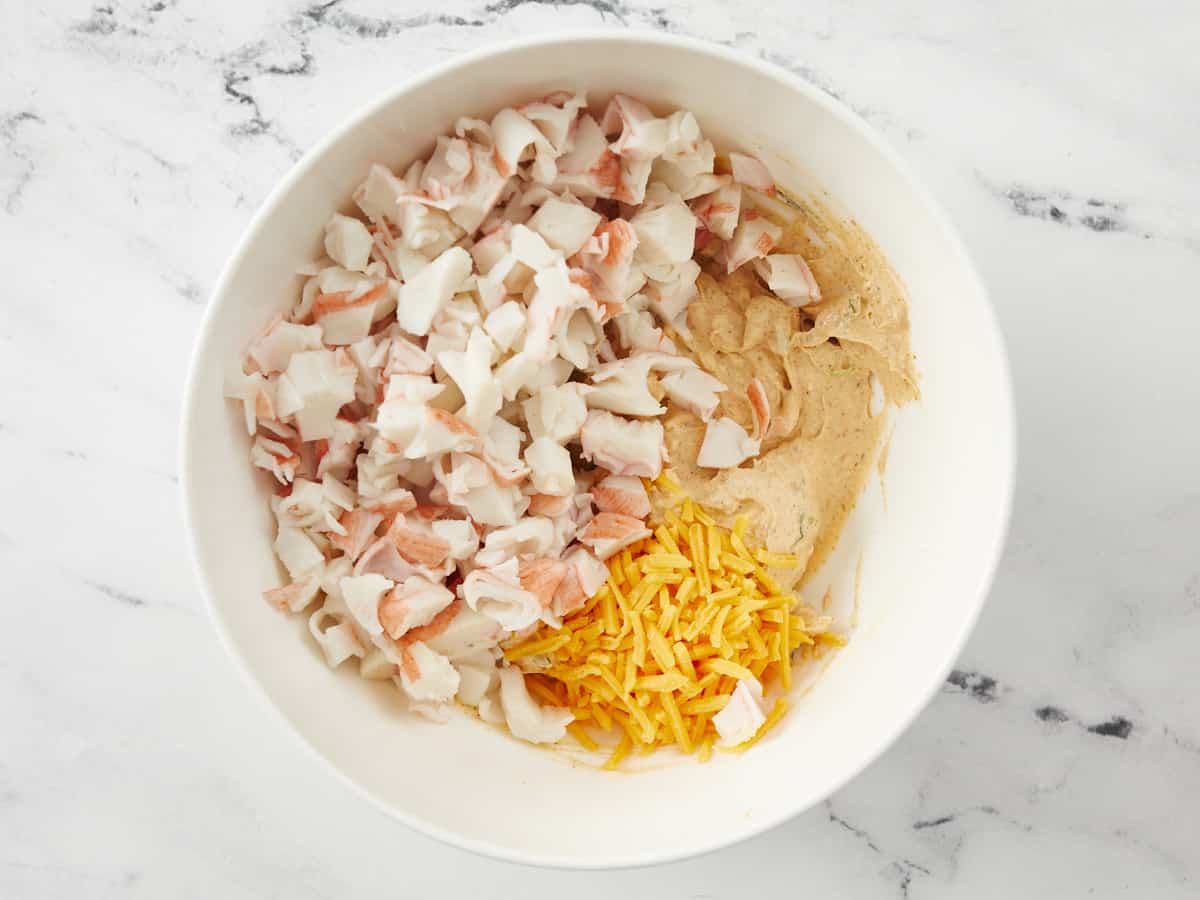
Mix in 8 ounces of imitation crab and 1/4 cup of shredded cheddar cheese.
Refrigerate for at least 30 minutes and serve with crackers, bread, chips, or raw veggies. If you’re running low on time, place the serving dish over a bed of ice and serve right away. Get ready for this incredible crab dip to steal the show!
These mini Oreo cheesecakes are made with a delicious mix of cookies and cream, featuring a whole Oreo as the “crust.” I’ve been making these mini Oreo cheesecakes for over a decade now whenever I need a quick and easy treat for a gathering. And I’m telling you — especially when it comes to cheesecake […]
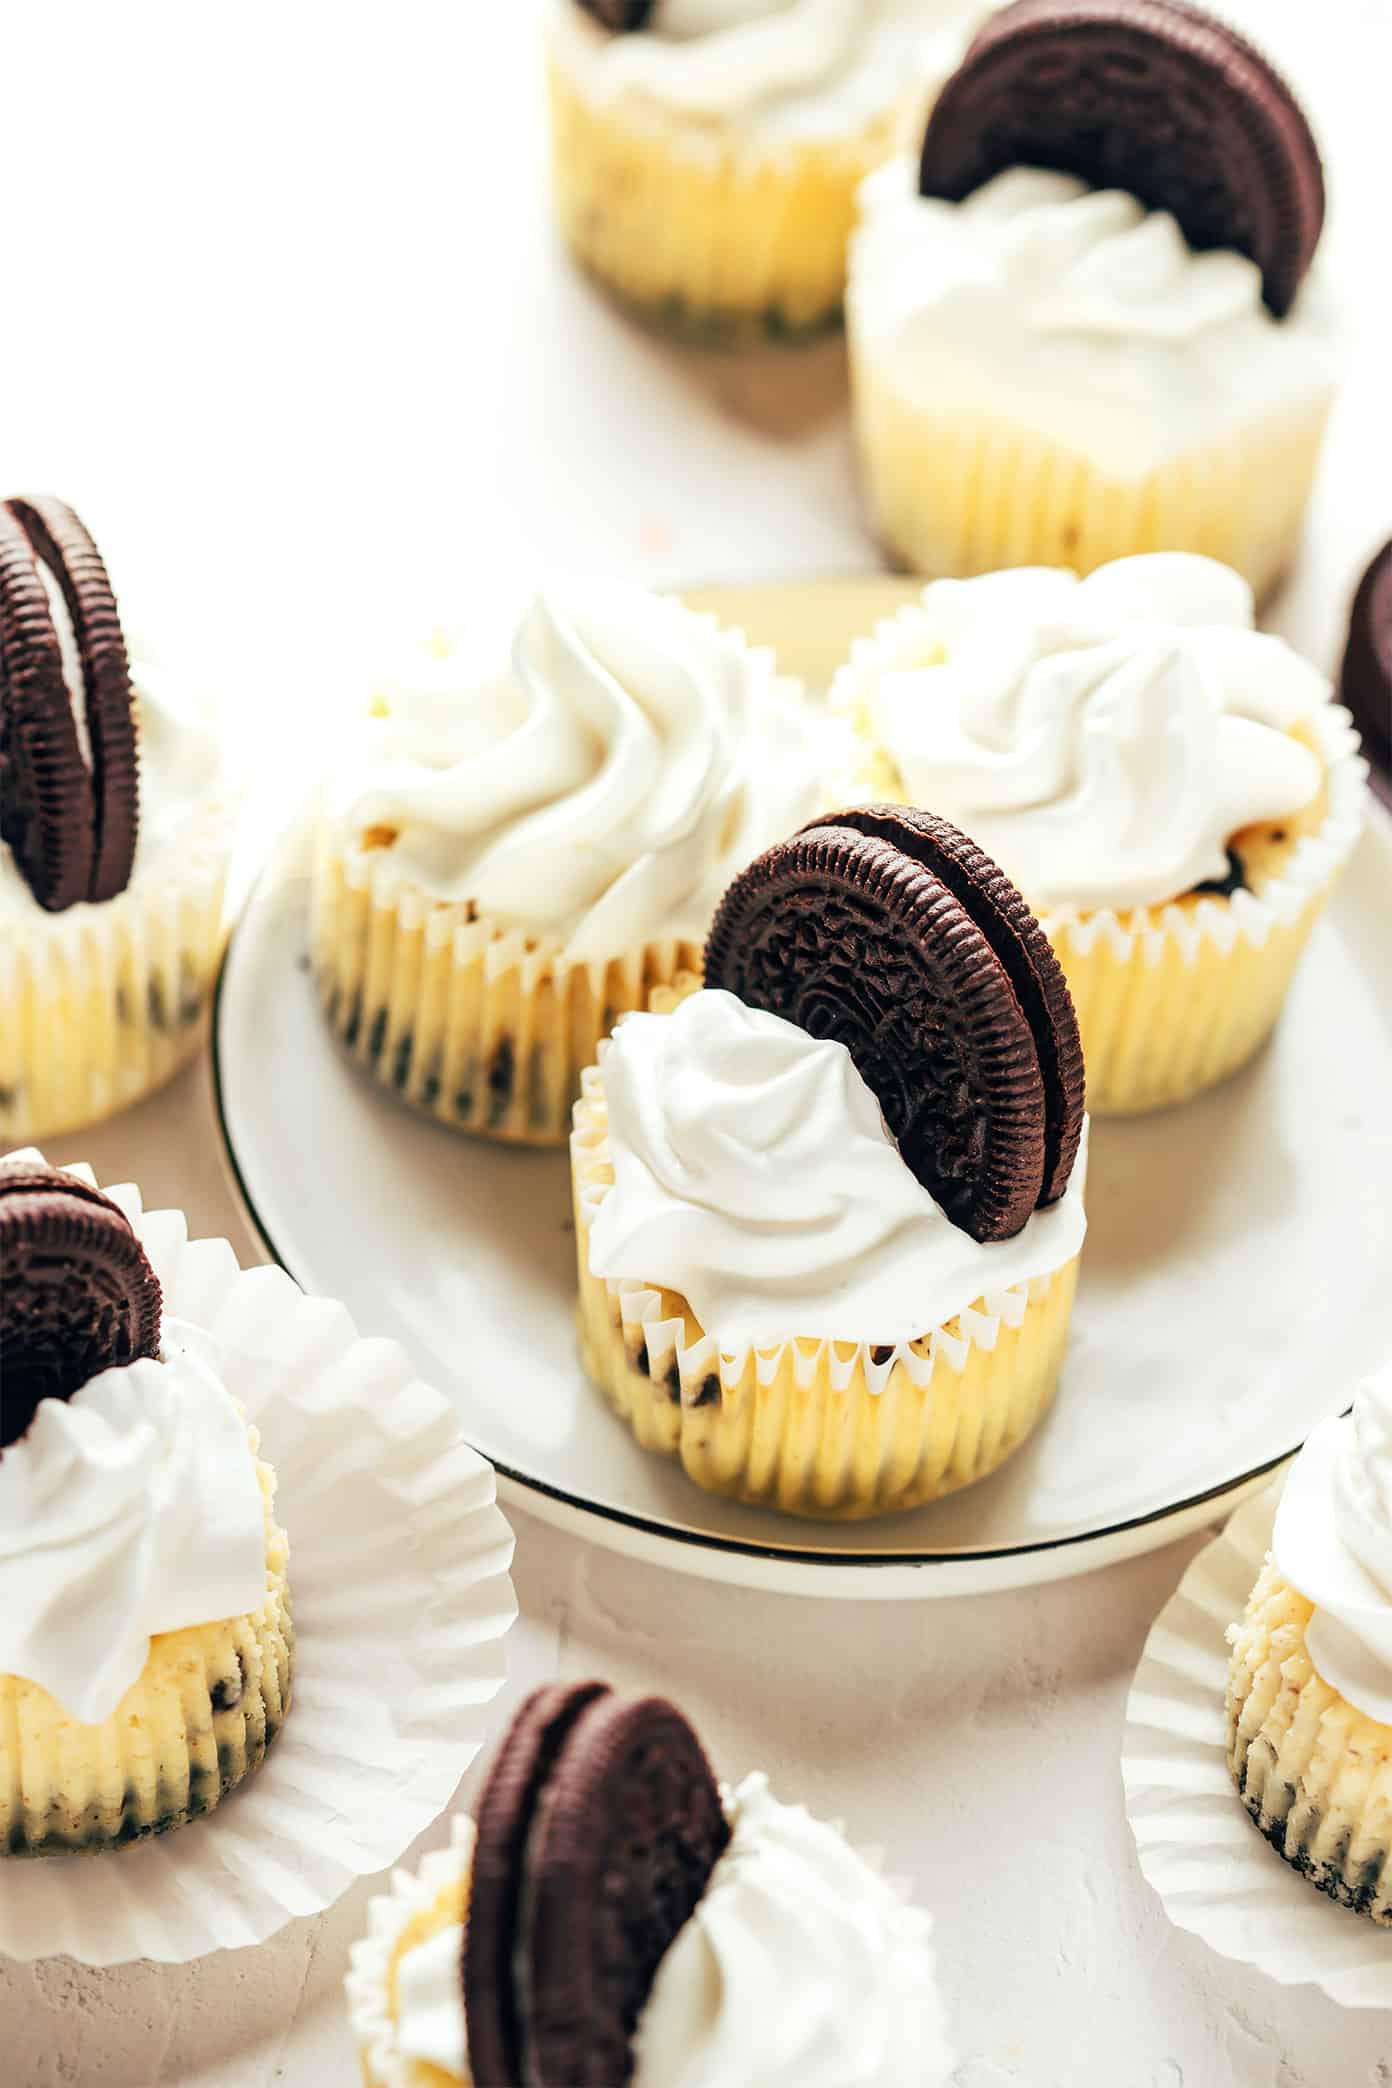
These mini Oreo cheesecakes are made with a delicious mix of cookies and cream, featuring a whole Oreo as the “crust.”
I’ve been making these mini Oreo cheesecakes for over a decade now whenever I need a quick and easy treat for a gathering. And I’m telling you — especially when it comes to cheesecake recipes — it doesn’t get much easier, cuter and tastier than this!
My favorite thing about this mini cheesecake recipe is that there’s no need to spend extra time crumbling, mixing, and pressing down a fancy crust. Simply pop an Oreo in the bottom of each baking cup and you’re good to go! The vanilla cheesecake batter here is also quick and easy to mix with 5 basic ingredients. Then simply bake for about 15 minutes, chill, top with whipped cream and an extra Oreo for garnish, and enjoy, enjoy.
These mini Oreo cheesecakes are the perfect make-ahead dessert for dinner parties, game days, or anytime you’re craving a sweet treat. And while I love making this recipe with classic Oreos, feel free to experiment with whatever Oreo flavors you love best.
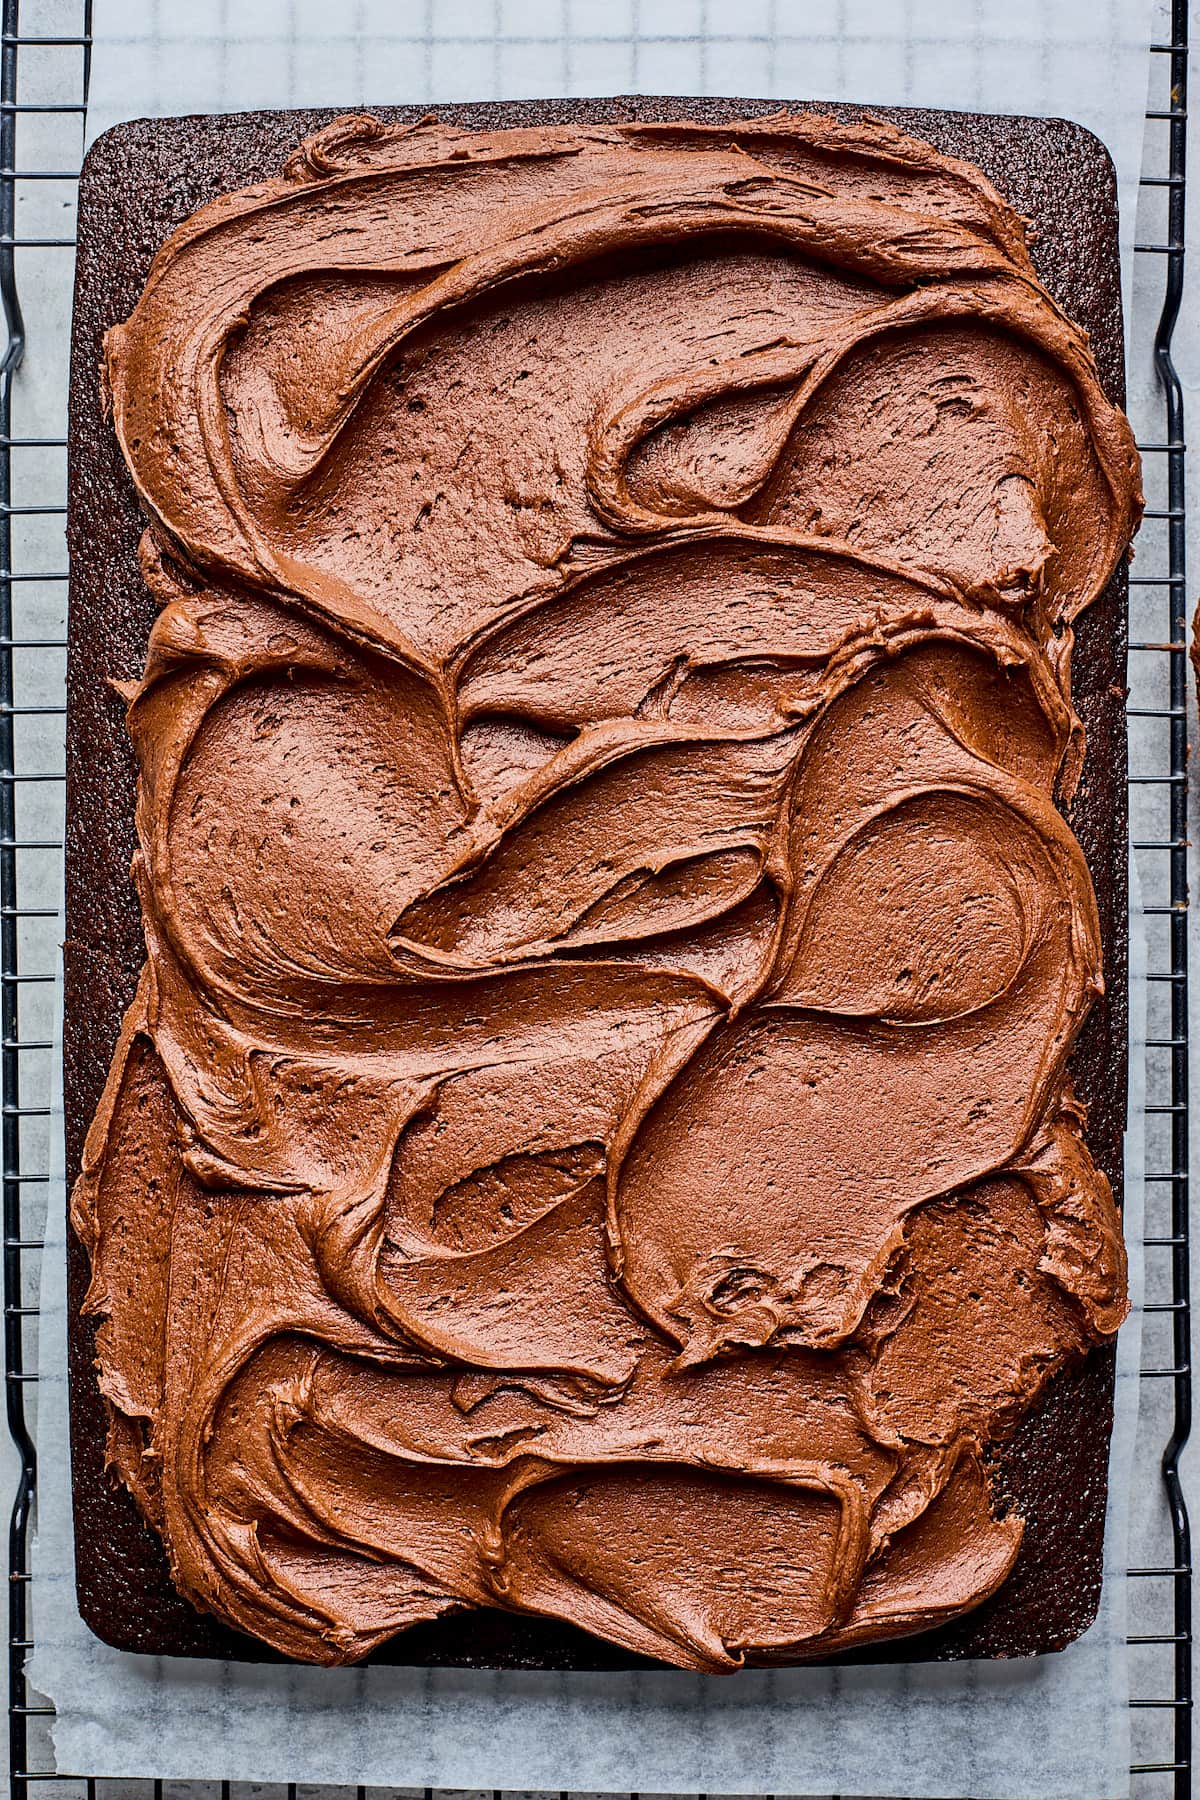
Chocolate cake is the ULTIMATE dessert for any occasion and this is the BEST Easy Chocolate Cake Recipe. The cake only takes 25-30 minutes to bake, depending on your oven and the chocolate sour cream frosting is easy to whip up! It is made in a basic 9…
Chocolate cake is the ULTIMATE dessert for any occasion and this is the BEST Easy Chocolate Cake Recipe. The cake only takes 25-30 minutes to bake, depending on your oven and the chocolate sour cream frosting is easy to whip up! It is made in a basic 9×13-inch pan and that means no chilling cake…
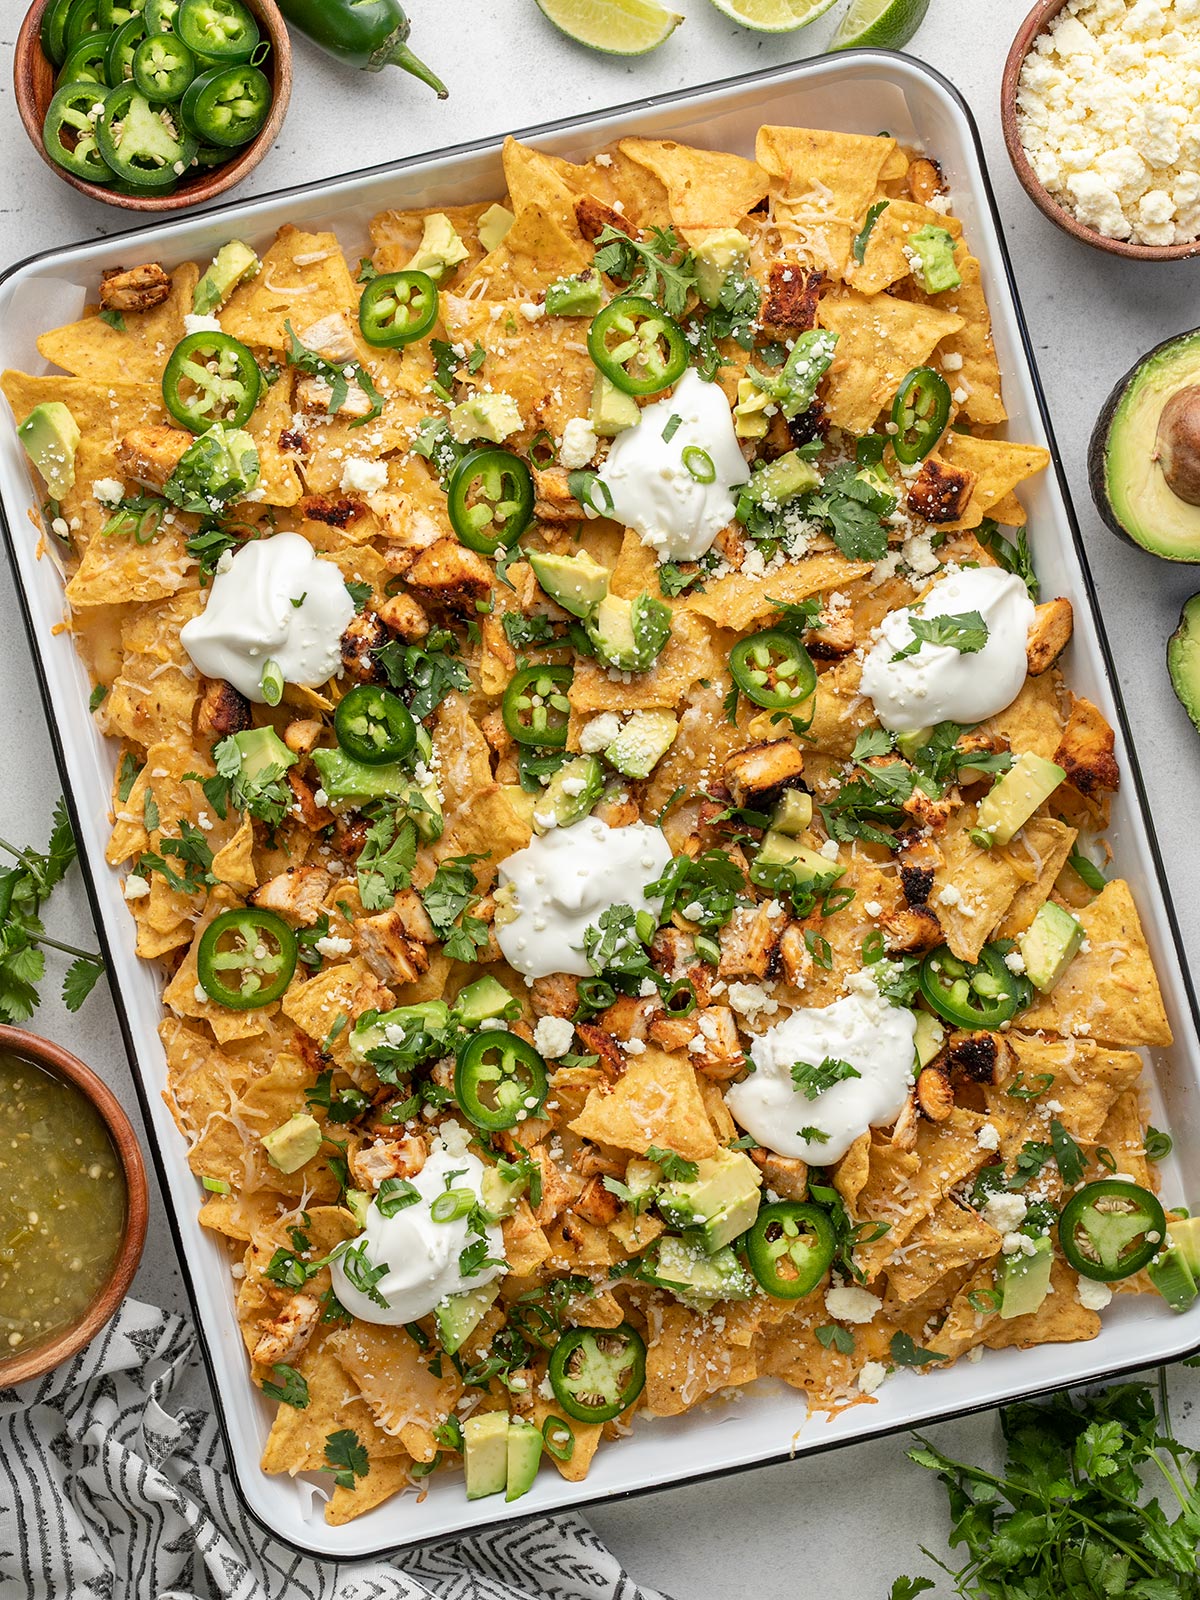
Sometimes you just need the crunchy, salty, cheesy goodness of chicken nachos. Am I right??? What’s not to love about crispy corn chips loaded with succulent chicken breast and dripping with tangy melted cheese and sour cream? They’re even better with earthy cilantro, creamy avocado, and the gentle heat from fresh jalapeno. Sigh. This is THE BEST chicken nacho recipe! It’s a perfect marriage of texture and umami bombs.
What Should I Put On My Nachos?
I’m going ’88 Bobby Brown here and saying that when it comes to ingredients for nachos, it’s your prerogative. (If you’re not familiar with My Prerogative, please enjoy three minutes of 80’s perfection.) This recipe uses chicken, fresh jalapeño, cilantro, green onions, and avocado. Some other excellent choices are:
Veggies: Diced Bell Pepper, Diced Tomatoes, Black Beans, Corn Kernels
Not all cheeses melt well. So if you’re looking for an ooey-gooey cheese pull, opt for any combination of cheeses listed below. And if you can, shred your own. The additives in pre-shredded cheeses can prevent them from softening when heated.
Cheddar
Monterey Jack
Pepper Jack
Mozzarella
Queso Asadero
Queso de Oaxaca
Queso Quesadilla
Queso Chihuahua
All that being said, I still love a sprinkle of Queso Fresco all over my nachos. It doesn’t melt, but it is sooo YUMMY.
What Sauces Go On Nachos?
You can use a simple salsa with nachos or go for something a little more complex. Drizzle it on top of your nachos or serve it on the side in a wide-mouth bowl for easy dunking. I chose a tangy Salsa Verde for this recipe, but a spicy Salsa Roja is just as good. You can also use any of these easy Budget Bytes recipes:
Choose a sturdy corn chip. Thicker chips can hold the weight of all of your toppings. A thin chip will break faster than a drama queen on The Bachelor.
Line Your Sheet Pan. Use parchment or aluminum to make clean-up a breeze. Otherwise, you’ll be spending your night scrubbing burnt cheese.
Layer your nachos. Put toppings on the first layer and then repeat. That way, you lessen the chance of getting a naked chip, i.e., the biggest nacho foul ever.
Pre-cook your meat. Nachos should only be in the oven long enough to melt the cheese, which isn’t long enough to cook raw meat. Cook chicken ahead of time or opt for pre-cooked rotisserie chicken.
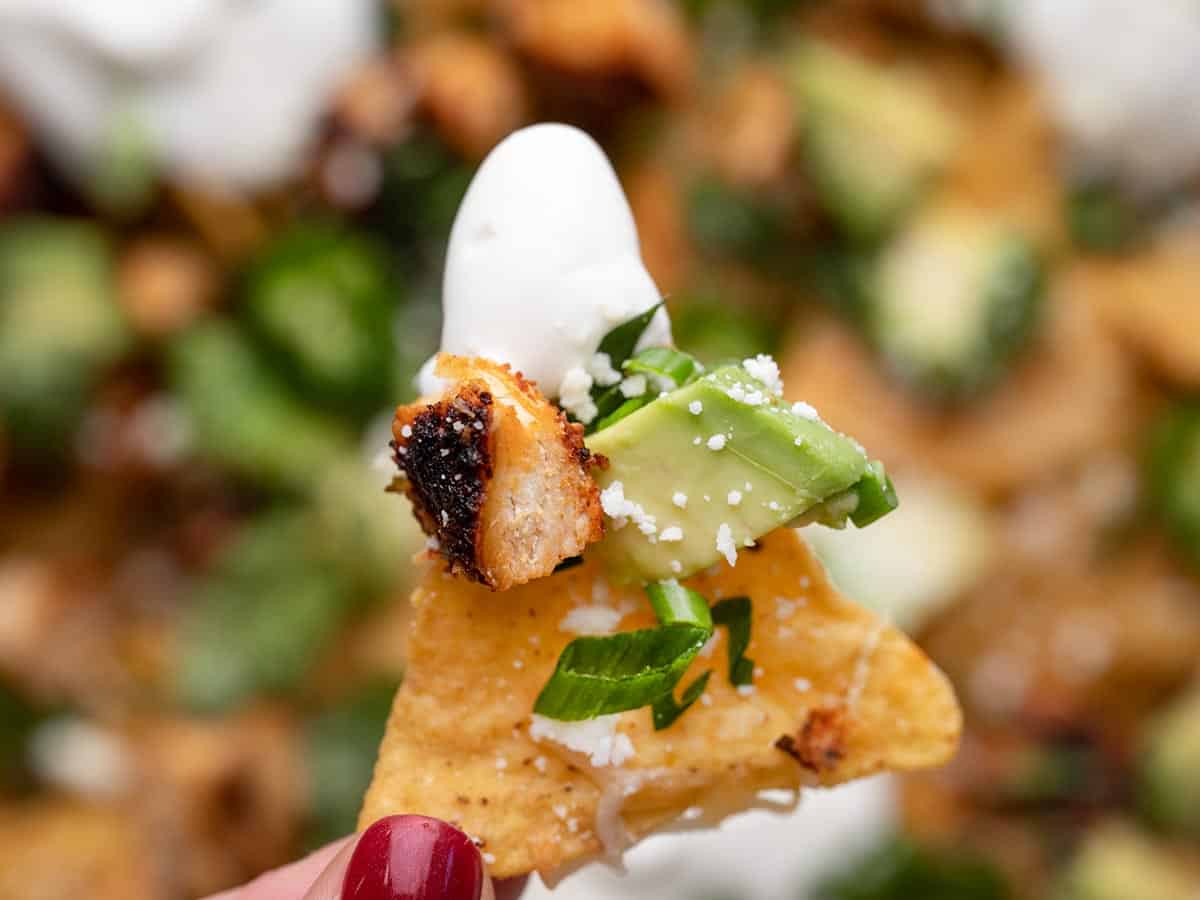
Chop toppings into small dice. You want to get a bite with all of your carefully selected flavors. That will only happen with small chunks of meat and veggies.
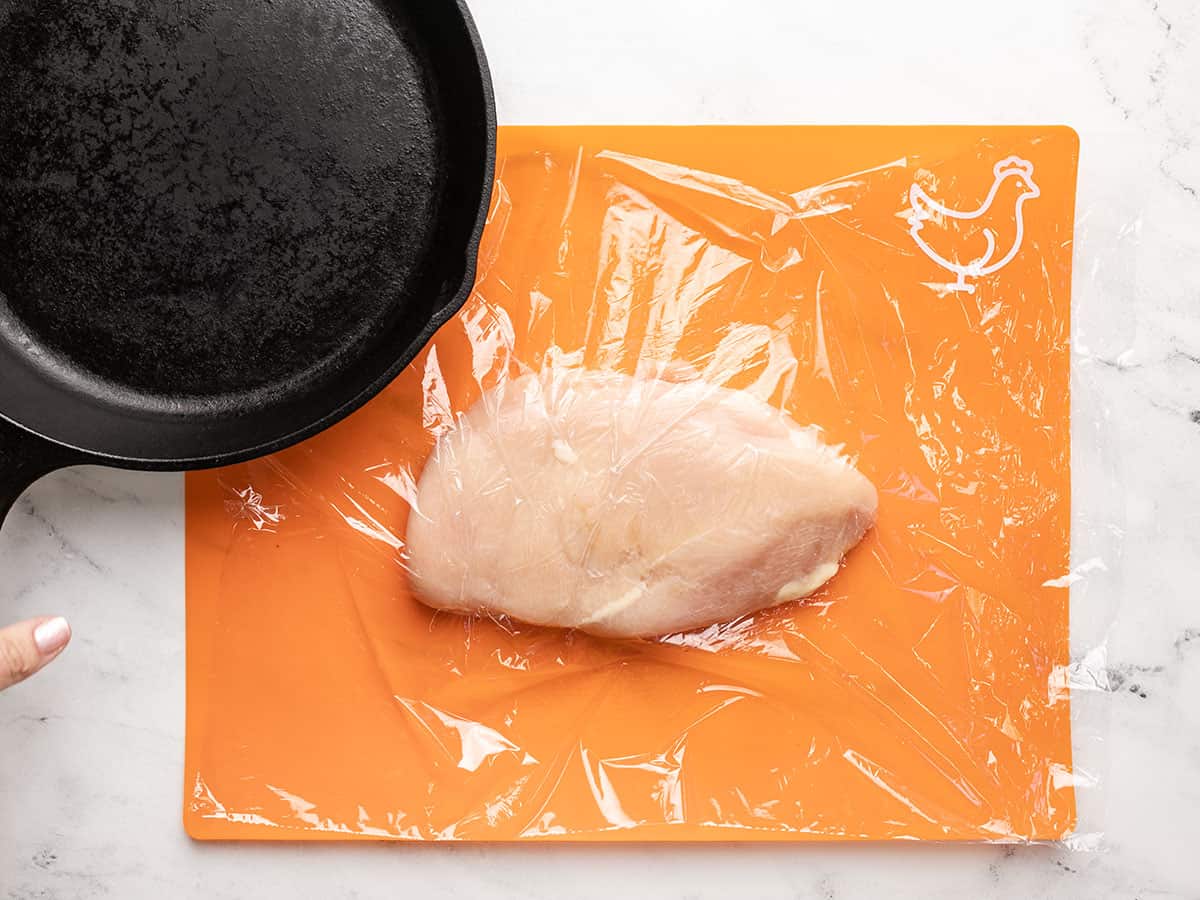
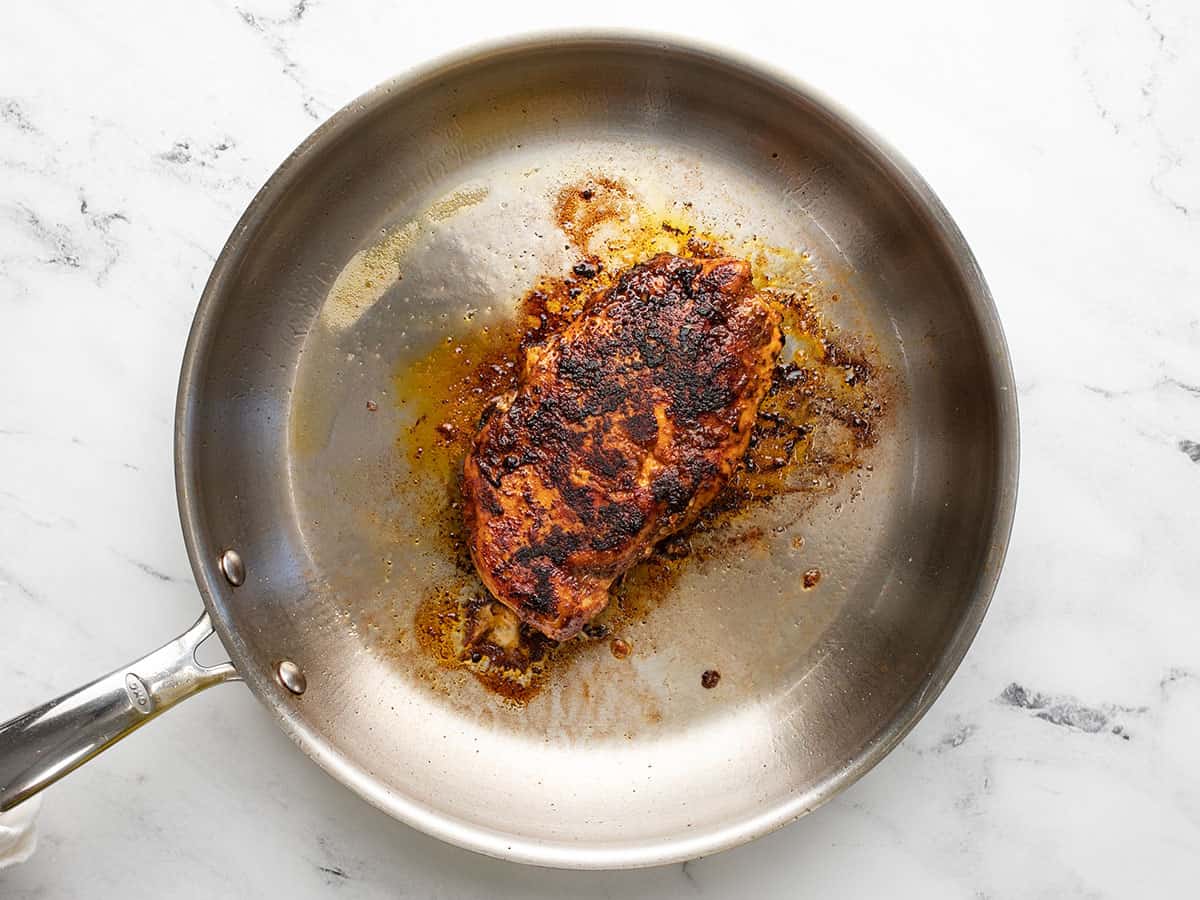
Add a rack to the center of your oven and preheat it to 400°F. Pound the chicken breast an inch thick with a heavy skillet. Sprinkle liberally on both sides with taco seasoning.
Add cooking oil to a heavy-bottomed skillet set over medium-high heat. Sear the chicken breast for 5 minutes, then flip it and cook for a few minutes more, or until a thermometer reads 165°F.
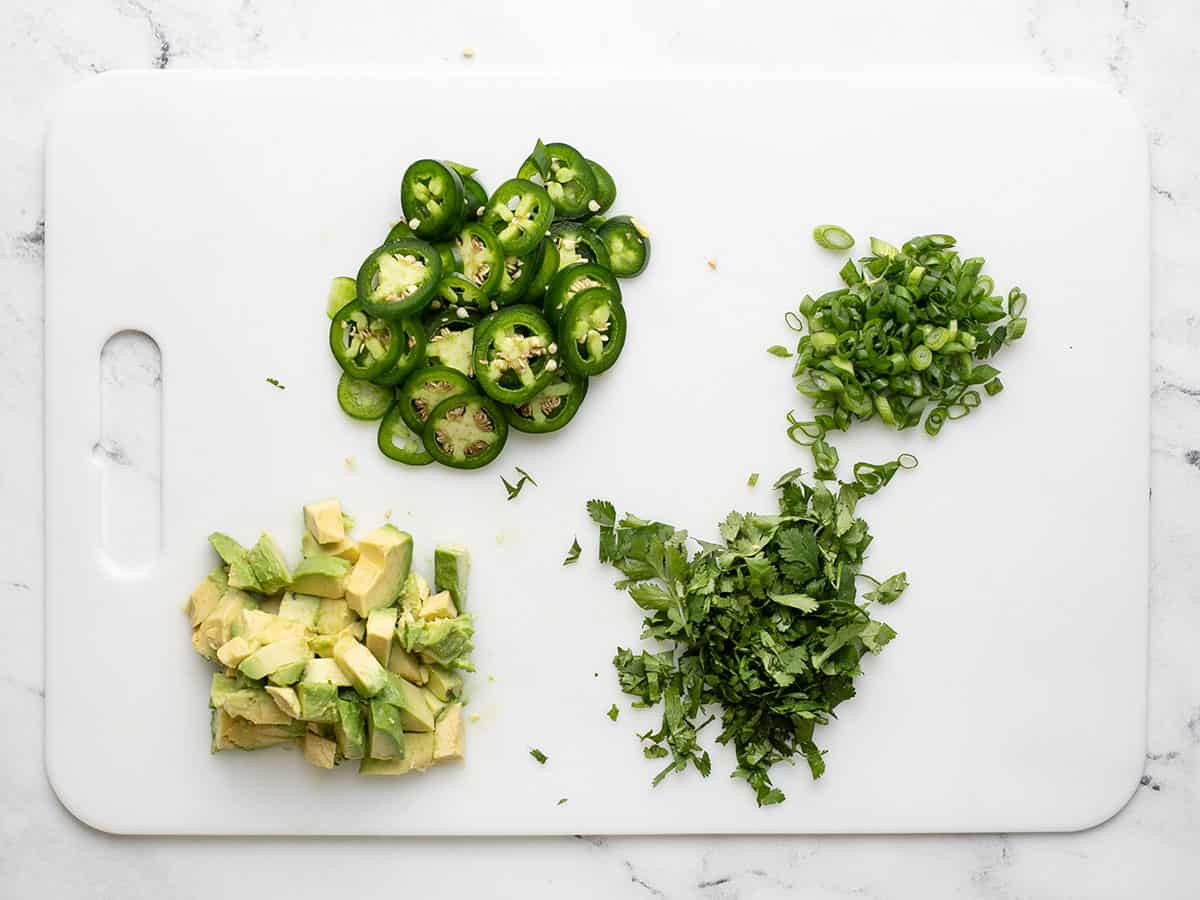
Slice the jalapeño and two green onions. Chop the cilantro. Dice the avocado and drizzle lime juice over it to keep it from browning.
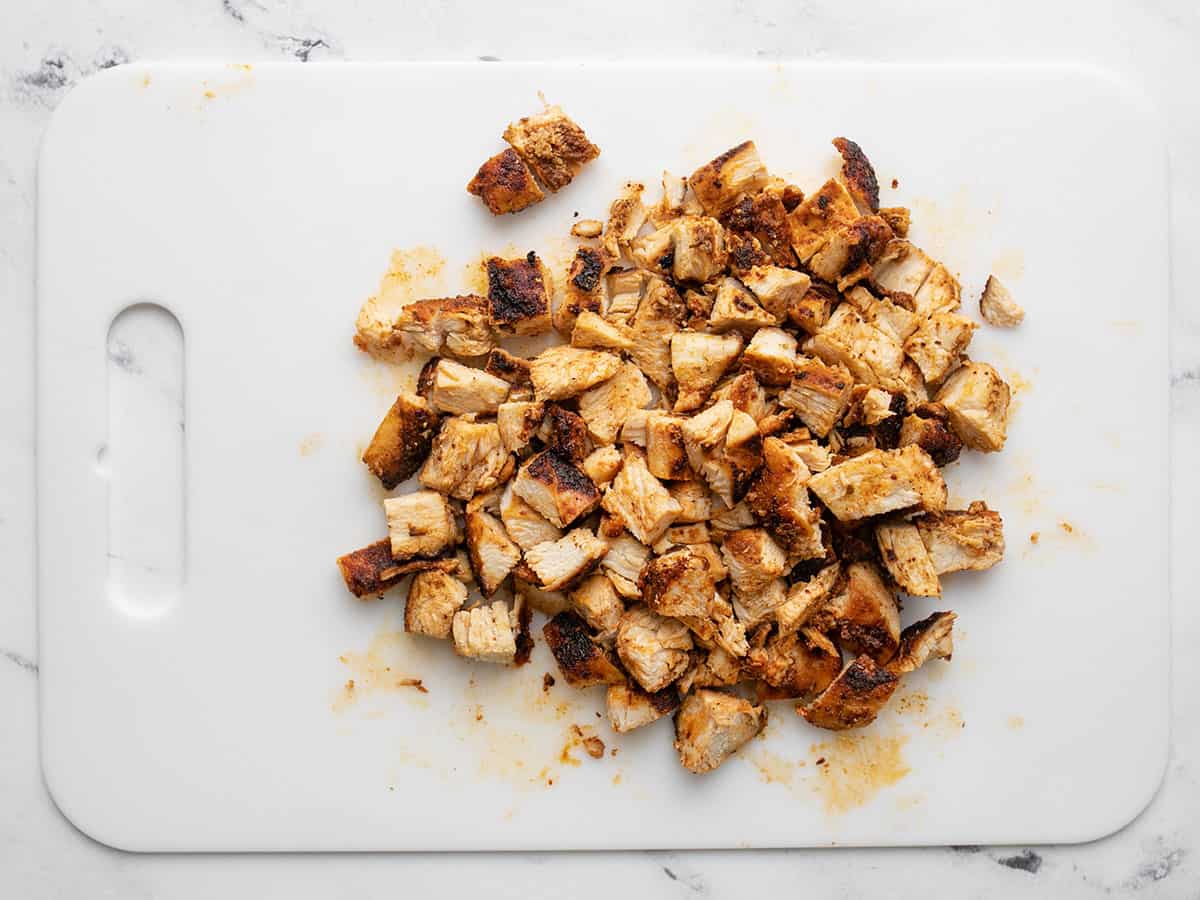
When your chicken has reached an internal temperature of 165°F, remove it from the pan and let it rest for five minutes. Chop it into 1/2-inch pieces.
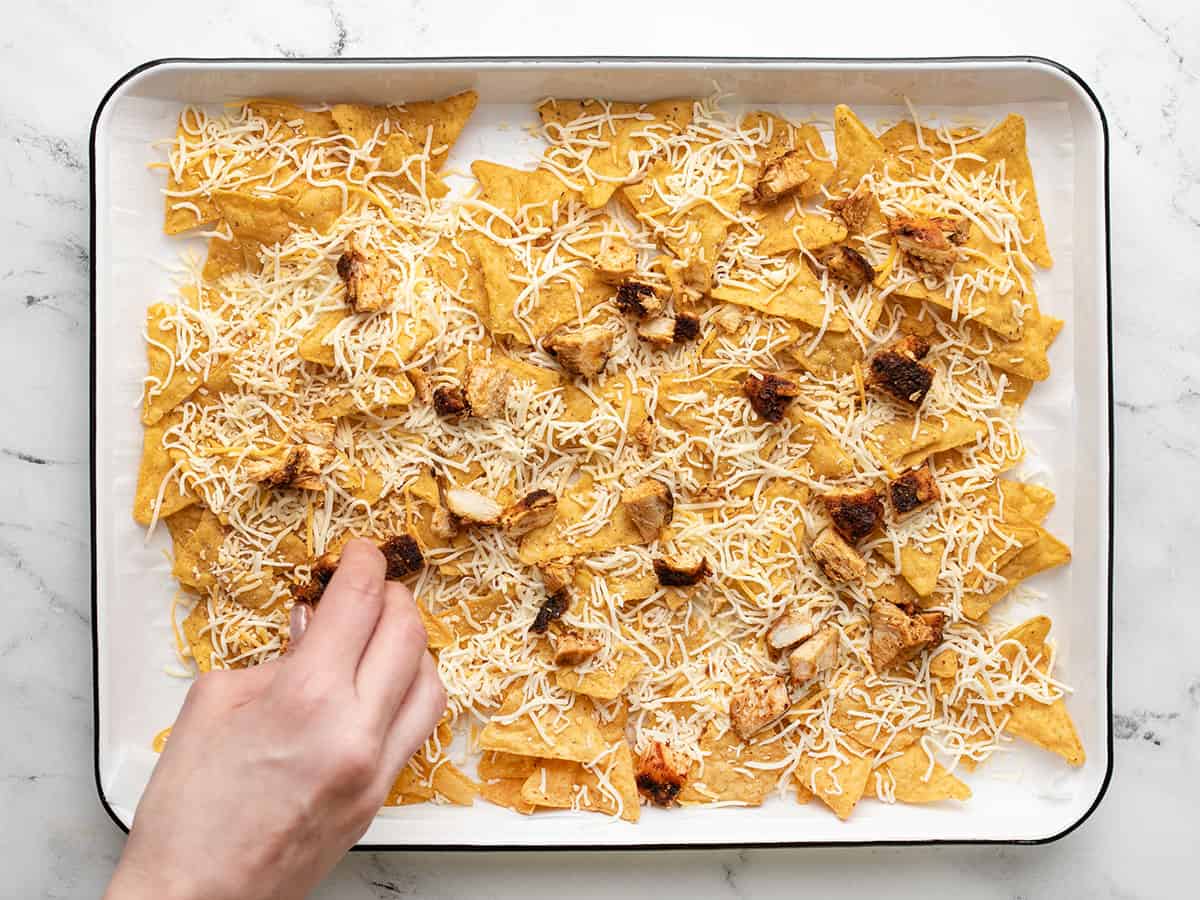
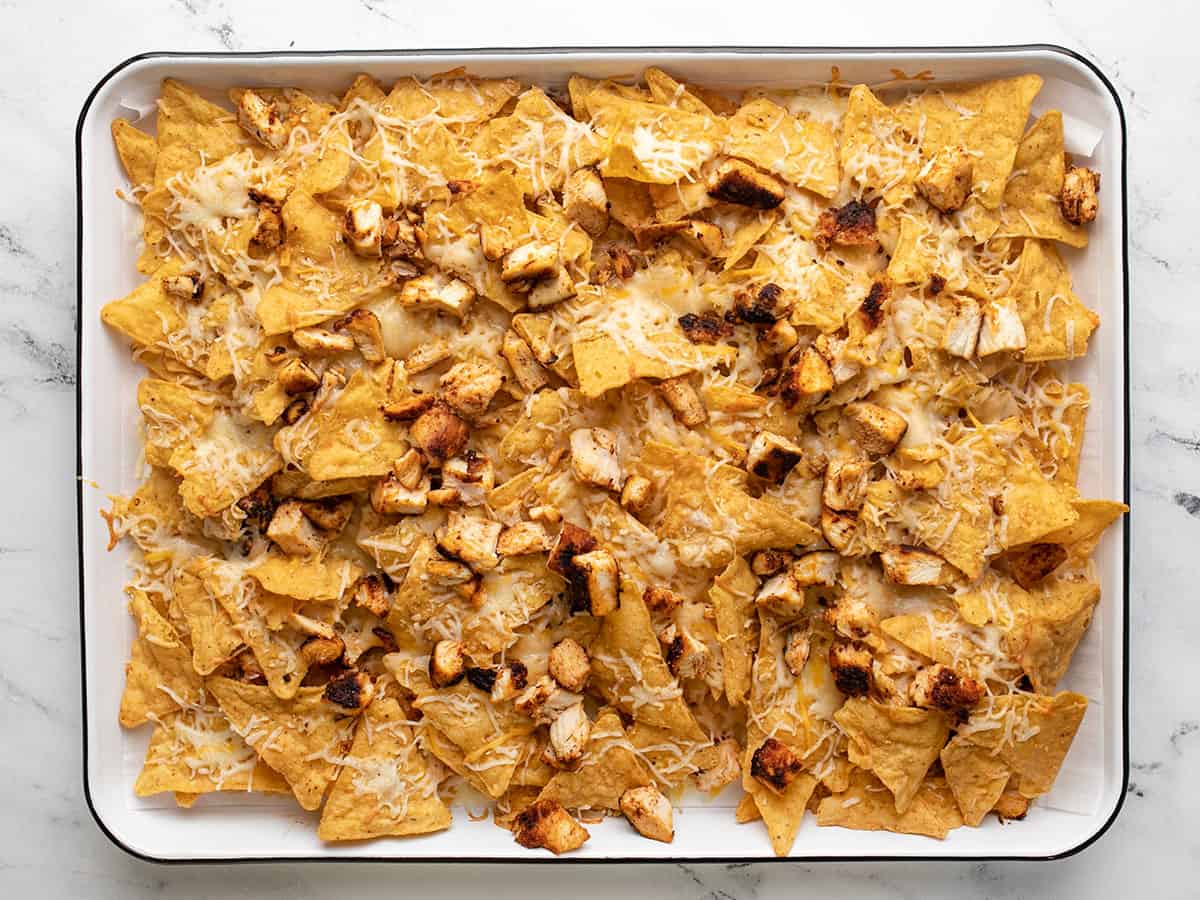
Line a sheet pan with parchment paper. Add half a bag of corn chips to the pan. Top with half of the shredded cheese and half of the chopped chicken.
Repeat the layering process with the remaining chips, cheese, and chicken. Bake at 400°F until the cheese melts, about 7 to 10 minutes.
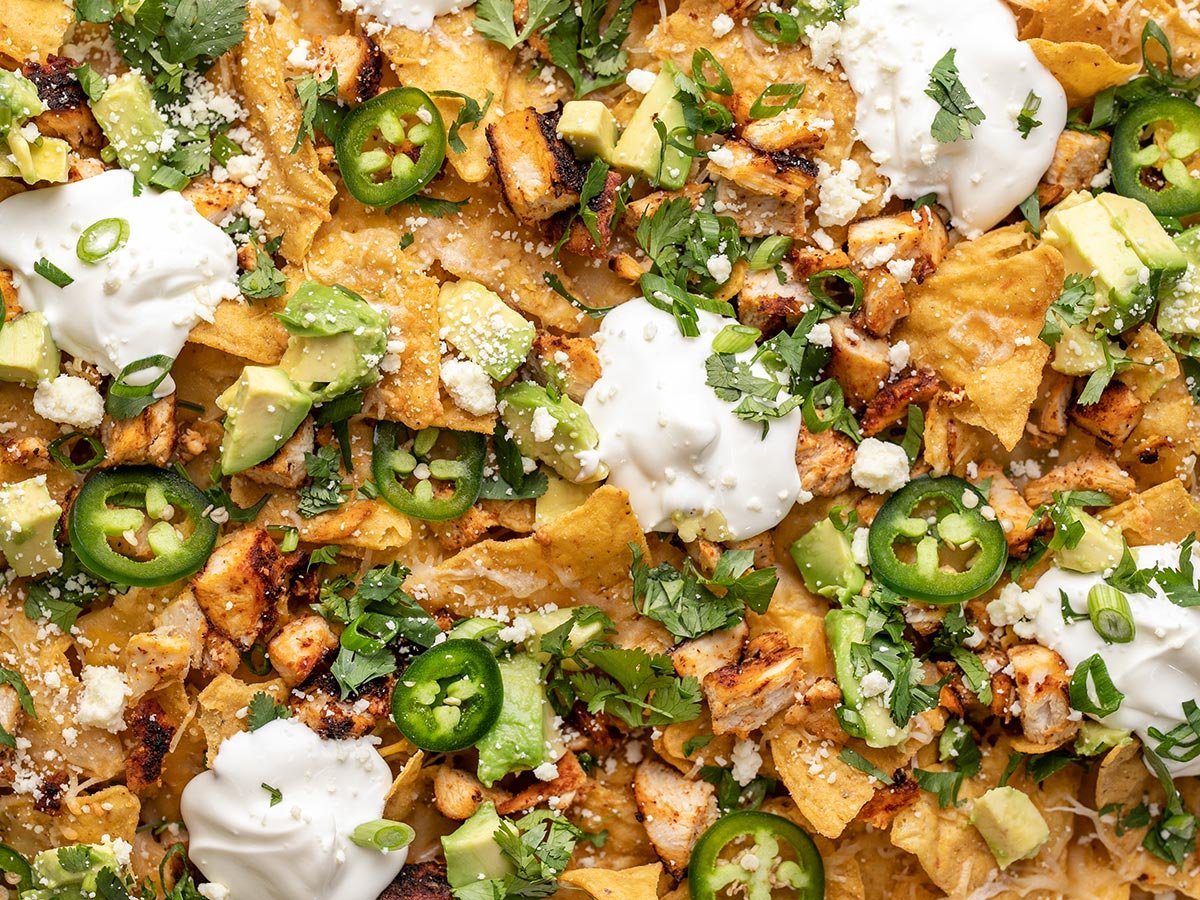
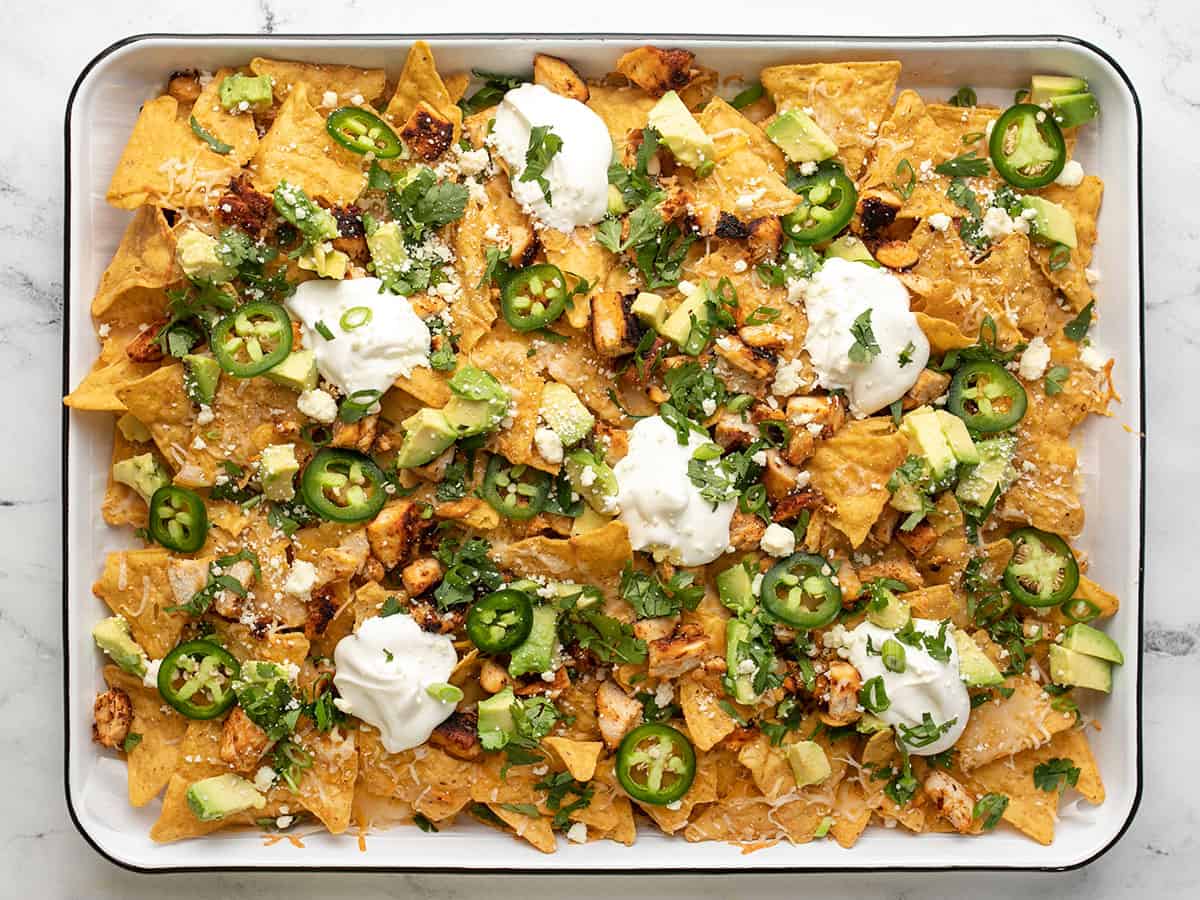
Sprinkle the nachos with the avocado, jalapeño, green onion, lime zest, and chopped cilantro. Finish with dollops of sour cream and sprinkle with crumbled queso fresco.
Add a rack to the center of your oven and preheat it to 400°F. To ensure your chicken cooks evenly, cover it with a sheet of plastic wrap, and pound it an inch thick with a heavy skillet. Season your breast liberally with 3 teaspoons of taco seasoning.
Place a heavy-bottomed skillet over medium-high heat. Add a tablespoon of oil. Once the oil is shimmering hot, add the breast. Cook for 5 minutes without moving it to create a thick sear. Then flip it and cook for a few minutes more, or until a thermometer reads 165°F.
Chop your fresh ingredients: slice one jalapeño, two green onions, a 1/2 cup of cilantro, and dice an avocado. As soon as you dice the avocado, drizzle it with the lime juice to prevent it from turning brown.
When your chicken has reached an internal temperature of 165°F, remove it from the pan and let it rest for five minutes before chopping it into 1/2-inch pieces.
Line a sheet pan with parchment paper. Then, add half a bag of corn chips to the pan. Next, top with 1 cup of shredded cheese. (If you prefer cheesier nachos, double the amount asked for in the recipe.) Sprinkle the chips with half of the chopped chicken breast.
Next, repeat the layering process with the remaining chips, cheese, and chicken. Bake at 400°F until the cheese melts, about 7 to 10 minutes.
Sprinkle the nachos with the diced avocado, sliced jalapeño, 2 sliced green onions, lime zest, and 1/2 cup of chopped cilantro. Finish with dollops of the 1/2 cup of sour cream and sprinkle with 2 tablespoons of crumbled queso fresco. Finally, serve the whole sheet pan of nachos like a party platter and snack on! Ugh. I’m jealous. I want to have these again right now!
 Chocolate cake is the ULTIMATE dessert for any occasion and this is the BEST Easy Chocolate Cake Recipe. The cake only takes 25-30 minutes to bake, depending on your oven and the chocolate sour cream frosting is easy to whip up! It is made in a basic 9×13-inch pan and that means no chilling cake…