Y’all, I’m on a roll with these simple, cozy, soup recipes! I had one extra ham hock left over from making Split Pea Soup a few weeks ago, so I decided to test a simple Navy Bean Soup recipe. I used dry, uncooked navy beans because they’re more economical than canned beans and you can infuse a lot of flavor into them. Then I just paired the navy beans with some vegetables, a smoked ham hock, and lots of herbs and spices. The results…a hearty, creamy, and absolutely delicious navy bean soup! Trust me, you’ll be blown away by how flavorful this soup is and just how easy it is to make!

INGREDIENTS FOR NAVY BEAN SOUP
Here are the ingredients you’ll need to make this comforting & delicious navy bean soup:
- Navy Beans – We start things off with dry, uncooked navy beans. Navy beans are creamy and break down easily in the soup.
- Vegetables – A combination of aromatics like onion, celery, carrots, and garlic are sautéed with a little bit of olive oil to add a great base layer of flavor and depth to the soup.
- Ham Hock – Ham and beans just go together like peanut butter and jelly!😄 The smoked ham hock we used infused a ton of smoky, salty, flavor into the navy beans! We also tested this recipe with just regular diced ham, but it did not provide the same type of rich flavor as a ham bone. However, smoked turkey wings are a great alternative to use if you don’t want to use ham.
- Spices – A combination of dried spices like thyme, oregano, and smoked paprika adds a rich color and wonderful flavor to the soup.
- Chicken Broth – Make sure you use a good quality chicken broth as a lot of the soup flavor will come from the broth. We use Better than Bouillon for our broth.
Do I Need To Soak Navy Beans Overnight?
Although it’s not mandatory, we did soak the navy beans overnight to help soften the beans and speed up the cooking process. You could also do a quick soak method if you are pressed for time.
To do the “quick soak method” start by giving the dry beans a quick rinse with cold water in a colander. Remove any stones or debris that you see. Next add the navy beans to a large pot and cover with water. Bring the pot to a boil over high heat. Once boiling, continue to cook, uncovered, for 2 minutes. After 2 minutes, remove the pot from the heat, cover the pot with a lid, and allow the beans to soak in the hot water for 1 hour. Drain and rinse the beans well before cooking!
Storing Leftovers
This navy bean soup recipe makes a big batch, so save the leftovers for lunch the next day or freeze for later. You can store the soup in an airtight container in the refrigerator for up to 4-5 days. Or freeze in freezer-safe containers for up to 3 months.


Navy Bean Soup
Equipment
Ingredients
- 1 lb. dry navy beans $1.29
- 2 Tbsp olive oil $0.24
- 1 yellow onion $0.32
- 1 carrot $0.15
- 1 celery stalk $0.25
- 2 cloves garlic $0.16
- 1 ham hock $3.65
- 1/2 tsp dried thyme $0.05
- 1/2 tsp dried oregano $0.05
- 1/2 tsp dried rosemary $0.05
- 1/2 tsp smoked paprika $0.05
- 1/4 tsp freshly cracked black pepper $0.02
- 6 cups chicken broth $1.02
- 1/4 tsp salt (or to taste) $0.02
Instructions
- Start by soaking the dry navy beans overnight. Place the beans in a bowl, cover them with cold water, and place the bowl in the refrigerator. The next day, drain and rinse the beans.
- Dice the onion, the carrot, and the celery stalk. Mince the garlic cloves.
- Sauté the onion, carrot, celery, and garlic in a large soup pot or Dutch oven with olive oil over medium heat, until the onions are soft and translucent.
- Add the soaked & drained beans, ham hock, dried thyme, dried oregano, dried rosemary, smoked paprika, black pepper, and chicken broth to the pot. Gently stir to combine all the ingredients.
- Place a lid on the pot and bring it up to a boil. Once boiling, turn the heat down to medium-low and let the soup simmer, stirring occasionally, until the beans are tender and begin to break down (approximately 1.5 hours). Flip the ham hock over once or twice, while the soup is simmering, so that it gets even exposure to the hot liquid.
- Once the beans are tender, remove the ham hock and pull the meat from the bone, then add the ham meat back to the soup.
- Now mash some of the beans against the side of the pot and stir the mashed beans back into the soup. Continue to simmer the soup uncovered for about 30 minutes to reduce some of the liquid and to thicken the soup further.
- Taste the soup and add salt, if needed. I ended up adding 1/4 tsp of salt after tasting. The amount of salt needed will depend highly on the type of broth used. Serve hot with some crusty bread for dipping and enjoy!
See how we calculate recipe costs here.

How to Make Navy Bean Soup – Step by Step Photos
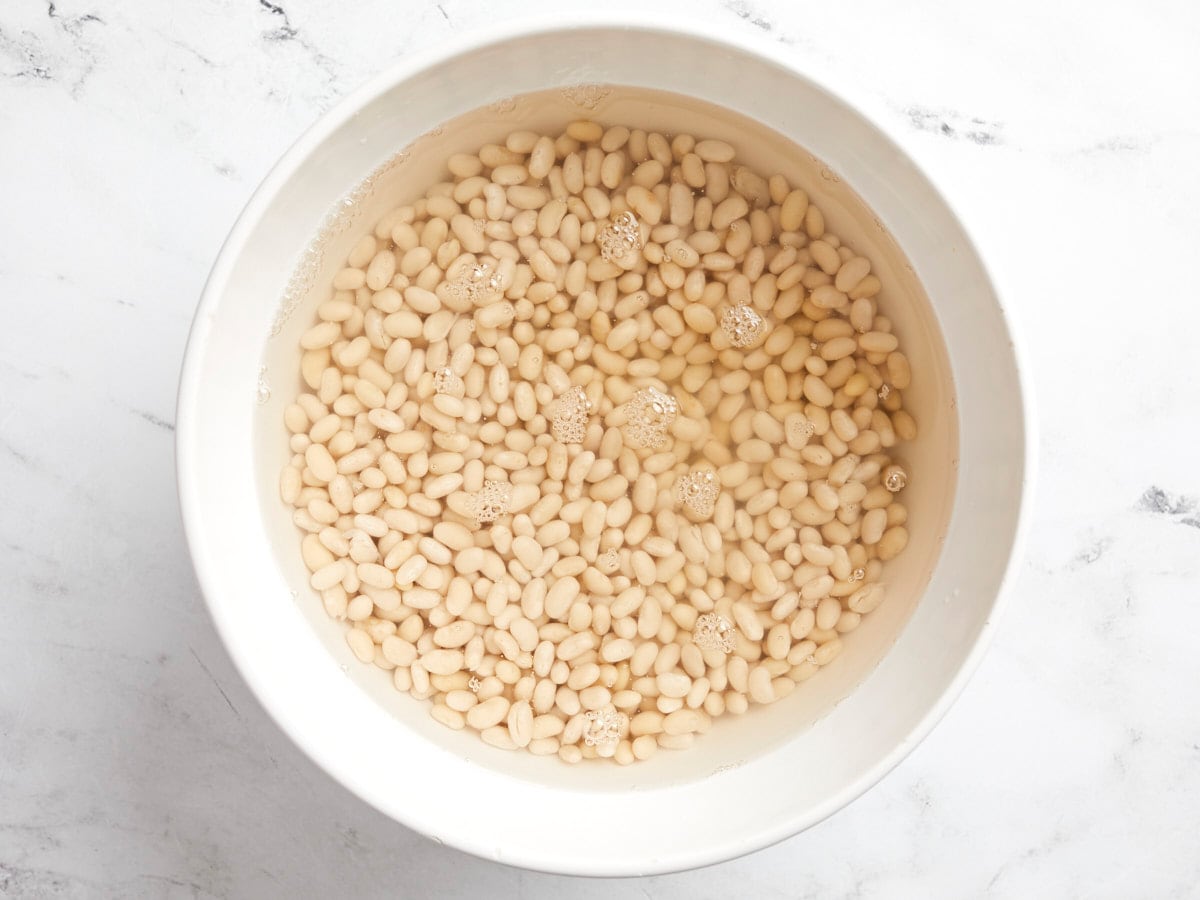
Start by soaking the navy beans overnight. Place 1 lb. of dry navy beans in a bowl, cover them with cold water, and place the bowl in the refrigerator. The next day, drain and rinse the beans.
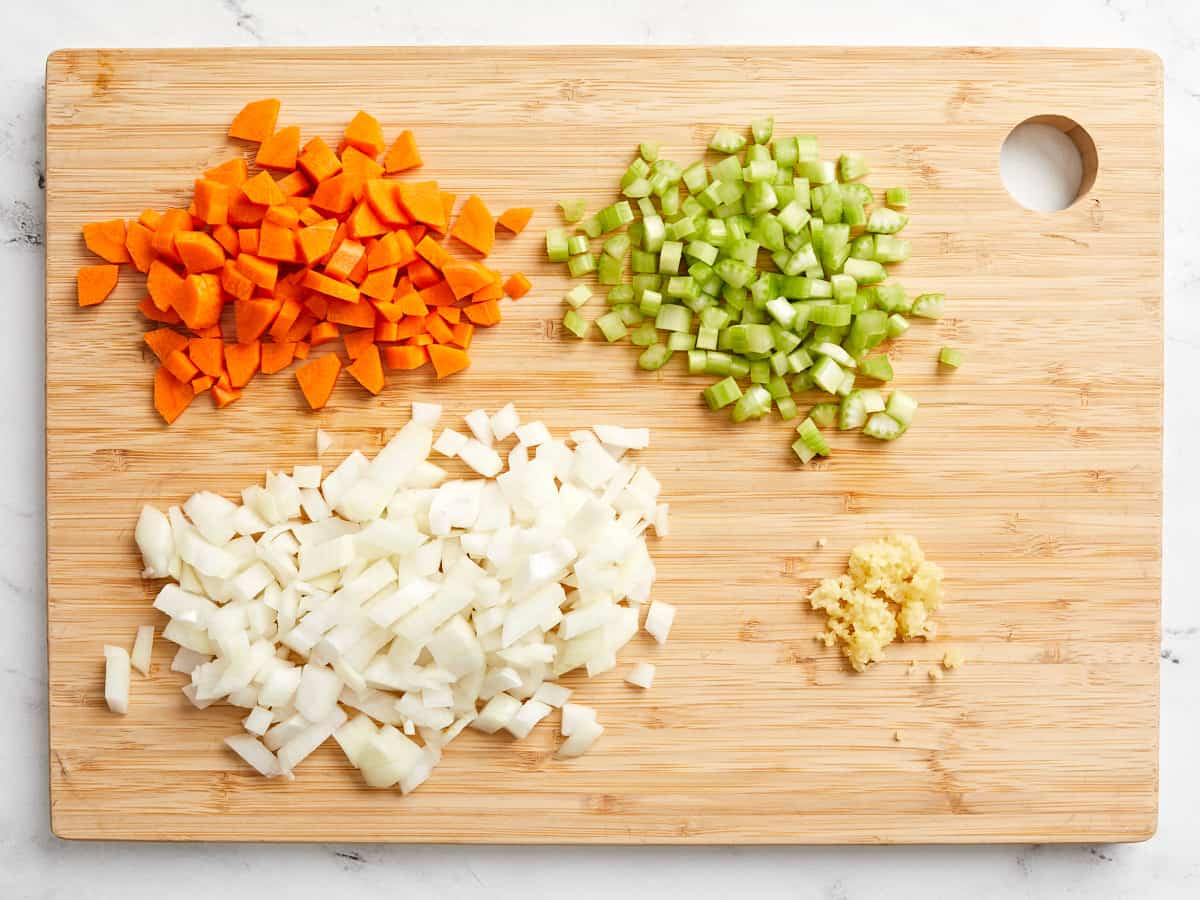
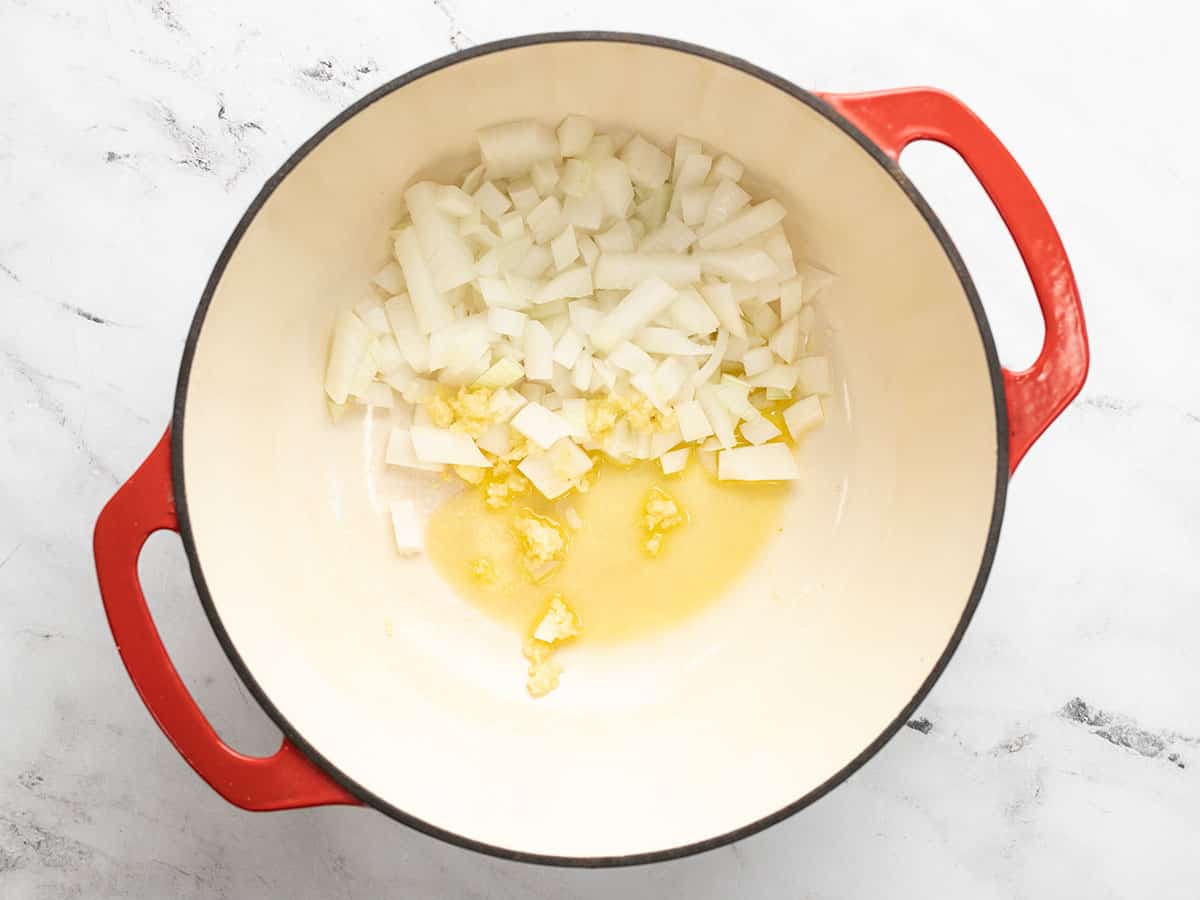
Dice one onion, one carrot, and one celery stalk. And mince two garlic cloves.
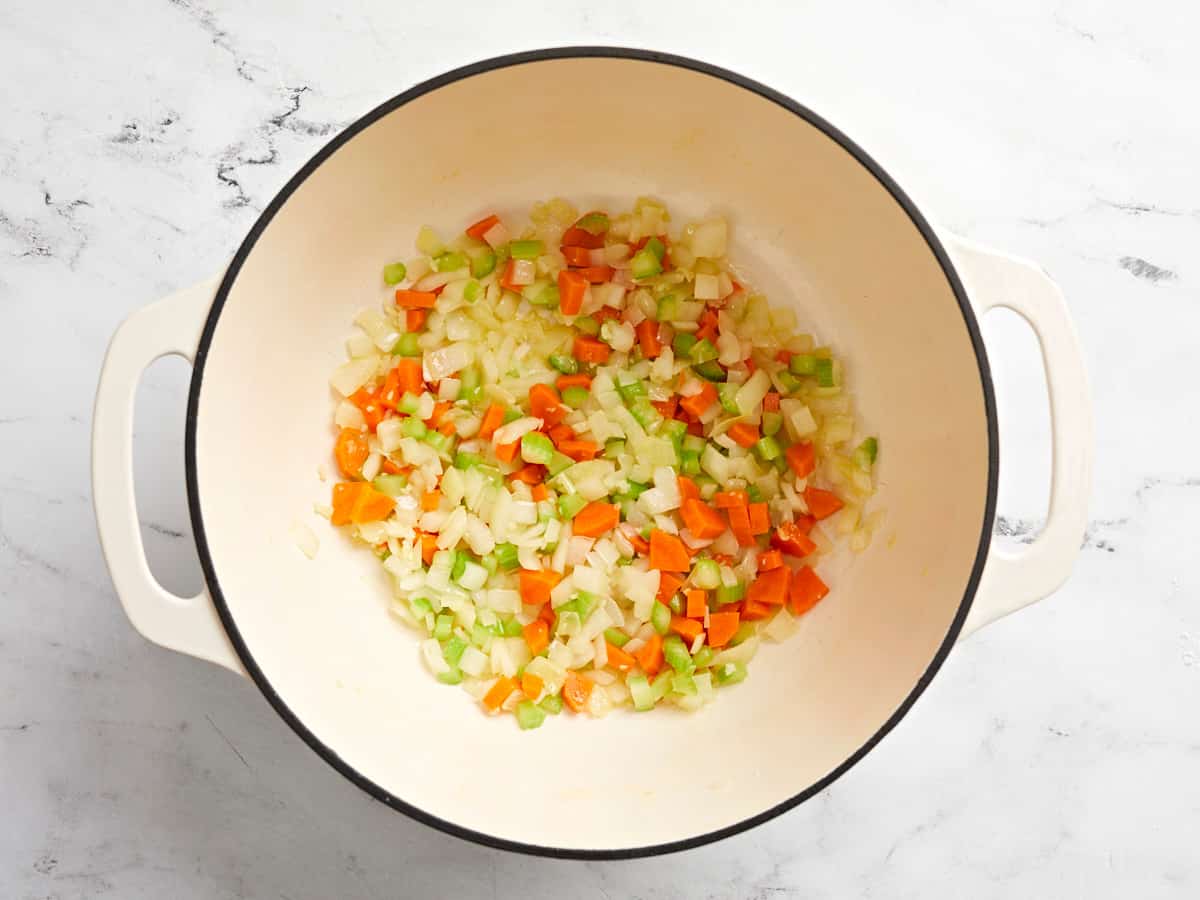
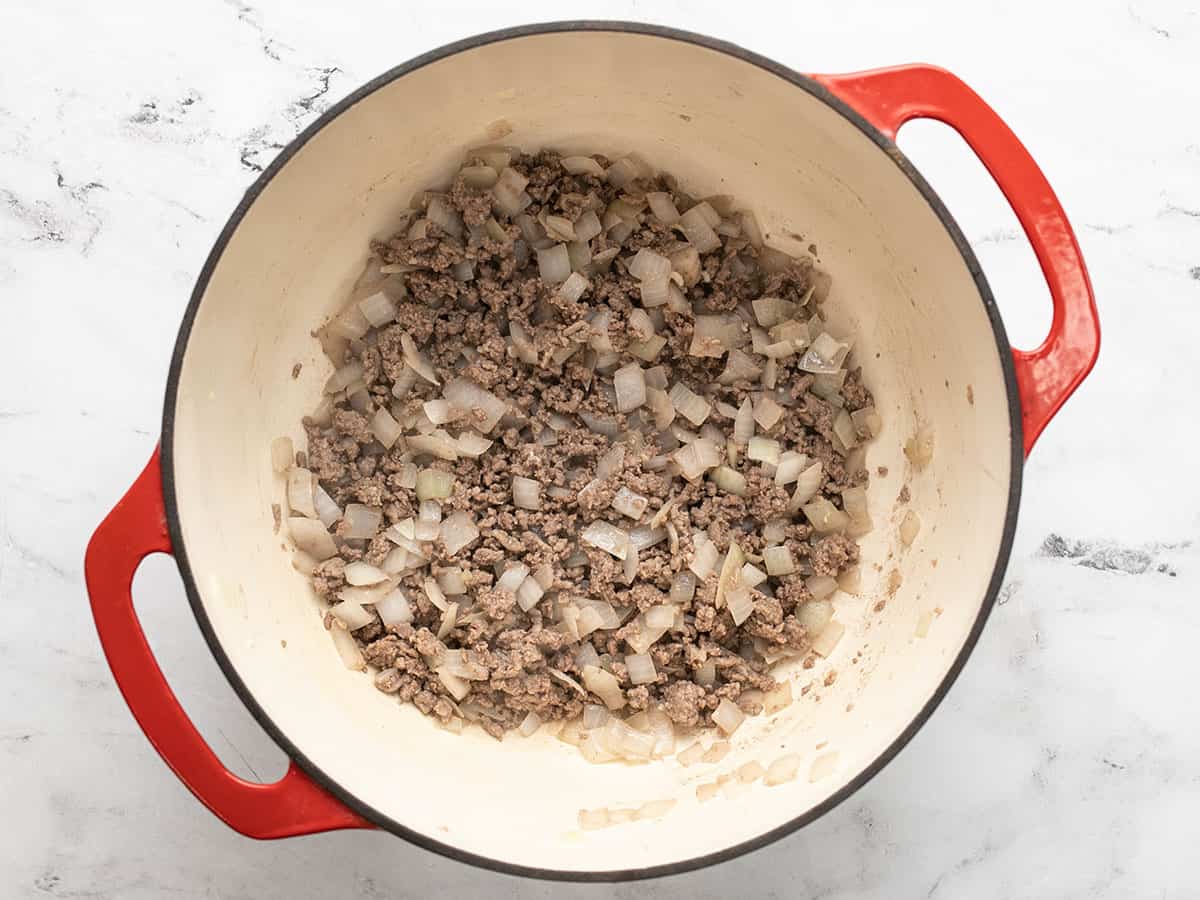
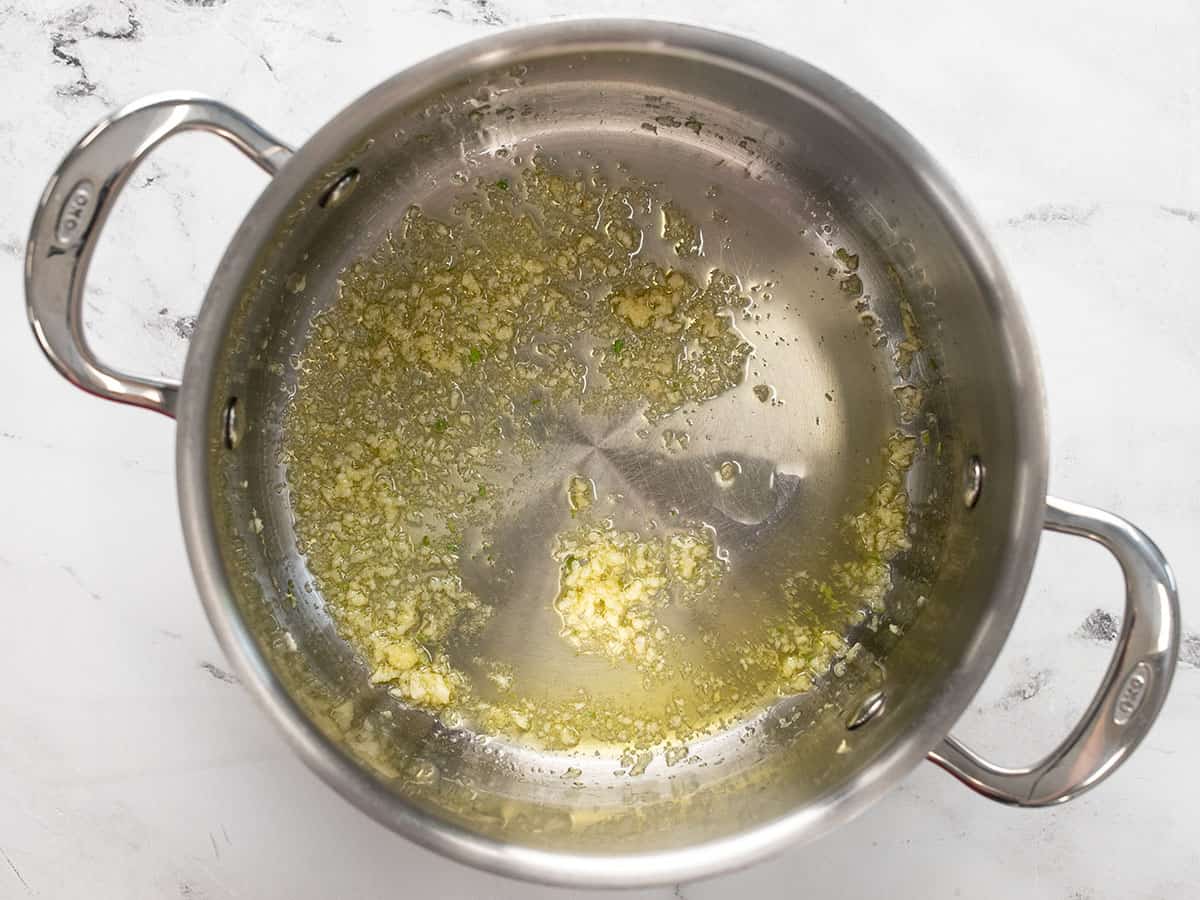
Sauté the onion, carrot, celery, and garlic in a large soup pot or dutch oven with 2 Tbsp olive oil over medium heat, until the onions are soft and translucent.

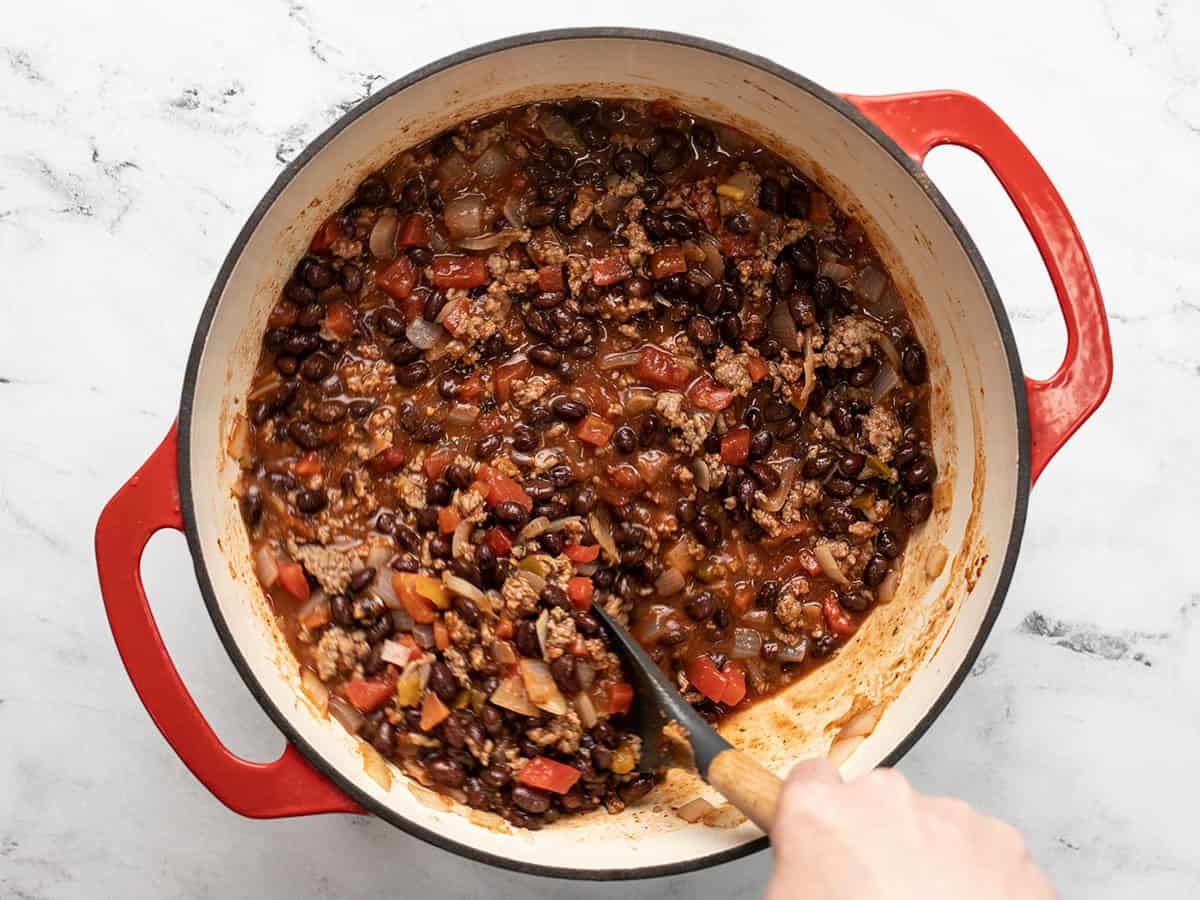
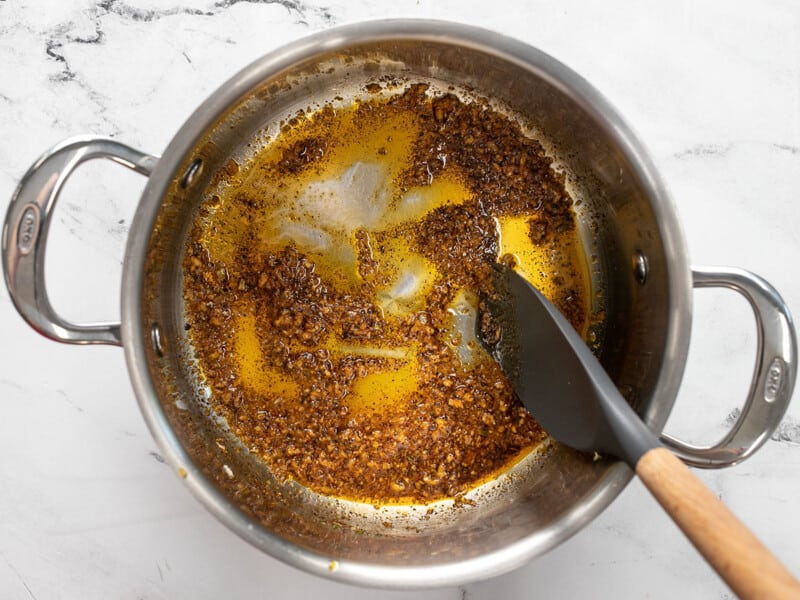
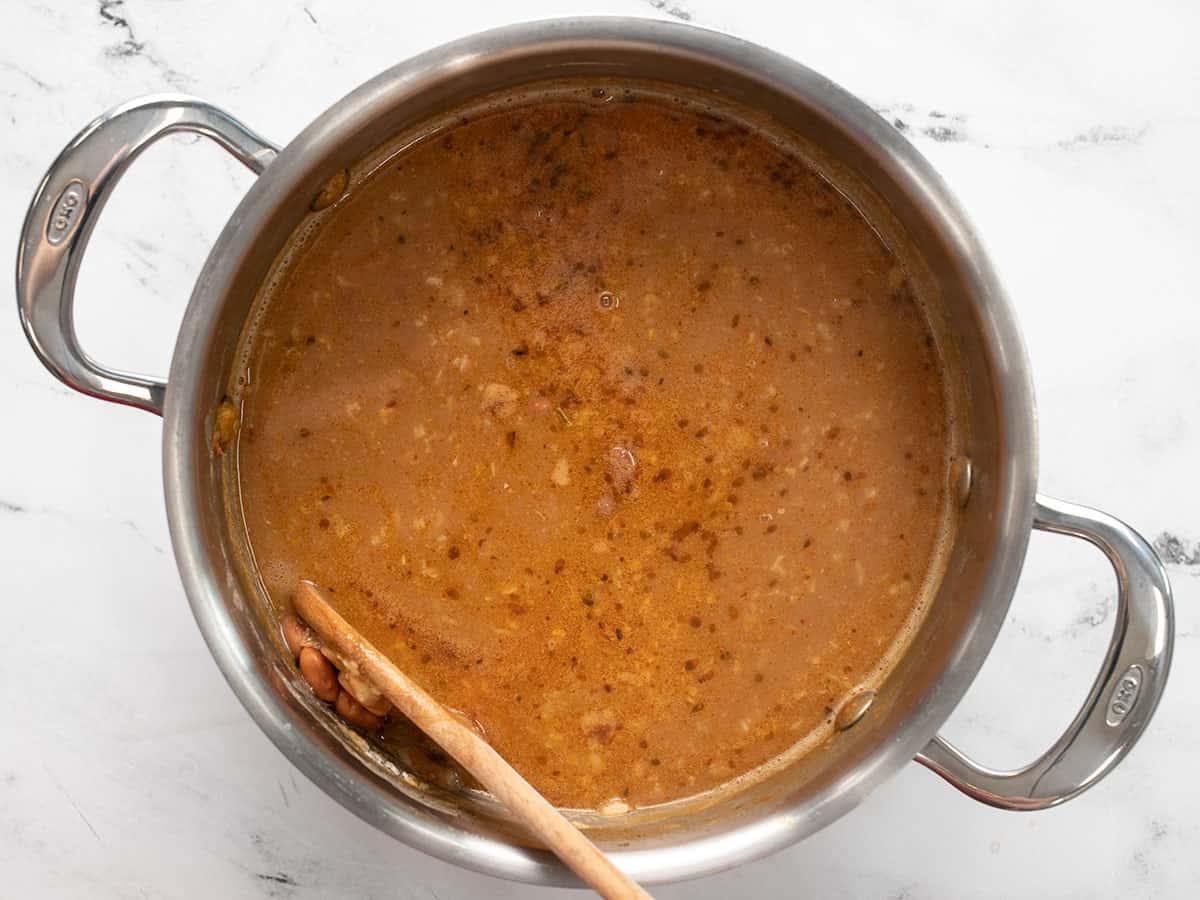
Now add the soaked & drained beans, 1 ham hock, 1/2 tsp dried thyme, 1/2 tsp dried oregano, 1/2 tsp dried rosemary, 1/2 tsp smoked paprika, 1/4 tsp freshly ground black pepper, and 6 cups of chicken broth to the pot. Gently stir to combine all the ingredients.
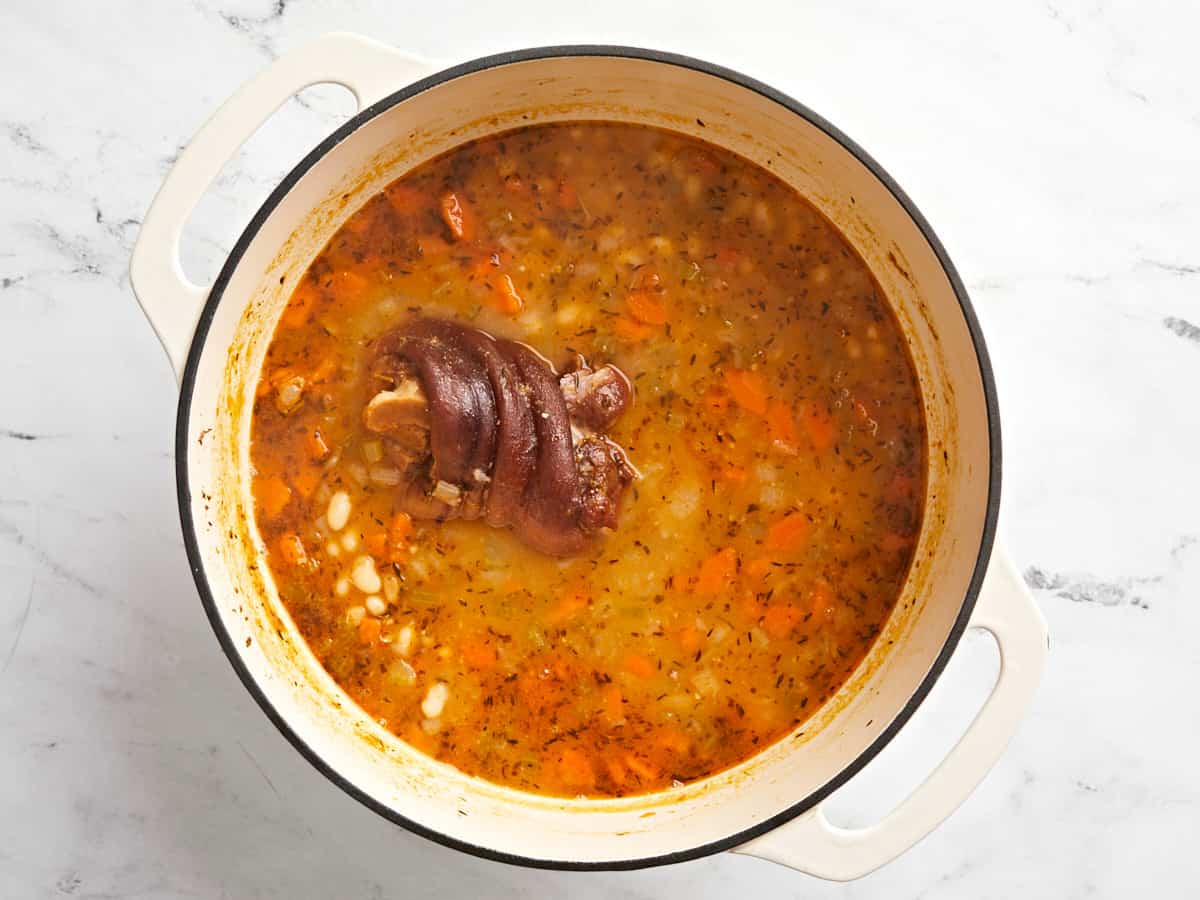
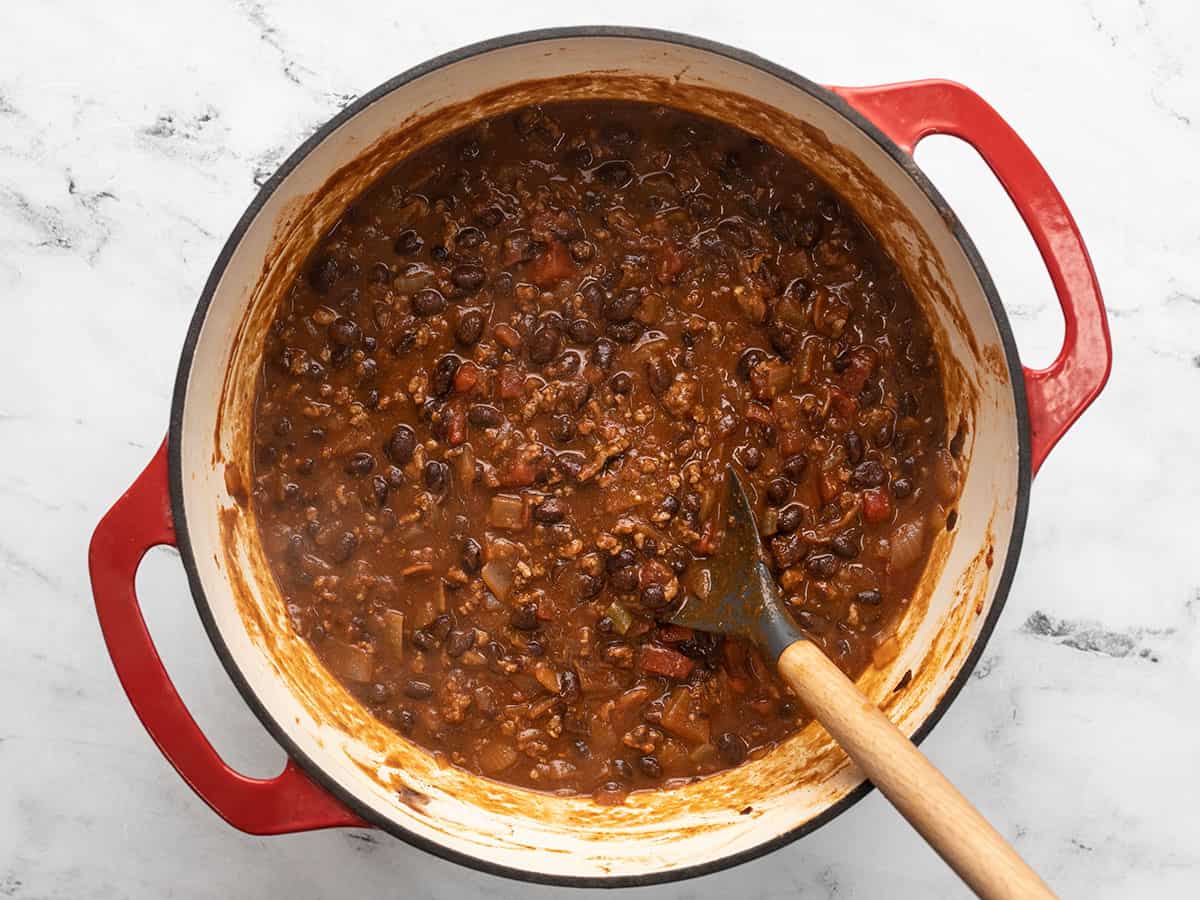
Place a lid on the pot and bring it up to a boil. Once boiling, turn the heat down to medium-low and let the soup simmer, stirring occasionally, until the beans are tender and begin to break down (approximately 1.5 hours).
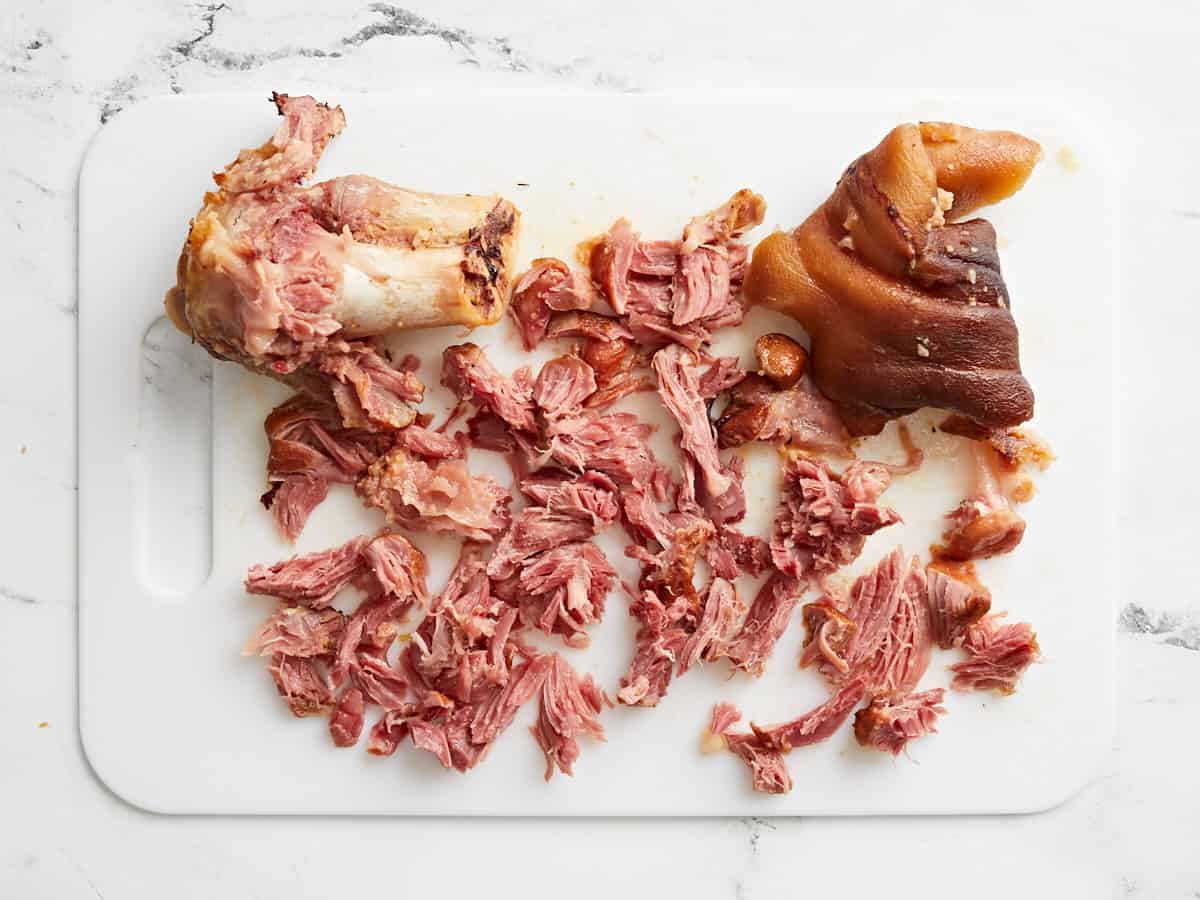
Once the beans are tender, remove the ham hock and pull the meat from the bone.

Then add the ham meat back to the soup.

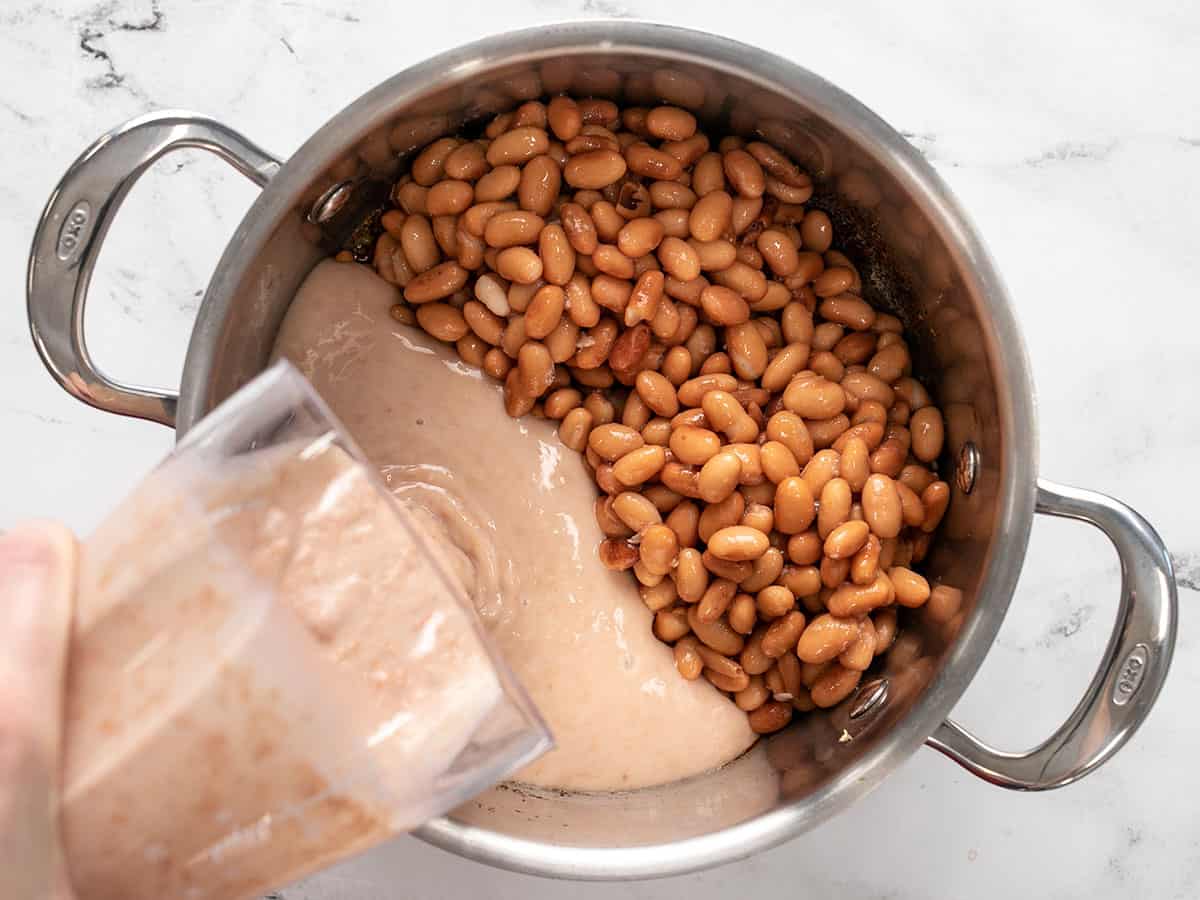
Now mash some of the beans against the side of the pot and stir the mashed beans back into the soup. Continue to simmer the soup uncovered for about 30 minutes to reduce some of the liquid and to thicken the soup further.

Taste the soup and add salt, if needed. I ended up adding 1/4 tsp of salt after tasting. The amount of salt needed will depend highly on the type of broth used. Garnish with some fresh chopped parsley (optional). Now the only thing left to do is enjoy a big bowl of this cozy navy bean soup with some crusty bread for dipping and soaking up all that yumminess! Enjoy!

More Cozy Soup Recipes


The post Navy Bean Soup appeared first on Budget Bytes.