Easy Tuna Wrap

A tuna wrap makes a tasty, easy lunch filled with tuna salad and crunchy veggies! Bookmark this recipe for lunchtime…

A Couple Cooks – Recipes worth repeating.

A tuna wrap makes a tasty, easy lunch filled with tuna salad and crunchy veggies! Bookmark this recipe for lunchtime inspiration.

Tuna wrap

Tuna might be underrated, but it’s a big win in our book! A cheap protein that requires no cooking and is pantry stable for years? Sign us up. This tuna wrap recipe is a fun, tasty way to mix up your lunch routine: no cooking required. It’s bursting with flavor, featuring a zingy tuna salad filling and fresh, crunchy veggies. Roll it all up in a tortilla and you’re ready for an easy healthy lunch or a simple, no-cook dinner. Here’s what you’ll need for a killer tuna wrap!

Ingredients in this tuna wrap recipe

Everyone does a tuna wrap differently. Ours is a spin on our classic tuna salad filling, paired with crunchy veggies and rolled up in a wrap. Keep in mind: you’ll need good creamy tuna salad for this one: we tried it with our Mediterranean tuna salad and it soaked through the wrap. Mix up the tuna salad filling, then add your favorite crunchy veg! Here’s what you’ll need:

  • White meat tuna
  • Celery
  • Green onion
  • Dill pickles
  • Mayonnaise
  • Dijon mustard
  • Dried dill and salt
  • Parmesan cheese
  • Romaine lettuce
  • Red cabbage
  • Red pepper
  • 10-inch burrito style wraps
Tuna wrap recipe

Tips for buying canned tuna

Canned tuna has gotten somewhat of a bad rap over the years, but there’s lots that’s good about this healthy fish! Here are a few things to note when you’re shopping for tuna:

  • Look for light tuna caught by pole and line fishing, which is the most sustainable choice. Light tuna that comes from skipjack has the lowest mercury levels of all types of tuna. (Read more here.)
  • Buy BPA free cans. Look for cans that are BPA free. Alternatively, some tuna is now sold in BPA free pouches.
  • Oil packed or water packed work. Some canned tuna comes packed in oil, whereas others are packed with water. Either works, but drain the can before using.

Important: use burrito sized wraps!

Another important thing for this tuna wrap recipe: use burrito-sized tortillas that are at least 10-inches in diameter. Wraps that are smaller are very difficult to roll and don’t fit much filling. They don’t have as nice of a look as with the large tortilla.

Also, this recipe tastes best with a flour tortilla! You can use a low carb or gluten-free wrap, but some of these types of wraps don’t have satisfying flavor. Only use it if you have a brand you love (feel free to let us know suggestions in the comments below!).

Tuna wrap

Tuna wrap variations

There are lots of ways to vary this tuna wrap recipe! Use your favorite tuna salad recipe, or add different veggies to the mix. Here are a few more ideas we love:

Tuna wrap storage and make ahead info

Another important thing to know about tuna wraps is storage instructions. Here’s what to know:

  • Tuna wraps can make the tortillas soggy over time. For this reason, we recommend making it only up to 8 hours in advance.
  • Wrap the tuna wrap in parchment paper or wax paper for storage. Do not store them in plastic! It retains moisture and causes the wraps to become soggy.
  • Another make-ahead option is refrigerating all components separately. Make the tuna salad and chop the veggies, then store them in separate containers. Roll up the tortilla when you’re ready to serve. This works great for office desk lunches! But it should also work if you make the wrap in the morning and store in parchment paper.

More tuna recipes

It might sound straight out of the 1960’s, but there’s so much to do with a can of tuna! This versatile protein is perfect for making tasty lunches and simple dinners. Here are a few of our favorites:

Print
Tuna wrap

Easy Tuna Wrap


  • Author: Sonja Overhiser
  • Prep Time: 15 minutes
  • Cook Time: 0 minutes
  • Total Time: 15 minutes
  • Yield: 2 wraps

Description

A tuna wrap makes a tasty, easy lunch filled with tuna salad and crunchy veggies! Bookmark this recipe for lunchtime inspiration.


Ingredients

  • 1 5-ounce can white meat tuna
  • ¼ cup finely chopped celery
  • ¼ cup finely chopped green onion
  • ¼ cup finely chopped dill pickles
  • ¼ cup mayonnaise
  • 1 tablespoon Dijon mustard
  • ¼ teaspoon dried dill
  • ¼ teaspoon kosher salt
  • 1 tablespoon shredded or grated Parmesan cheese (optional)
  • 2 handfuls chopped romaine lettuce
  • 1/4 red cabbage, shredded
  • 1/2 red pepper, sliced into strips
  • 2 10-inch burrito style wraps

Instructions

  1. Drain the tuna. Place it in a bowl and use a fork to break apart any large clumps.
  2. Use a fork to mix together the tuna, chopped celery, green onion, dill pickles, mayonnaise, Dijon mustard, dried dill, and kosher salt. Add the Parmesan cheese if desired (it really steps it up a notch!). 
  3. Place an even layer of lettuce on a tortilla, and top it with some of the red cabbage and red pepper. Place half of the tuna salad filling on top (see the photo). 
  4. Make a burrito style-wrap by folding in each side of the tortilla, then rolling it up from the bottom. (A small amount filling may come out after rolling.) Slice the wrap in half.
  5. Eat immediately, or wrap it up in parchment or wax paper for storage and refrigerate until serving, up to 8 hours. (Do not wrap in plastic, or the wrap becomes soggy. To make ahead, you can also pack the tuna salad and chopped veggies in separate containers and refrigerate, then assemble the wrap directly before serving.)
  • Category: Lunch
  • Method: No Cook
  • Cuisine: Lunch

Keywords: Tuna wrap, tuna wrap recipe, tuna salad wrap

A Couple Cooks - Recipes worth repeating.

Spinach Quiche

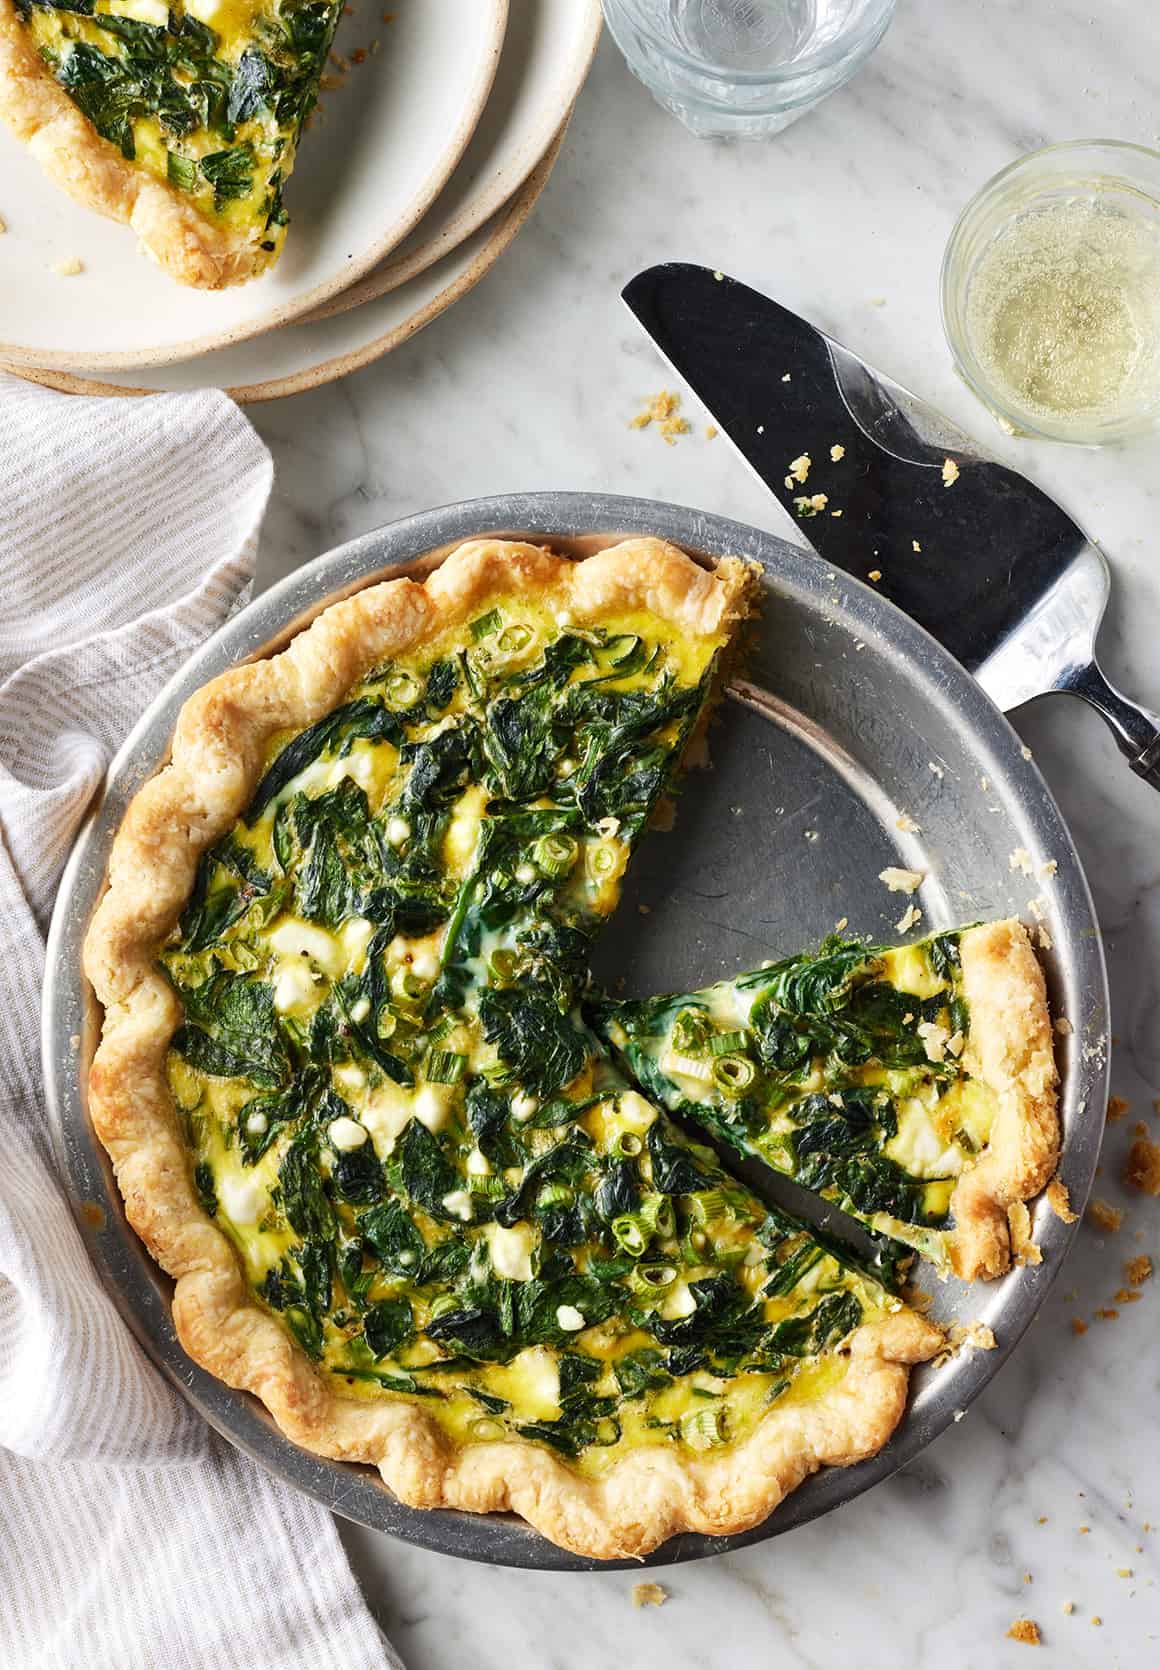
I’m making this spinach quiche recipe for Easter brunch this year, and I’m already looking forward to it. It’s a change from my usual breakfast casserole or frittata, and though it’s (much) more time-intensive, every second is w…


I’m making this spinach quiche recipe for Easter brunch this year, and I’m already looking forward to it. It’s a change from my usual breakfast casserole or frittata, and though it’s (much) more time-intensive, every second is worth it. This spinach quiche is melt-in-your mouth delicious. It has a buttery, flaky crust and a custardy egg filling that’s flecked with tender spinach, green onions, and salty feta cheese. If you’re tempted to try it, you can find my step-by-step guide to how to make quiche below, complete with all my best tips for quiche success. I know that pastry can […]

How I Modernize My Passover Table (Without Betraying My Bubbie)

Passover is a Jewish holiday that’s been celebrated for thousands of years. Needless to say, the traditions we observe for it are… also old. To celebrate, Jewish families like mine have a big feast called a Seder on the first two nights of the 8-day ho…

Passover is a Jewish holiday that’s been celebrated for thousands of years. Needless to say, the traditions we observe for it are… also old. To celebrate, Jewish families like mine have a big feast called a Seder on the first two nights of the 8-day holiday. It’s a ceremony that has carefully prescribed rituals, including several special dishes and foods that need to be placed on the table in order to properly perform the Passover Seder. The most important is the Seder plate, which is the ceremonial centerpiece that contains six symbolic ingredients (more on those later). A festive kosher-for-Passover meal follows the ceremony, and although you can really serve anything that’s kosher-for-Passover (or free of chametz—this typically includes leavened foods, but can also include corn, rice, peanuts, lentils, and more, depending on who you ask), there are a few traditional recipes you can expect to see. In my family, the same dishes are served the very same way year after year—gefilte fish that sits on a single leaf of curly lettuce garnished with a boiled carrot coin, matzo balls swimming in golden chicken soup, potato kugel, boiled eggs, carrot tzimmes, and brisket. Everything is relatively beige, but delicious nonetheless.

When I was a kid, my mother held my siblings and I hostage for three days before we hosted the Passover seder. We’d have to polish the silverware, press the linens, set the table, help prep vegetables, and lay out our clothes. My mother’s stress was palpable and for good reason: We’d usually have at least 20 people over for dinner, and she wanted everything to be perfect.

Read More >>

Roasted Chickpea & Veggie Bowls with Green Tahini Sauce

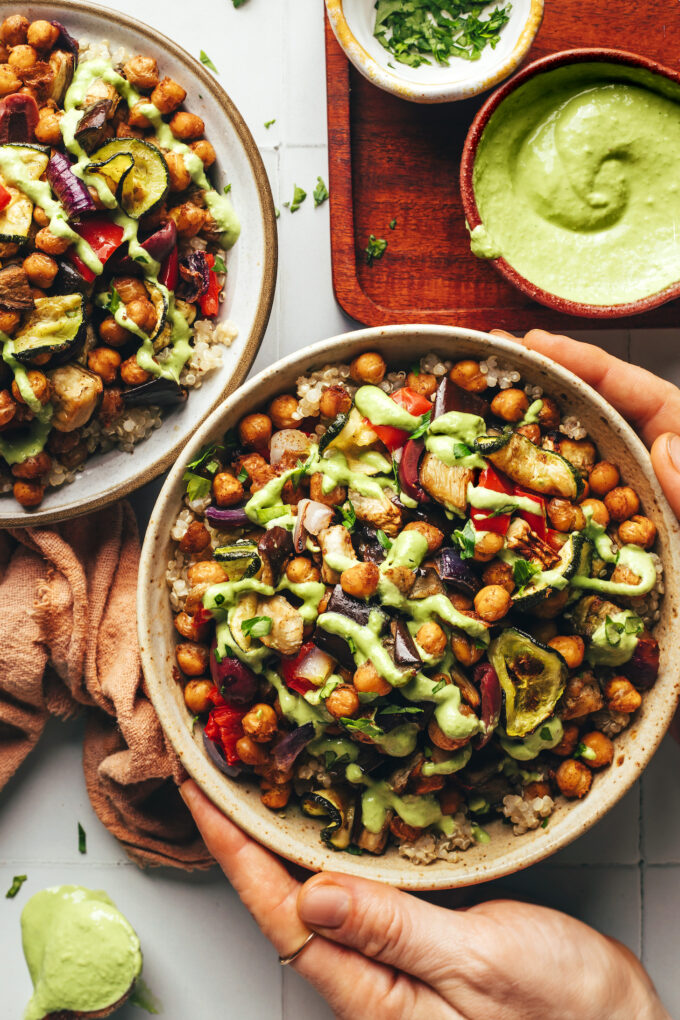
A nourishing, flavorful bowl that comes together fast with minimal cleanup? That’s our kind of meal! These Mediterranean-inspired veggie bowls combine spicy roasted chickpeas, vibrant roasted veggies, and optional grains with an herby green tahini sauc…

Roasted Chickpea & Veggie Bowls with Green Tahini Sauce

A nourishing, flavorful bowl that comes together fast with minimal cleanup? That’s our kind of meal! These Mediterranean-inspired veggie bowls combine spicy roasted chickpeas, vibrant roasted veggies, and optional grains with an herby green tahini sauce. Prepare to fall in love!

Plant-based, gluten-free, and just 10 ingredients required. Let’s make this thing!

First up on the nourish bowl agenda: chickpeas! We toss them with olive oil to help them crisp up, cumin for smokiness, cinnamon for sweetness, and a touch of cayenne for heat.

Roasted Chickpea & Veggie Bowls with Green Tahini Sauce from Minimalist Baker →

Pasta alla Norma

Pasta alla Norma is a signature Italian dish of pasta and eggplant! A tangy red sauce and salty cheese complete…

A Couple Cooks – Recipes worth repeating.

Pasta alla Norma is a signature Italian dish of pasta and eggplant! A tangy red sauce and salty cheese complete this Sicilian masterpiece.

Pasta alla Norma

Looking for a pasta recipe to impress? Try the signature Italian dish Pasta alla Norma! This impressive recipe hails from Sicily and like any classic Italian dish, it’s all about elegant simplicity. Sauteed eggplant tastes savory and meaty against a tangy tomato sauce, al dente pasta and salty ricotta salata cheese. The combination of flavors and textures is a true masterpiece! Simply called “la Norma” when you order it in Sicily, it’s a standout Italian pasta that will impress everyone.

What is Pasta all Norma?

Pasta alla Norma is an Italian pasta dish made of eggplant, tubular pasta, tomato sauce and ricotta salata cheese. It’s the specialty in the city of Catania in Sicily, but it’s served all over the island.

Why Norma? (That’s what we said.) It’s said to be named after the opera Norma by composer Vincenzo Bellini. Apparently an Italian writer tasted the pasta and said it was “a real Norma,” an 1830’s way of saying it was a masterpiece. The name stuck and it’s been around to this day.

Pasta alla Norma

Ingredients in Pasta alla Norma

This Pasta alla Norma recipe is inspired by some stories set in Sicily we’ve been enjoying lately (the book From Scratch by Tembi Locke and of course the HBO show White Lotus!). So we set about to recreate this iconic dish to get a little taste of the country. We adapted our version from this authentic Sicilian recipe.

Like any Italian pasta, the genius of La Norma is its simplicity. Here’s what you’ll need for pasta alla Norma:

  • Eggplant
  • Olive oil
  • Garlic
  • Fresh parsley and basil
  • Crushed canned tomatoes
  • Oregano
  • Salt and pepper
  • Pasta
  • Ricotta salata cheese
  • Pecorino Romano cheese

Why you need ricotta salata

What’s ricotta salata cheese, and is it necessary for this recipe? Well, this special type of cheese is iconic for the dish.

  • Ricotta salata is a Sicilian version of ricotta that’s pressed and aged. It’s nothing like soft fresh ricotta, which is very mild and creamy. Ricotta salata is hard like Parmesan cheese and needs to be grated to add to a dish. It has a unique salty, briny flavor.
  • What are substitutes? If you can’t find it, the Greek cheese Mizithra is a great substitute. Don’t use fresh ricotta, which is soft and creamy instead of salty and aged.
  • Can’t find either? Use feta cheese for a similar flavor, or omit the ricotta salata and just use Pecorino Romano cheese.

We’ve tried both ricotta salata and Mizithra cheeses and they’re incredibly close in flavor and texture. This cheese is essential if you’re trying to recreate the Sicilian dish, but don’t let it dissuade you from making the recipe entirely. It’s nearly as tasty with simply Pecorino Romano as the garnish!

Pasta alla Norma

Cook the pasta to al dente

The most important thing to remember when making Pasta all Norma? Cook your pasta to al dente! This means “to the bite” in Italian: ideally when it’s tender with a small white speck inside when you bite into a piece. There’s nothing worse than soft, rubbery pasta. Here are a few tips for the perfect al dente pasta:

  • Boil the pasta a few minutes less than indicated on the package instructions. Often package instructions make for overcooked pasta.
  • Start taste testing early. Start taste testing and stop cooking when the pasta is just tender but you can still see a small white speck inside.

And that’s it! Head to the recipe below to try Pasta alla Norma: and let us know what you think! We’d love to hear from you: especially if you are Sicilian or have sampled this dish in Sicily.

More pasta recipes

Want more tasty Italian pasta recipes and pasta sauces? Here are a few more ideas:

This Pasta alla Norma recipe is…

Vegetarian.

Print
Pasta alla Norma

Pasta alla Norma


  • Author: Sonja Overhiser
  • Prep Time: 5 minutes
  • Cook Time: 25 minutes
  • Total Time: 30 minutes
  • Yield: 4 servings

Description

Pasta alla Norma is a signature Italian dish of pasta and eggplant! A tangy red sauce and salty cheese complete this Sicilian masterpiece.


Ingredients

  • 1 large eggplant (about 1 ½ pounds), chopped into 3/4” inch pieces
  • 1 teaspoon kosher salt, divided
  • 4 tablespoons olive oil, divided
  • 4 garlic cloves, minced 
  • ¼ cup roughly chopped fresh parsley, plus more for garnish
  • ¼ cup roughly chopped fresh basil, plus more for garnish
  • 28 ounce can high quality crushed tomatoes, such as San Marzano 
  • ½ teaspoon dried oregano 
  • Freshly ground black pepper
  • ¼ teaspoon sugar, optional
  • 12 ounces large tubular pasta (rigatoni or we used calamarata)
  • ¼ cup grated ricotta salata*, to serve
  • Grated Pecorino Romano cheese, to serve

Instructions

  1. In a large skillet, heat 3 tablespoons olive oil over medium heat. Add the eggplant and ½ teaspoon kosher salt. Sauté for 7 to 10 minutes until browned and tender, stirring often so the eggplant doesn’t stick (the pan will be pretty dry, but this is as expected). Remove the eggplant to a bowl.
  2. Reduce the heat to low and add 1 tablespoon olive oil, along with the garlic, parsley and basil and cook for 1 to 2 minutes, until fragrant. Add the tomatoes, oregano, ½ teaspoon kosher salt and freshly ground black pepper. Bring to a simmer and simmer 15 minutes, until the flavors meld. Stir in ¼ teaspoon the sugar. Add in the eggplant just before serving.
  3. Meanwhile, bring a large pot of salted water to a boil. Boil the pasta to al dente and drain. Add the pasta back to the pot with a drizzle of olive oil. Pour the sauce with eggplant over the pasta and gently toss to combine. Add salt and pepper to taste.
  4. Serve topped with grated ricotta salata cheese, grated Pecorino Romano, and chopped fresh parsley and basil.

Notes

*Ricotta salata is a Sicilian aged ricotta cheese with a hard texture similar to Parmesan and a salty flavor like feta cheese. If you can’t find it, the Greek cheese Mizithra is a great substitute. Don’t use fresh ricotta, which is soft and creamy instead of salty and aged. If you can’t find either, feta cheese has a similar flavor: or you can omit and simply use Pecorino Romano cheese.

  • Category: Main dish
  • Method: Stovetop
  • Cuisine: Italian
  • Diet: Vegetarian

Keywords: Pasta alla Norma

A Couple Cooks - Recipes worth repeating.

Burrito Bowl

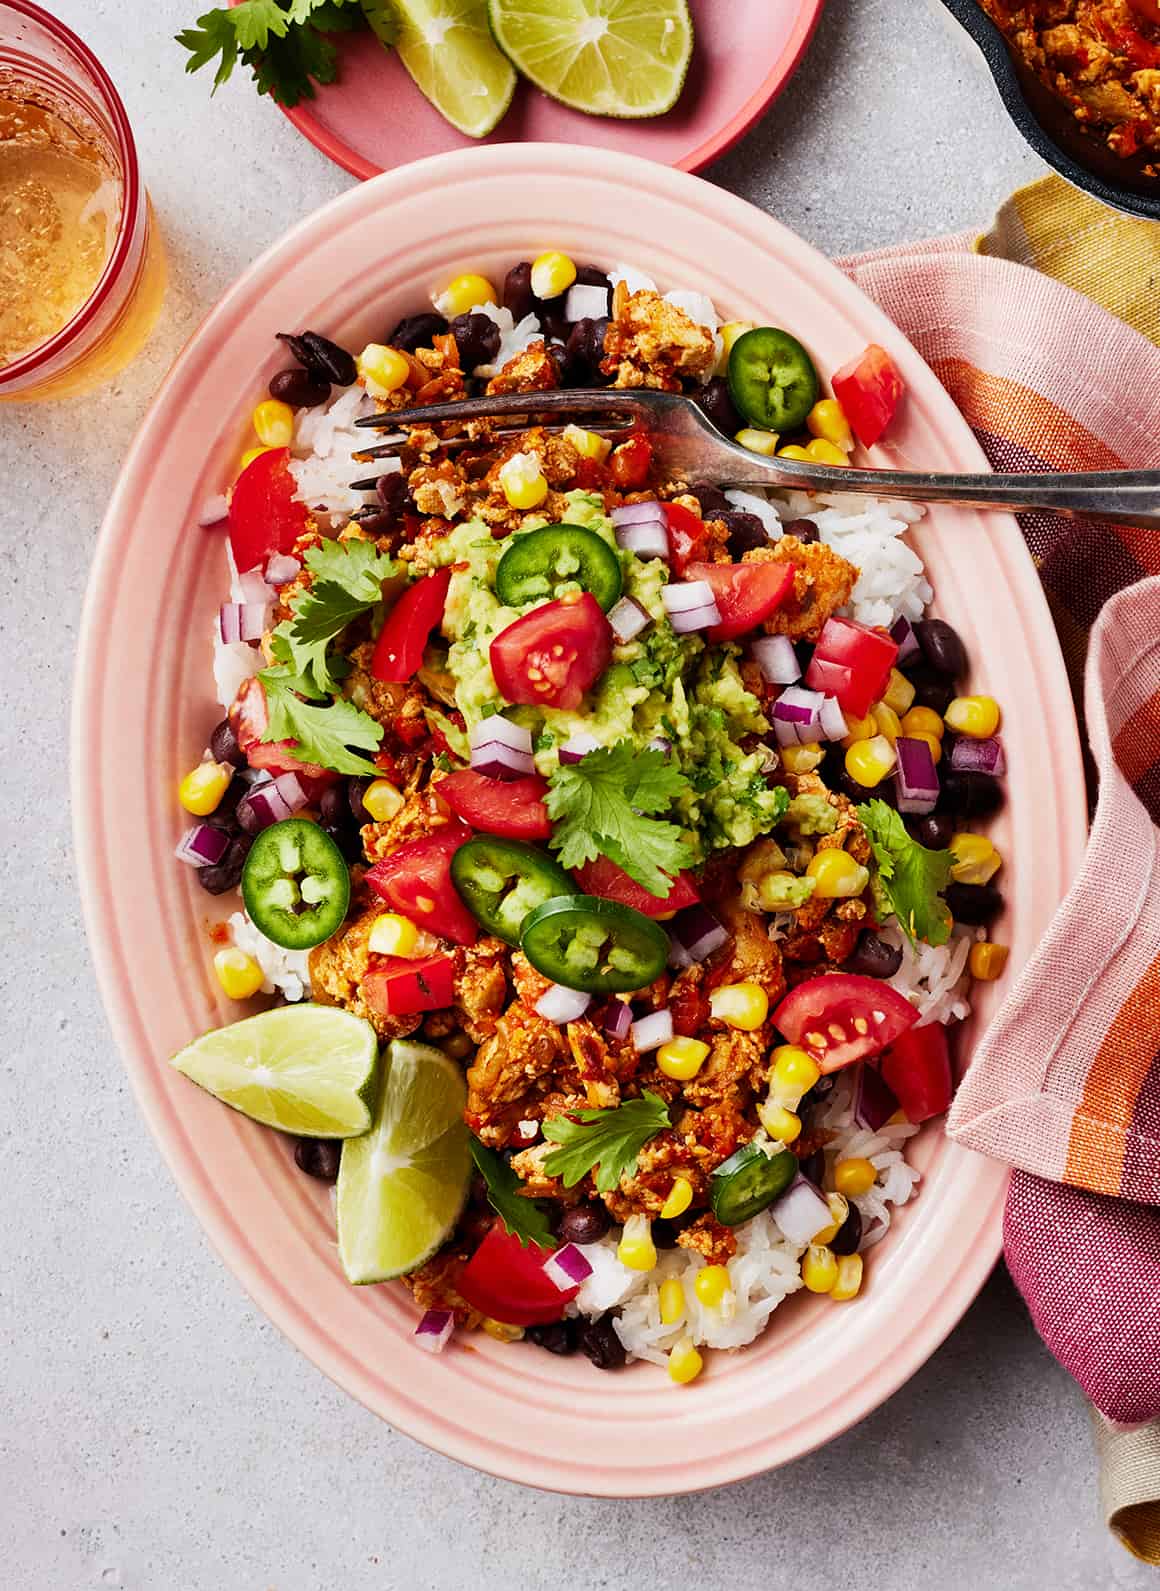
I’ve been on a BIG burrito bowl kick for the last few months…but I haven’t been getting them from Chipotle. Nope—I’ve been turning out delicious DIY burrito bowls at home! I started making them after I developed these copycat Ch…


I’ve been on a BIG burrito bowl kick for the last few months…but I haven’t been getting them from Chipotle. Nope—I’ve been turning out delicious DIY burrito bowls at home! I started making them after I developed these copycat Chipotle sofritas in the fall, and I realized that there was no component of my typical Chipotle order that I couldn’t make myself. Cilantro lime rice? Check. Black beans? Check. Fajita veggies, corn salsa, and guac? Check, check, and check. I’m not looking back! These homemade bowls are fresh, flavorful, perfect for meal prep, and super cost-effective. If you’re a burrito […]

21 Best Cabbage Recipes

Choosing to make a cabbage recipe can feel like a commitment. You’re going to buy a whole entire cabbage in order to add a tiny bit of it to some tacos? What on earth are you going to do with the rest?! My hope is that the cabbage recipes below o…


Choosing to make a cabbage recipe can feel like a commitment. You’re going to buy a whole entire cabbage in order to add a tiny bit of it to some tacos? What on earth are you going to do with the rest?! My hope is that the cabbage recipes below offer an answer to that question. There are SO MANY ways to cook cabbage—this humble veggie is nothing if not versatile. It can complete a sandwich with a pop of color and crunch. It can transform into a crisp, refreshing slaw or a silky, sweet sauté. You can add it to soup or […]

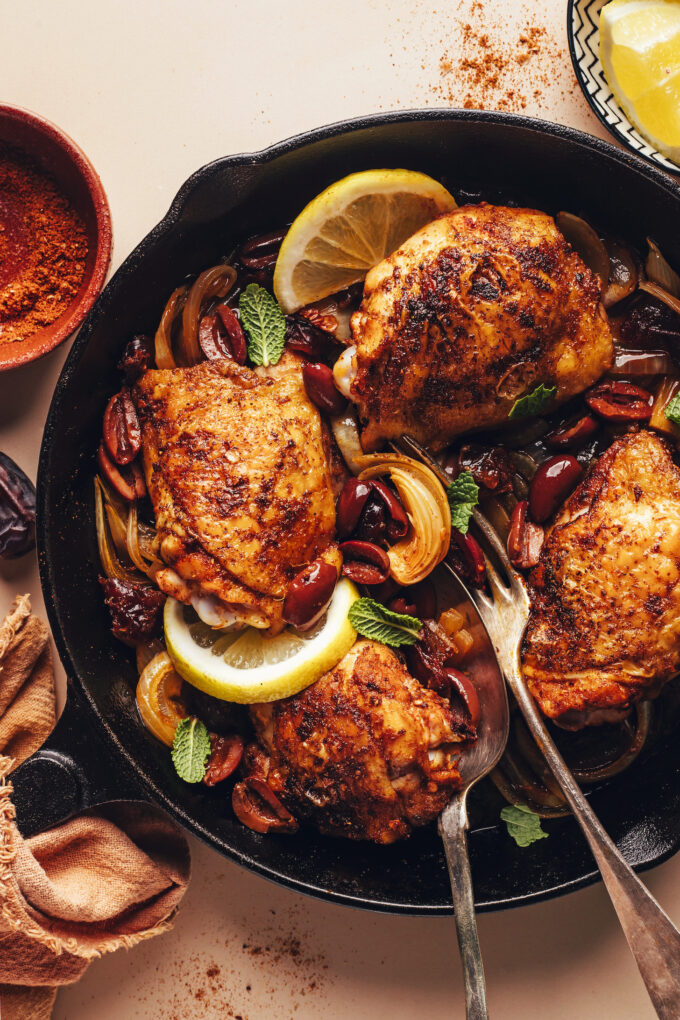
Crispy Baked Chicken Thighs (Mediterranean-Inspired)

These baked, Mediterranean-inspired chicken thighs are the BEST: smoky, satisfying, and SO quick and easy! Tender, crispy skin chicken is surrounded by roasted onions, olives, and (optional) dates. It’s the ultimate sweet and savory party and everyone’…

Crispy Baked Chicken Thighs (Mediterranean-Inspired)

These baked, Mediterranean-inspired chicken thighs are the BEST: smoky, satisfying, and SO quick and easy! Tender, crispy skin chicken is surrounded by roasted onions, olives, and (optional) dates. It’s the ultimate sweet and savory party and everyone’s invited! 

Just 10 ingredients and 30 minutes required, friends. Send that RSVP!

How to Make Crispy Mediterranean Baked Chicken Thighs

These Mediterranean-inspired chicken thighs begin with a FLAVOR-PACKED spice combo: cumin, coriander, cinnamon, smoked paprika, red pepper flakes, and sea salt.

Crispy Baked Chicken Thighs (Mediterranean-Inspired) from Minimalist Baker →

Tteokbokki (Korean Spicy Rice Cakes)

I LOVE Tteokbokki so much and our tteokbokki recipe couldn’t be easier to make. The rice cakes are simmered in a rich, spicy sauce that they soak up as they soften. Not only are the flavors and texture incredible, but it will leave you totally satisfied. I love enjoying this comforting Korean bar food with an iced cold beer. I also love mixing it up by adding ramen noodles to a batch, some shredded mozzarella…

Read More

The post Tteokbokki (Korean Spicy Rice Cakes) appeared first on Spoon Fork Bacon.

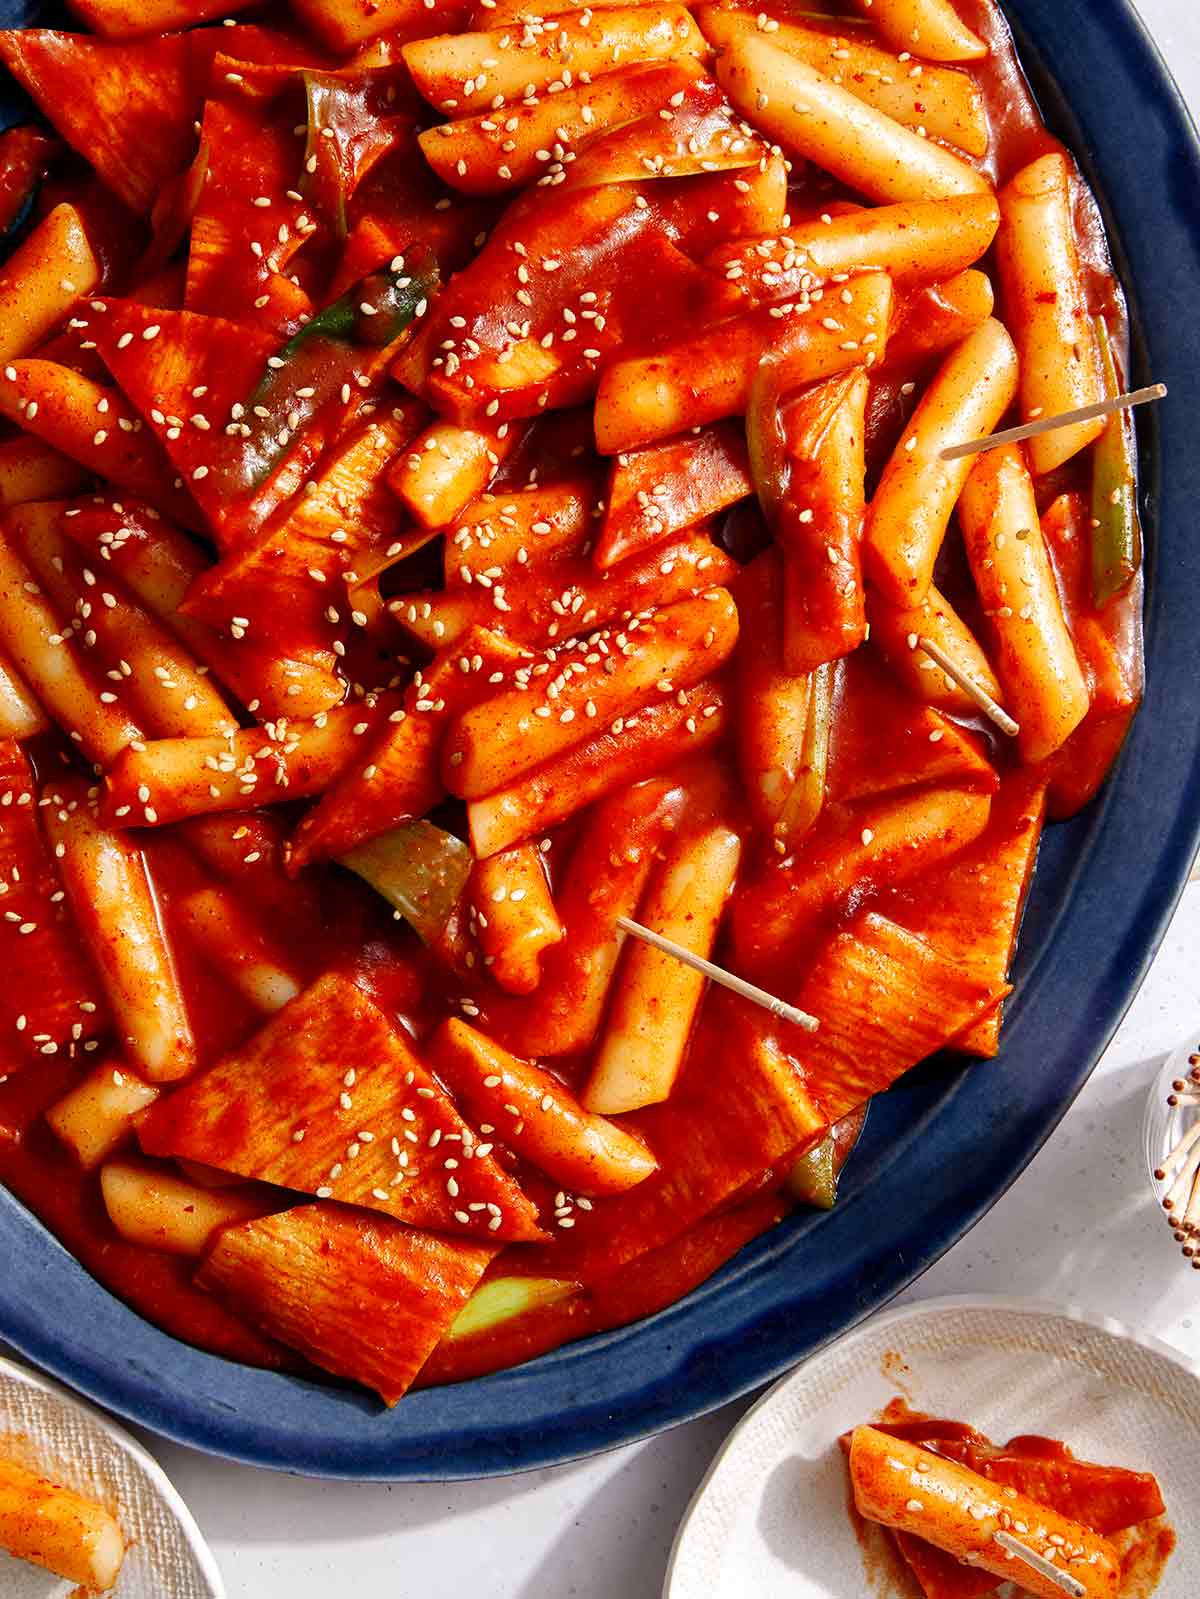
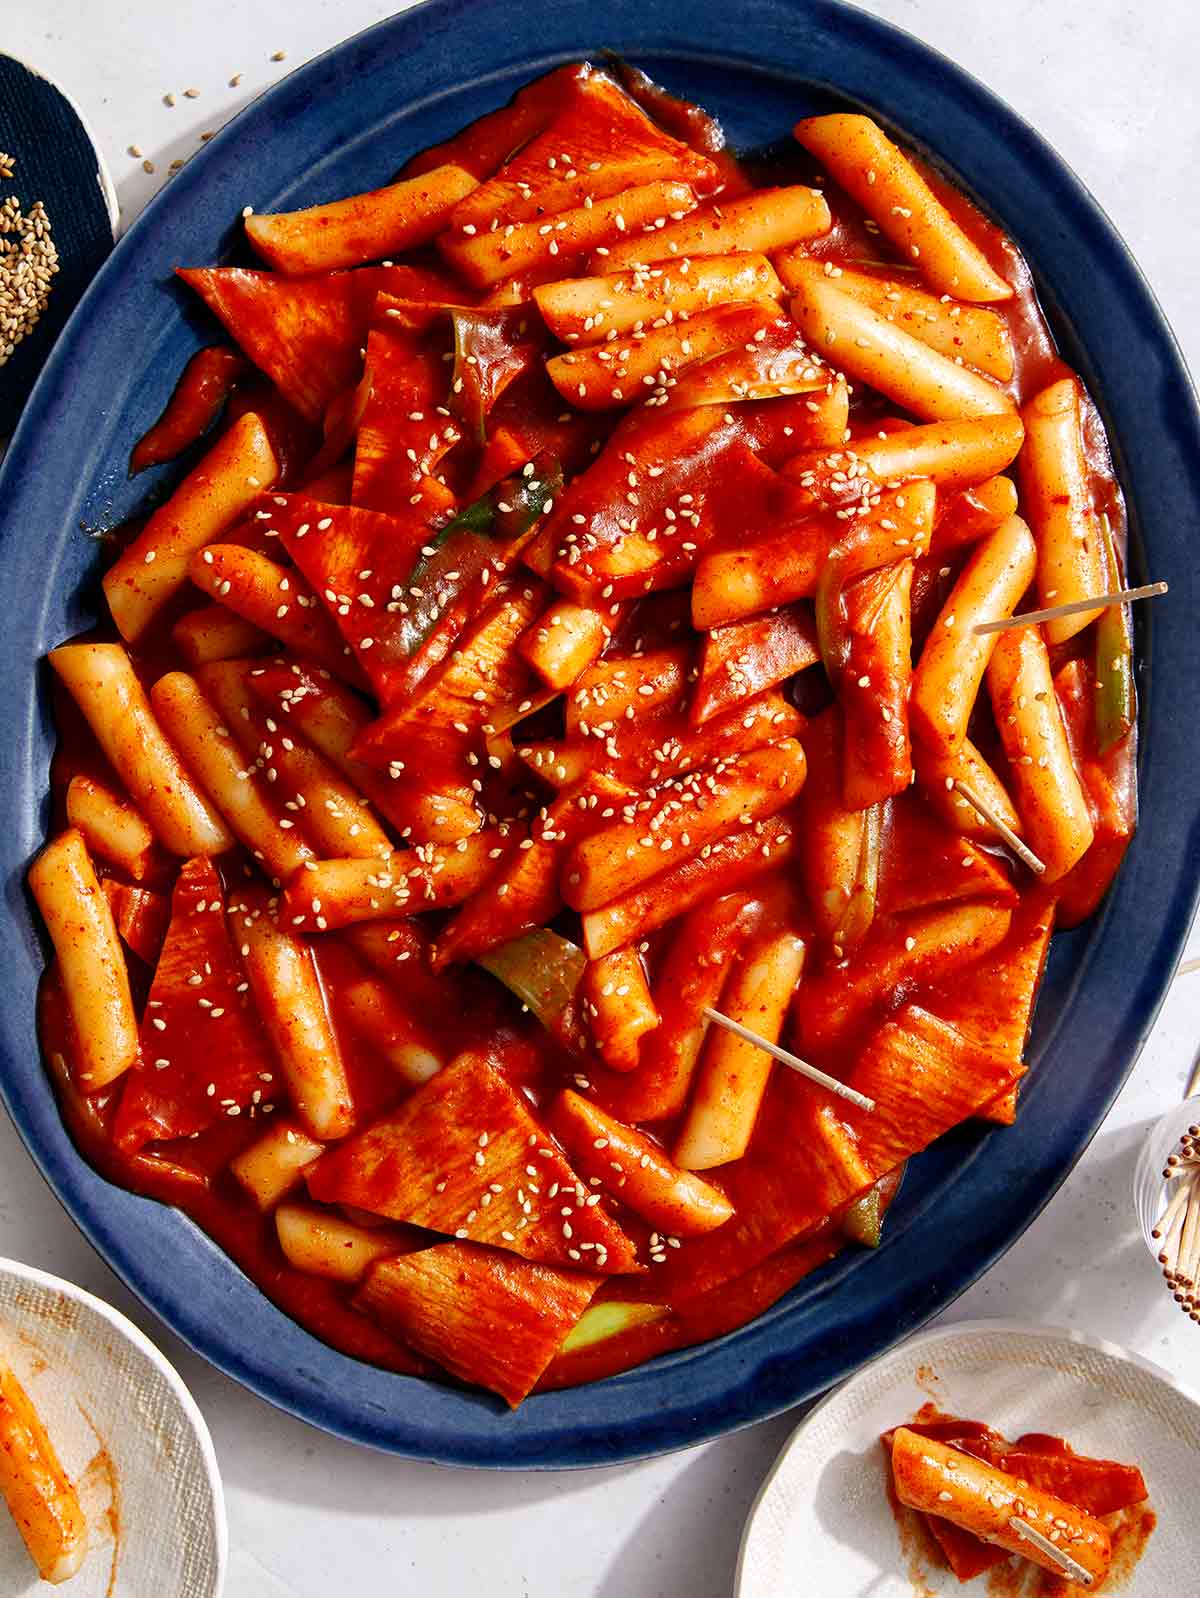
Tteokbokki recipe on a platter.

I LOVE Tteokbokki so much and our tteokbokki recipe couldn’t be easier to make. The rice cakes are simmered in a rich, spicy sauce that they soak up as they soften. Not only are the flavors and texture incredible, but it will leave you totally satisfied.

I love enjoying this comforting Korean bar food with an iced cold beer. I also love mixing it up by adding ramen noodles to a batch, some shredded mozzarella cheese to the top and even a hard boiled egg. If you’ve never had tteokbokki before, you’re in for a huge treat!

What is Tteokbokki

Tteokbokki, literally translated to “stir-fried rice cake” is a delicious Korean dish with a long, rich history! Although this spicy version is the most popular version eaten today, the original version of tteokbokki was not spicy at all!

Tteokbokki was created the Joseon dynasty, and was a soy sauce based rice cake dish that was strictly reserved for royalty. Today tteokbokki is a common Korean dish that can be found at many casual (bar food oriented) restaurants and street food vendors.

How to Make Tteokbokki

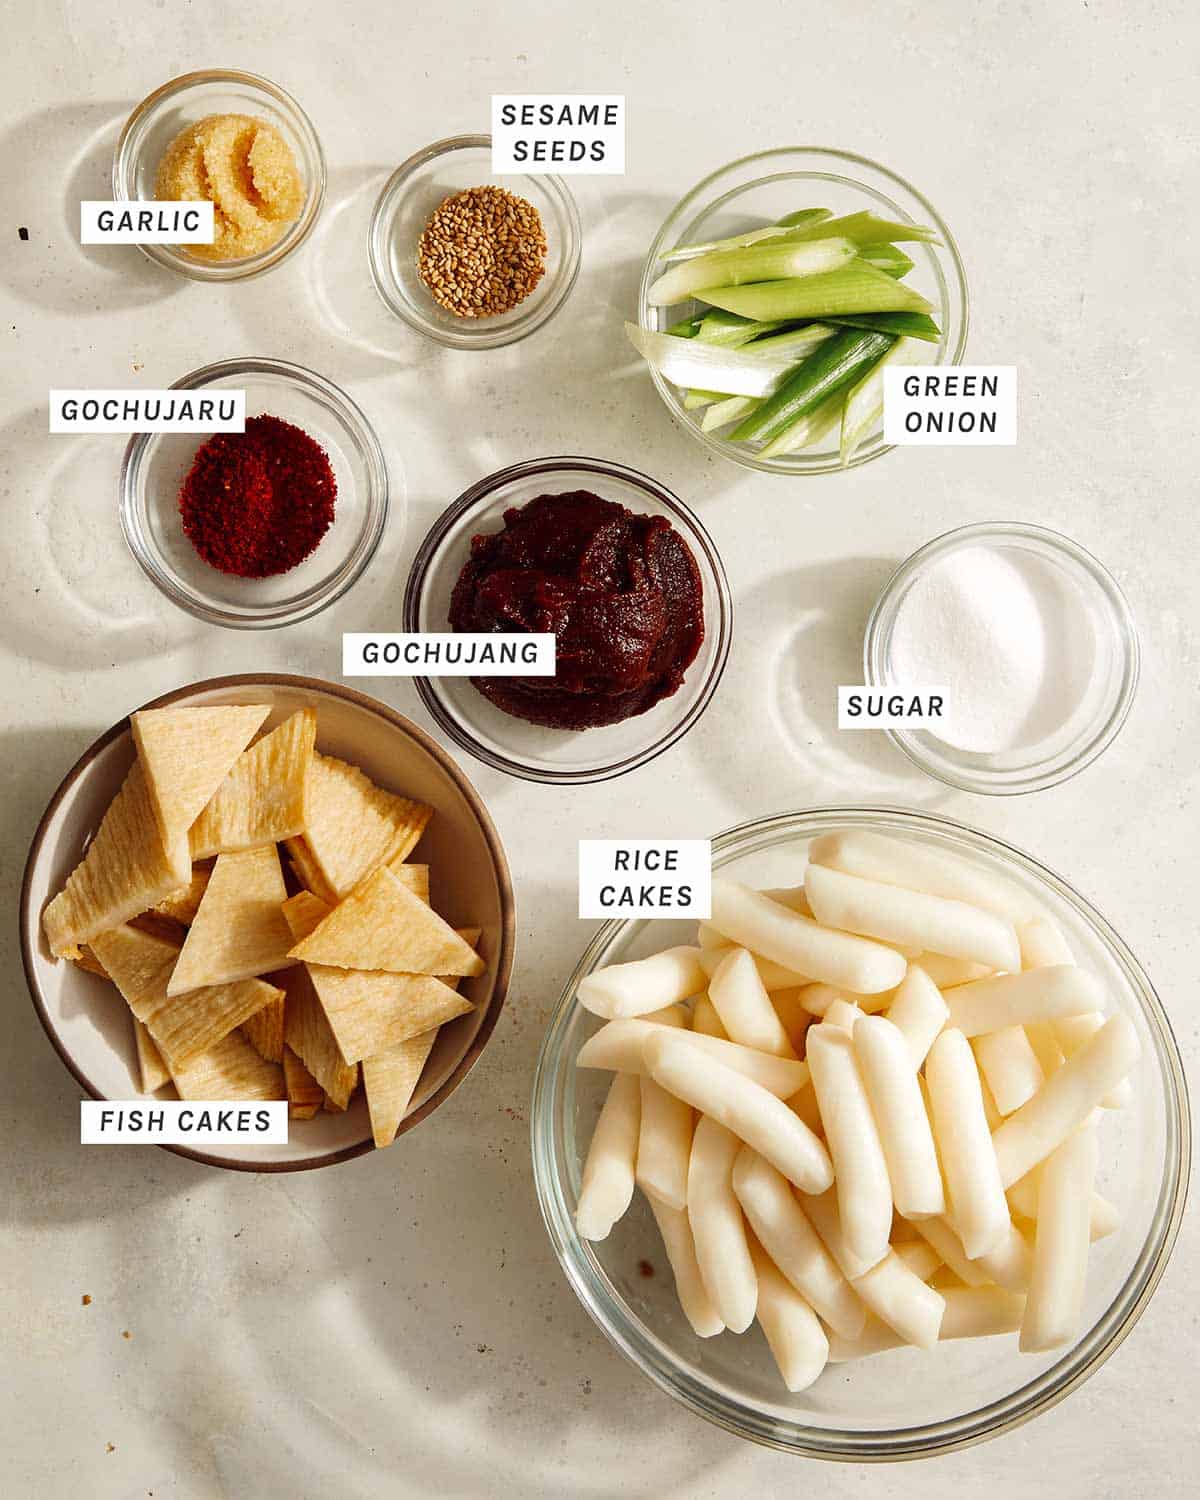
Ingredients

Process

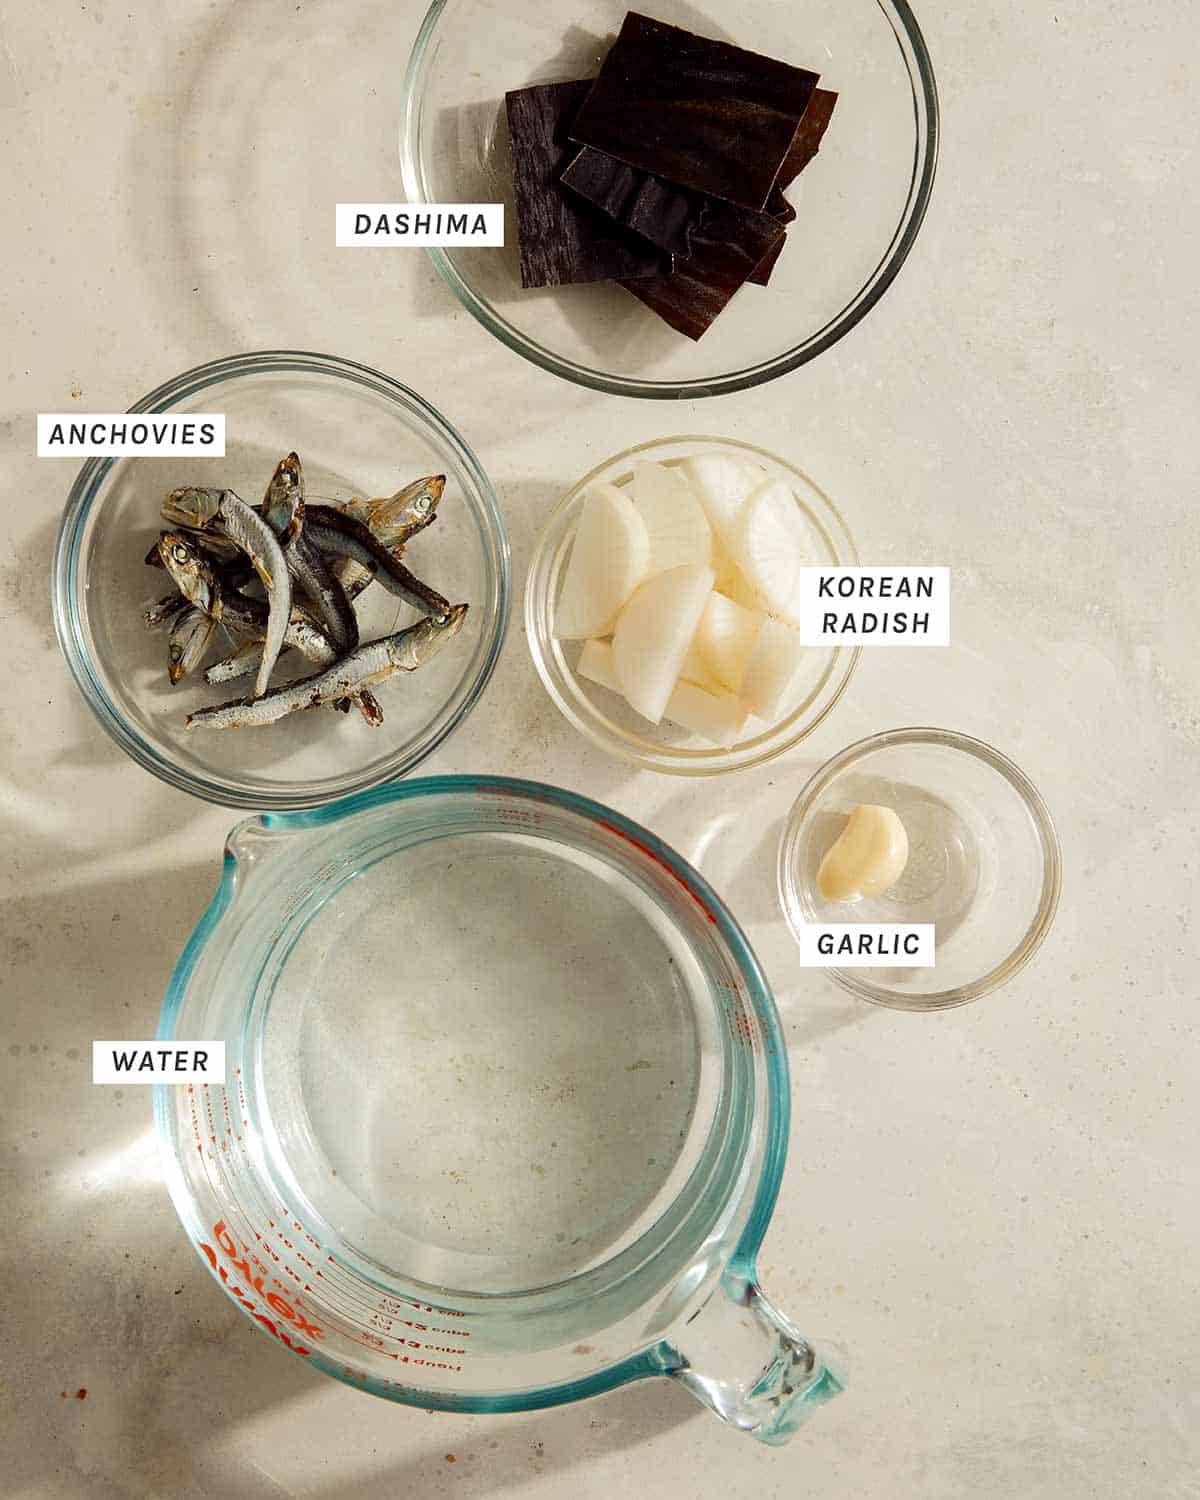
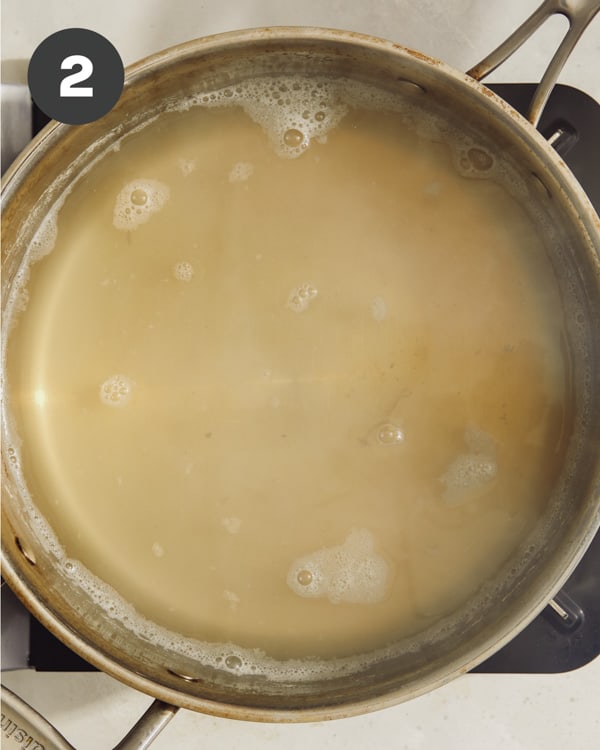
Anchovy broth to make Tteokbokki.

ANCHOVY STOCK

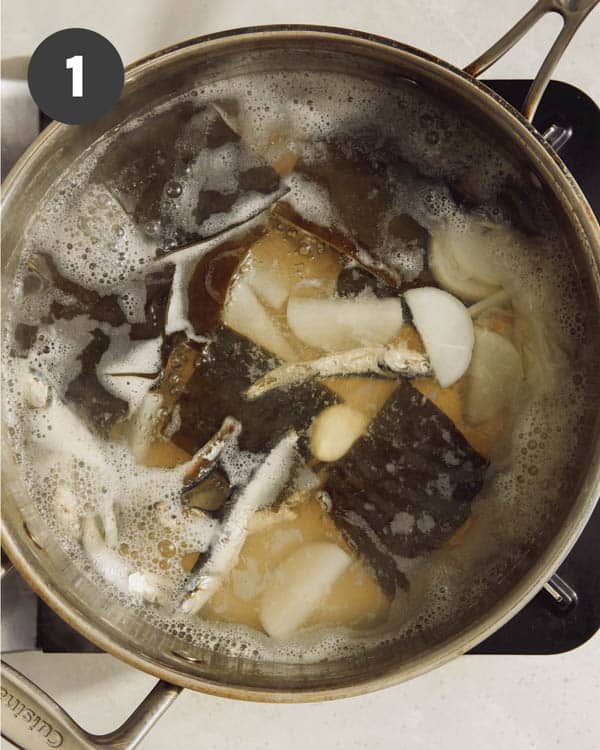
  1.  In a pot combine water, anchovies, dashima, garlic clove, and radish. Simmer for 20 minutes.
  2.  Strain anchovies, dashima, garlic, and radish from the pan.
Anchovy broth to make tteokbokki.
Broth for Korean spicy rice cakes.

TTEOKBOKKI

Tteokbokki recipe ingredients laid out.
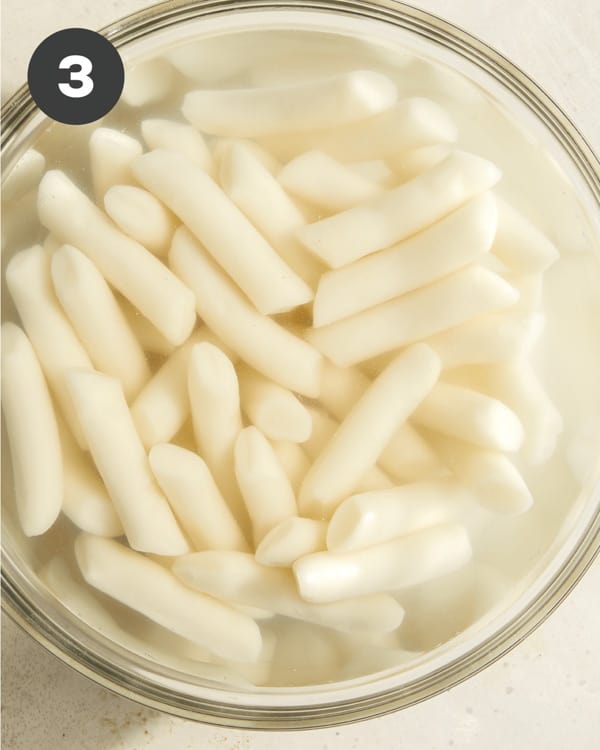
  1. Soak rice cakes in water for 30 minutes (unless using fresh).
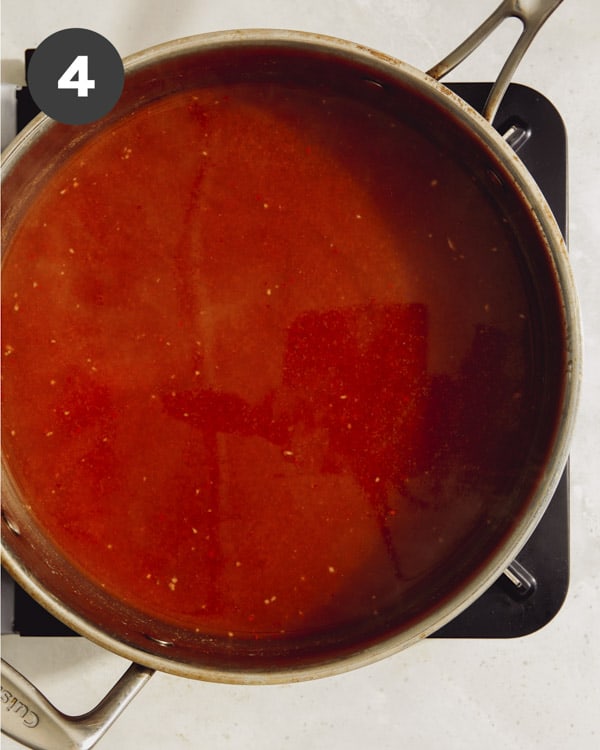
  2. Add pepper paste, pepper flakes, sugar, and garlic to broth and stir together.
Rice cakes soaked in water.
Tteokbokki sauce simmering in a pot.
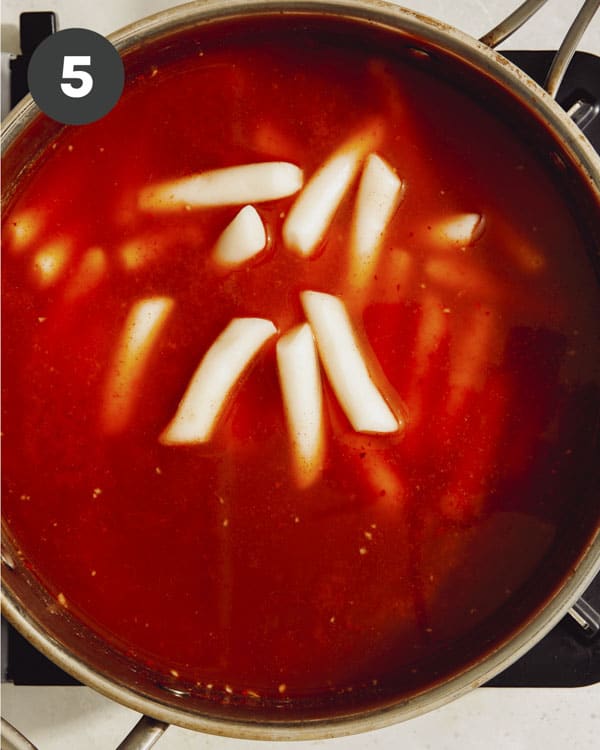
  1.  Drain rice cakes and add to spicy broth.Stir everything together and bring to a simmer over medium heat, stirring occasionally. Continue to simmer for 10 to 12 minutes or until liquid has thickened and rice cakes are soft.
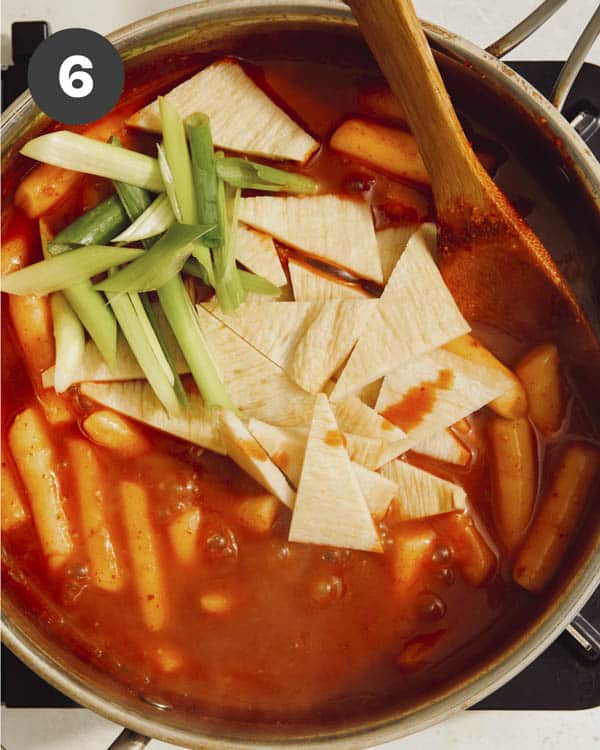
  2. Stir in green onions and fish cake. Continue to simmer for 5 minutes.
Tteokbokki recipe with rice cakes in a pot.
Tteokbokki recipe with fish cakes and green onion added in a pot.
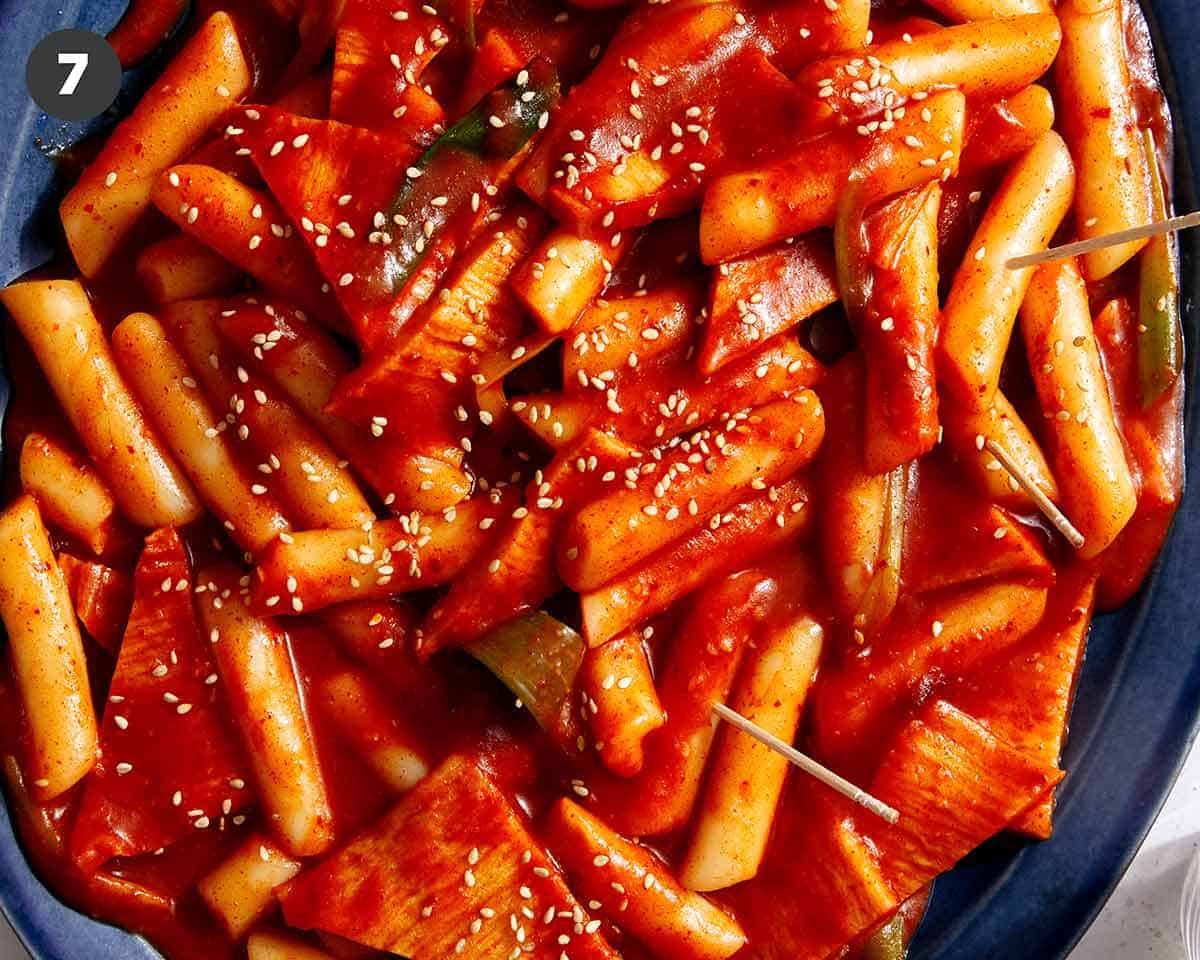
  1. Remove from heat and top with sesame seeds. Serve.
Tteokbokki served on a platter with sesame seeds on top.

Reheating Instructions

Tteokbokki is truly the best eaten freshly made, but if you happen to have any leftovers you can store them in an airtight container in the refrigerator for up to a day.

When you’re ready to reheat them, transfer the tteokbokki to a skillet, cover and simmer over medium-low heat, stirring occasionally (so the sauce doesn’t burn). Once the rice cakes have softened through, remove them from the heat and enjoy.

Tteokbokki, Korean rice cakes, recipe on a platter being served.

Tips and Tricks for Success

  • Unless you’re using fresh rice cakes, it’s important to soak them in water so they soften and really absorb some of the spicy sauce as they simmer.
  • If your rice cakes aren’t soft enough, you can stir in a small amount of water or more stock and continue to simmer for a few more minutes.
  • Make and use anchovy stock for best results. It adds the subtle umami flavor to the dish that I think is the very best!

Tteokbokki Variations

  • Stir some cooked ramen noodles to the mixture before serving.
  • Add some shredded mozzarella cheese to the top of the dish, in the last two minutes of simmering.
  • Add a couple peeled, boiled eggs to the dish in the last couple minutes of simmering.
  • Swap the fish cakes out for mini sausages, sliced spam, or cut up hot dogs.
  • Although I highly recommend making and using anchovy stock, if you don’t want to make your own you can use store-bought (or homemade) chicken, beef or vegetable stock.

More Delicious Korean Recipes You Will Love

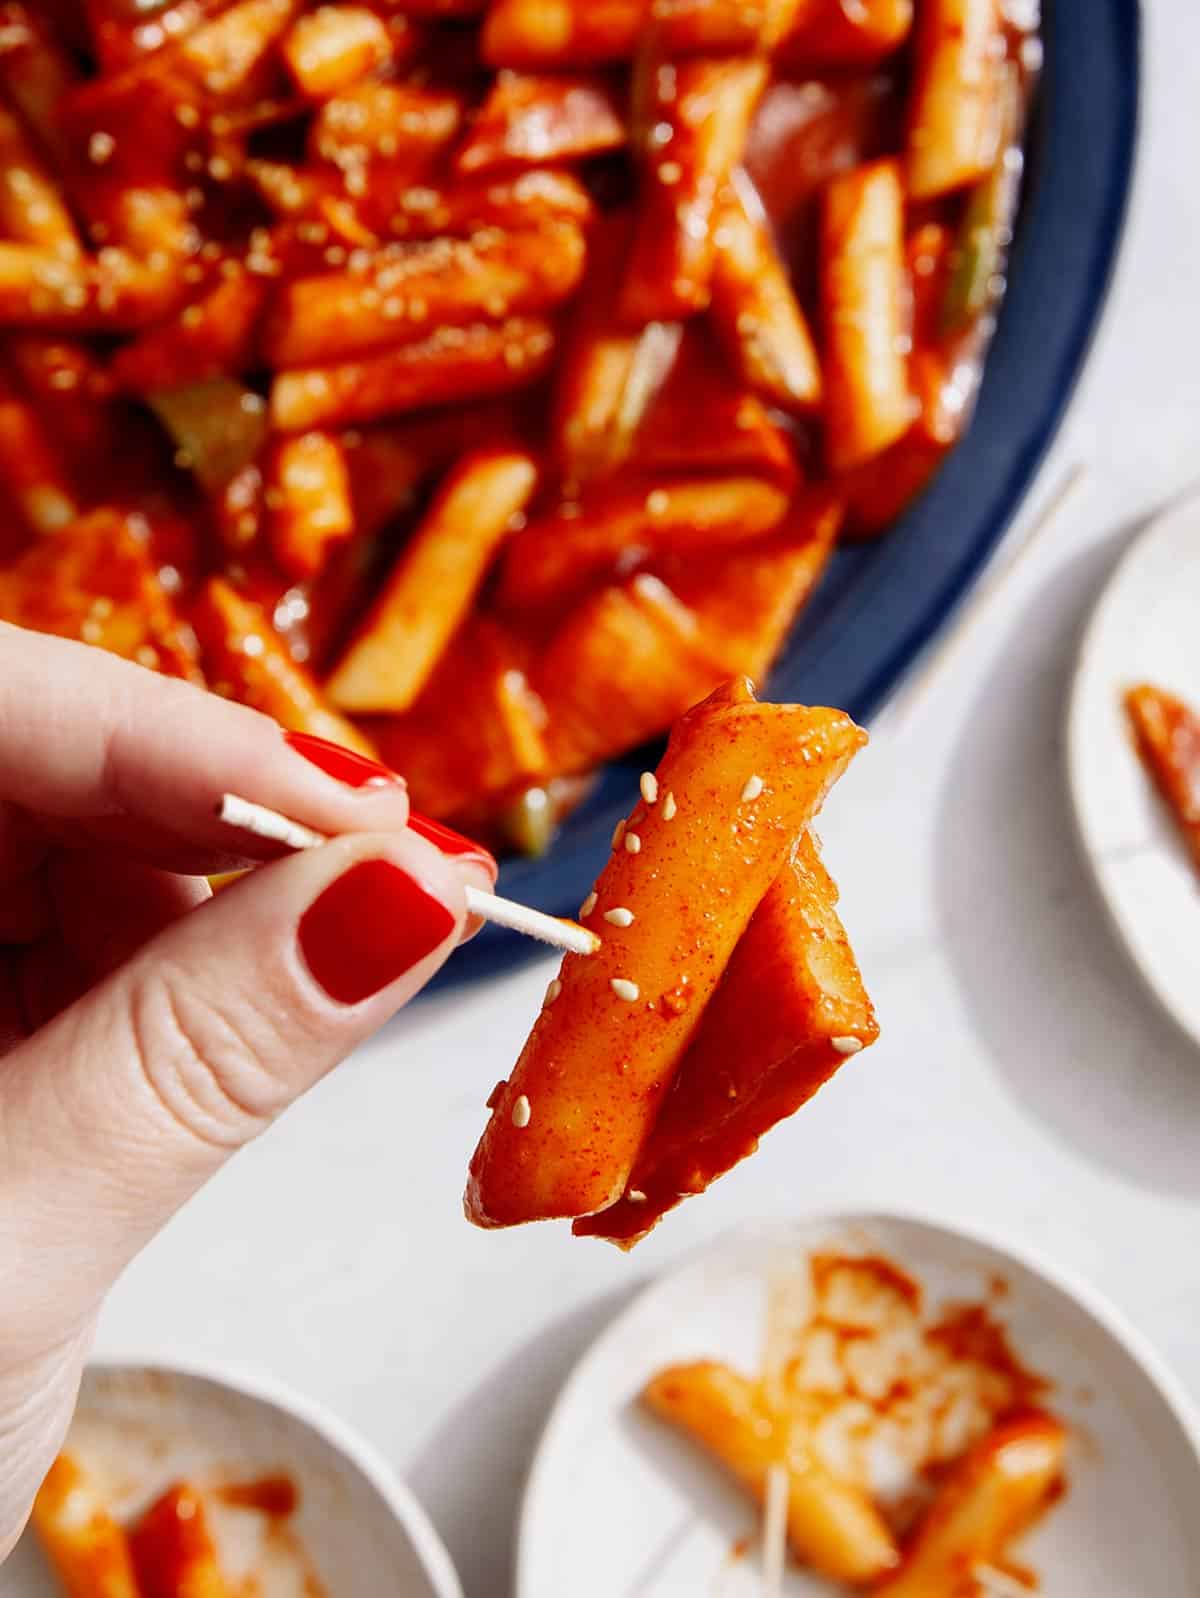
Tteokbokki recipe served with toothpicks.
Tteokbokki recipe on a platter.
Print

Tteokbokki Recipe

The BEST Tteokbokki Recipe you'll ever taste! The soft, cylinder rice cakes are simmered in a spicy sauce with just a hint of sweetness. It's an addictive Korean street food that's so easy to make at home and very versatile. We promise this recipe will not disappoint!
Course Appetizer, dinner, Snack
Cuisine korean
Prep Time 10 minutes
Cook Time 32 minutes
soaking time 30 minutes
Total Time 1 hour 12 minutes
Servings 4
Calories 434kcal

Ingredients

anchovy stock

  • 4 cups water
  • 8 large dried anchovies, cleaned
  • 1 6"x 6" dashima (or kelp)
  • 1 garlic clove
  • 2 ounces sliced Korean radish (or daikon)

tteokbokki

  • 1 pound cylinder rice cakes
  • 1/3 cup gochujang (korean hot pepper paste)
  • 2 tablespoons sugar
  • 2 teaspoons gochugaru (Korean hot pepper flakes)
  • 1 tablespoon minced garlic
  • 1/2 pound pre-fried, flat fish cakes cut into small triangles or strips
  • 2 green onions cut into 2" pieces
  • 1 teaspoon toasted sesame seeds

Instructions

anchovy stock

  •  In a pot combine water, anchovies, dashima, garlic clove, and radish. Simmer for 20 minutes.
  •  Strain anchovies, dashima, garlic, and radish from the pan.

tteokbokki

  • Soak rice cakes in water for 30 minutes (unless using fresh).
  • Add pepper paste, pepper flakes, sugar, and garlic to broth and stir together.
  •  Drain rice cakes and add to spicy broth.
  • Stir everything together and bring to a simmer over medium heat, stirring occasionally.
  • Continue to simmer for 10 to 12 minutes or until liquid has thickened and rice cakes are soft.
  • Stir in green onions and fish cake. Continue to simmer for 5 minutes.
  • Remove from heat and top with sesame seeds. Serve.

Notes

Reheating Instructions
Tteokbokki is truly the best eaten freshly made, but if you happen to have any leftovers you can store them in an airtight container in the refrigerator for up to a day.
When you’re ready to reheat them, transfer the tteokbokki to a skillet, cover and simmer over medium-low heat, stirring occasionally (so the sauce doesn’t burn). Once the rice cakes have softened through, remove them from the heat and enjoy.
Tips and Tricks for Success
  • Unless you’re using fresh rice cakes, it’s important to soak them in water so they soften and really absorb some of the spicy sauce as they simmer.
  • If your rice cakes aren’t soft enough, you can stir in a small amount of water or more stock and continue to simmer for a few more minutes.
  • Make and use anchovy stock for best results. It adds the subtle umami flavor to the dish that I think is the very best!

Nutrition

Calories: 434kcal | Carbohydrates: 82g | Protein: 14g | Fat: 5g | Saturated Fat: 1g | Polyunsaturated Fat: 3g | Monounsaturated Fat: 1g | Trans Fat: 0.1g | Cholesterol: 59mg | Sodium: 621mg | Potassium: 296mg | Fiber: 1g | Sugar: 11g | Vitamin A: 406IU | Vitamin C: 9mg | Calcium: 63mg | Iron: 2mg

The post Tteokbokki (Korean Spicy Rice Cakes) appeared first on Spoon Fork Bacon.

Our 11 Best Recipes Where Butter Plays The Lead

When it comes to food, butter is a lot like Meryl Streep: It seemingly has its hand in everything that’s generationally good. From croissants to shellfish to cocktails, butter routinely transcends ordinary recipes into delicious classics. To honor butt…

When it comes to food, butter is a lot like Meryl Streep: It seemingly has its hand in everything that’s generationally good. From croissants to shellfish to cocktails, butter routinely transcends ordinary recipes into delicious classics. To honor butter’s culinary prowess, we’ve compiled recipes that show off its undeniable culinary range.

1. Classic Croissants

Behind every great croissant lies an even better butter block. The French pastry demonstrates the peak of butter’s powers as it creates a flaky texture, rich flavor, and golden finish. Everyone should make croissants at least once, and there’s no better entry point than this recipe from Erin McDowell.

Read More >>