I always get a warm and cozy feeling anytime I make homemade applesauce. The smell of apples and cinnamon spreads through the kitchen as it cooks and soon the scent of Fall has filled the entire house. Fall is also the best time to make this homemade applesauce recipe because apples are in season so there are a lot of varieties to choose from, their flavor is at their peak, and they’re inexpensive. Sure you can buy store-bought applesauce, but trust me it’s no comparison to the taste of homemade applesauce!
Ingredients for Homemade Applesauce
You only need 4 simple ingredients to make this easy homemade applesauce recipe:
- Apples – Of course, there are lots of different apples to choose from when making applesauce, but in general you’ll want to stick with sweet or semi-sweet varieties. If you choose a tart apple, like granny smith, you may want to add some additional sugar. We used Gala apples for this recipe.
- Water – Water is used to cook the apples. Using water instead of apple juice or apple cider allows the fresh flavor of the apples to shine through!
- Ground cinnamon – A touch of ground cinnamon goes a long way and tastes great with cooked apples. It also gives the applesauce just a hint of flavor.
- Lemon juice – A little lemon juice brightens up the applesauce and helps the flavors pop. Don’t skip this one!
That’s it! Perfect homemade applesauce and no added sweetener needed.
What Kind of Apples Are Best For Making Applesauce?
You can honestly use several different types of apples to make applesauce. But to keep from having to add any sugar or sweetener, I suggest using a sweeter or semi-sweet variety of apple, like Fuji, Gala, Pink Lady, or Honeycrisp. You can use just one kind or a combination of 2 varieties if you want. And, of course, if you’re making your applesauce during the fall season, you’ll find the best deals and the sweetest apples during this time of year. ;)
Should You Peel The Apples?
This is a great question and it honestly depends on personal preference. I like to peel my apples when making applesauce in order to get a smoother consistency. But it’s definitely not required. If you’re short on time, just give them a good wash and leave the peel on.
How To Store Homemade Applesauce?
Homemade applesauce stores very well in the refrigerator and the freezer. Just store any leftover applesauce in an airtight container in the refrigerator for 4-5 days or in the freezer for up to 3 months. To thaw the applesauce, let it sit in the refrigerator overnight.
Homemade Applesauce
Equipment
Ingredients
- 6 large apples (about 3 lbs.) $5.07
- 1/4 tsp ground cinnamon $0.03
- 3/4 cup water $0.00
- 2 tsp lemon juice $0.04
Instructions
- Wash, peel, and remove the core from the apples. Chop the apples into small 3/4 inch chunks.
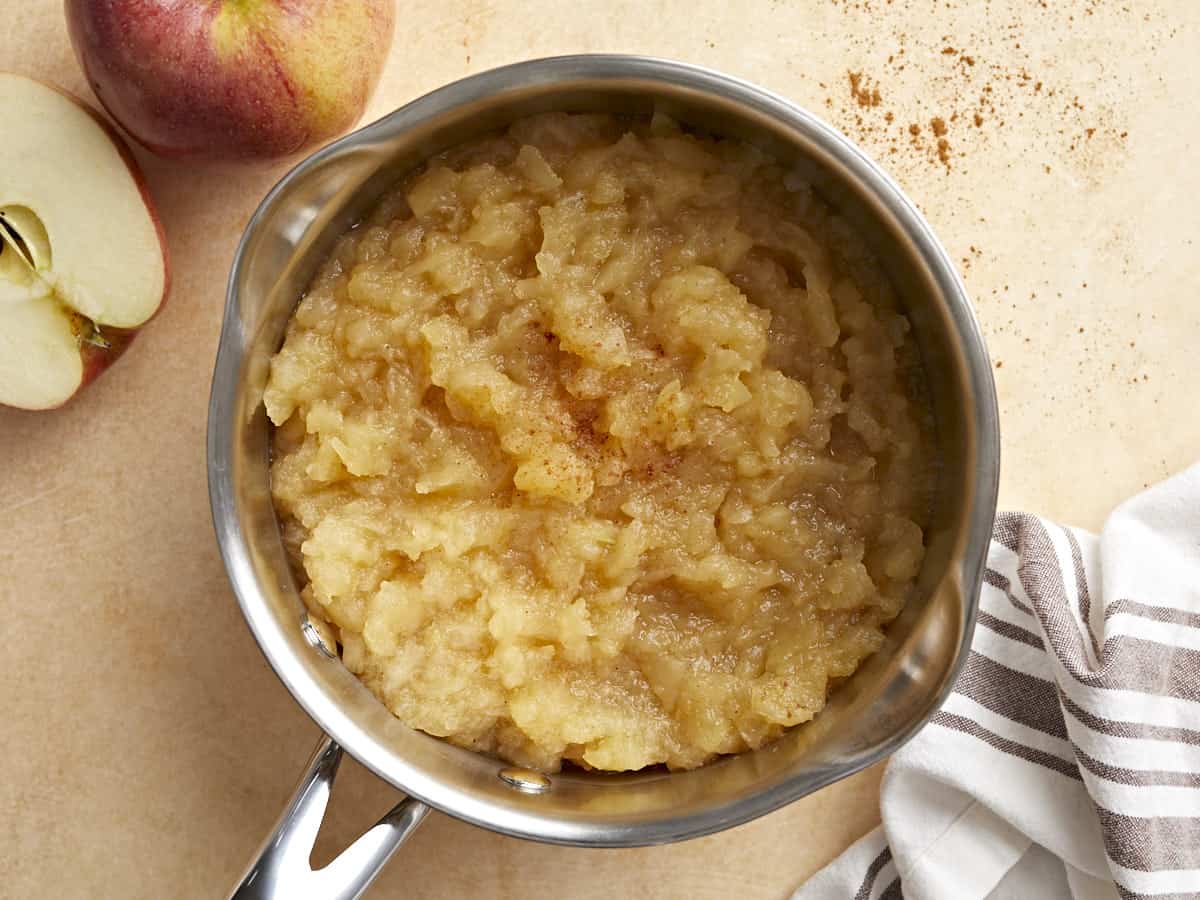
- Add the chopped apples, ground cinnamon and water to a medium pot and place a lid on top. Heat the apples over medium, allowing them to come up to a simmer. Continue to simmer the apples for 15-20 minutes, stirring occasionally, until they are tender. The total cook time will vary depending on the variety of apple used.*
- Remove the pot from heat. Mash the apples with a potato masher inside the pot for a chunky texture. Or allow the apples to cool slightly and blend with an immersion blender or carefully inside a blender for a smoother texture.
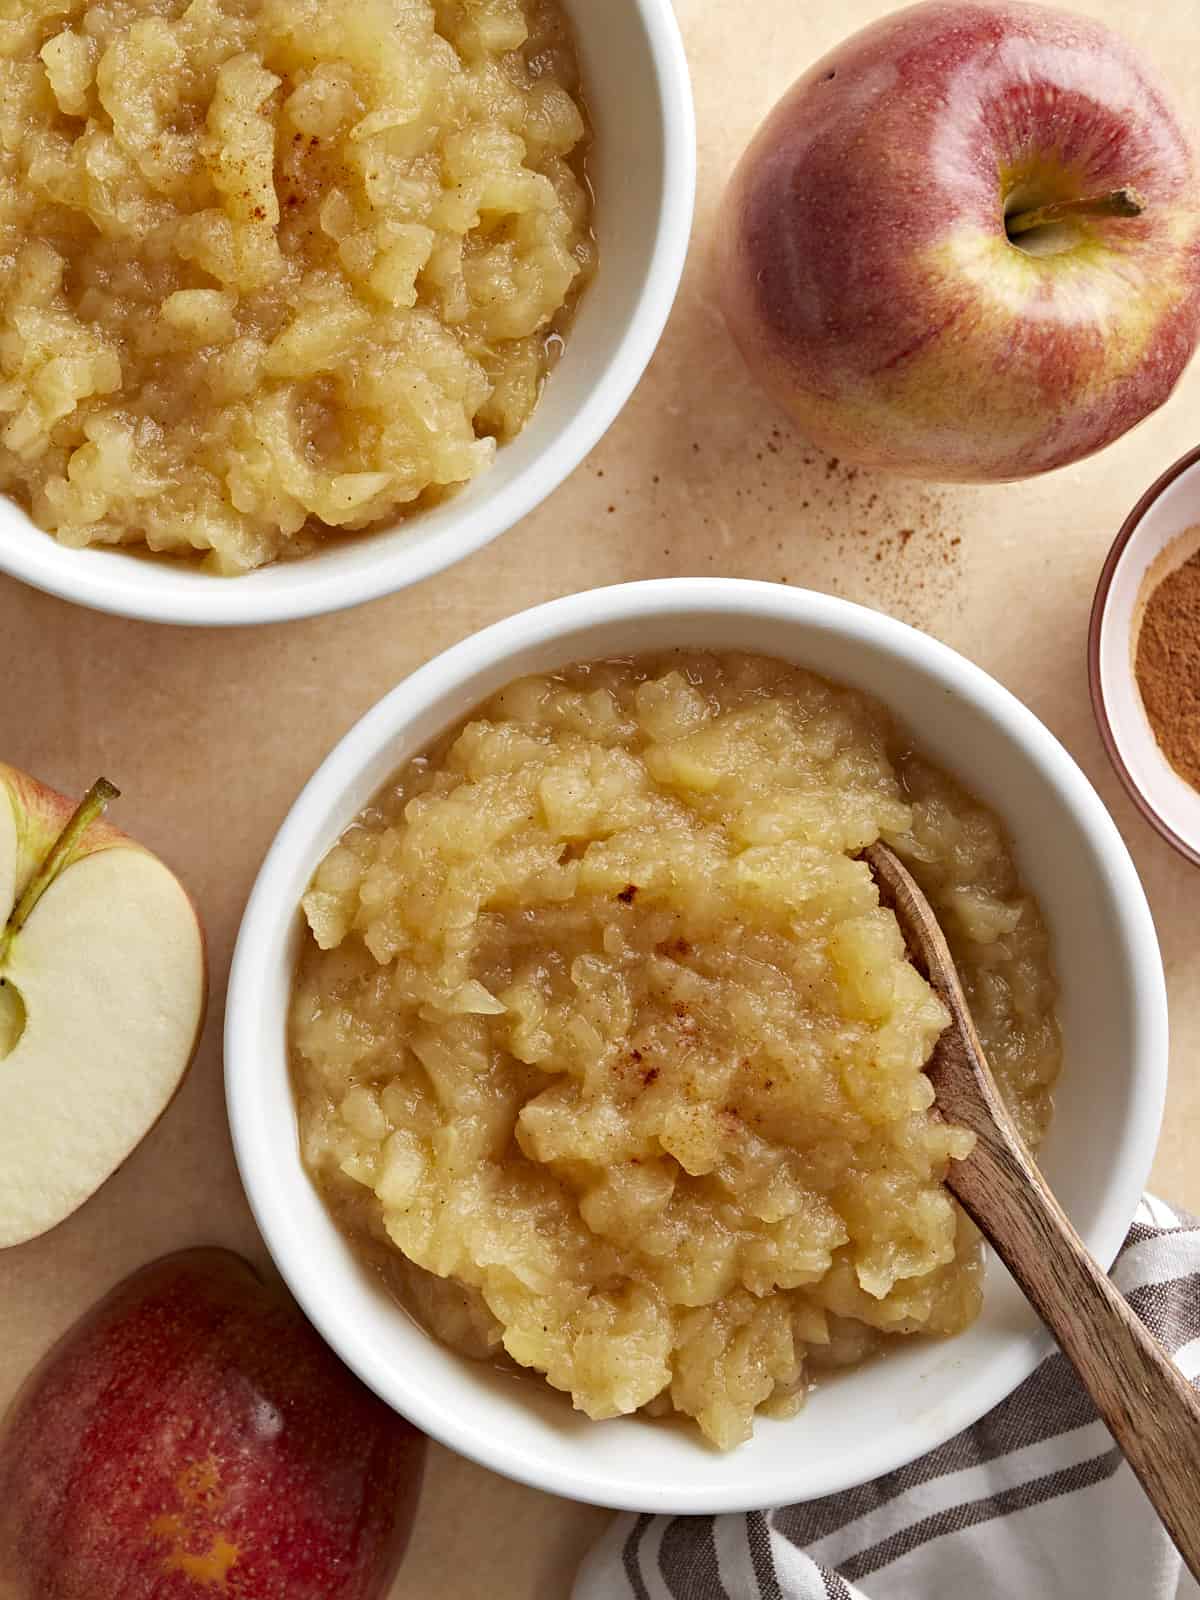
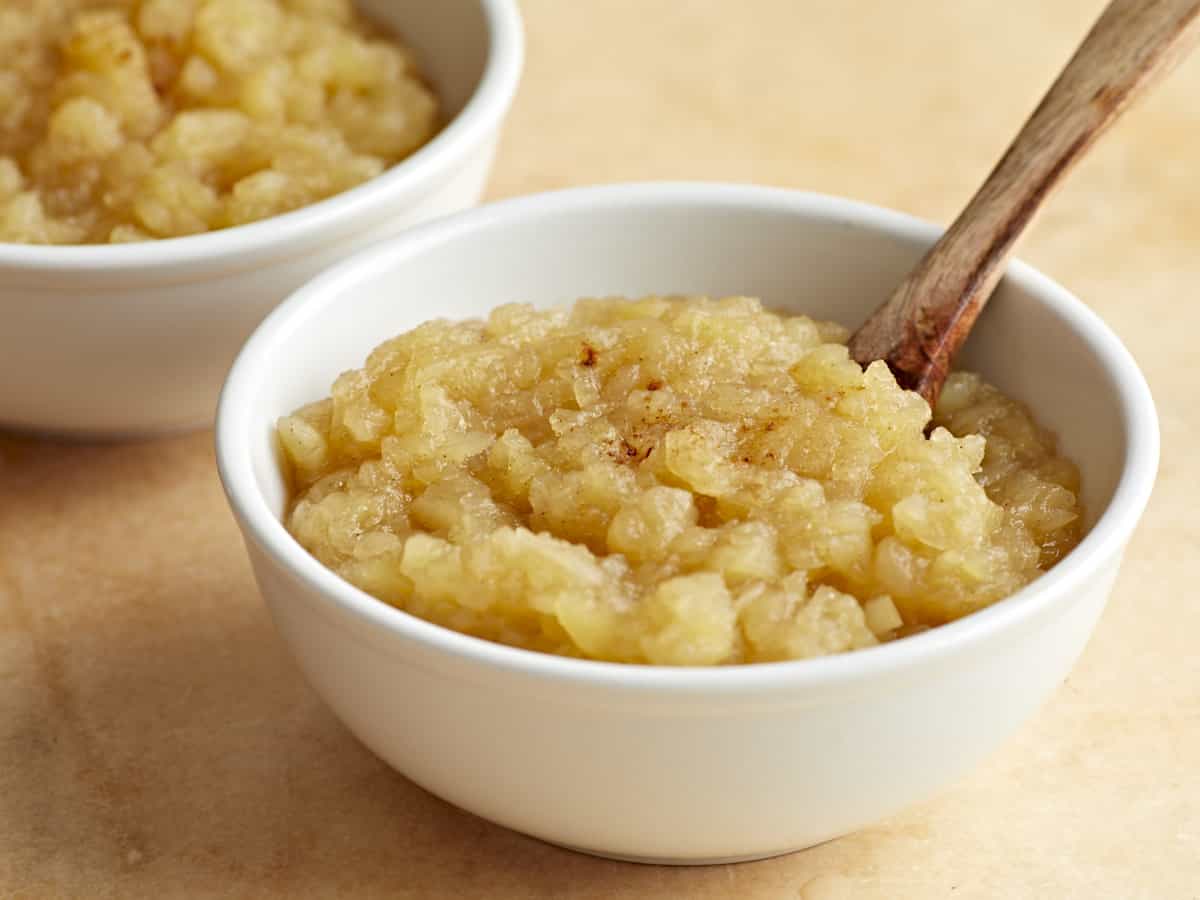
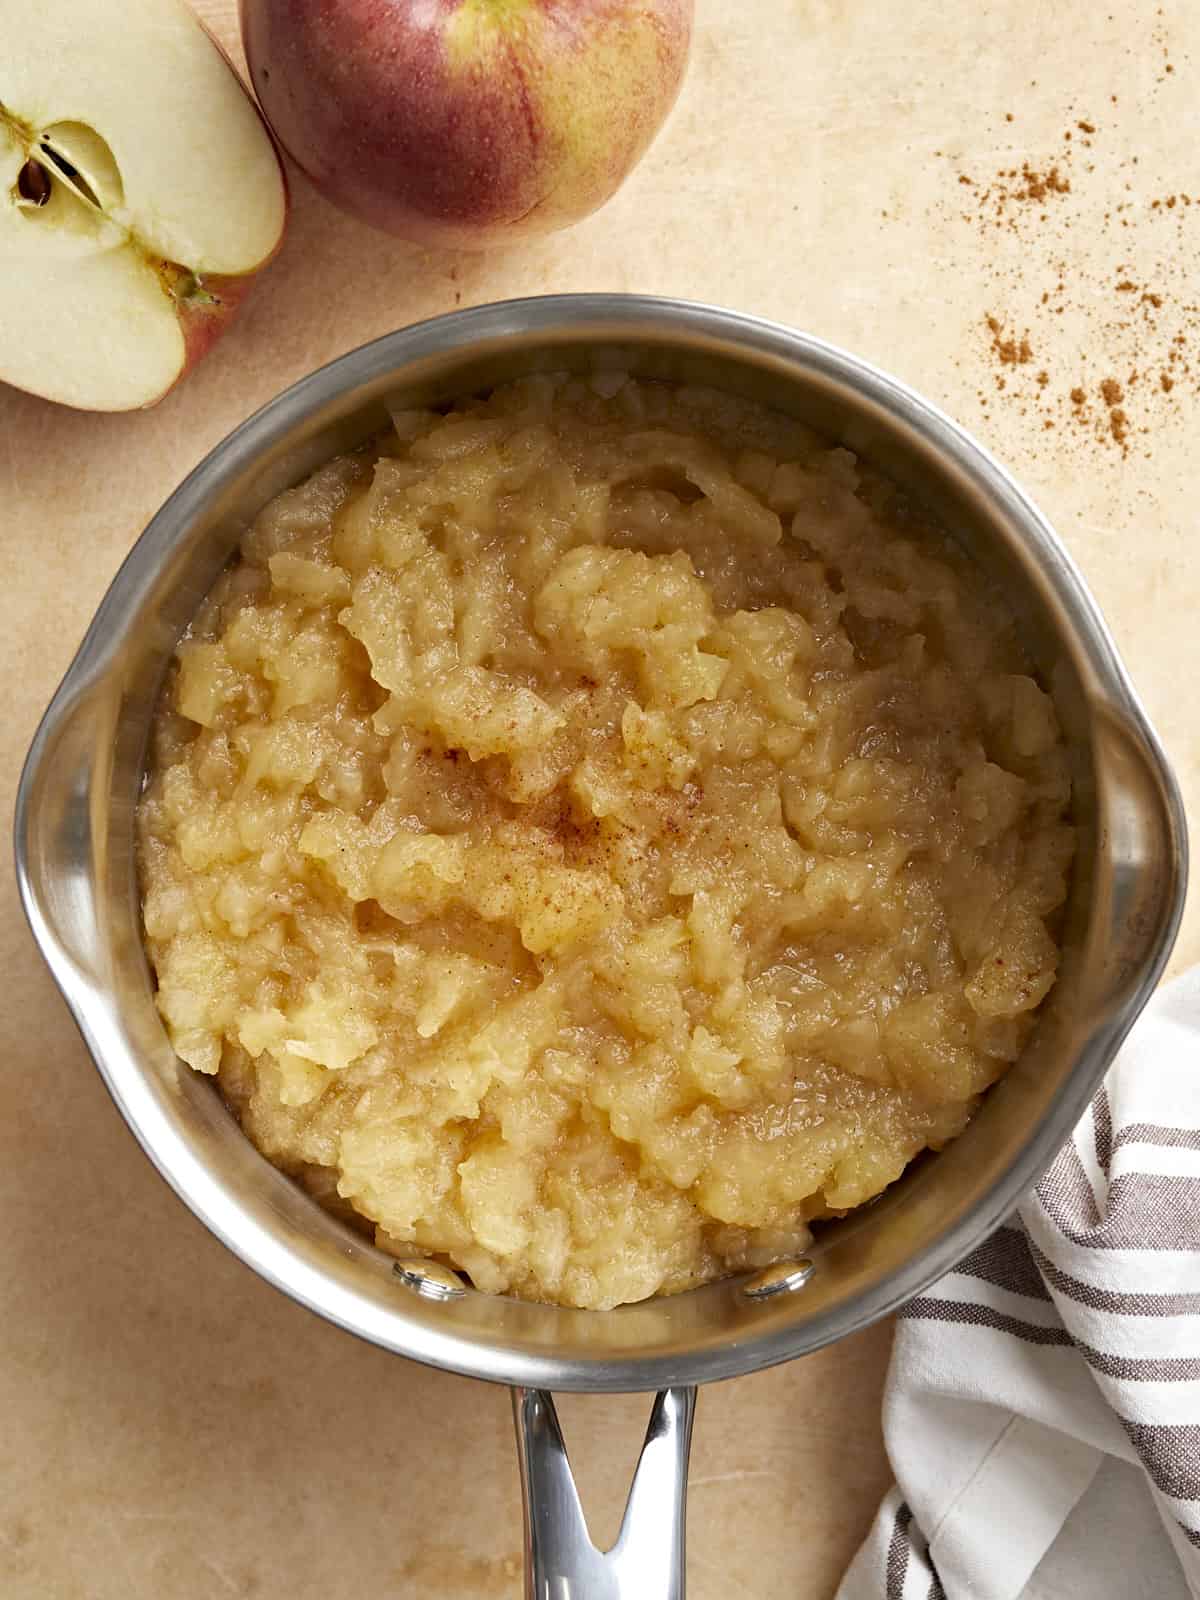
- Add the lemon juice to the applesauce and stir to combine. Serve homemade applesauce warm or chilled in the refrigerator.
See how we calculate recipe costs here.
Notes
Nutrition
How to Make Homemade Applesauce – Step by Step Photos

Wash, peel, and remove the core from 6 apples. Chop the apples into 3/4 inch small chunks.

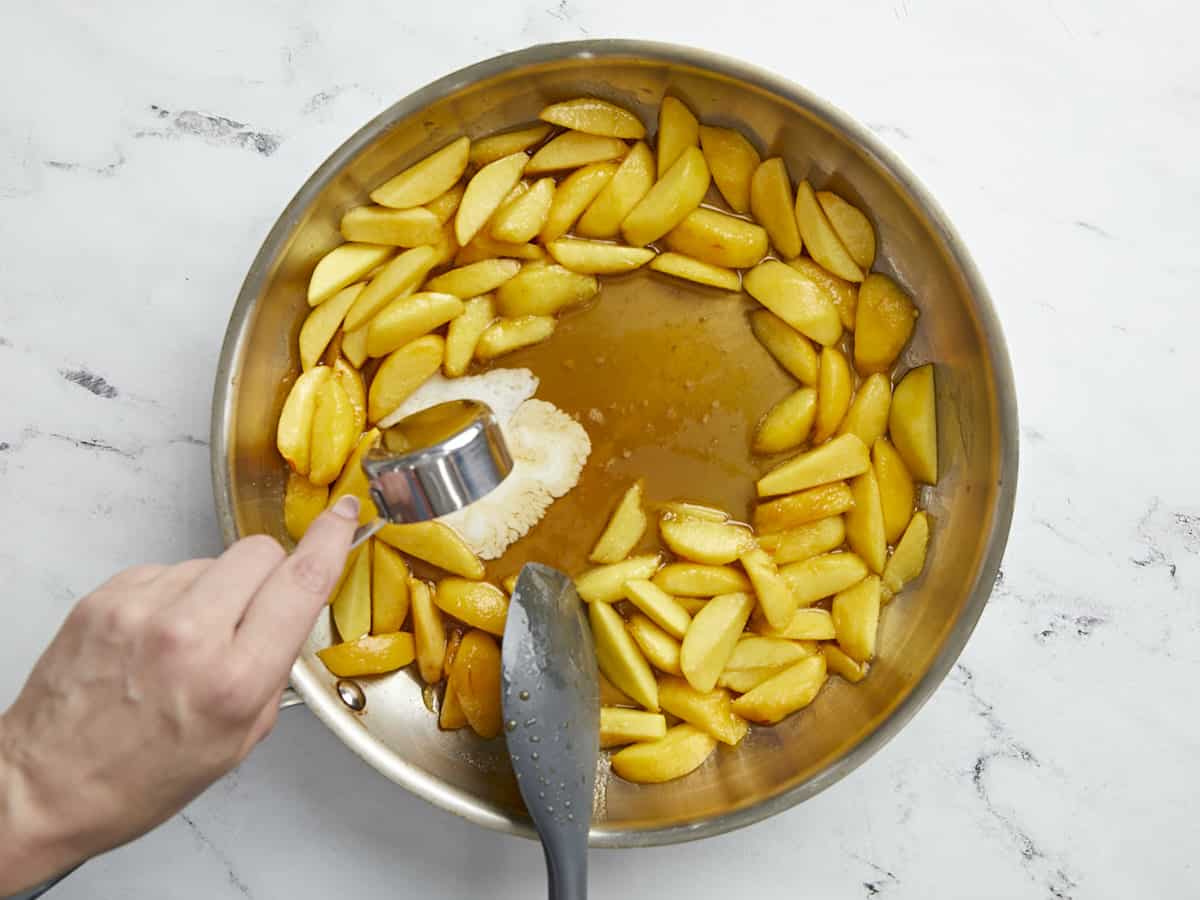
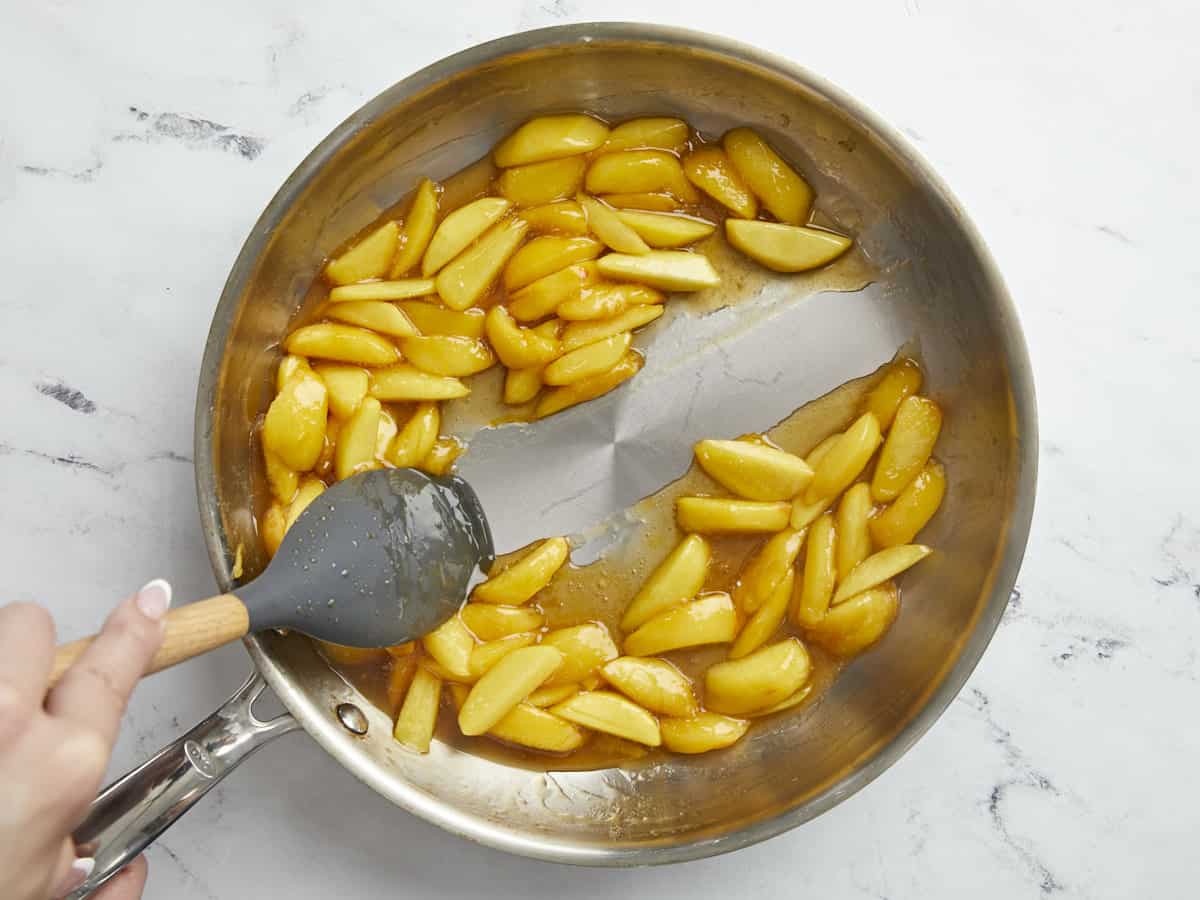
Add the chopped apples, 1/4 tsp ground cinnamon, and 3/4 cup of water to a medium pot and place a lid on top. Heat the apples over medium heat, allowing them to come up to a simmer. Continue to simmer the apples for 15-20 minutes, stirring occasionally, until they are tender. The total cook time will vary depending on the variety of apple used.
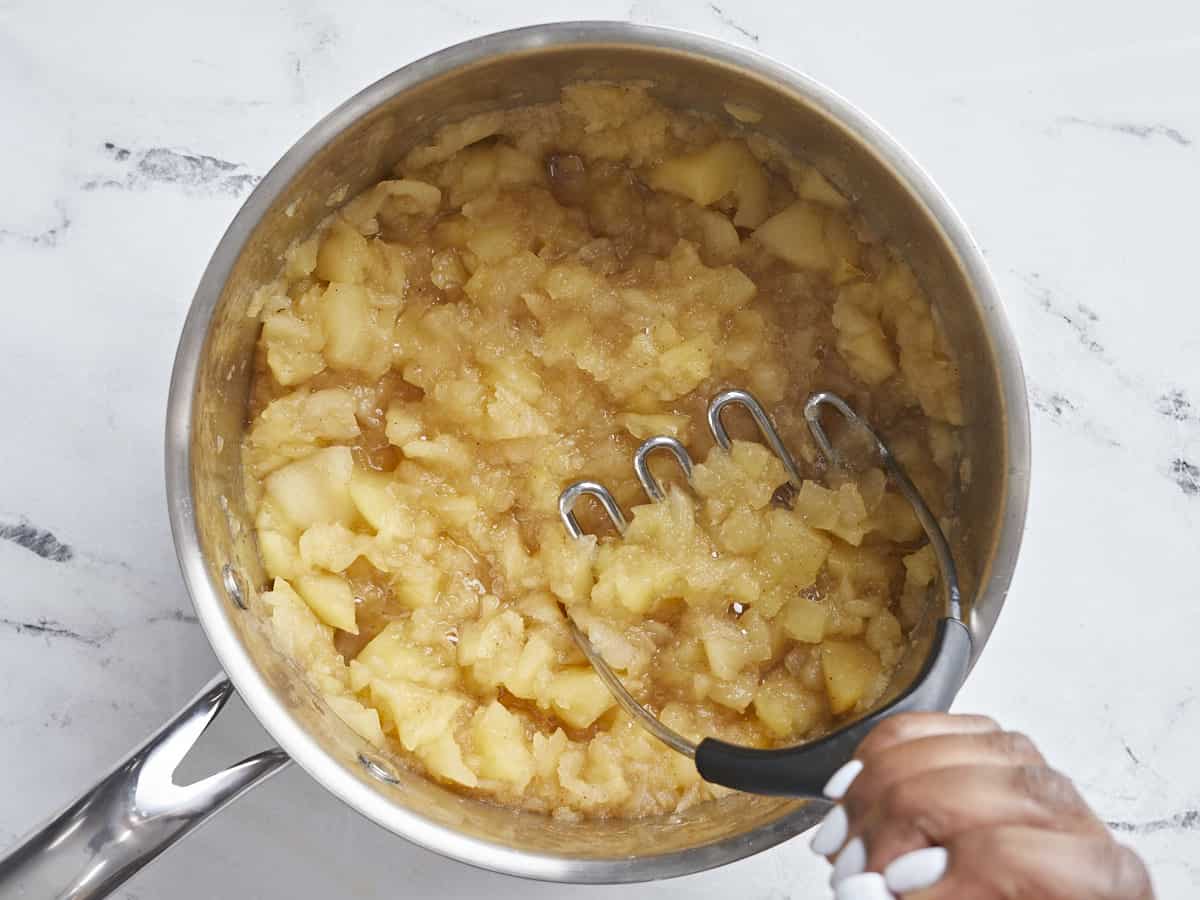
Remove the pot from heat. Mash the apples with a potato masher inside the pot for a chunky texture. Or allow the apples to cool slightly and blend with an immersion blender or carefully inside a blender for smoother texture.
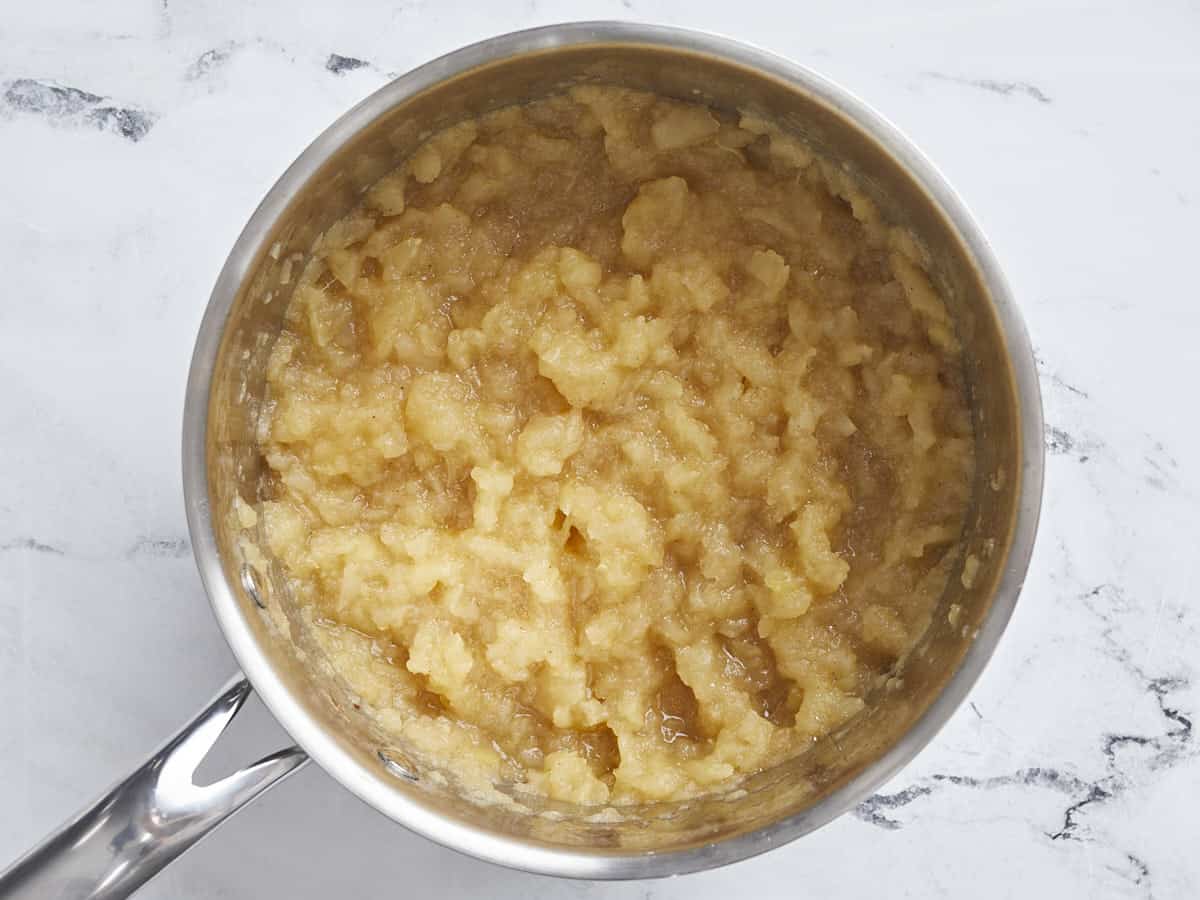
Add the 2 tsp of lemon juice to the applesauce and stir to combine. Serve homemade applesauce warm or chilled in the refrigerator. Enjoy!
More Easy Apple Recipes


The post Homemade Applesauce appeared first on Budget Bytes.