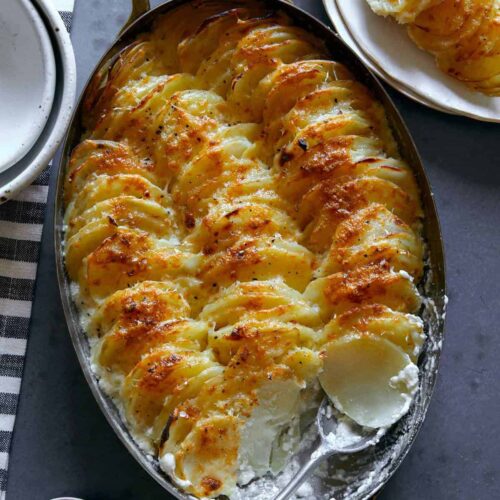
Make those potatoes go the extra mile with this creamy, cheesy potato casserole! Fit to serve a crowd, this potato casserole recipe is comfort food at its best. The crunchy, cheesy topping is a little sweet, a lot savory, and makes this the perfect side for Easter, Thanksgiving, or Christmas.

What is Potato Casserole?
Diced potatoes are blanketed in a sauce made from cheddar cheese, milk, and sour cream; seasoned with onions and garlic; and topped with crunchy corn flake cereal. It’s the ultimate cheesy, creamy, and crunchy side dish. So grab a 5 lb. bag or potatoes and get cooking!
Ingredients for Potato Casserole
- Yukon Gold Potatoes: These potatoes are in between starchy and waxy, making them perfect for this casserole since they hold their shape well. You’ll need 3 lbs. or about 6 medium potatoes.
- Butter: Unsalted butter adds a rich flavor to the dish and helps prevent the onions and garlic from burning in the pan.
- Onion and Garlic: These alliums add a classic earthy and sweet flavor that adds depth to this dish.
- Salt: Kosher salt enhances the natural flavor of the potatoes.
- All-Purpose Flour: A little bit of flour helps to thicken up the sauce.
- Milk: Milk adds moisture to the sauce. You can use any kind of milk you have on hand, including plant-based.
- Extra Sharp Cheddar Cheese: We love the flavor of extra sharp, but any kind of cheddar works well.
- Sour Cream: Sour cream adds a touch of brightening tanginess and richness to the dish.
- Corn Flake Cereal: Crushed corn flakes create the perfect slightly sweet, super crunchy topping for this casserole. You can also use Panko breadcrumbs or crushed butter crackers if that’s what you have on hand.
What Else Can I Add To Potato Casserole?
This is a great recipe for using up leftovers. Got some bacon or ham burning a hole in your refrigerator? Throw it in! You can swap the sour cream for Greek Yogurt if that’s what you have on hand. And feel free to top it with any leftover herbs you have lying around– parsley, chives, or scallions would all be delicious!
How to Serve Potato Casserole
Serve this creamy, cheesy potato casserole with Air Fryer Chicken Breasts, Classic Homemade Meatloaf, or some Turkey Meatballs. It’s also great for breakfast with Fried Eggs or Maple Sage Breakfast Sausage.
How to Store Leftovers
Store leftover potato casserole tightly covered with aluminum foil in the refrigerator for up to 5 days, or you can wrap it in a double-layer of plastic wrap and aluminum foil to store in the freezer for up to 3 months. You can reheat it covered with foil in a 350°F oven for 20-30 minutes, or until warmed through and bubbly.


Potato Casserole
Ingredients
- 3 lbs. Yukon gold potatoes $3.00
- 1/4 cup butter $0.53
- 1/2 onion $0.16
- 2 cloves garlic $0.16
- 1/2 tsp salt $0.02
- 1/4 cup all-purpose flour $0.05
- 2 cups milk $0.96
- 3 1/2 cups extra sharp cheddar cheese, divided $3.21
- 1/2 cup sour cream $0.53
- 1 cup crushed corn flake cereal $0.44
Instructions
- Preheat the oven to 375°F. Peel and dice the potatoes, finely chop the onion, and mince the garlic.
- Add the potatoes to a large pot of water. Bring to a boil, cooking for 8-10 minutes until fork tender. Strain in a colander. Then, transfer the potatoes to a greased 9×13 casserole dish.
- While the potatoes are boiling, melt the butter in a large saucepan or pot over medium heat.
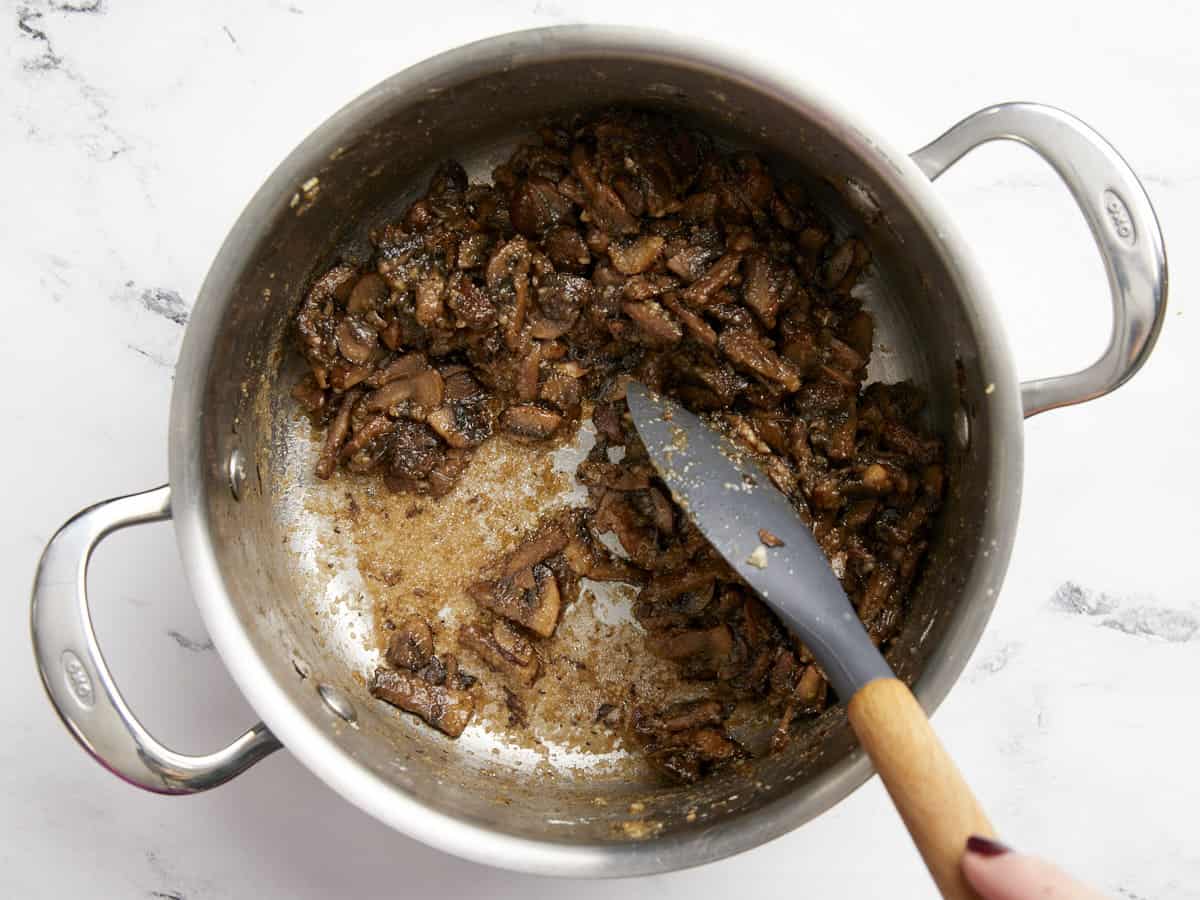
- Add in the onion and salt, and cook for a few minutes until softened. Add in the garlic and cook for a minute. Then, stir in the flour.
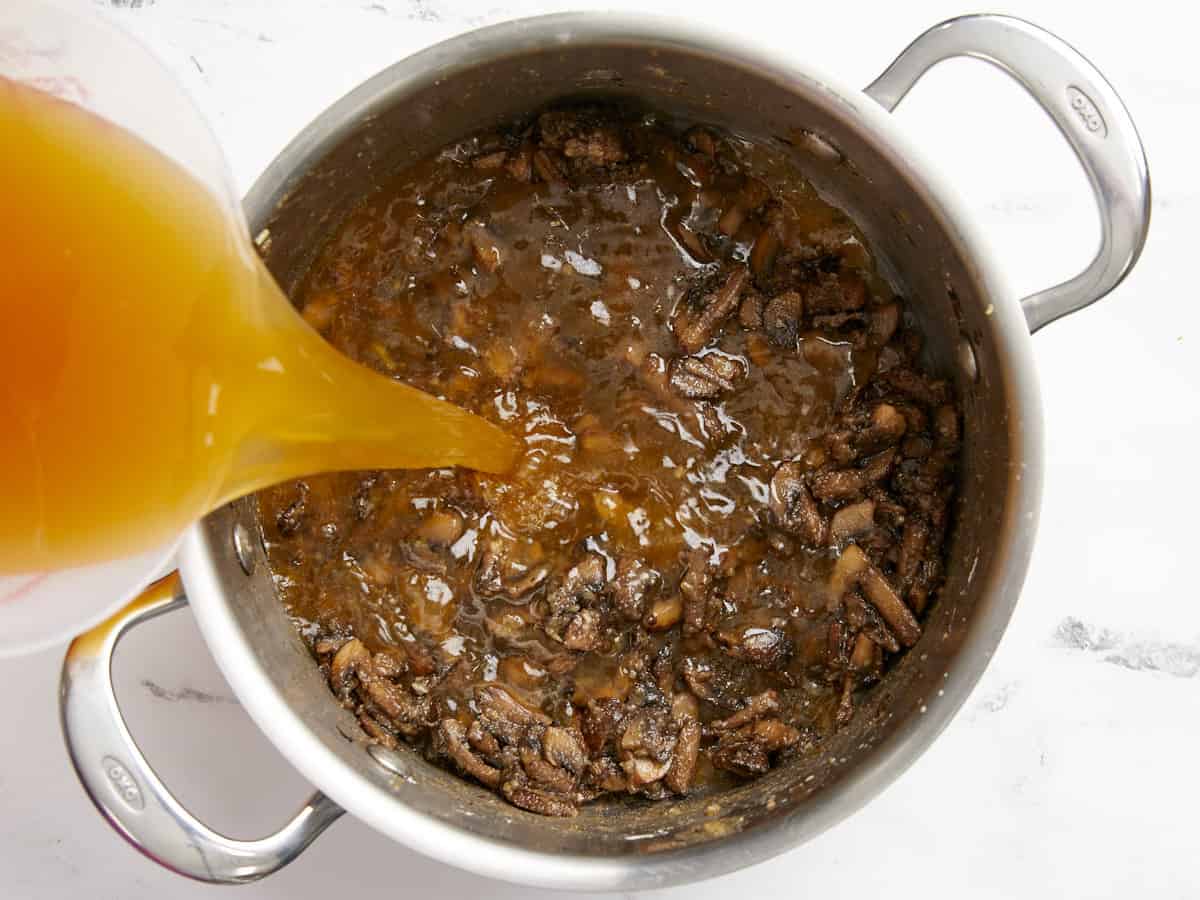
- Slowly pour in the milk while whisking to incorporate.
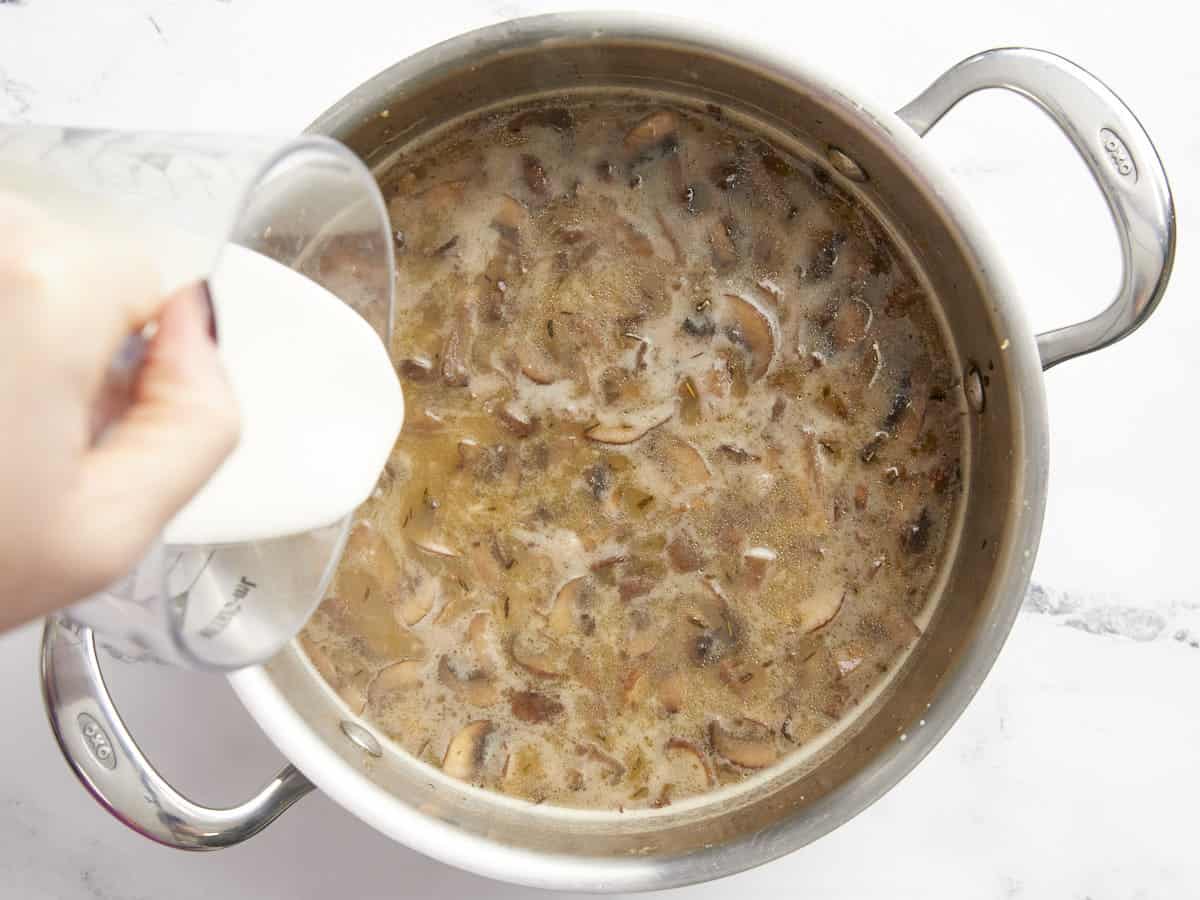
- Add in 2 cups of cheese and the sour cream. Stir until melted and incorporated.
- Pour the cheese sauce over the potatoes. Gently combine until the potatoes are fully coated.
- Top with the crushed cereal and the remaining 1 1/2 cups of cheddar cheese.
- Bake for 20 minutes until the cheese is bubbly.
See how we calculate recipe costs here.
Nutrition

how to make Potato Casserole – step by step photos
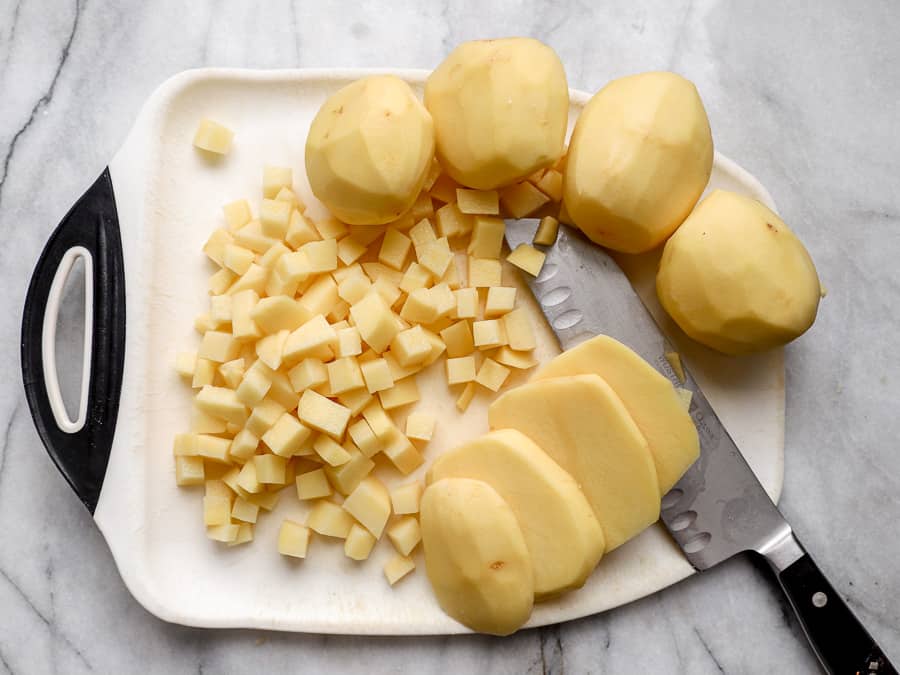
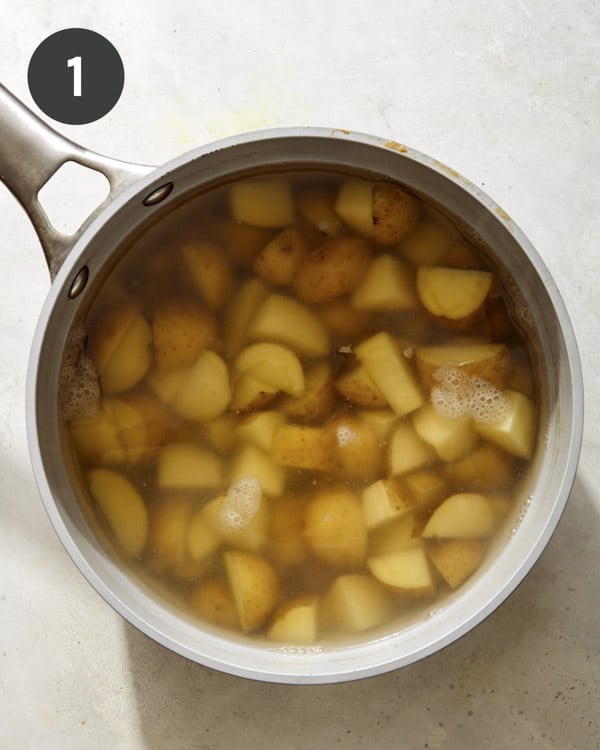
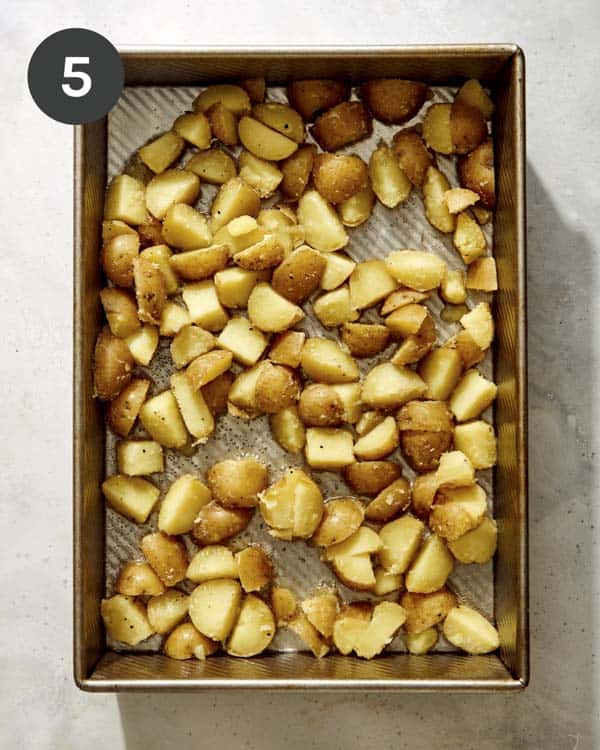
Preheat the oven to 375°F. Peel and dice 3 lbs. Yukon gold potatoes, finely chop 1/2 onion, and mince 2 cloves garlic.
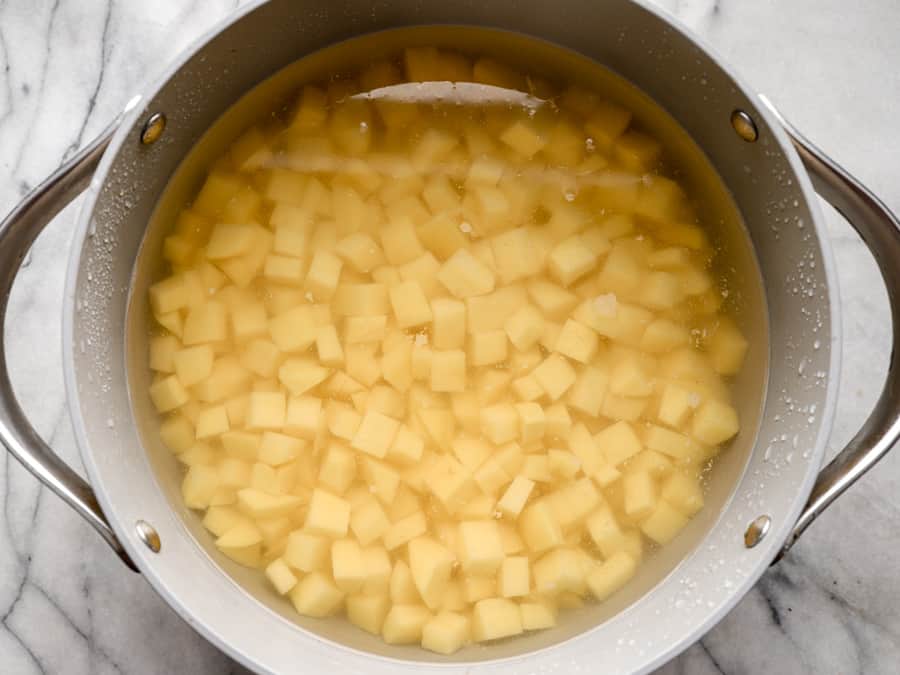
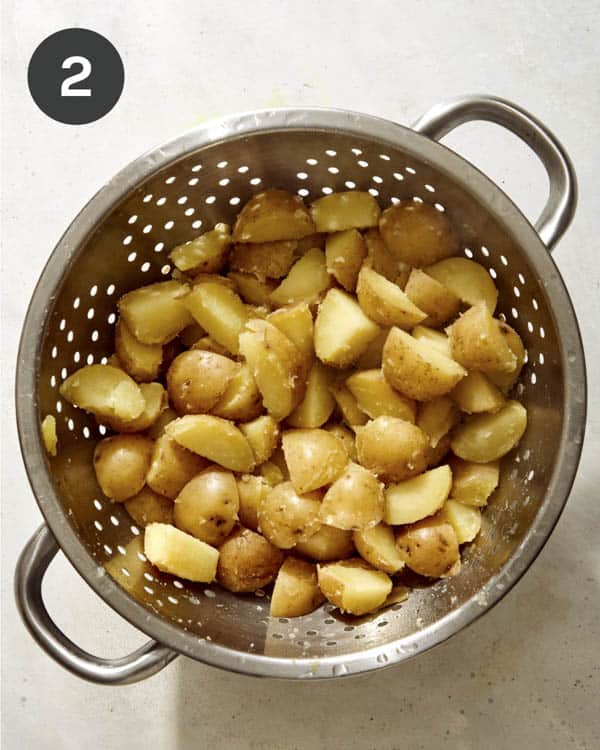
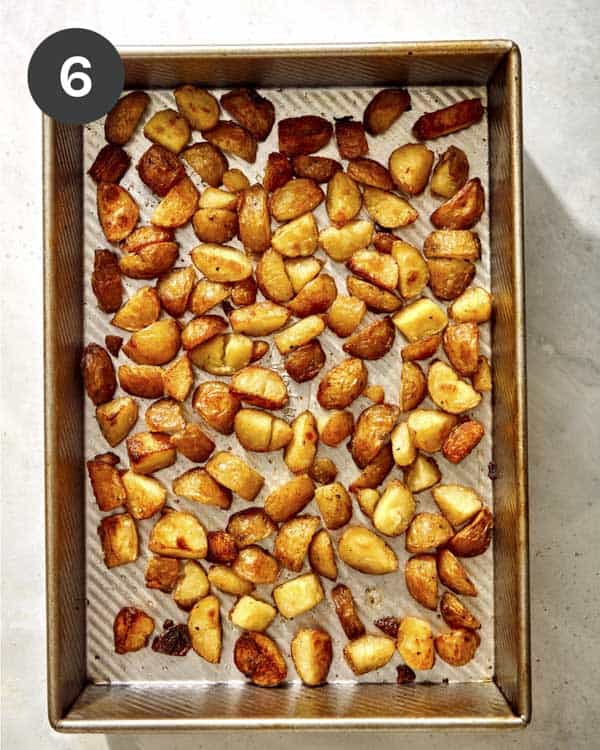
Add the potatoes to a large pot of water. Bring to a boil, cooking for 8-10 minutes until fork tender. Strain in a colander. Then, transfer the potatoes to a greased 9×13 casserole dish.

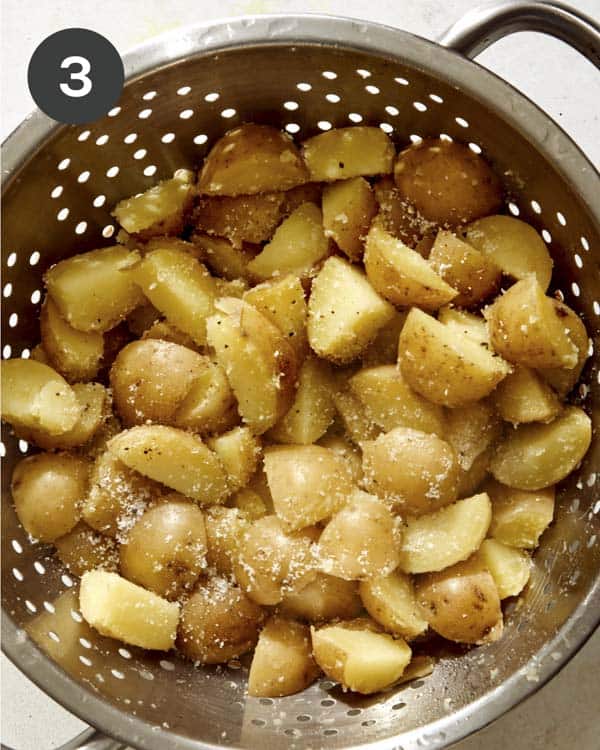
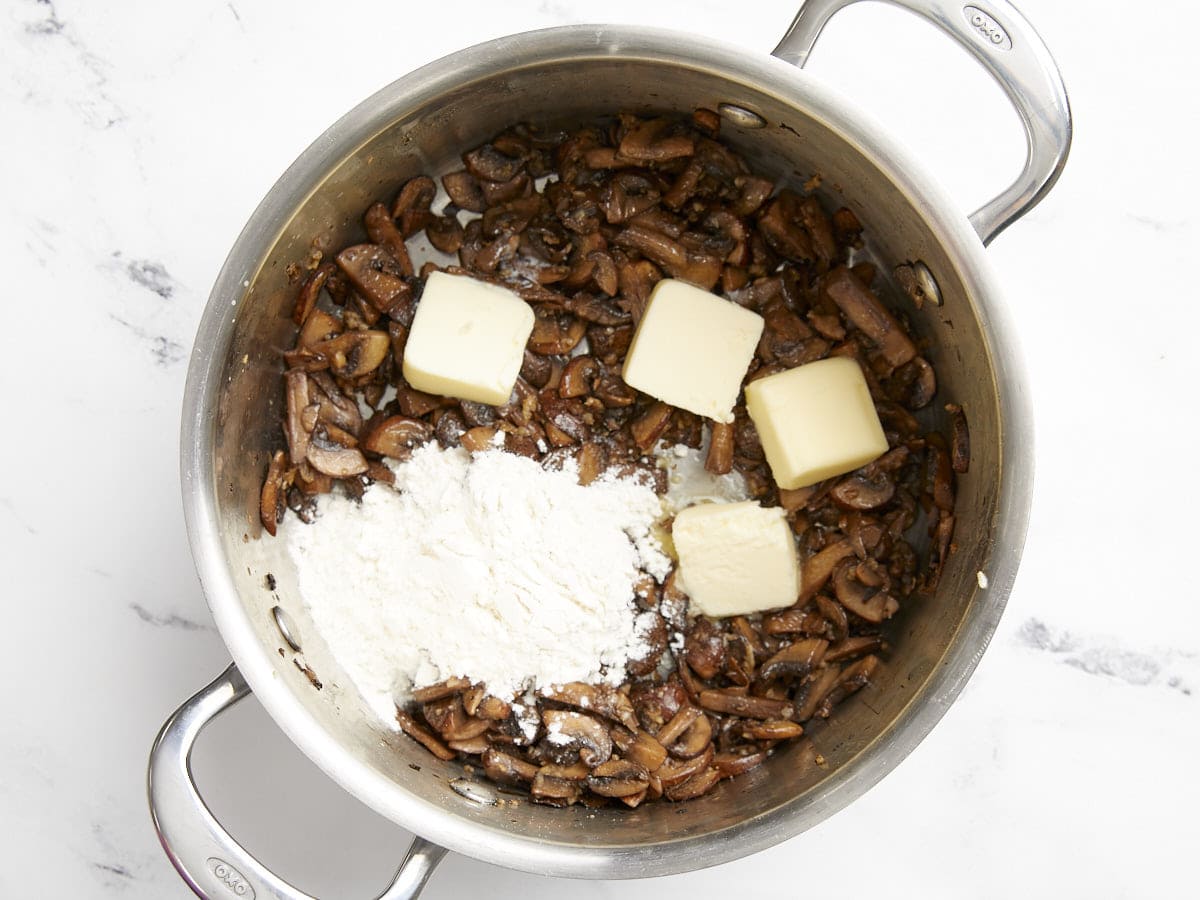
While the potatoes are boiling, melt 1/4 cup butter in a large saucepan or pot over medium heat. Add in the onion and 1/2 tsp salt, and cook for a few minutes until softened. Add in the garlic and cook for a minute. Then, stir in 1/4 cup all-purpose flour.
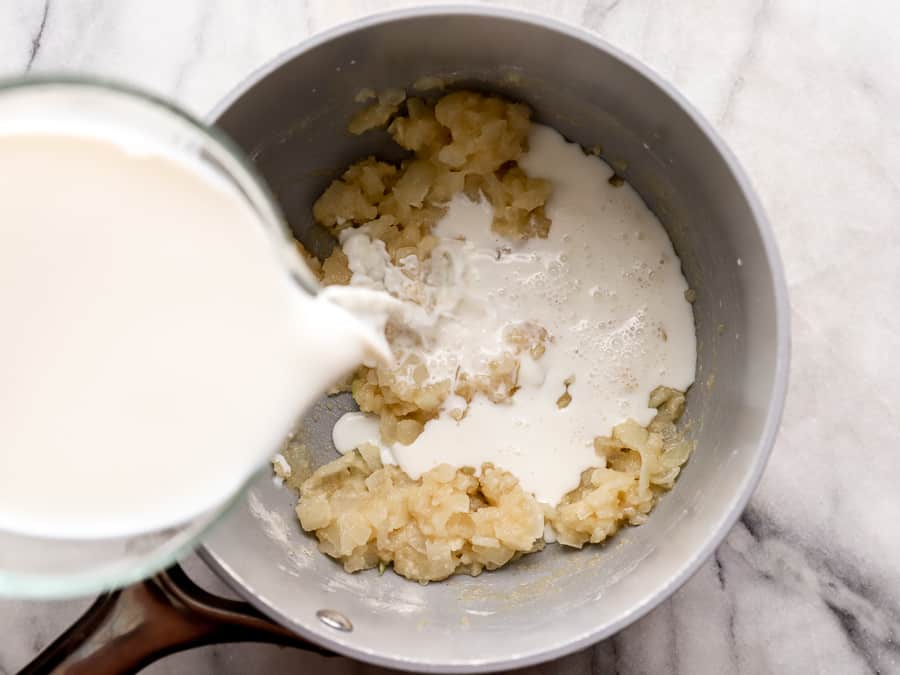
Slowly pour in 2 cups milk while whisking to incorporate.

Add in 2 cups of cheese and 1/2 cup sour cream. Stir until melted and incorporated.
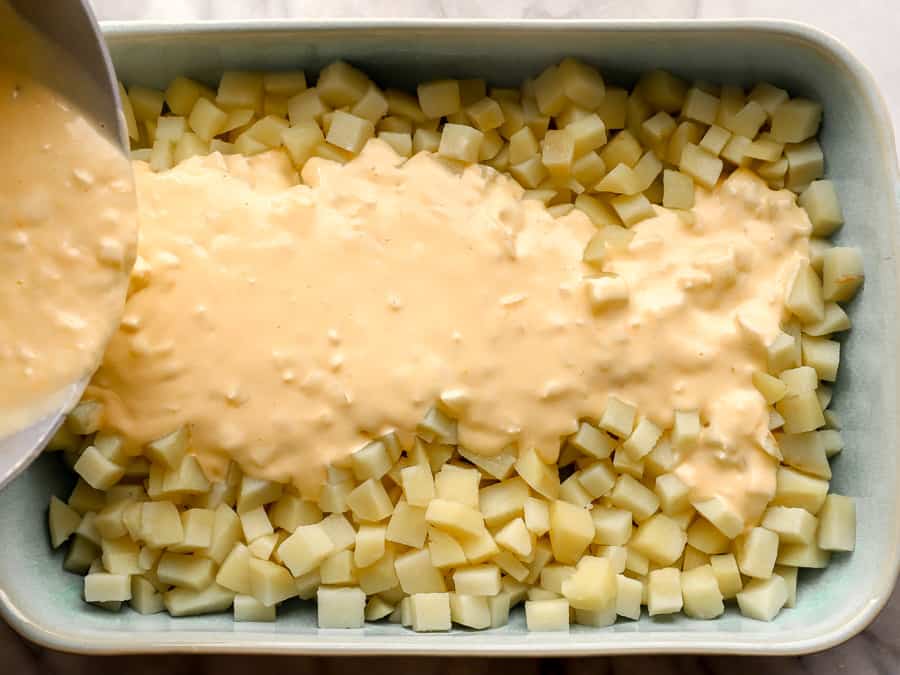
Pour the cheese sauce over the potatoes. Gently combine until the potatoes are fully coated.
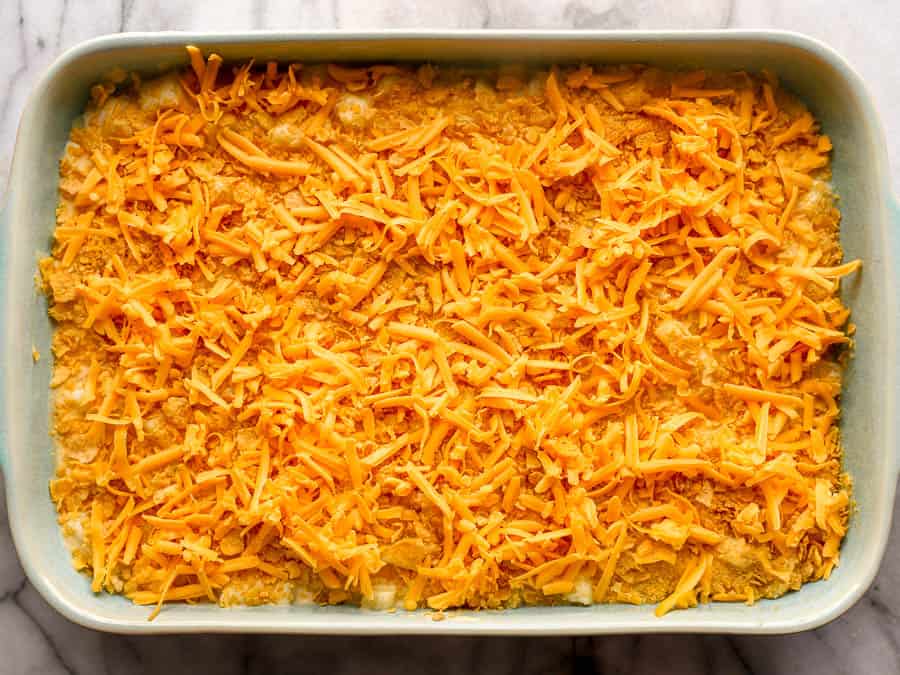
Top with 1 cup crushed corn flake cereal and the remaining 1 1/2 cups of cheddar cheese.

Bake for 20 minutes until the cheese is bubbly.
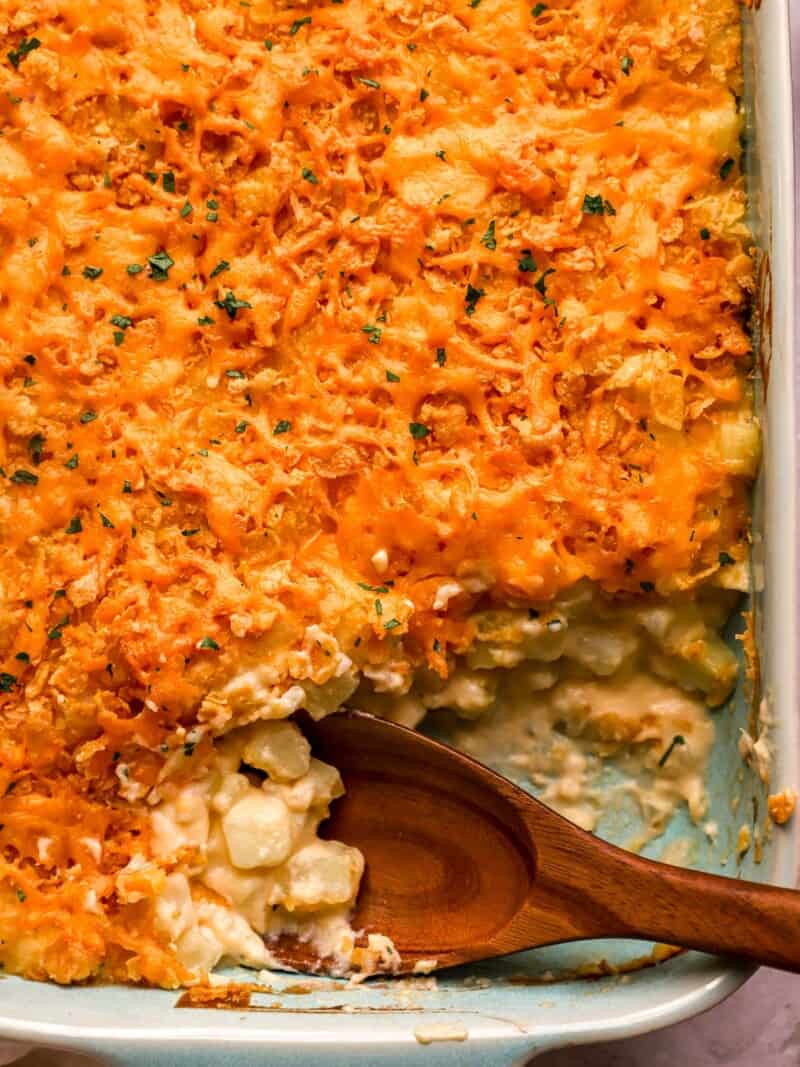
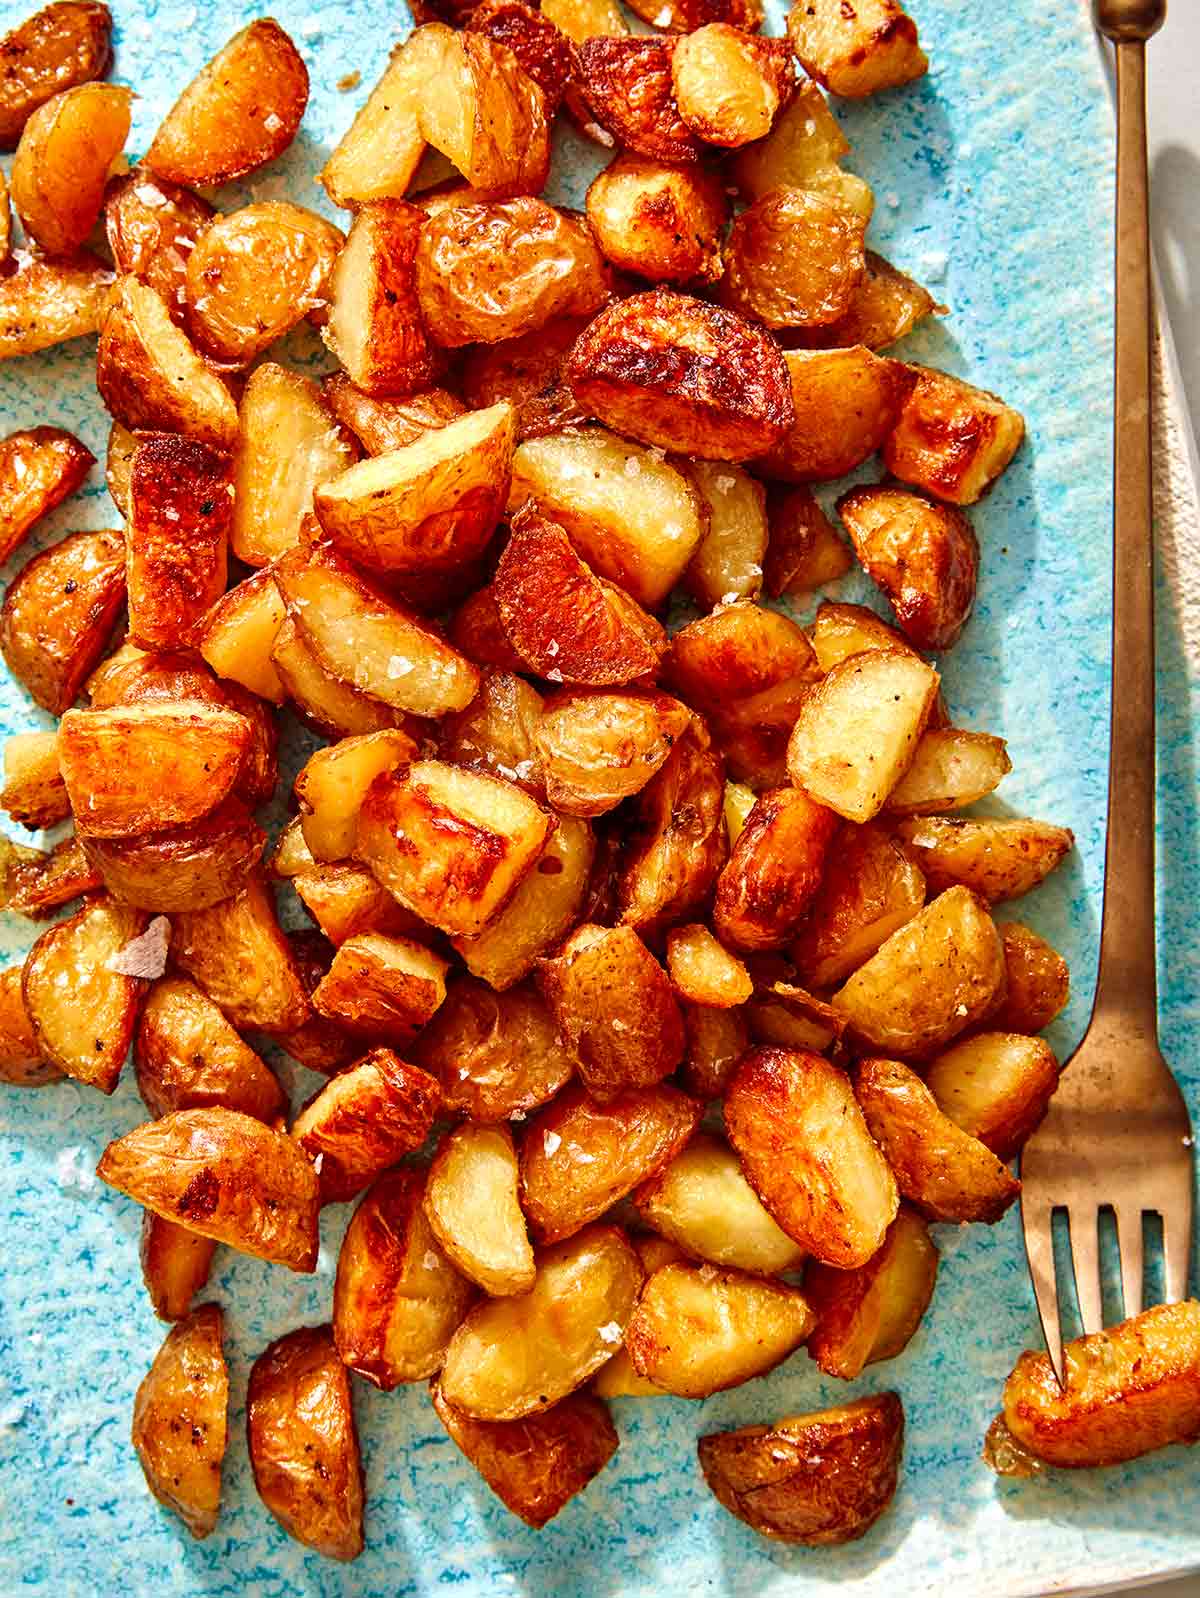
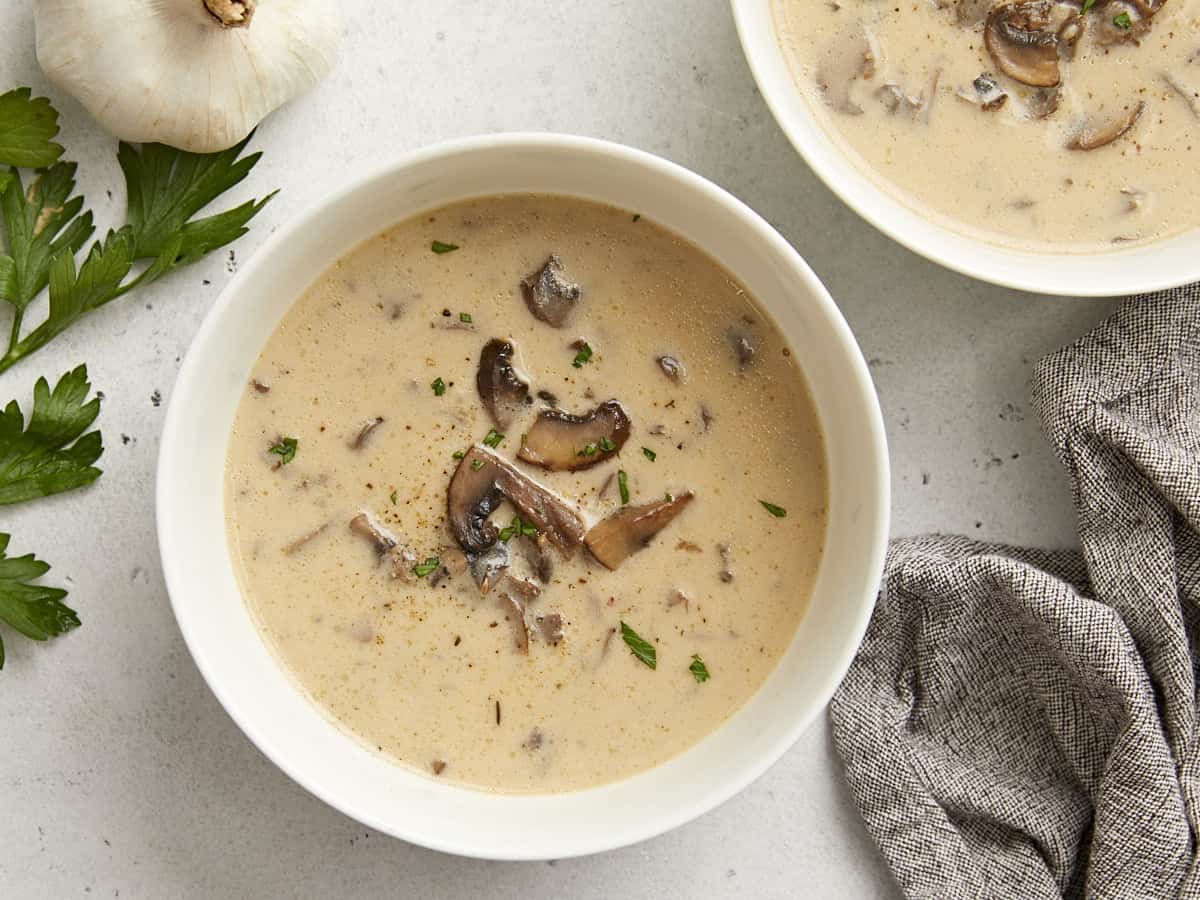
This savory and cheesy potato casserole is the perfect side dish for your next brunch or dinner party!
The post Potato Casserole appeared first on Budget Bytes.