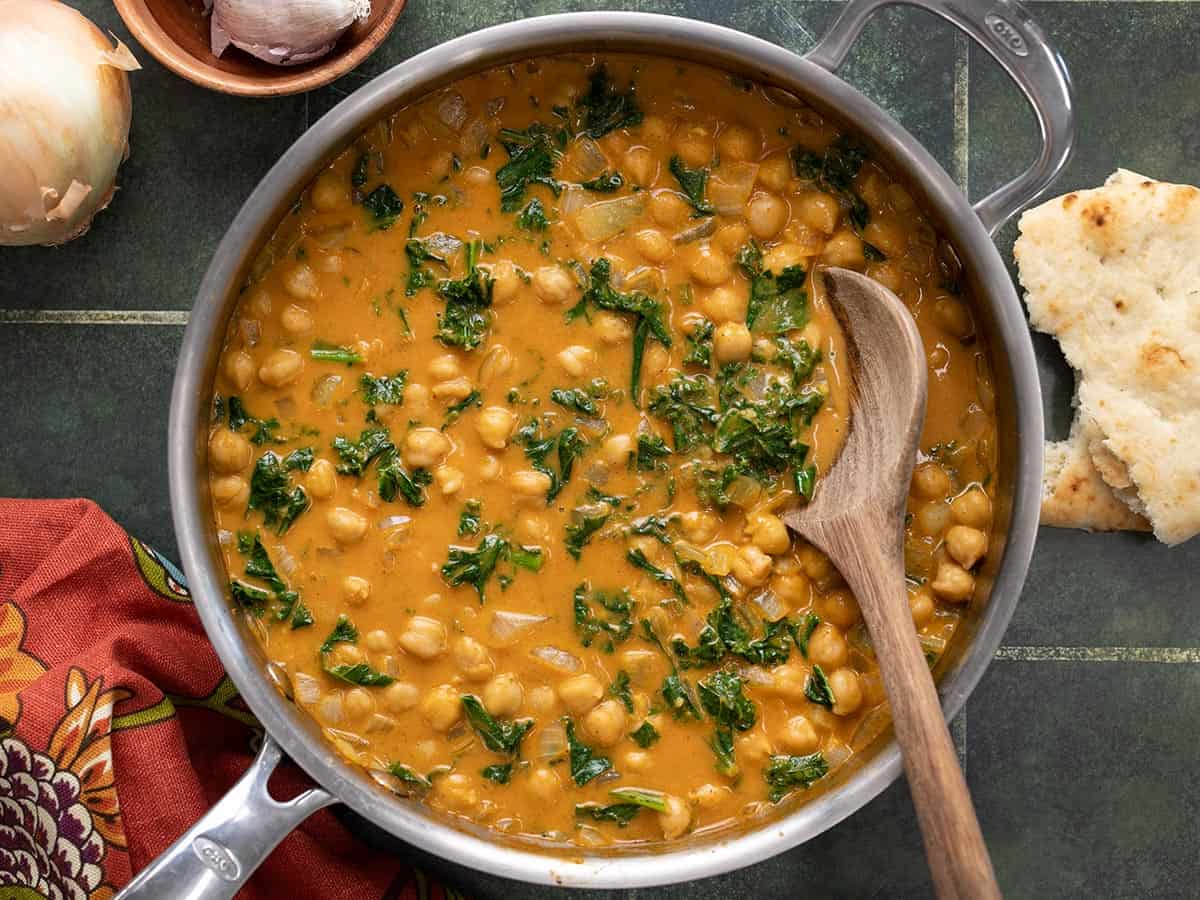
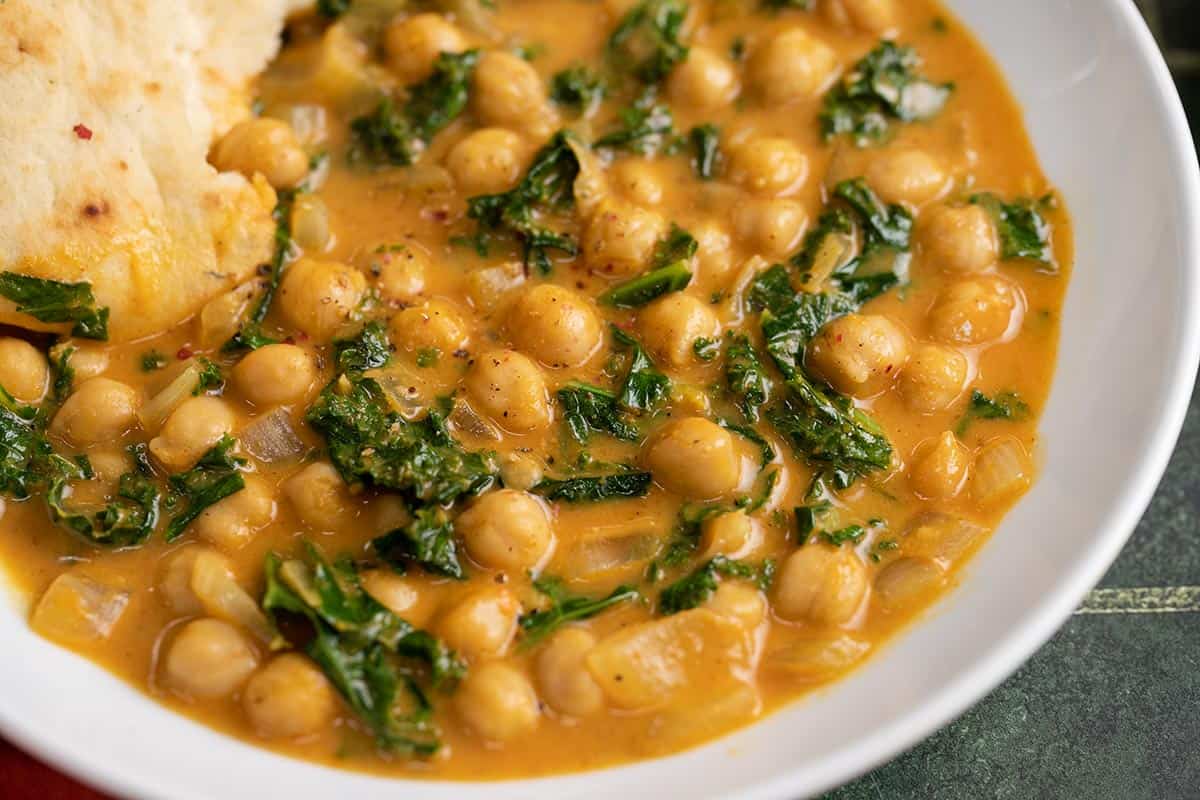
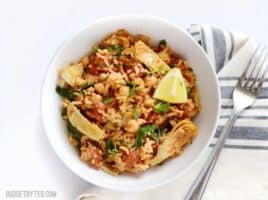
Quick curries are my favorite kind of weeknight dinner because they’re incredibly flavorful, require very little effort, and the leftovers are even better the next day. Plus, that creamy curry sauce makes everything taste good, so you can pack them with all sorts of nutrient-dense goodies, like chickpeas and kale. So basically, what I’m trying to say is, you need to make these Coconut Curry Chickpeas ASAP!

What’s in Coconut Curry Chickpeas
You’ll only need a handful of ingredients to make this warm and hearty dish, most of which you can keep on hand for last-minute dinners. Here are the ingredients you’ll need to make coconut curry chickpeas:
- Aromatics: onion, garlic, and ginger create a powerful flavor base for this dish.
- Spices: Curry powder and cumin. If you want a hot curry, you can always add a bit of cayenne pepper, too!
- Tomato sauce: a little bit of tomato sauce adds just the right amount of acidity to the dish to balance the creamy coconut.
- Coconut milk: full-fat coconut milk gives the curry sauce a ton of body and provides a creamy base to balance the potent flavors of the spices and aromatics.
- Chickpeas: Inexpensive chickpeas fill out this dish, providing tons of belly-filling power and good-for-you fiber.
- Kale: kale adds a little more variety in texture, color, and flavor to this dish. If you’re not into kale, you can substitute with fresh spinach.
What Kind of Curry Powder to Use
Curry powders can vary quite a bit in flavor from brand to brand, so make sure you experiment to find one that you enjoy. I’ve never met a curry powder that I didn’t like, so I don’t have one particular brand to suggest, but you definitely want to make sure it’s fresh! Old spices that have been sitting in your pantry a while begin to lose flavor and become dull and bland with time.
You also have the option to use either hot or mild curry powder. If you enjoy spicy foods you can use a hot curry powder, OR simply add some crushed red pepper or cayenne pepper to the dish when adding the curry powder and cumin.
How to Serve Coconut Curry Chickpeas
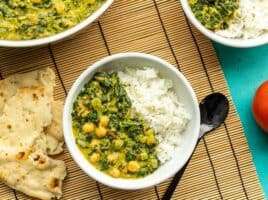
This warm and saucy dish is great over rice, or crusty bread or naan for dipping. You definitely want some sort of starchy goodness to soak up all of that sauce! You can also experiment with topping your chickpeas with fresh cilantro or even a squeeze of lime. Something light and refreshing, like Creamy Cucumber Salad, would also pair nicely with these curry chickpeas.
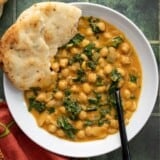
Coconut Curry Chickpeas
Ingredients
- 1 yellow onion $0.38
- 2 cloves garlic $0.16
- 1 tsp grated fresh ginger $0.10
- 1.5 Tbsp curry powder $0.45
- 1 tsp cumin $0.10
- 2 15oz. cans chickpeas, drained $1.58
- 1 8oz. can tomato sauce $0.50
- 1 13.5oz. can full-fat coconut milk $2.99
- 4 oz. chopped kale (about 3 cups) $0.75
Instructions
- Dice the onion, mince the garlic, and grate the ginger. Add the onion, garlic, and ginger to a large deep skillet along with the olive oil. Sauté the aromatics over medium-low heat for about five minutes, or until the onions are soft and translucent.
- Add the curry powder and cumin to the skillet and continue to stir and cook for about one minute more to toast the spices.
- Drain the chickpeas, then add them to the skillet along with the tomato sauce and coconut milk. Stir everything to combine.
- Turn the heat up to medium-high to bring the sauce up to a simmer. Once simmering, turn the heat back down to medium-low and allow the curry to continue to simmer for 15 minutes, stirring occasionally.
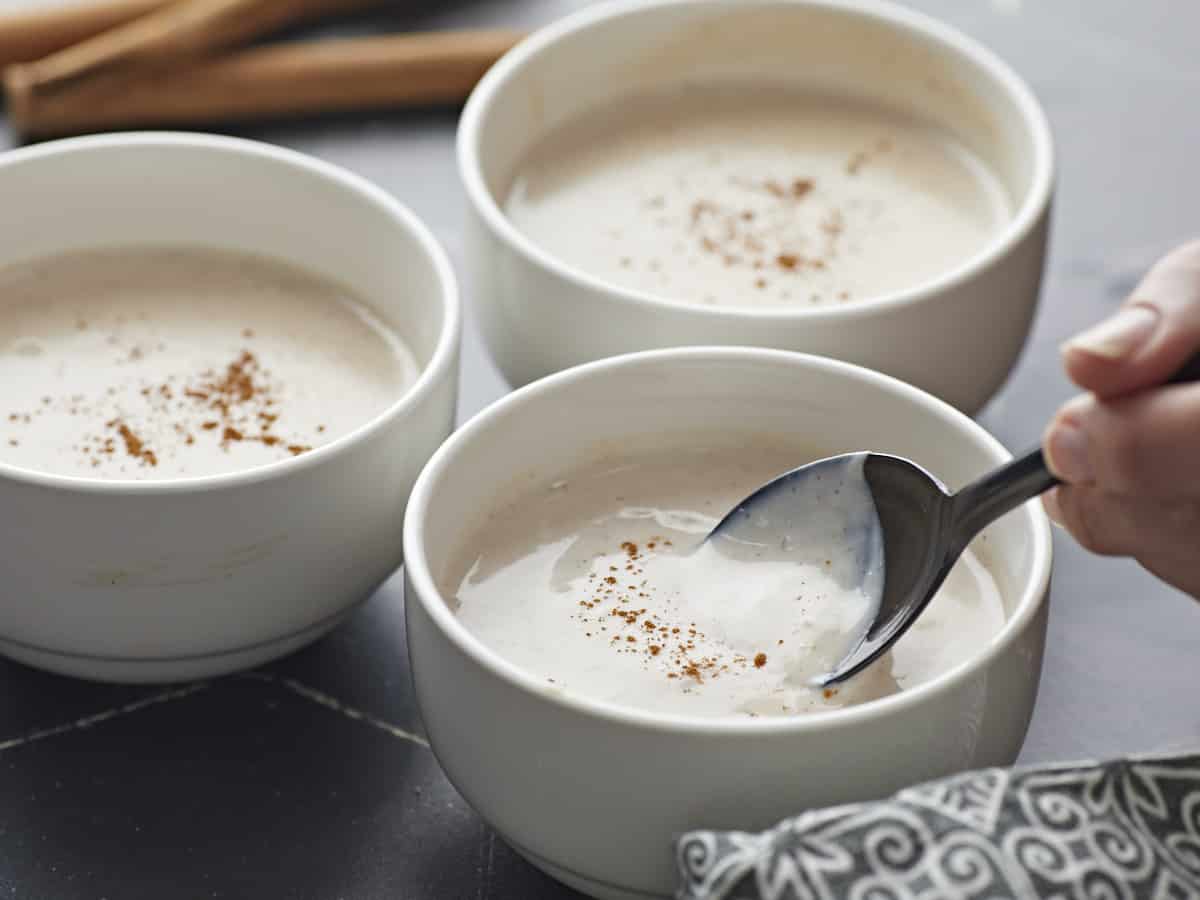
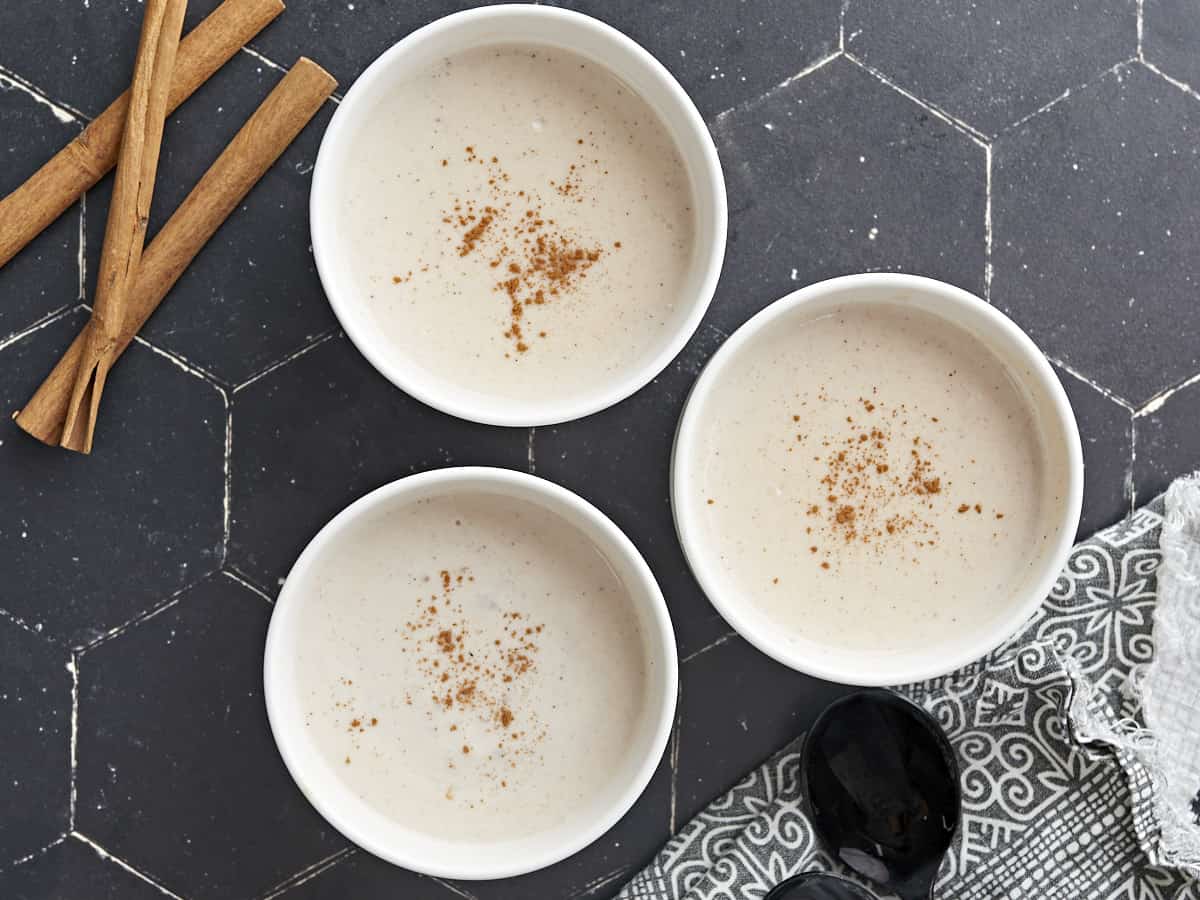
- Add the kale and stir it into the sauce. Continue to cook and stir until the kale has wilted to your desired tenderness (I cook for about 5 minutes more). Finally, taste the curry and add salt to taste (about ½ tsp). Serve hot with rice or bread for dipping!
See how we calculate recipe costs here.
Nutrition
How to Make Coconut Curry Chickpeas – Step by Step Photos
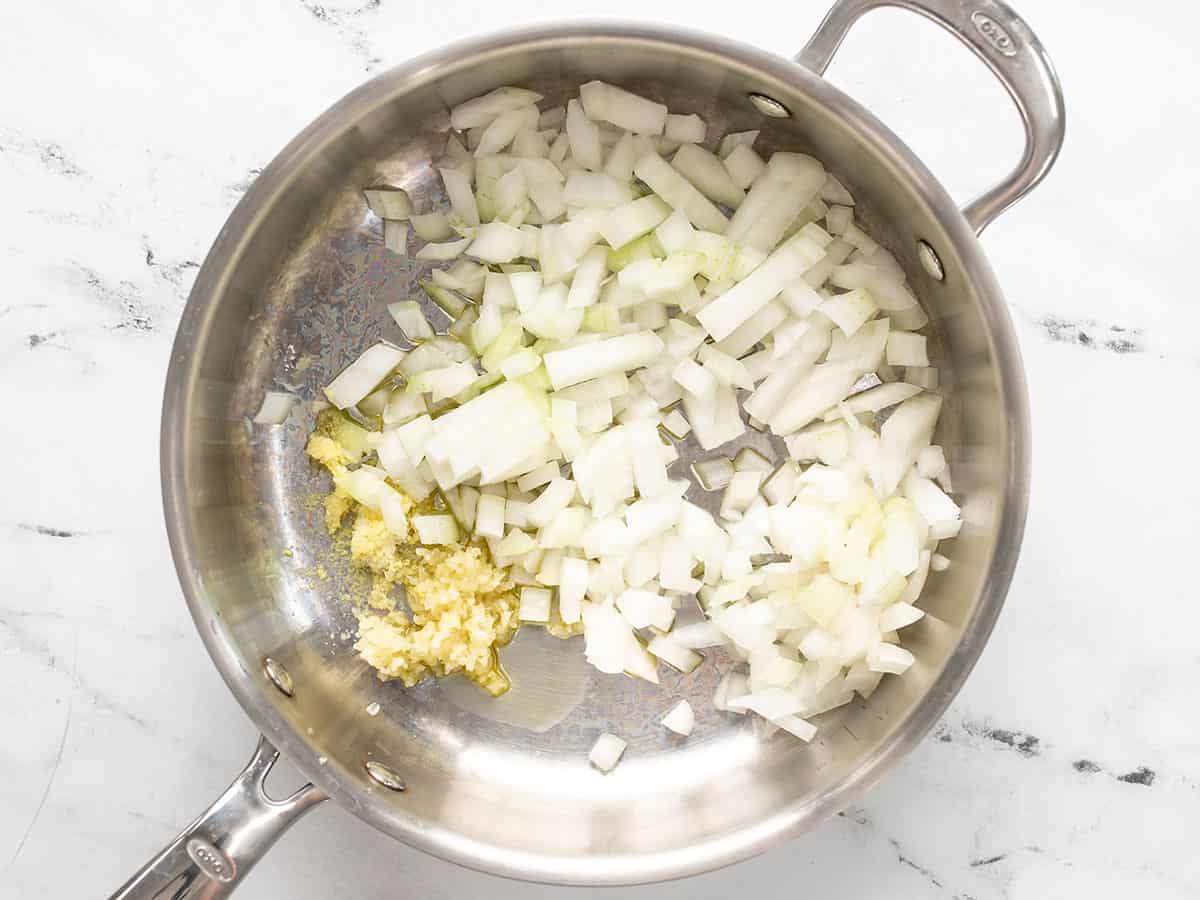
Dice one yellow onion, mince two cloves of garlic, and grate about one teaspoon of fresh ginger. Add the onion, garlic, and ginger to a deep skillet along with 2 Tbsp olive oil. Sauté the aromatics over medium-low heat for about five minutes, or until the onion is soft and translucent.
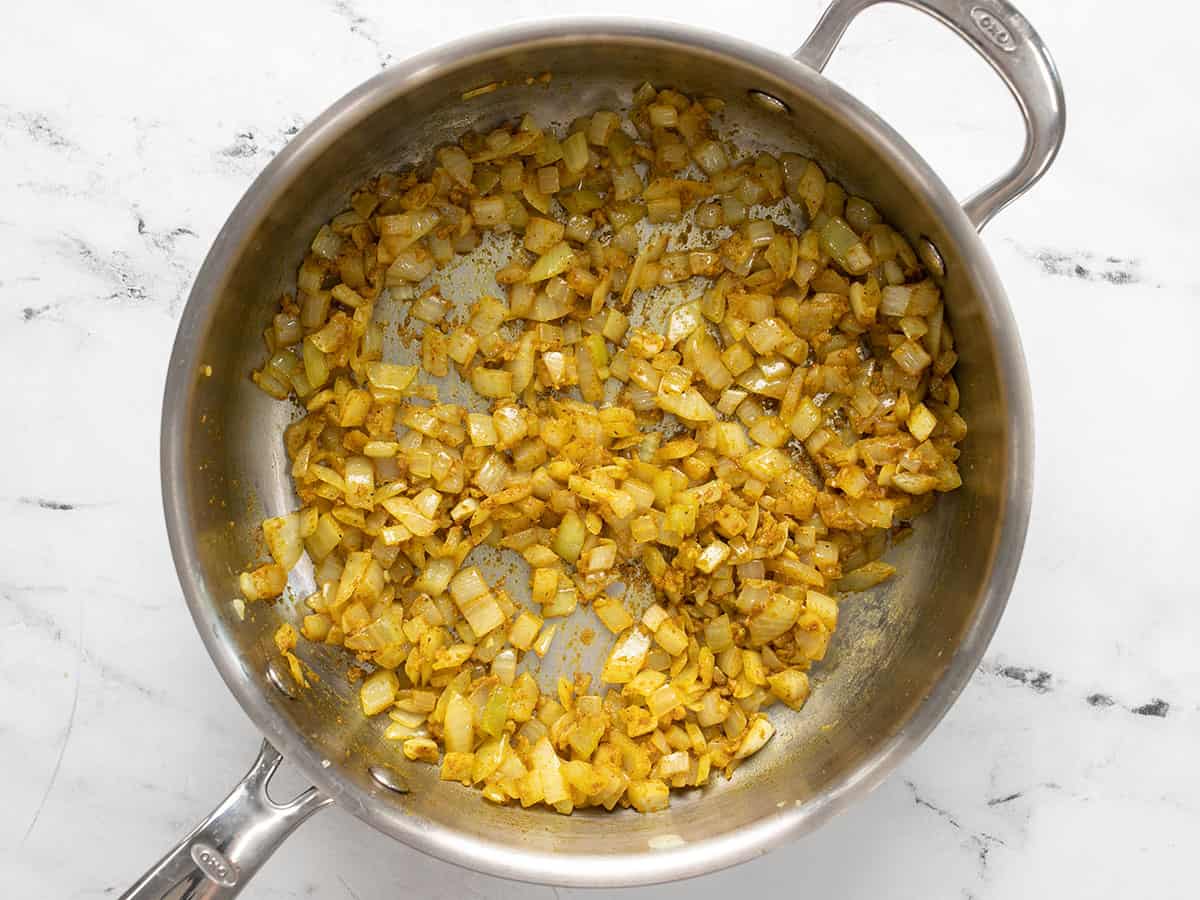
Add 1.5 Tbsp curry powder and 1 tsp cumin to the skillet. Continue to stir and cook for about one minute more to toast the spices.
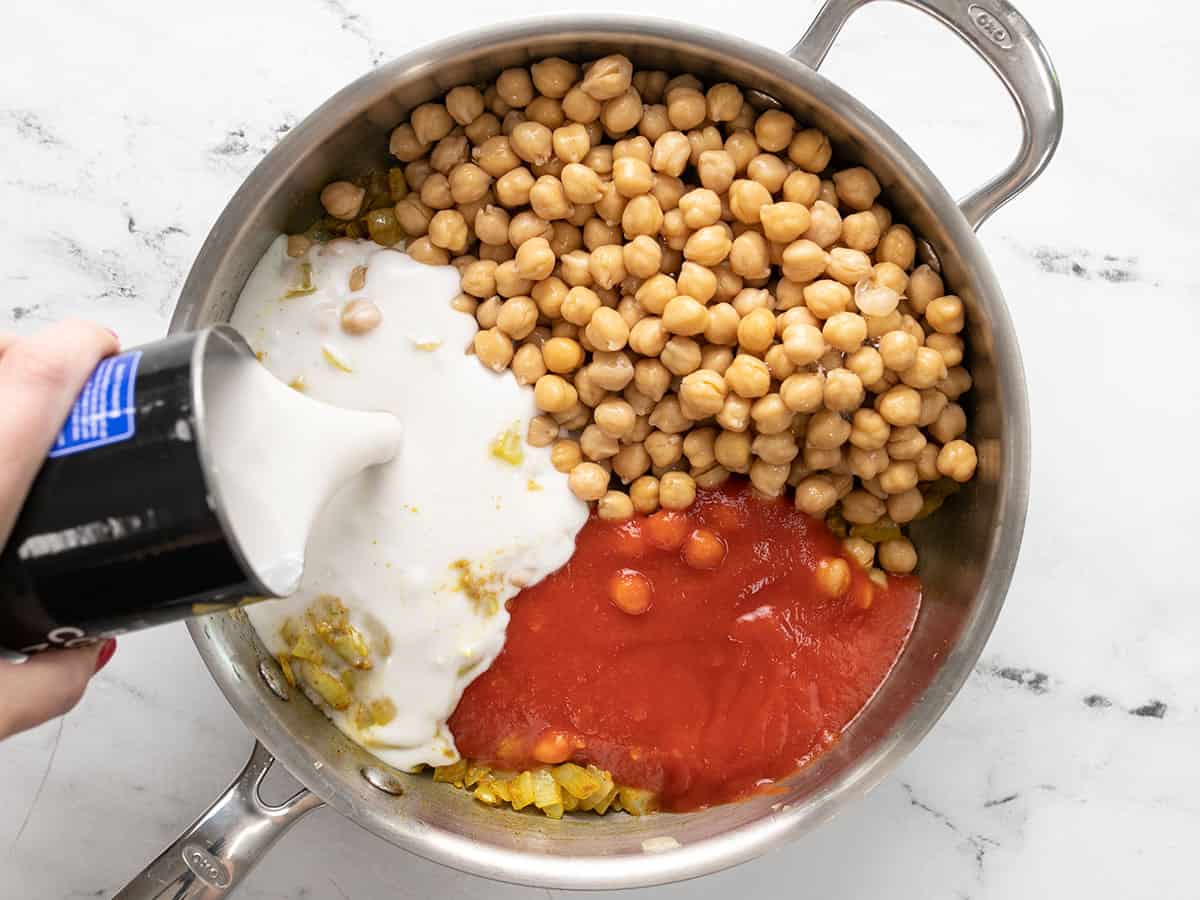
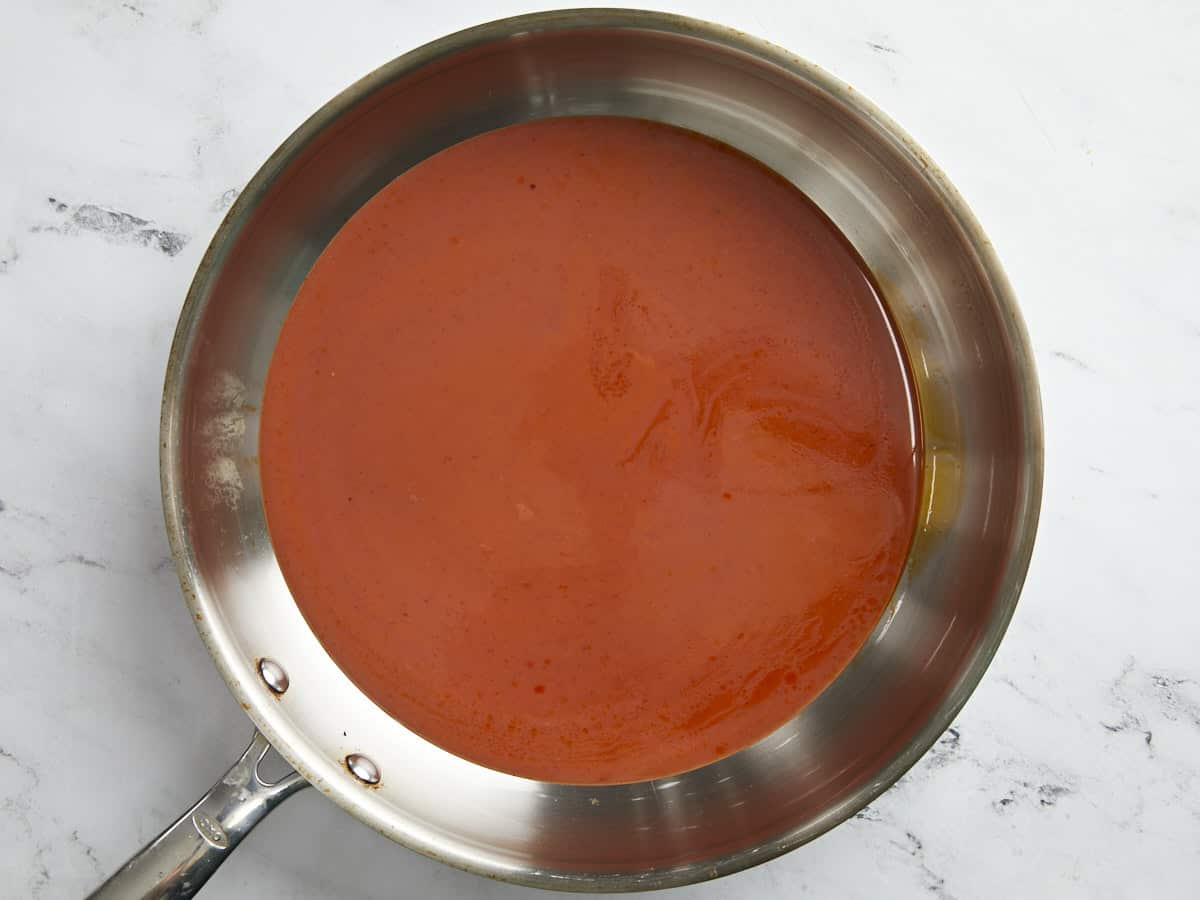
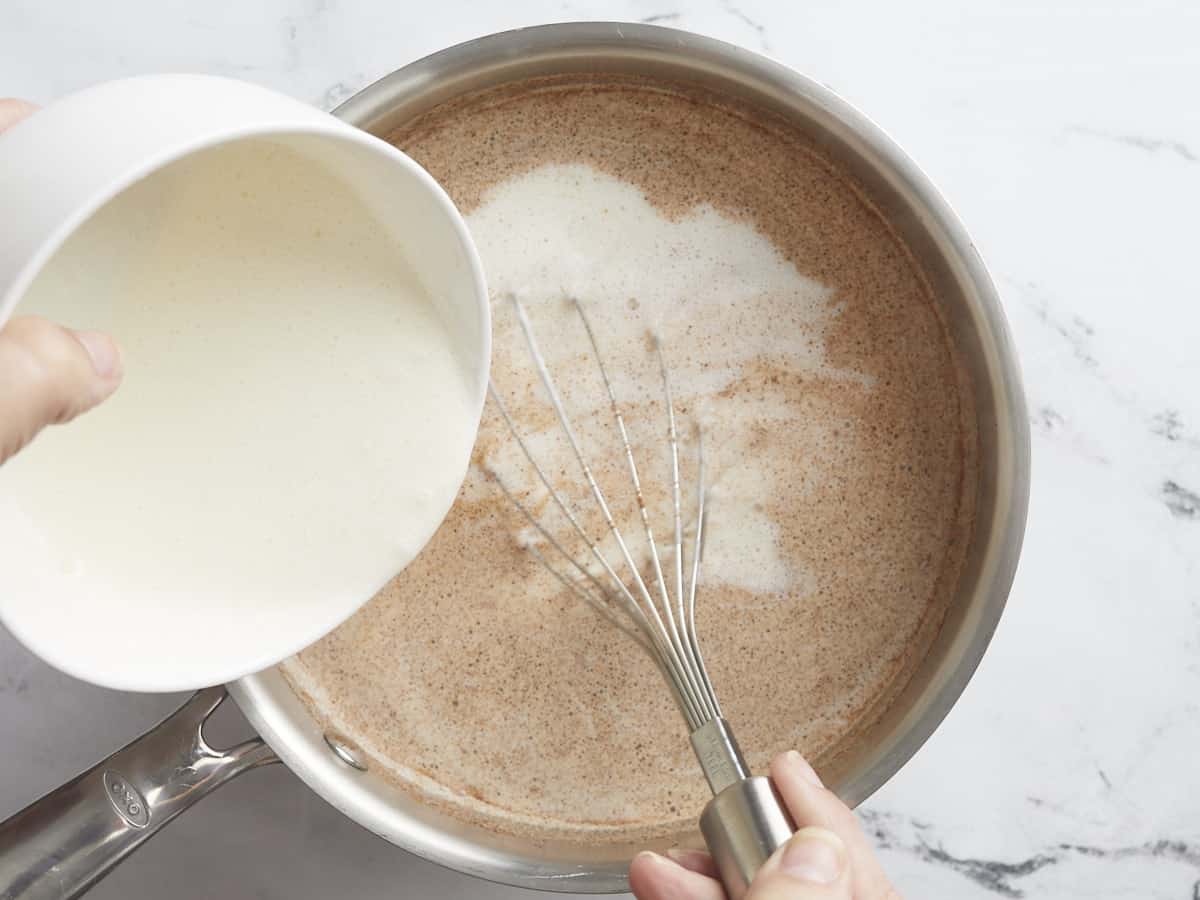
Drain two cans of chickpeas, then add them to the skillet along with 8 oz. tomato sauce and a 13.5 oz. can of coconut milk (full fat).

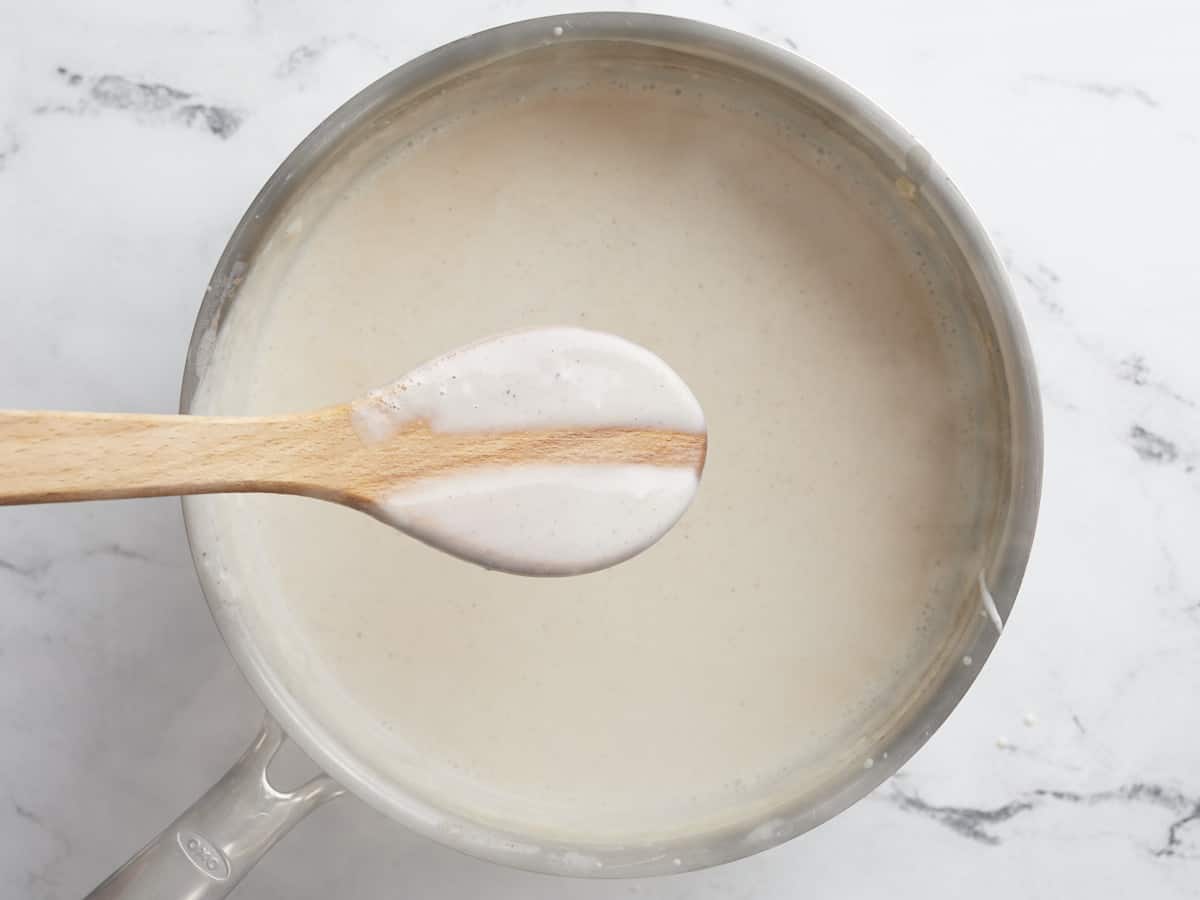
Stir until everything is evenly combined, turn the heat up to medium-high, and allow the sauce to come up to a simmer. Once simmering, turn the heat down to medium-low and let it continue to simmer for 15 minutes, stirring occasionally.
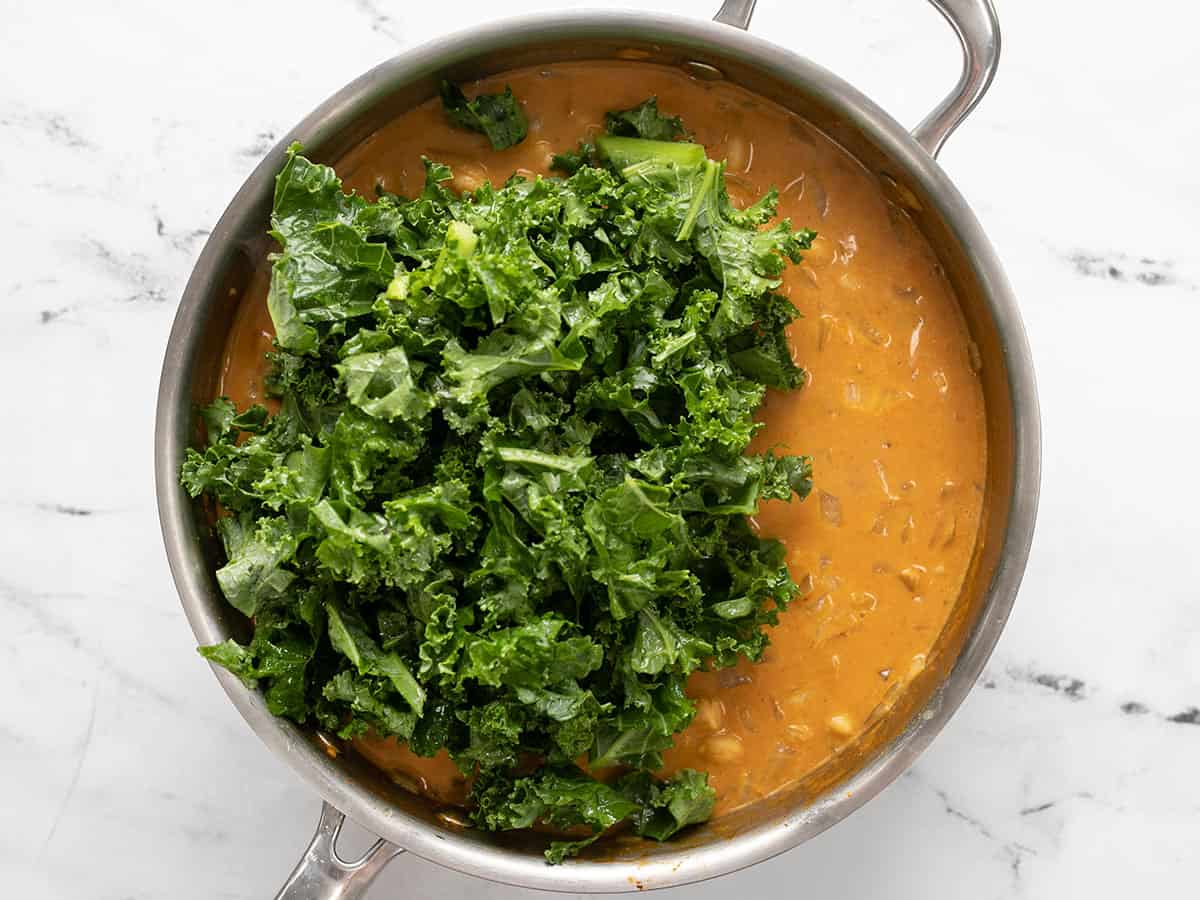
Add 4 oz. (about three cups) of fresh chopped kale to the skillet. I buy the pre-chopped bagged kale to make this easier.
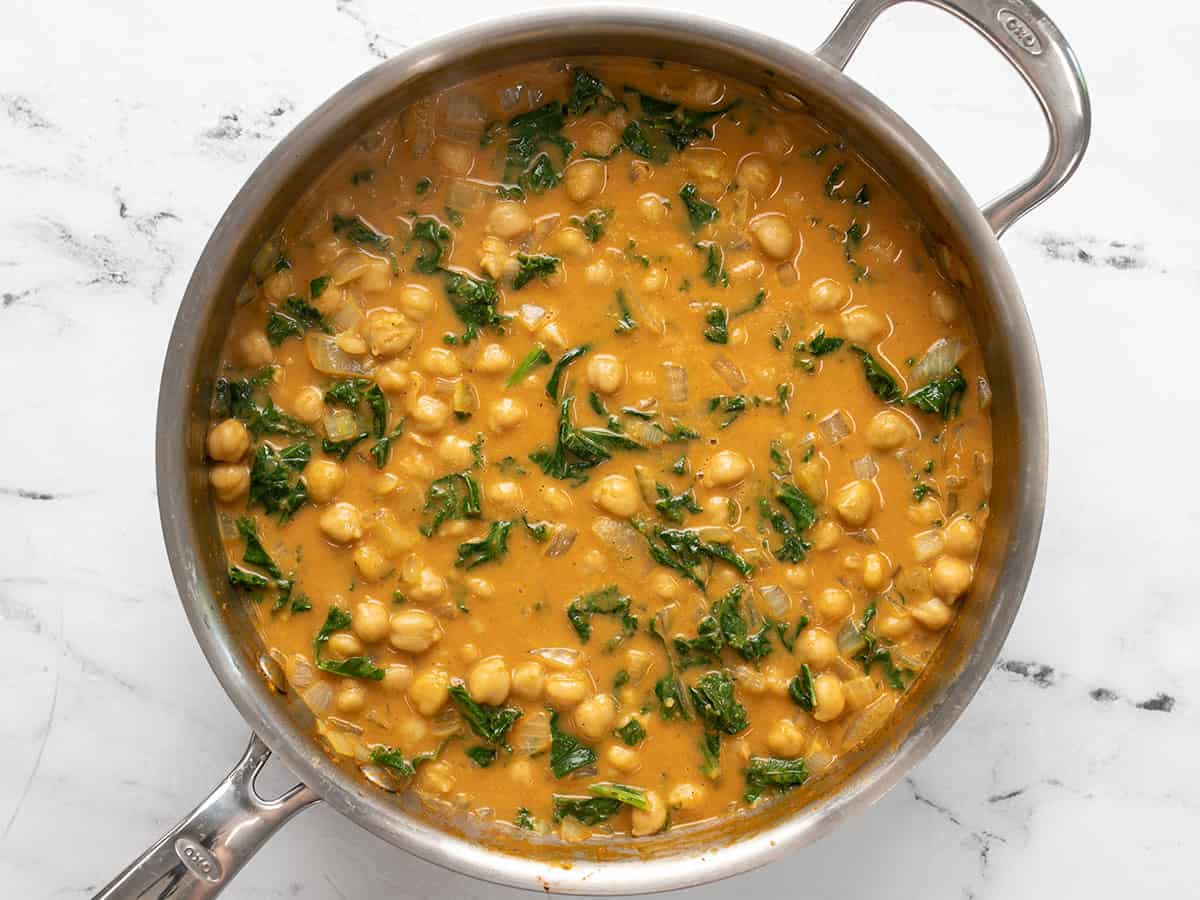
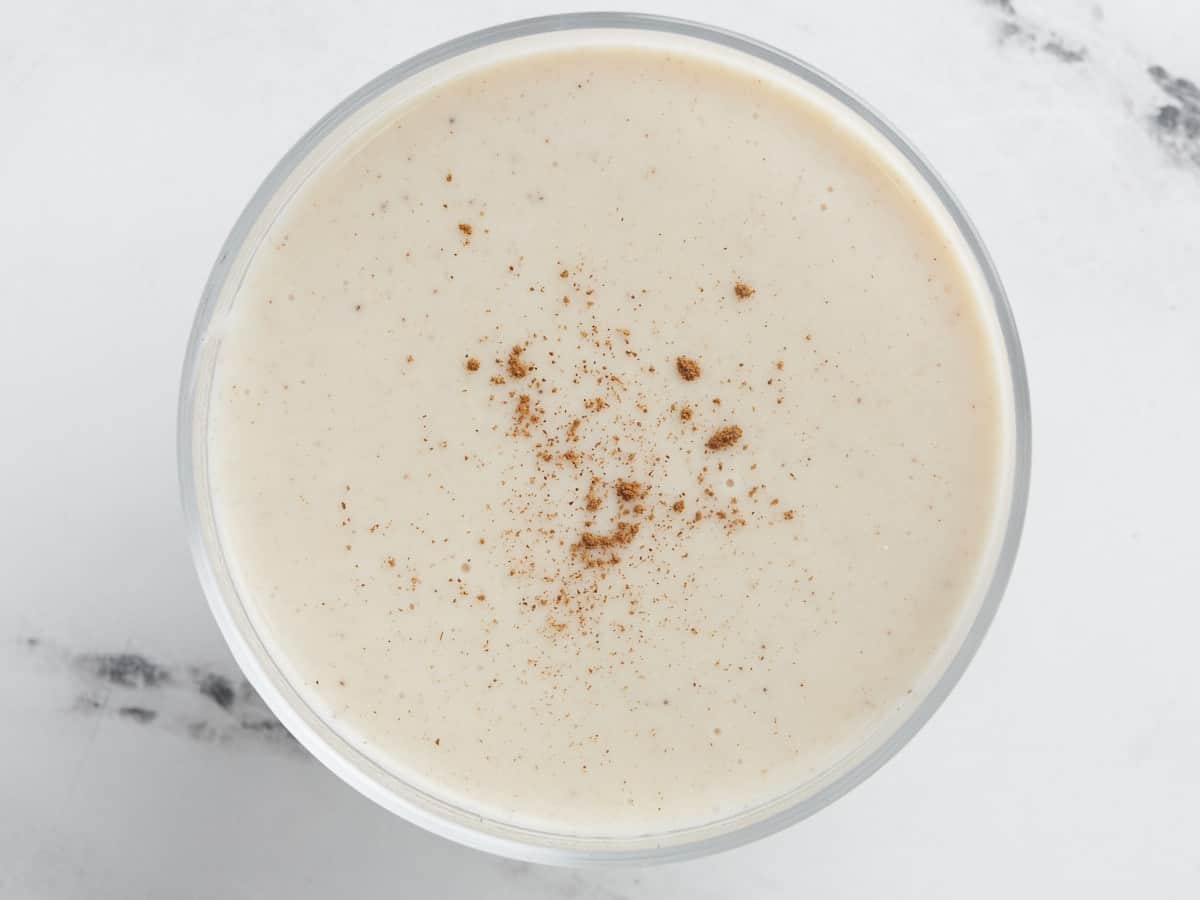
Continue to cook and stir until the kale has wilted to your desired tenderness. I enjoy the kale with a bit more texture, so I only simmer for a few minutes more. Taste the curry and add salt to taste to help the flavors pop (about ½ tsp).

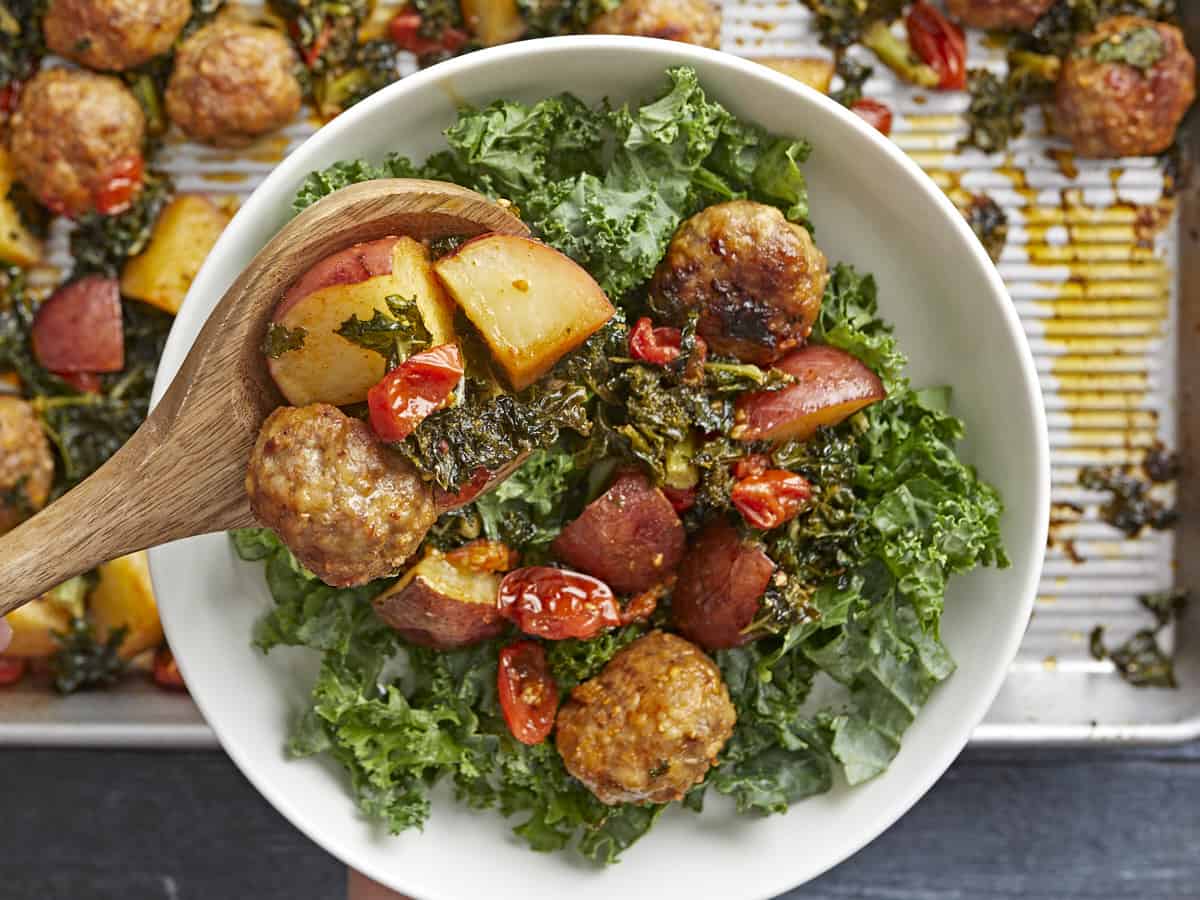
More Easy Chickpea Recipes
The post Coconut Curry Chickpeas appeared first on Budget Bytes.