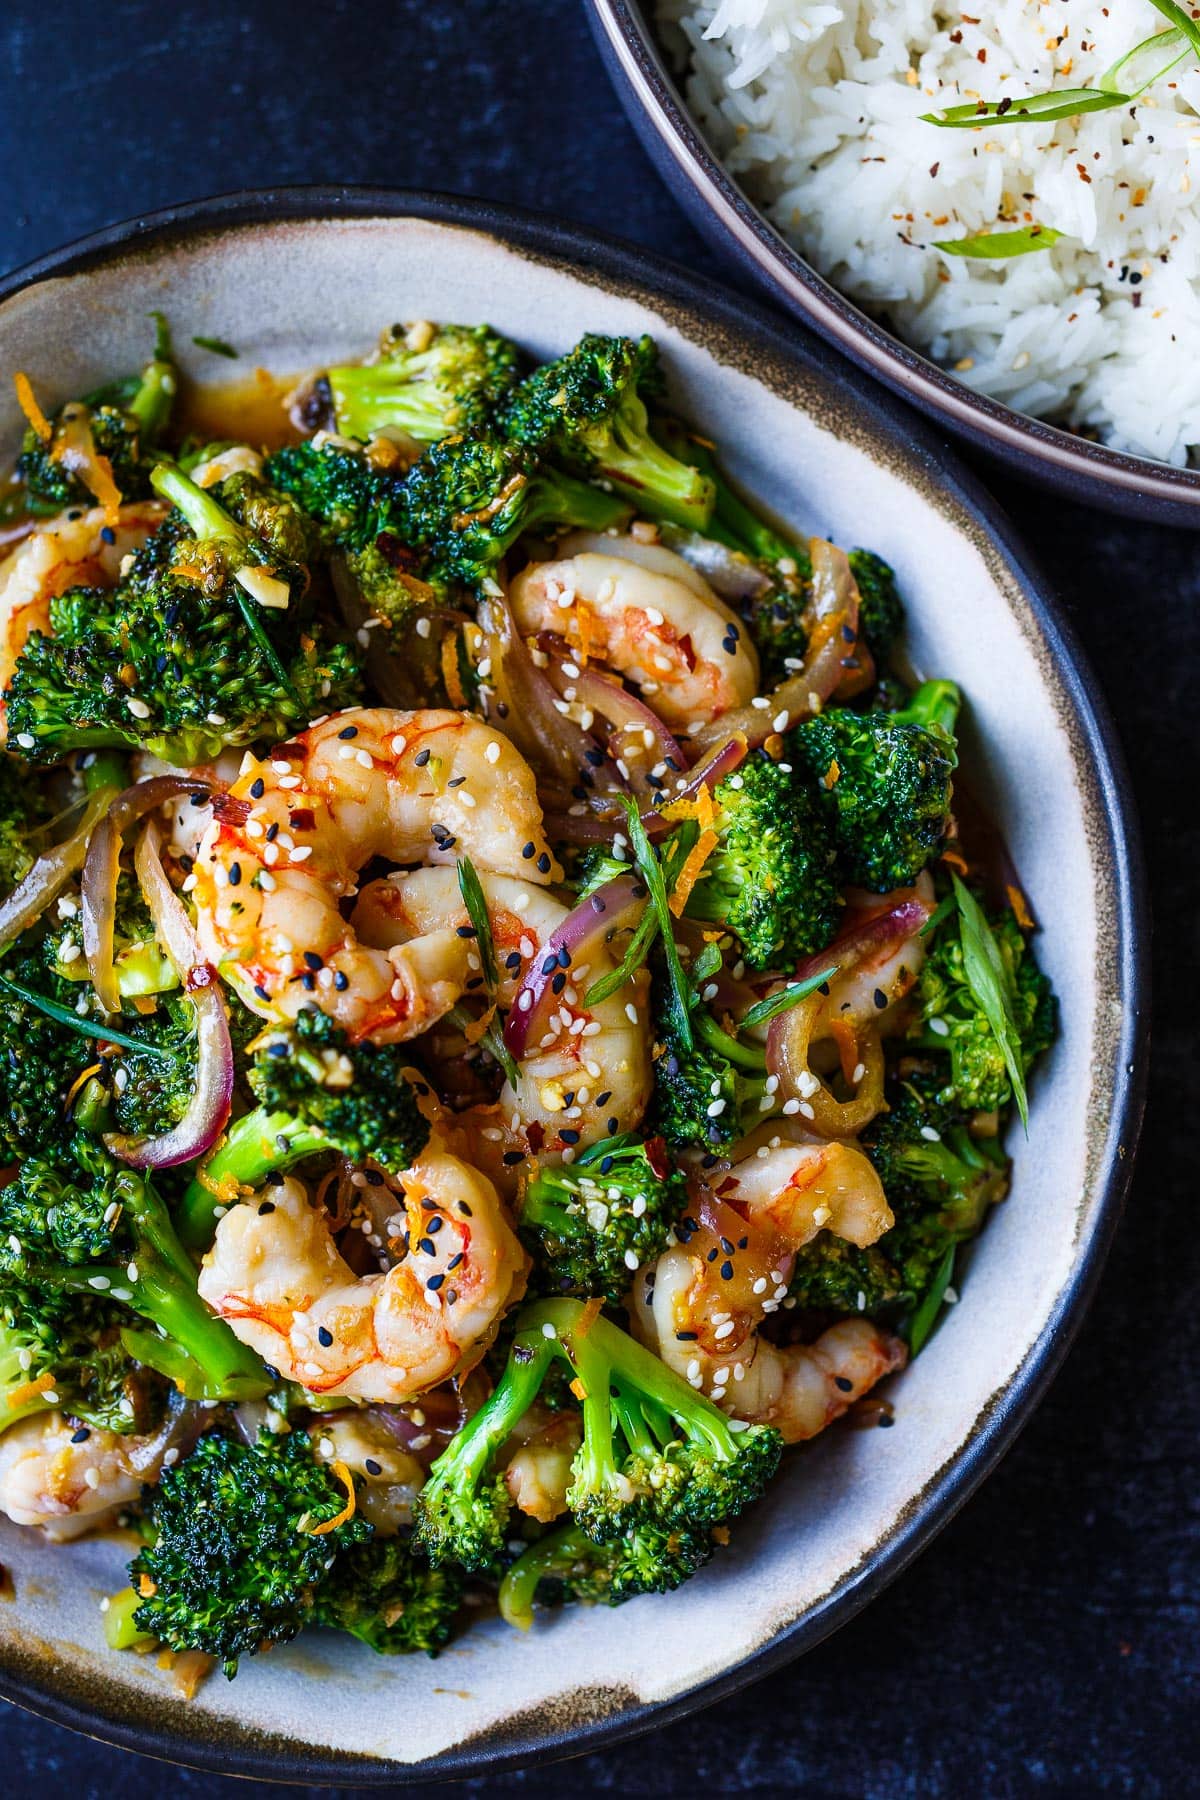
Shrimp Stir fry

Shrimp Stir Fry with broccoli florets in a flavorful, fresh orange ginger sauce. Healthy and easy, this dish will be on your dinner table in under 30 minutes!

Shrimp Stir Fry with broccoli florets in a flavorful, fresh orange ginger sauce. Healthy and easy, this dish will be on your dinner table in under 30 minutes!

Roasted Romanesco

Romanesco is a stunning chartreuse-spired cruciferous veggie in the same family as broccoli and cauliflower. Here we’ve roasted it with shallots, garlic and lemon zest and served with Italian Salsa Verde and Calabrian Chilies.
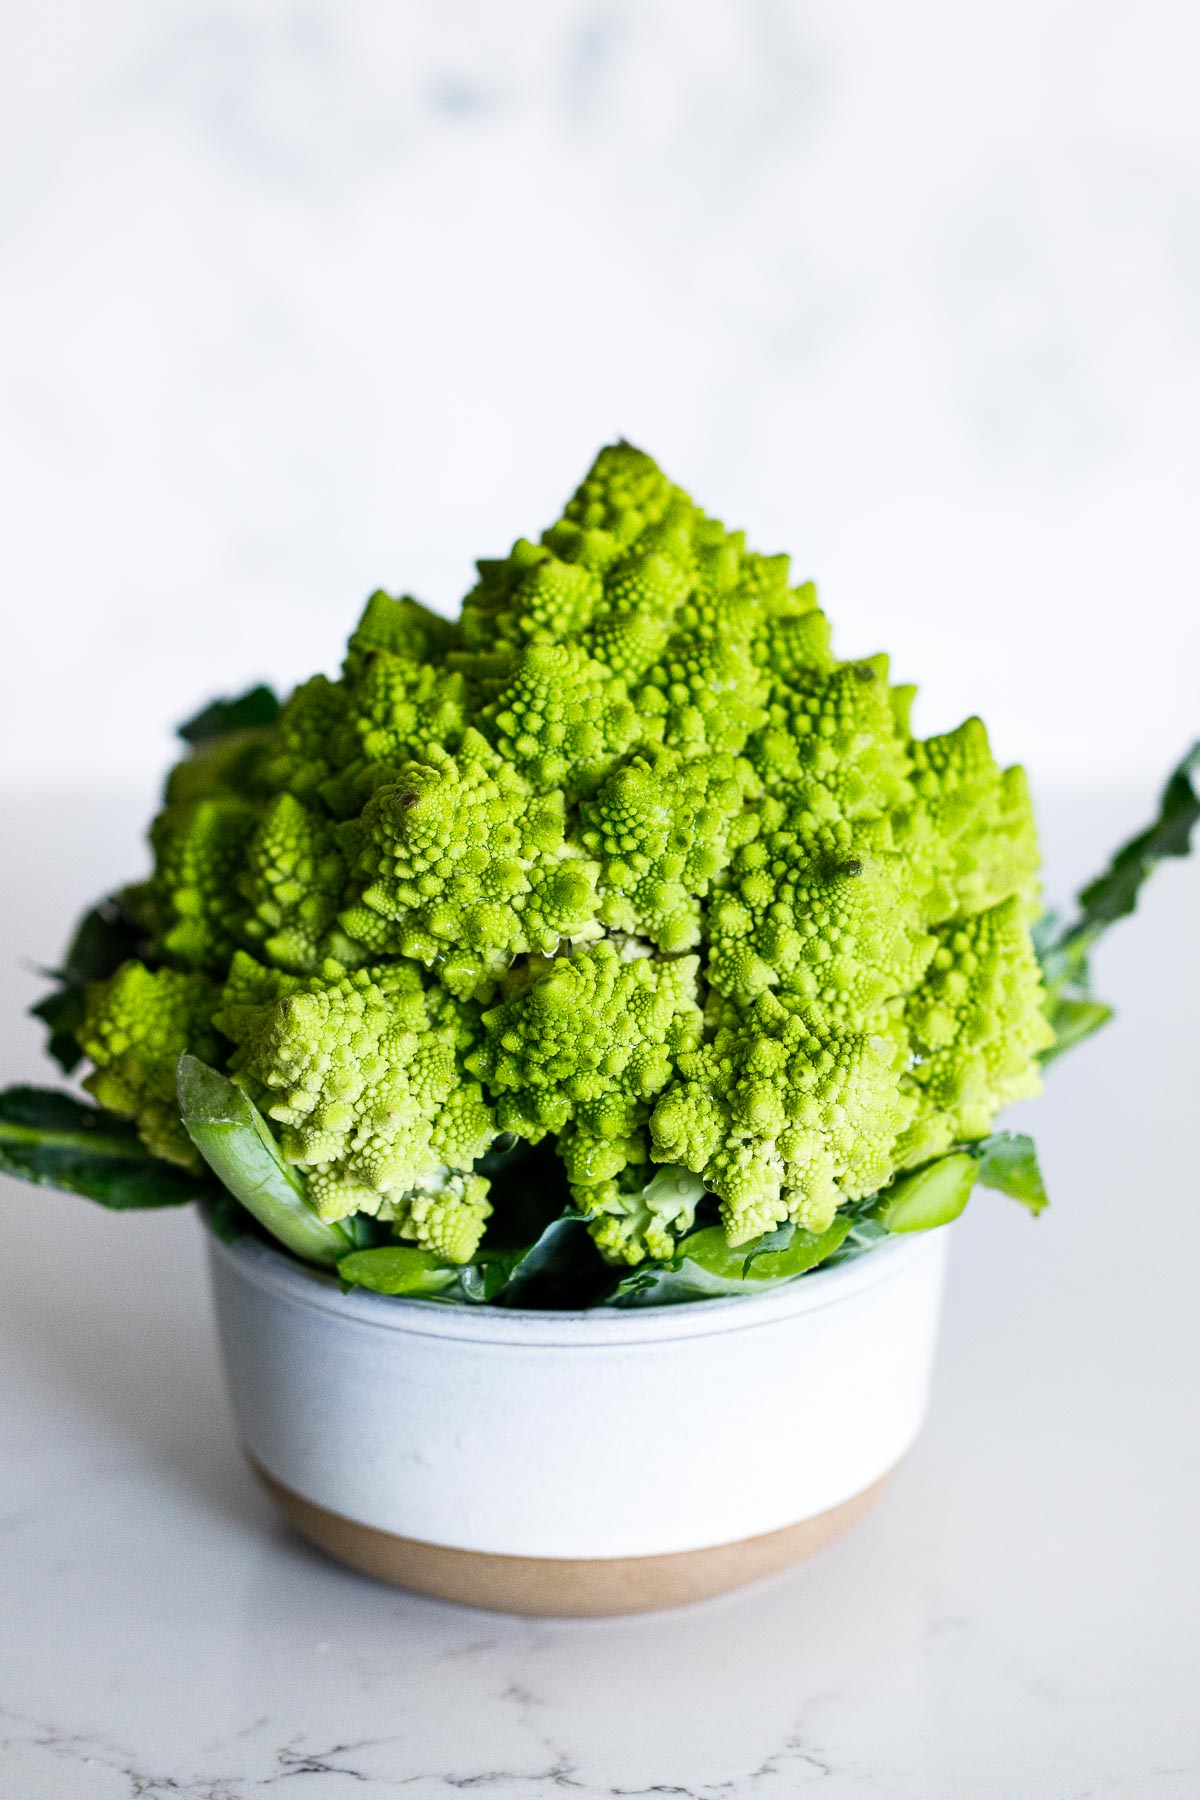
How to prepare and cook Romanesco- broccoli's Italian cousin.
Romanesco is a stunning chartreuse-spired cruciferous veggie in the same family as broccoli and cauliflower. Here we've roasted it with shallots, garlic and lemon zest and served with Italian Salsa Verde and Calabrian Chilies.

Catalan Sautéed Spinach

Catalan-Style, Sauteed Spinach with garlic, golden raisins, and pine nuts, a simple, flavorful side dish that can be made in 25 minutes. 
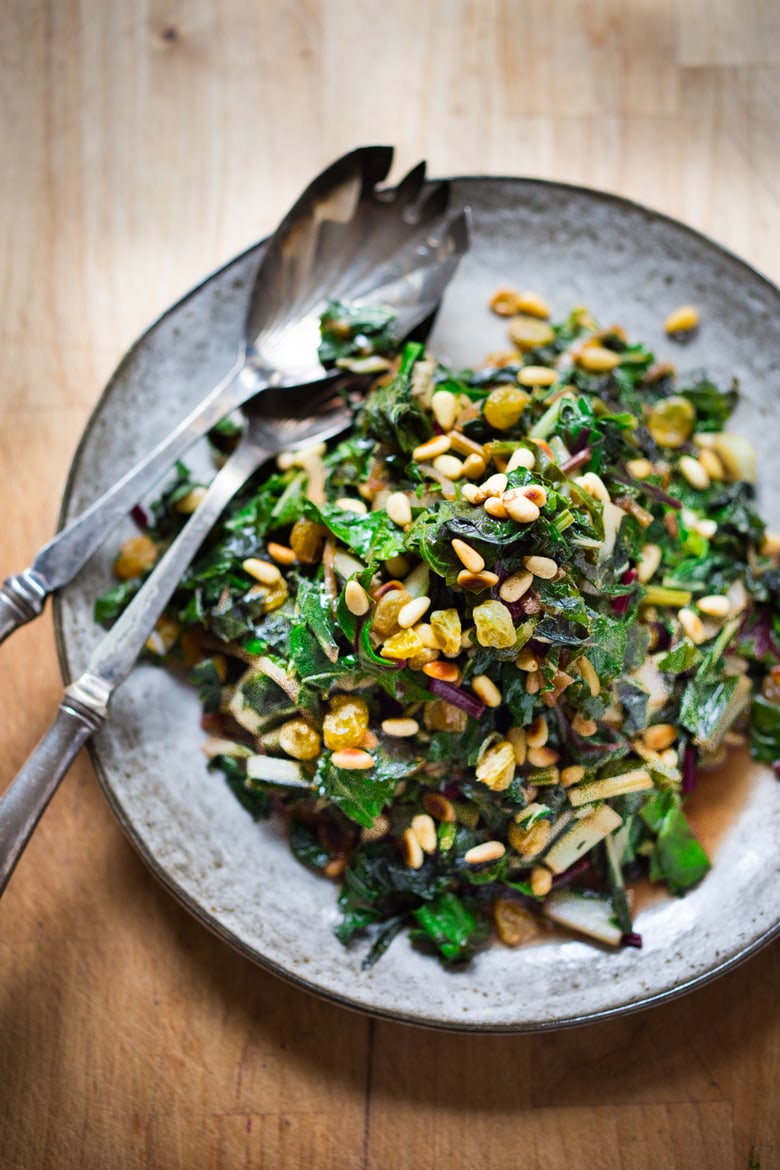
Catalan-Style, Sauteed Spinach with Garlic, Golden Raisins and Pine nuts - a simple healthy side dish that can be made in 25 minutes. 
Catalan-Style, Sauteed Spinach with garlic, golden raisins, and pine nuts, a simple, flavorful side dish that can be made in 25 minutes. 

Caldo Verde (Portuguese Green Soup)

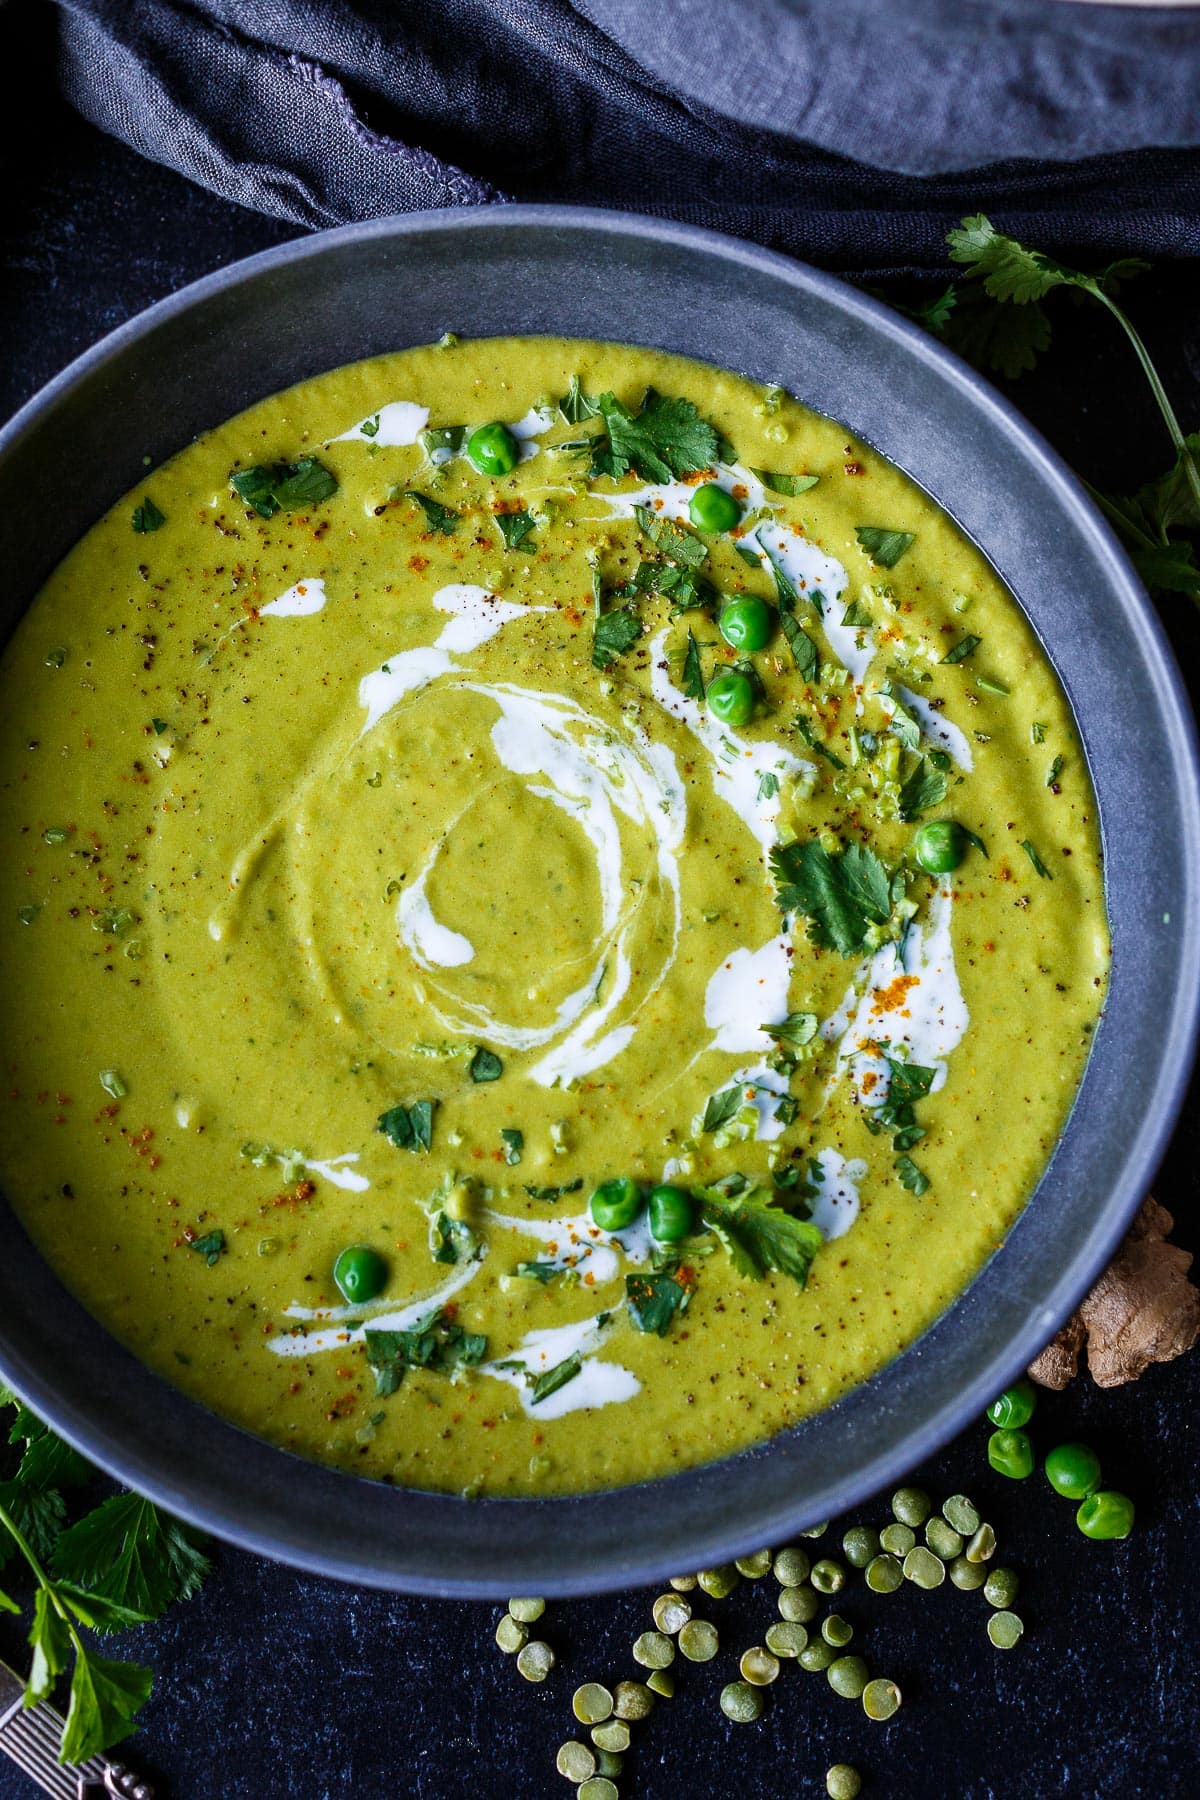
This Portuguese soup called Caldo Verde has a luscious creamy potato base with collard green ribbons, and smoked sausage. A delicious one-pot meal that is vegan-adaptable!
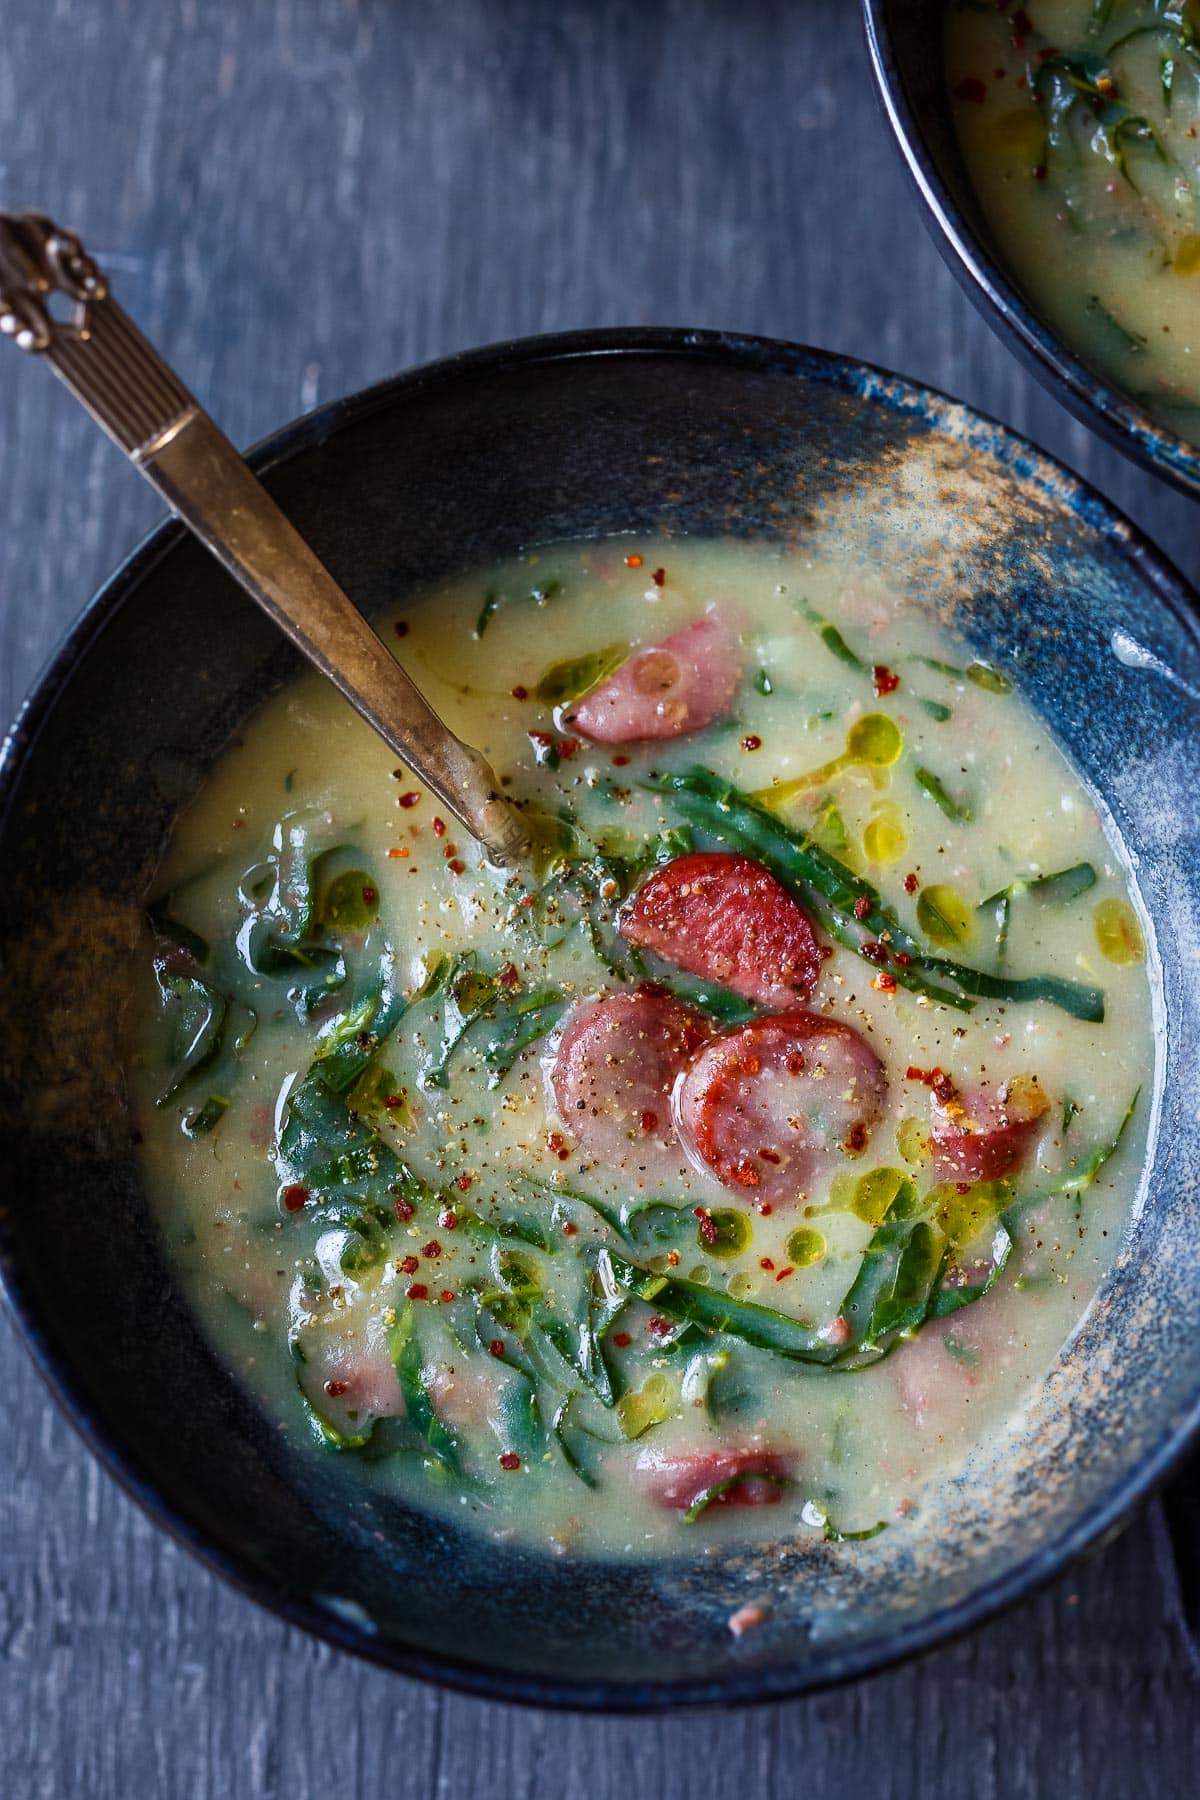
This Portuguese soup called Caldo Verde has a luscious creamy potato base, with collard green ribbons, and smoked sausage. A delicious one-pot meal that is vegan-adaptable!
This Portuguese soup called Caldo Verde has a luscious creamy potato base with collard green ribbons, and smoked sausage. A delicious one-pot meal that is vegan-adaptable!

Cabbage Steaks

Tender, smoky Cabbage Steaks are easy to make and full of flavor. Just 15 minutes of prep before roasting in the oven, they make a quick and healthy weeknight meal!
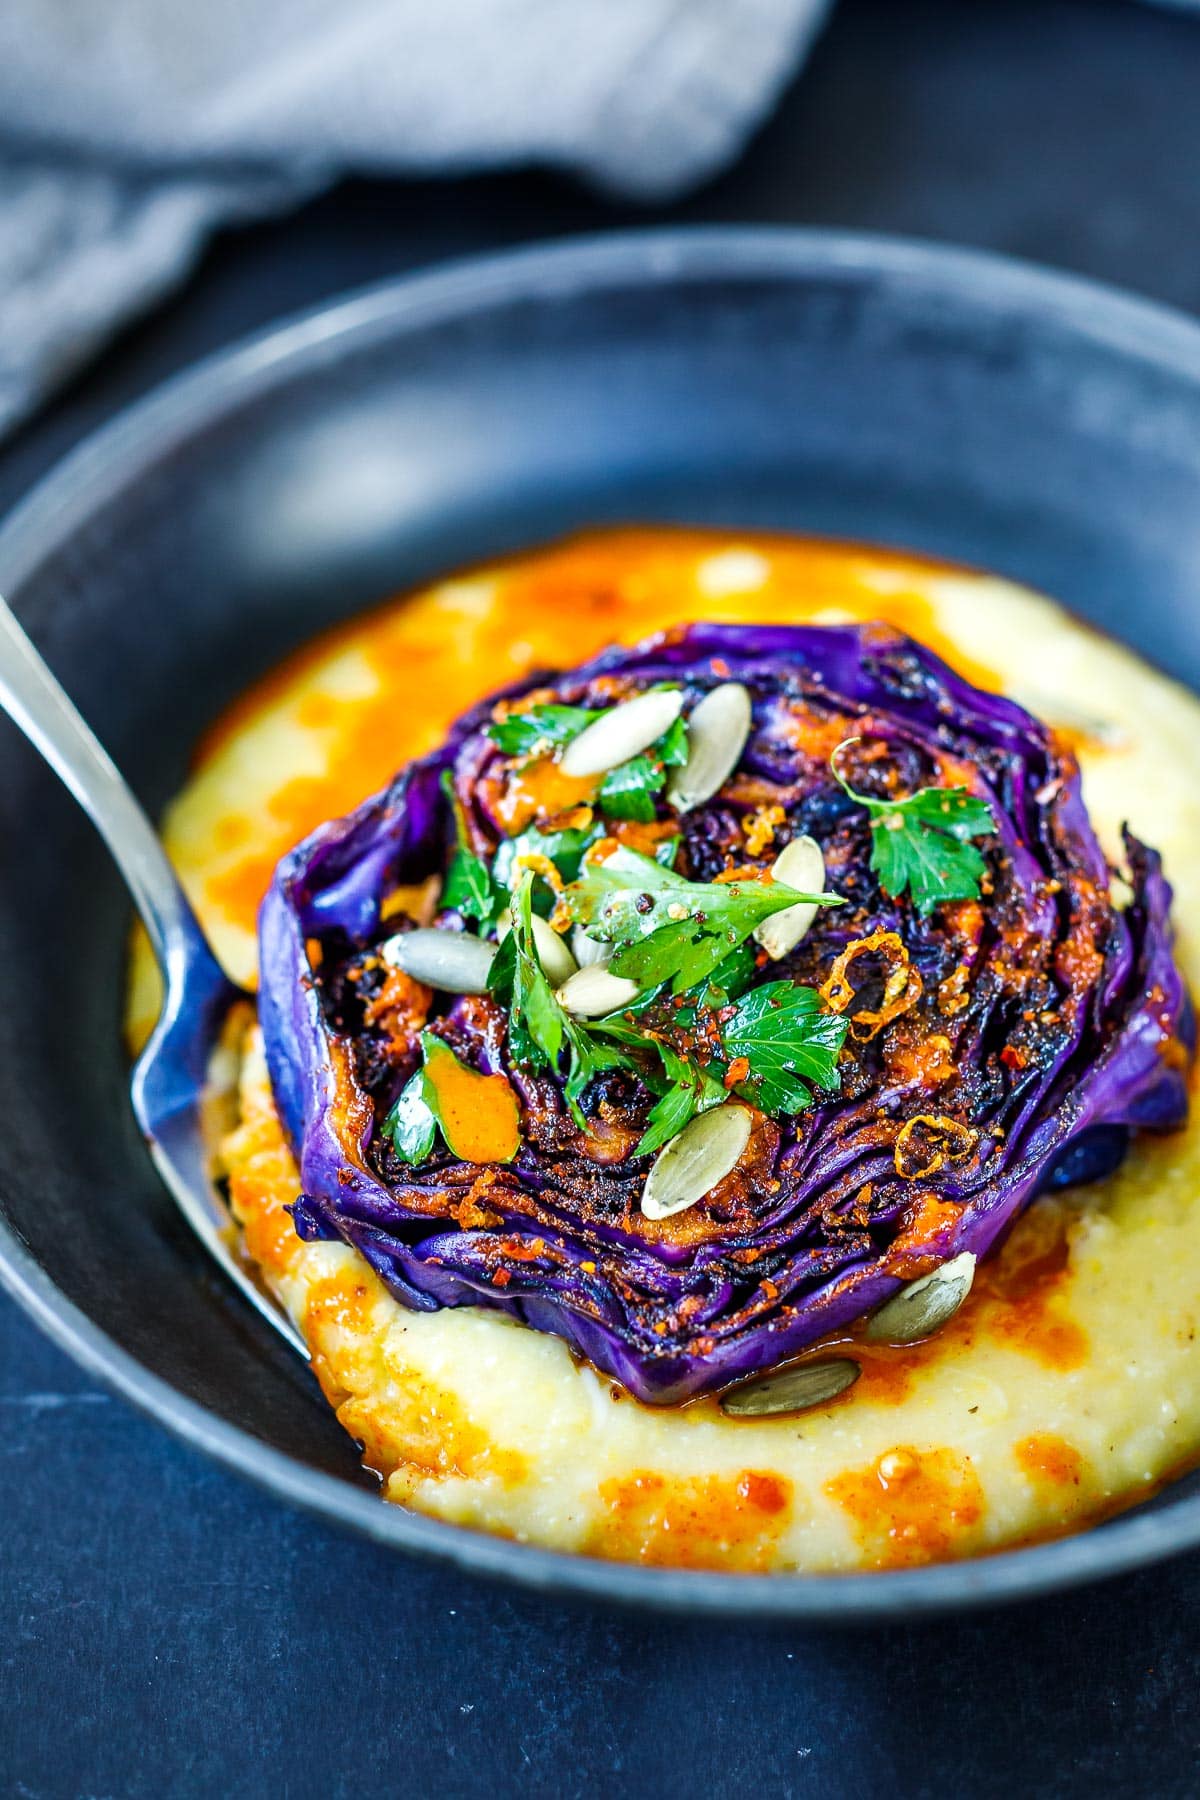
Tender, smoky Cabbage Steaks are easy to make and full of flavor. Just 15 minutes of prep before roasting in the oven, they make a quick and healthy weeknight meal!

Vegan Pozole

Bursting with flavor, this Vegan Pozole with black beans and hominy is richly spiced with deep, complex flavors. Top it with shredded cabbage, radishes, cilantro, and avocado.
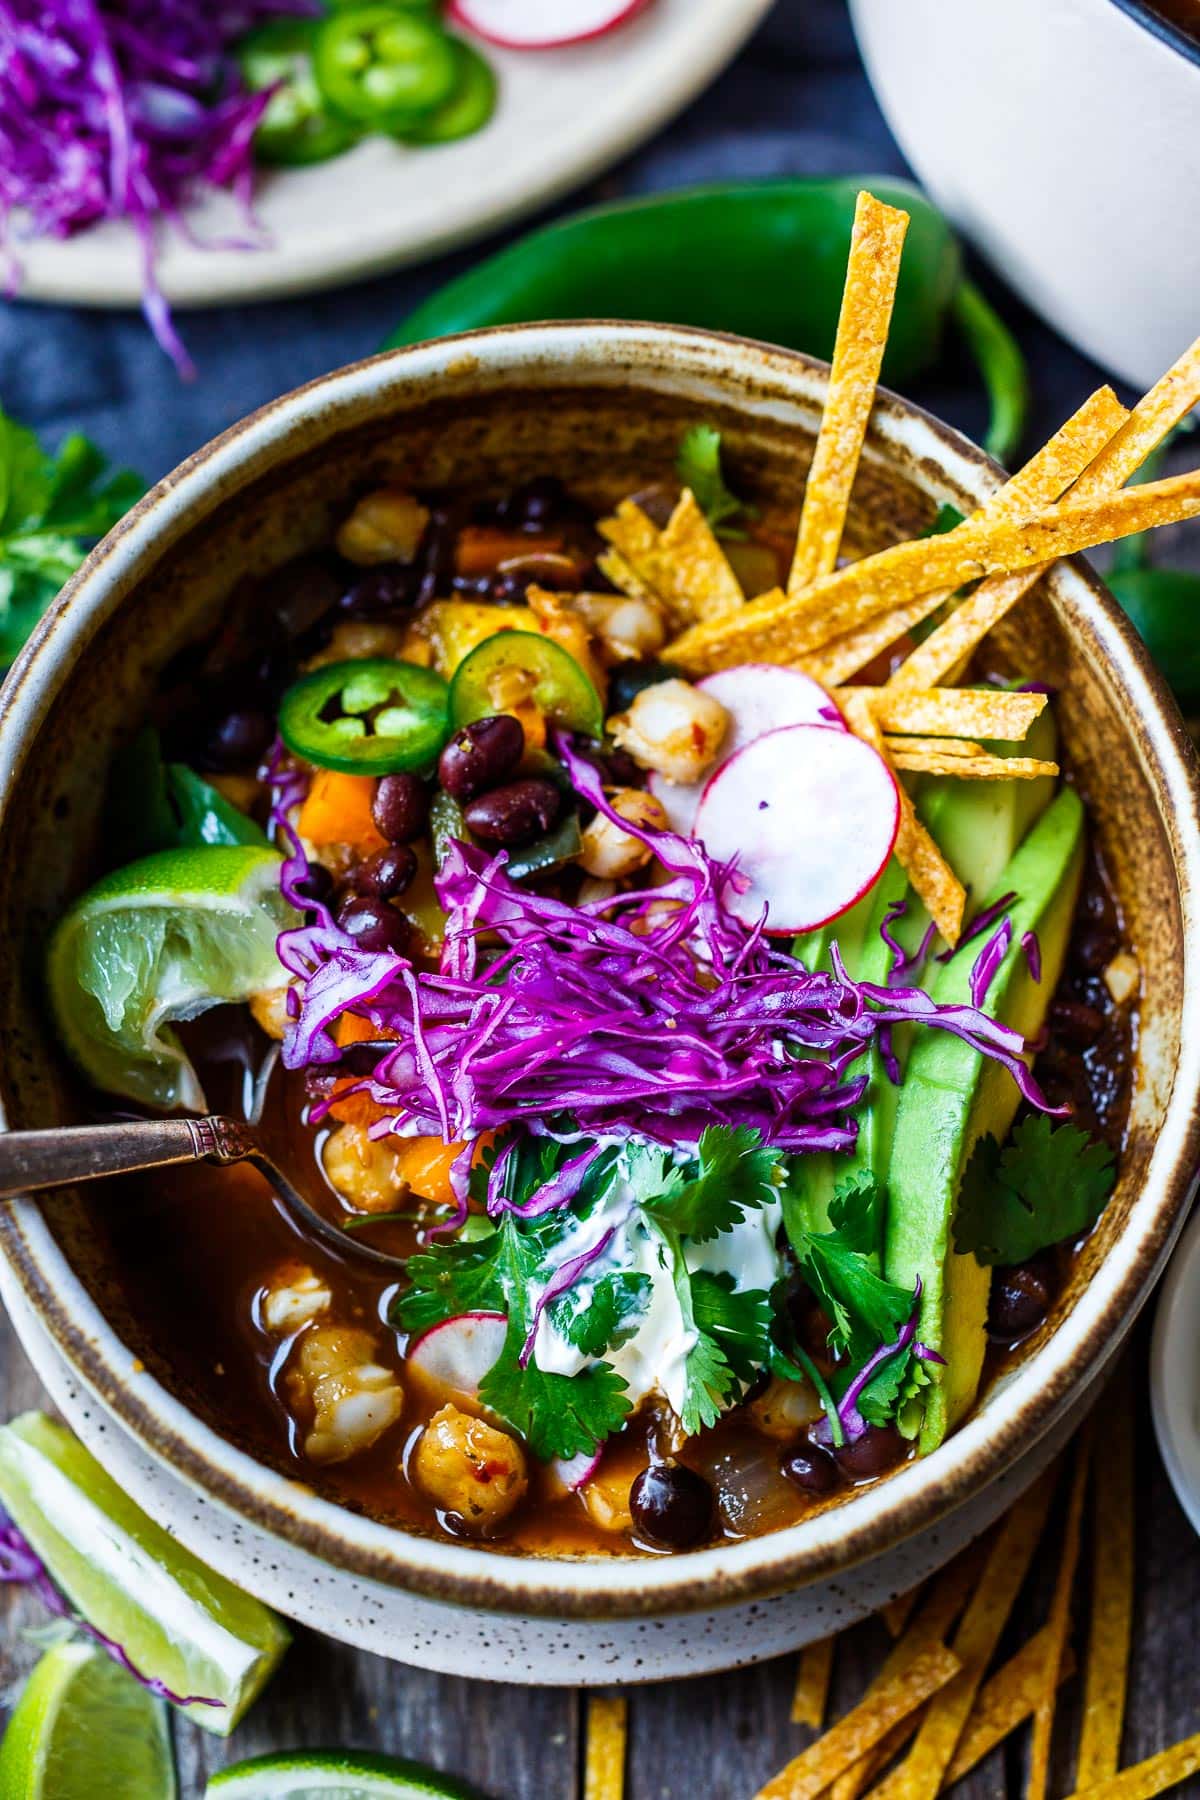
Bursting with flavor, this Vegan Pozole with black beans and hominy is richly spiced with deep complex flavors. Quick and easy to make!
Bursting with flavor, this Vegan Pozole with black beans and hominy is richly spiced with deep, complex flavors. Top it with shredded cabbage, radishes, cilantro, and avocado.

Veggie Pot Pie

Creamy, savory, hearty, flaky, crispy- this Veggie Pot Pie is All. Of. The. Things! You can even make this veggie pot pie recipe vegan.

The post Veggie Pot Pie appeared first on Budget Bytes.

If you want your whole family clamoring around the dinner table with a dish everyone will love, this Veggie Pot Pie is All. Of. The. Things! Creamy, savory, hearty, crispy- you can even make this Veggie Pot Pie recipe vegan! It’s all cooked in a velvety sauce and encased in a flaky, buttery pie crust. Are you ready to make the ultimate comfort food? (Say yes!!!)
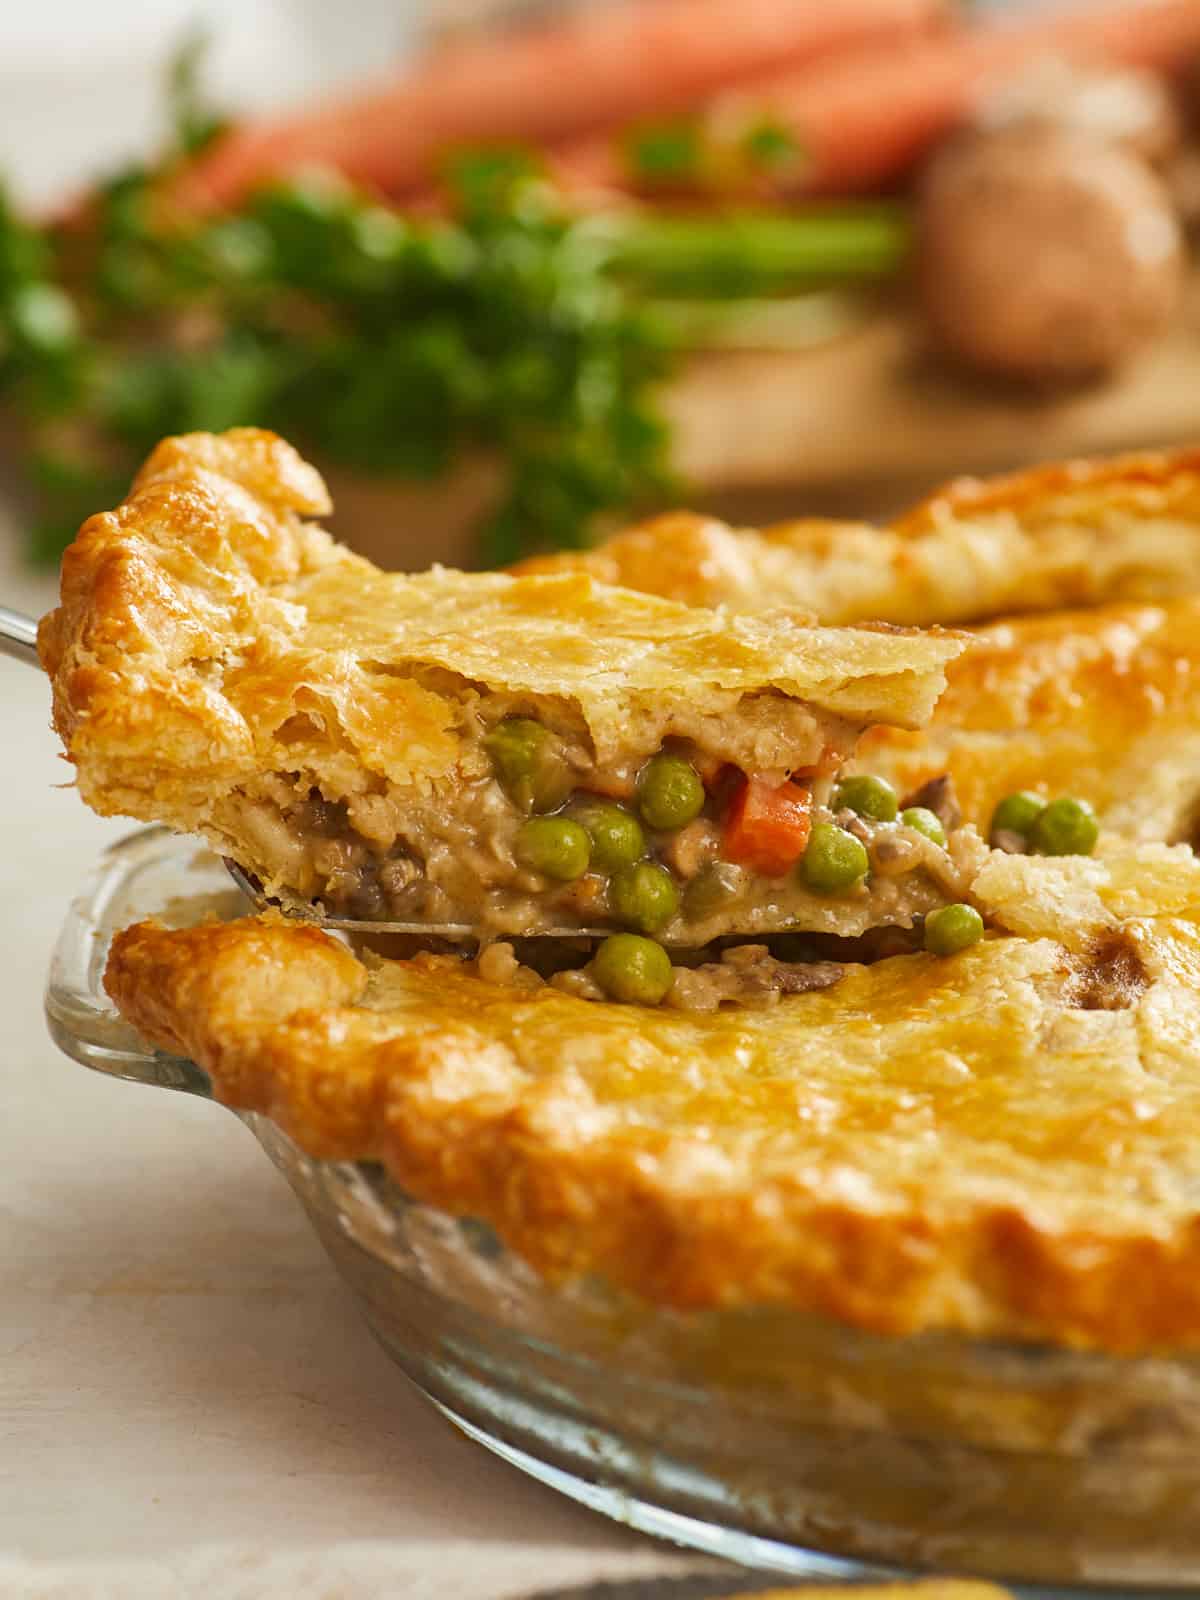
What Is Veggie Pot Pie?

A pot pie is just like a regular pie, except it’s usually savory and made in a creamy sauce. Pot pies can be made with a bottom and top crust or just a top crust. This pot pie recipe is a mix of colorful vegetables drenched in a savory gravy and cooked in a deliciously flakey double crust. Feel free to use just a top crust if you prefer it that way. I’m a crust person, so the more, the better!

What You’ll Need

For The Filling
  • Butter and Flour– with their powers combined, you’ll make a roux, and that blend of fat and flour will thicken your sauce.
  • Milk and Vegetable Broth– this is the base of your creamy sauce. You can substitute the milk with plant-based milk if you want to keep this bad boy dairy free. Alternatively, if you want to add more depth, try using chicken broth.
  • Mushrooms, Onions, Potatoes, and Mixed Veggies– these are the stars of your veggie filling. To minimize chopping, I use frozen mixed veggies. But any combination of veggies you have on hand will work. Just make sure to chop everything the same size and par-cook root veggies in the broth first.
  • Rosemary, Thyme, Bay Leaf, and Sage– add flavor and depth to the sauce. You can substitute them with your favorite spice blend.
  • Soy Sauce– adds umami, AKA savoriness, which anything vegetable-based will need loads of. You can also use a teaspoon of any Miso you have on hand or Worcestershire Sauce.
For The Crust
  • Double Pie Crust– encases everything in a buttery dream and adds incredible texture. You can use a store-bought crust, but I use my 3-Ingredient Pie Crust. You can also use puff pastry, but par-bake it before filling.
  • Egg– the white seals the bottom crust, so it doesn’t absorb liquid, and the yolk lacquers the top crust, giving you a golden finish. If you want to skip the egg, par-bake the bottom crust and use milk, cream, or plant-based milk to lacquer the top crust.

Make It Vegan

You can tweak this recipe to create an outstanding Vegan Pot Pie! Sub the butter with vegan butter or oil. Opt for a store-bought vegan pie crust, or make my Easy 3-Ingredient Pie Crust with Vegan Butter or Vegetable Shortening. Sub the milk with any plant-based milk. As far as the egg wash is concerned, you can brush your pie crust with water, aquafaba, or plant-based milk. Par-bake the bottom crust before filling.
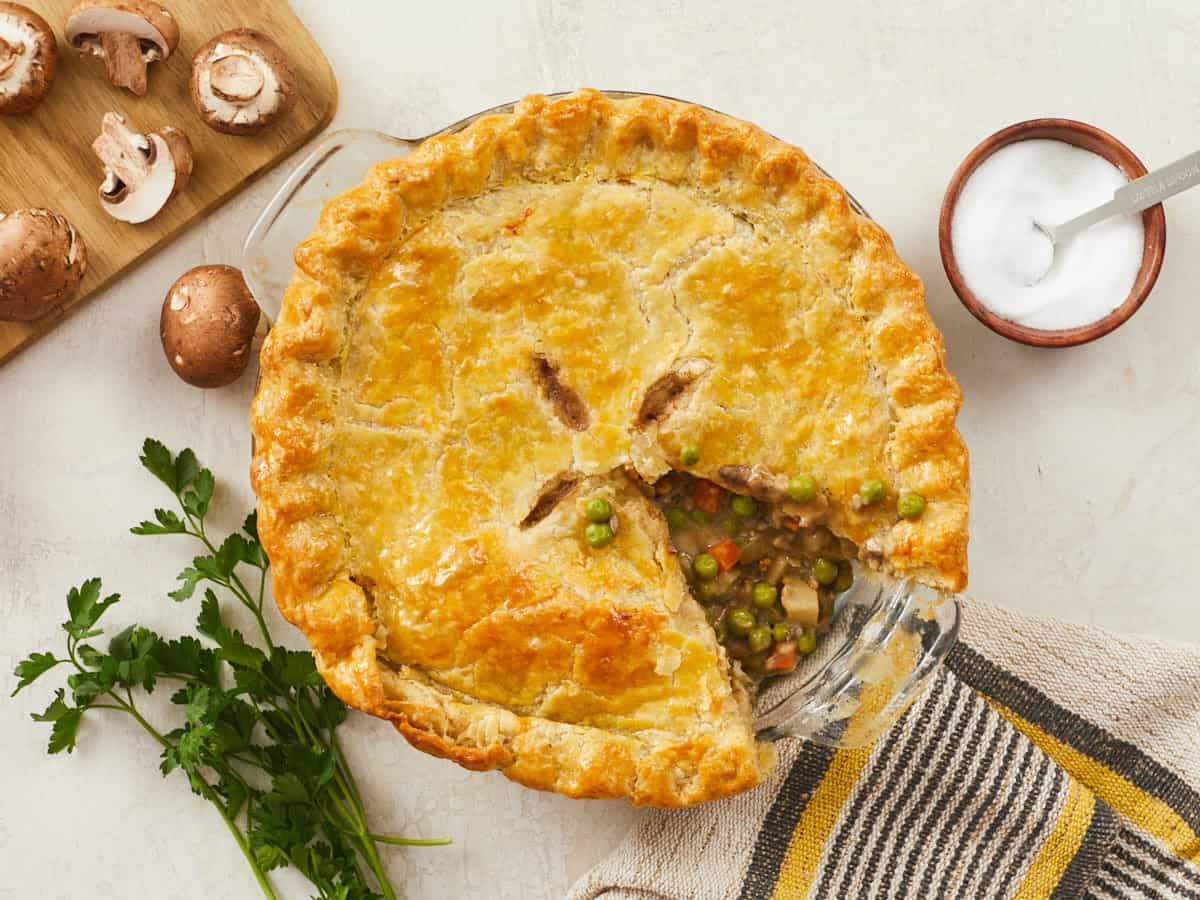
Prevent A Soggy Bottom Crust

Brushing the bottom crust with egg white helps create a barrier that prevents the dreaded soggy bottom. You should also preheat the oven with a sheet pan in it. When you place the pie on it, the heat from the sheet pan melts the fat in the bottom pastry, creating a layer that prevents liquid from permeating the pie. You can also place an overturned cast iron skillet in your sheet pan and preheat them both. Bake your pie on the bottom of the overturned skillet. Cast iron holds heat and helps crisp up that bottom crust.

How To Store The Leftovers

You can store leftovers in an airtight container in the fridge for up to 4 days, though reheating is easier if you just store them in the pie plate and cover them tightly with foil. You can freeze a veggie pot pie for up to 2 months, tightly wrapped in plastic, then foil, and kept in an airtight container. Cover the top crust with foil to prevent burning, and reheat in a 350ºF oven until it has warmed throughout.
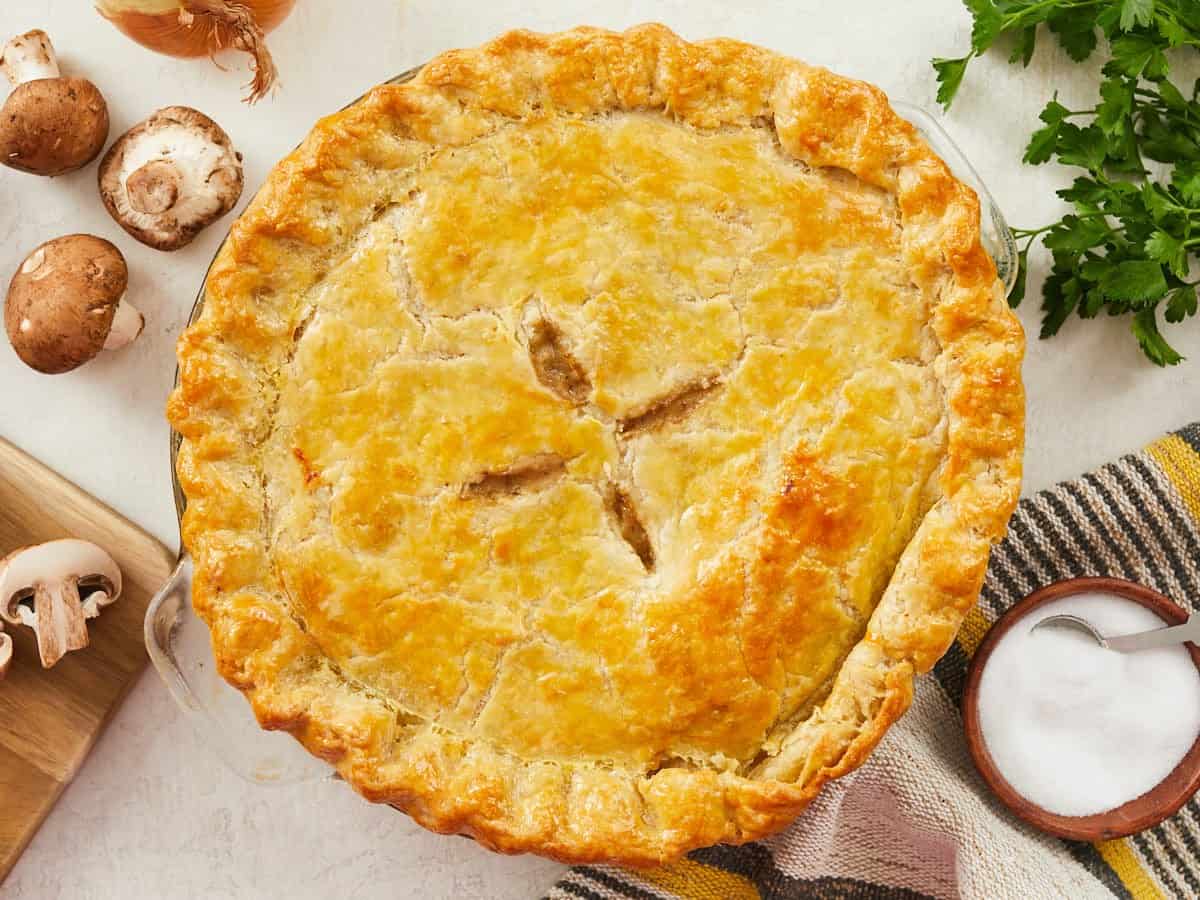

Side shot of a slice of veggie pot pie being removed from the pie dish.
Print

Veggie Pot Pie

If you want your whole family clamoring around the dinner table with a dish everyone will love, this Veggie Pot Pie is All. Of. The. Things! Creamy, savory, hearty, crispy- you can even make this recipe vegan!
Course Brunch, Dinner, Lunch
Cuisine American
Total Cost ($9.61 recipe / $1.20 serving)
Prep Time 20 minutes
Cook Time 1 hour 10 minutes
Total Time 1 hour 30 minutes
Servings 8 slices
Calories 281kcal

Ingredients

  • 1 3-Ingredient Pie Crust* $2.34
  • 7 Tbsp salted butter, divided $1.12
  • 1 yellow onion, small dice (about 1 cup) $0.41
  • 2 garlic cloves, minced (about 1 teaspoon) $0.24
  • 4 Tbsp flour $0.04
  • 1 cup veggie broth $0.13
  • 1/2 cup whole milk $0.13
  • 3/4 tsp salt $0.05
  • 1 bay leaf $0.15
  • 1/4 tsp ground rosemary $0.03
  • 1/4 tsp dried thyme $0.03
  • 1/4 tsp rubbed sage $0.03
  • 1/4 tsp black pepper $0.02
  • 1 tsp soy sauce $0.02
  • 1 Yukon gold potato, small dice* (about 1 cup) $0.27
  • 1 pint baby bellas, small dice $2.89
  • 12 oz frozen mixed vegetables $1.25
  • 1 egg, separated $0.46

Instructions

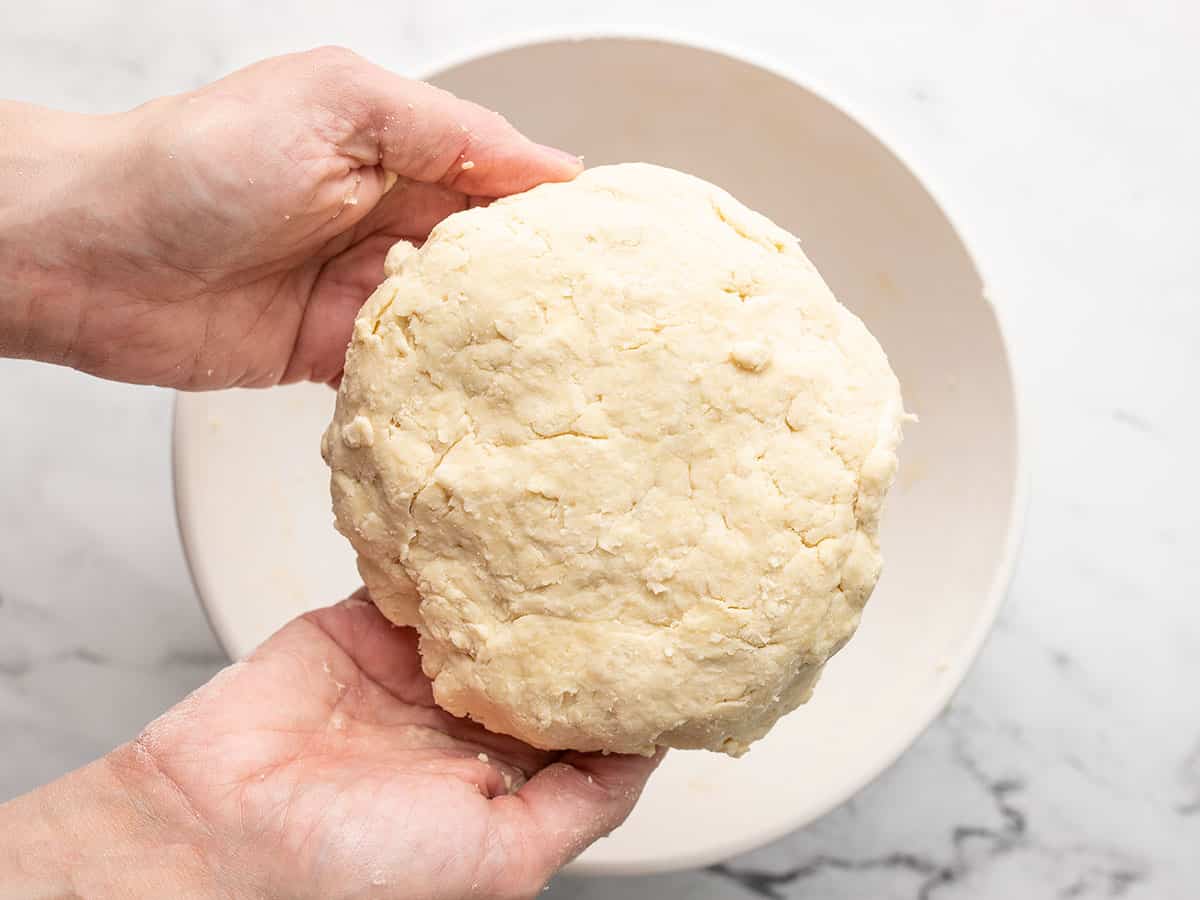
  • Grease a pie pan with 1 tablespoon of butter. If you're using store-bought dough, place the bottom crust in the pie pan. If you made 3-Ingredient Pie Crust, cut 1/3 of the dough off to be used as the top crust, wrap it in plastic, and refrigerate until you're ready to use it later.
  • Dust your work surface with flour and roll out the bigger 2/3 piece of dough into a circle that is 16 inches in diameter and about 1/4 inch thick. Line the pie pan with it.
  • Beat the egg white until frothy, then brush the bottom crust with it. Let the crust rest in the fridge.
  • Place a rack in the center of your oven along with a sheet pan and preheat it to 350ºF. Place a deep skillet over medium heat and add 5 tablespoons of salted butter to the pan. Once the butter foams, swish it around the pan until it turns an amber color and smells of hazelnuts.
  • Add the diced onions to the brown butter. Cook until the onions are translucent, about 5 minutes. Add the garlic, and cook for one minute. Sprinkle the flour over the onions and garlic in the skillet and continue to cook and stir for two minutes more.
  • To the pan, add veggie broth, milk, and salt. Whisk to combine and dissolve any flour off the bottom of the skillet. Then add the bay leaf, rosemary, thyme, sage, pepper, and soy sauce. Whisk occasionally as the liquid simmers and thickens.
  • Add the pint of diced mushrooms and the diced potato to the pan. Stir to combine and cook until the gravy has thickened more and reduced some, about 5 minutes.
  • Remove the skillet from the heat. Finally, add the frozen mixed vegetables and allow them to cool the ingredients in the pan.
  • Take the pie pan out of the fridge, prick the bottom crust a few times with a fork, and add the cooled filling to the pie pan. Dice the last tablespoon of butter and sprinkle it over the filling.
  • Roll the smaller piece of dough into a circle, about 10 inches wide and 1/4 inch thick. Cover the pie with it.
  • Beat the egg yolk. Trace a bit of yolk along the top edge of the bottom and top crusts. Fold the bottom crust over the top crust and crimp the edges shut. Cut vents into your top crust. Brush egg yolk in a light layer over the top crust.
  • Bake for 45 to 50 minutes, or until the pie dough is golden and flaky. Allow the Veggie Pot Pie to cool for ten minutes before serving.

See how we calculate recipe costs here.
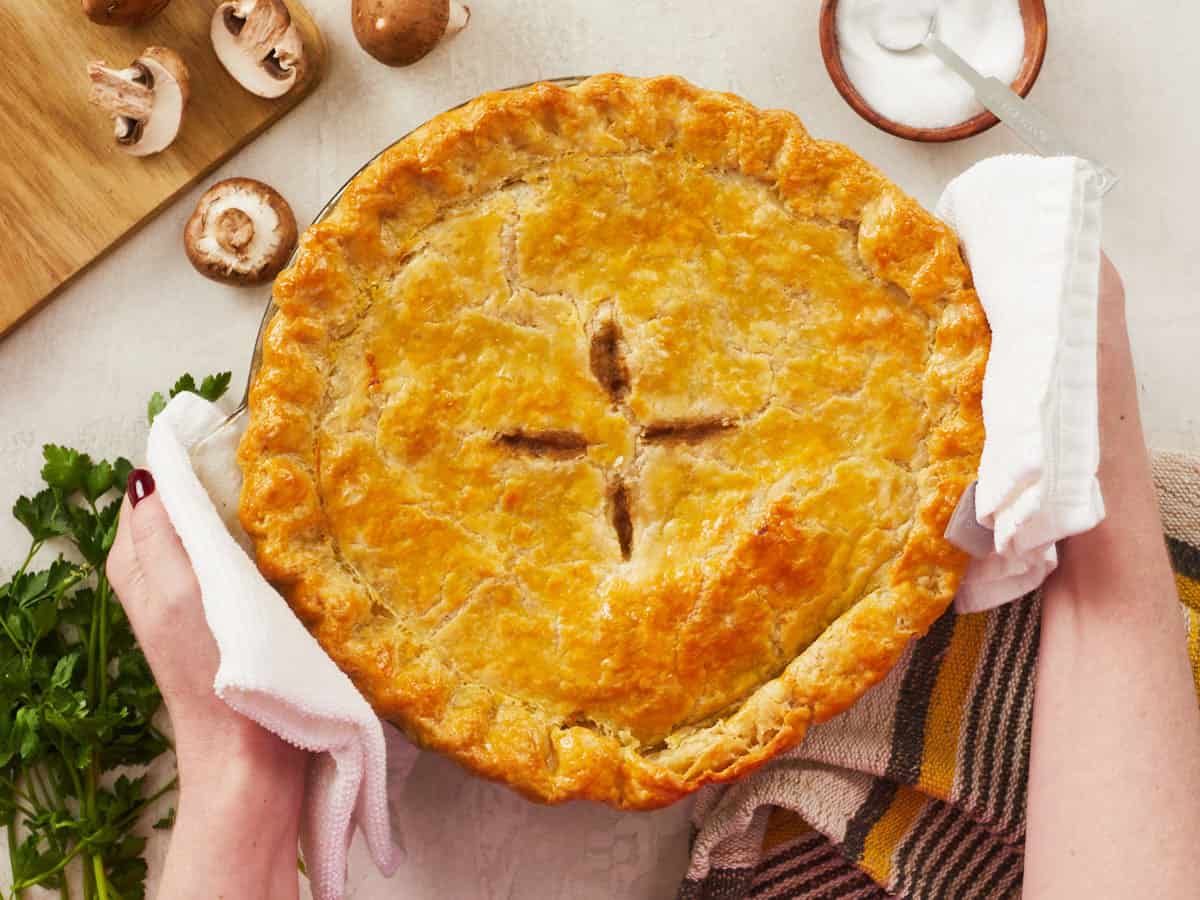
Notes

*You can also use a store-bought double crust or puff pastry. 
*To prevent the diced potato from turning gray, place it in salted water and cover it with a wet paper towel, so it stays submerged. Drain before using in the recipe.

Nutrition

Serving: 1slice | Calories: 281kcal | Carbohydrates: 28g | Protein: 7g | Fat: 17g | Sodium: 465mg | Fiber: 4g

How to Make Veggie Pot Pie – Step by Step Photos

Grease a pie pan with 1 tablespoon of butter. If you’re using store-bought dough, place the bottom crust in the pie pan. If you are making 3-Ingredient Pie Crust, roll it into a large disc about 6 inches wide and two inches thick. Then cut 1/3 of it off to use as the top crust later on. Wrap it in plastic, and refrigerate.
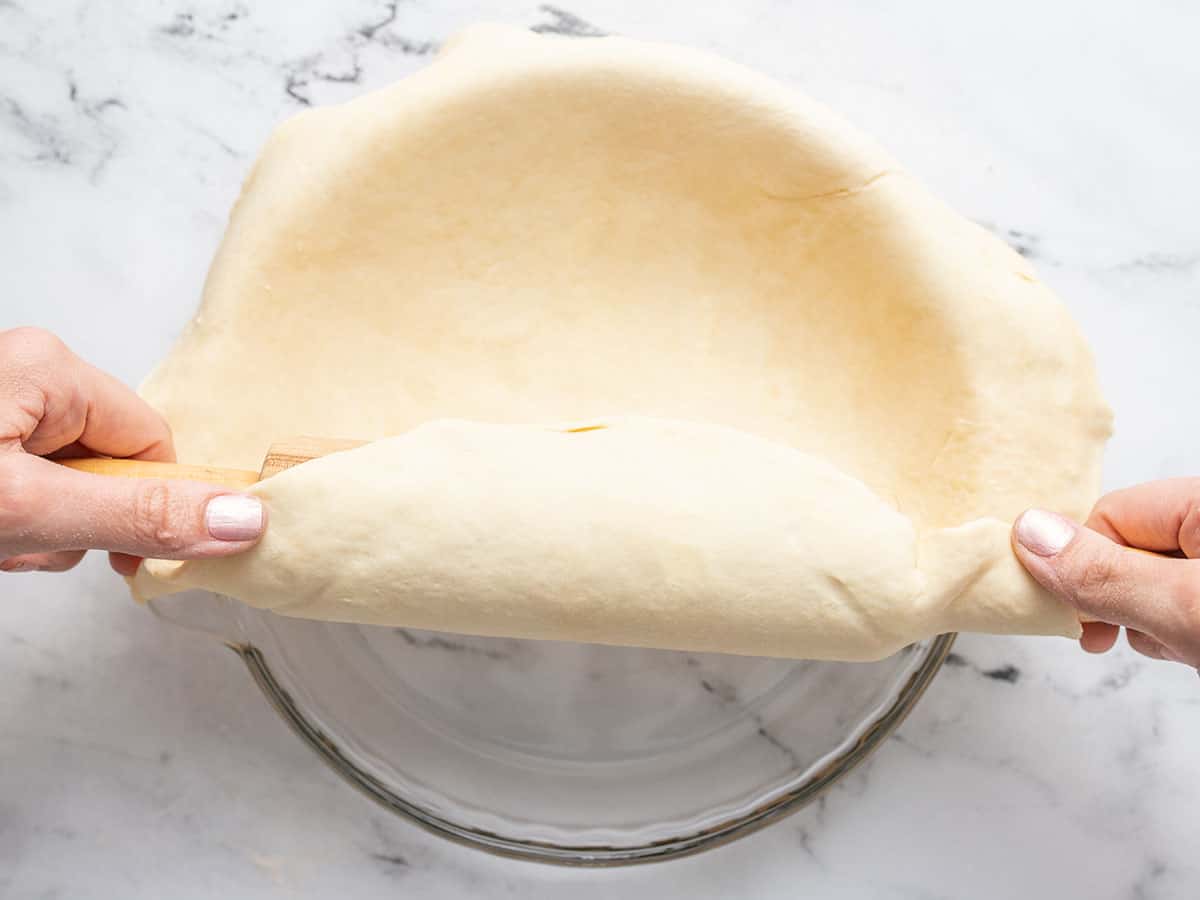
Dust your work surface with flour and roll out the bigger 2/3 piece into a circle that is 16 inches in diameter and about 1/4 inch thick. Drape it over the pie pan and press down gently, gently pushing it into the bottom crease and sides of the pan.
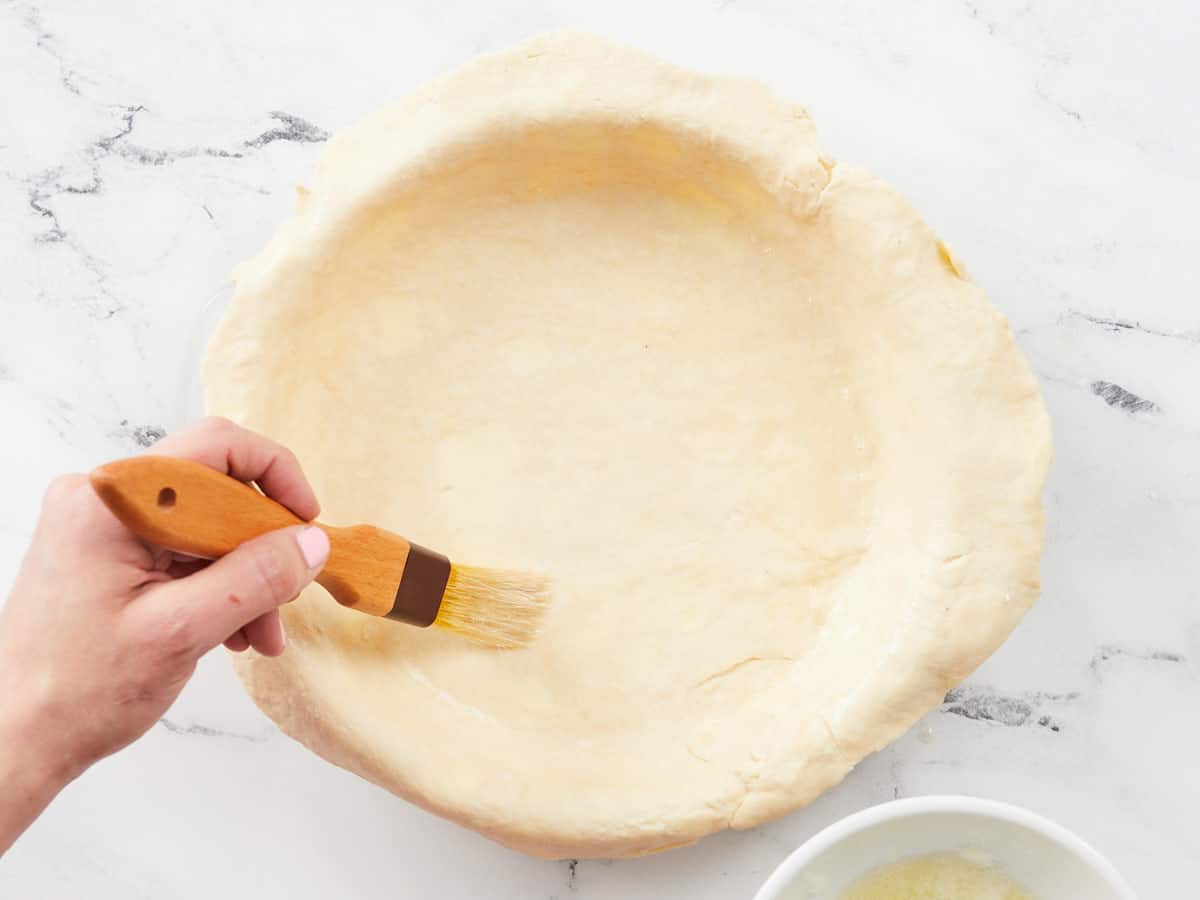
Beat the egg white til frothy and then brush the bottom crust with it. Let the crust rest in the fridge.

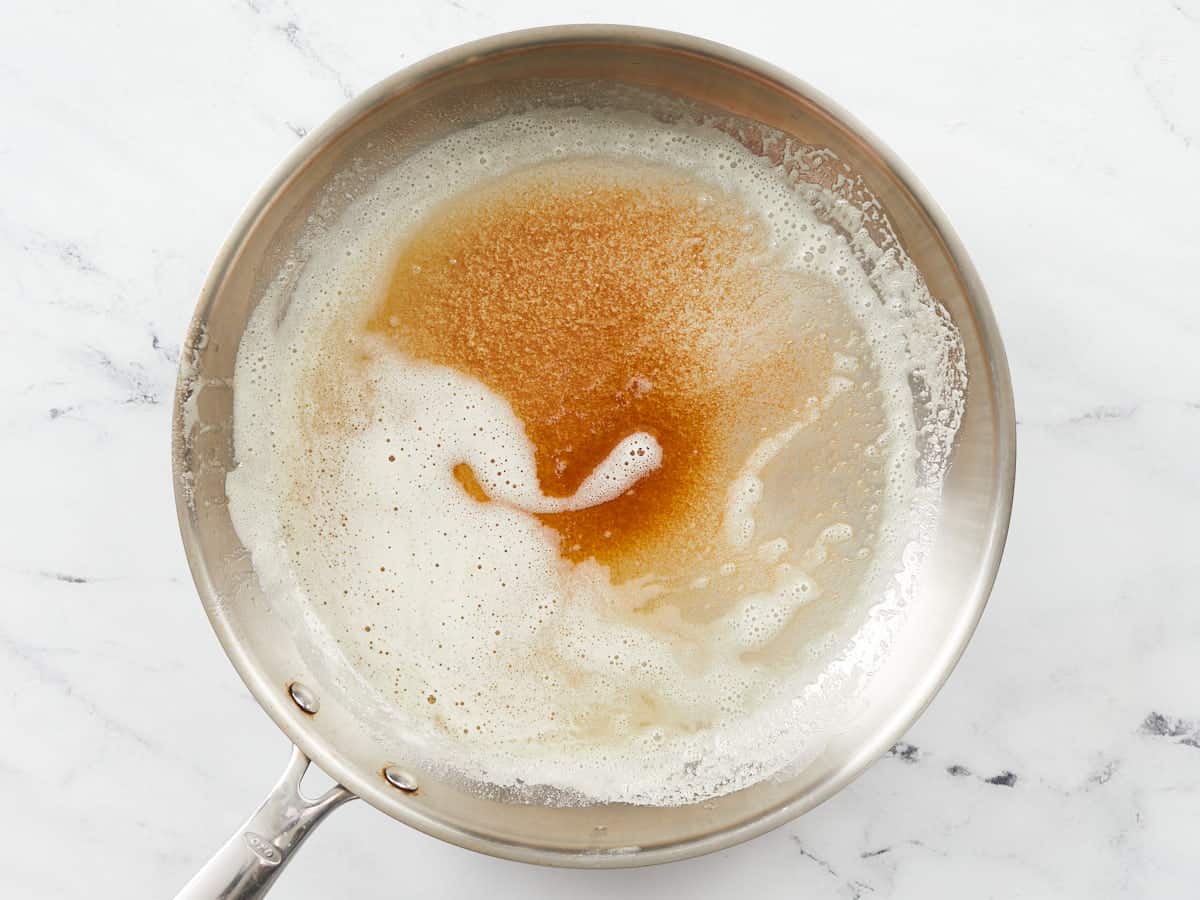
Place a rack in the center of your oven along with a sheet pan and preheat it to 350ºF. Place a deep skillet over medium heat, add 5 tablespoons of salted butter to the pan, and brown it. The butter will melt, then foam, and finally, the solids will separate from the fat and turn a golden brown. The air will smell of hazelnuts.
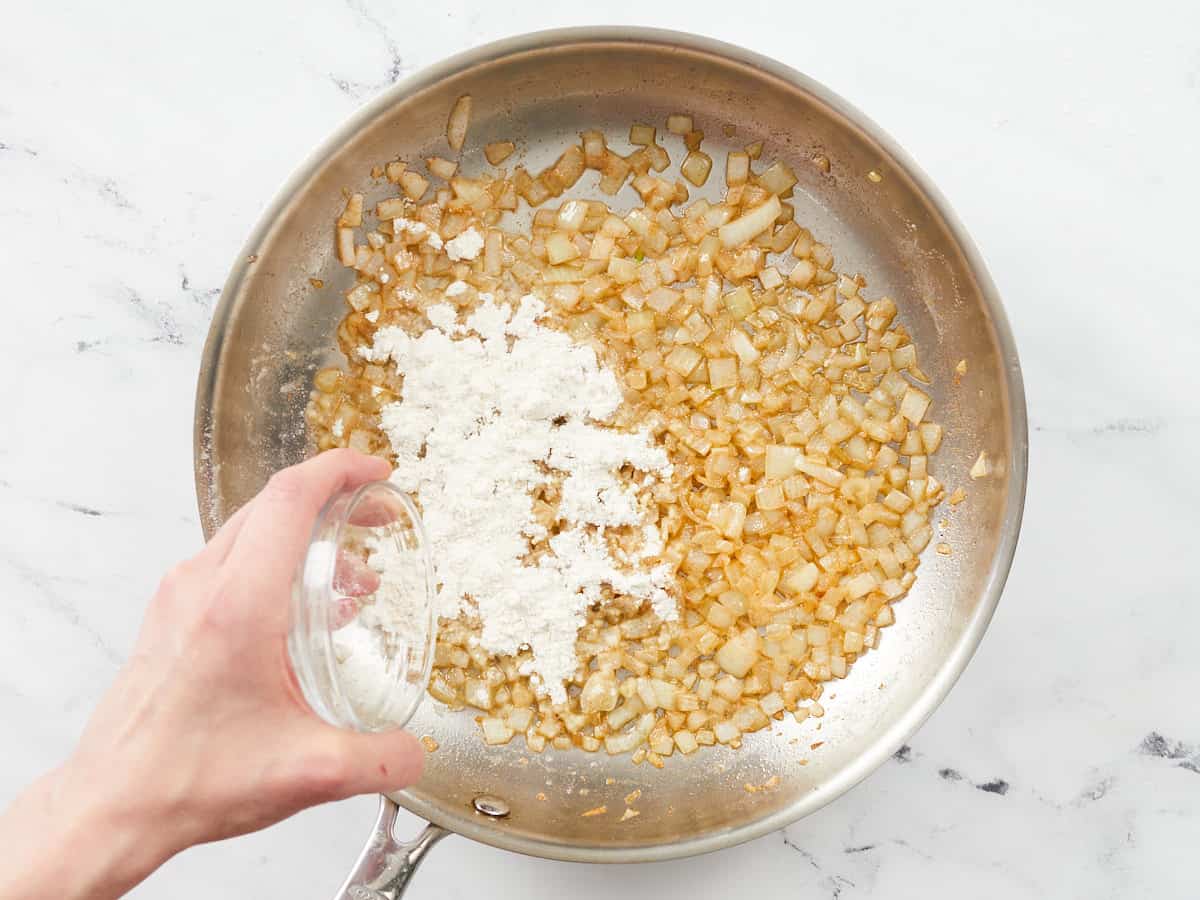
Add the diced onion to the brown butter. Cook until translucent, about 5 minutes. Then add the 2 minced cloves of garlic and cook for 1 minute, until fragrant. Finally, sprinkle 4 tablespoons of flour over the onions and garlic in the skillet and continue to cook and stir for 2 minutes more.
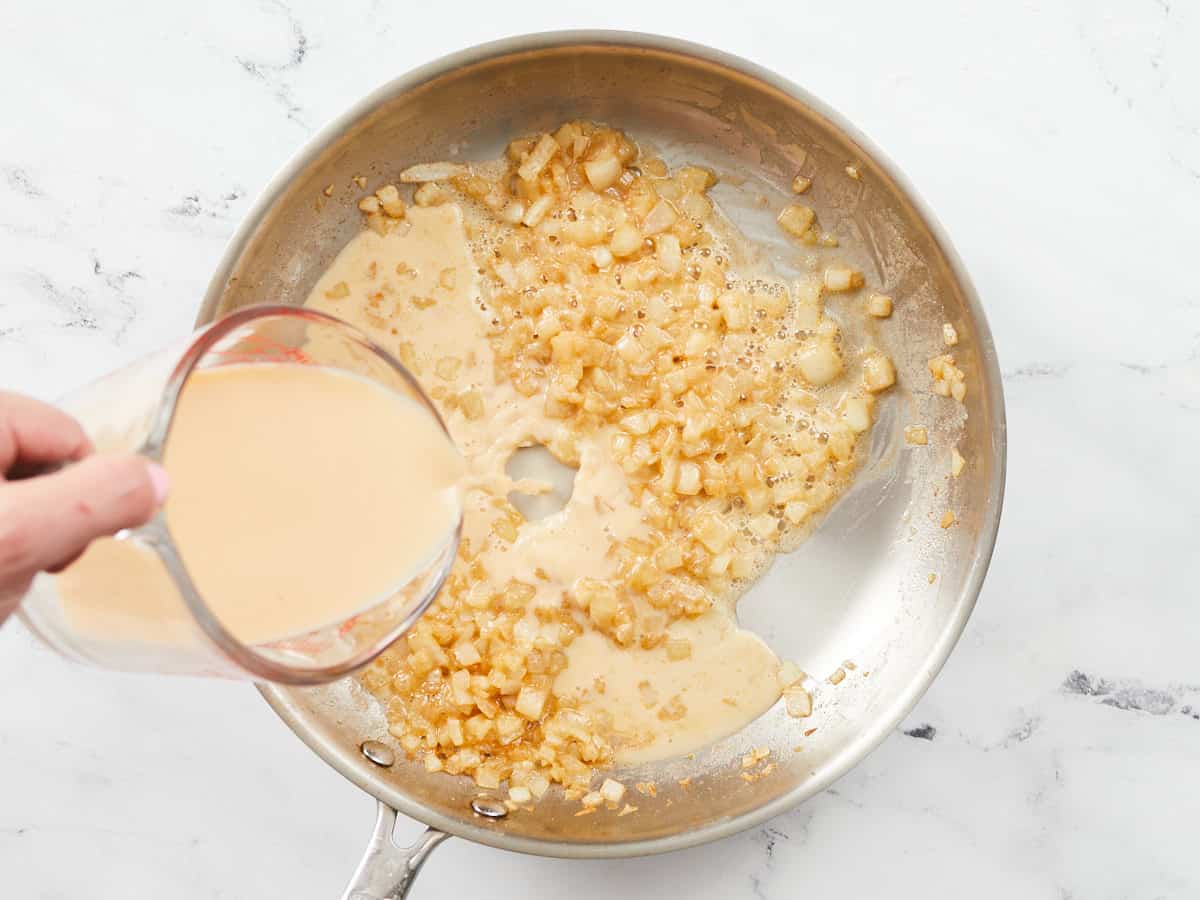
Add 1 cup of veggie stock, 1/2 cup of milk, and 3/4 teaspoon salt. Then whisk to combine and dissolve any flour off the bottom of the skillet. Finally, add the bay leaf, 1/4 teaspoon rosemary, 1/4 teaspoon thyme, 1/4 teaspoon sage, 1/4 teaspoon black pepper, and 1 teaspoon soy sauce. Whisk occasionally as the liquid comes up to a simmer and thickens into gravy.
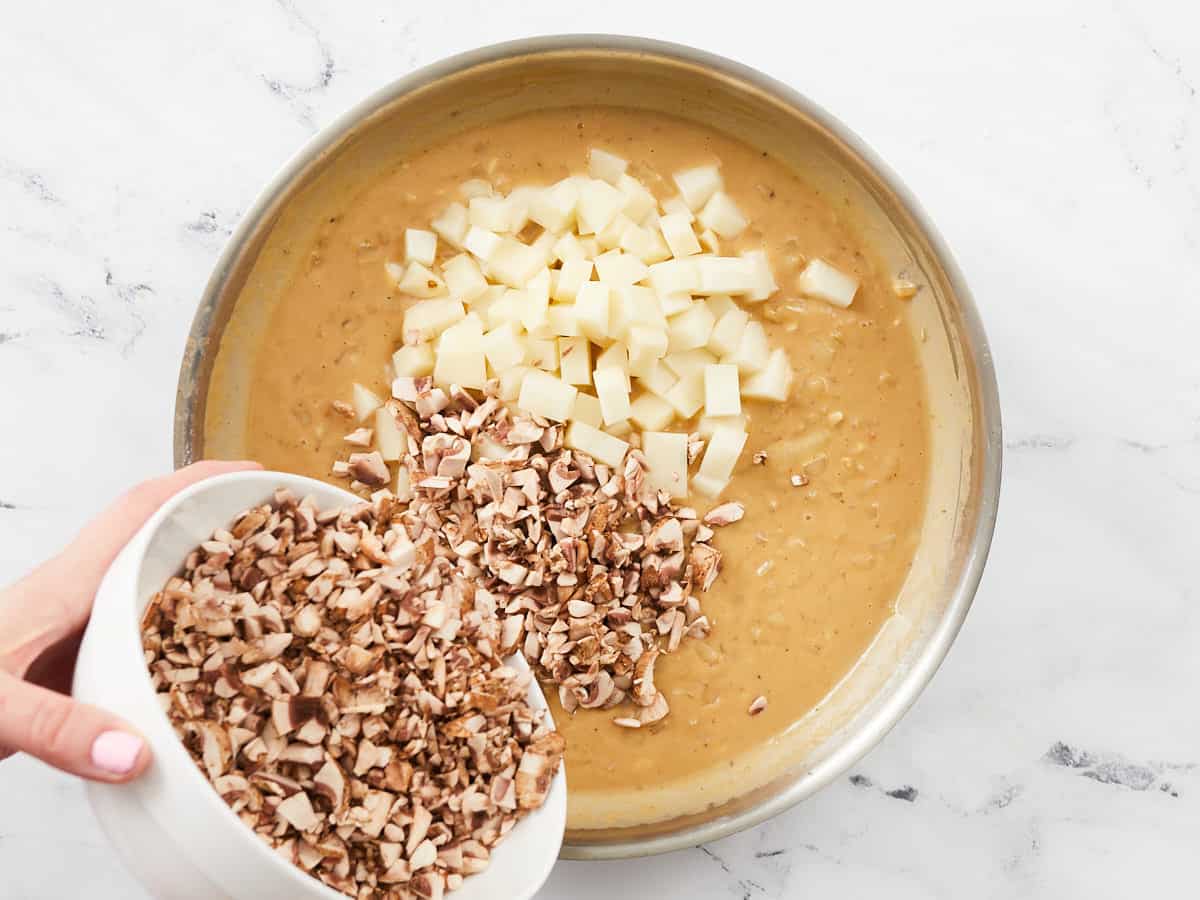
Next, add the pint of diced mushrooms and the diced potato to the pan. Stir to combine and cook until the gravy has thickened more and reduced some, about 5 minutes. You want to cook the potatoes a touch, to ensure they cook fully in the oven.
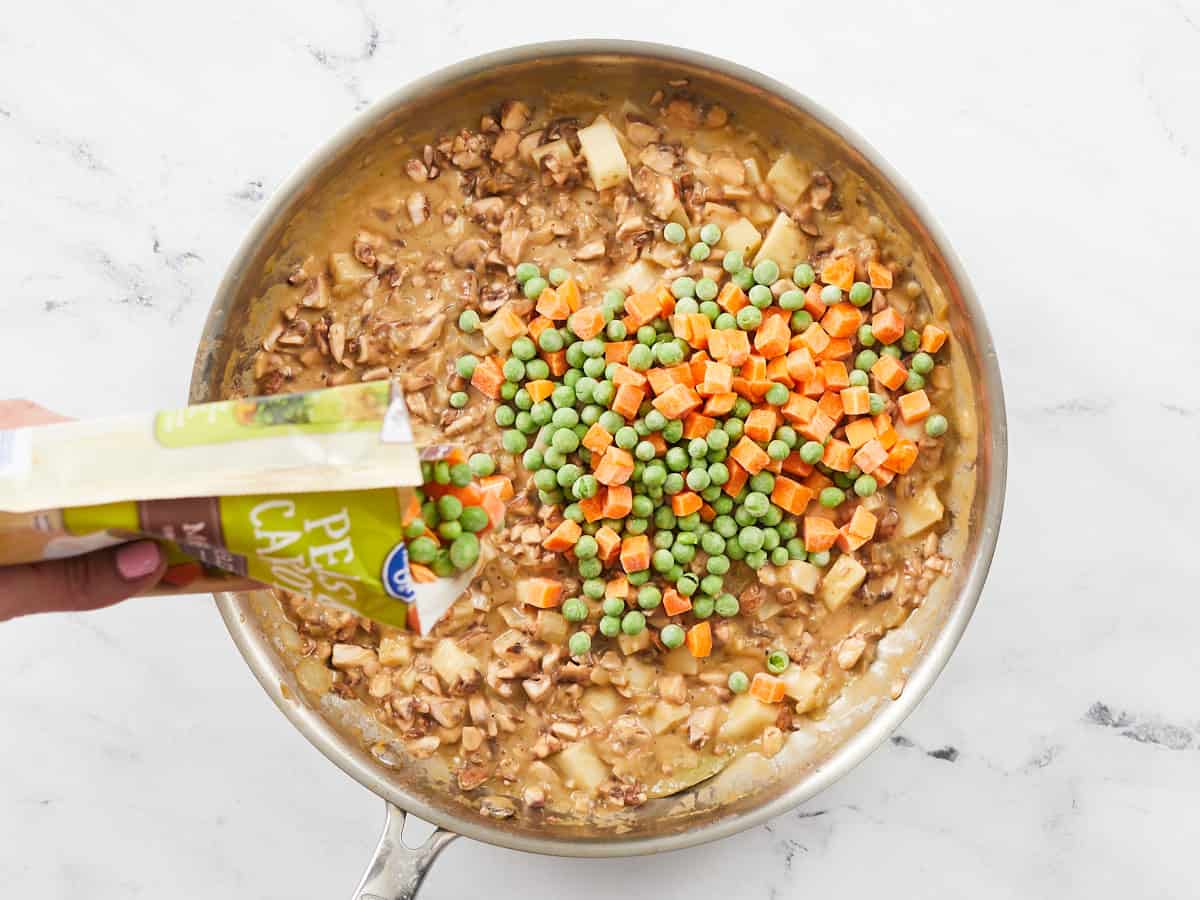
Next, remove the skillet from the heat. Finally, add the 12 ounces of frozen mixed vegetables to the filling, where they will quickly cool the other ingredients in the pan. Your filling is done!
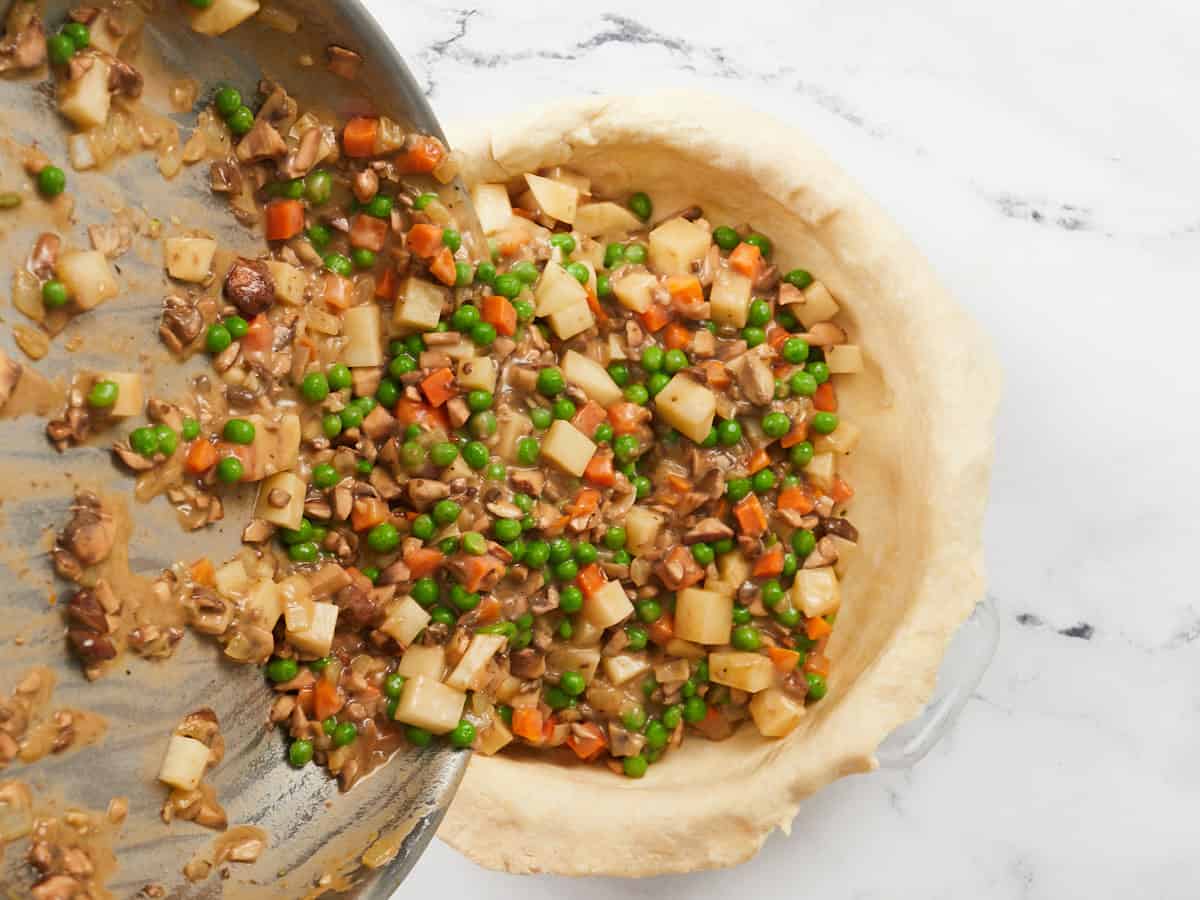
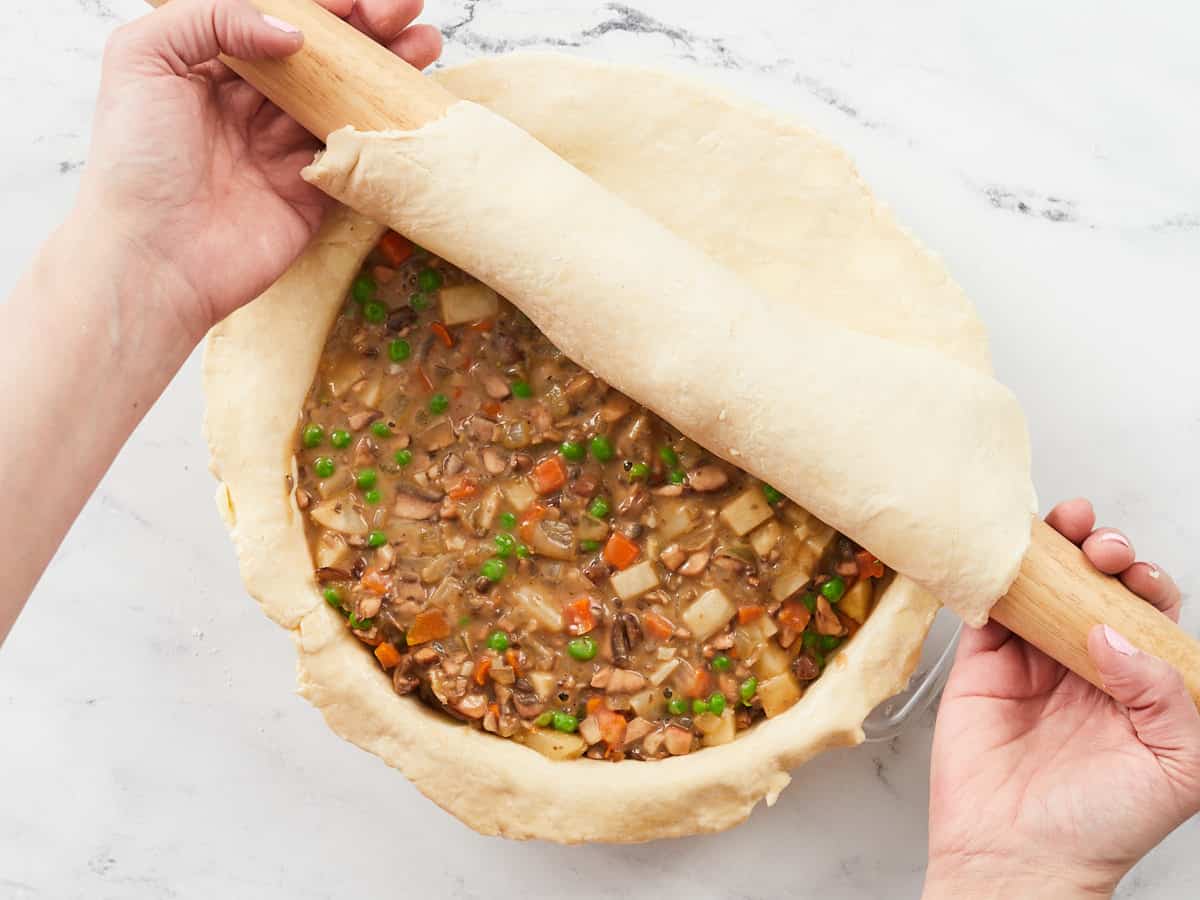
Next, take the pie pan out of the fridge, prick the bottom crust a few times with a fork, and add the cooled filling to the pie pan. Then dice the last tablespoon of butter and sprinkle it over the filling.

Roll the smaller piece of dough into a circle, about 10 inches wide and 1/4 inch thick. Cover the pie with it.
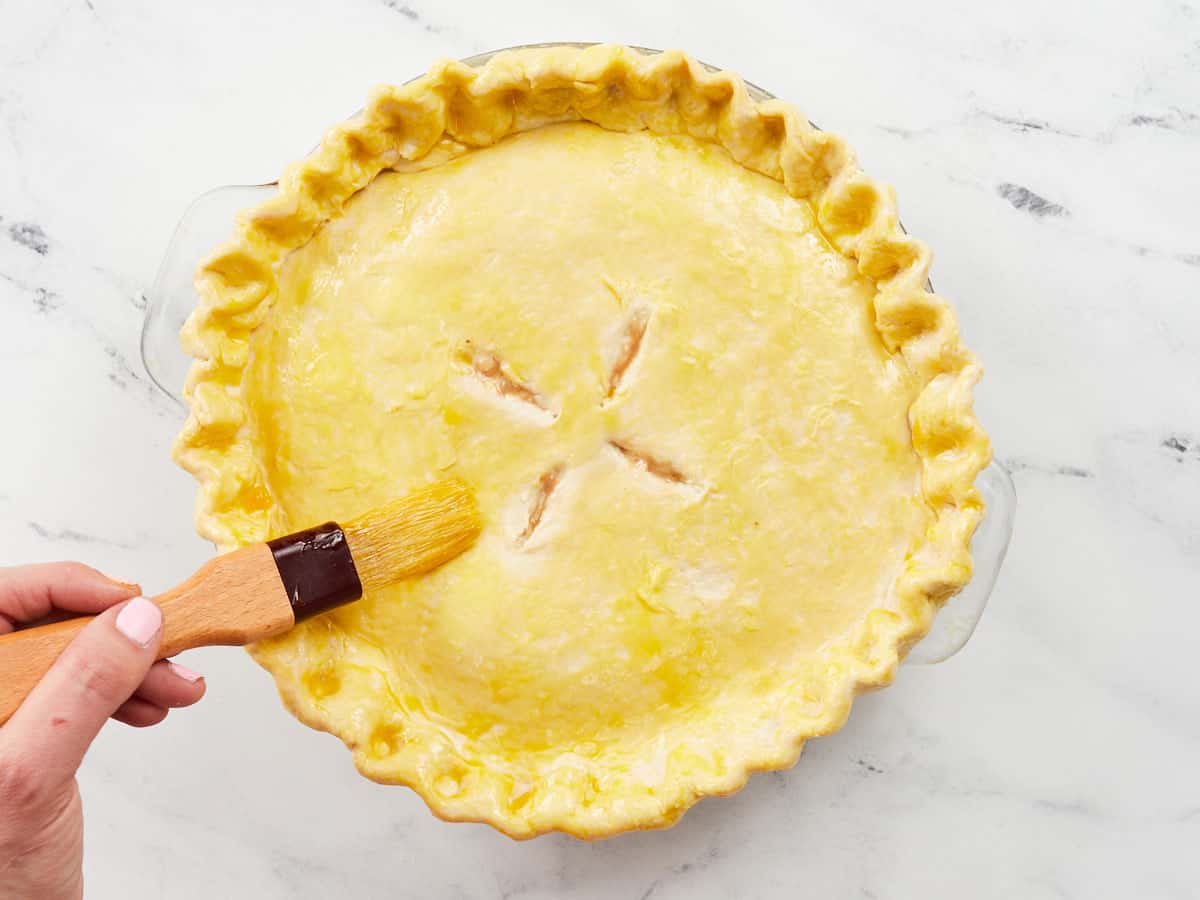
Beat the egg yolk. Then trace a bit of yolk along the top edge of the bottom and top crusts. Fold the bottom crust over the top crust and crimp the edges shut. Cut vents into your top crust. Finally, brush the egg yolk in a light layer over the entire top crust.
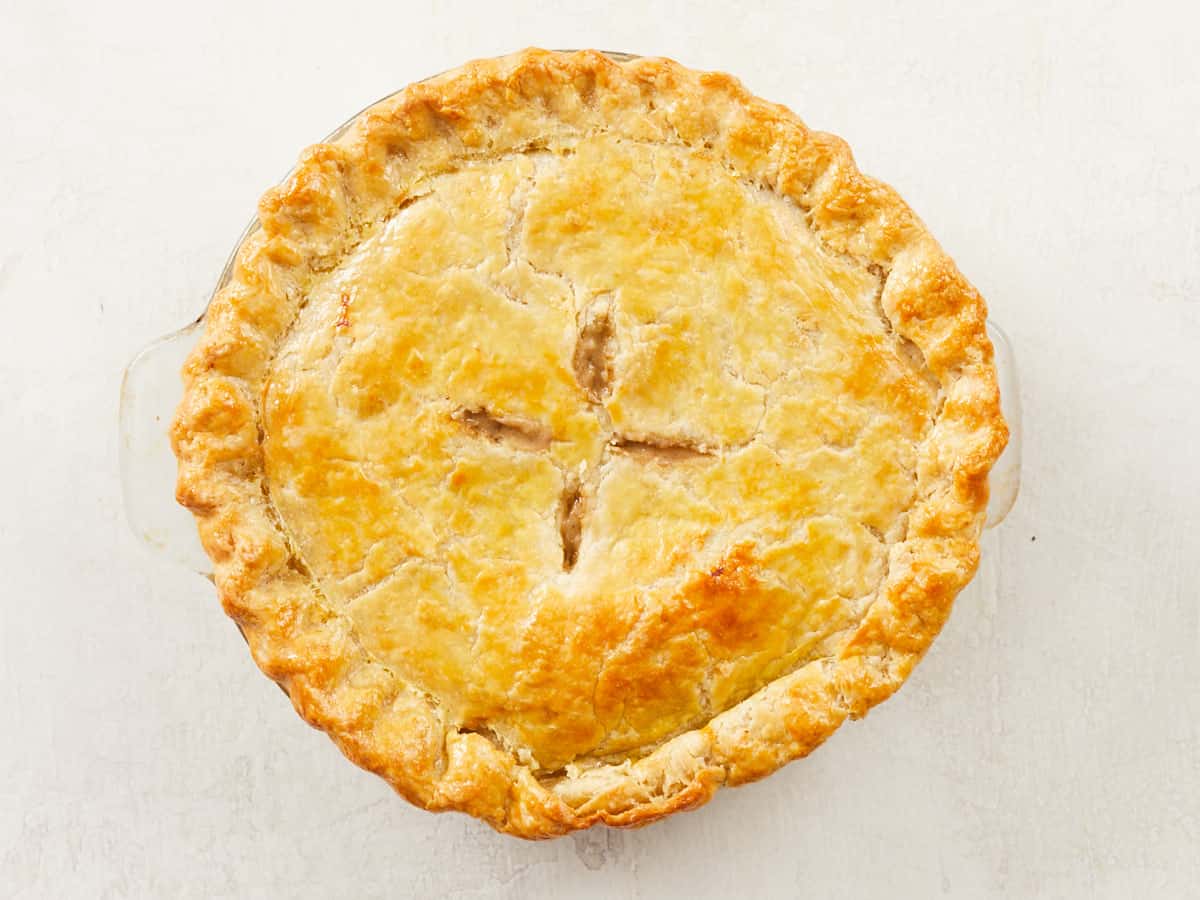
Bake for 45 to 50 minutes, or until the pie dough is golden and flaky. Allow the Veggie Pot Pie to cool for ten minutes before serving. I gobbled up three slices of this in one sitting! I hope you do the same!
Other Great Savory Pie Recipes

The post Veggie Pot Pie appeared first on Budget Bytes.

Fried Pickle Chips

I love Fried Pickle Chips – like really LOVE them! I don’t have them often and get excited if I see them on a menu. Unfortunately the last couple times I’ve gotten them I’ve been pretty disappointed. They arrived at the table in a big oily clump and were soggy. No thank you. I love our fried pickle chips so much because they’re always extra crispy and delicious. They’re simple to make, can be frozen…

Read More

The post Fried Pickle Chips appeared first on Spoon Fork Bacon.
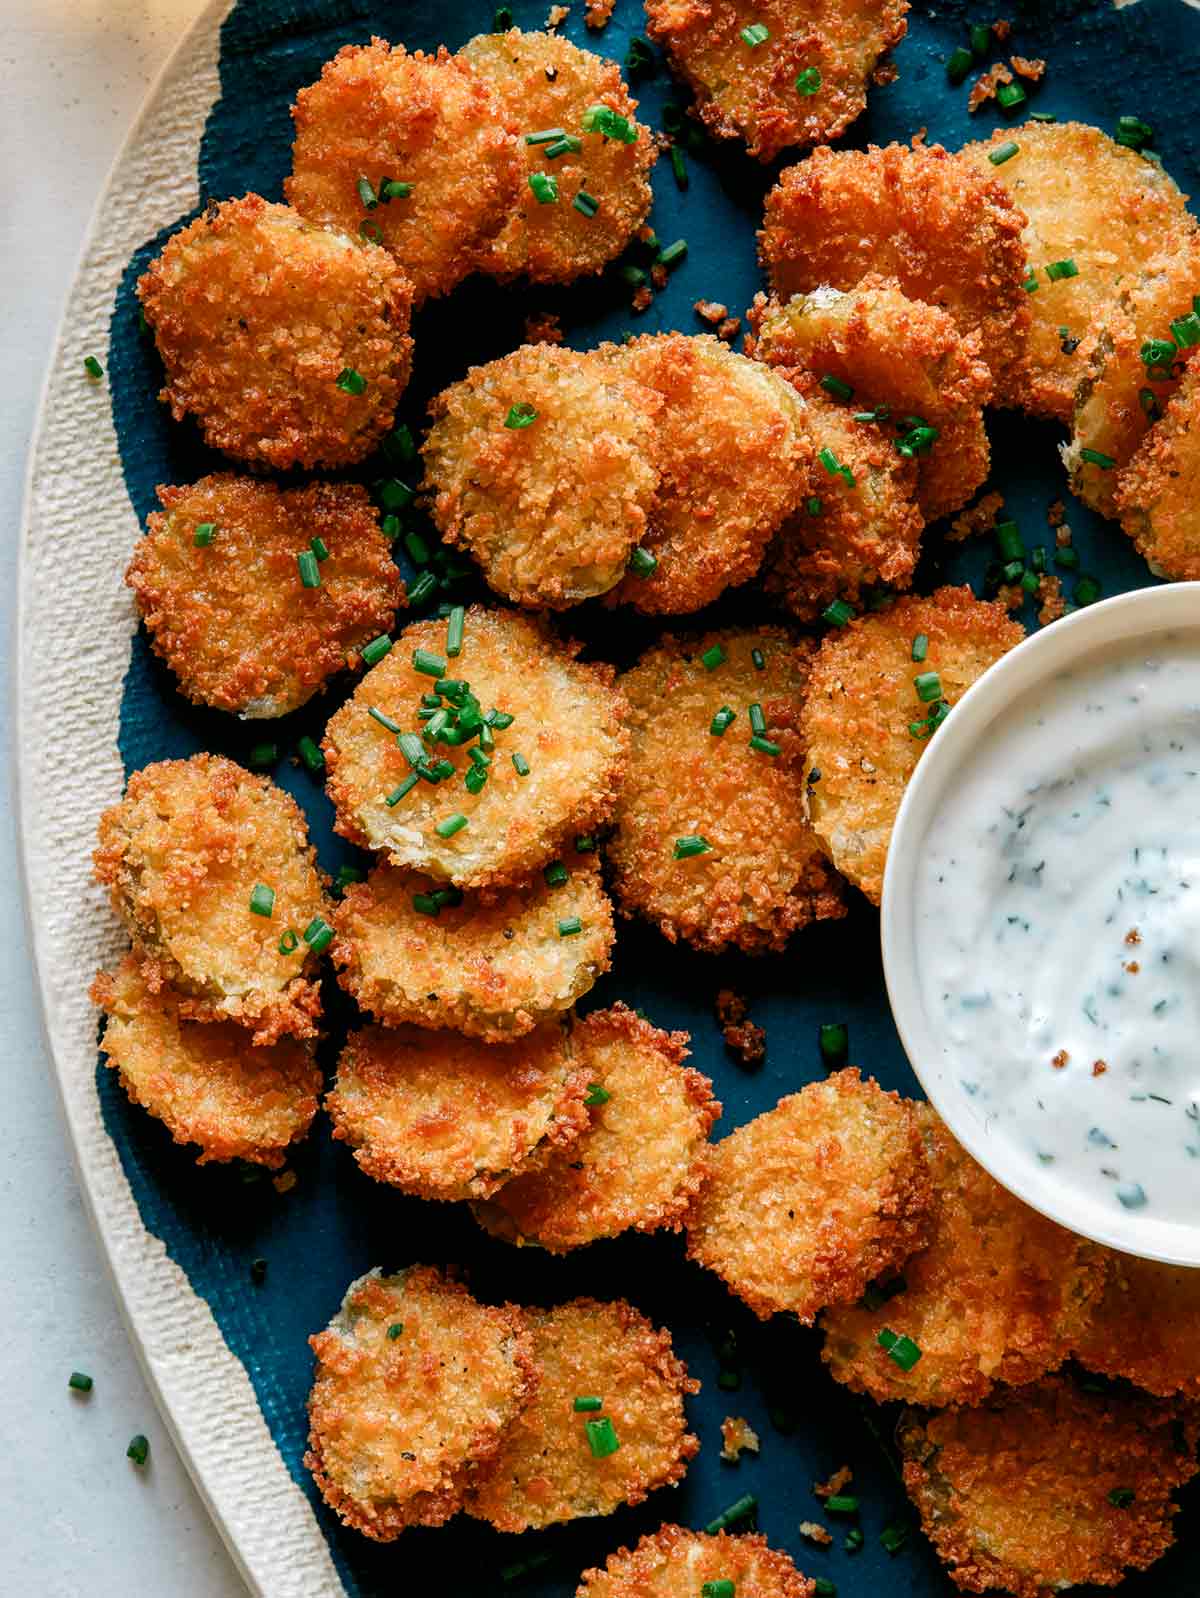
Fried pickle chips on a platter with ranch dressing.

I love Fried Pickle Chips – like really LOVE them! I don’t have them often and get excited if I see them on a menu. Unfortunately the last couple times I’ve gotten them I’ve been pretty disappointed. They arrived at the table in a big oily clump and were soggy. No thank you.

I love our fried pickle chips so much because they’re always extra crispy and delicious. They’re simple to make, can be frozen and one of the first snacks to disappear when making them for a crowd. I’ve provided baking and air fryer instructions too since not everyone likes frying at home and they make for a healthier option. We serve them up with our Homemade Ranch Dressing for the perfect pairing!
How to Make Our Fried Pickle Chips

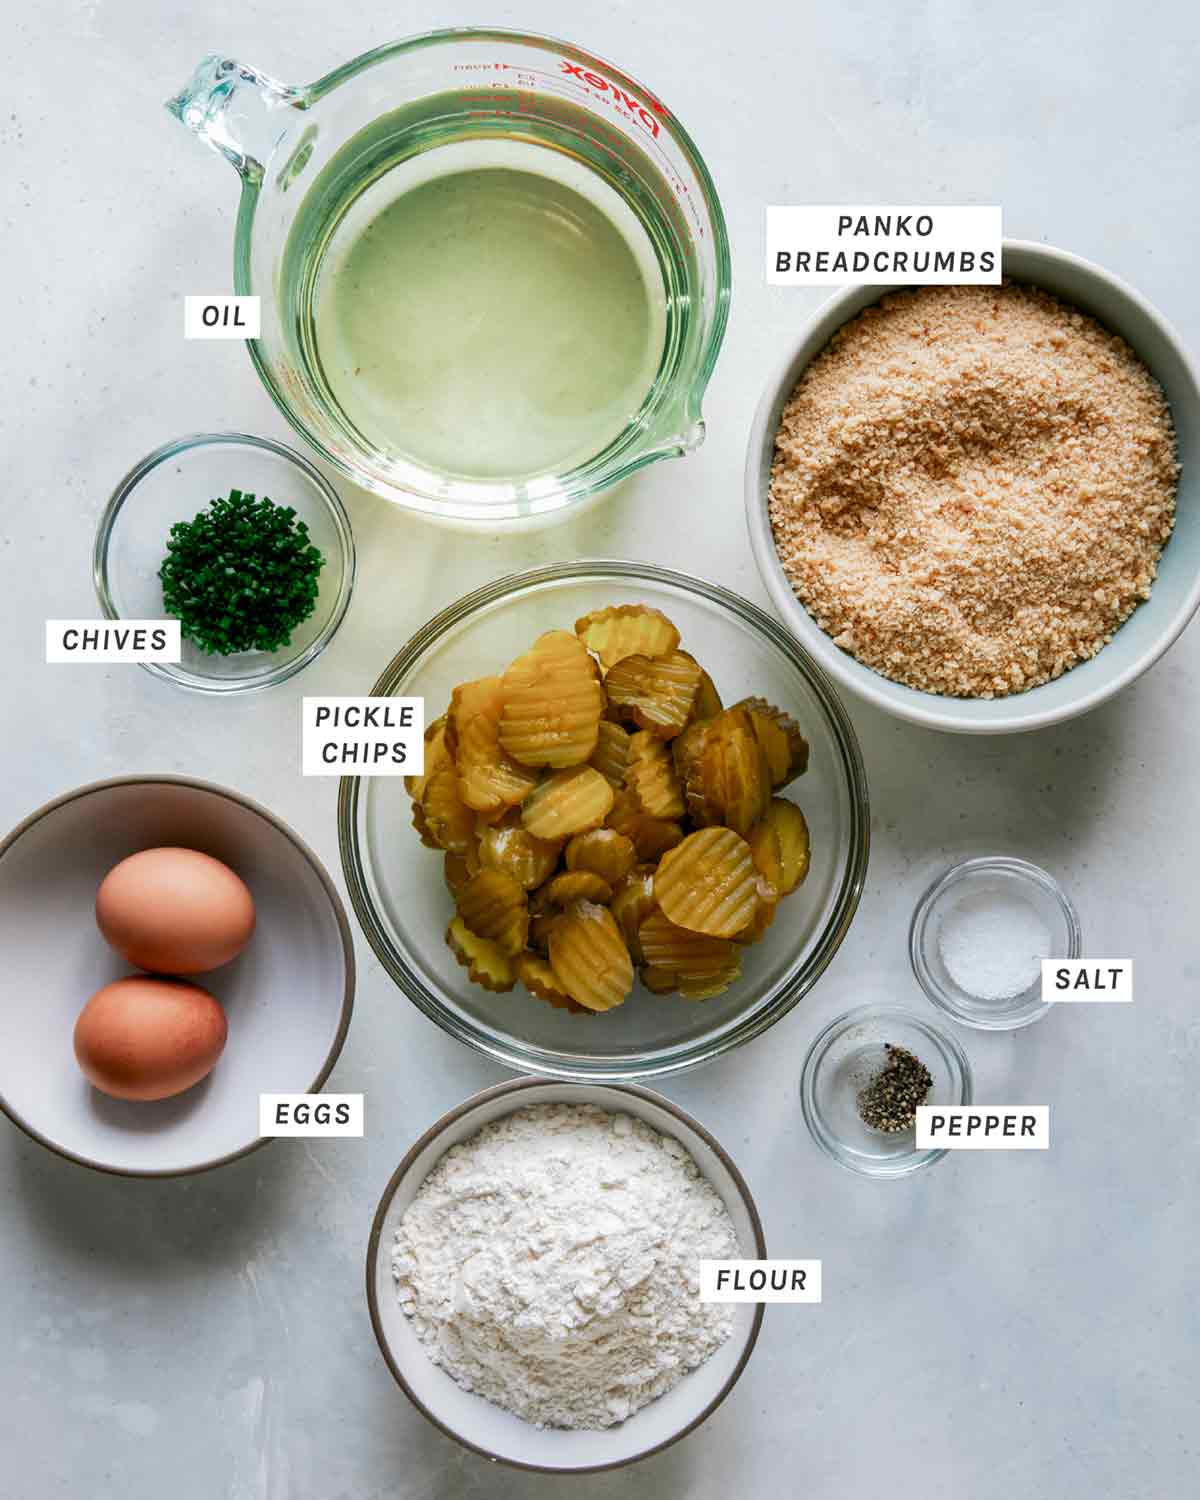
Ingredients

Fried Pickle Chips ingredients on a kitchen counter.

Process

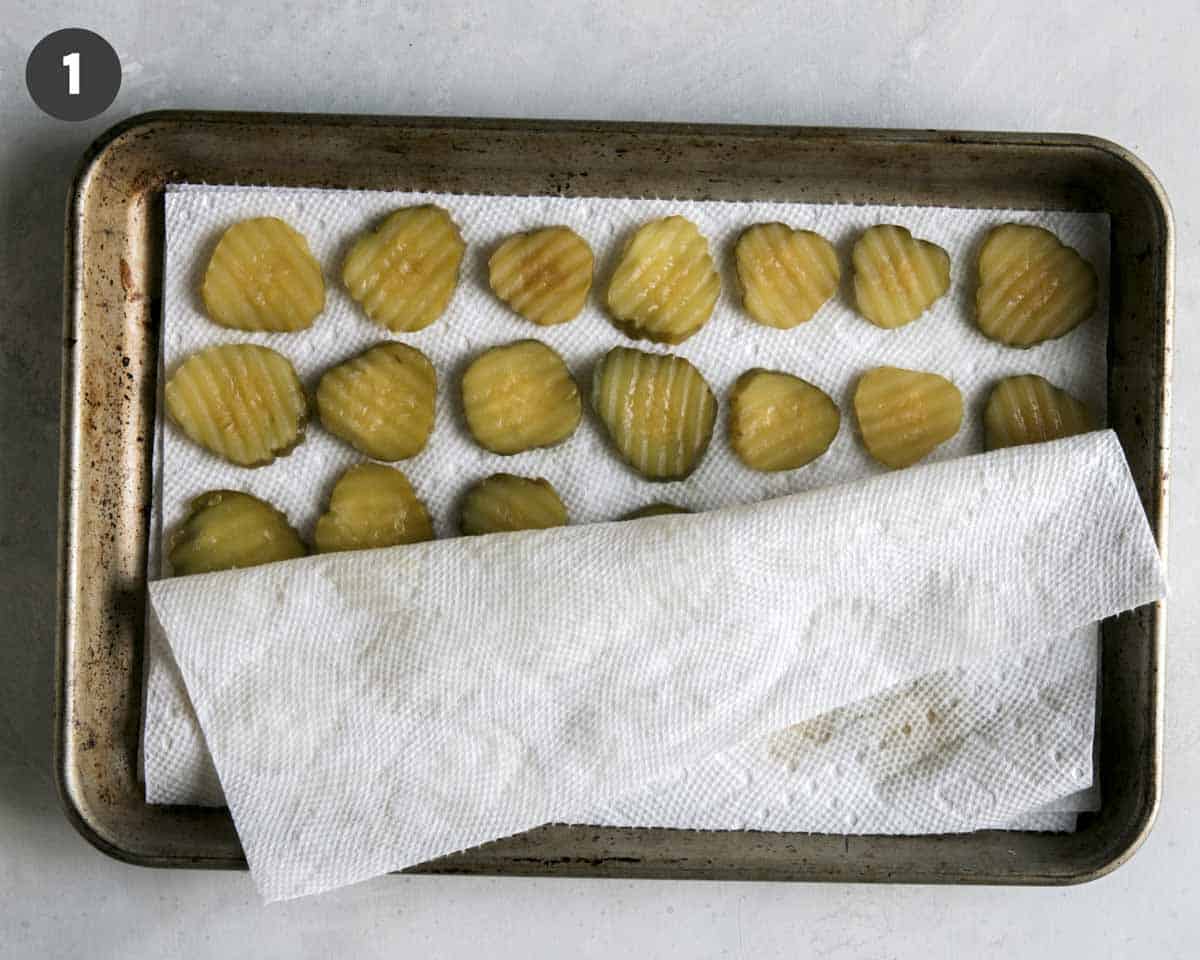
  1. Preheat oil to 350°F. Firmly press pickle chips, in a single layer, between layers of paper towels or clean kitchen towels to remove any excess liquid/brine.
Pickle chips in a paper towel.
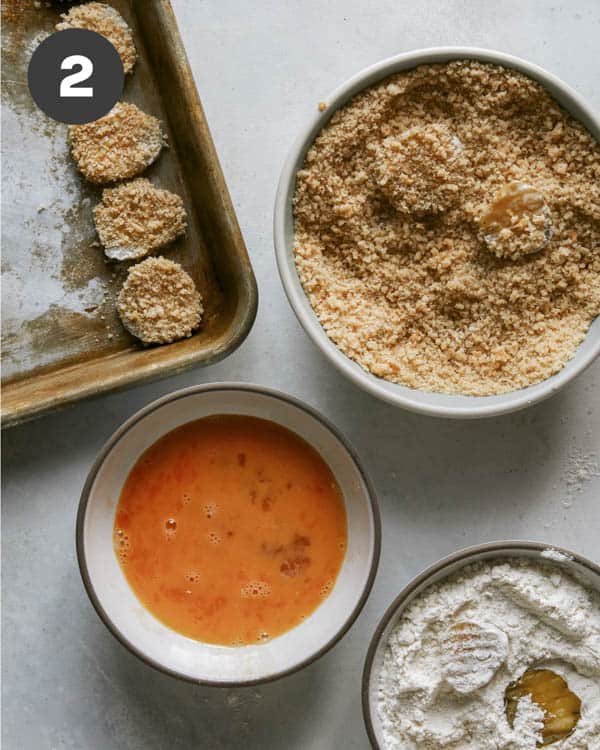
  1. Place flour, eggs and panko in three separate shallow dishes. Dredge pickle chips in flour, shaking off any excess, followed by the egg and finally in the panko until fully coated.
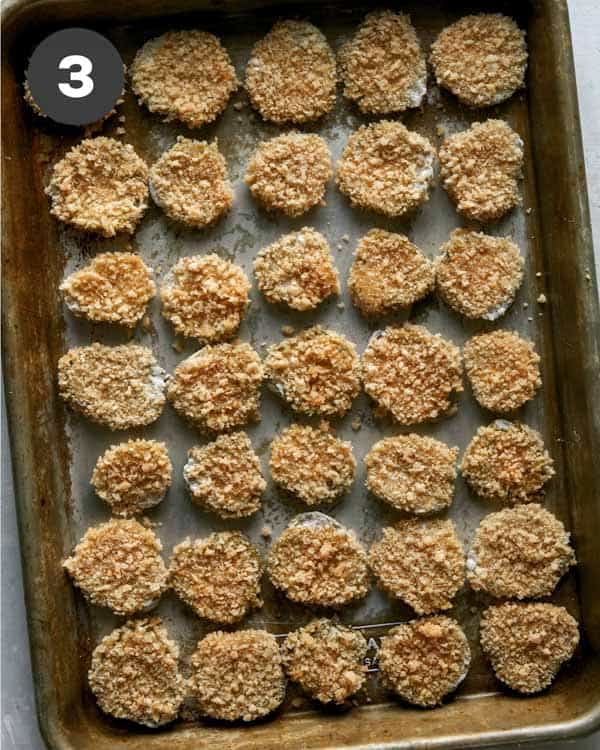
  2. Set coated pickle chips onto a baking sheet and place in the refrigerator for about 20 minutes.
Dredging pickle chips to fry them.
Pickle chips on a baking sheet pre fried.
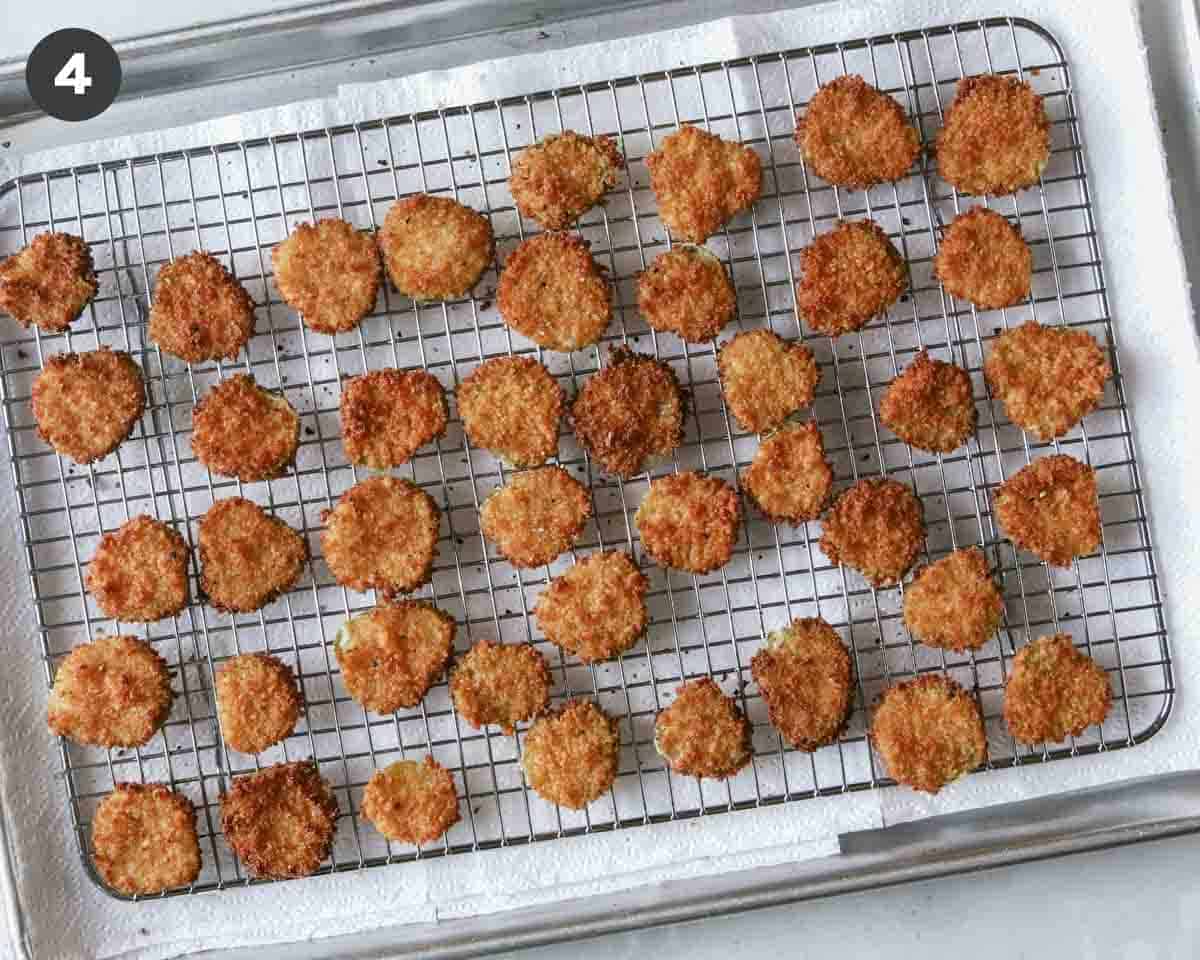
  1. Remove pickle chips from refrigerator and fry in batches, for about 2 to 3 minutes or until lightly browned and crisp. Drain onto paper towels (or a cooling rack lined with a baking sheet) and lightly season with salt and pepper. Repeat until all the pickle chips have been fried.
Fried pickle chips on a baking sheet.

We love how easy these Fried Pickle Chips are to whip up!

Tools You Will Need

Baking and Air-Frying Instructions For Fried Pickle Chips

Oven Instructions

Preheat oven to 375˚F. Once pickle chips have been panko coated, coat a baking sheet with cooking spray oil. Coat both sides of each pickle chip with cooking spray oil and transfer to the prepared baking sheet, spacing each about 1/2 inch apart.

Bake pickle chips for 8 minutes. Remove baking sheet from oven and flip each pickle chip. Place baking sheet back into the oven and bake for an additional 6 to 8 minutes or until golden brown.

Air Fryer Instructions

Preheat oven to 400˚F. Once pickle chips have been panko coated, coat an air fryer basket with cooking spray oil. Coat both sides of each pickle chip with cooking spray oil and transfer to the prepared basket, spacing each about 1/4 inch apart (this will have to be done in batches).

Air-fry pickle chips for 4 minutes. Flip each pickle chip and continue to air-fry for an additional 3 to 4 minutes or until pickle chips are golden brown.

Freezing Instructions

Line panko coated pickle chips onto a baking sheet in a single layer, making sure the chips are not touching one another. If one baking sheet isn’t enough, place a piece of parchment paper over the first layer of pickle chips and repeat with remaining pickle chips.

Place baking sheet in freezer and freeze until all pickle chips are frozen, at least 2 hours. Transfer frozen pickle chips to a resealable freezer bag. Remove as much air from the bag as you can and seal. Place bag into freezer for up to 3 months.
Tips and Tricks for Success

  • Firmly pat the pickle chips dry with paper towels or clean dish towels to avoid any soggy fried pickle chips.
  • Press the panko breadcrumbs firmly onto the pickle chips. This will help the coating to stick to the pickle chips once they are fried.
  • Refrigerate the panko coated pickle chips. This will help the coating to stick to the pickle chips once they are fried.
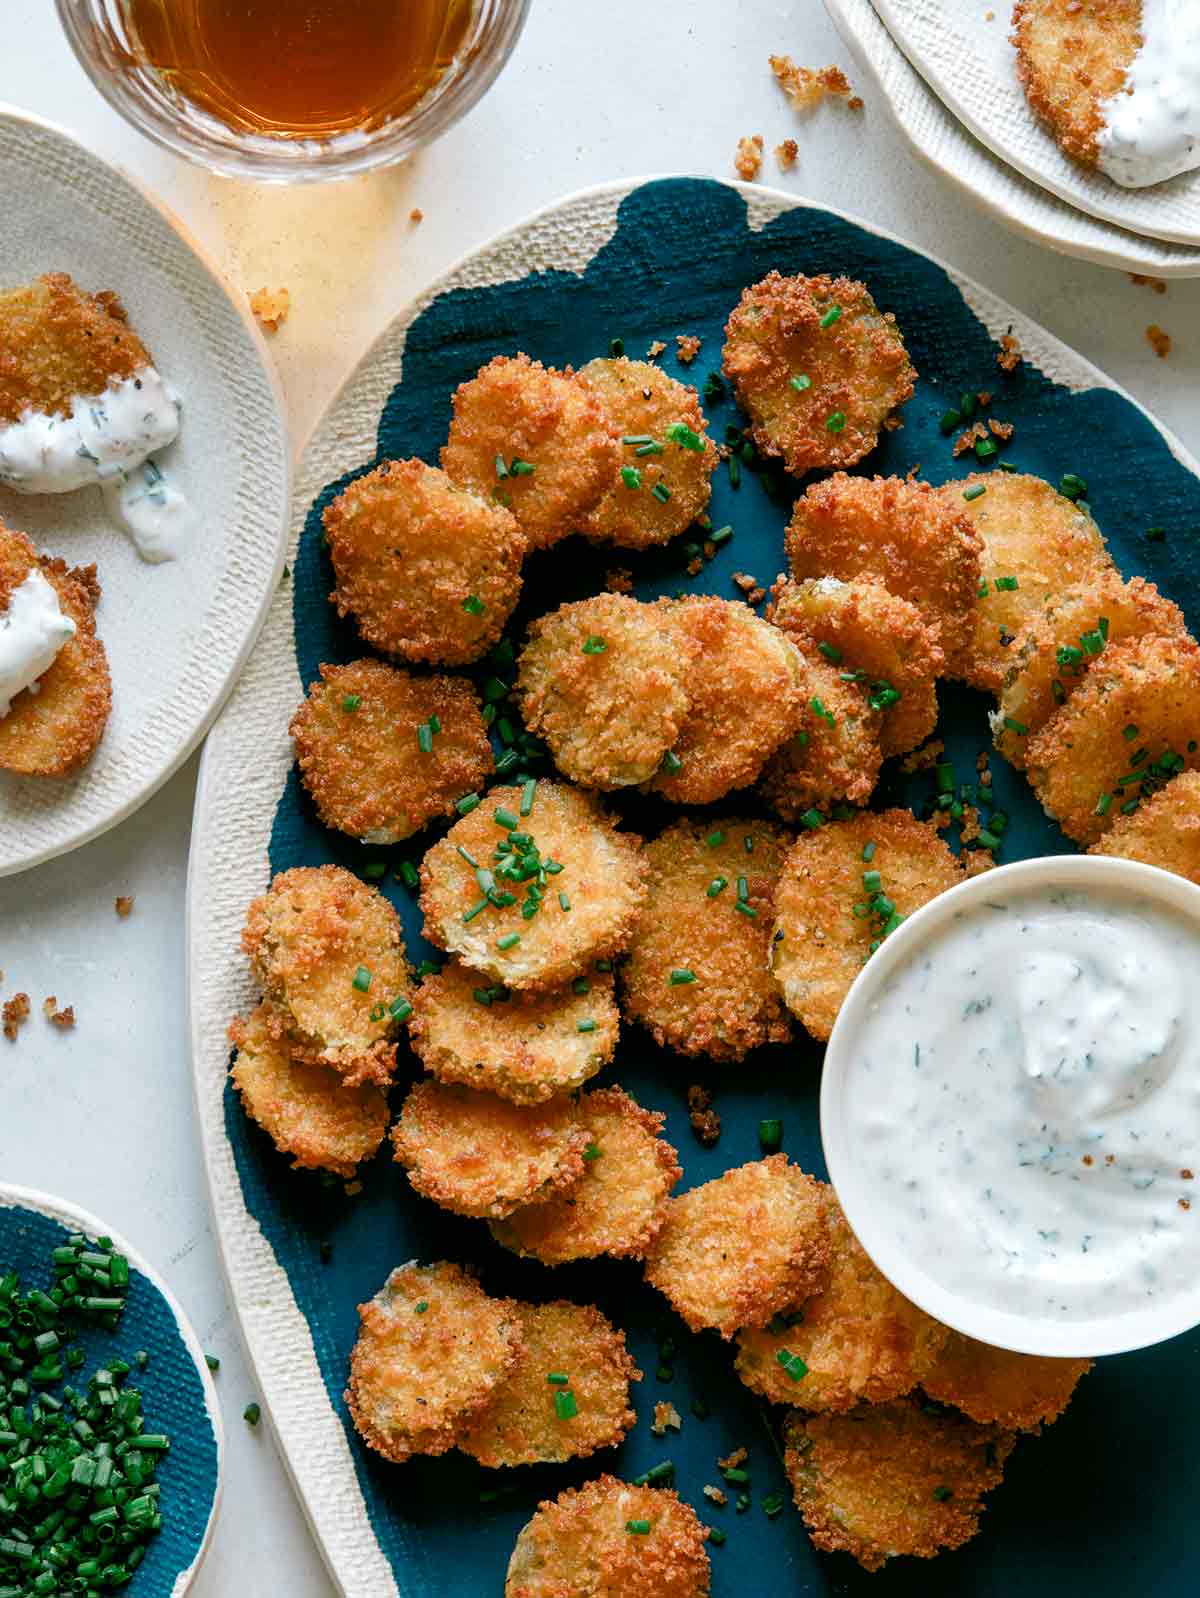
Fried pickle chips on a platter with beer on the side.

More Delicious Appetizer Recipes You Will Love

Close up on Fried Pickle Chips on a platter with ranch dressing.
Print

Fried Pickle Chips

Our Fried Pickle Chips are easy to make, delicious and really pack a big crunch! They're great appetizers for any game day or casual get together. We promise you won't find a soggy fried pickle chip in the bunch!
Course Appetizer, Snack
Cuisine American
Prep Time 15 minutes
Cook Time 10 minutes
chilling time 20 minutes
Total Time 45 minutes
Servings 8
Calories 257kcal

Ingredients

  • 2 cups ridge cut pickle chips, drained
  • 1 cup all purpose flour
  • 2 eggs, lightly beaten
  • 2 cups panko breadcrumbs
  • 2 cups vegetable oil
  • salt and pepper to taste

garnish

Instructions

  • Preheat oil to 350°F.
  • Firmly press pickle chips, in a single layer, between layers of paper towels or clean kitchen towels to remove any excess liquid/brine.
  • Place flour, eggs and panko in three separate shallow dishes.
  • Dredge pickle chips in flour, shaking off any excess, followed by the egg and finally in the panko until fully coated. Set coated pickle chips onto a baking sheet lined with parchment and place in the refrigerator for about 20 minutes.
  • Remove pickle chips from refrigerator and fry in batches, for about 2 to 3 minutes or until lightly browned and crisp.
  • Drain onto paper towels and season lightly with salt and pepper. Repeat until all the pickle chips have been fried. Top with sliced chives and serve immediately with homemade ranch dressing.

Video

Notes

Baking and Air-Frying Instructions for Fried Pickle Chips
Oven Instructions
Preheat oven to 375˚F. Once pickle chips have been panko coated, coat a baking sheet with cooking spray oil. Coat both sides of each pickle chip with cooking spray oil and transfer to the prepared baking sheet, spacing each about 1/2 inch apart.
Bake pickle chips for 8 minutes. Remove baking sheet from oven and flip each pickle chip. Place baking sheet back into the oven and bake for an additional 6 to 8 minutes or until pickle chips are golden brown.
Air Fryer Instructions
Preheat oven to 400˚F. Once pickle chips have been panko coated, coat an air fryer basket with cooking spray oil. Coat both sides of each pickle chip with cooking spray oil and transfer to the prepared basket, spacing each about 1/4 inch apart (this will have to be done in batches).
Air-fry pickle chips for 4 minutes. Flip each pickle chip and continue to air-fry for an additional 3 to 4 minutes or until pickle chips are golden brown.
Freezing Instructions for Fried Pickle Chips
Line panko coated pickle chips onto a baking sheet in a single layer, making sure the chips are not touching one another. If one baking sheet isn’t enough, place a piece of parchment paper over the first layer of pickle chips and repeat with remaining pickle chips.
Place baking sheet in freezer and freeze until all pickle chips are frozen, at least 2 hours. Transfer frozen pickle chips to a resealable freezer bag. Remove as much air from the bag as you can and seal. Place bag into freezer for up to 3 months.
Tips and Tricks for Fried Pickle Chips Success
  • Firmly pat the pickle chips dry with paper towels or clean dish towels to avoid any soggy fried pickle chips.
  • Press the panko breadcrumbs firmly onto the pickle chips. This will help the coating to stick to the pickle chips once they are fried.
  • Refrigerate the panko coated pickle chips. This will help the coating to stick to the pickle chips once they are fried.

Nutrition

Calories: 257kcal | Carbohydrates: 24g | Protein: 5g | Fat: 16g | Saturated Fat: 3g | Polyunsaturated Fat: 8g | Monounsaturated Fat: 4g | Trans Fat: 1g | Cholesterol: 41mg | Sodium: 439mg | Potassium: 96mg | Fiber: 2g | Sugar: 1g | Vitamin A: 157IU | Vitamin C: 1mg | Calcium: 52mg | Iron: 2mg

The post Fried Pickle Chips appeared first on Spoon Fork Bacon.