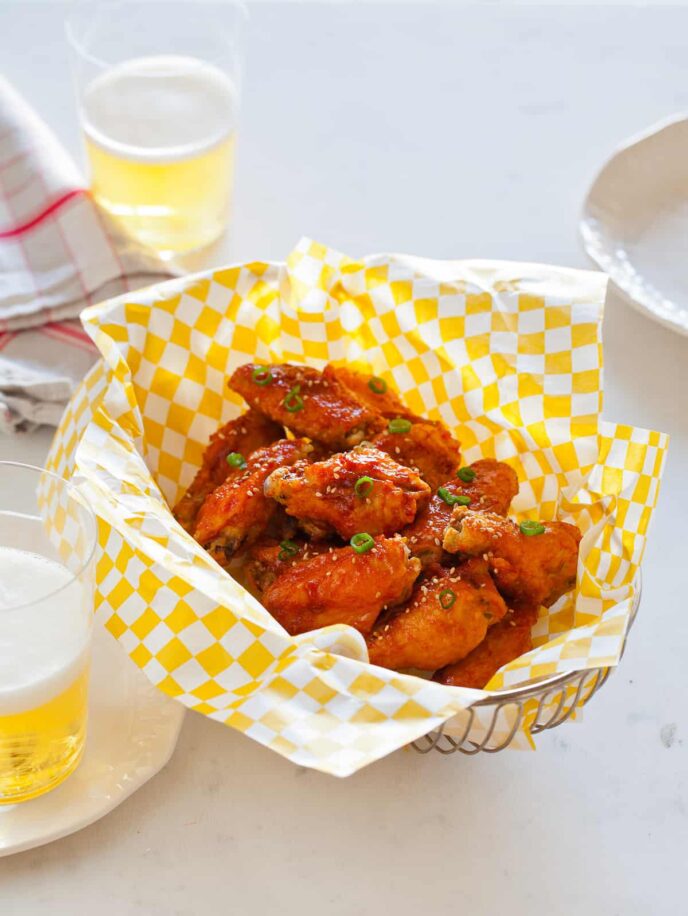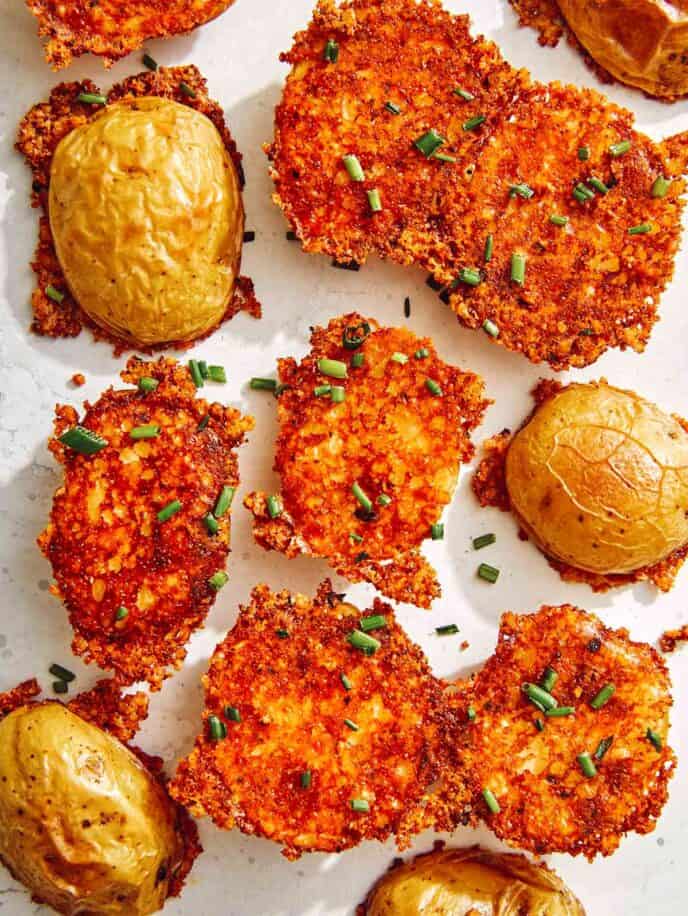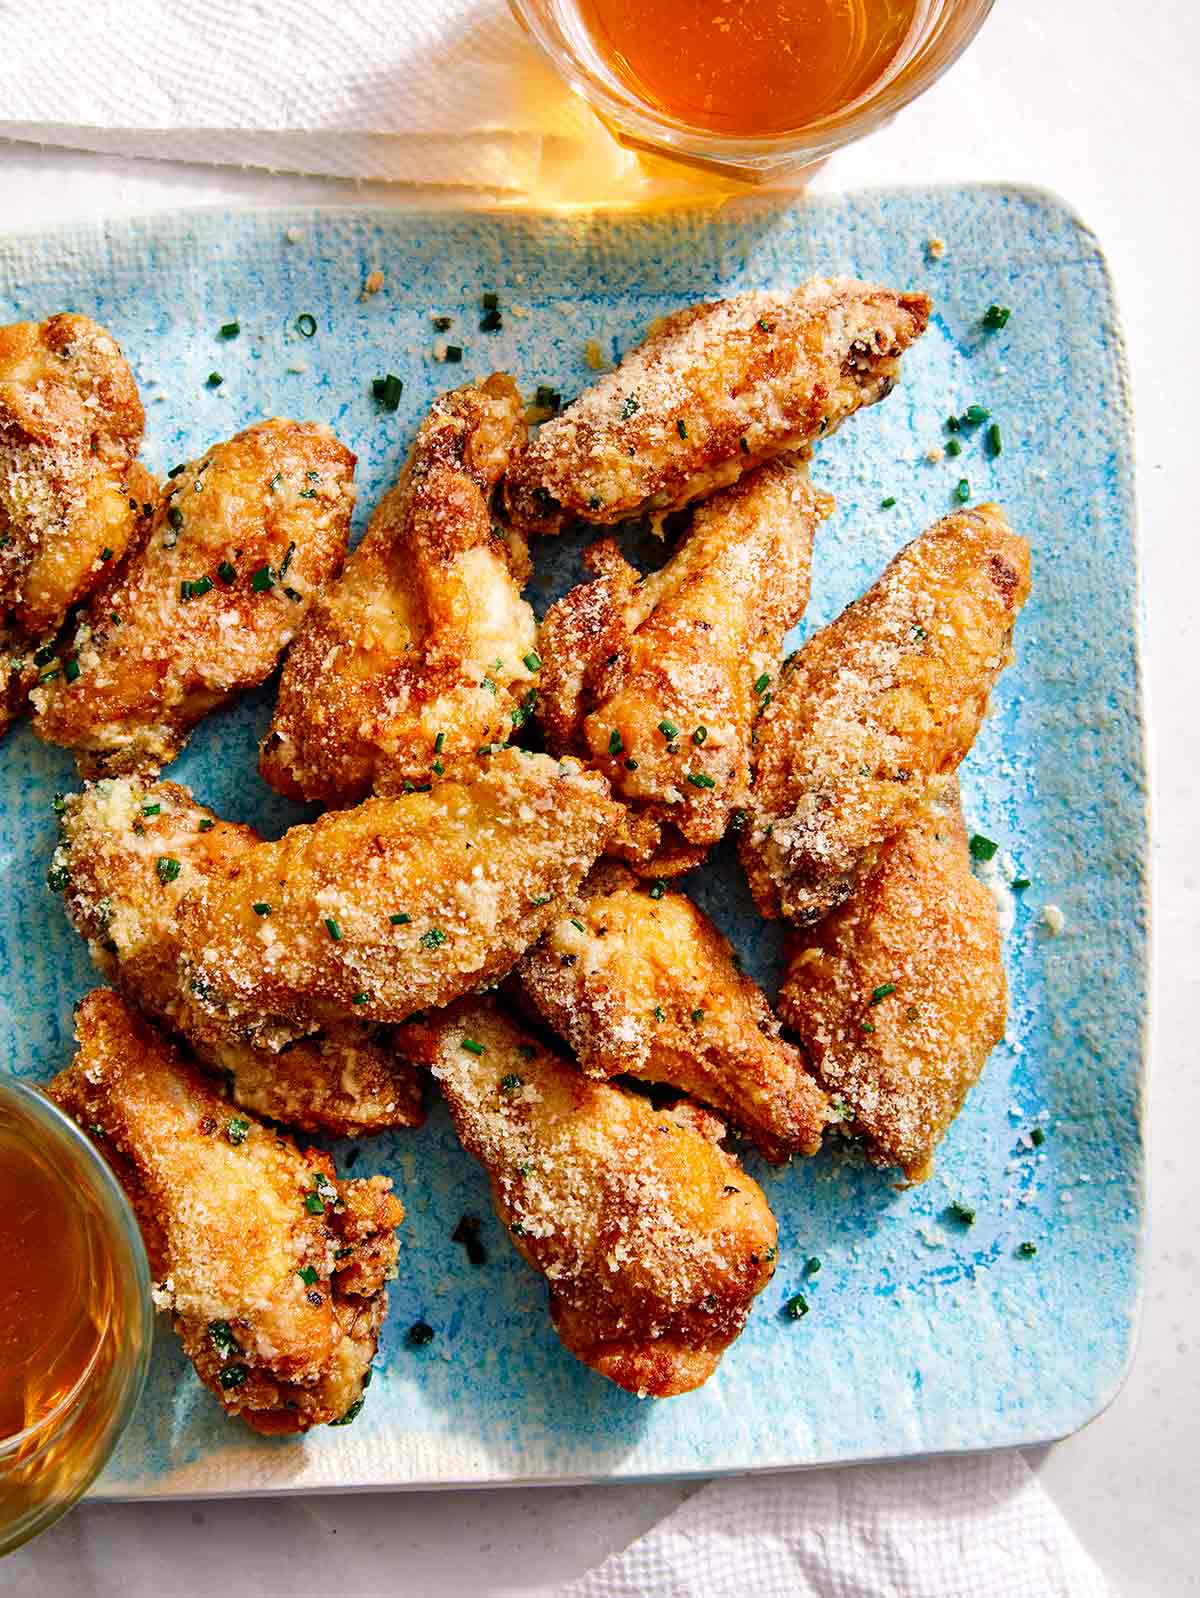
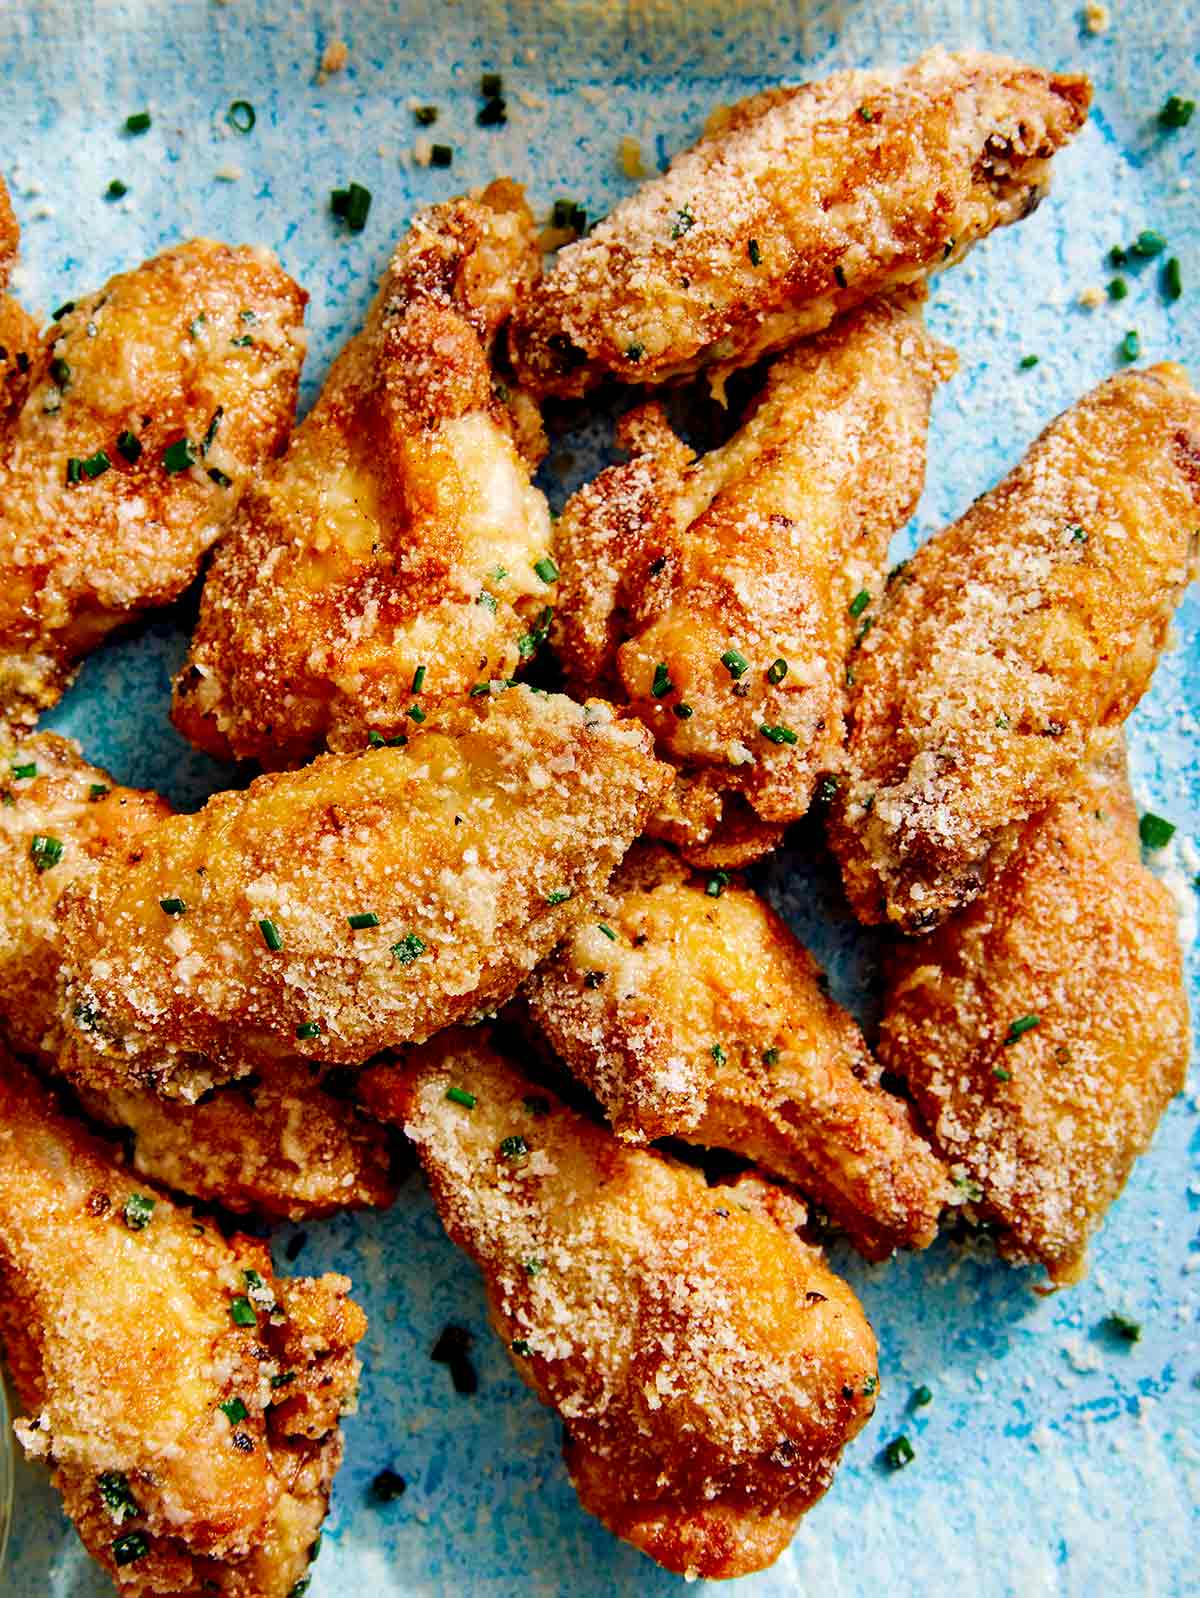
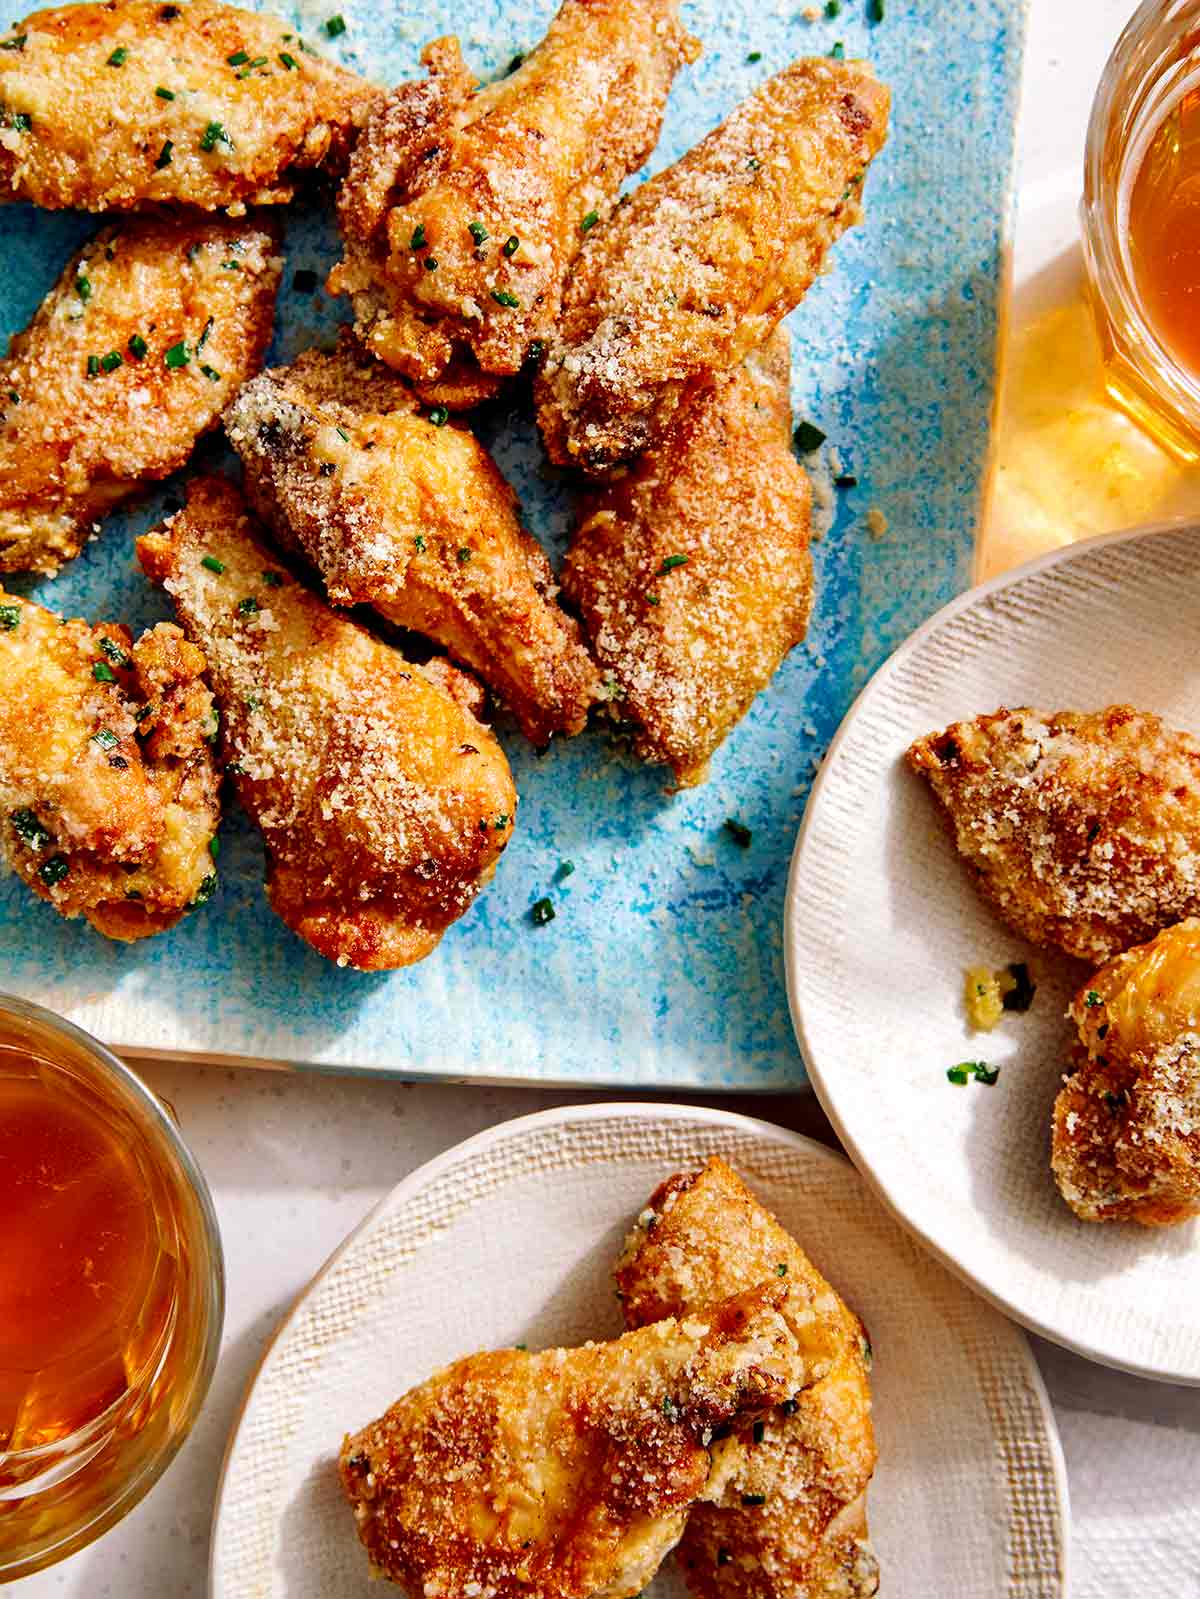
We love these Parmesan Dusted Air Fryer Chicken Wings. They’re full of flavor, super moist and never disappoint. We love using our air fryers to make chicken wings. They always turn out perfect and this version is no exception.
The dry coating mixture is so simple, but still packs a huge flavor punch and we can’t get enough! You won’t believe how easy it is to make these ridiculously delicious chicken wing!
How to Make Parmesan Dusted Air Fryer Chicken Wings
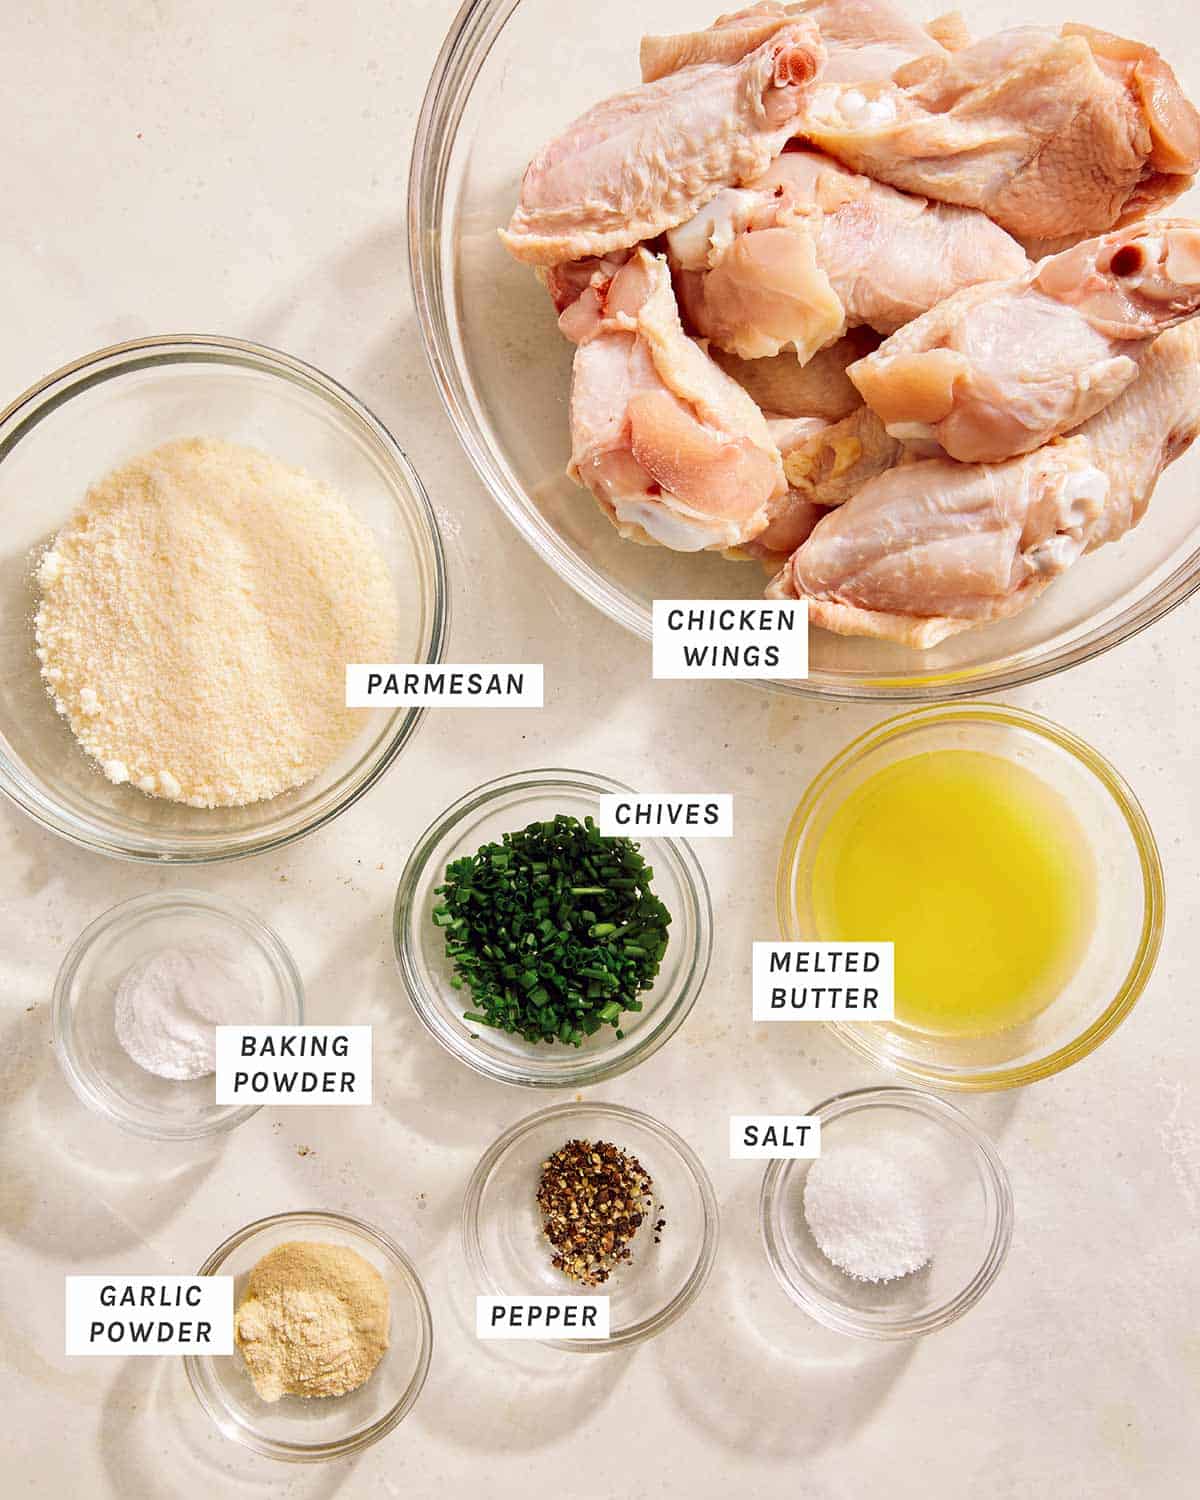
Ingredients
Process
AIR FRYER CHICKEN WINGS
- Pat wings dry with a paper towel. In a resealable combine salt, baking powder, and black pepper. Shake together. Add wings, seal bag and shake until wings are evenly coated.
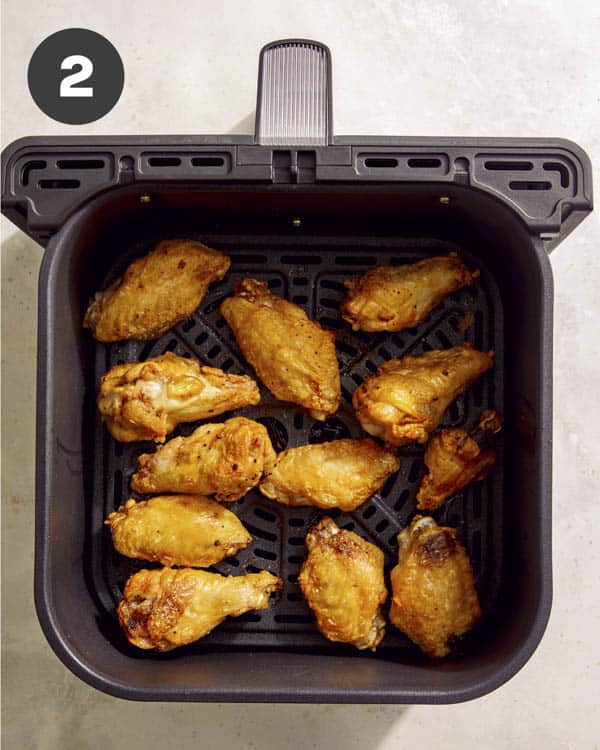
- Spray inside of air fryer basket with cooking spray and preheat air fryer to 400˚F. Place wings in prepared basket and air fry for 10 minutes. Flip wings and continue to air fry for another 10 minutes.

ASSEMBLY
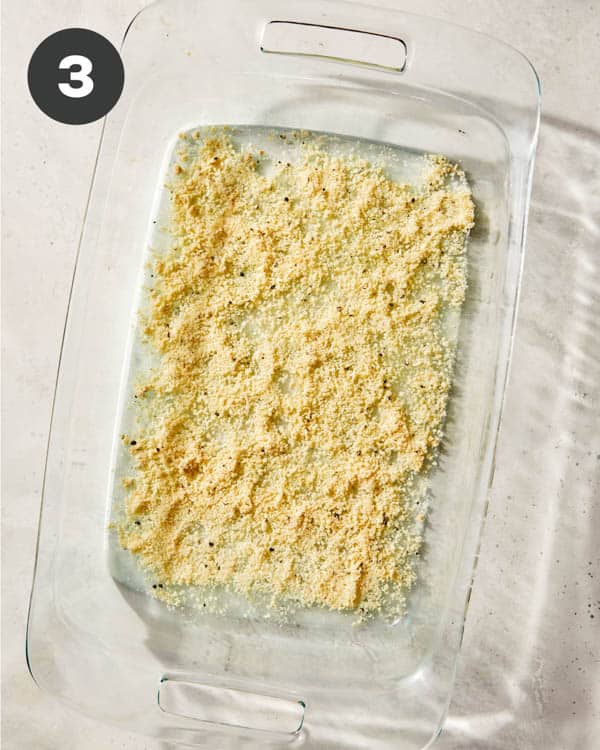
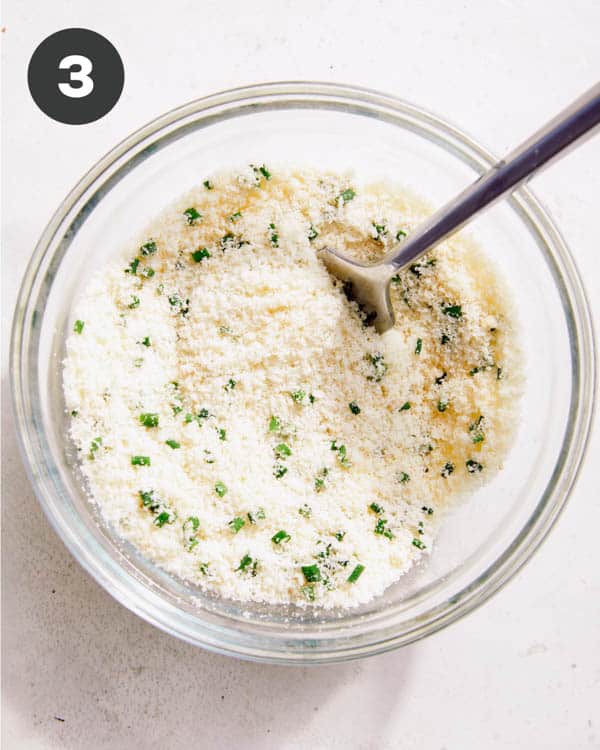
- Combine parmesan, garlic powder chives in a small bowl and whisk together.
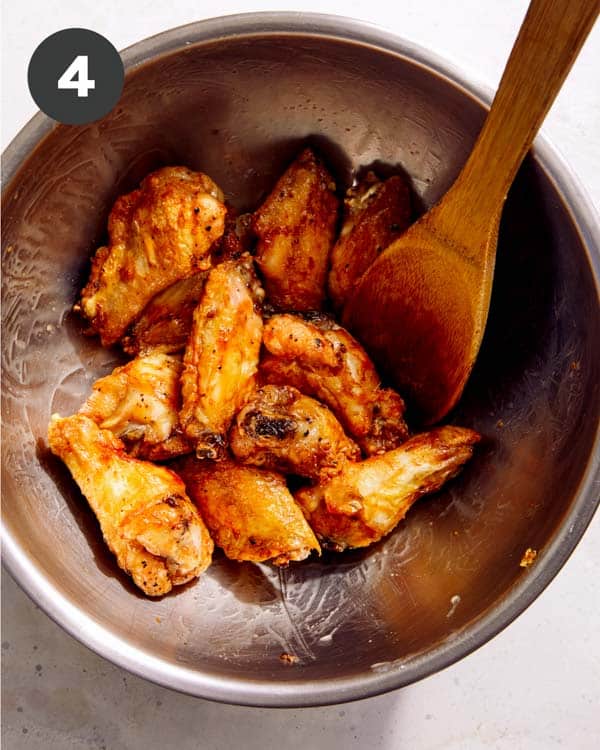
- In another mixing bowl combine wings and butter and toss together.
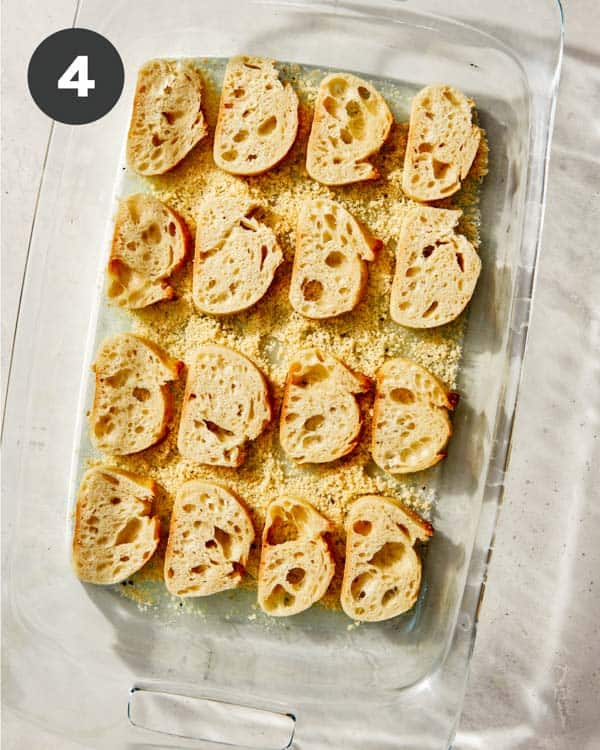
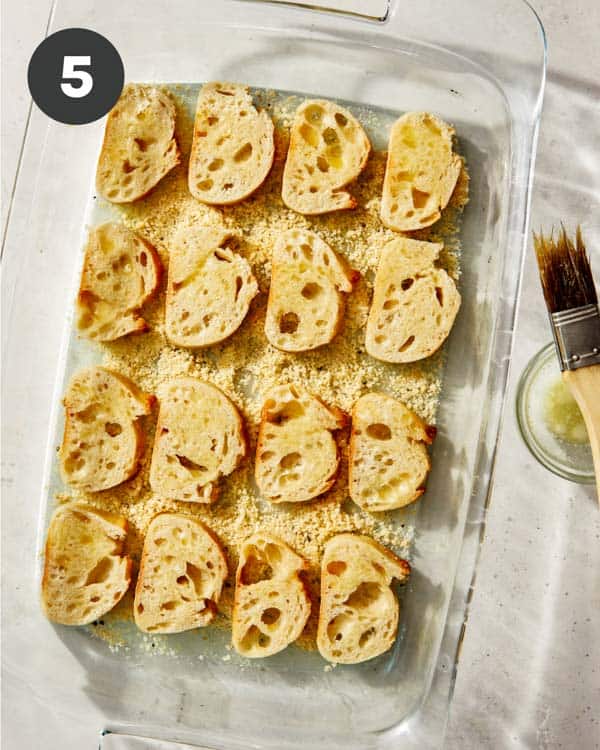
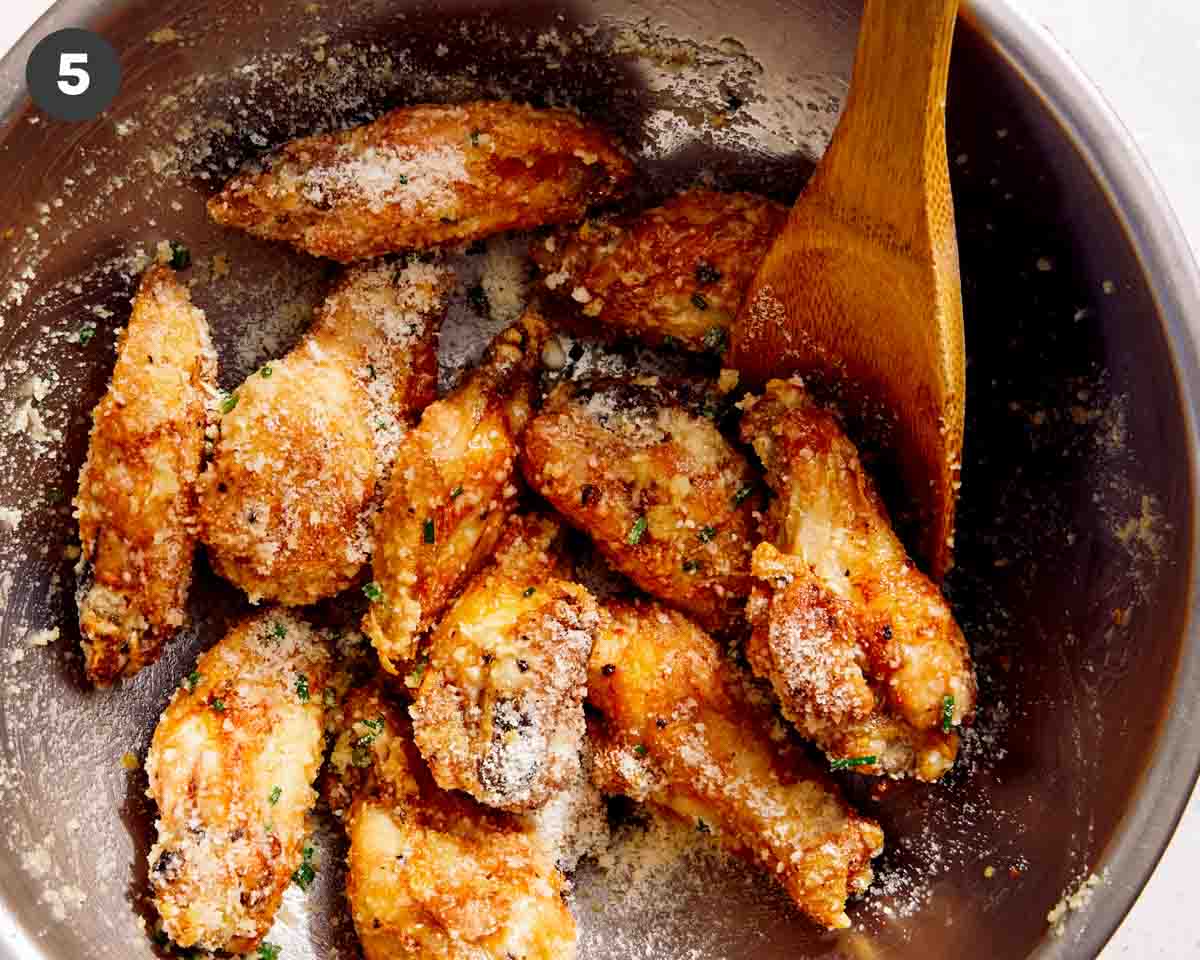
- Sprinkle the wings with 2/3 of the parmesan mixture and toss together until evenly coated.
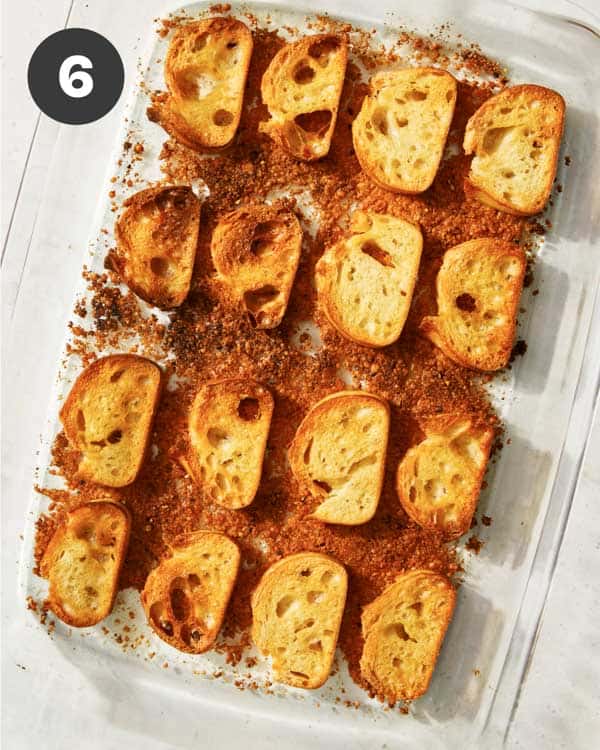
- Transfer wings to a platter and top with a sprinkle of the remaining Parmesan mixture. Serve.
Tips and Tricks for Success
- Toss the wings in baking powder, to create an extra crisp texture on the skin.
- Leave at least 1/2 inch space between each wing in the air fryer so the wings crisp up, instead of steaming.
- Flip the wings halfway through air frying to crisp both sides.
- Toss the wings in a little bit of butter, right after air frying to help the garlic-parmesan mixture stick to the wings.
- Toss the wings in the butter and parmesan mixture when they’re still hot to also help the mixture stick to the wings.
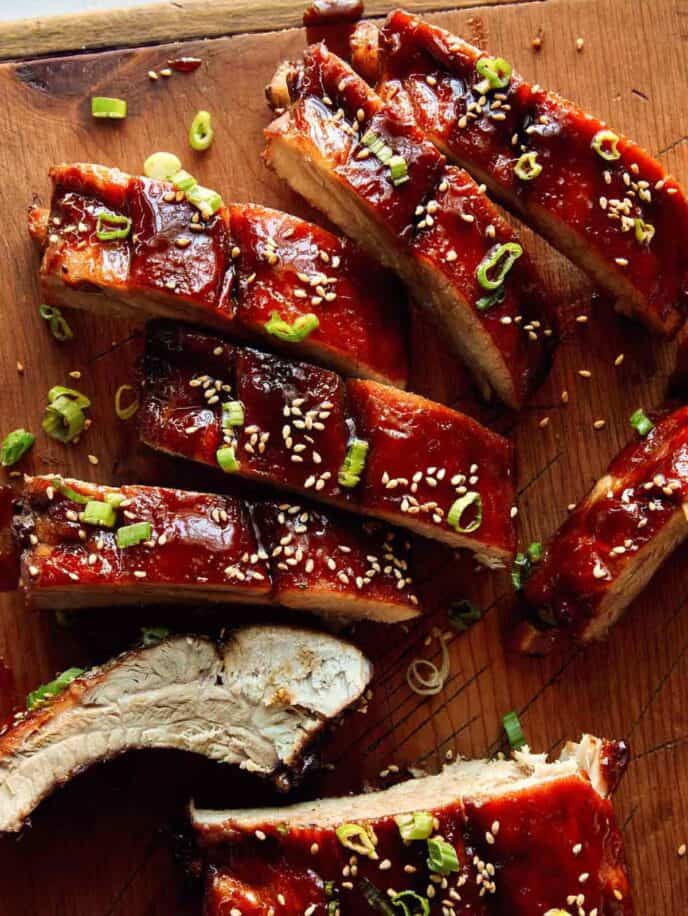
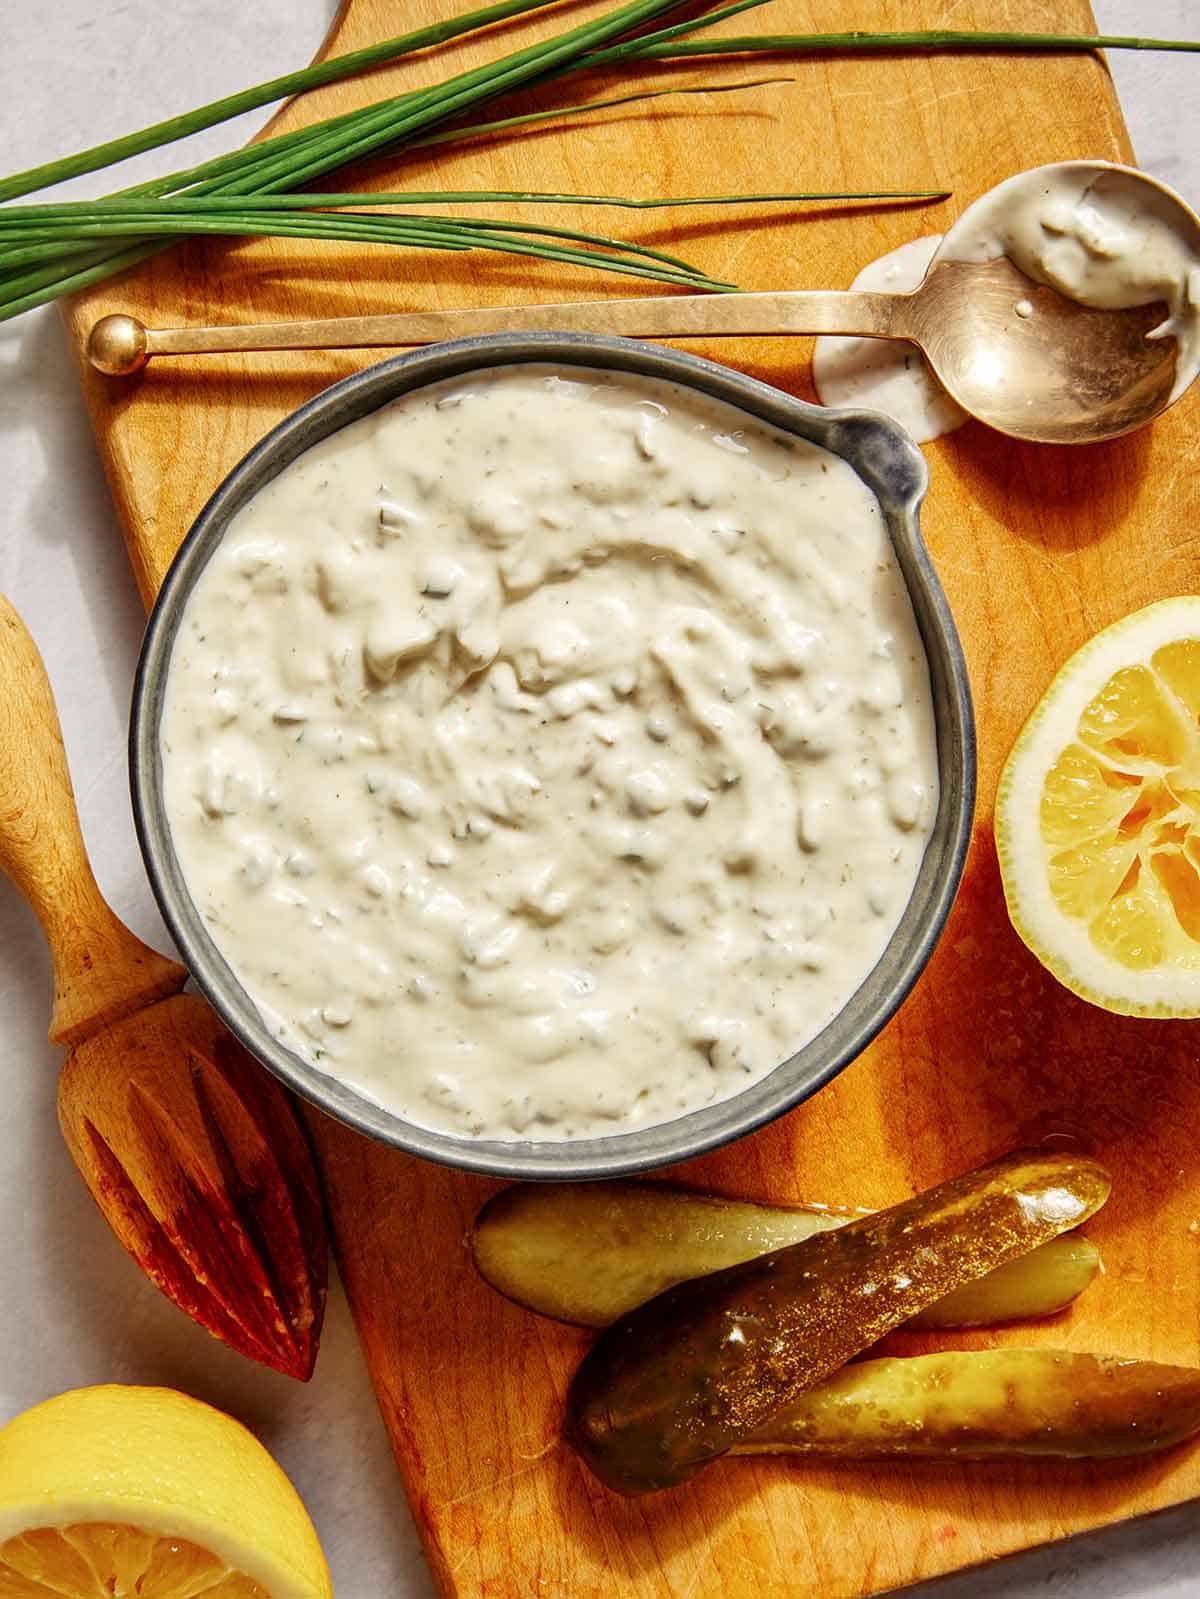
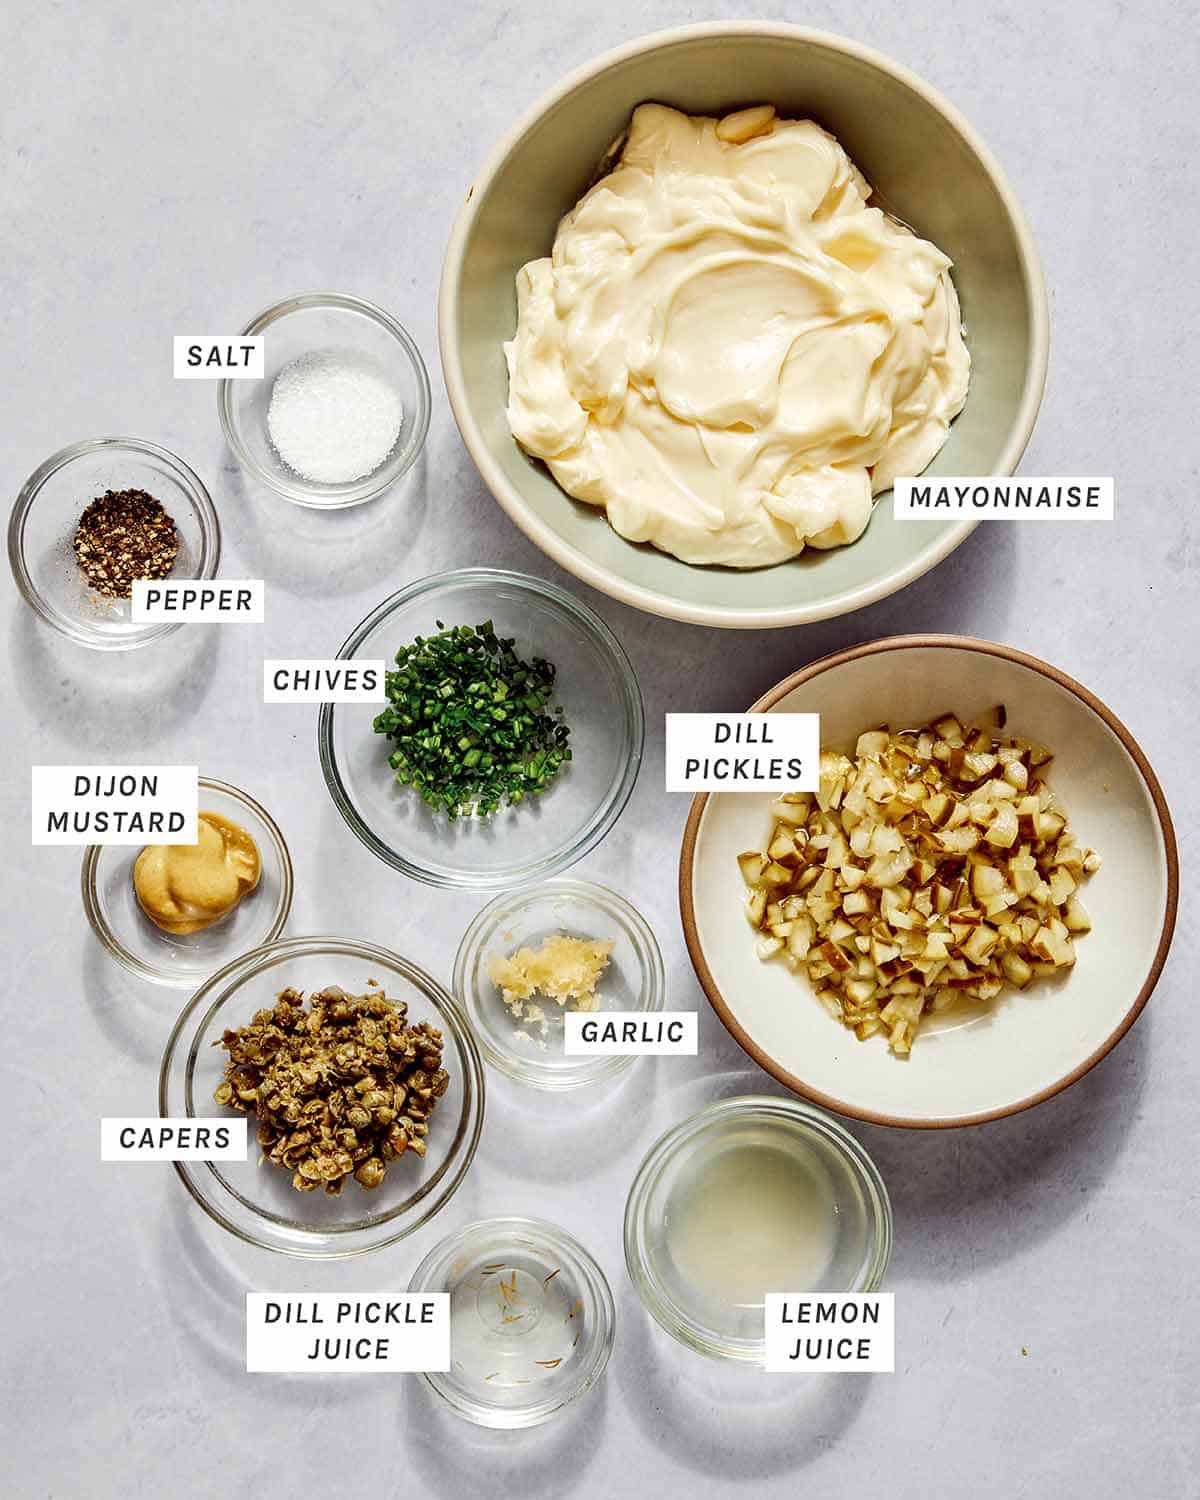
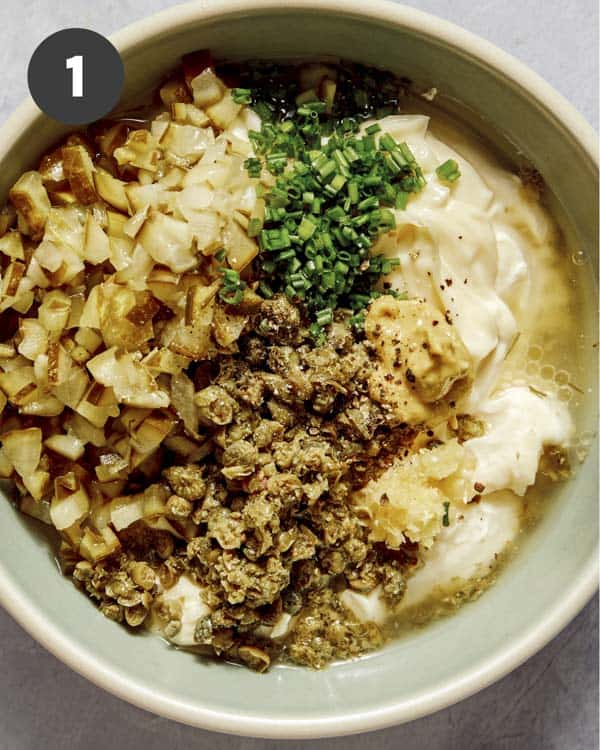
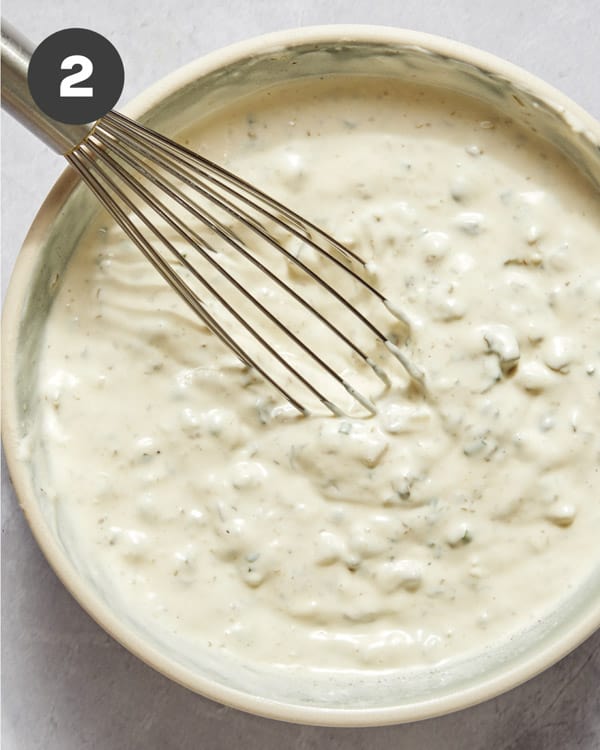
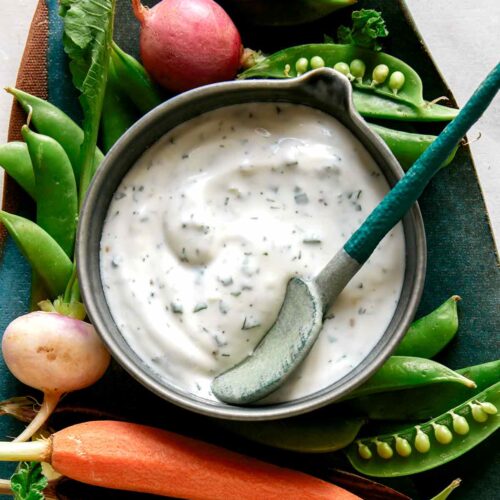
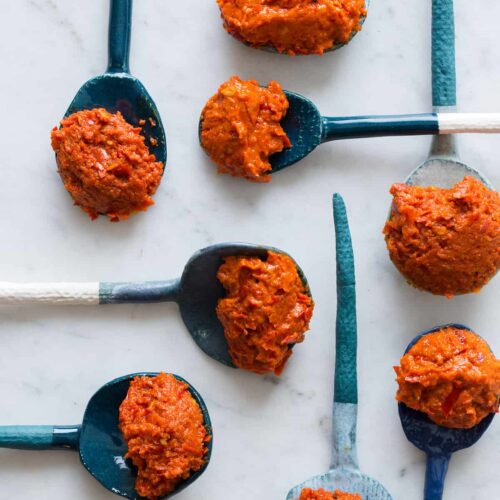
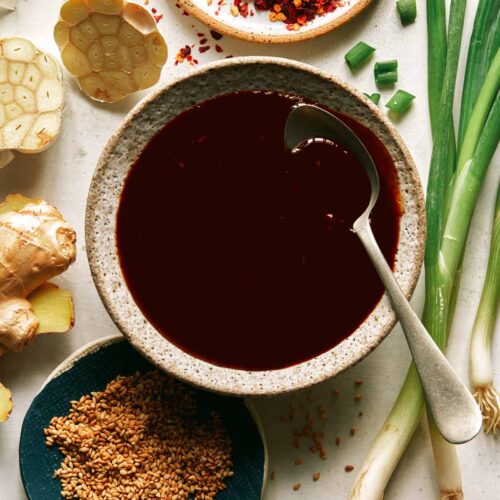
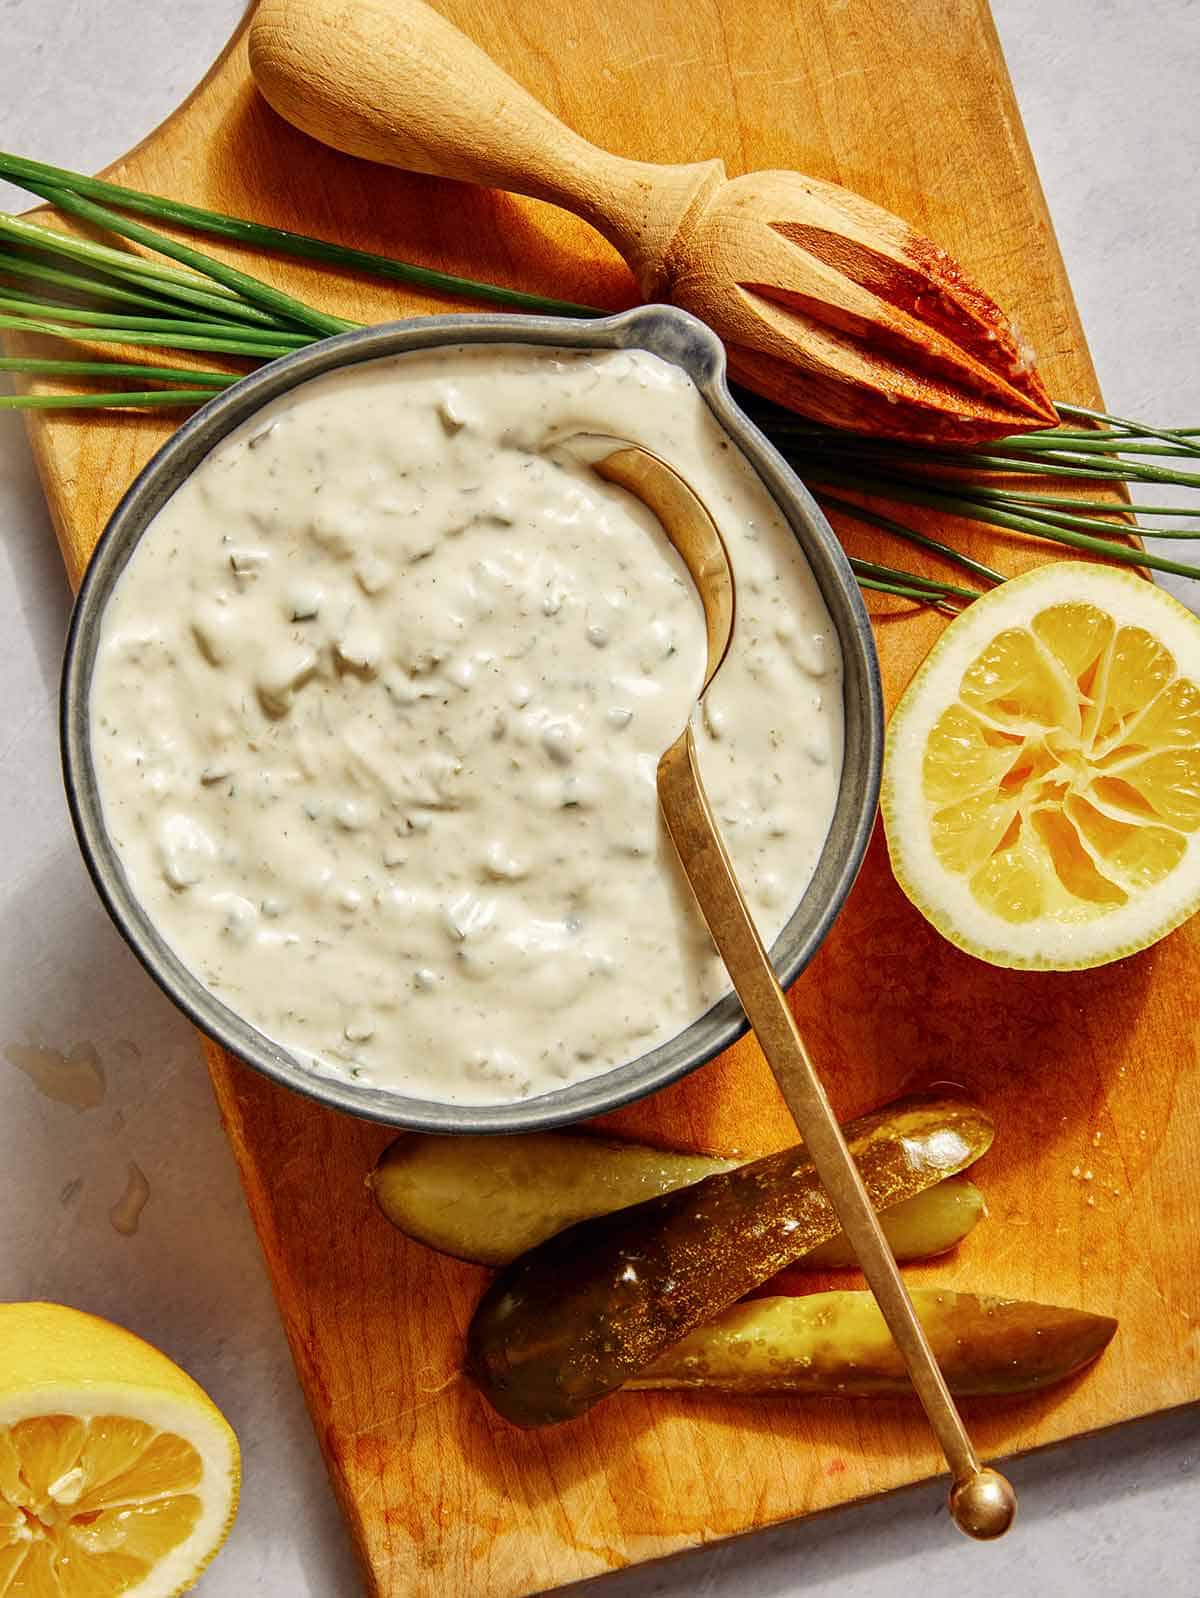
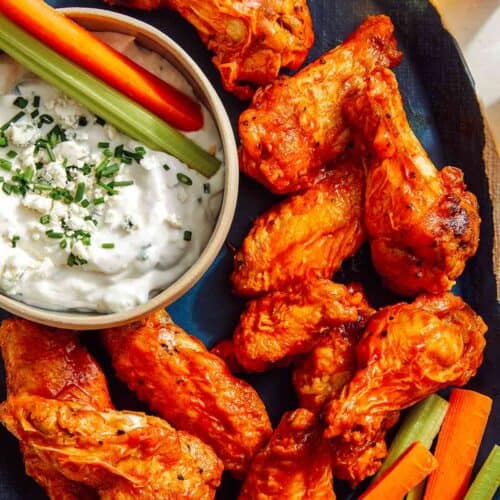
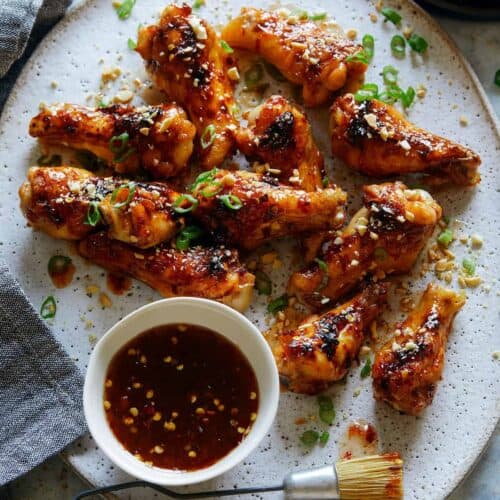
Our Favorite Dipping Sauces For Air Fryer Chicken Wings
These air fryer chicken wings are delicious on their own. While they don’t really need a dipping sauce, we can’t help but always want to dip chicken wings in sauce, so we’ve compiled a list of some of our favorites!
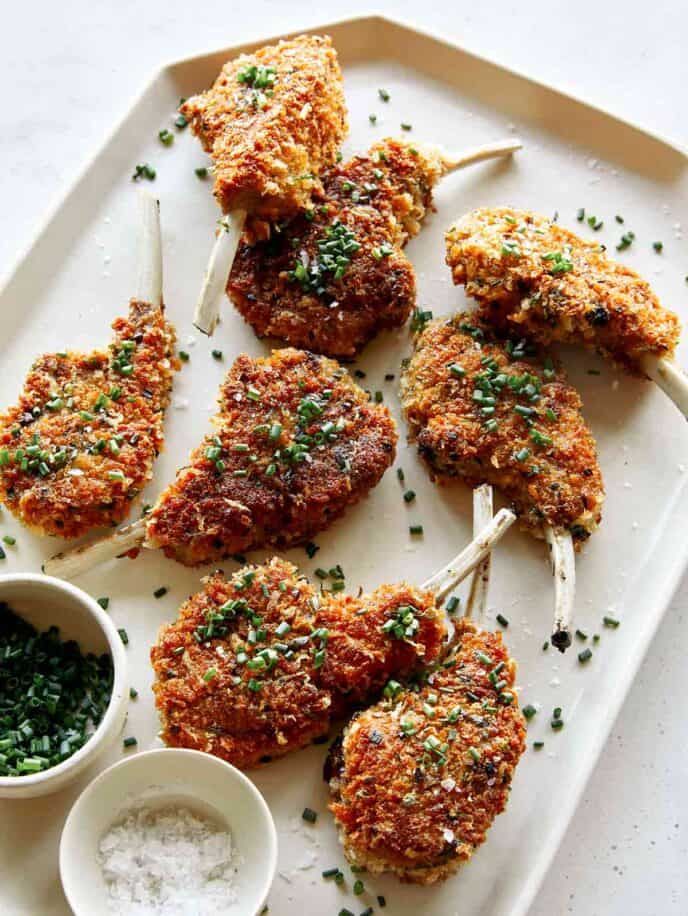
More Chicken Wings Recipes You Will Love
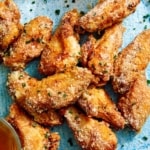
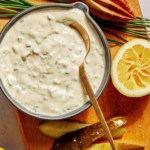
Parmesan Dusted Air Fryer Chicken Wings
Our Parmesan Dusted Air Fryer Chicken Wings are packed with flavor, juicy and very addictive! We love making these for game days and general get togethers. They're always a total hit!
Servings 4
Calories 284kcal
Ingredients
wings
- 1 1/2 pounds chicken wings split with tips removed
- 1 teaspoon salt
- 1/2 teaspoon baking powder
- 1/4 teaspoon black pepper
garlic-parmesan mixture
- 1/2 cup finely grated parmesan
- 1 tablespoon thinly sliced chives
- 2 teaspoons garlic powder
- 1 tablespoon melted unsalted butter
Instructions
air fryer wings
- Pat wings dry with a paper towel.
- In a resealable combine salt, baking powder, and black pepper. Shake together.
- Add wings, seal bag and shake until wings are evenly coated.
- Spray inside of air fryer basket with cooking spray and preheat air fryer to 400˚F. Place wings in prepared basket and air fry for 10 minutes.
- Flip wings and continue to air fry for another 10 minutes.
assembly
- Combine parmesan, garlic powder chives in a small bowl and whisk together.
- In another mixing bowl combine wings and butter and toss together.
- Sprinkle the wings with 2/3 of the parmesan mixture and toss together until evenly coated.
- Transfer wings to a platter and top with a sprinkle of the remaining Parmesan mixture. Serve.
Notes
Tips and Tricks for Success
- Toss the wings in baking powder, to create an extra crisp texture on the skin.
- Leave at least 1/2 inch space between each wing in the air fryer so the wings crisp up, instead of steaming.
- Flip the wings halfway through air frying to crisp both sides.
- Toss the wings in a little bit of butter, right after air frying to help the garlic-parmesan mixture stick to the wings.
- Toss the wings in the butter and parmesan mixture when they’re still hot to also help the mixture stick to the wings.
Nutrition
Calories: 284kcal | Carbohydrates: 2g | Protein: 22g | Fat: 21g | Saturated Fat: 8g | Polyunsaturated Fat: 3g | Monounsaturated Fat: 8g | Trans Fat: 0.3g | Cholesterol: 87mg | Sodium: 903mg | Potassium: 178mg | Fiber: 0.2g | Sugar: 0.2g | Vitamin A: 353IU | Vitamin C: 1mg | Calcium: 192mg | Iron: 1mg
The post Parmesan Dusted Air Fryer Chicken Wings appeared first on Spoon Fork Bacon.