
If you’re craving ooey-gooey goodness wrapped in an undeniably simple yet delicious crust, this easy fatayer recipe is for you! And while these decadent cheese and spinach stuffed morsels can typically take a bit of time to craft, we have a simple hack that will get fatayer on your table in nearly no time.

What is Fatayer?
Fatayer are savory hand pies that are popular throughout the Middle East. They are made by stuffing a yeast dough with spinach, or sometimes seasoned meat, then baking. The result is a golden brown crust that envelops the warmly spiced veggie or meat fillings.
While fatayer is typically made with homemade bread, we turned this into a timesaving version that uses store-bought rolls instead. Also, fatayer doesn’t typically include cheese but we couldn’t resist putting our own cheesy spin on them. You can thank us later!
Ingredients You Need
- Frozen dinner rolls – These are your shortcut to delicious fatayer dough, no fussing around with making it from scratch! Just make sure to thaw them ahead of time.
- Fresh spinach – This green goodness not only adds color but also packs a punch of freshness and healthiness to your fatayer.
- Small shallot – These little guys bring in that subtle onion flavor that plays so well with the spinach and makes your fatayer savory and tasty.
- Cream cheese – We’re firm believers that cream cheese makes everything better! It gives your fatayer filling a creamy, indulgent texture that you just can’t resist.
- Salt – Salt is the magic touch that brings out all of the flavor of your other ingredients!
- Pepper – A dash of pepper adds a bit of zing and spice, giving your fatayer filling that little extra kick.
- Smoked paprika – This spice is perfect for adding a smoky flavor to your fatayer filling.
- Crumbled feta cheese – We love the salty, tangy flavor of feta and it pairs perfectly with the spinach.
- Shredded mozzarella cheese – Mozzarella cheese gets melty and gooey in the fatayer, making it absolutely irresistible.
- Egg – While this is optional, we’ve found that simply whipping up an egg wash and brushing it on the fatayer before baking it gives them an amazing beautiful golden-brown crust.
Making Fatayer the Easy Way
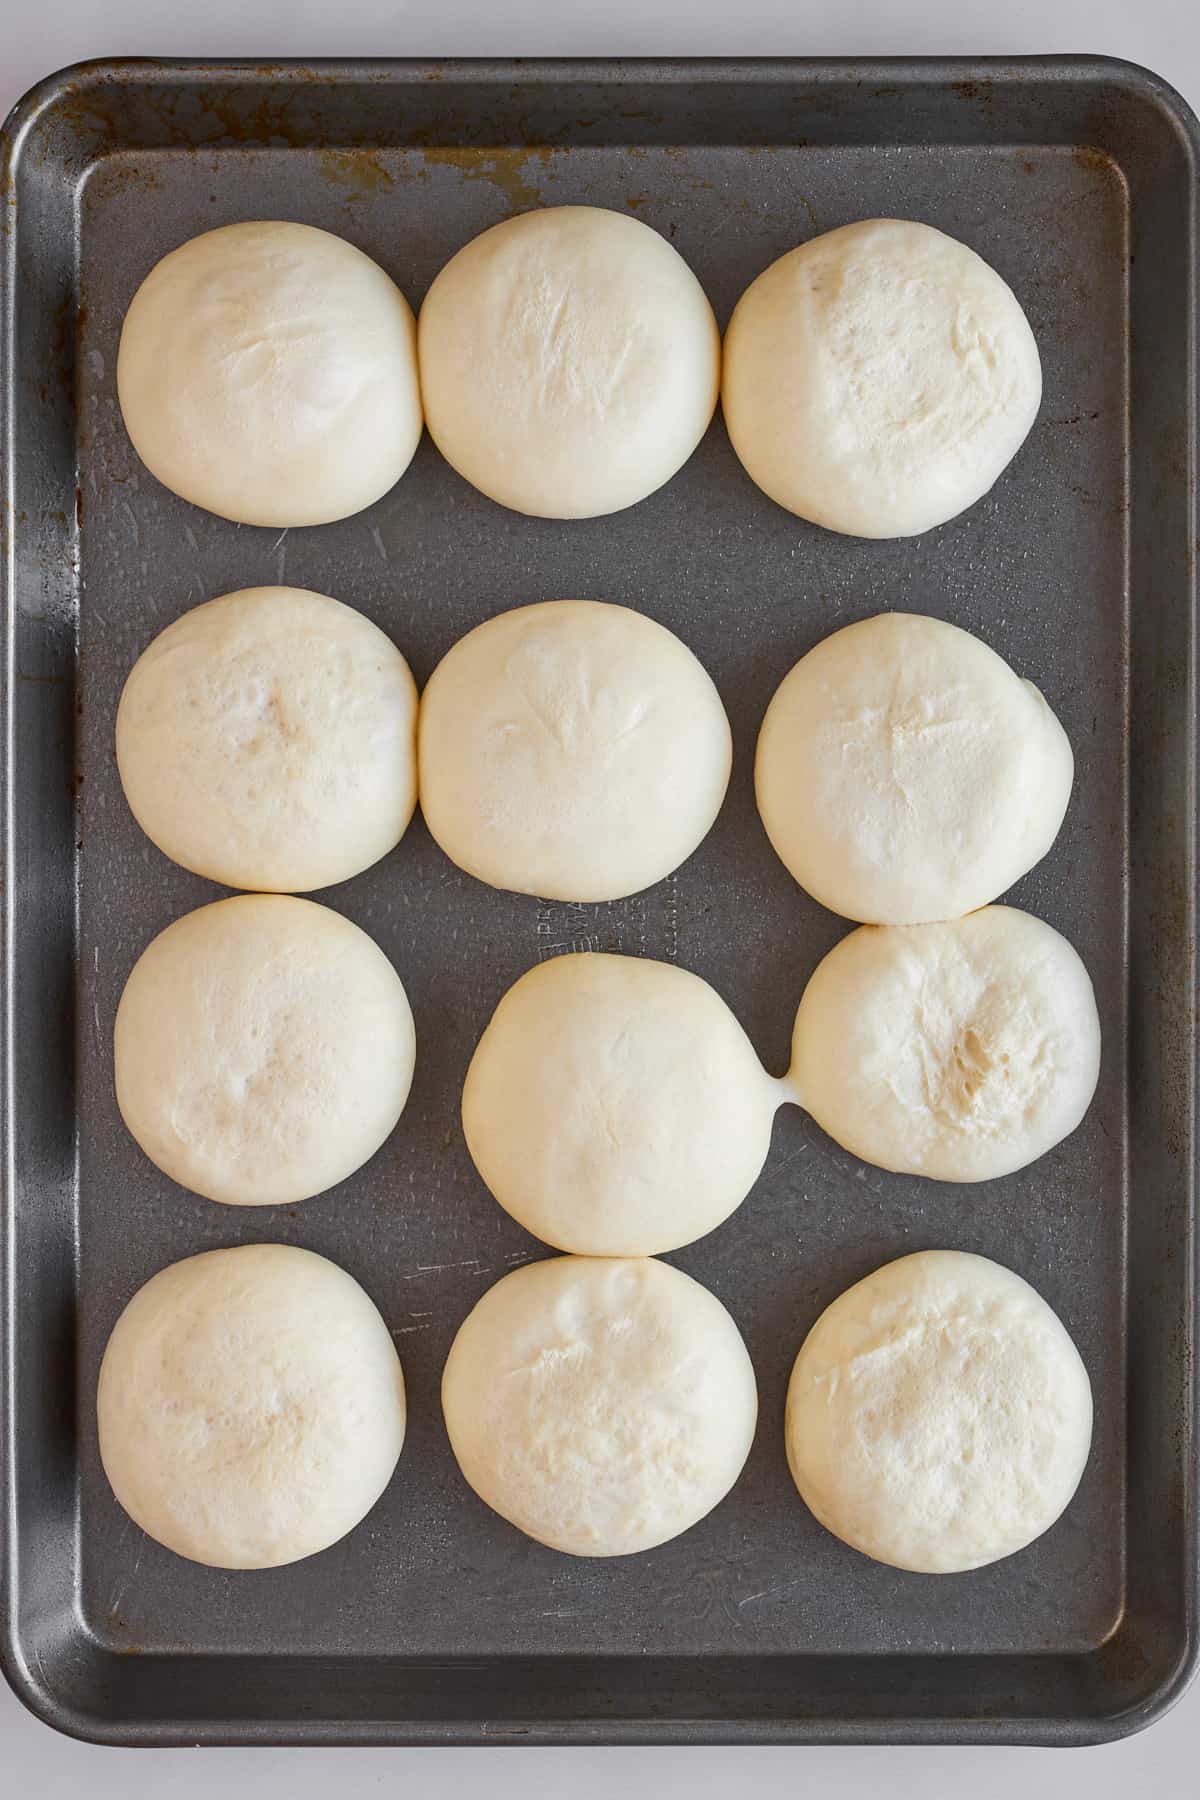
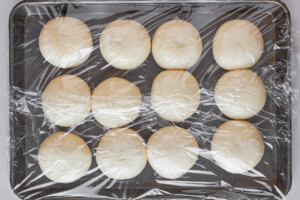
- Defrost. Follow the directions on the package to thaw the rolls.
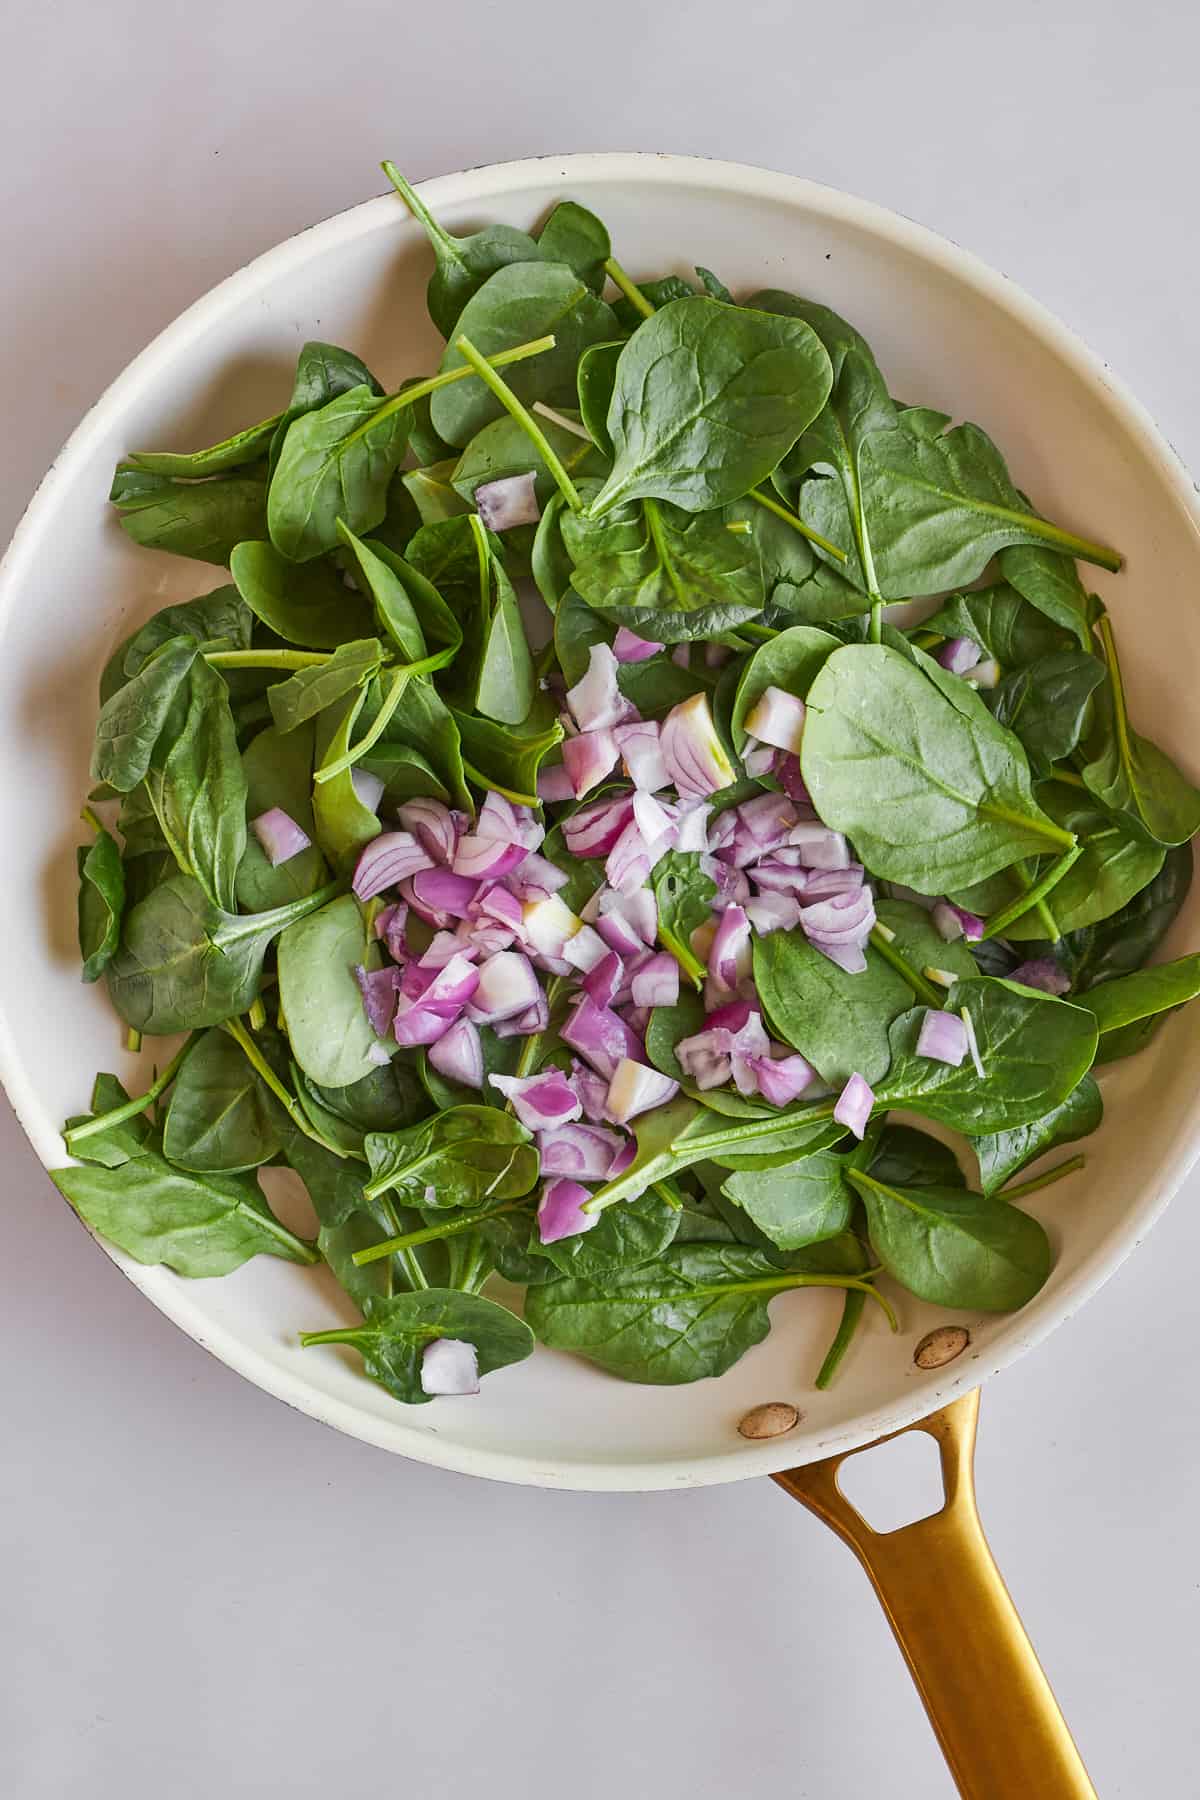
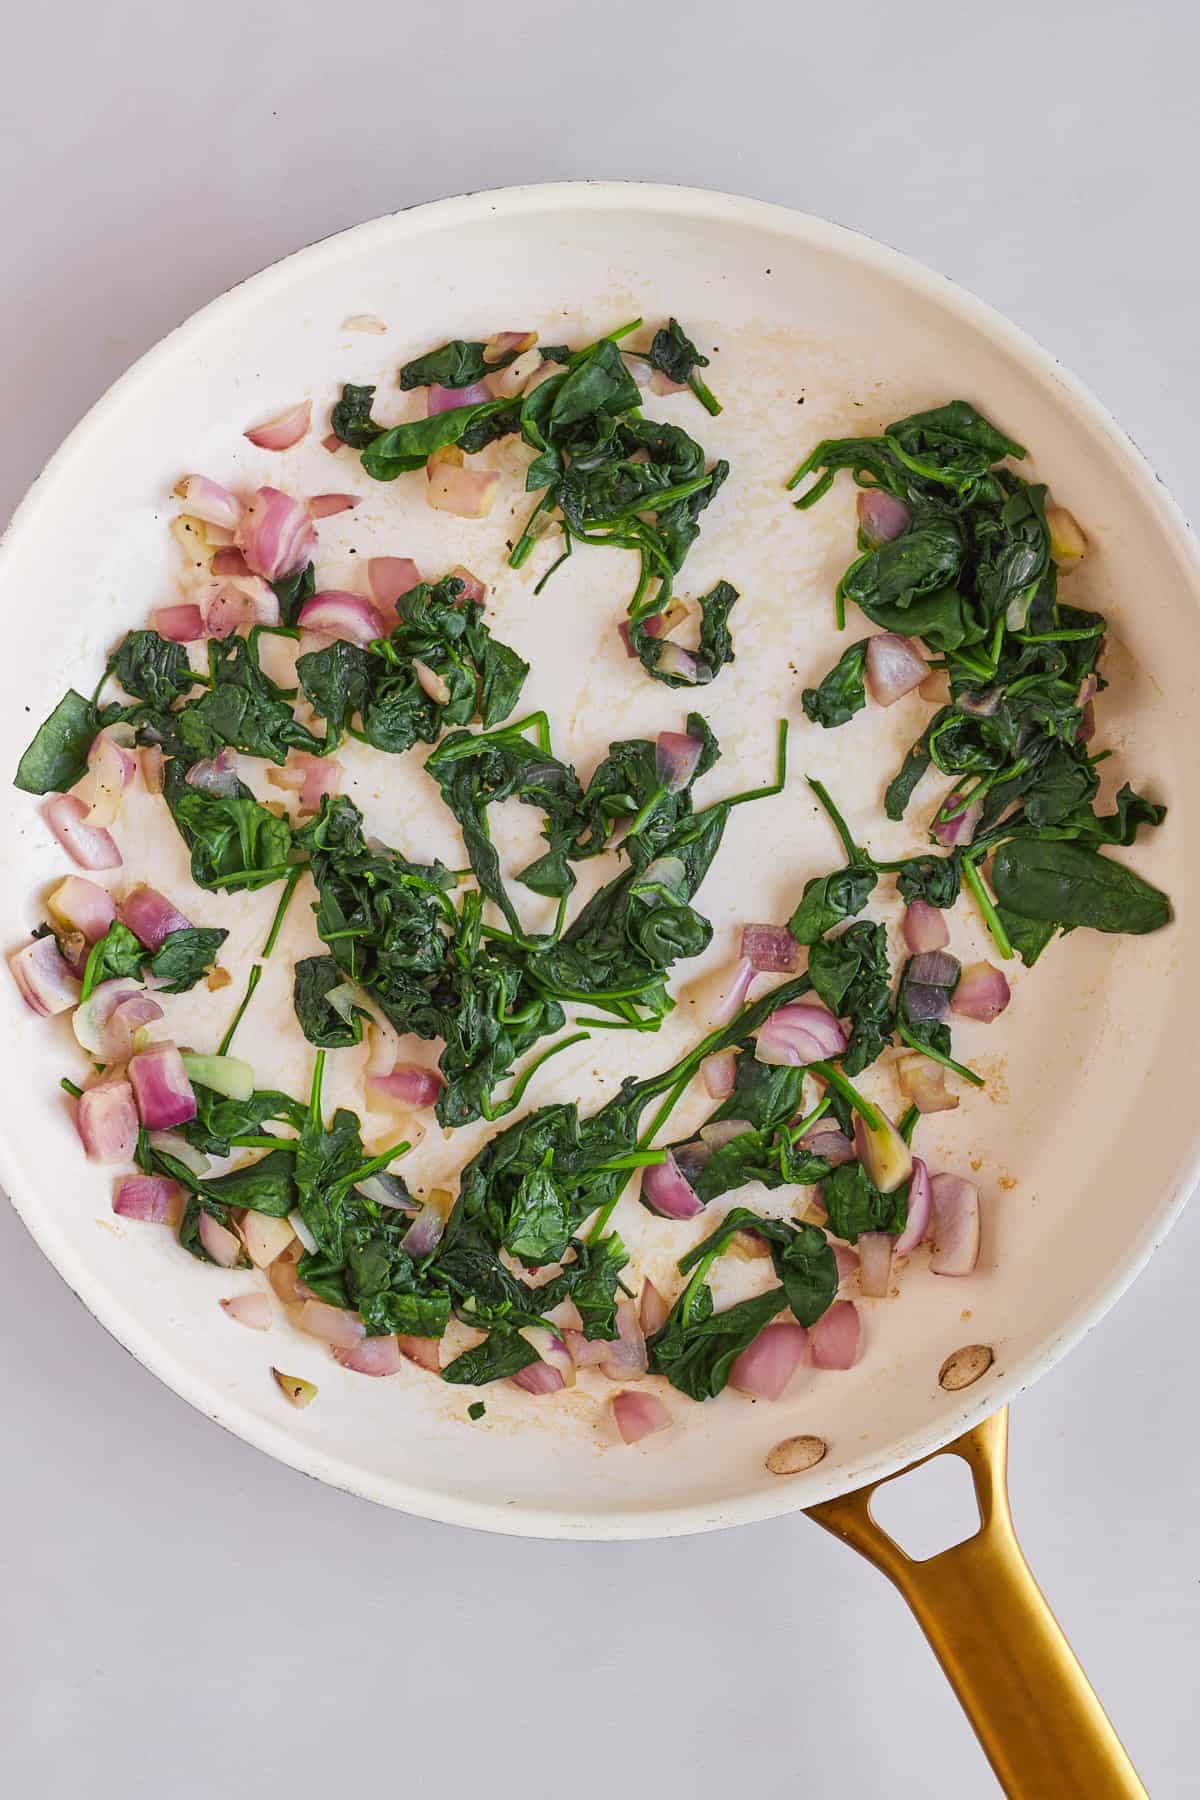
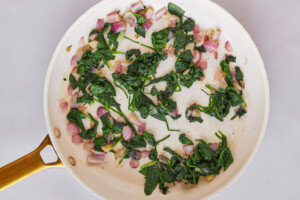
- Sauté. Add spinach and shallots to a large skillet and cook until the spinach has wilted. The shallot should also be soft.
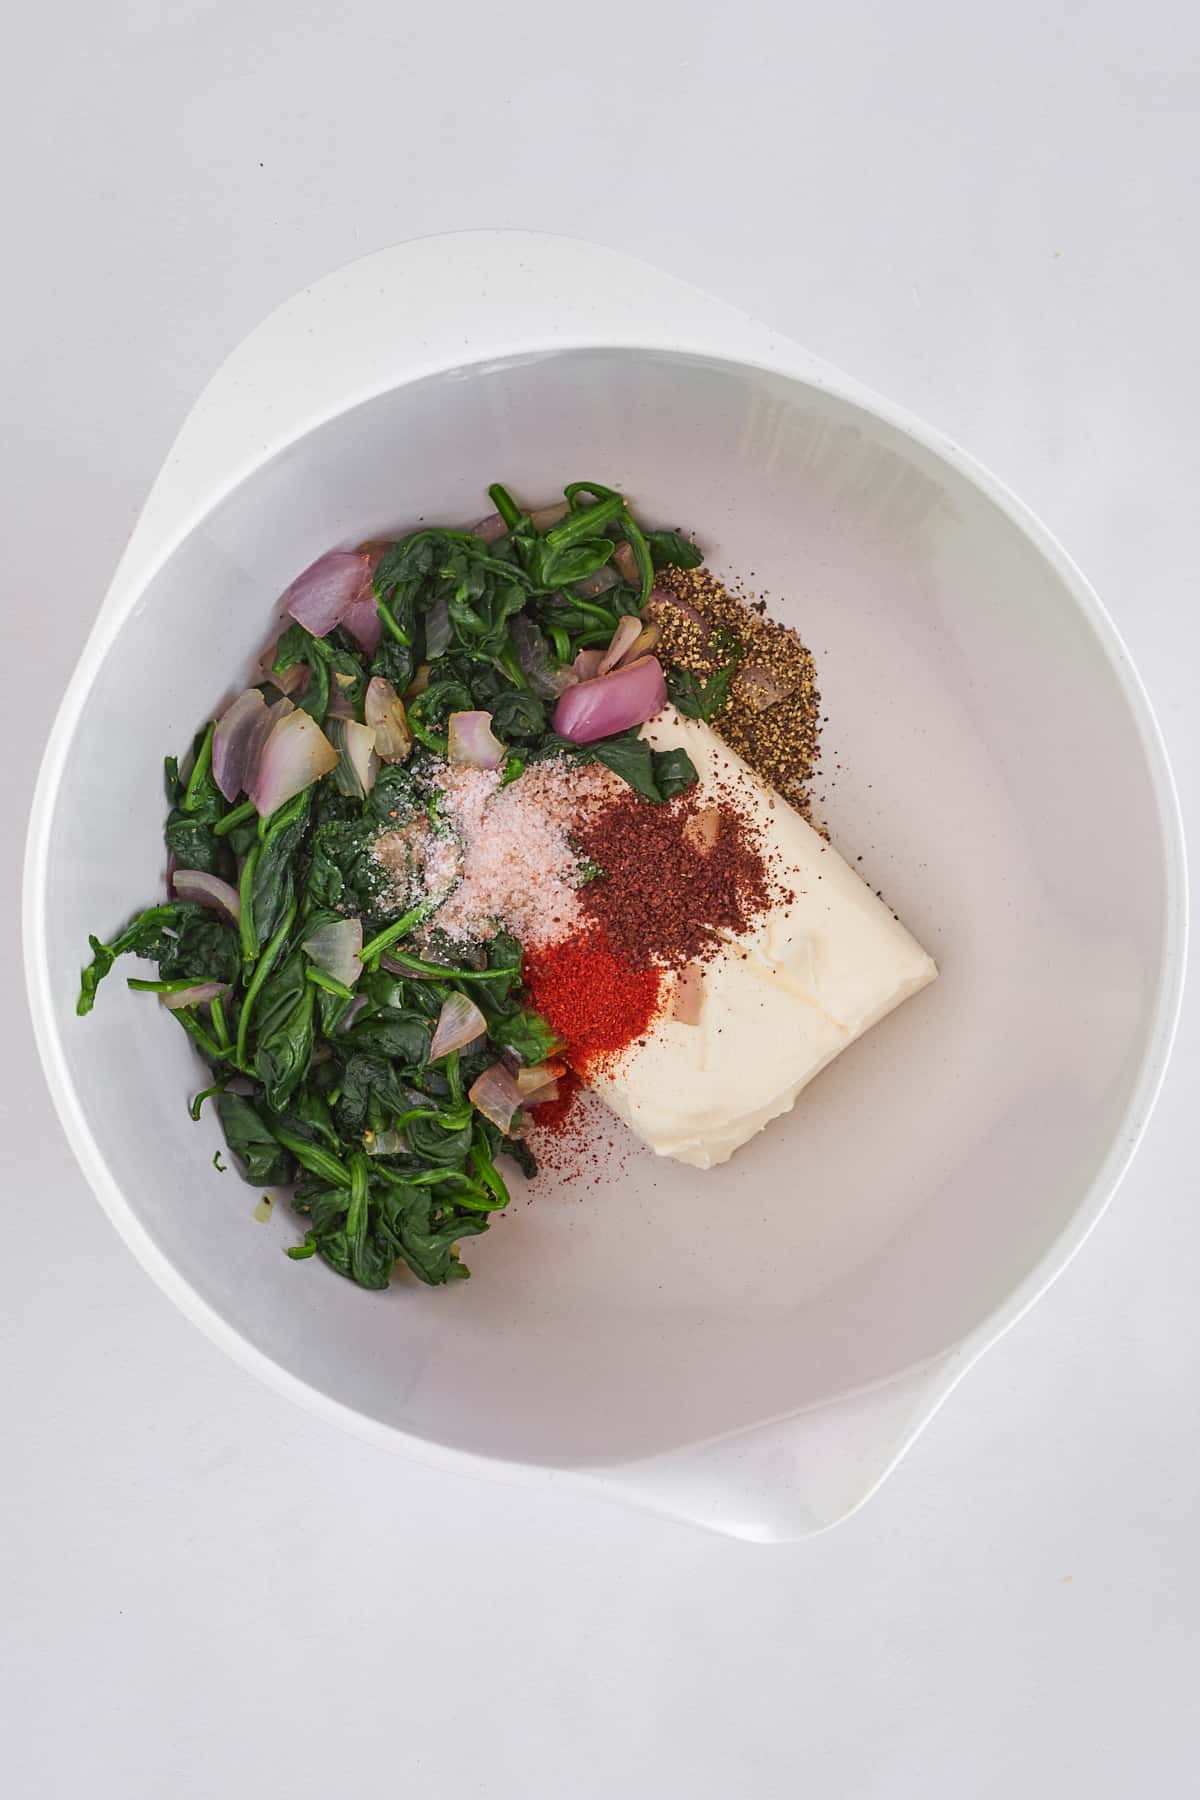
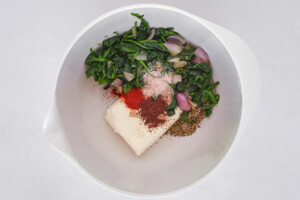
- Combine. After removing the spinach and shallots from the stove, make the filling by placing the spinach mixture in a large mixing bowl with cream cheese, salt, pepper, smoked paprika, and crumbled feta cheese. Fold all of the ingredients together until they’re completely combined.
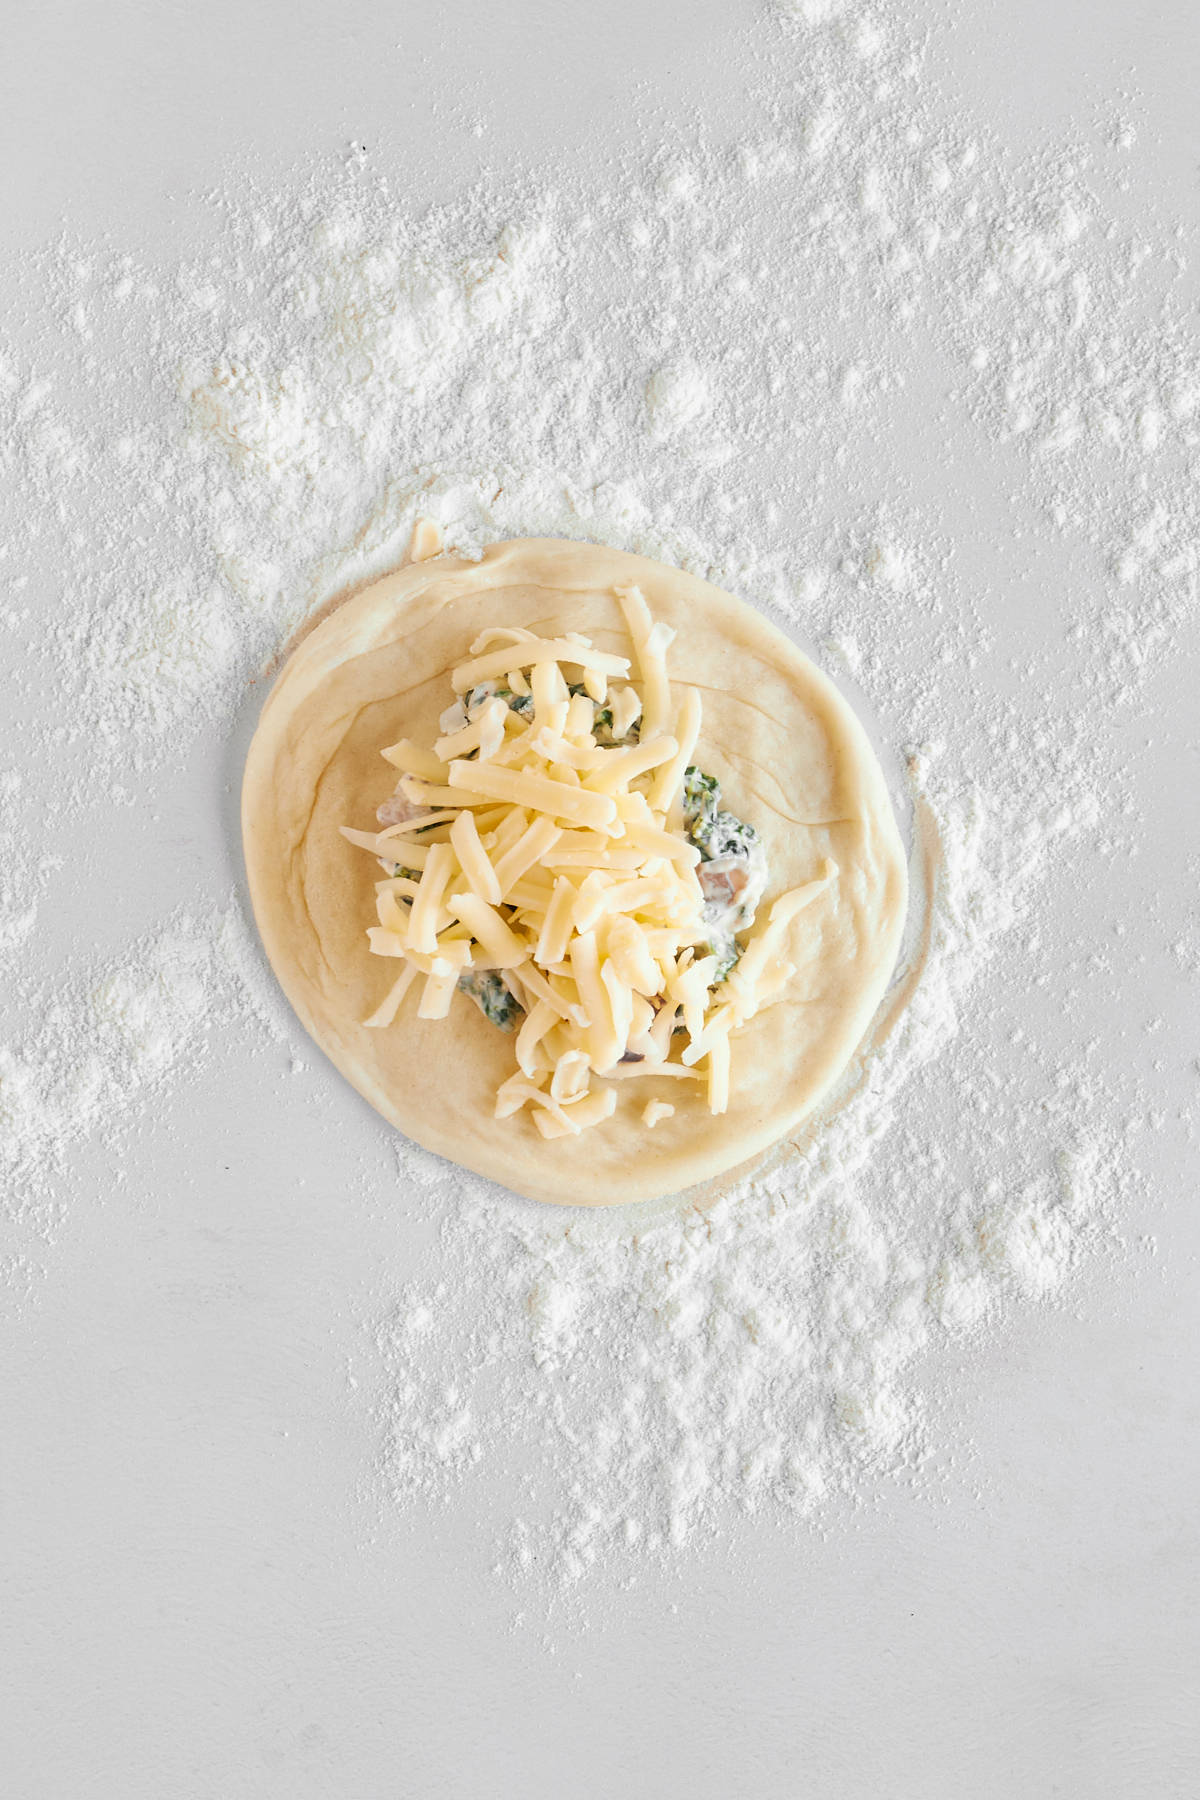
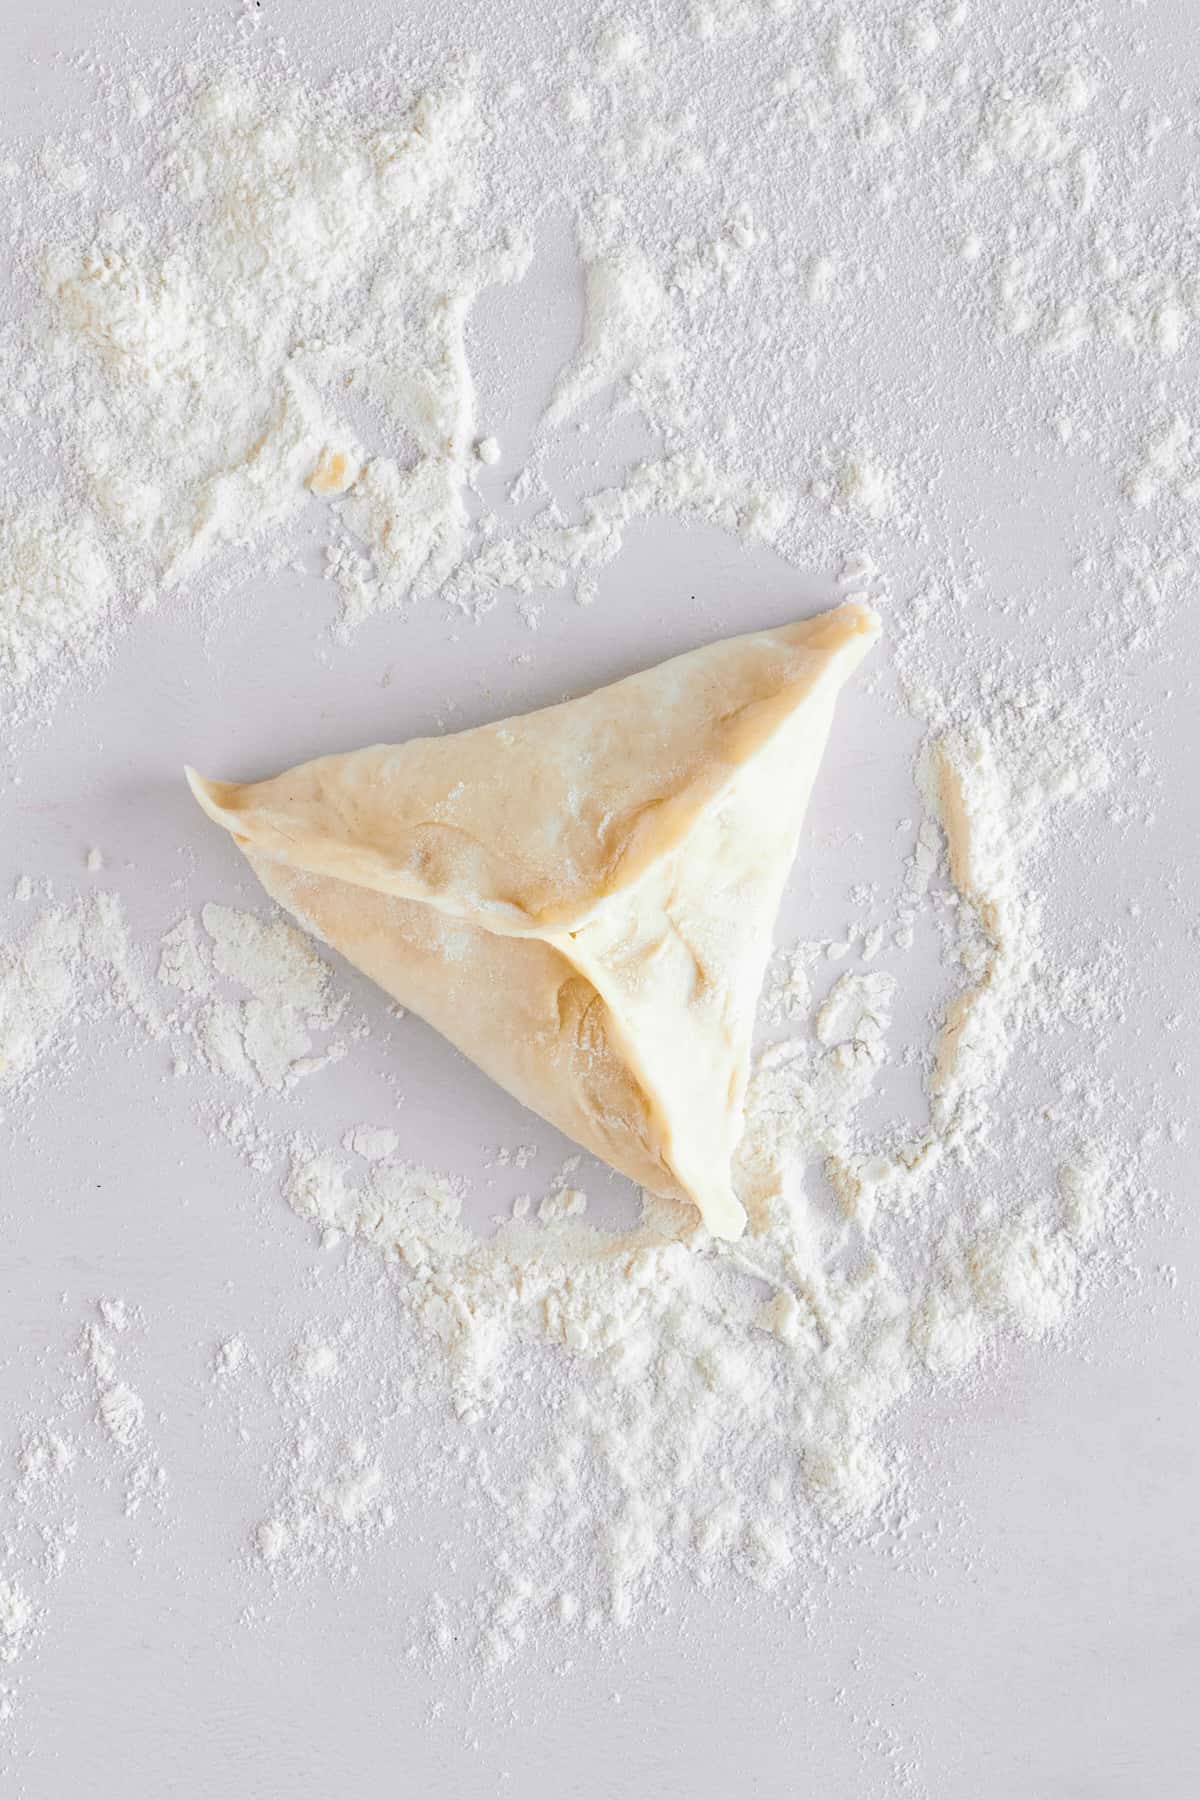
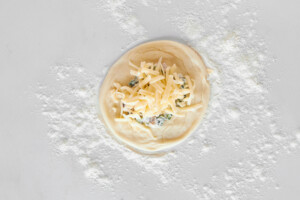
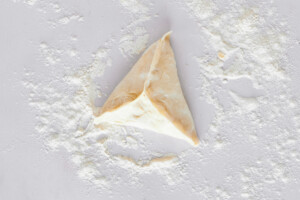
- Form. Place a thawed dinner roll on a work surface that has been lightly floured and press down to flatten it. Then, place a small amount of the spinach and cheese mixture on the roll and top with mozzarella before folding the dough over and sealing the edge. Repeat with the remaining dough and mixture.
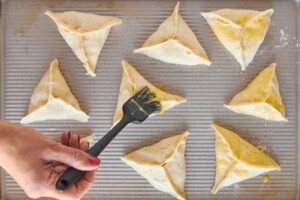
- Prepare for baking. After placing each of the fatayer on a prepared baking sheet, use a pastry brush to apply egg wash to the tops.
- Bake. Place the baking sheet in the preheated oven and bake until crispy and golden brown.
- Serve. Serve the fatayer warm after allowing them to cool briefly.

Variations
We love these little pieces of cheesy heaven just how they are! But if you want to get creative, you can change up some of the ingredients. Here are some ideas for inspiration:
- Dough – If you love baking, you can make your own homemade dough instead of using the rolls. Or, replace the dough with phyllo to make them more like spanakopita.
- Cheese – Swap out the cream cheese for ricotta or whipped cottage cheese. Or, replace the mozzarella with shredded parmesan or cheddar. You can also try using goat cheese instead of feta.
- Fillings – For extra flavor and texture, fold in add-ins like olives, pine nuts, sun-dried tomatoes, or lemon zest. You can even add seasoned ground meat or potatoes, too!
- Toppings – Make these fatayer even more visually appealing by sprinkling them with sesame seeds or fresh herbs.

Can I Store Leftovers?
We suggest serving these savory treats right after baking when they’re at their best but you can store them, too. Just keep in mind that the bread may not be quite as crisp when you reheat them after they’ve been in the fridge or freezer.
Place fatayer in an airtight container or resealable plastic bag and refrigerate for 2-3 days.
To freeze fatayer, place them in a freezer-safe container in a single layer (or separate layers with

More Easy Bready Recipes
If you’re as big a fan of bread as we are, you’re going to want to check out our other crave-worthy bread-based creations!
Quick Focaccia with Za’atar Seasoning

Cheese and Spinach Fatayer
Equipment
Ingredients
- 10 frozen dinner rolls thawed according to instructions (e.g., Rhodes brand)
- 4 cups fresh spinach
- 1 small shallot finely chopped
- 4 ounces cream cheese softened
- 1/2 teaspoon salt
- 1/2 teaspoon pepper
- 1/2 teaspoon smoked paprika
- 1/2 cup crumbled feta cheese
- 1/3 cup shredded mozzarella cheese
- 1 egg whisked (for egg wash)
Instructions
- Preheat the oven to 350°F
- Thaw the frozen dinner rolls according to the package instructions.10 frozen dinner rolls
- In a skillet, sauté the fresh spinach and shallot over medium heat until the spinach is wilted and the shallot is softened. Remove from heat and let the mixture cool.4 cups fresh spinach, 1 small shallot
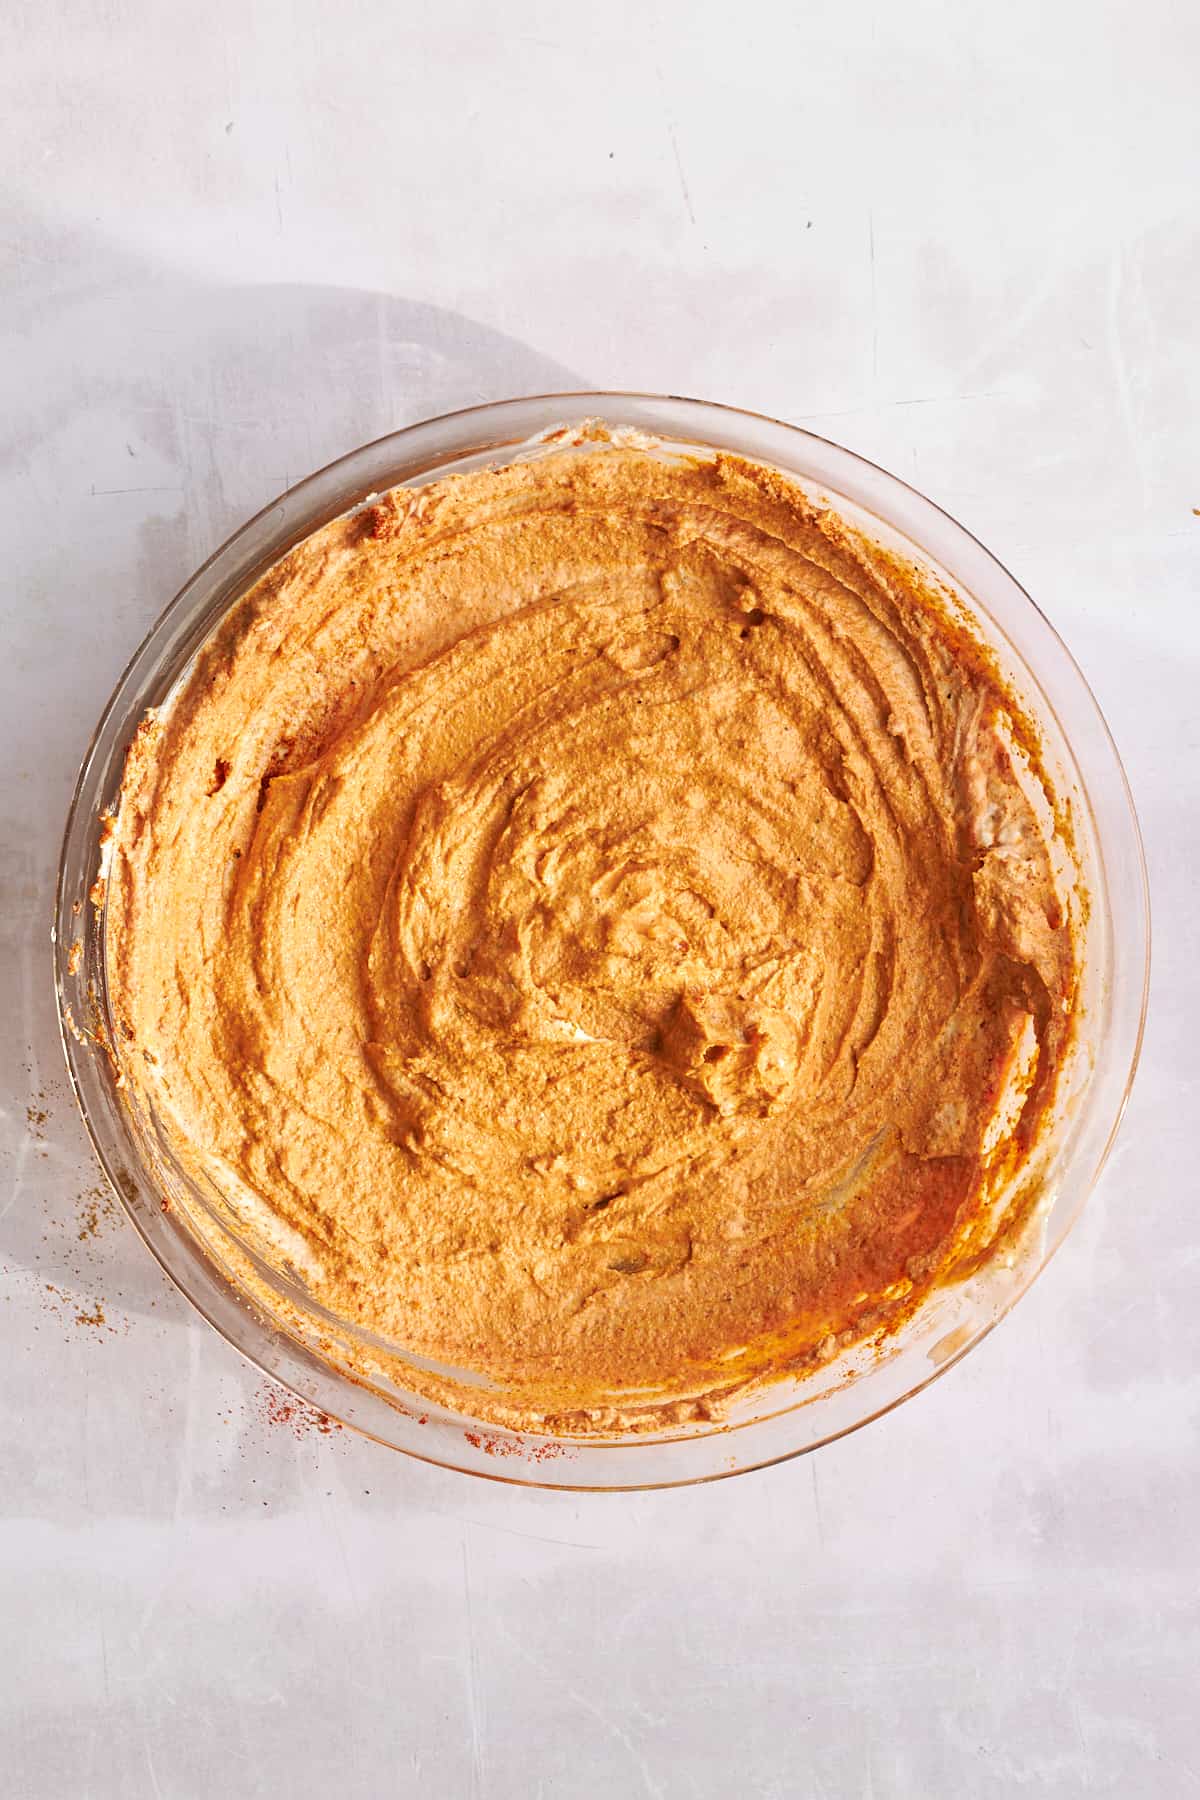
- In a mixing bowl, combine the softened cream cheese, wilted spinach and shallot mixture, salt, pepper, smoked paprika, and crumbled feta cheese. Mix well until all ingredients are evenly combined.4 ounces cream cheese, 1/2 teaspoon salt, 1/2 teaspoon pepper, 1/2 teaspoon smoked paprika, 1/2 cup crumbled feta cheese
- On a floured surface, take one of the thawed dinner rolls and flatten it down with your hands to make a larger circle.
- Spoon a portion of the spinach and cheese mixture onto the center of the flattened dinner roll, leaving some space around the edges.
- Sprinkle about 2 tablespoons of shredded mozzarella cheese over the spinach mixture.1/3 cup shredded mozzarella cheese
- Fold the edges of the dough over the filling to form a triangle shape, pinching the edges to seal the fatayer.
- Repeat steps 5-8 with the remaining dinner rolls and spinach mixture.
- Place the assembled fatayer on a baking sheet lined with parchment paper, leaving some space between each one.
- Brush the tops of the fatayer with the whisked egg to create an egg wash.1 egg
- Bake the fatayer in the preheated oven at 350°F for 25 minutes, or until they are golden brown and the cheese is melted and bubbly.

- Once baked, remove the fatayer from the oven and let them cool slightly before serving.
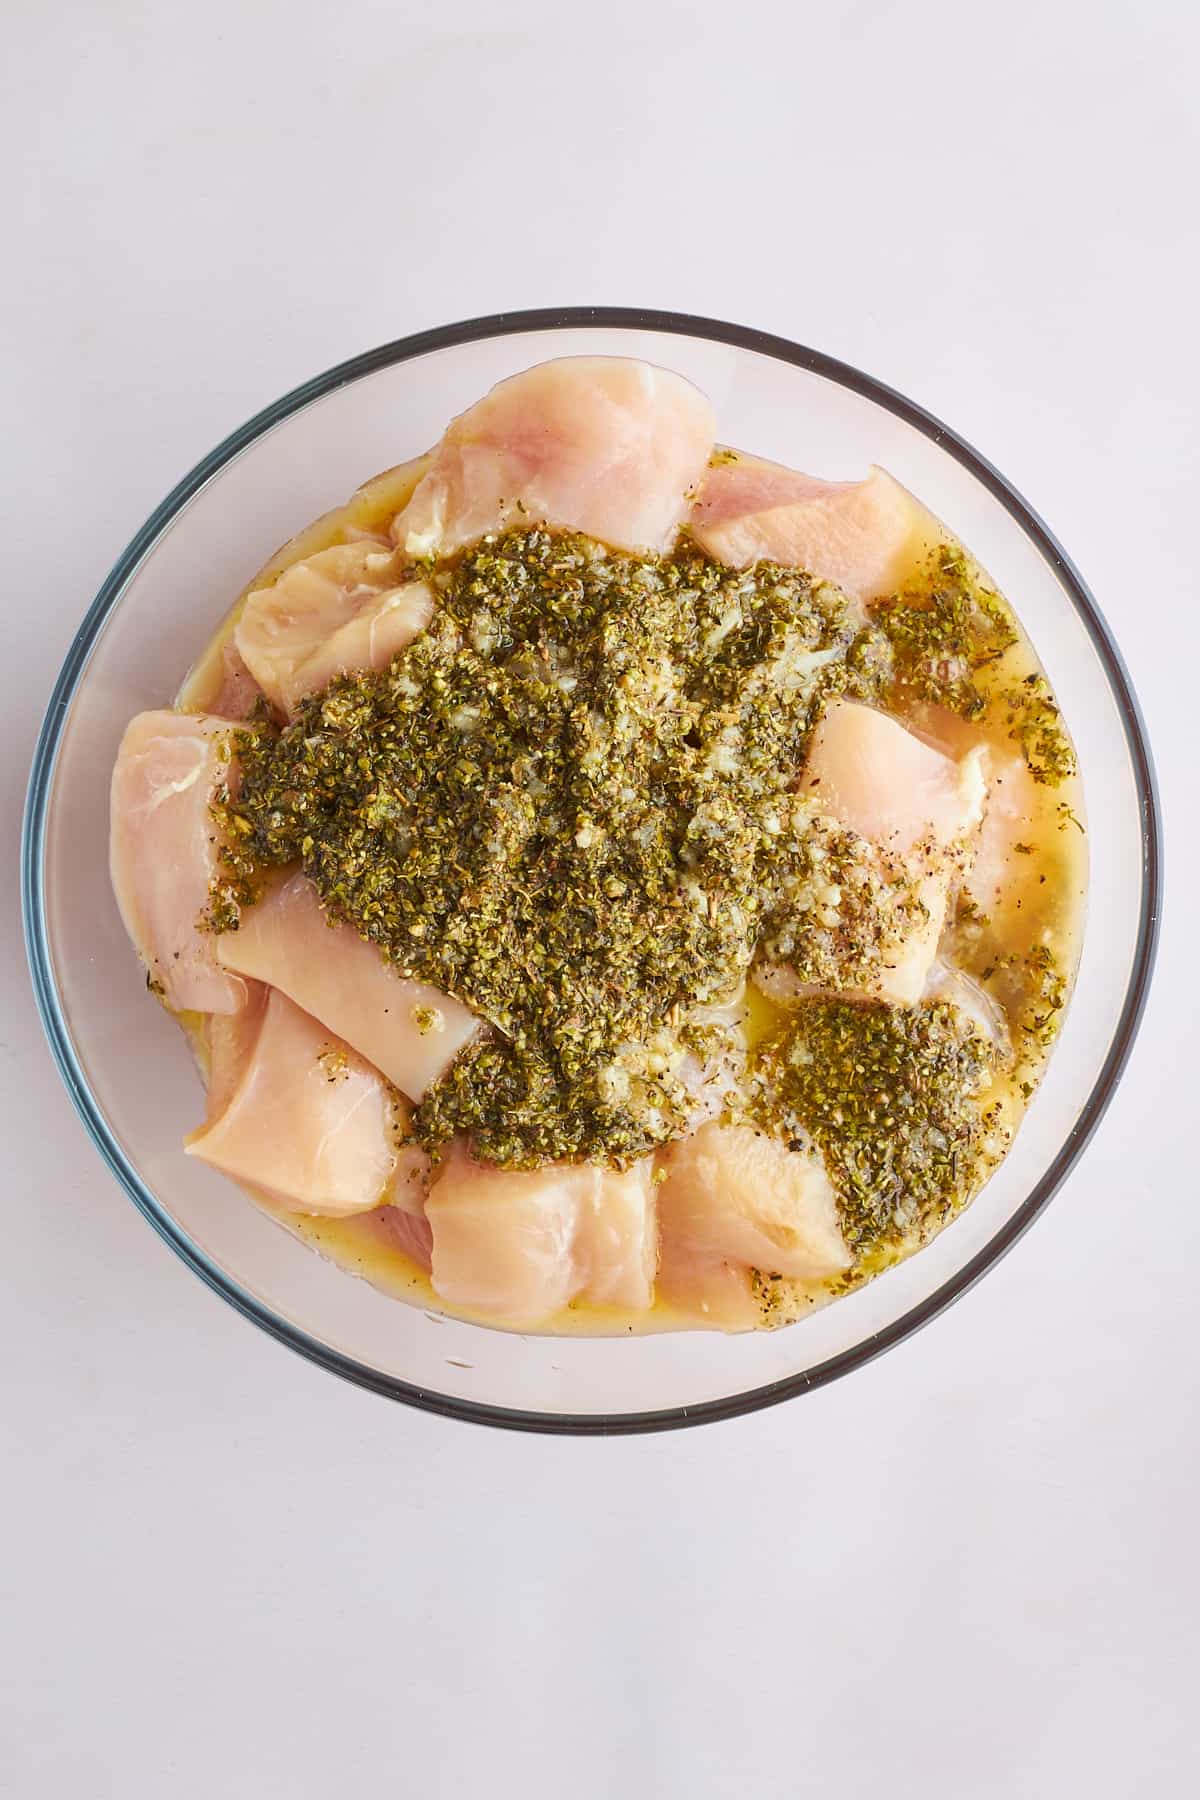
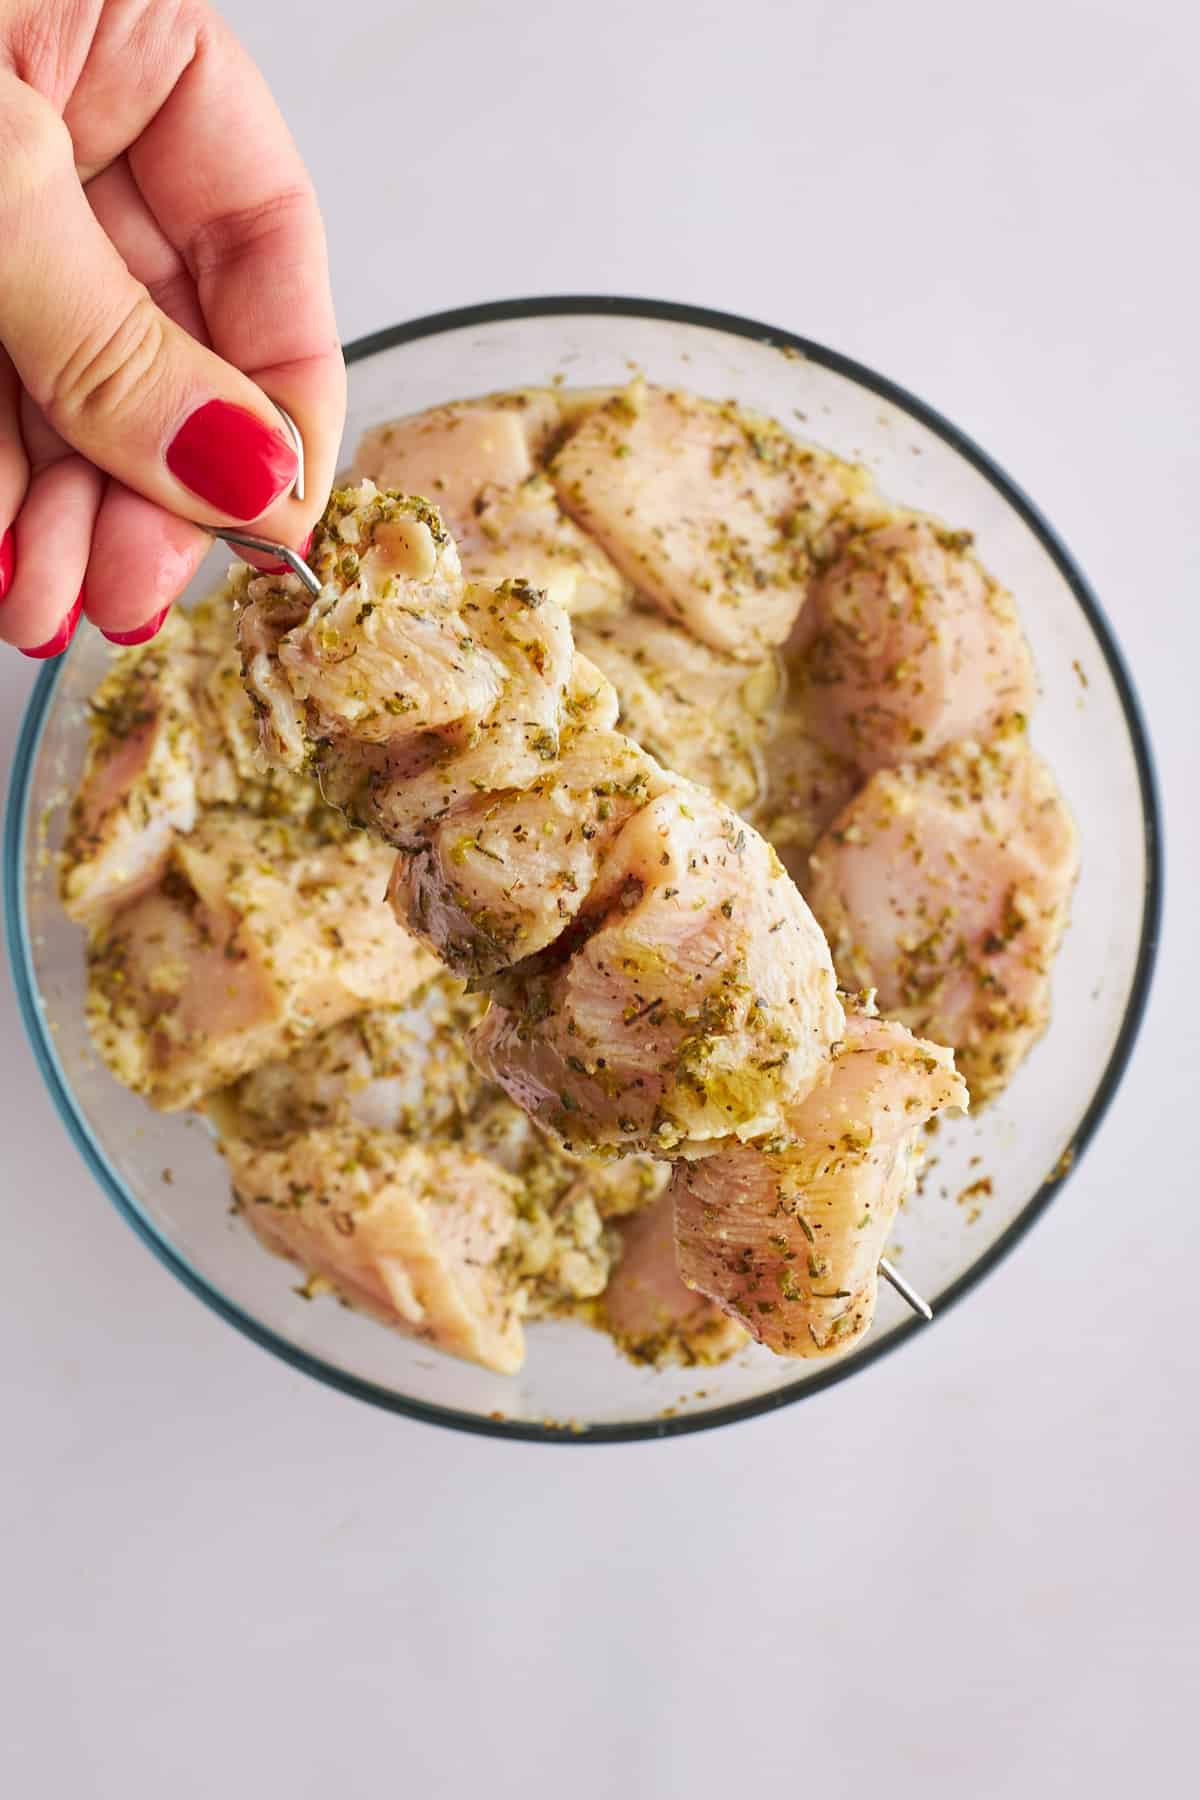
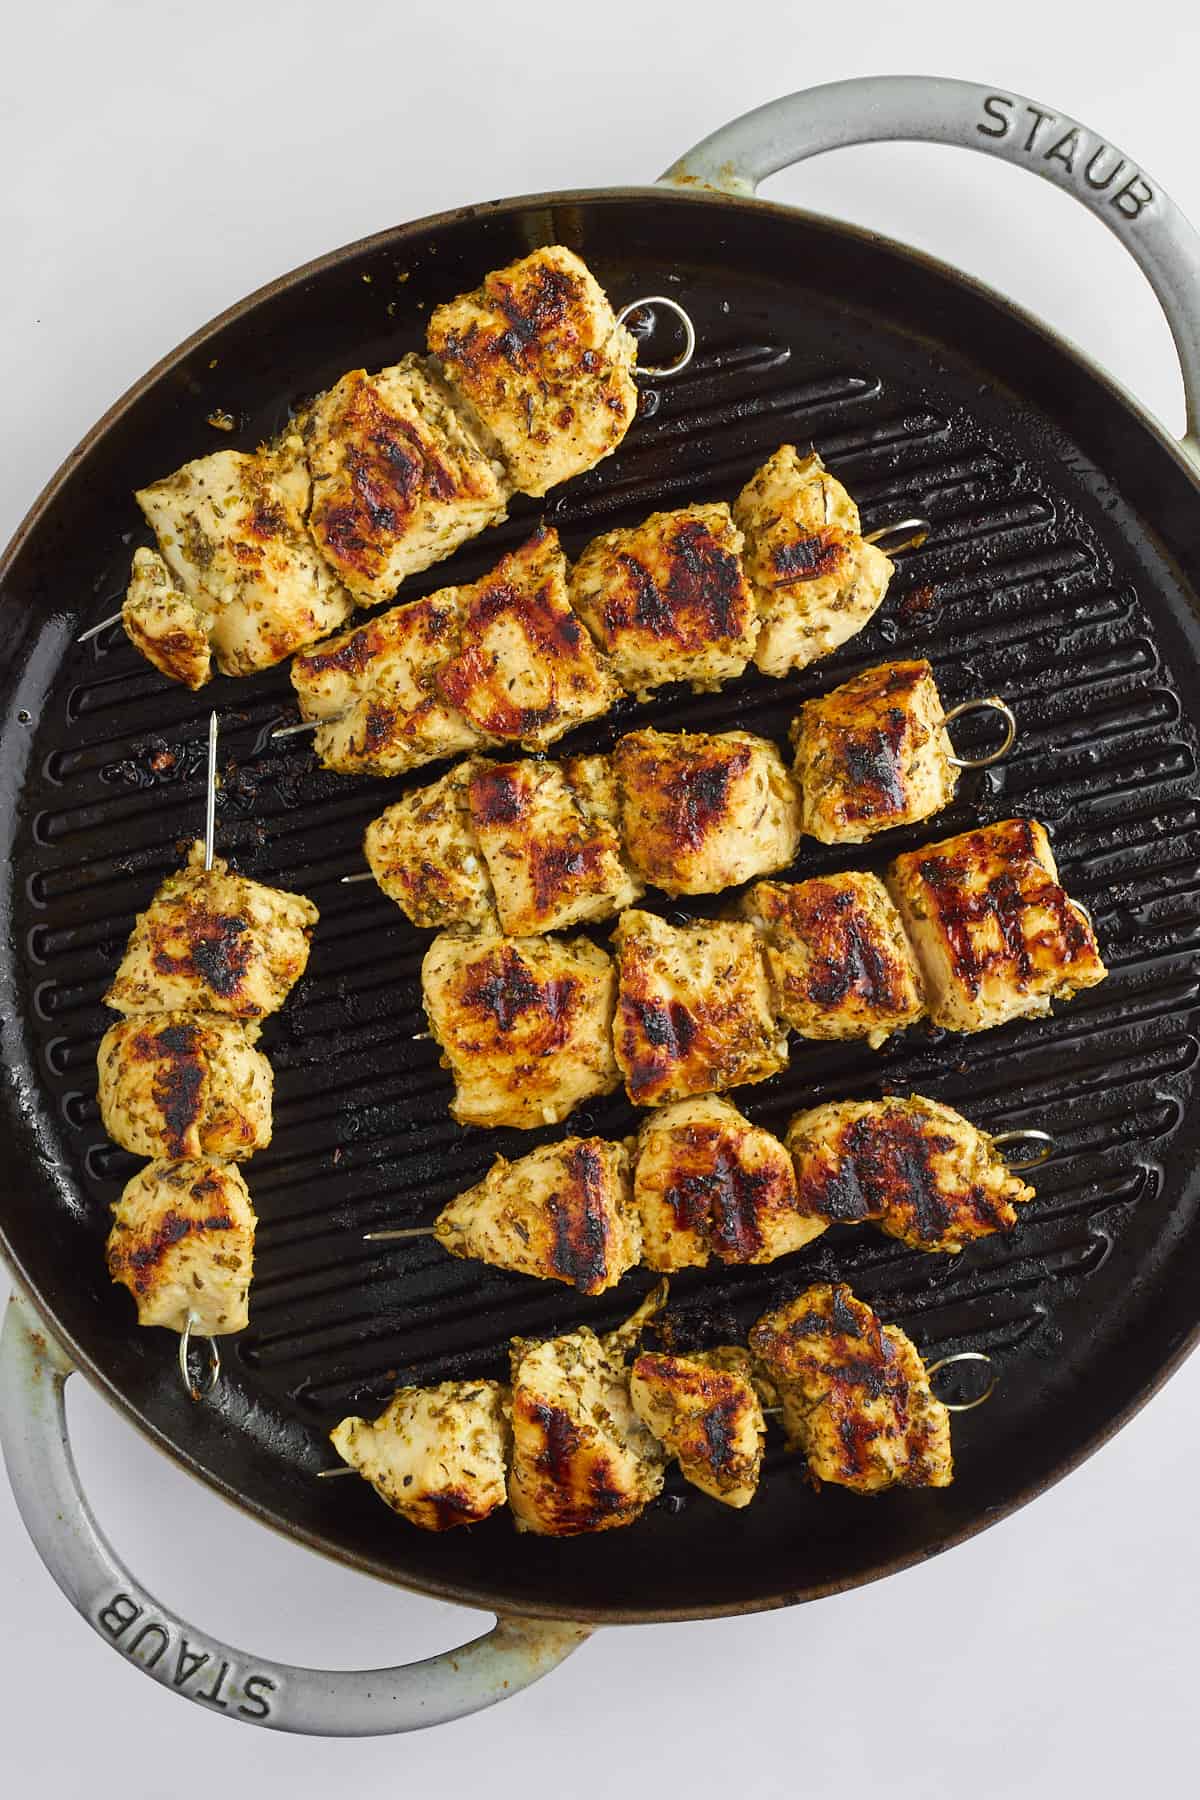
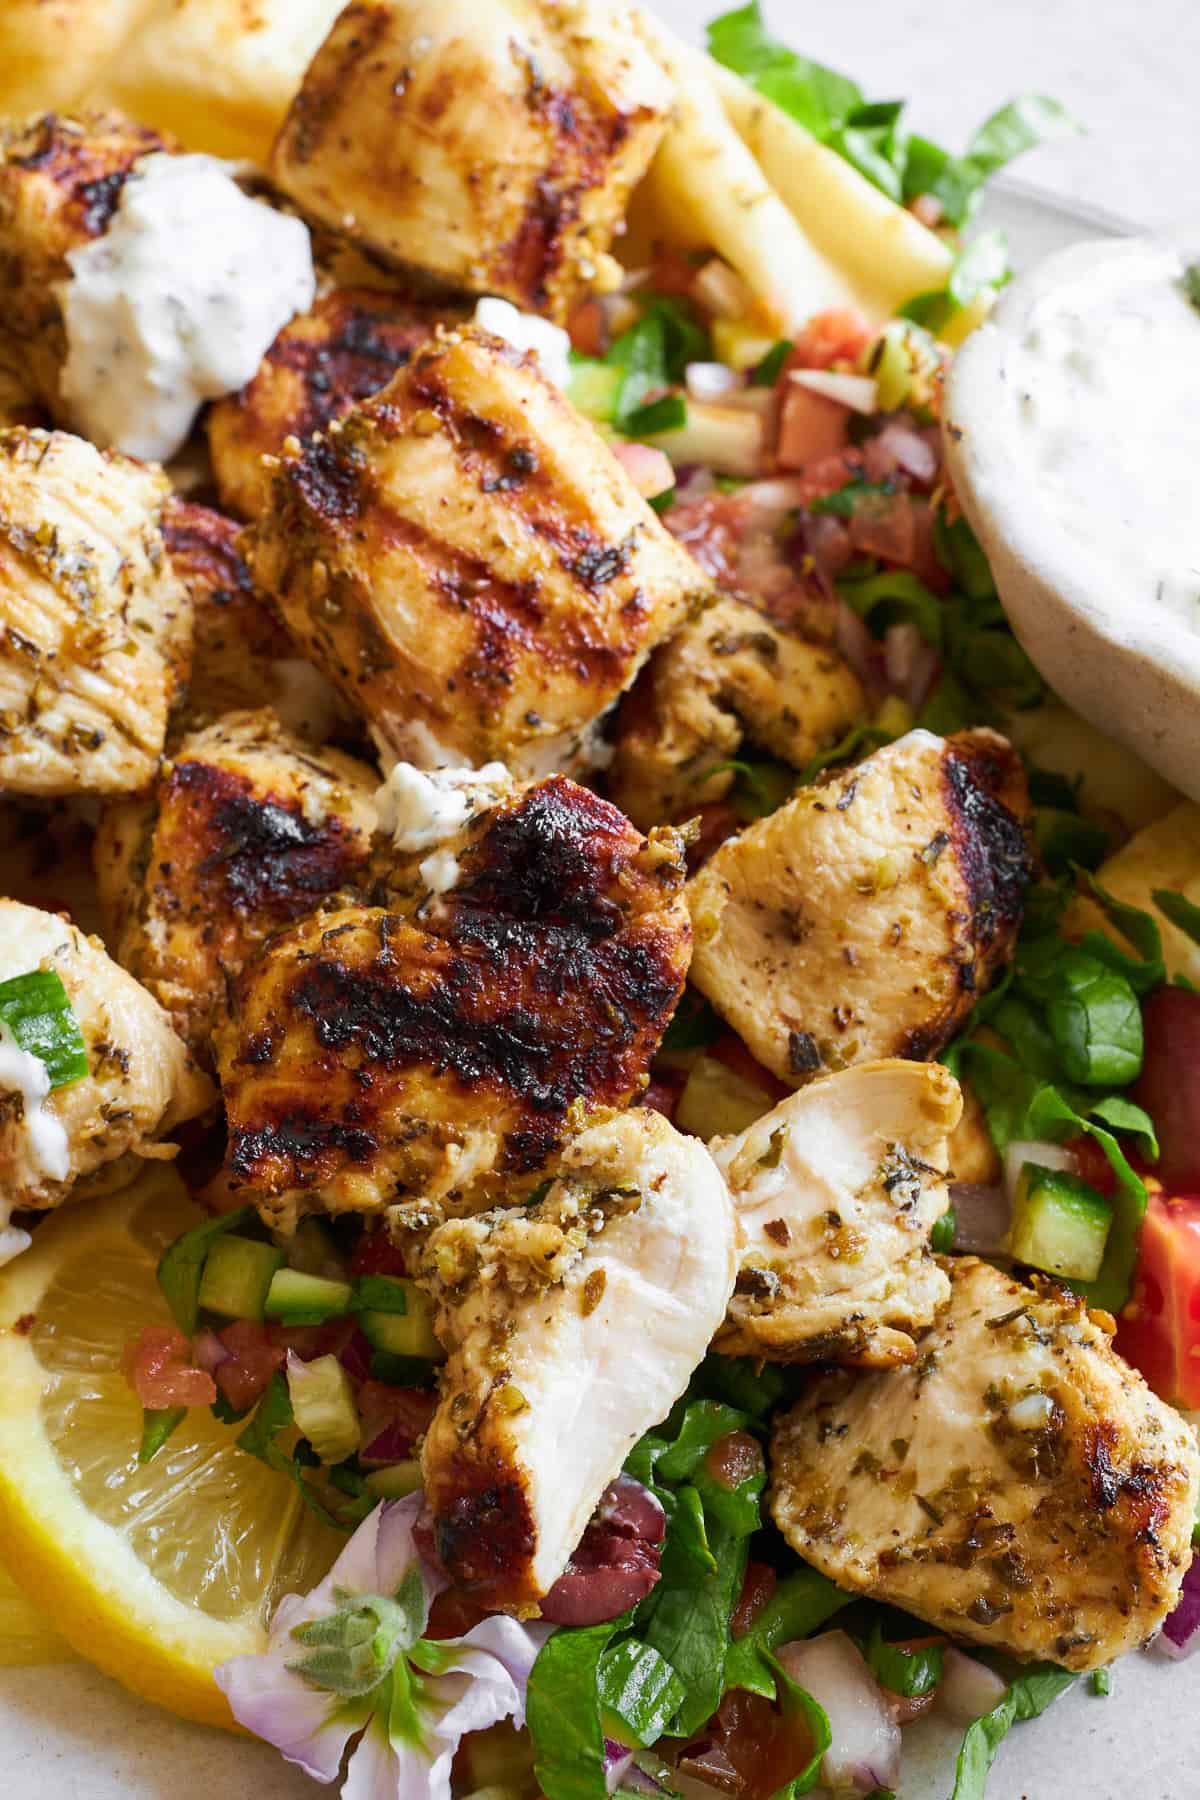
 This easy Chicken Souvlaki is bursting with fresh Mediterranean vibes! Plump chicken pieces mingle with a marinade made of zesty…
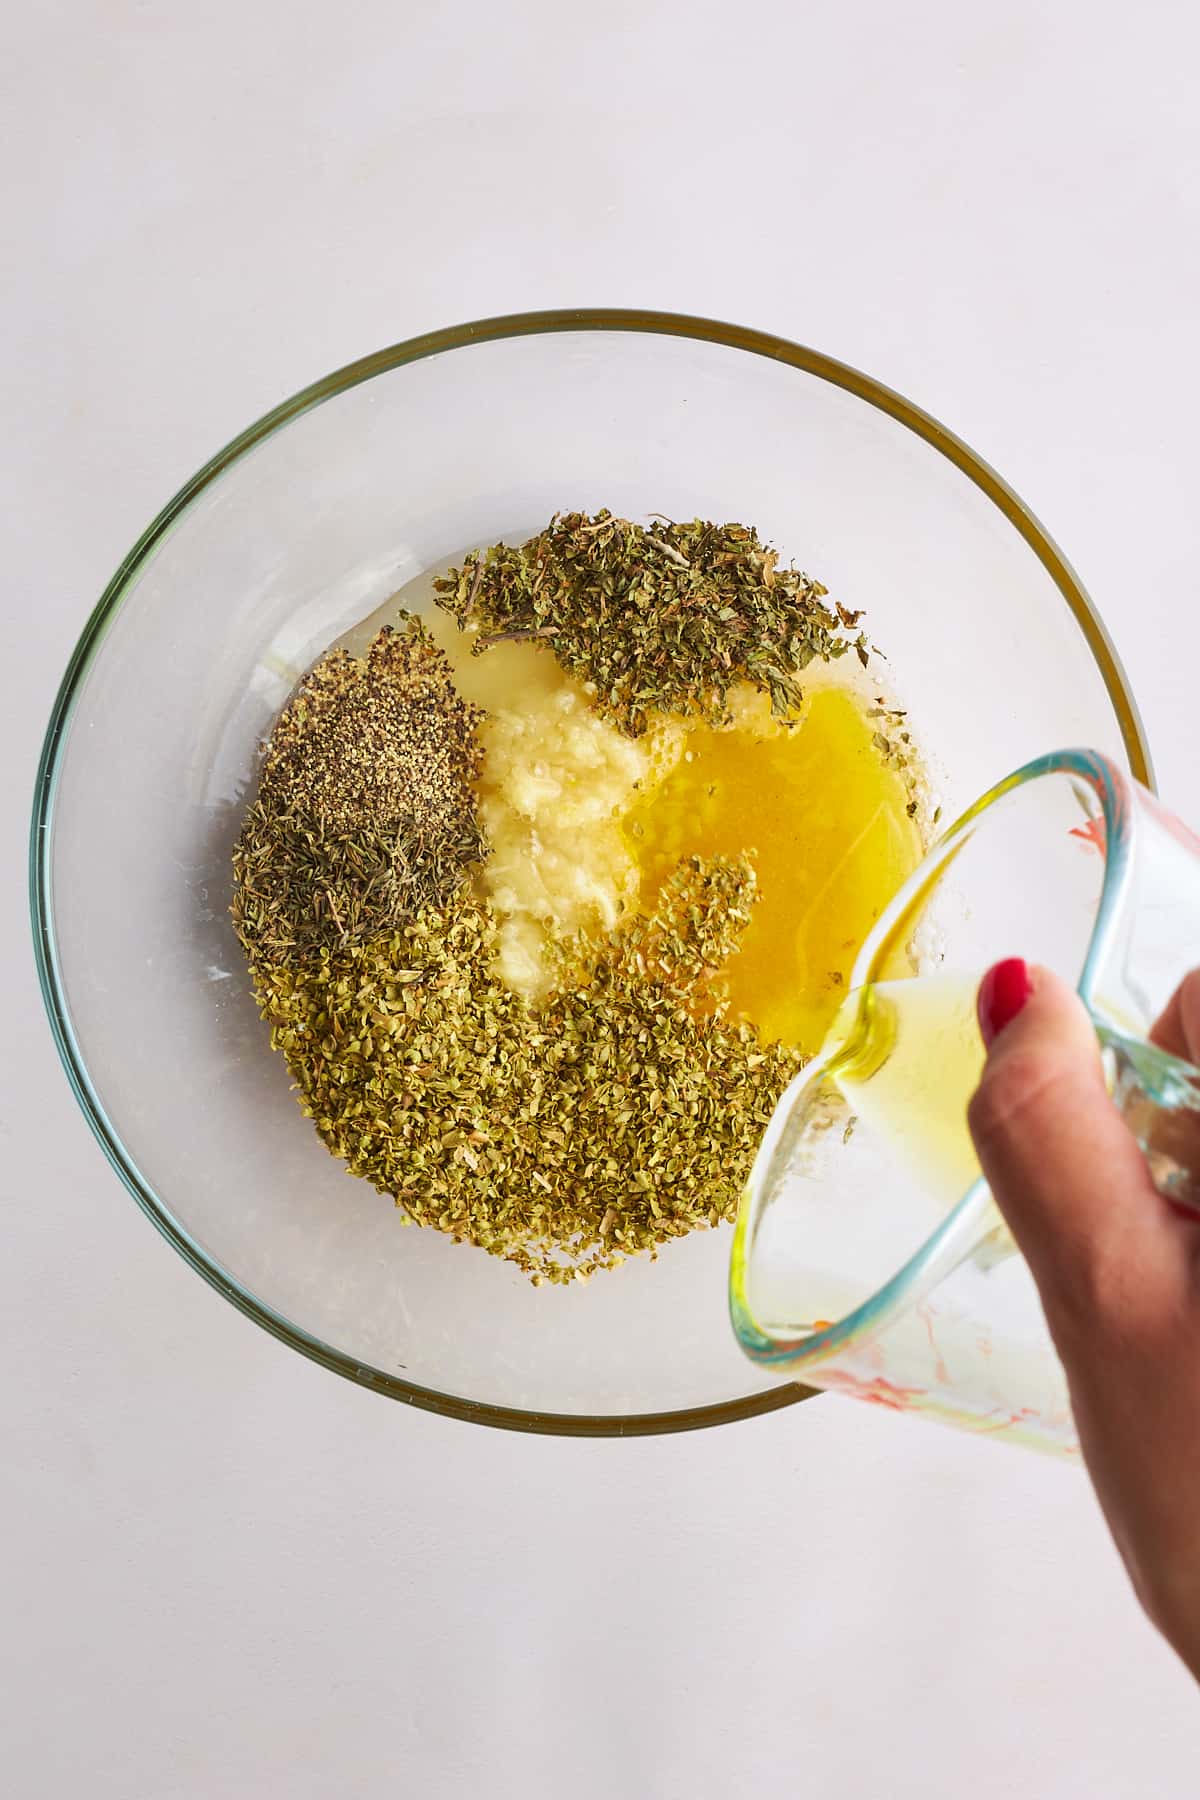


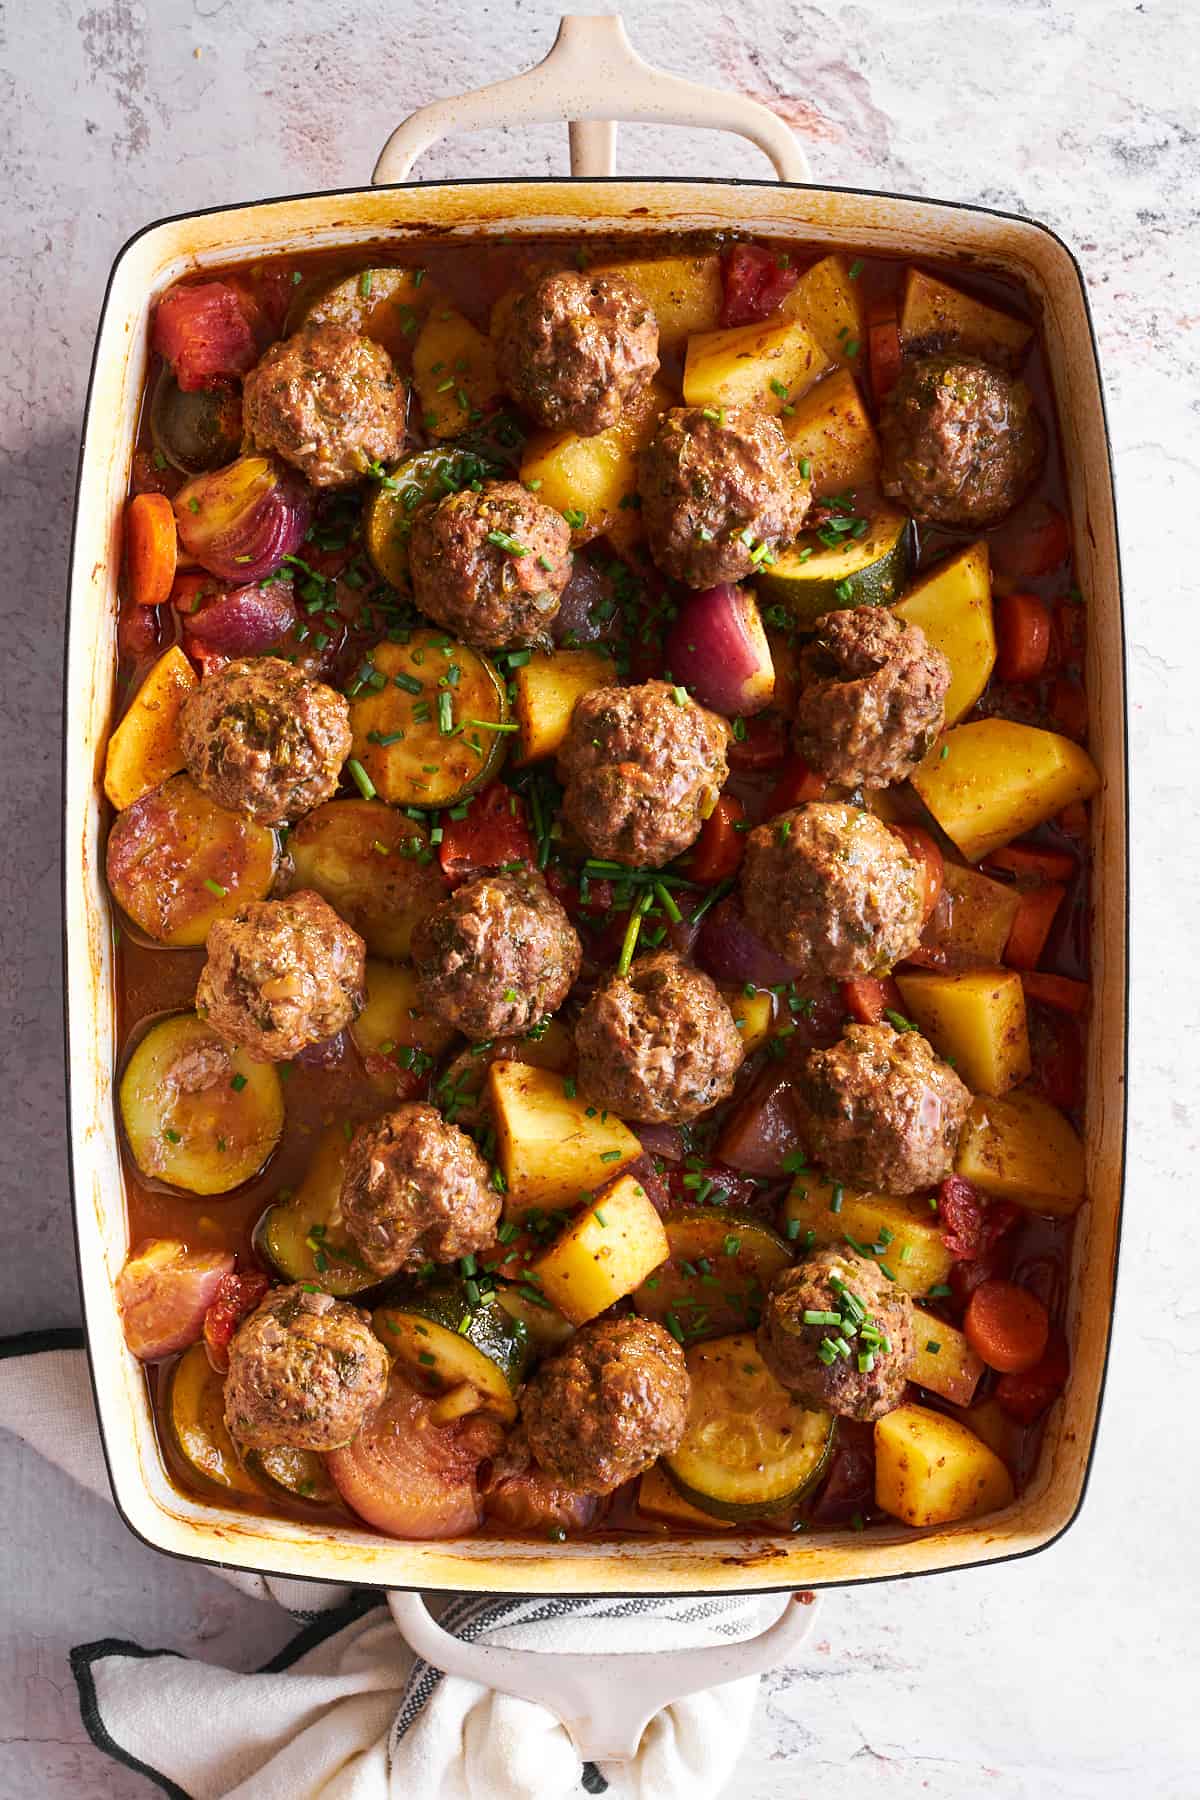 This Beef Kofta Bake recipe takes all of the traditional goodness of kofta and kicks it up a notch with…


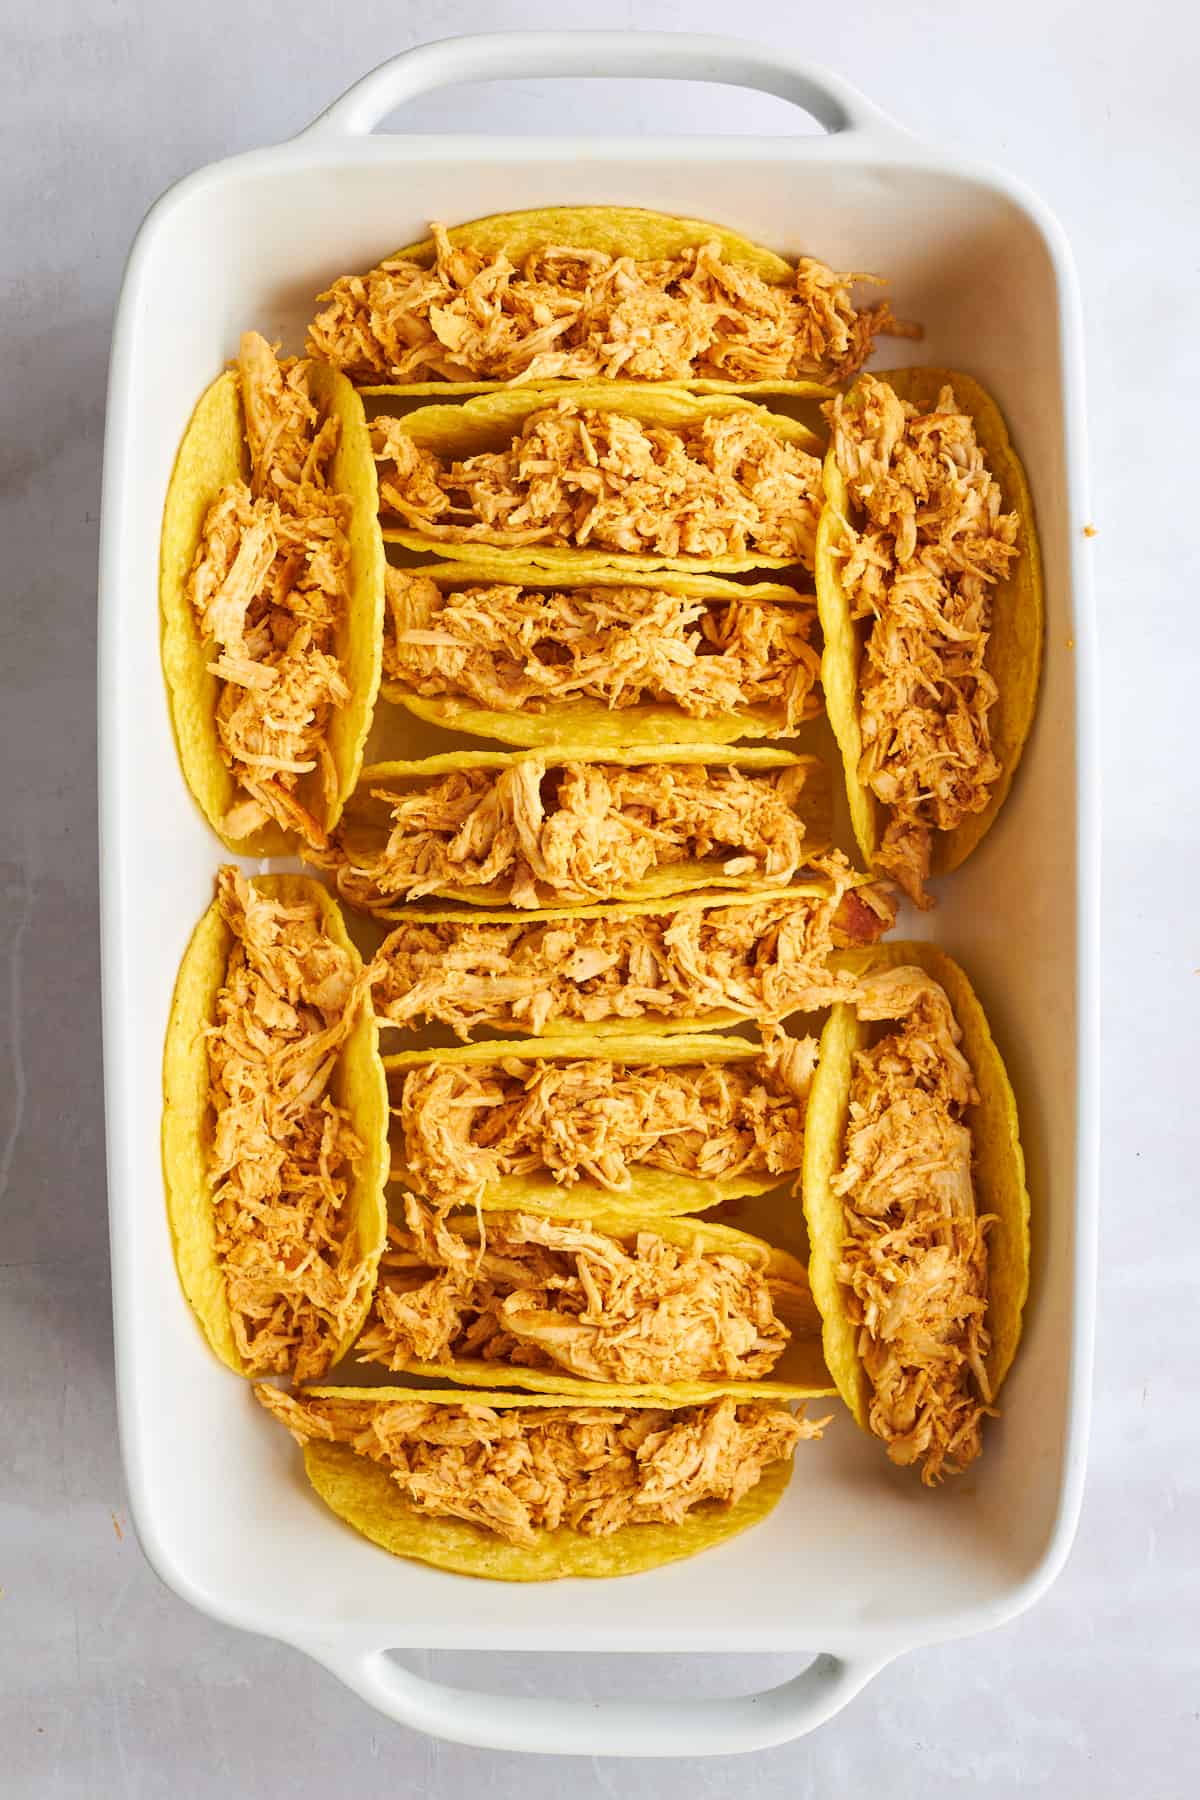
 Baked Chicken Shawarma Tacos feature crunchy taco shells stuffed with savory shawarma chicken and melty parmesan cheese. Topped with refreshing…


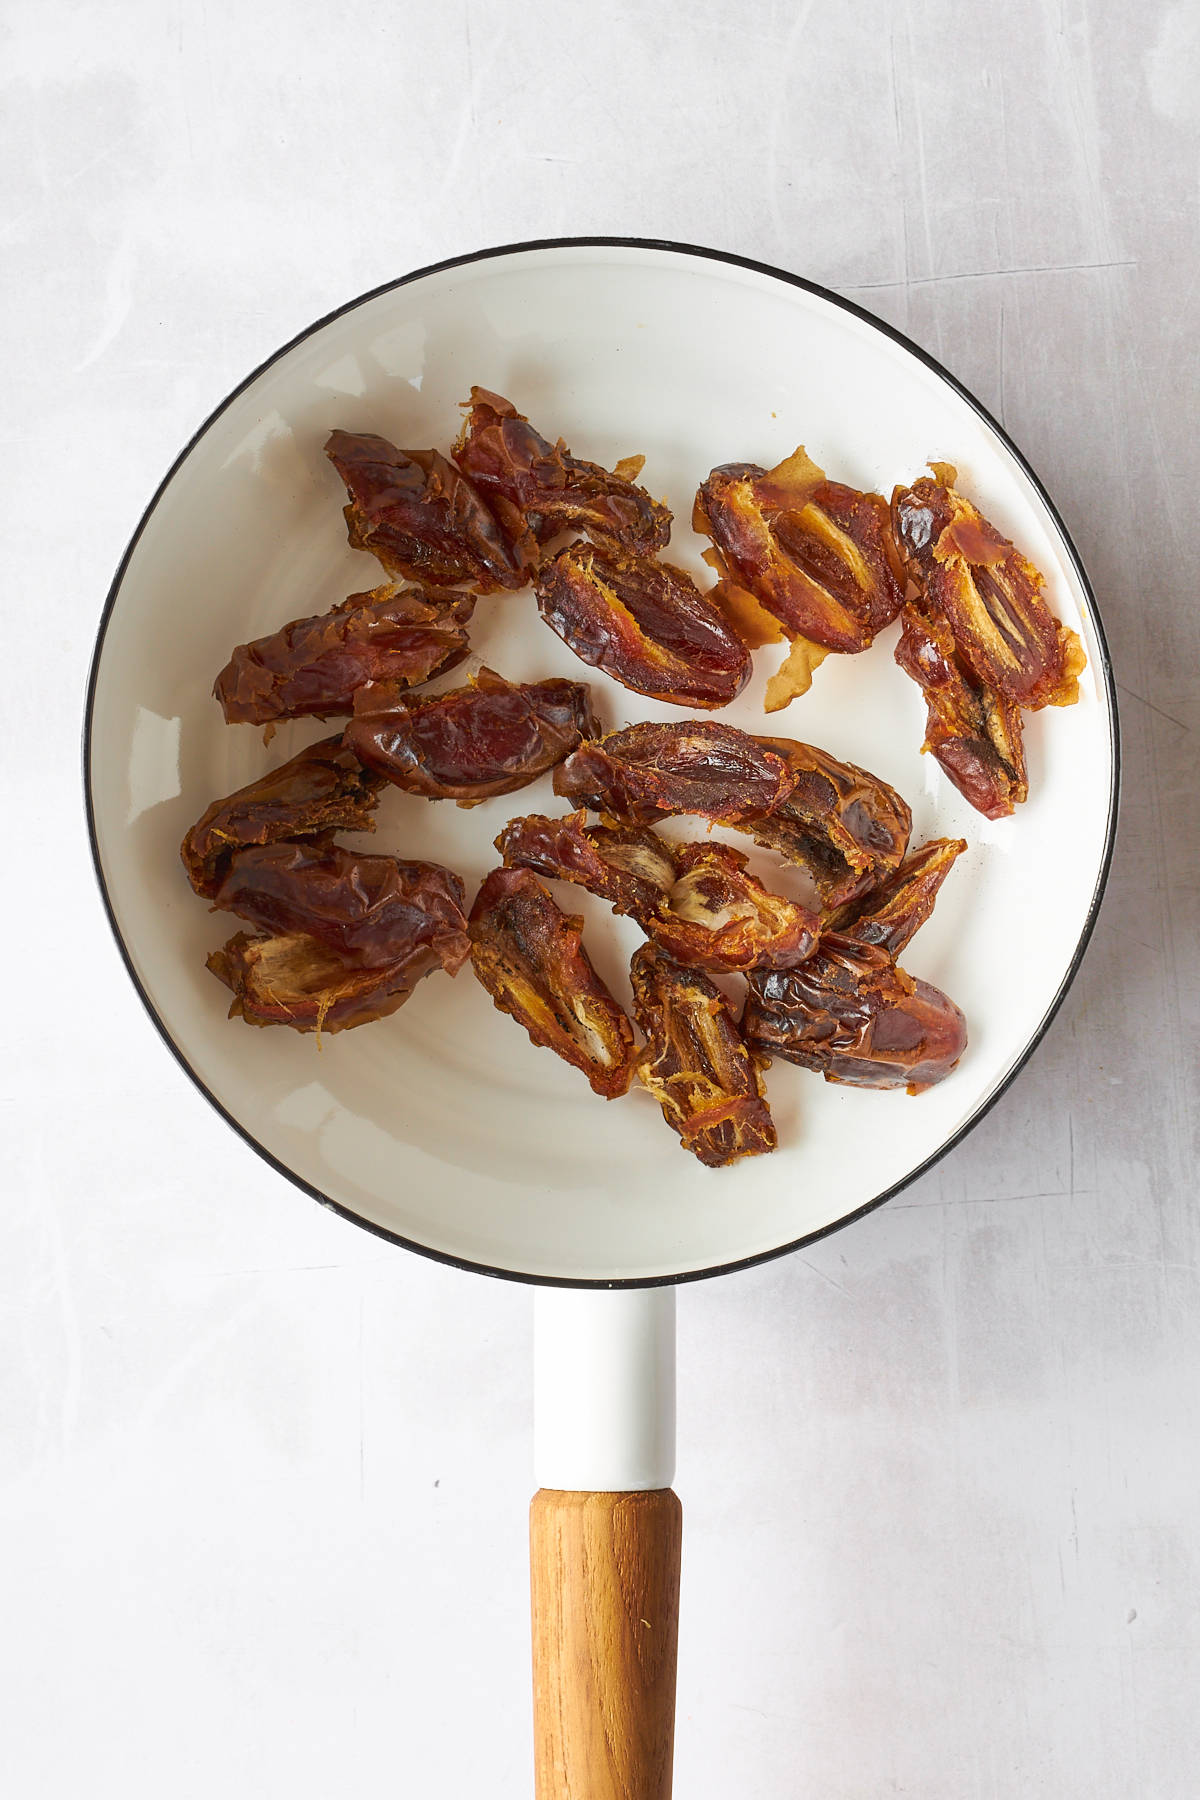
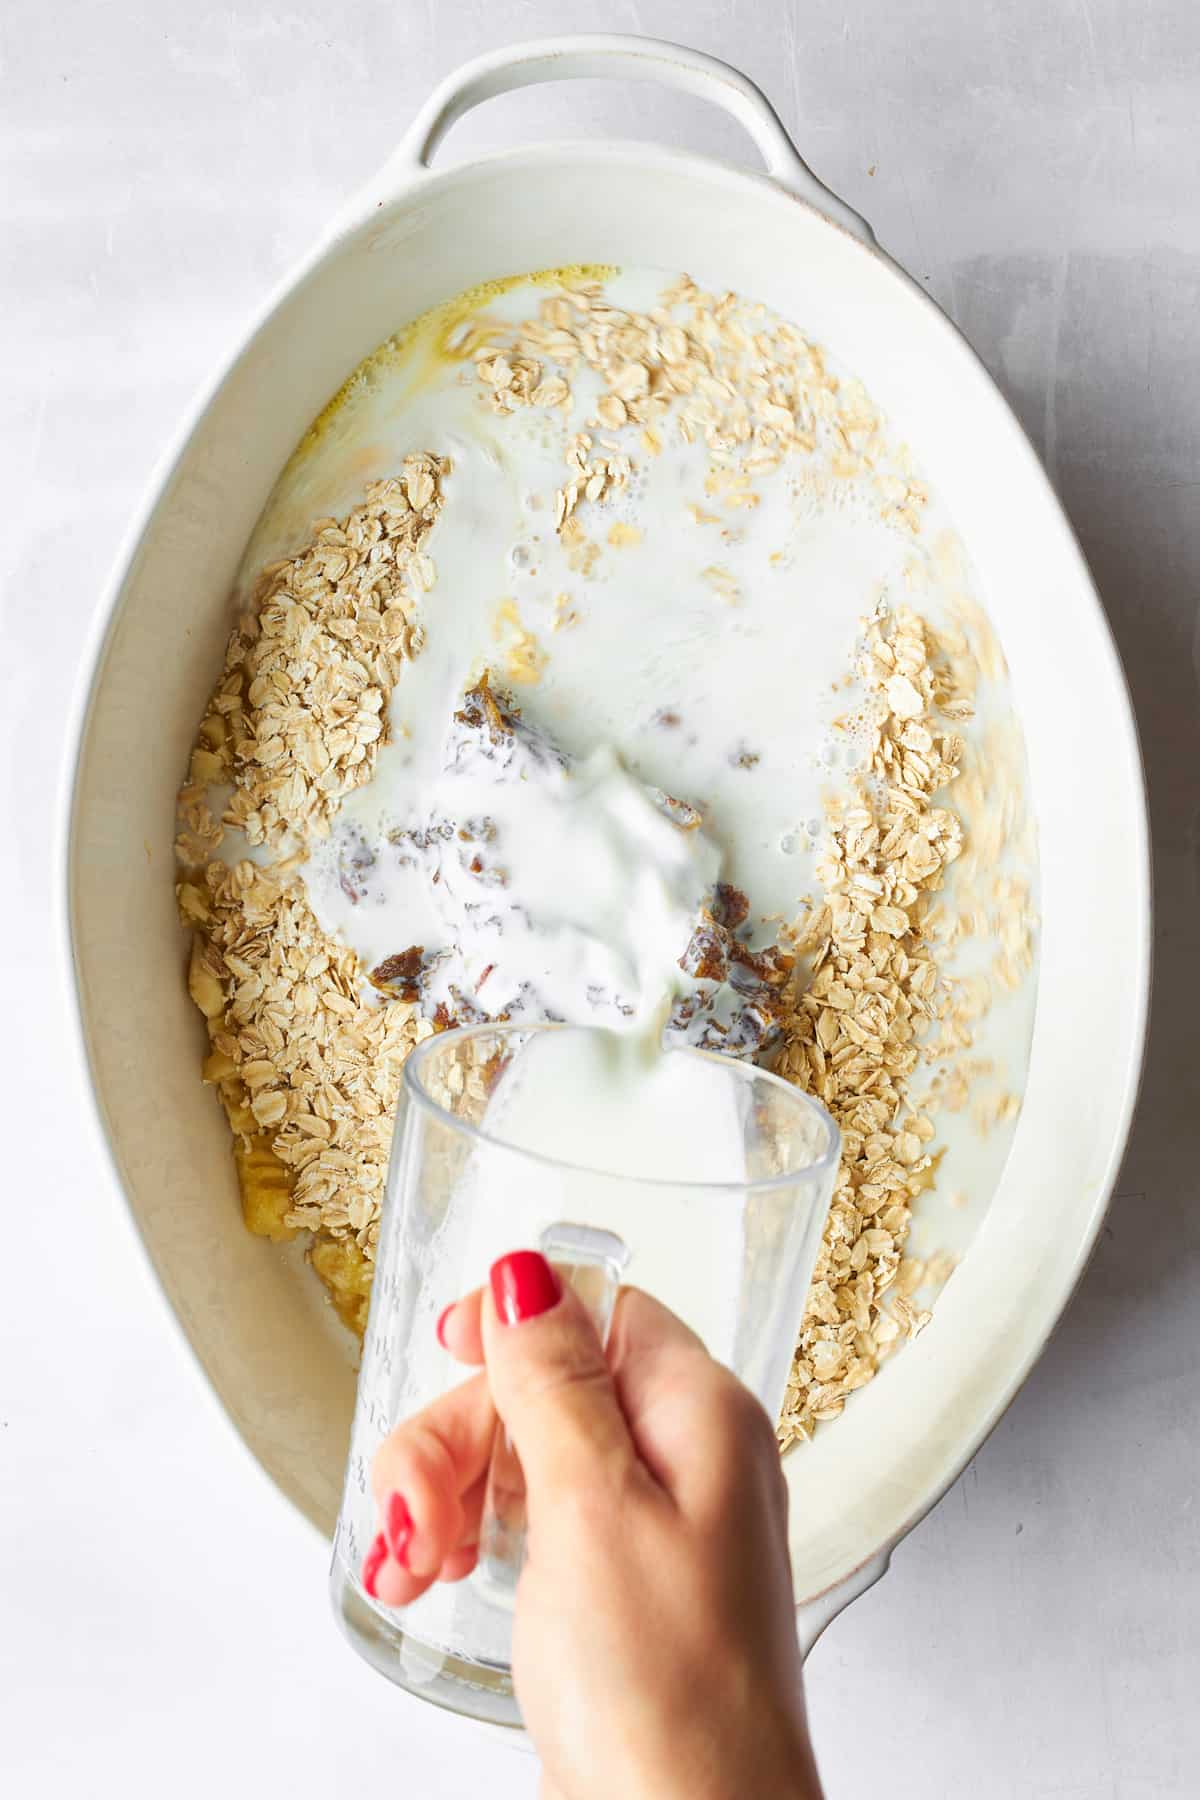
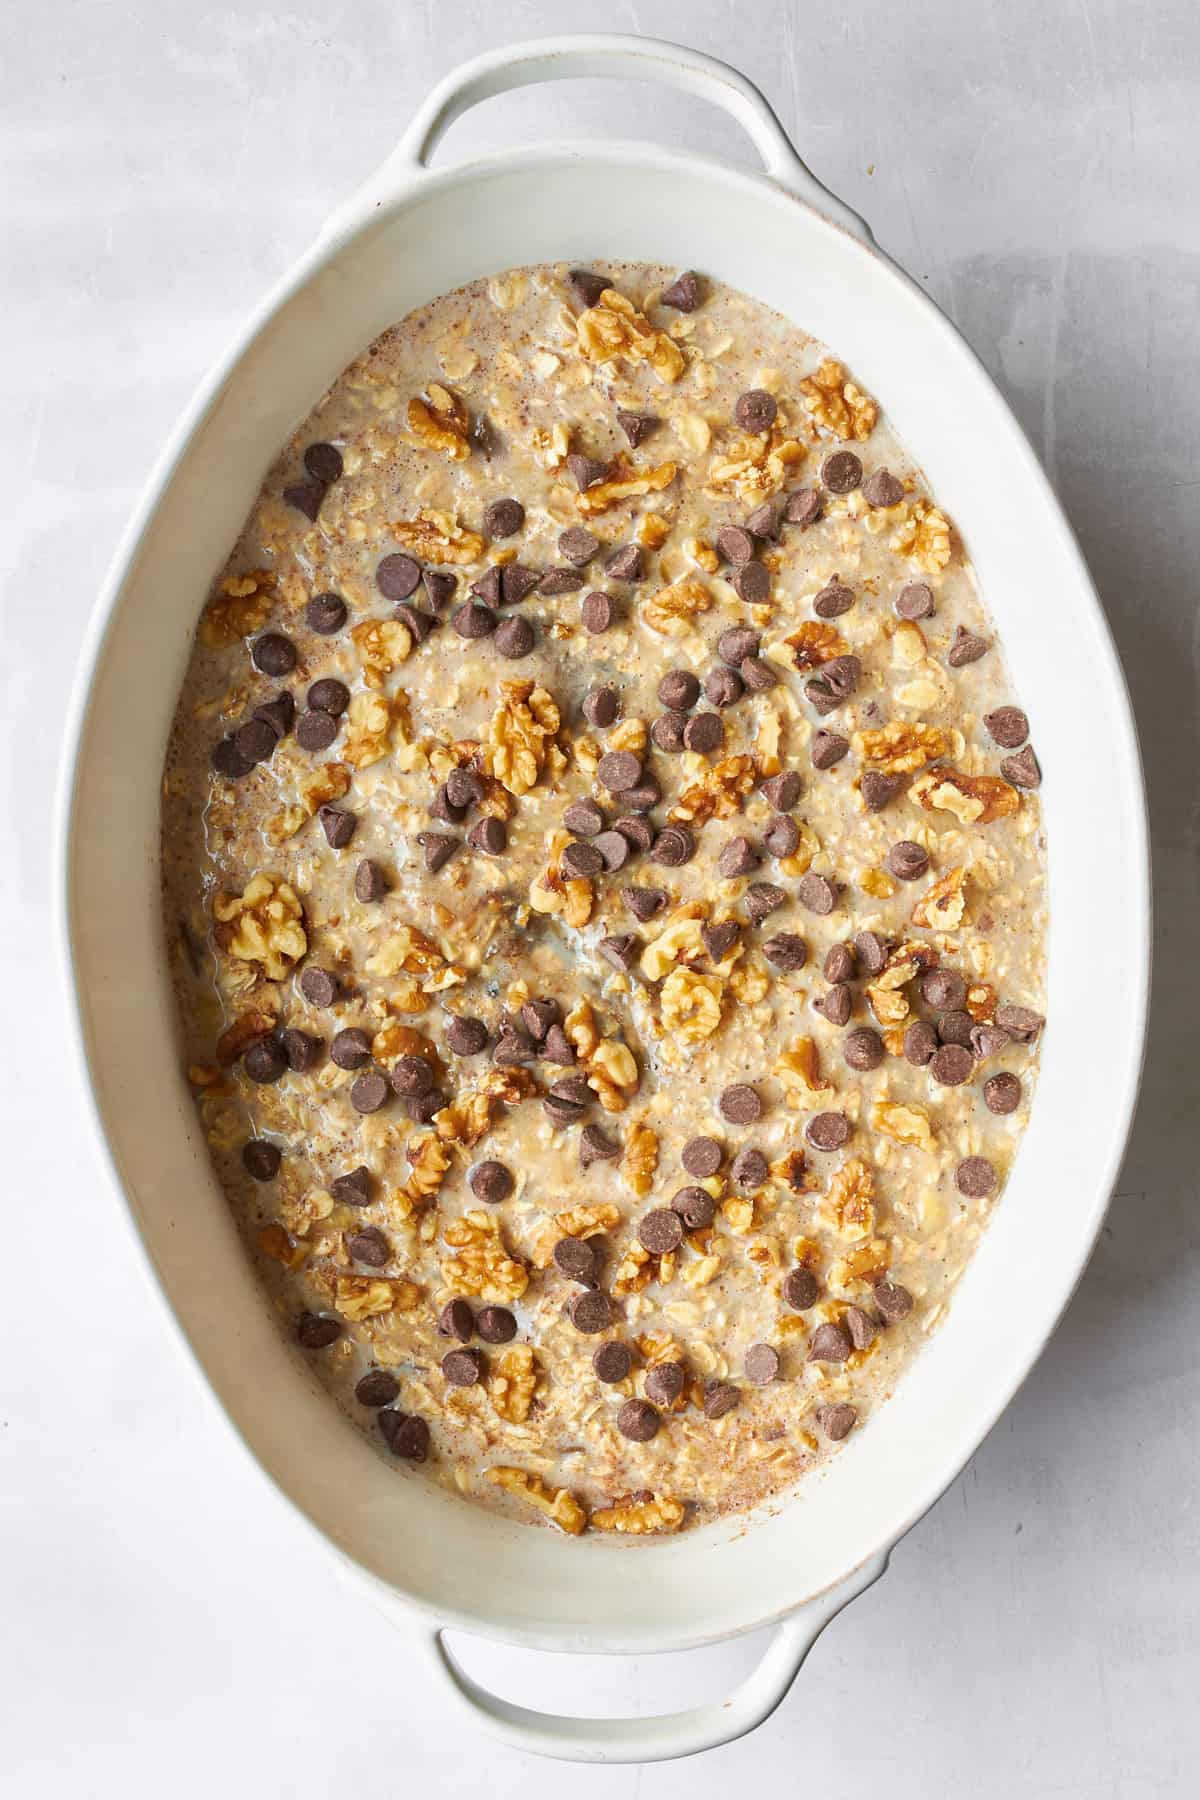
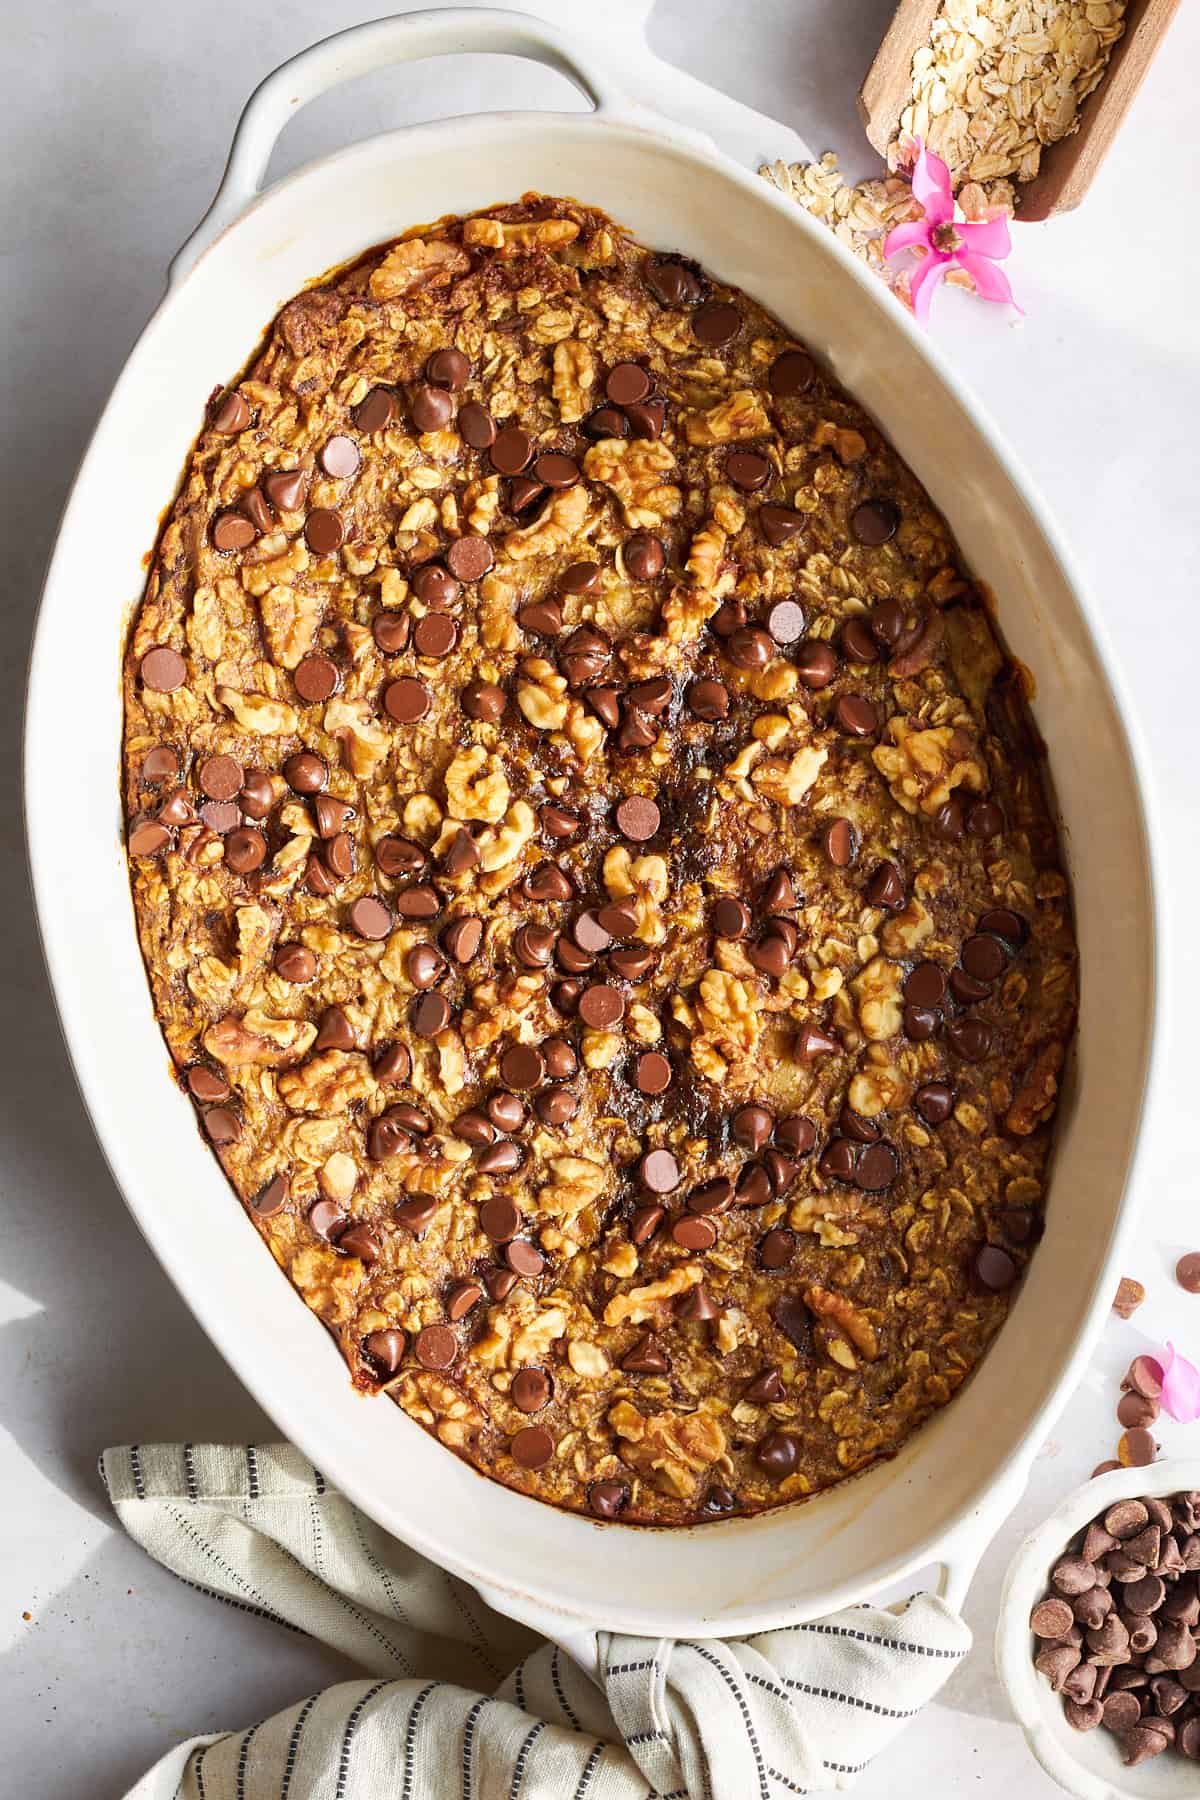
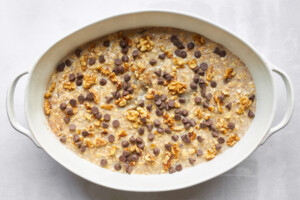
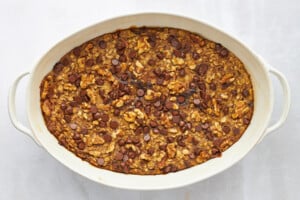
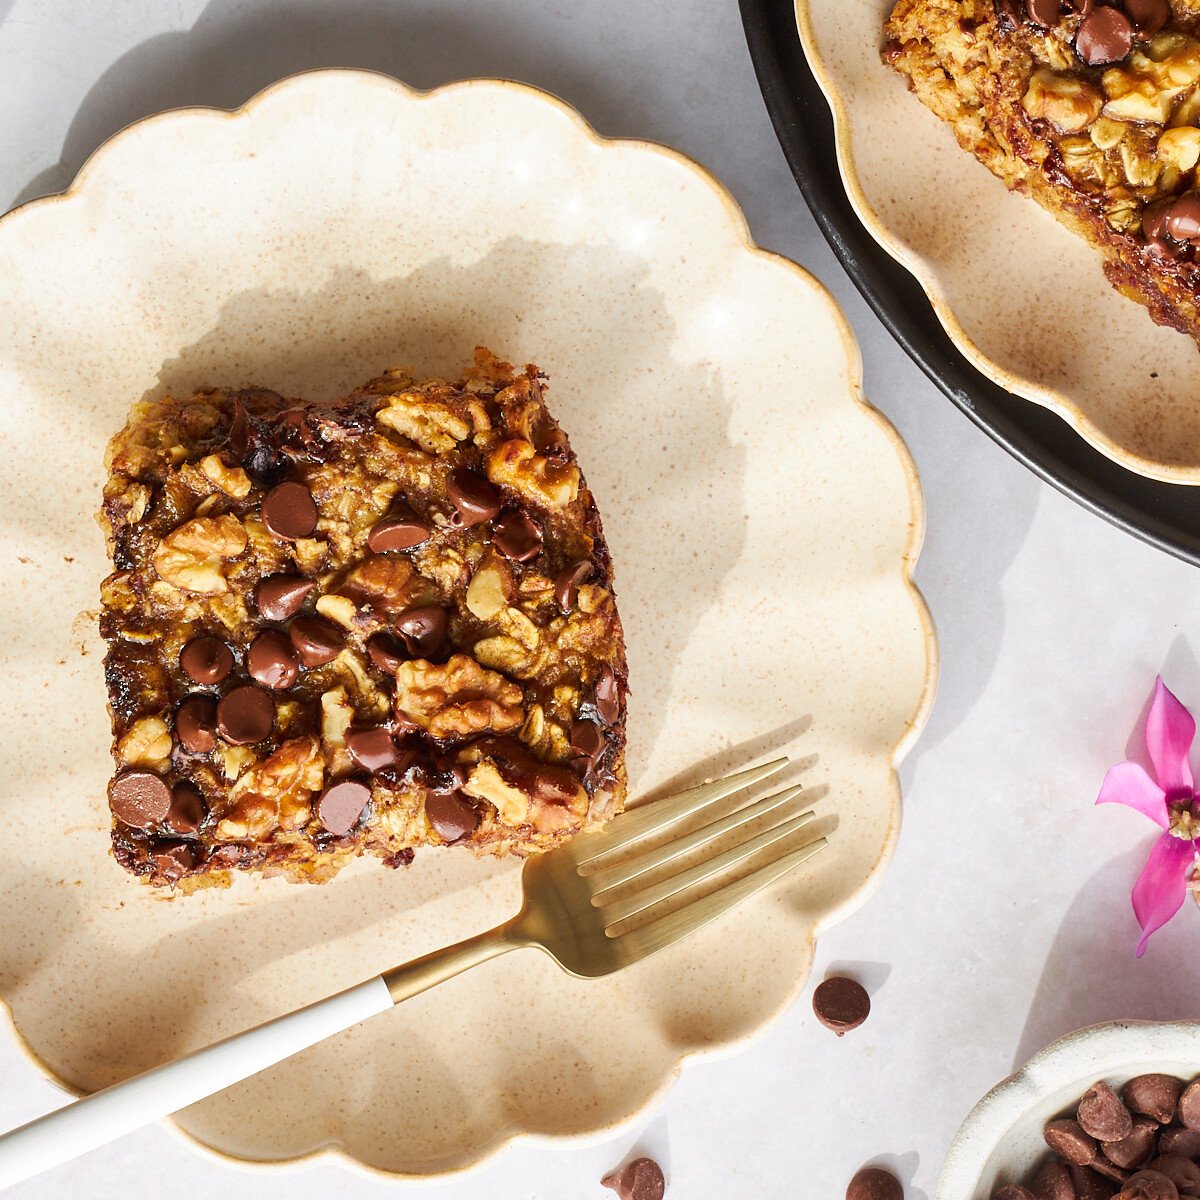 If you’re ready to elevate your breakfast game, get ready because our Banana Date Oatmeal Bake is next-level! With just…
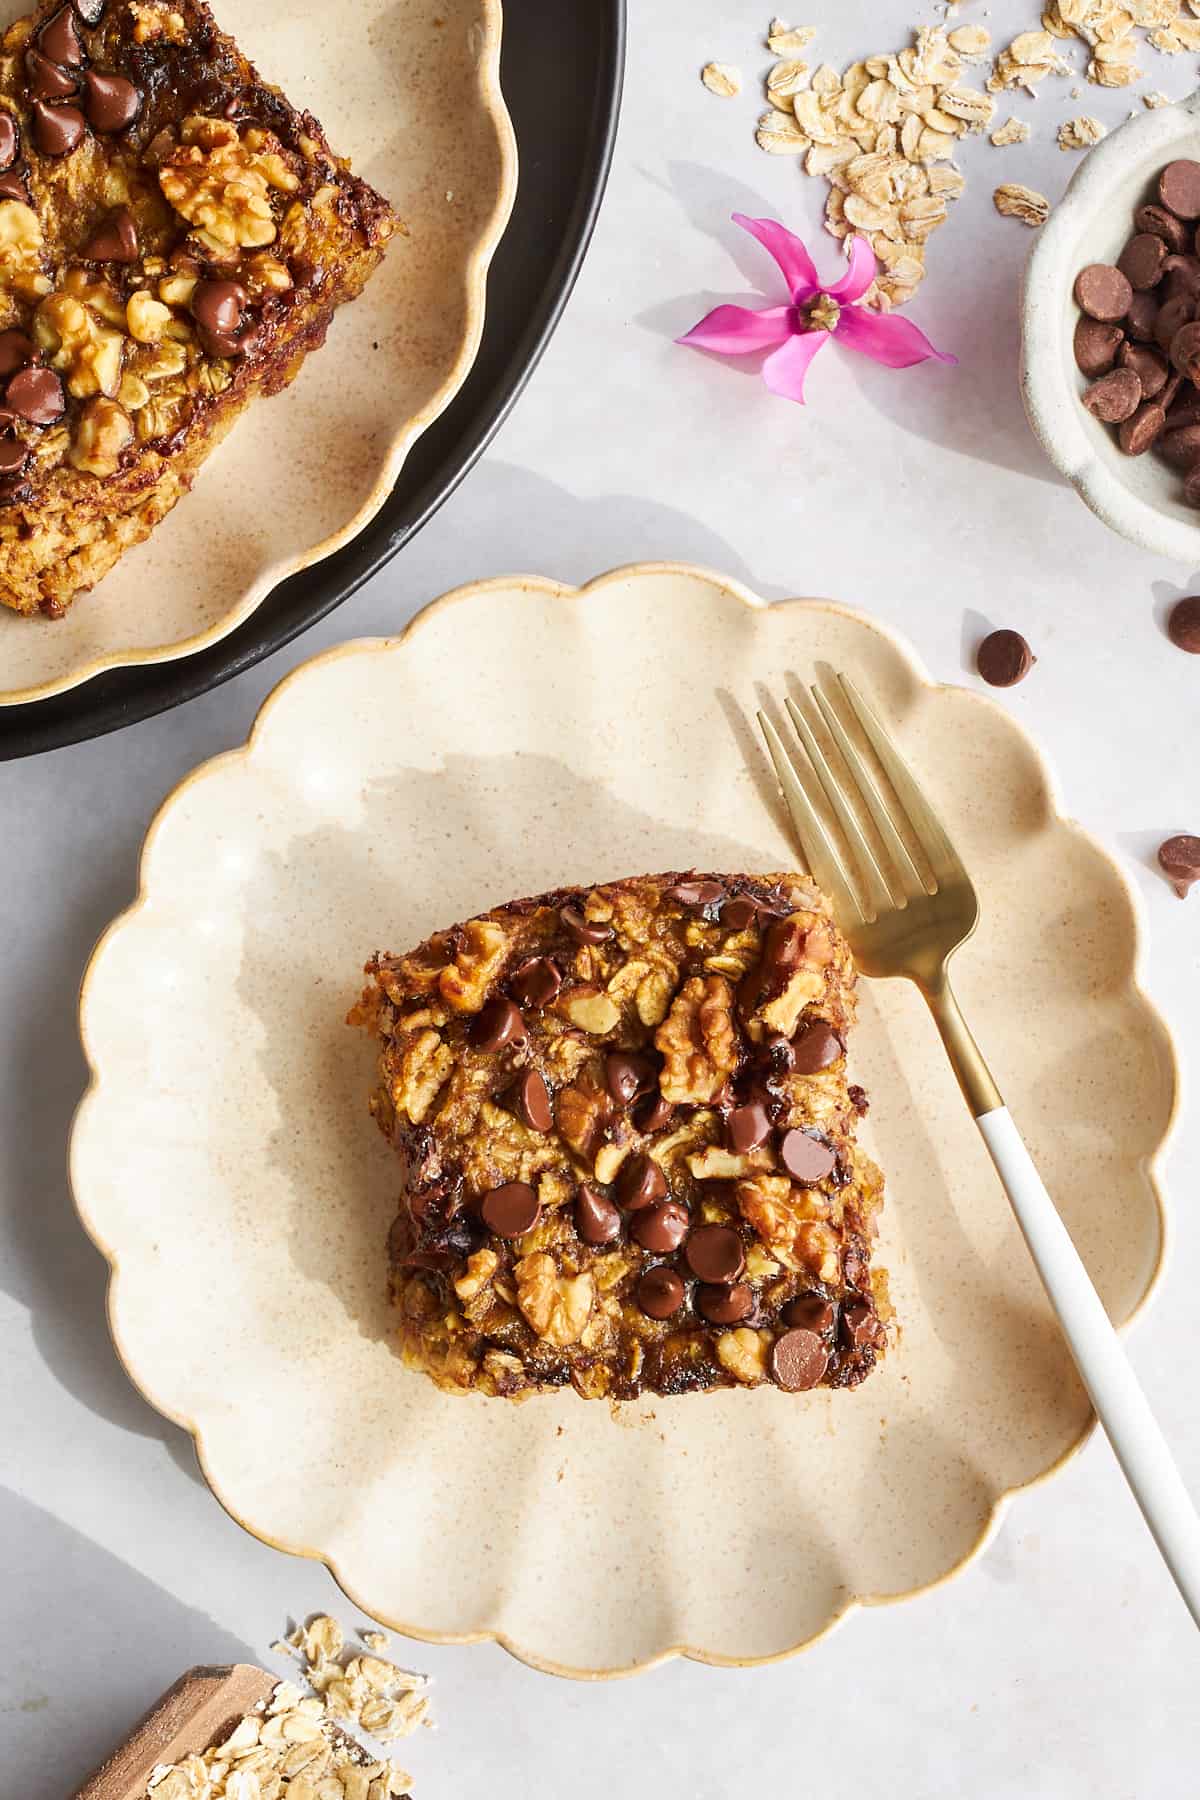


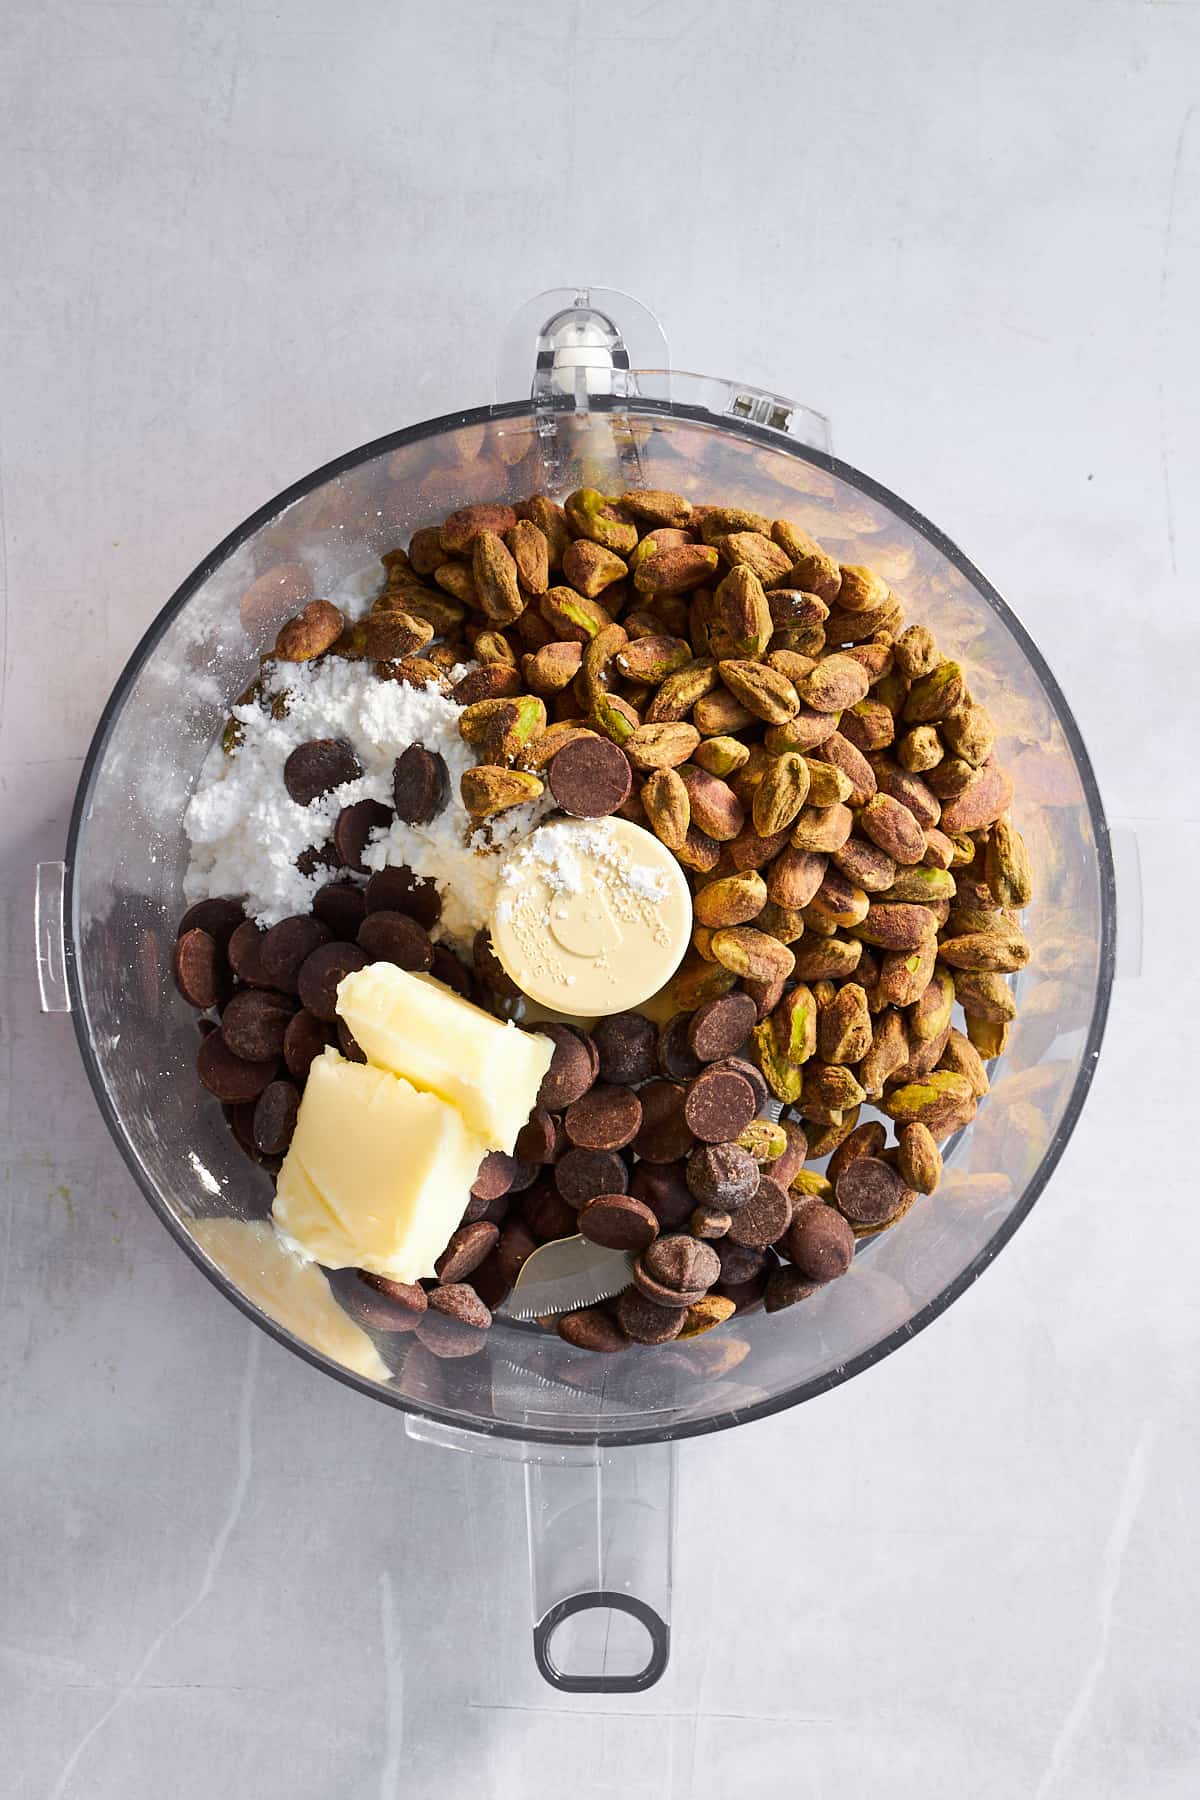
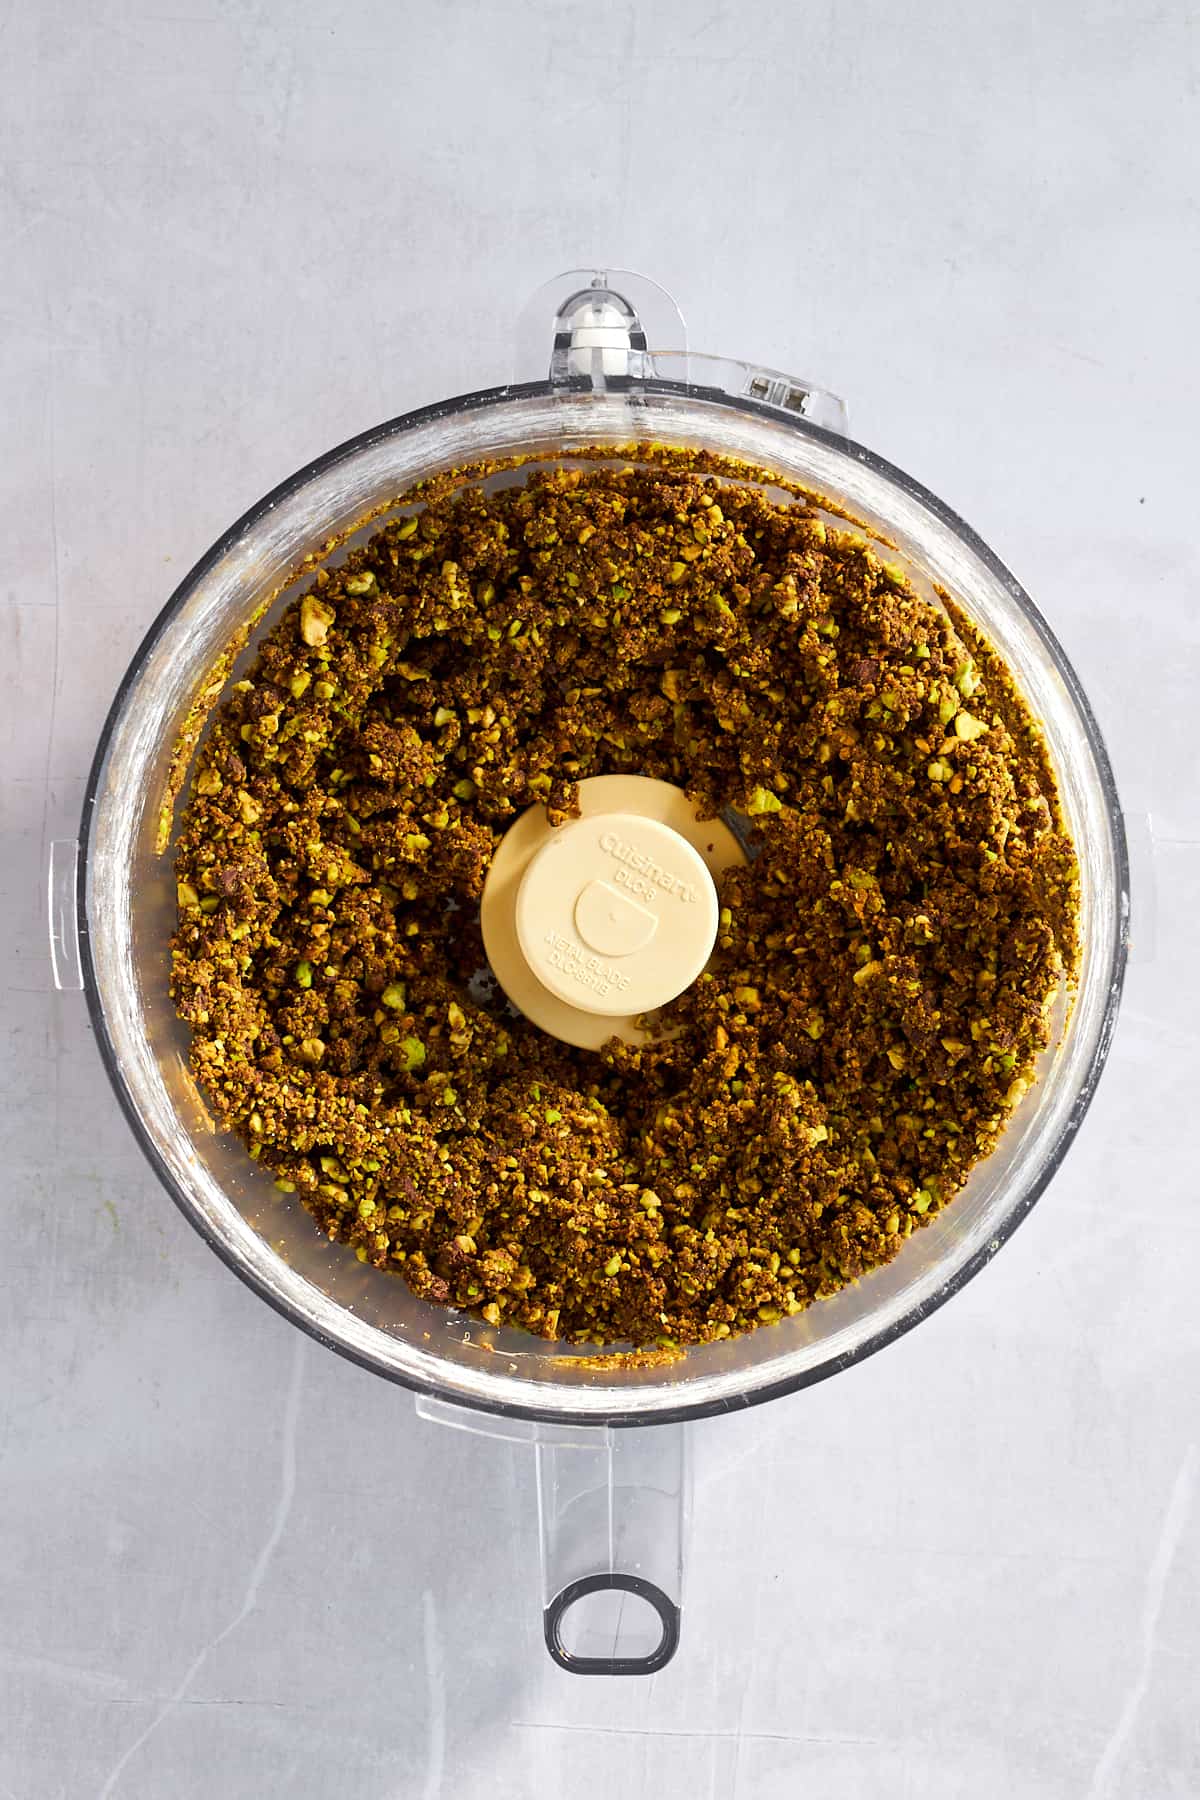
 Our Chocolate Pistachio Croissants with Ricotta combines two recipes into one delectable breakfast or dessert! Easy to make and bursting…


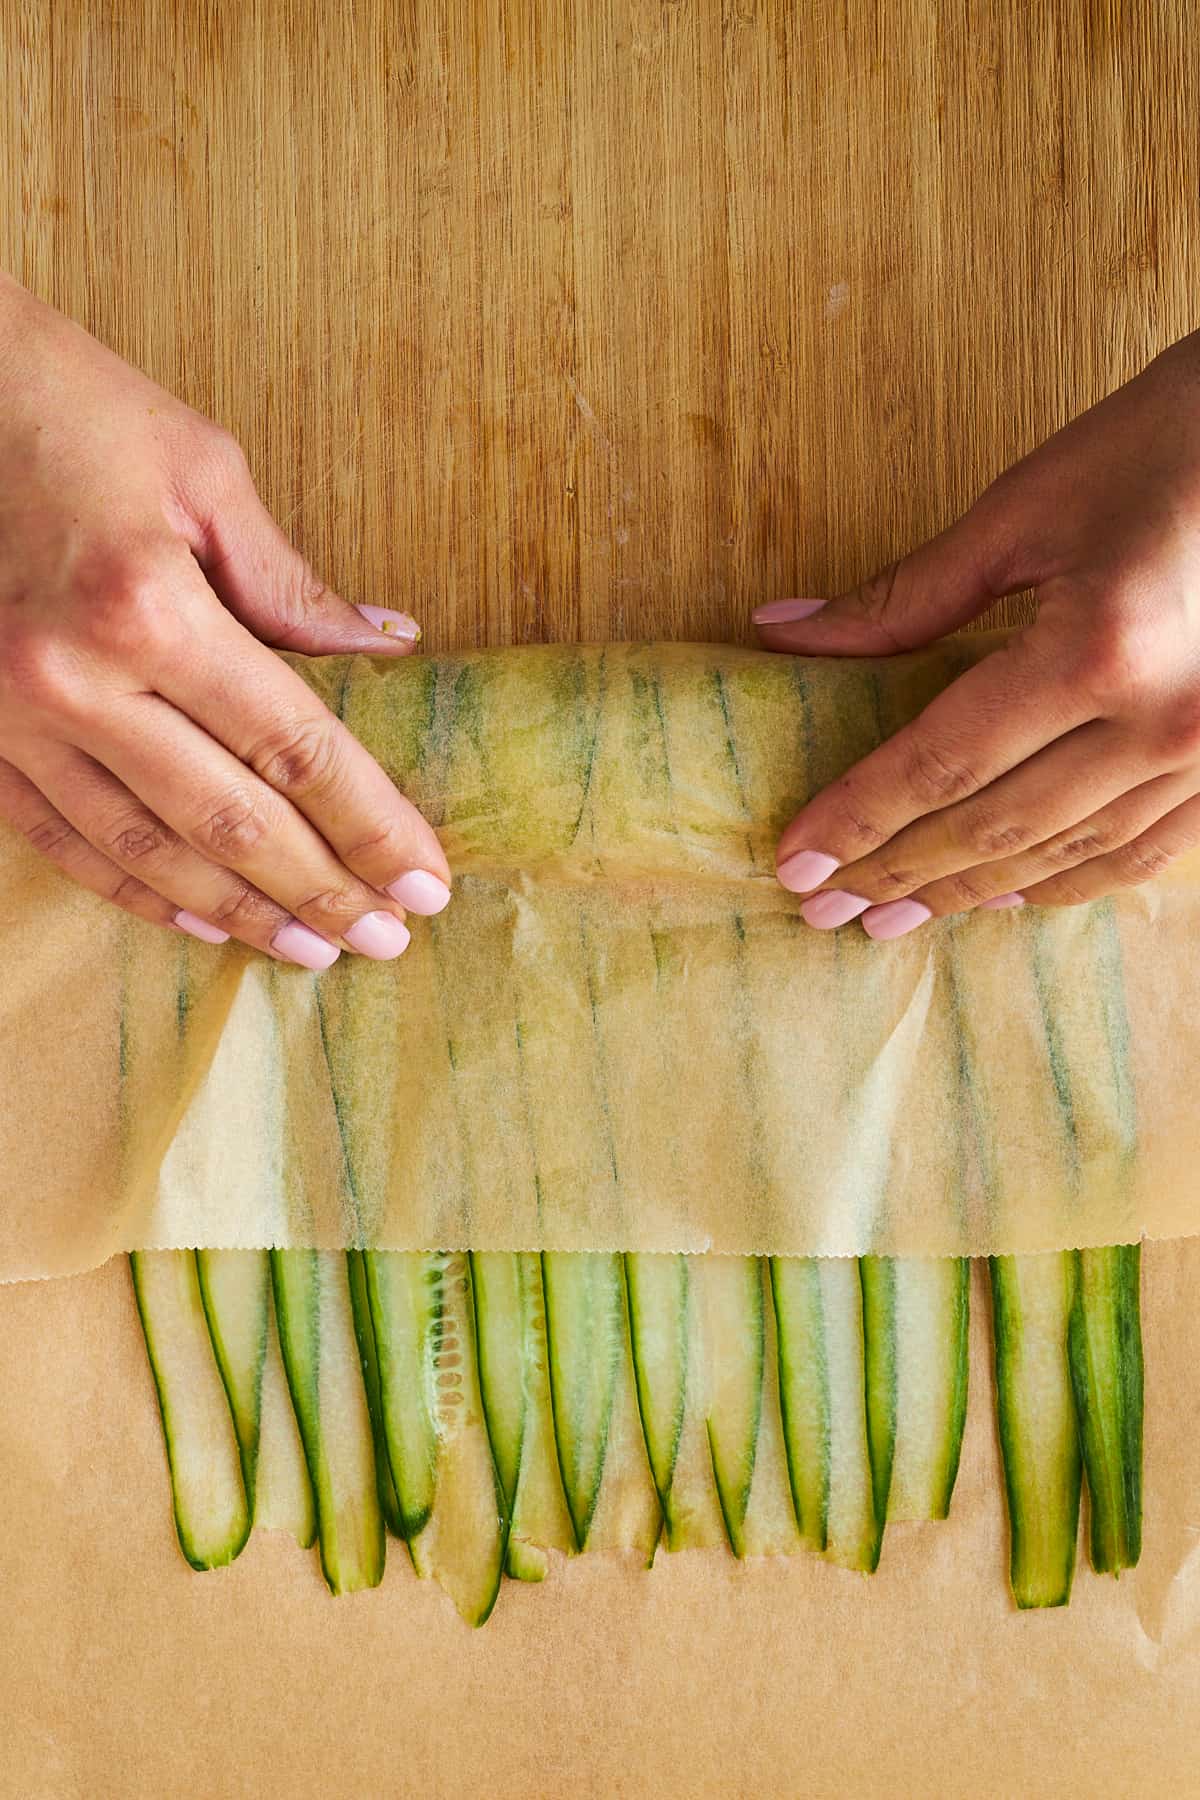
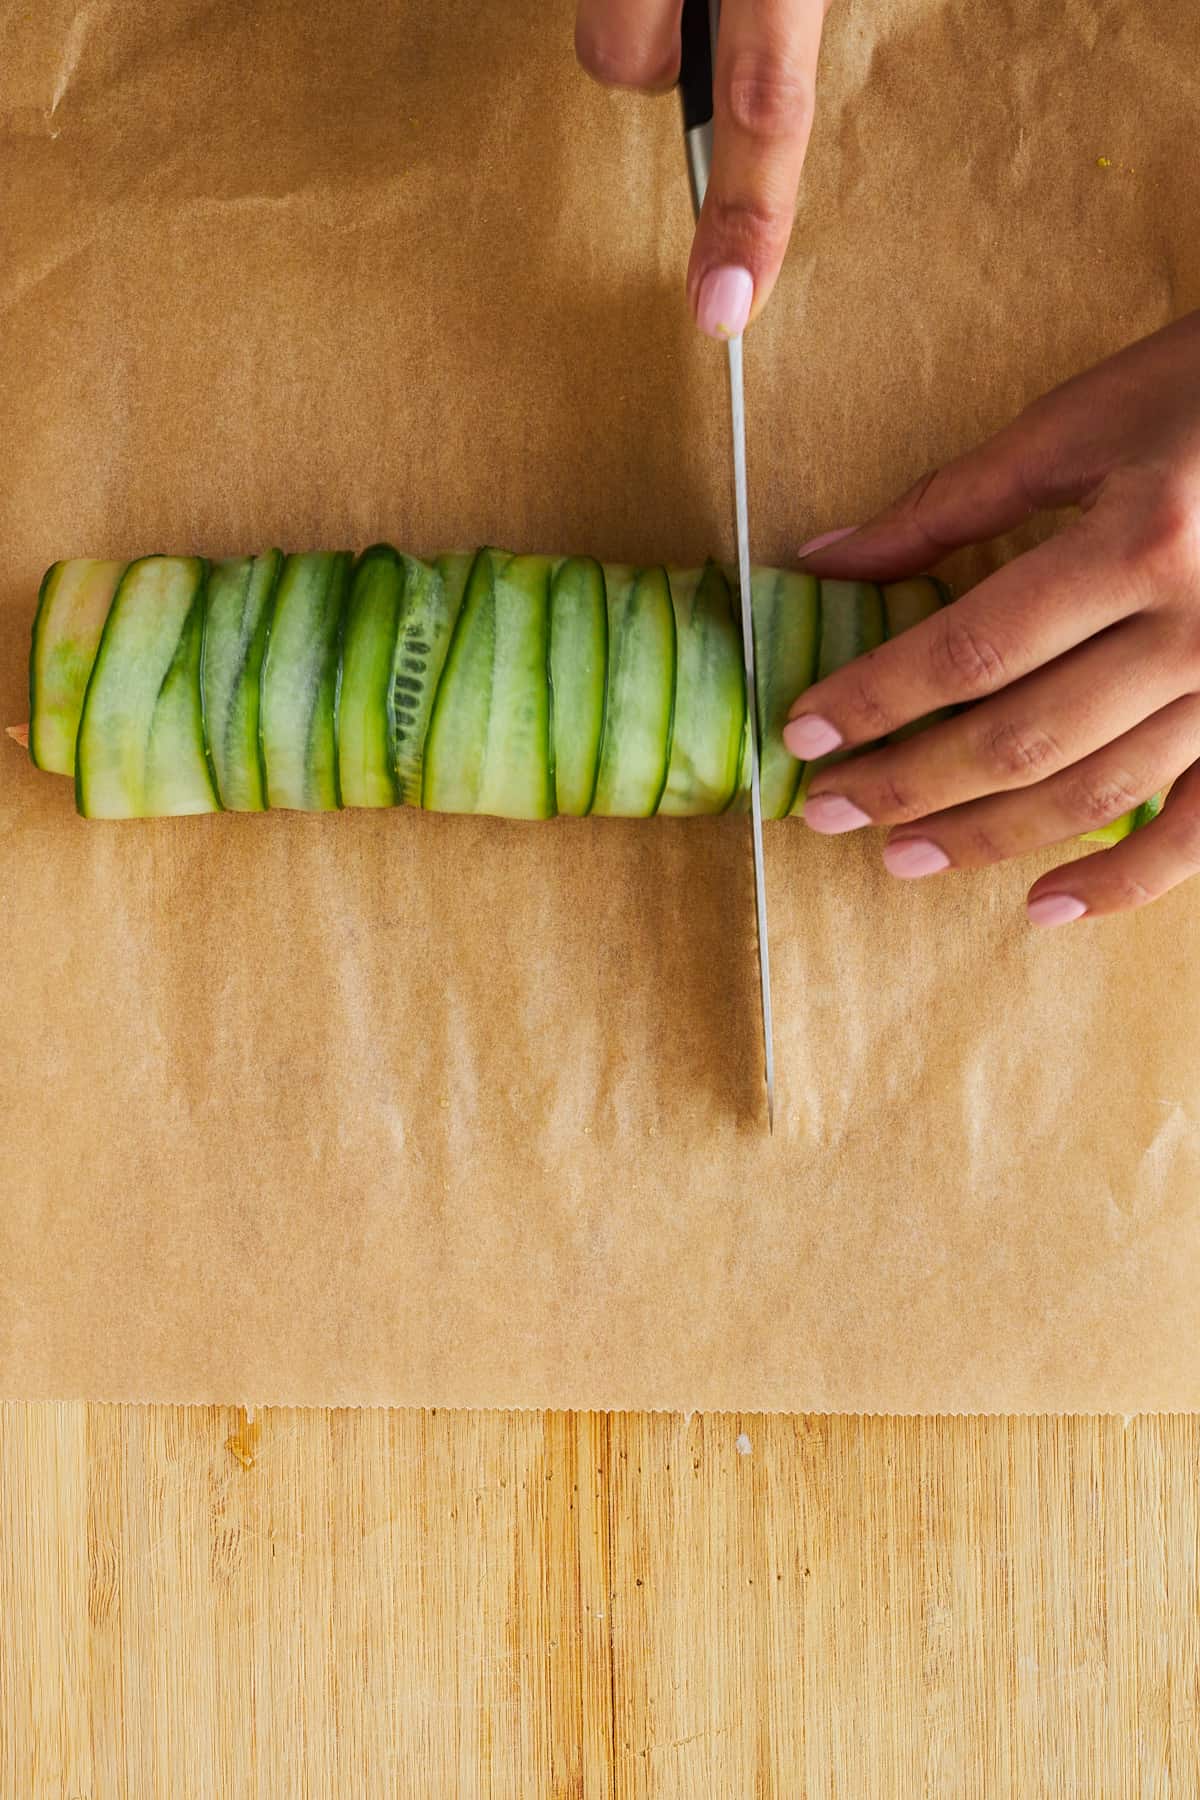
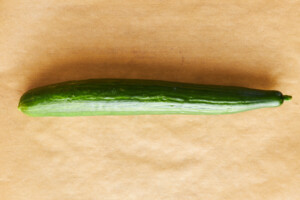
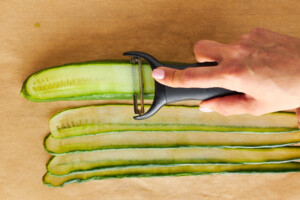
 Whip up these simple smoked salmon cucumber rolls in just a few minutes with just a handful of ingredients! This…


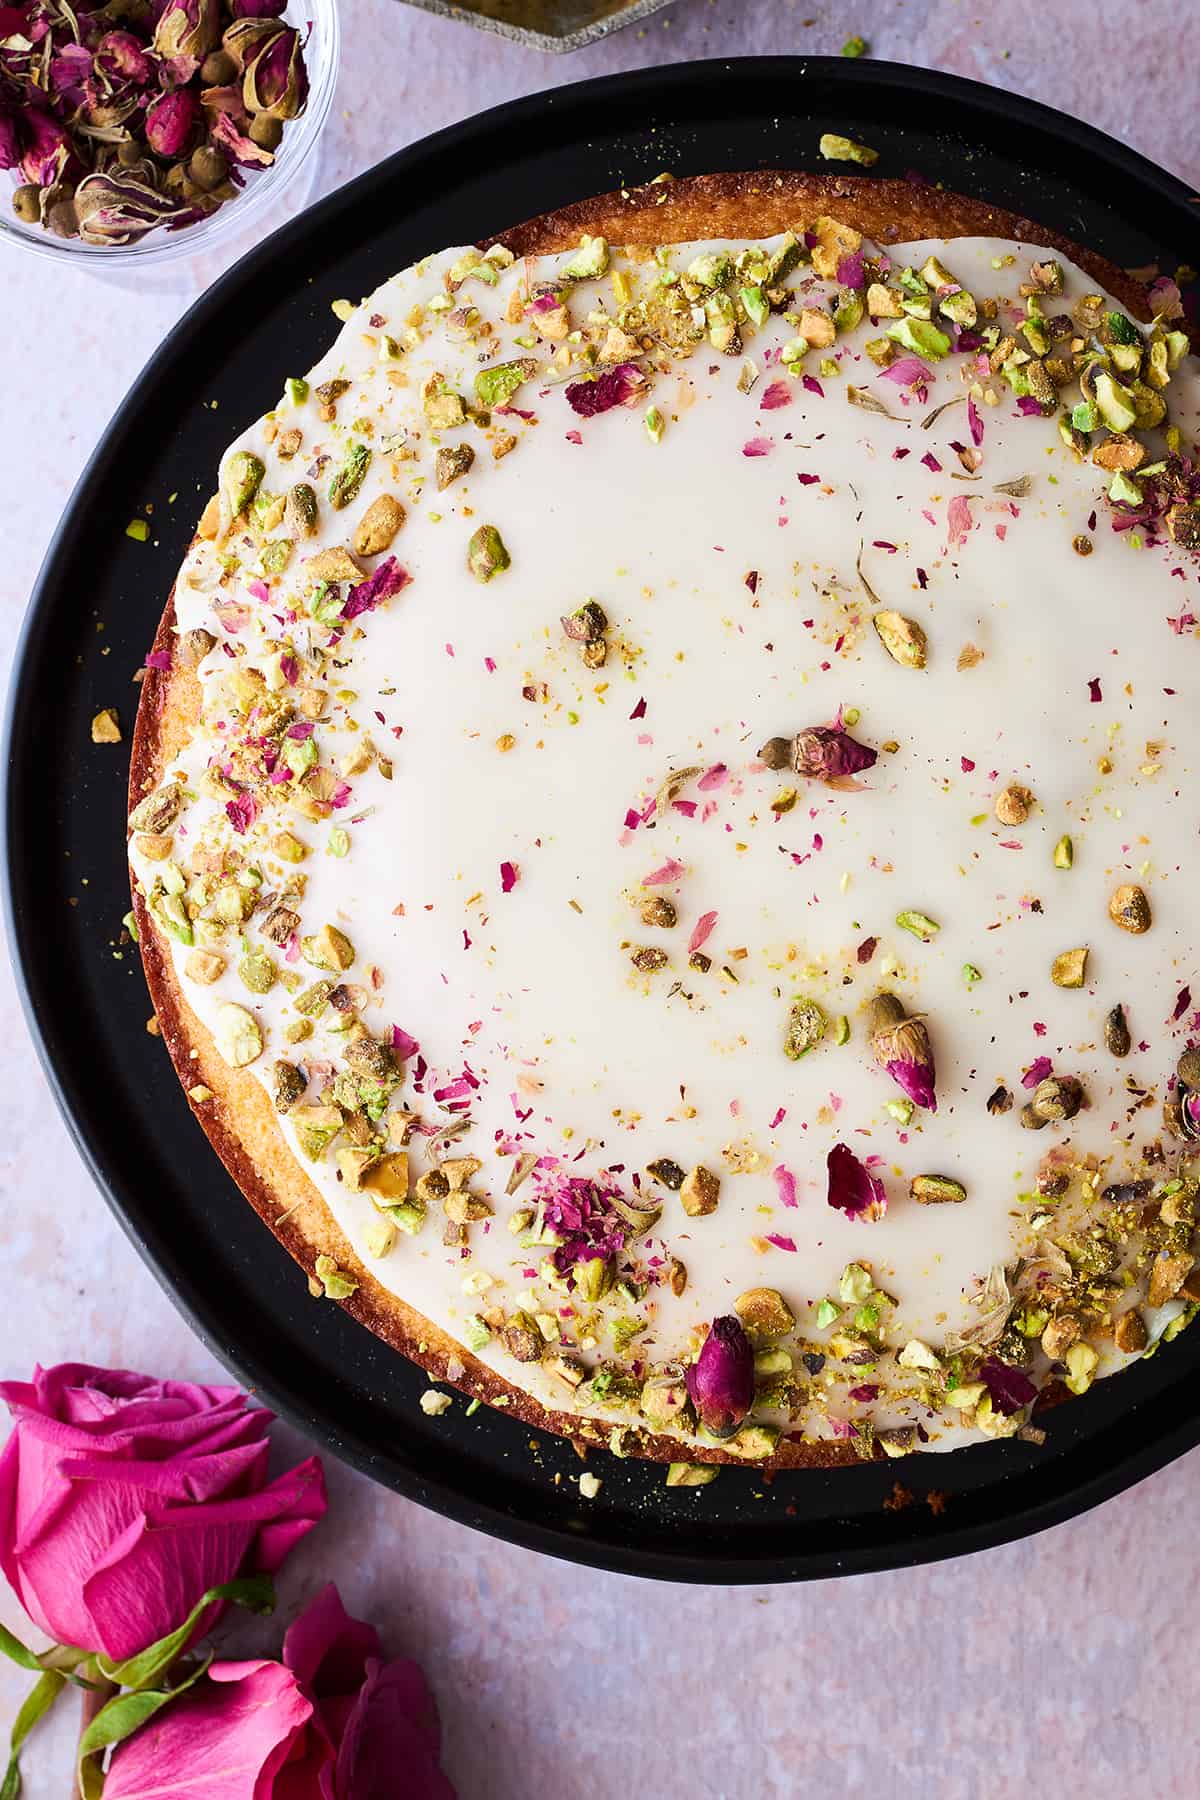
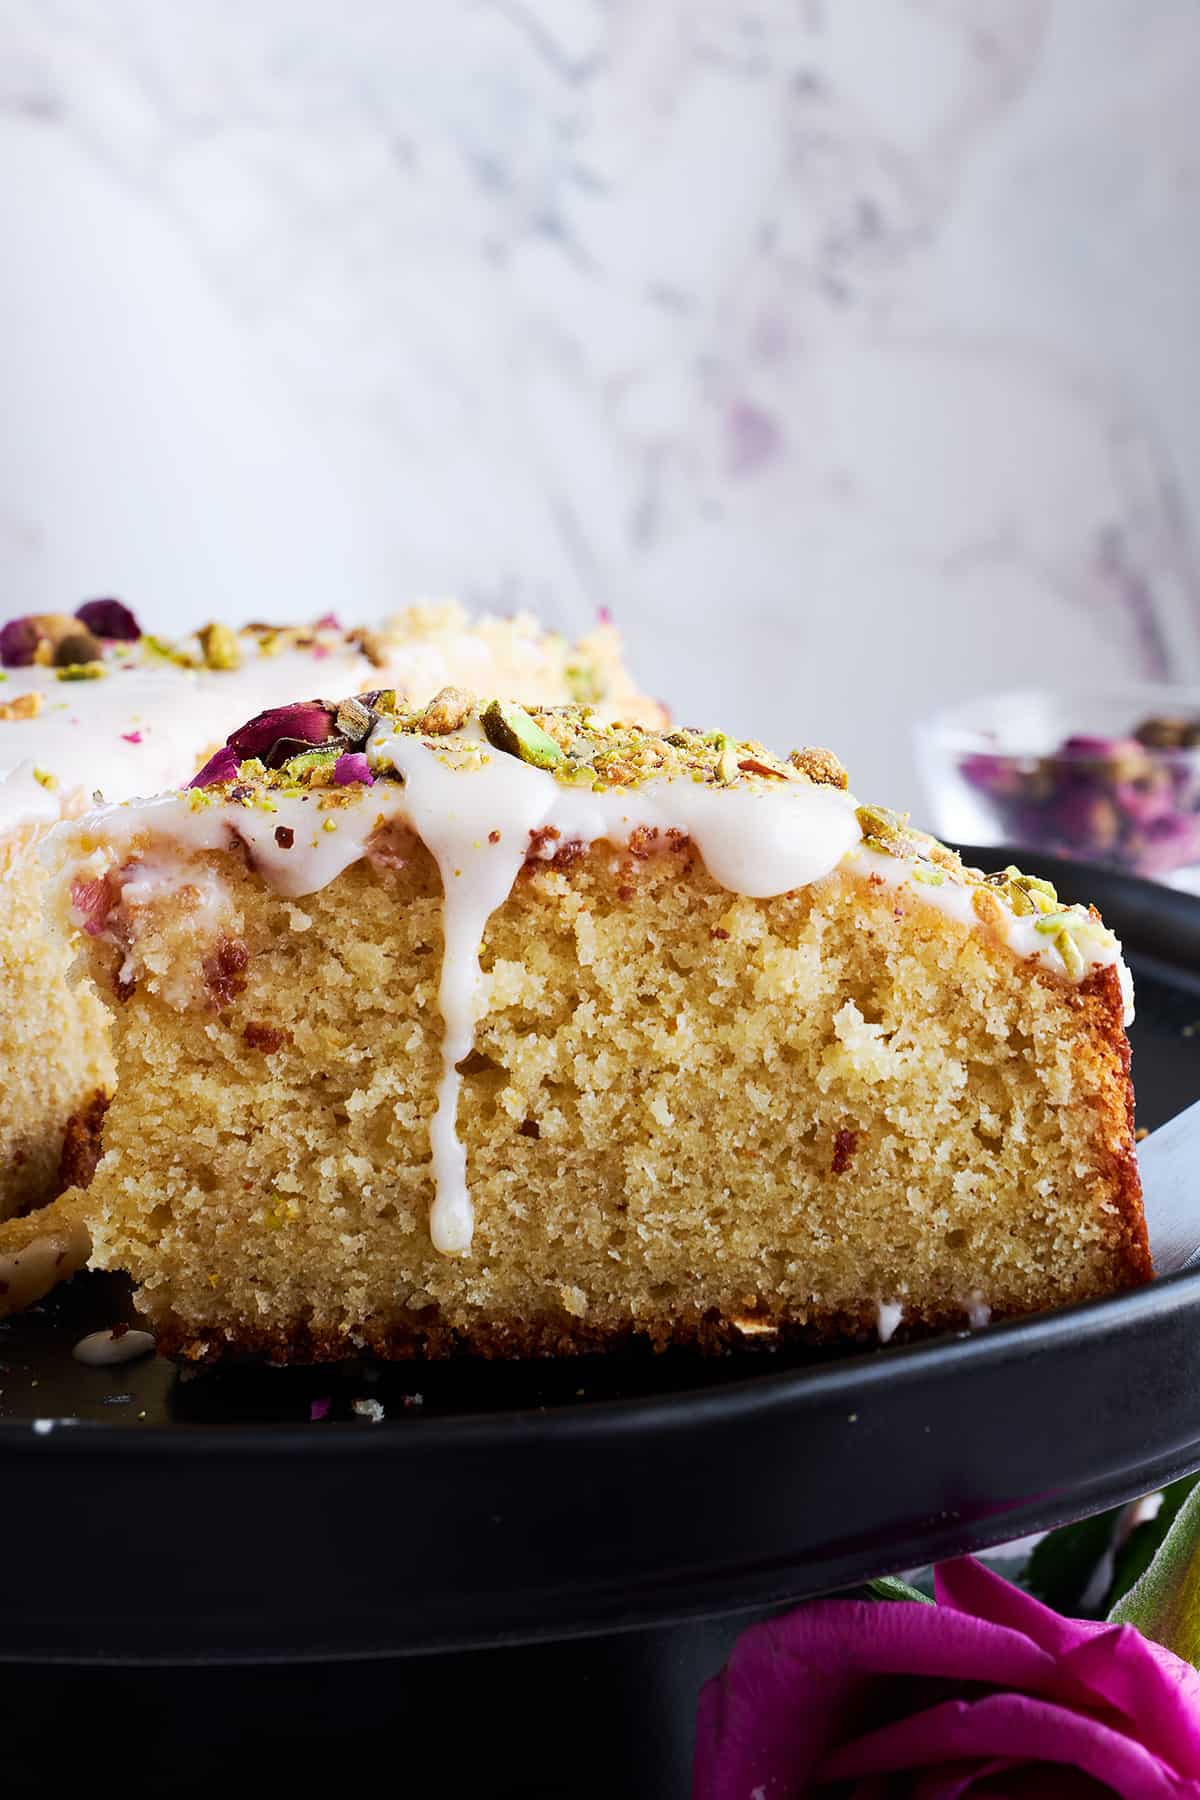
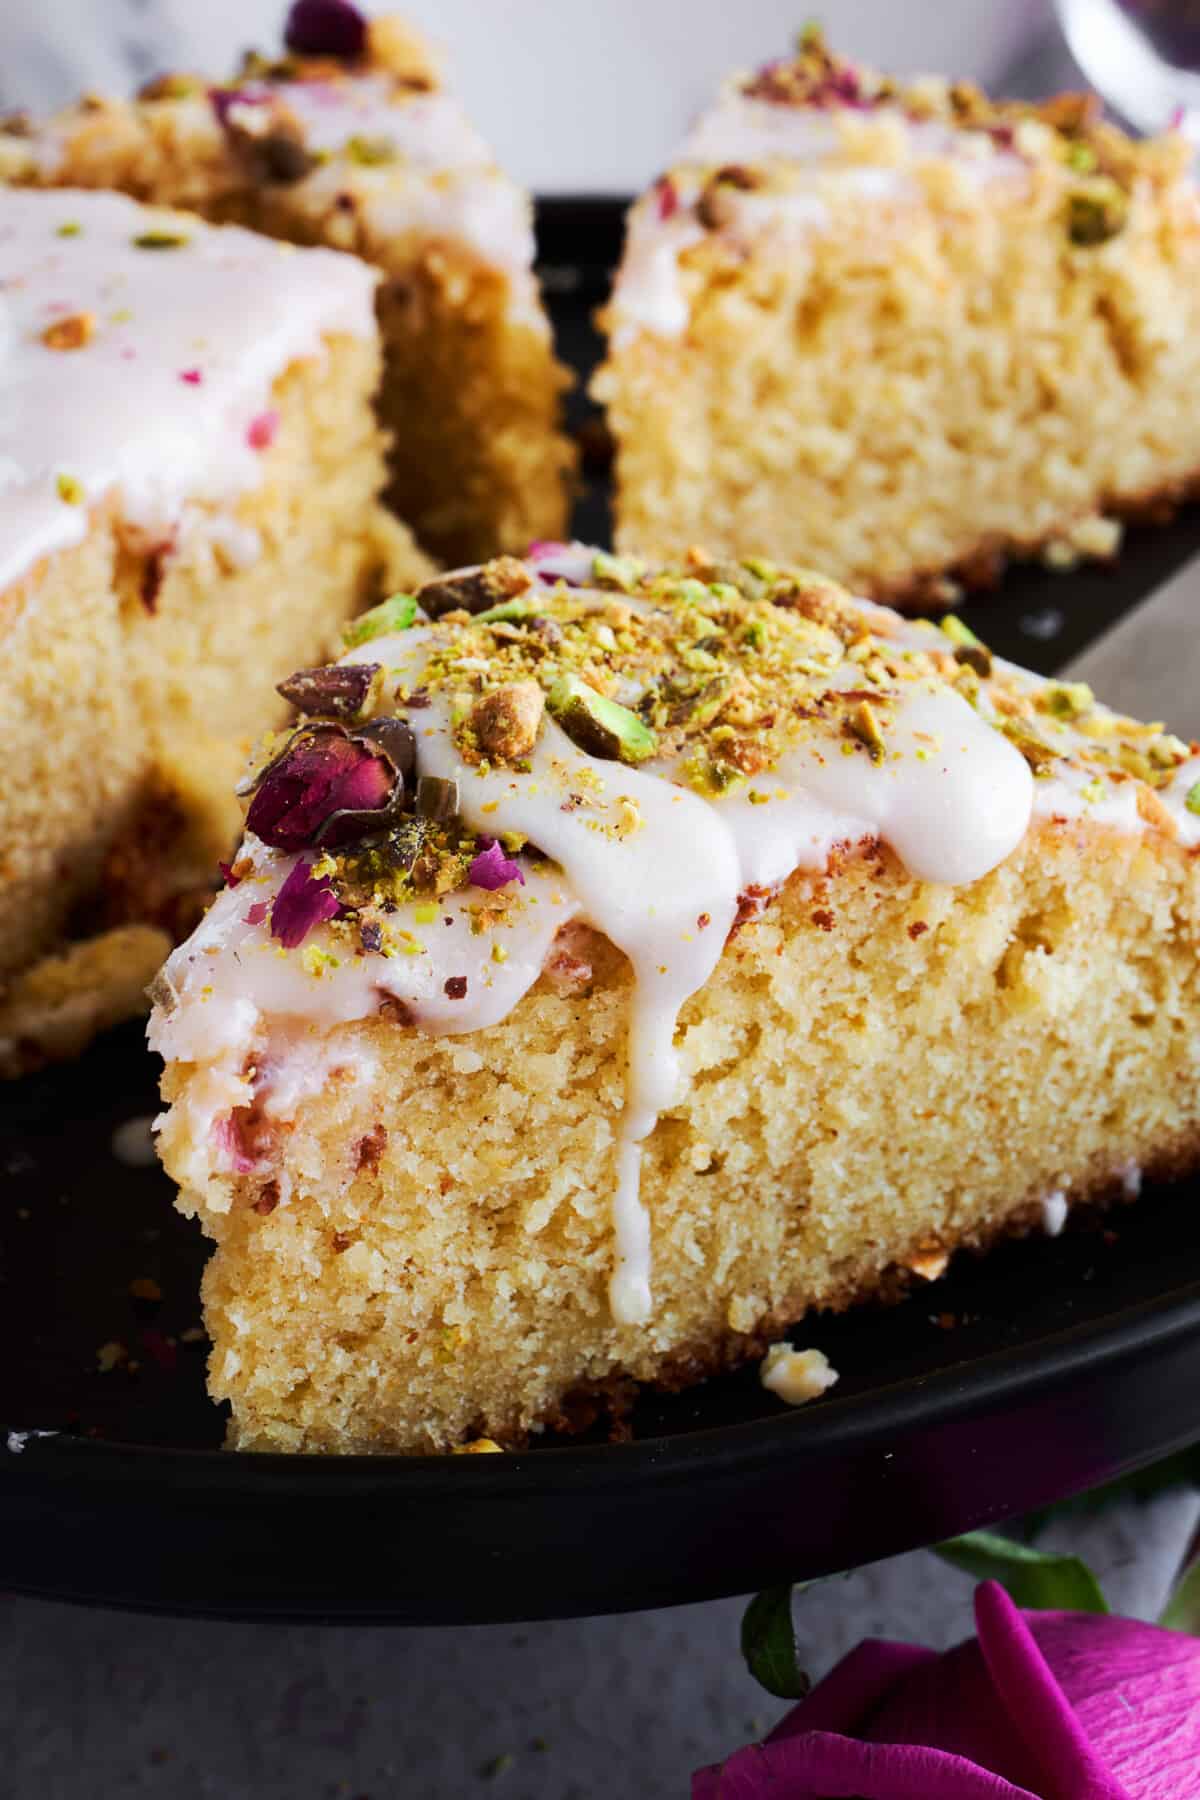
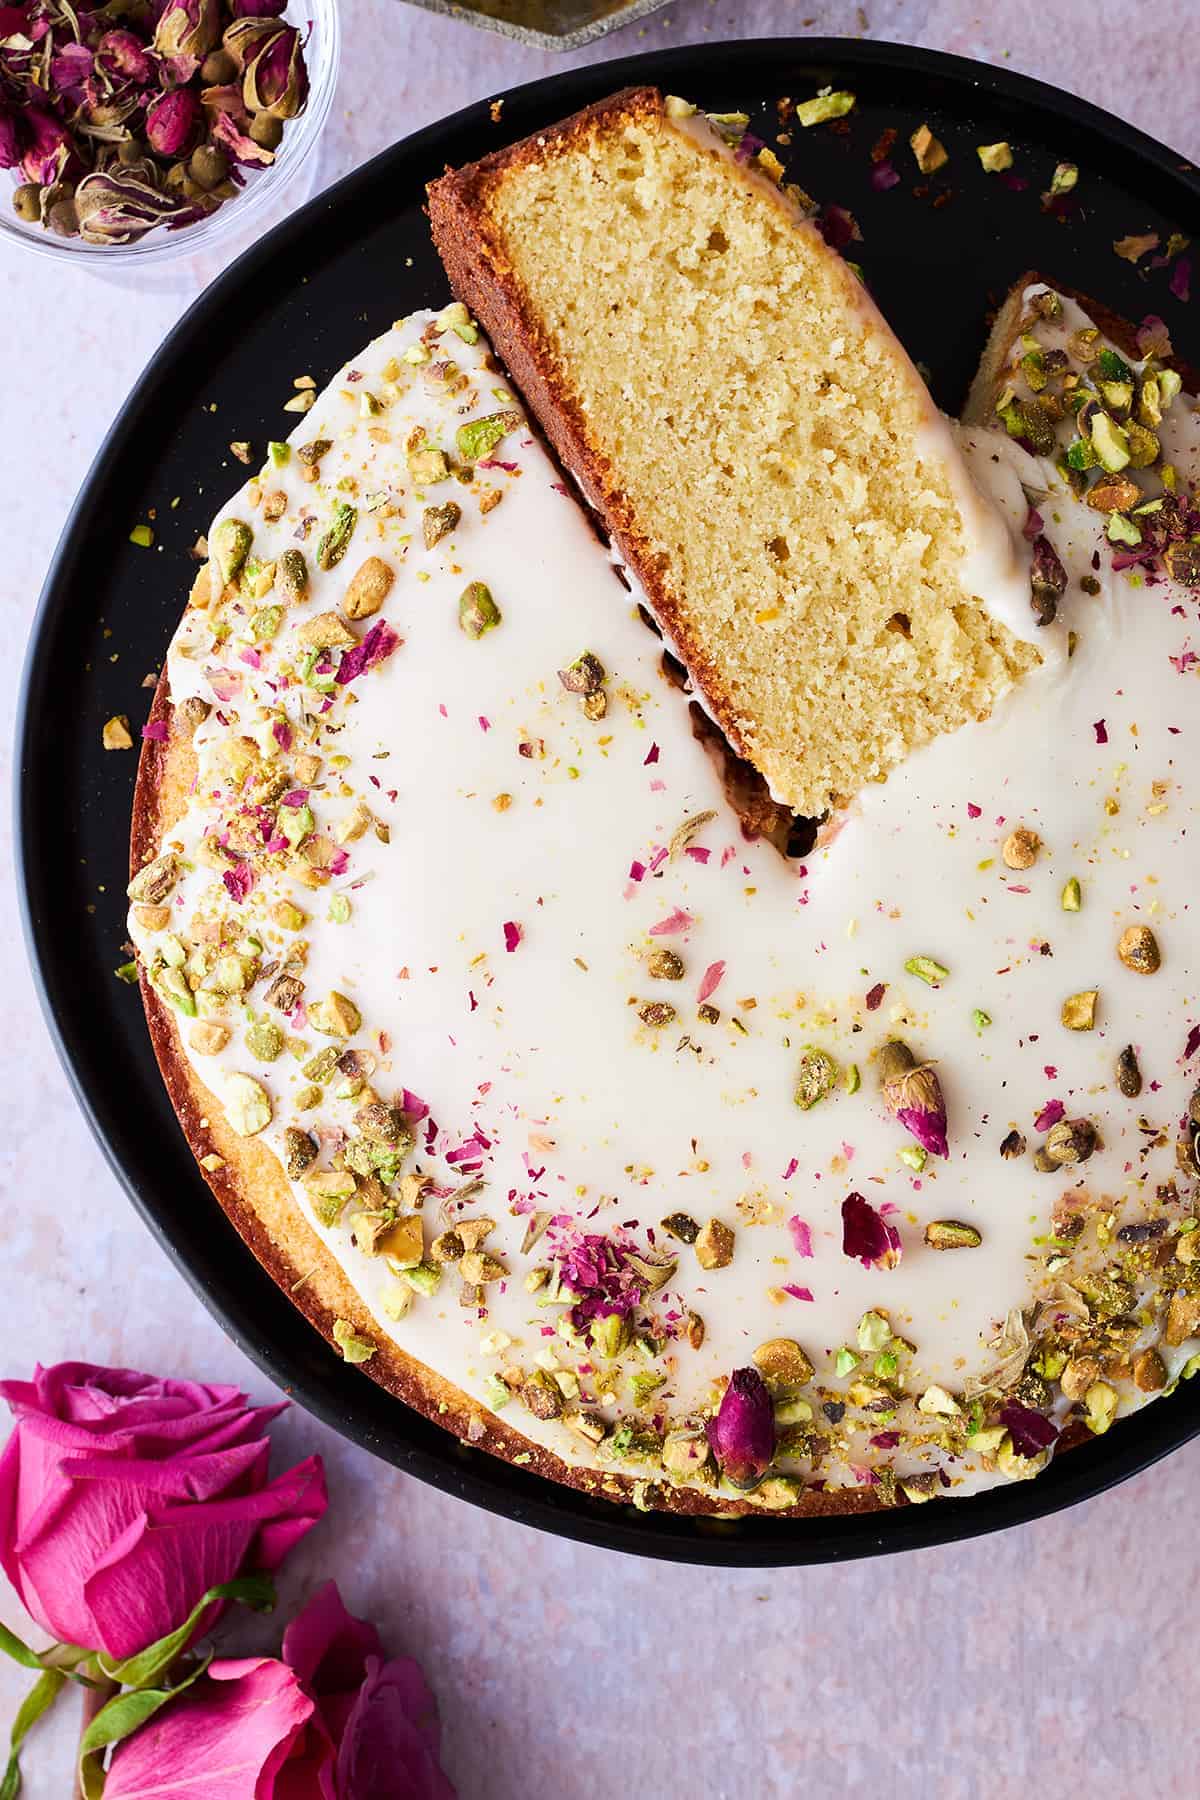 Our Persian Love Cake recipe is nothing short of heavenly! This gorgeous cake features a light and subtly spiced batter…


 Over the last few years, we’ve seen a bit of a Stanley Cup craze thanks to TikTok and social media.…

 Wait until you try this delightful dried fruit compote drink, also known as khoshaf! Imagine a burst of sweet and…