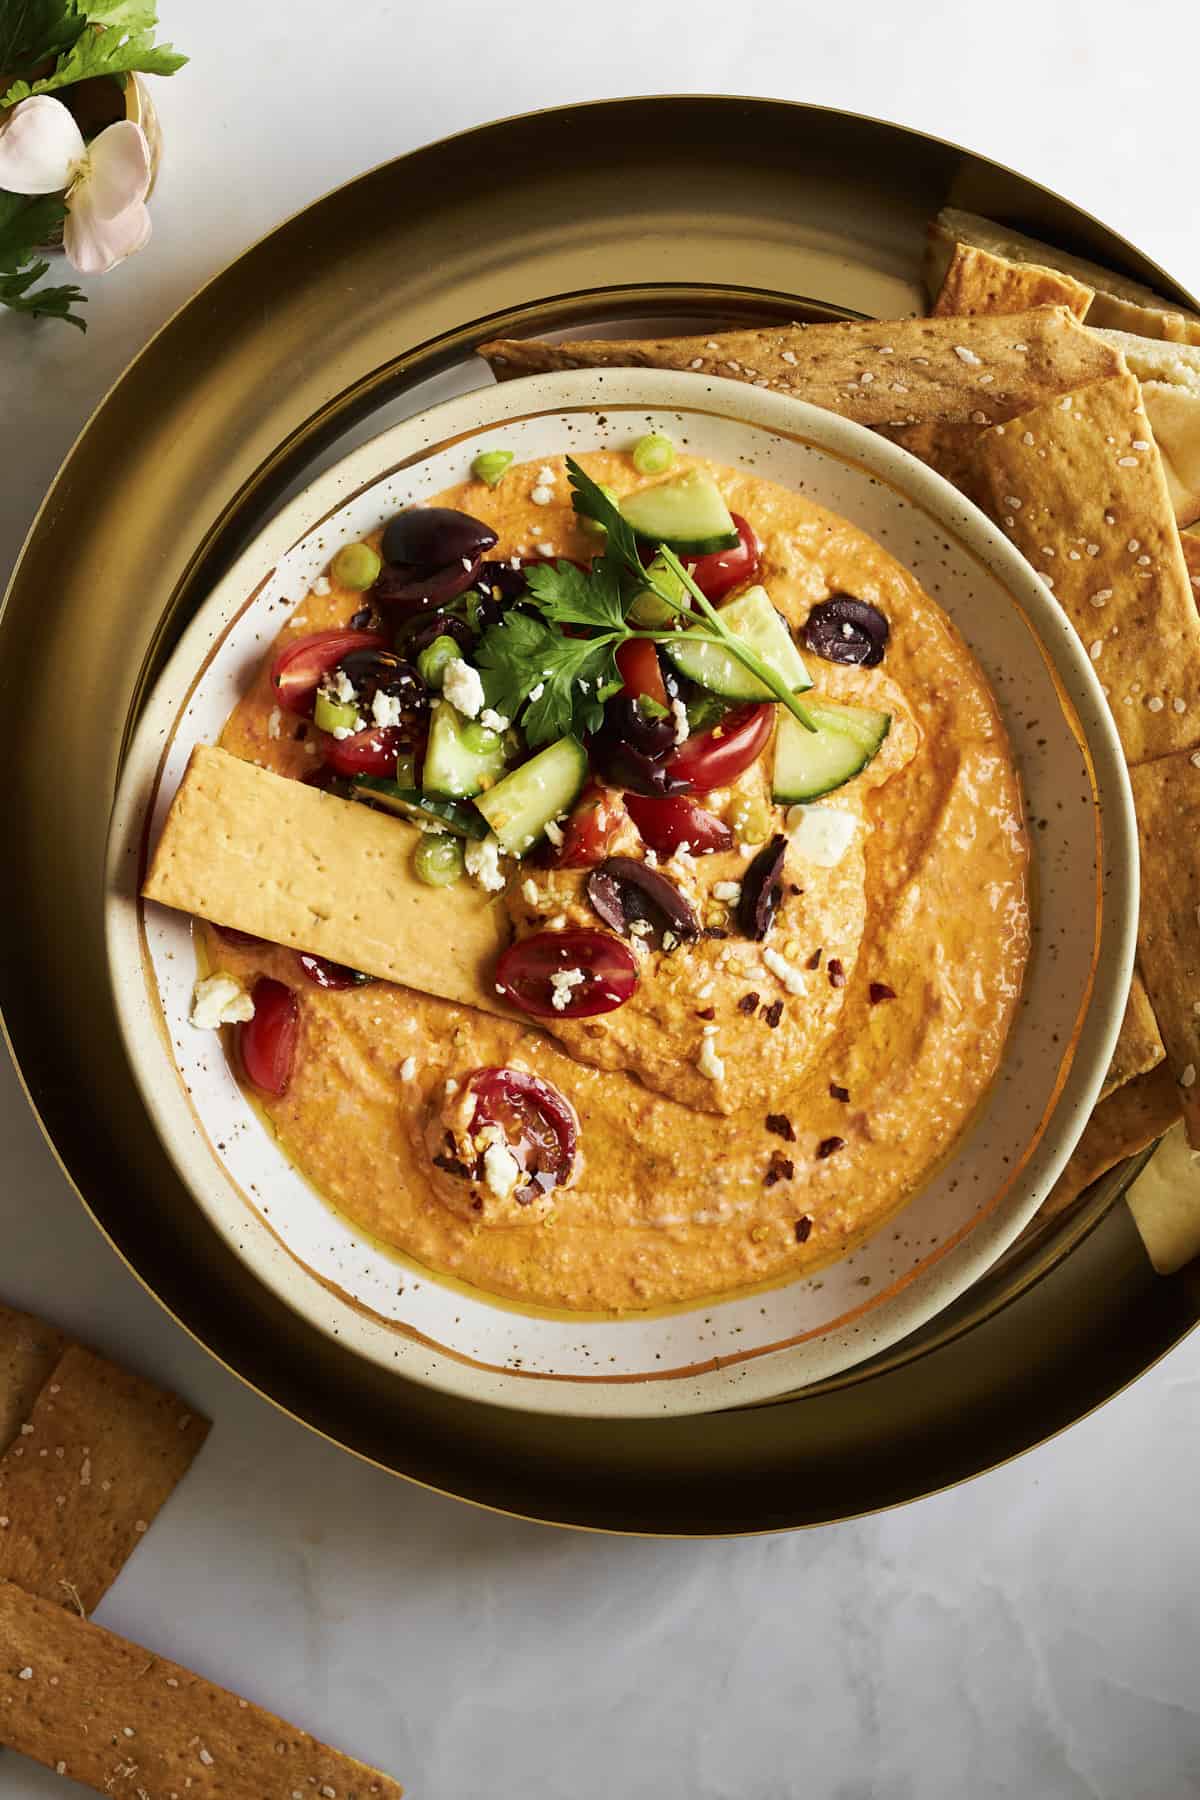
If you’re a fan of the flavors of Greek cuisine, you’re going to fall head over heels for our tantalizing spicy feta dip, also known as tirokafteri! This popular Greek dip can be a condiment, but it also doubles as a snack or appetizer.
This Mediterranean masterpiece features creamy feta cheese blended with fiery spices, creating a dip that’s bold and absolutely irresistible. Each scoop delivers a perfect balance of creamy texture and spicy kick, making it a show-stopper at any meal or gathering!
What is Tirokafteri?
Tirokafteri is a traditional Greek dip made with peppers, feta, and seasonings. Think of it like a lighter, Mediterranean spin on pimento dip!
With minimal prep time and a total time of just a few minutes, it’s quick to prepare and full of spicy flavor. Use it as a dip, or serve it as a spread for sandwiches, wraps, and burgers. One bite, and you’ll be putting it on everything!
What is Spicy Feta Dip Made Of?
Be sure to scroll down to the recipe card for the complete ingredient list, instructions, and nutrition information!
- Feta Cheese – For the best taste and texture use full-fat blocks of feta, not pre-crumbled varieties. Also, make sure it’s white in color and not yellow!
- Yogurt – Use plain, full-fat yogurt or Greek yogurt to make the dip extra rich and creamy.
- Jalapeño – This is what makes the feta spicy!
- Crushed Red Pepper Flakes – Adjust to taste.
- Roasted Red Pepper – You can find these at your local grocery store, or make homemade roasted red peppers instead!
- Garlic – Use whole garlic cloves, and mince them finely.
- Olive Oil – This helps combine the ingredients, creating a smooth consistency.
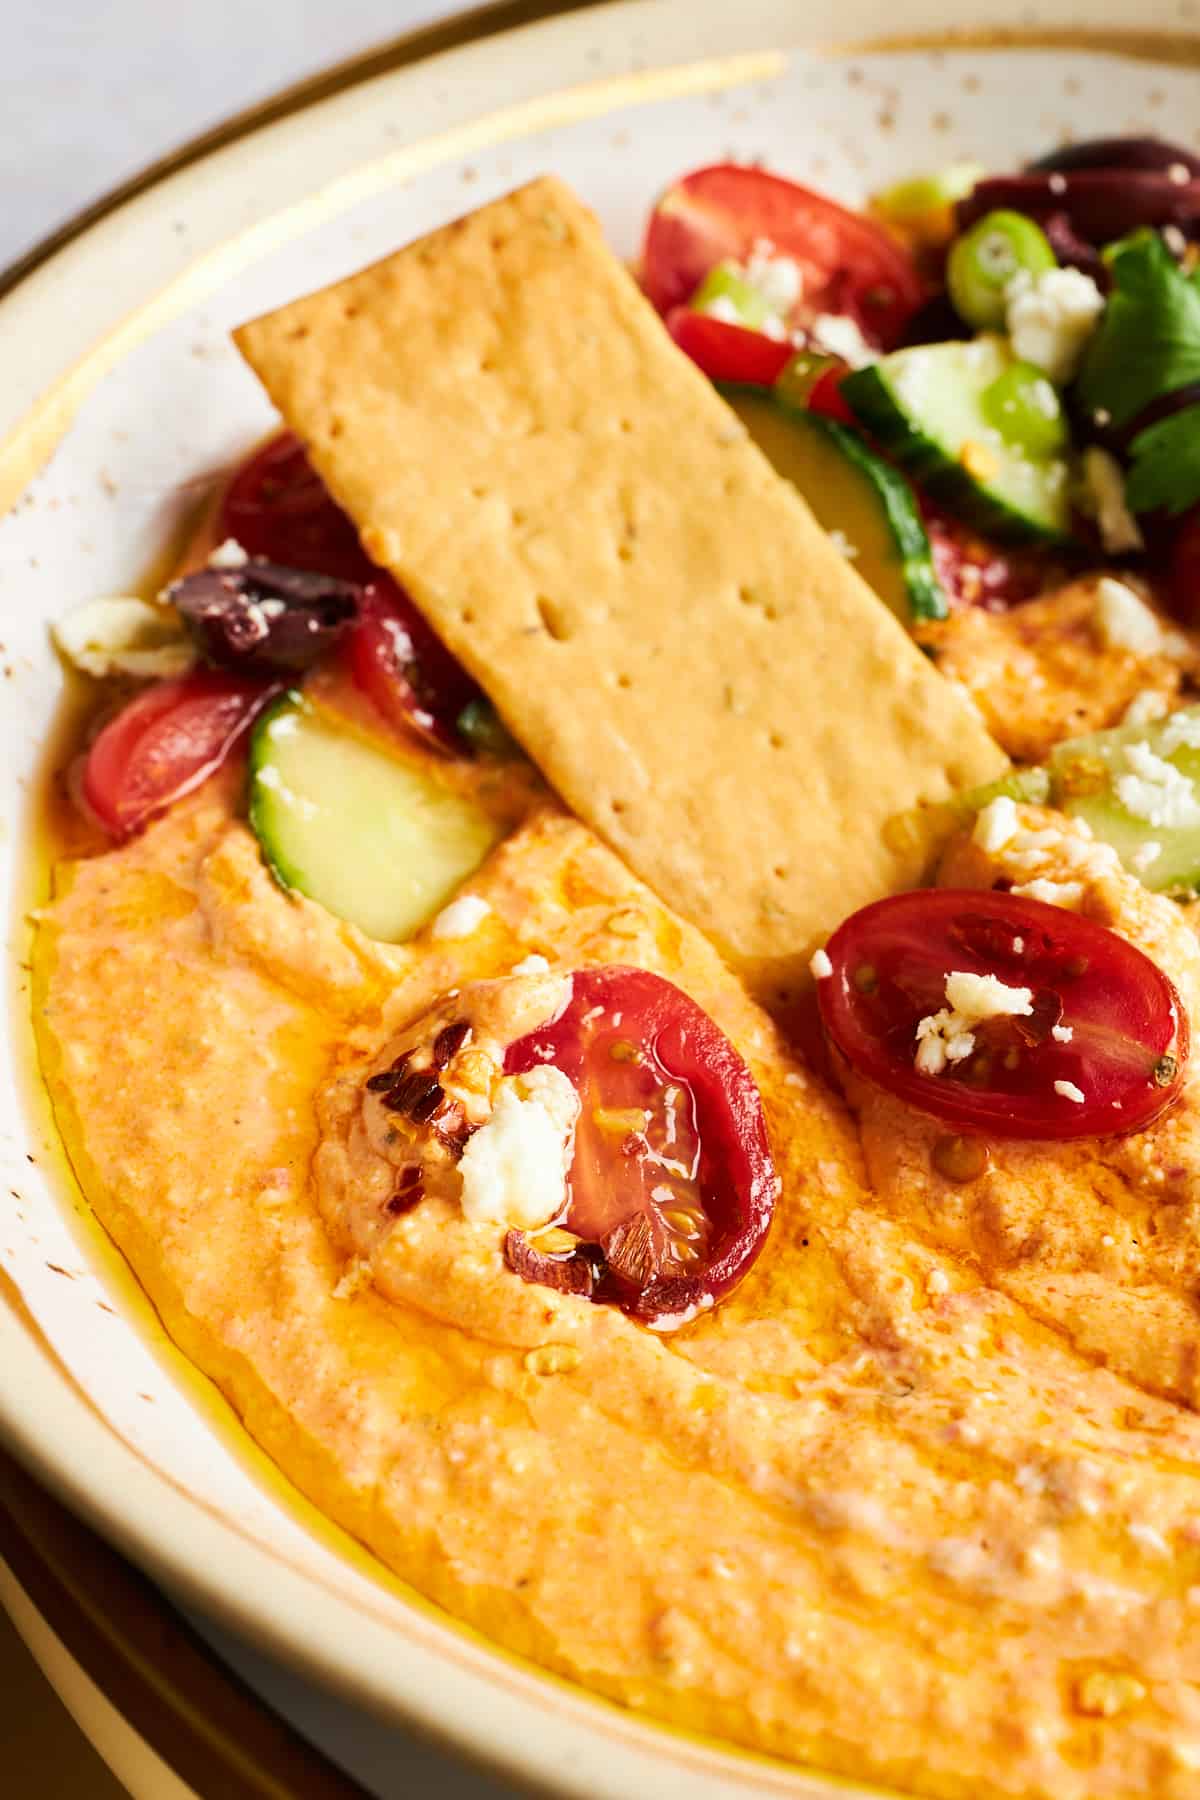
- Toppings – We finish our dip with diced tomatoes, sliced kalamata olives, diced cucumbers, and additional crushed red pepper flakes. Feel free to mix and match your favorite toppings.

The Simple Steps to Make the Best Tirokafteri Dip
Before you begin, remove the seeds from the jalapeño, and mince the garlic.
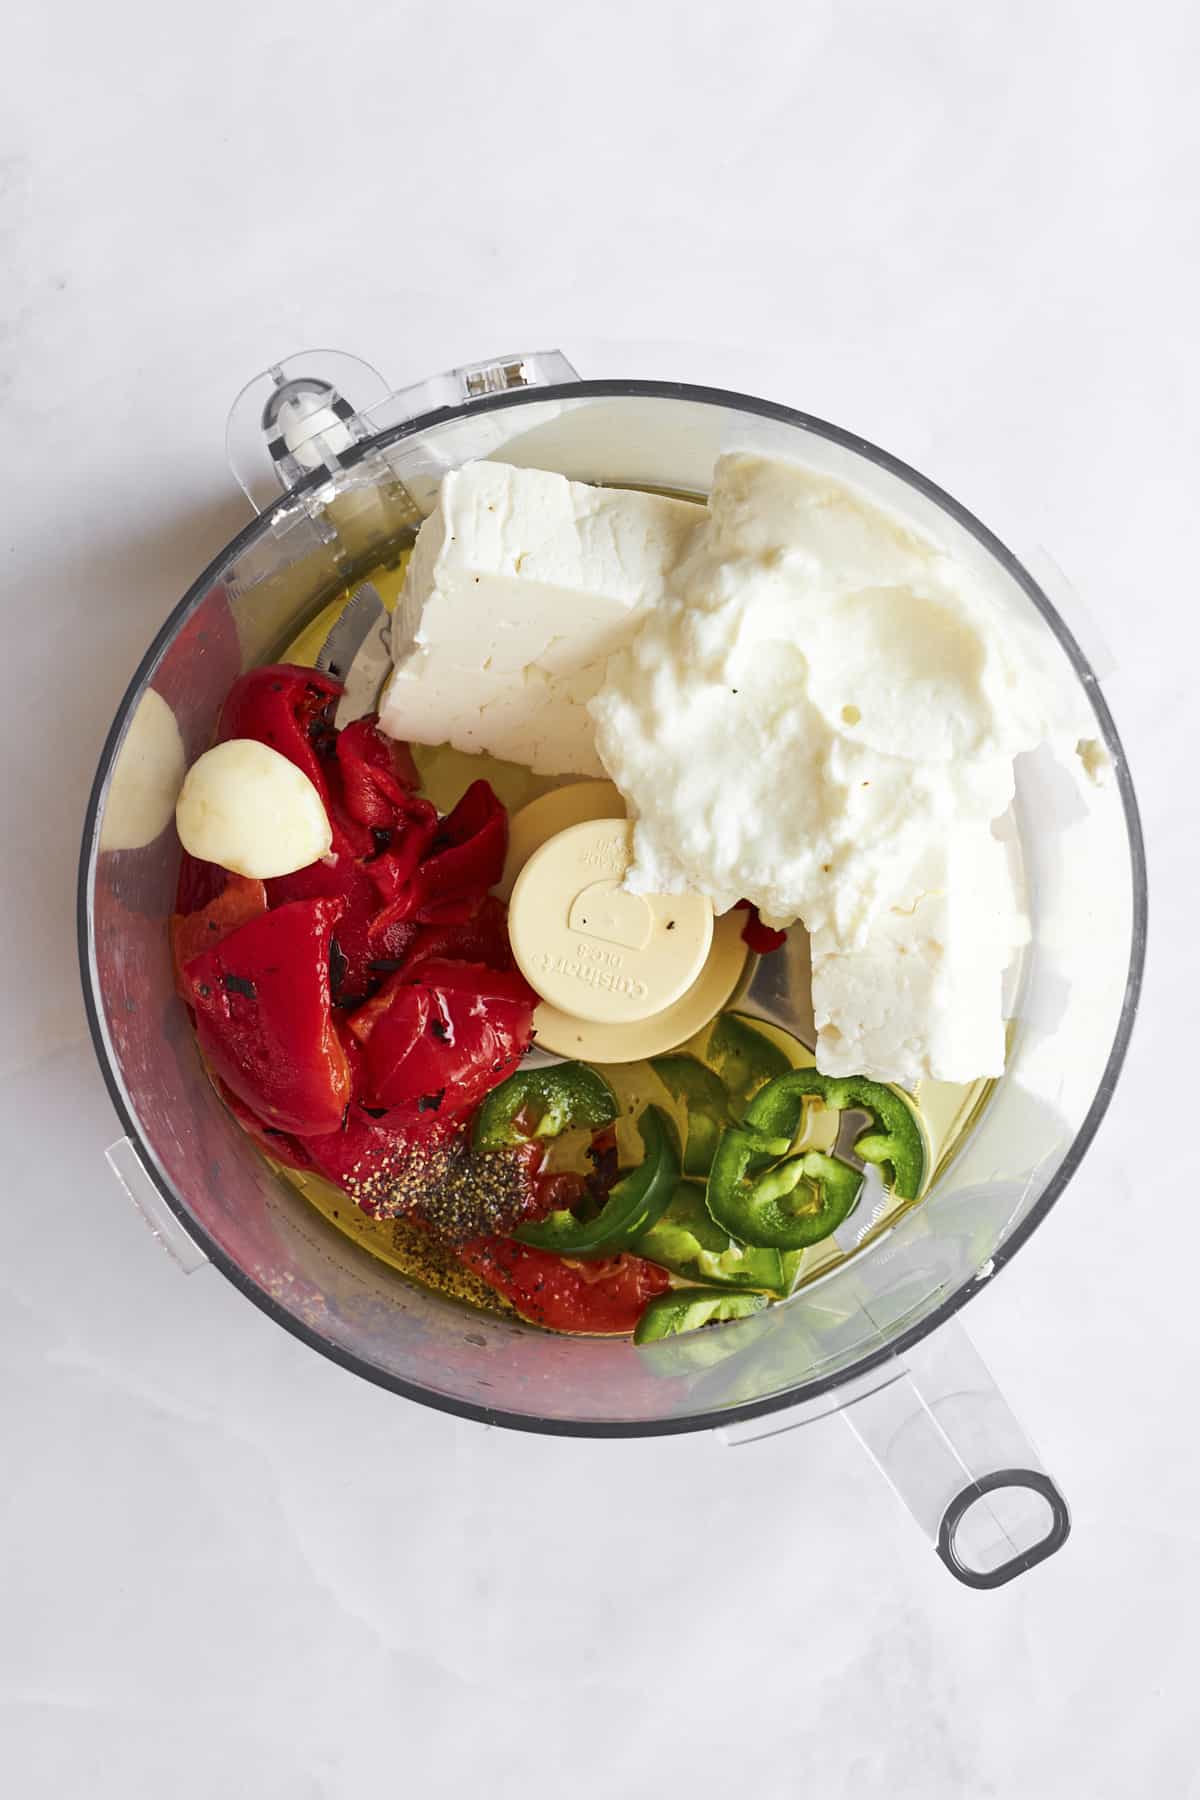
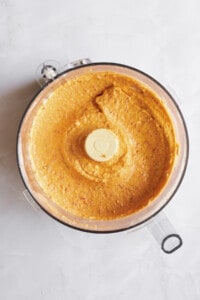
- Blend. Add the feta, yogurt, jalapeño, roasted red pepper, red pepper flakes, garlic, and olive oil to the bowl of a food processor. Pulse until smooth.
- Layer. Transfer the dip to a serving bowl, and add your favorite toppings.
- Serve. Give the dip an extra drizzle of olive oil, and enjoy!
Tips and Tricks
- Scrape the Sides of the Bowl. Stop blending periodically to scrape down the sides of the food processor. This ensures all the ingredients combine evenly.
- Use High-Quality Feta. Because there are so few ingredients, it’s crucial to use a high-quality feta. Look for a block of sheep’s milk feta packed in brine. Versions made in Greece will be best if you can find them!
- Adjust the Spice. Be sure to remove the seeds and membrane from the jalapeño. Then, add more or less pepper and chili flakes to suit your spice preferences.
- Chill Before Serving. Plan ahead of time, and transfer the dip (without the garnishes) to the fridge for about 30 minutes before serving. This helps the flavors mingle together for a cohesive dip!
- Experiment with Flavors. Feel free to mix and match different seasonings and toppings to make this recipe your own. For example, capers, lemon zest, or chili oil all make great additions.

Serving Suggestions
Pair this flavorful dip with a variety of dippers like crisp carrot sticks, crunchy celery, colorful bell peppers, fluffy pita bread, or your favorite crackers. Or, include it as a star player in a mezze platter for a Mediterranean feast that will impress your guests! You can also serve it alongside other delicious dishes like:
Can I Store Leftovers?
Yes, you can store leftover dip without the toppings in an airtight container in the fridge for two to three days.
Common Questions About This Spicy Feta Dip Recipe
Spicy feta dip is spicy, salty, tangy, and creamy.
Tirokafteri is loosely translated to mean spicy cheese.
Feta originates from Greece and was originally made with either sheep’s or goat’s milk.
More Flavor-Loaded Dip Recipes
We can’t get enough of delicious dips! If you’re like us, check out these other delectable dip recipes:
- Easy Baked Chicken Queso Dip
- 7 Layer Greek Dip
- Marinated Tomatoes and Feta Dip
- Easy Bread Dipping Oil

Spicy Feta Dip Recipe (Tirokafteri)
Equipment
Ingredients
- 6 ounces feta cheese
- 1/2 cup yogurt
- 1 jalapeño pepper seeds removed for less heat, if desired
- 1/2 cup roasted red peppers
- 1/2 teaspoon crushed red pepper flakes
- 1 garlic clove
- 2 Tablespoons olive oil
- Optional toppings: diced tomatoes sliced kalamata olives, diced cucumbers, additional crushed red pepper flakes
Instructions
- Begin by preparing the ingredients. Remove the seeds from the jalapeño pepper to control the heat level. Then, mince the garlic clove.
- In a food processor, combine the feta cheese, yogurt, jalapeño pepper, roasted red peppers, crushed red pepper flakes, minced garlic, and olive oil.6 ounces feta cheese, 1/2 cup yogurt, 1 jalapeño pepper, 1/2 teaspoon crushed red pepper flakes, 1 garlic clove, 2 Tablespoons olive oil, 1/2 cup roasted red peppers

- Blend the ingredients until smooth and creamy. Scrape down the sides of the food processor bowl occasionally to ensure everything is evenly mixed.
- Once the dip reaches your desired consistency, transfer it to a serving bowl.
- If desired, top the dip with diced tomatoes, sliced olives, diced cucumbers, and additional crushed red pepper flakes for extra flavor and presentation.Optional toppings: diced tomatoes

- Serve the spicy feta dip immediately drizzle with olive oil and serve with chips, crackers, or vegetable sticks for dipping.
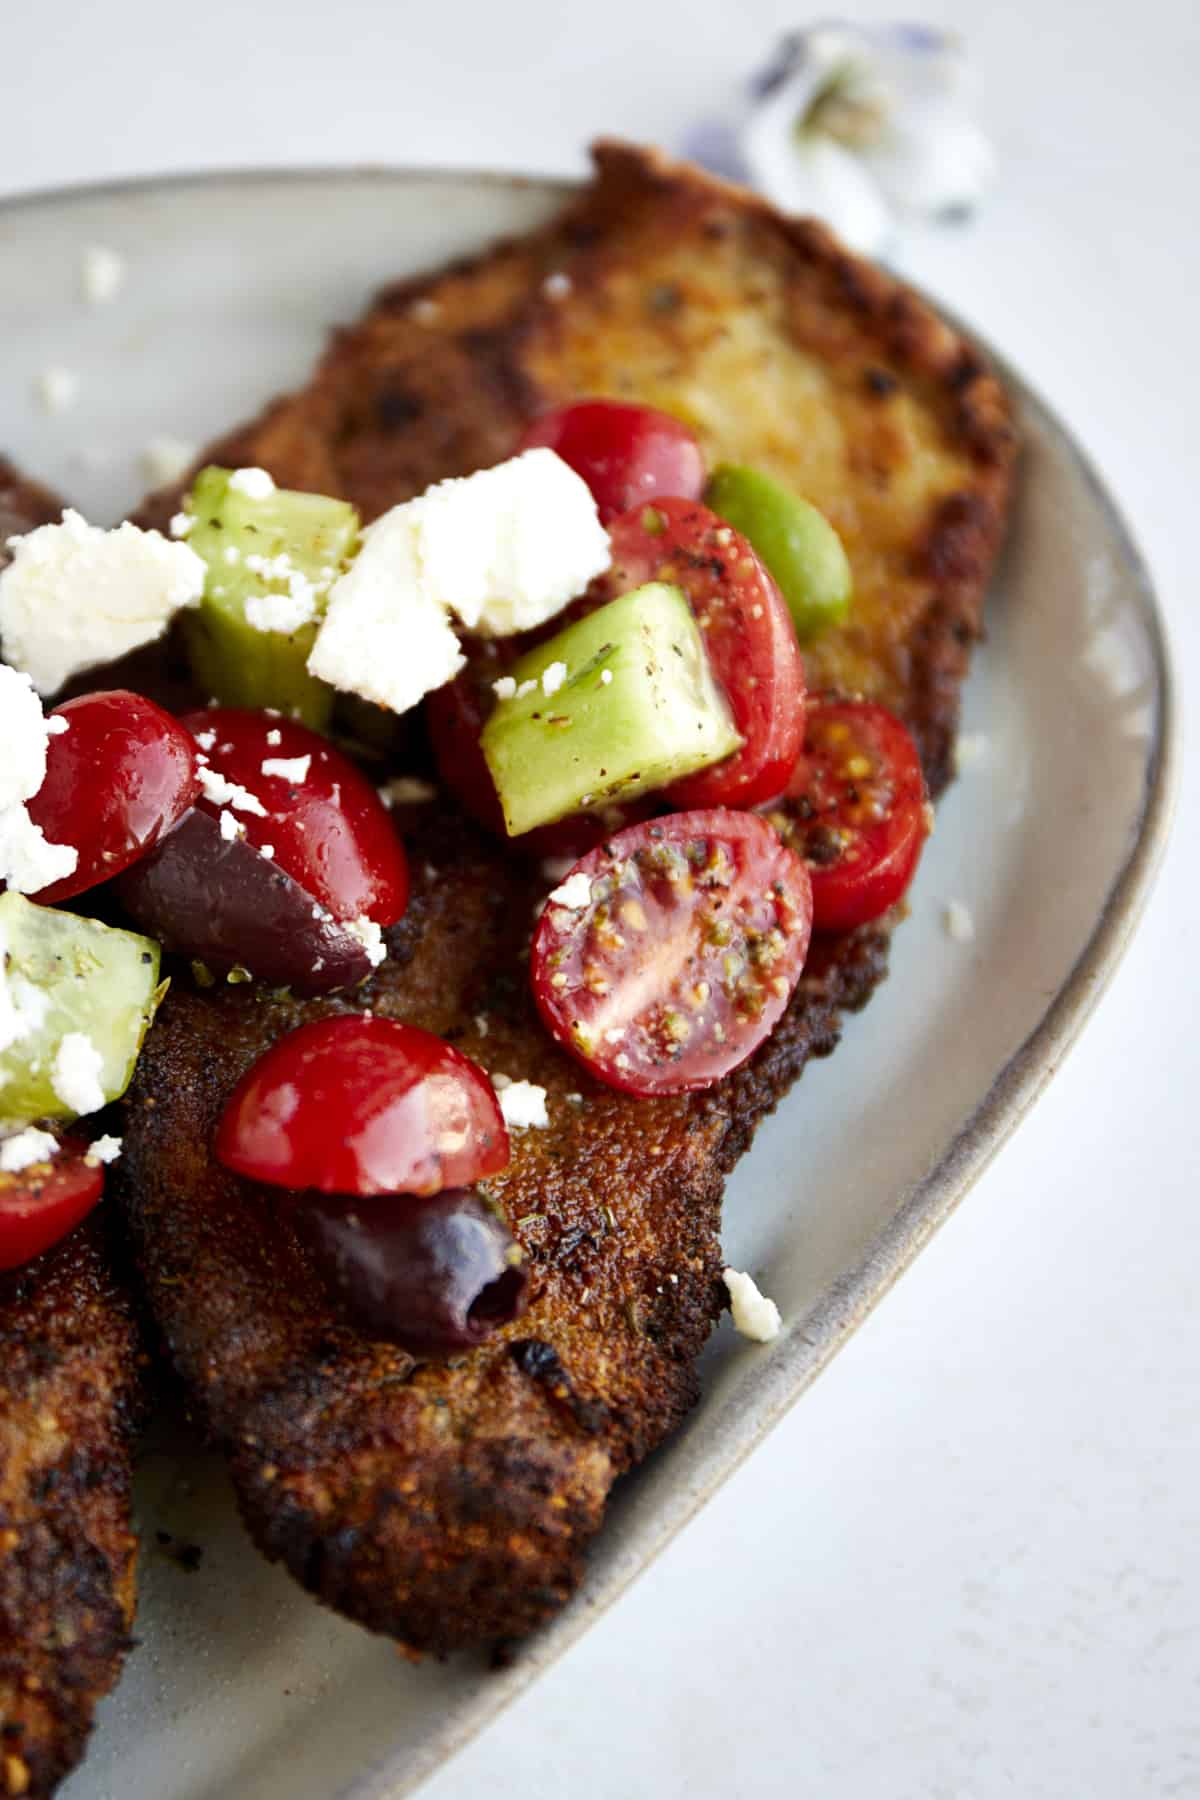 Our air fryer Chicken Milanese with Mediterranean salad is a mouthwatering twist on the classic Milanese chicken! This lighter version…
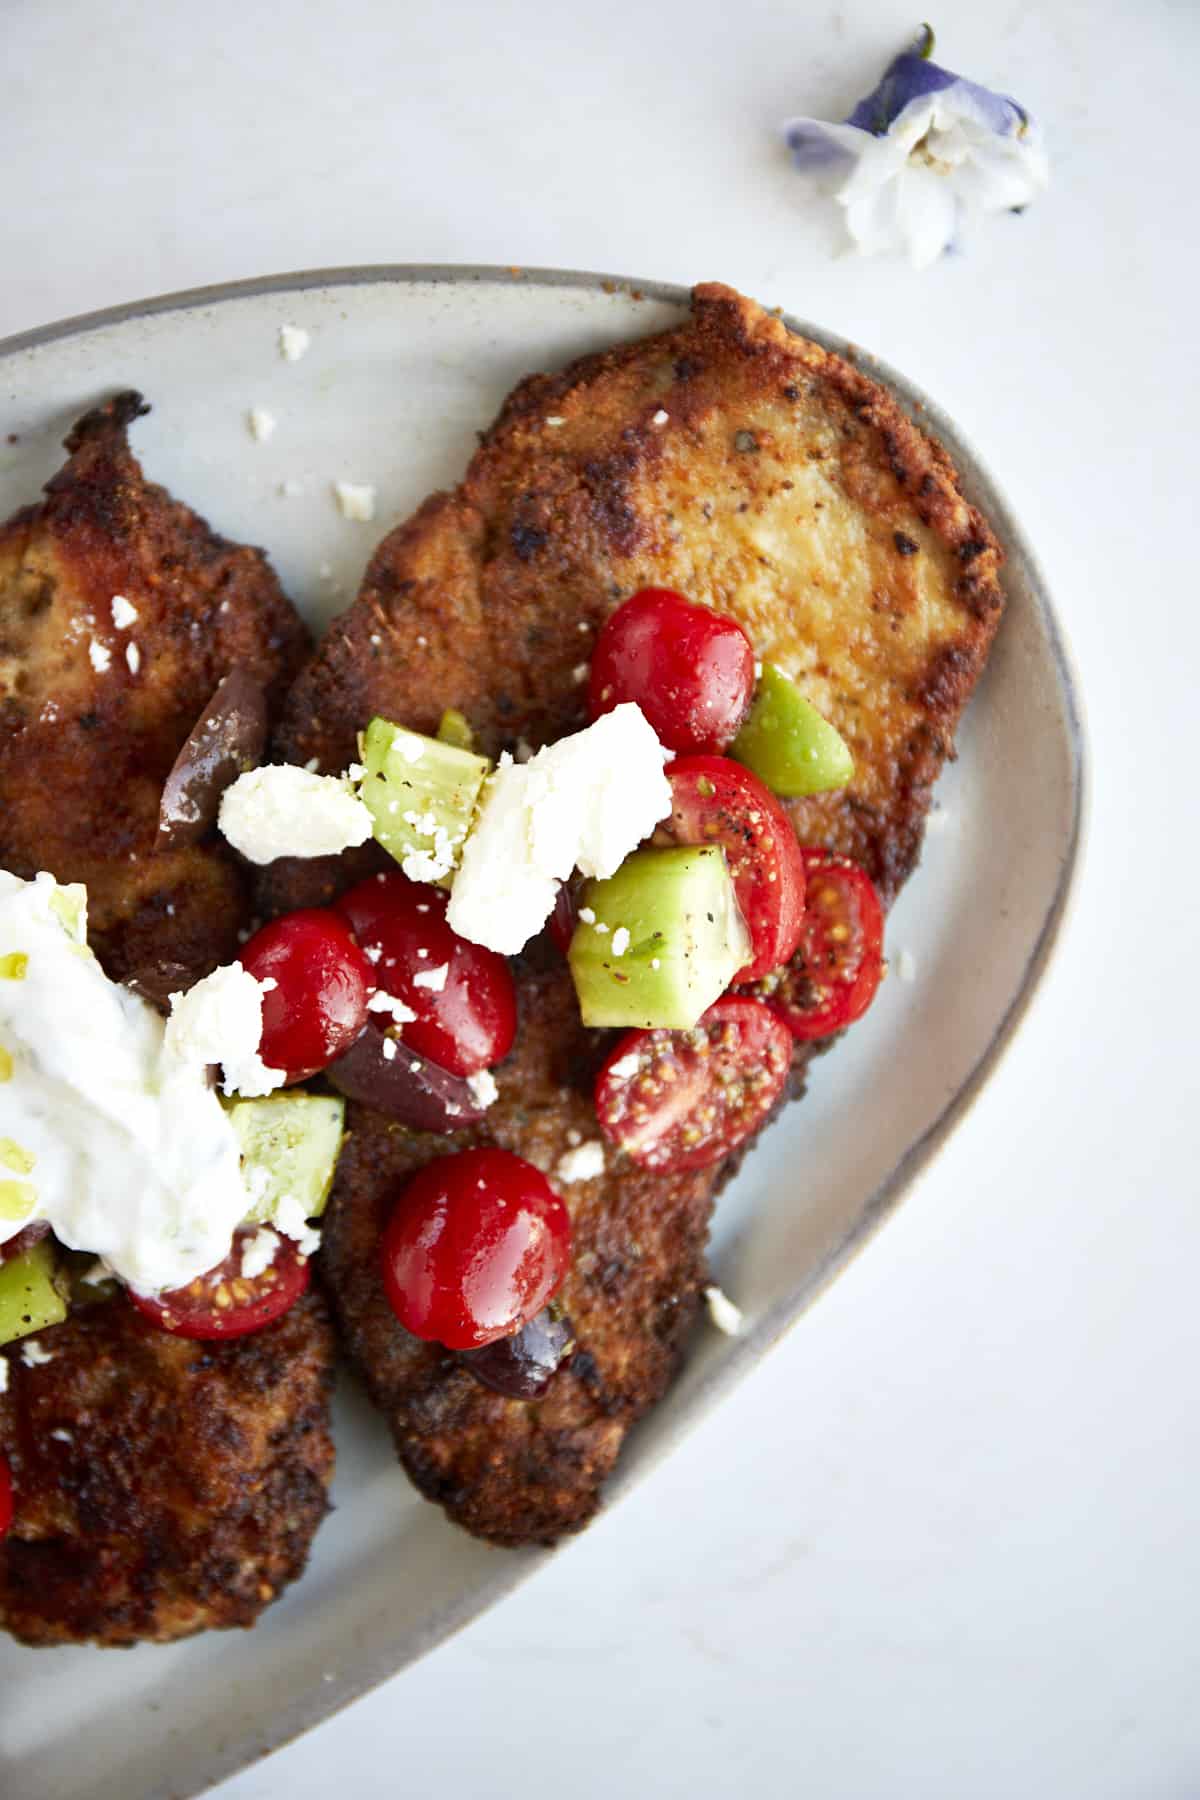

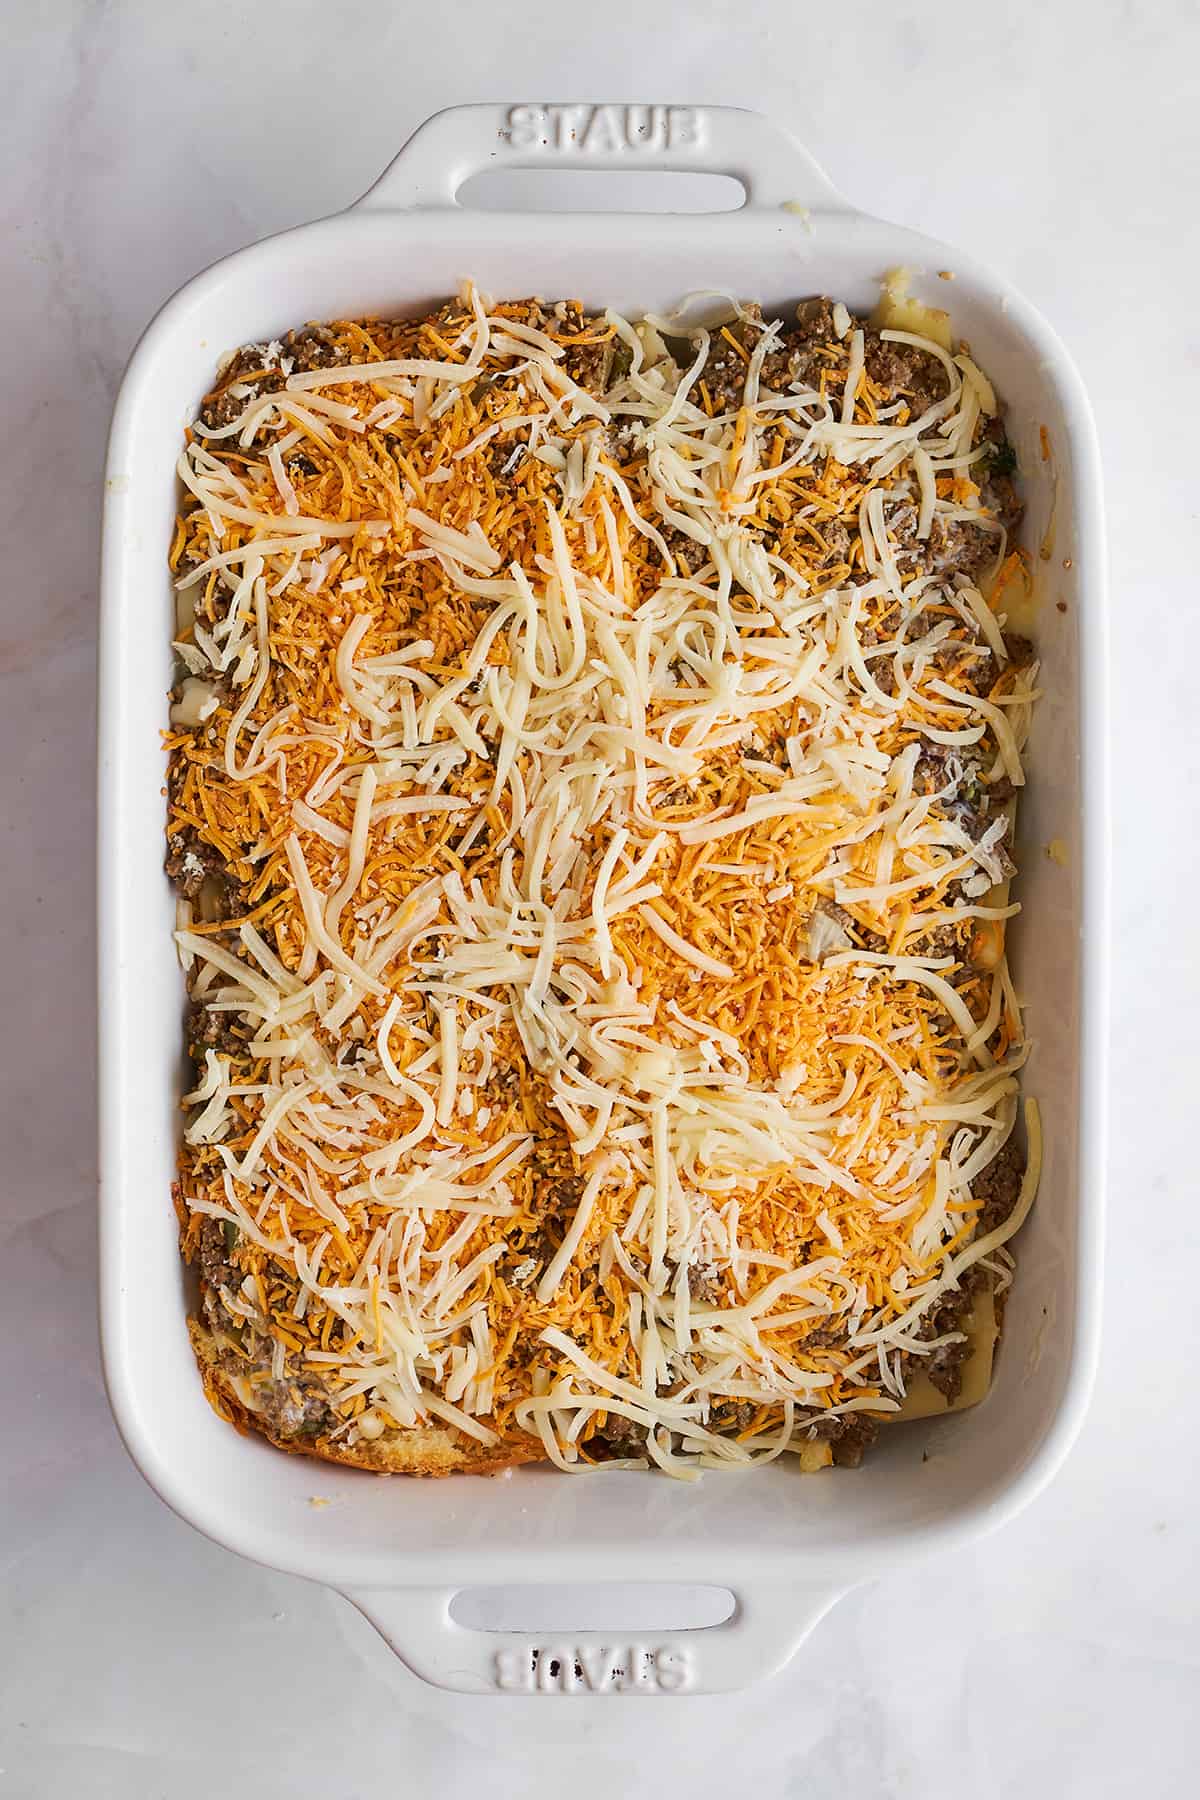
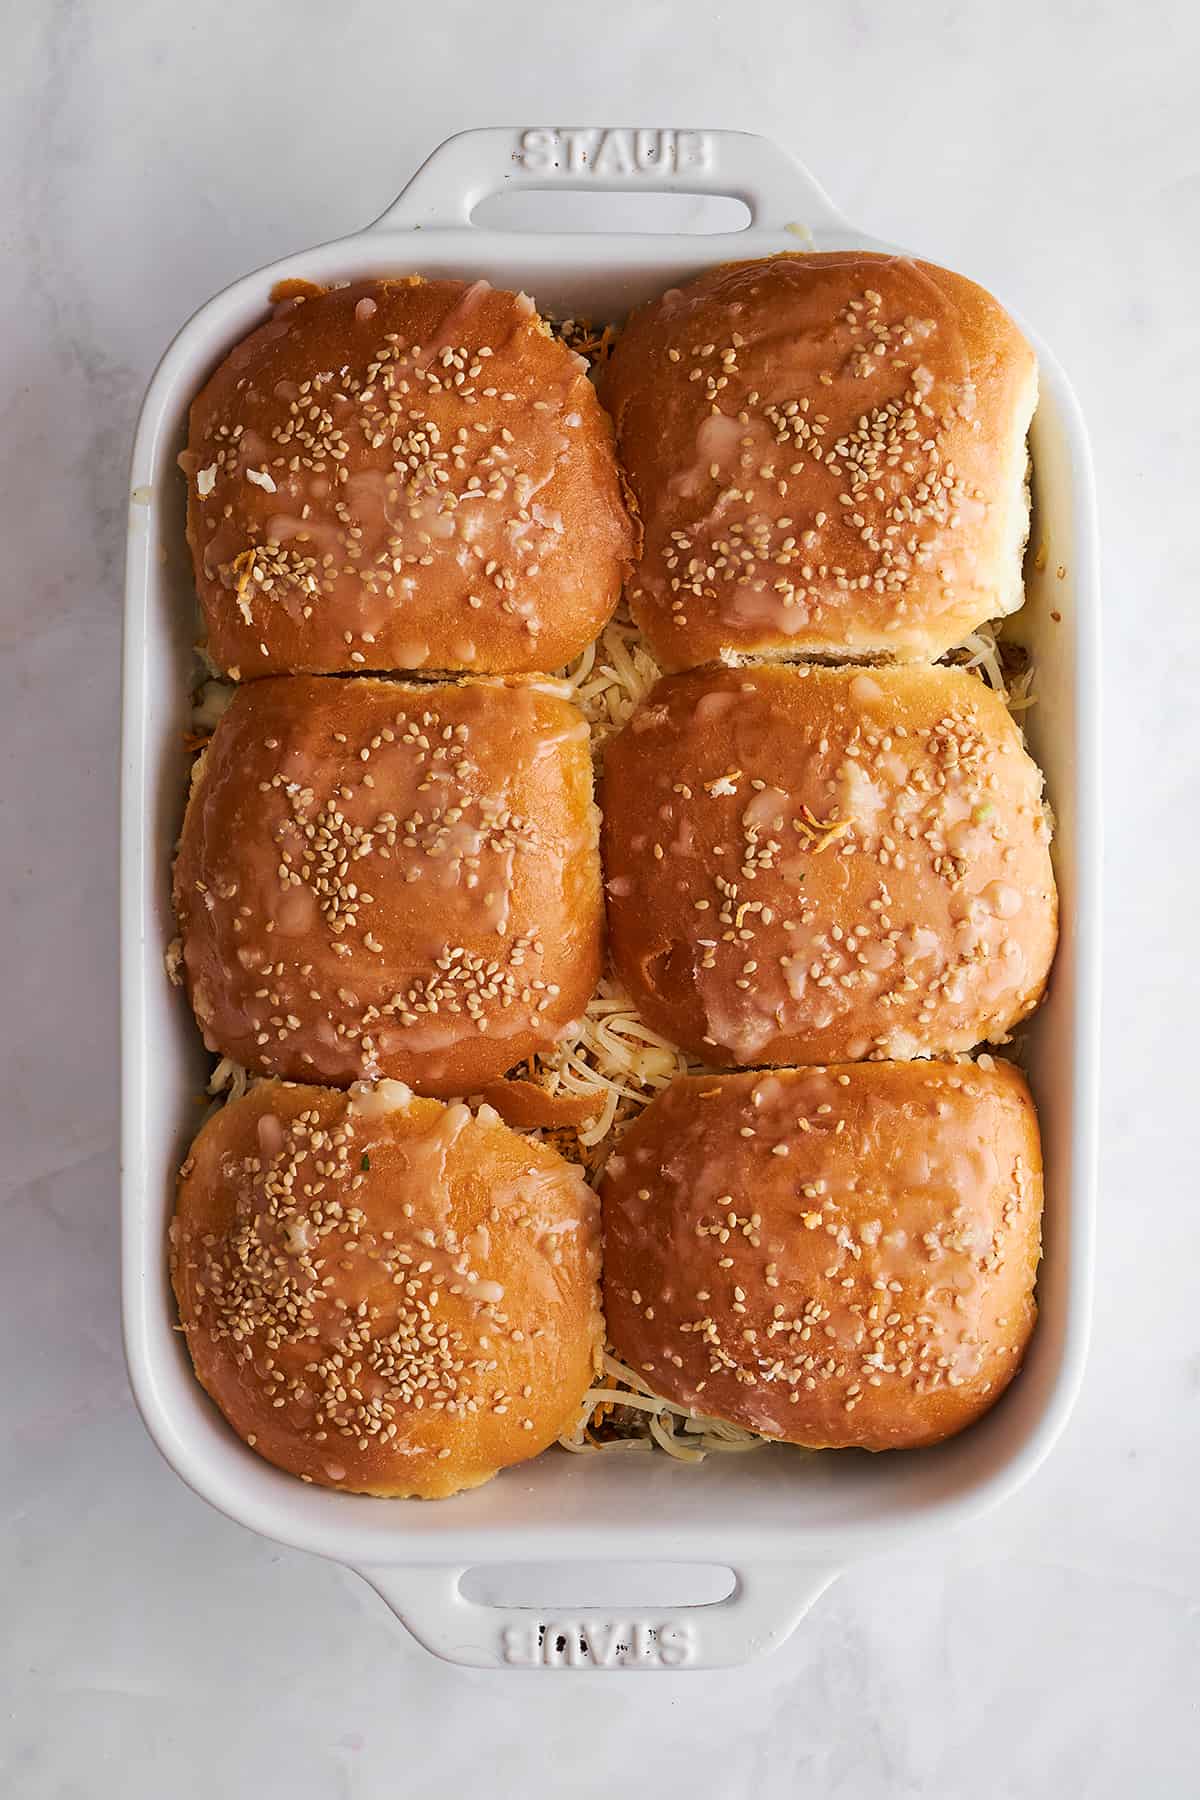
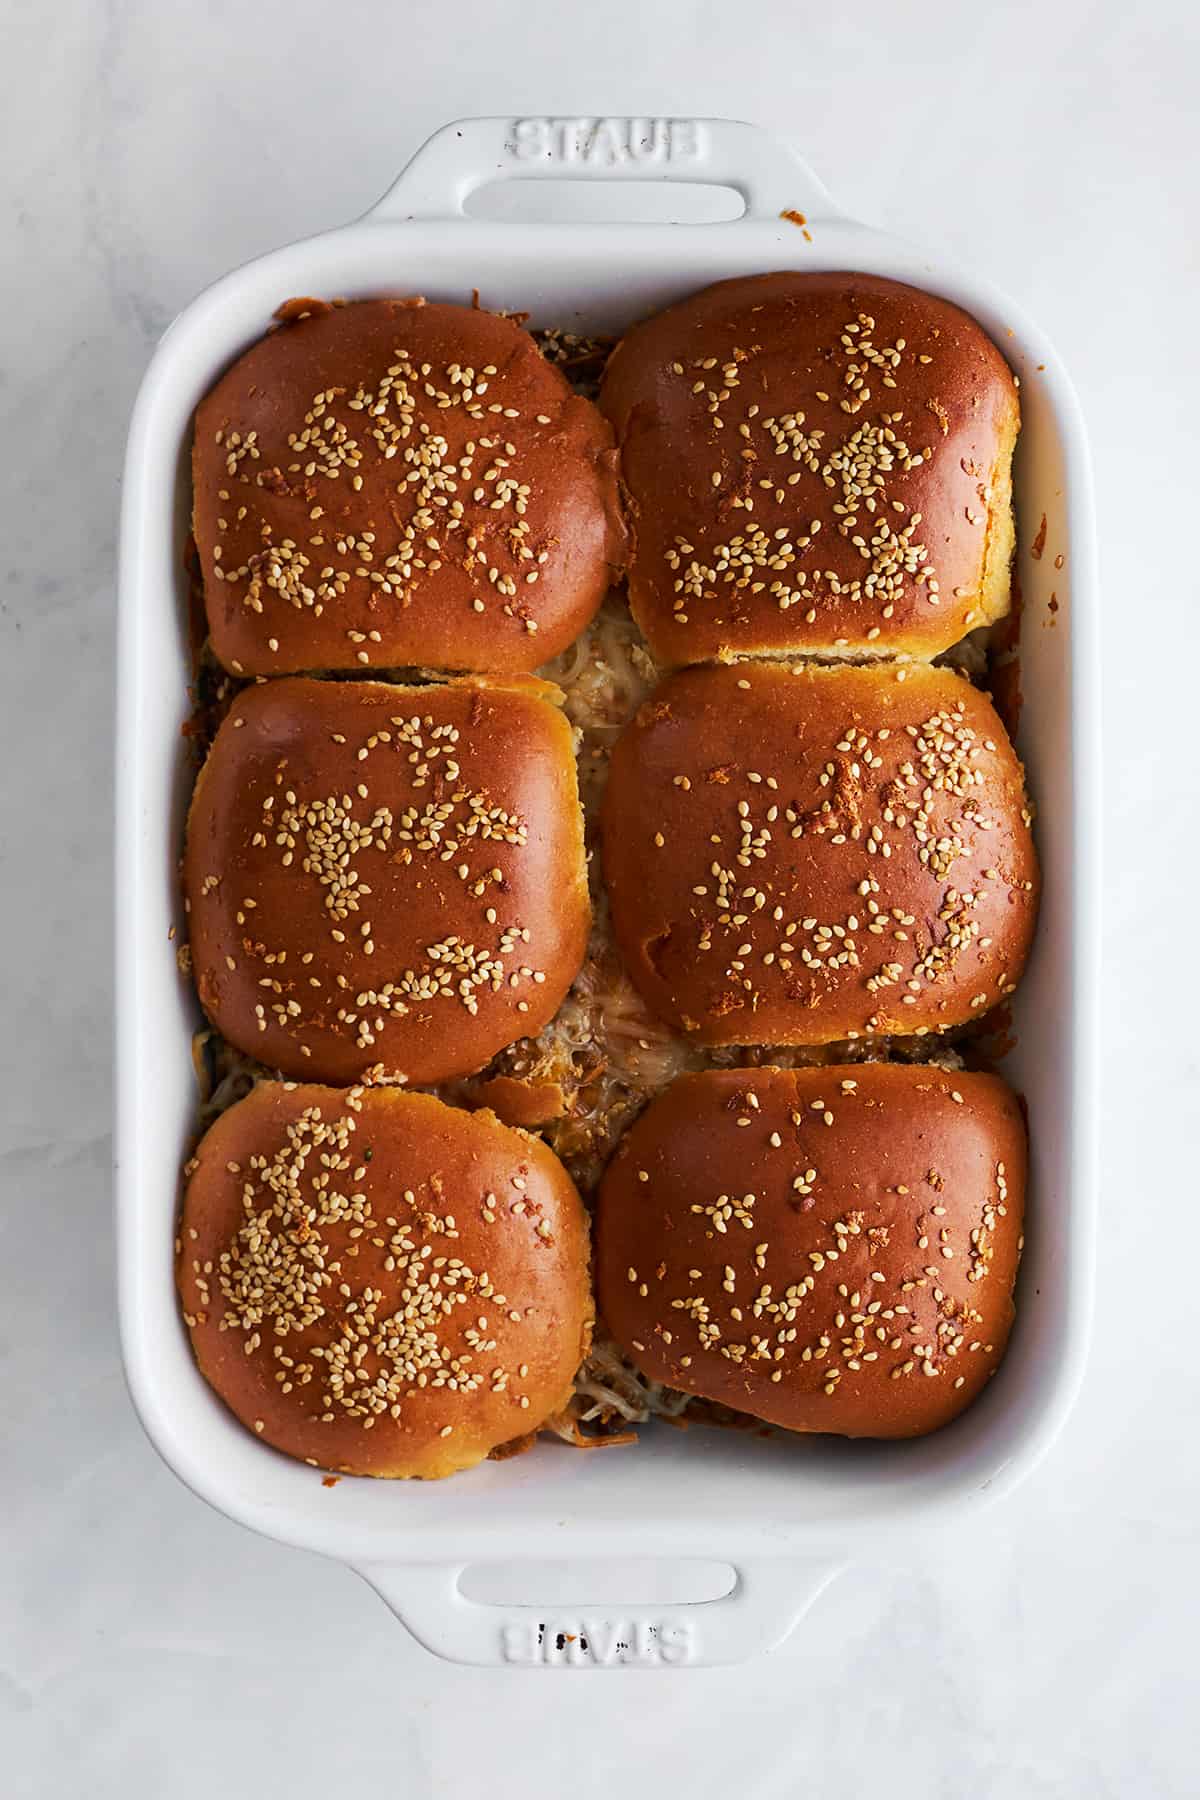
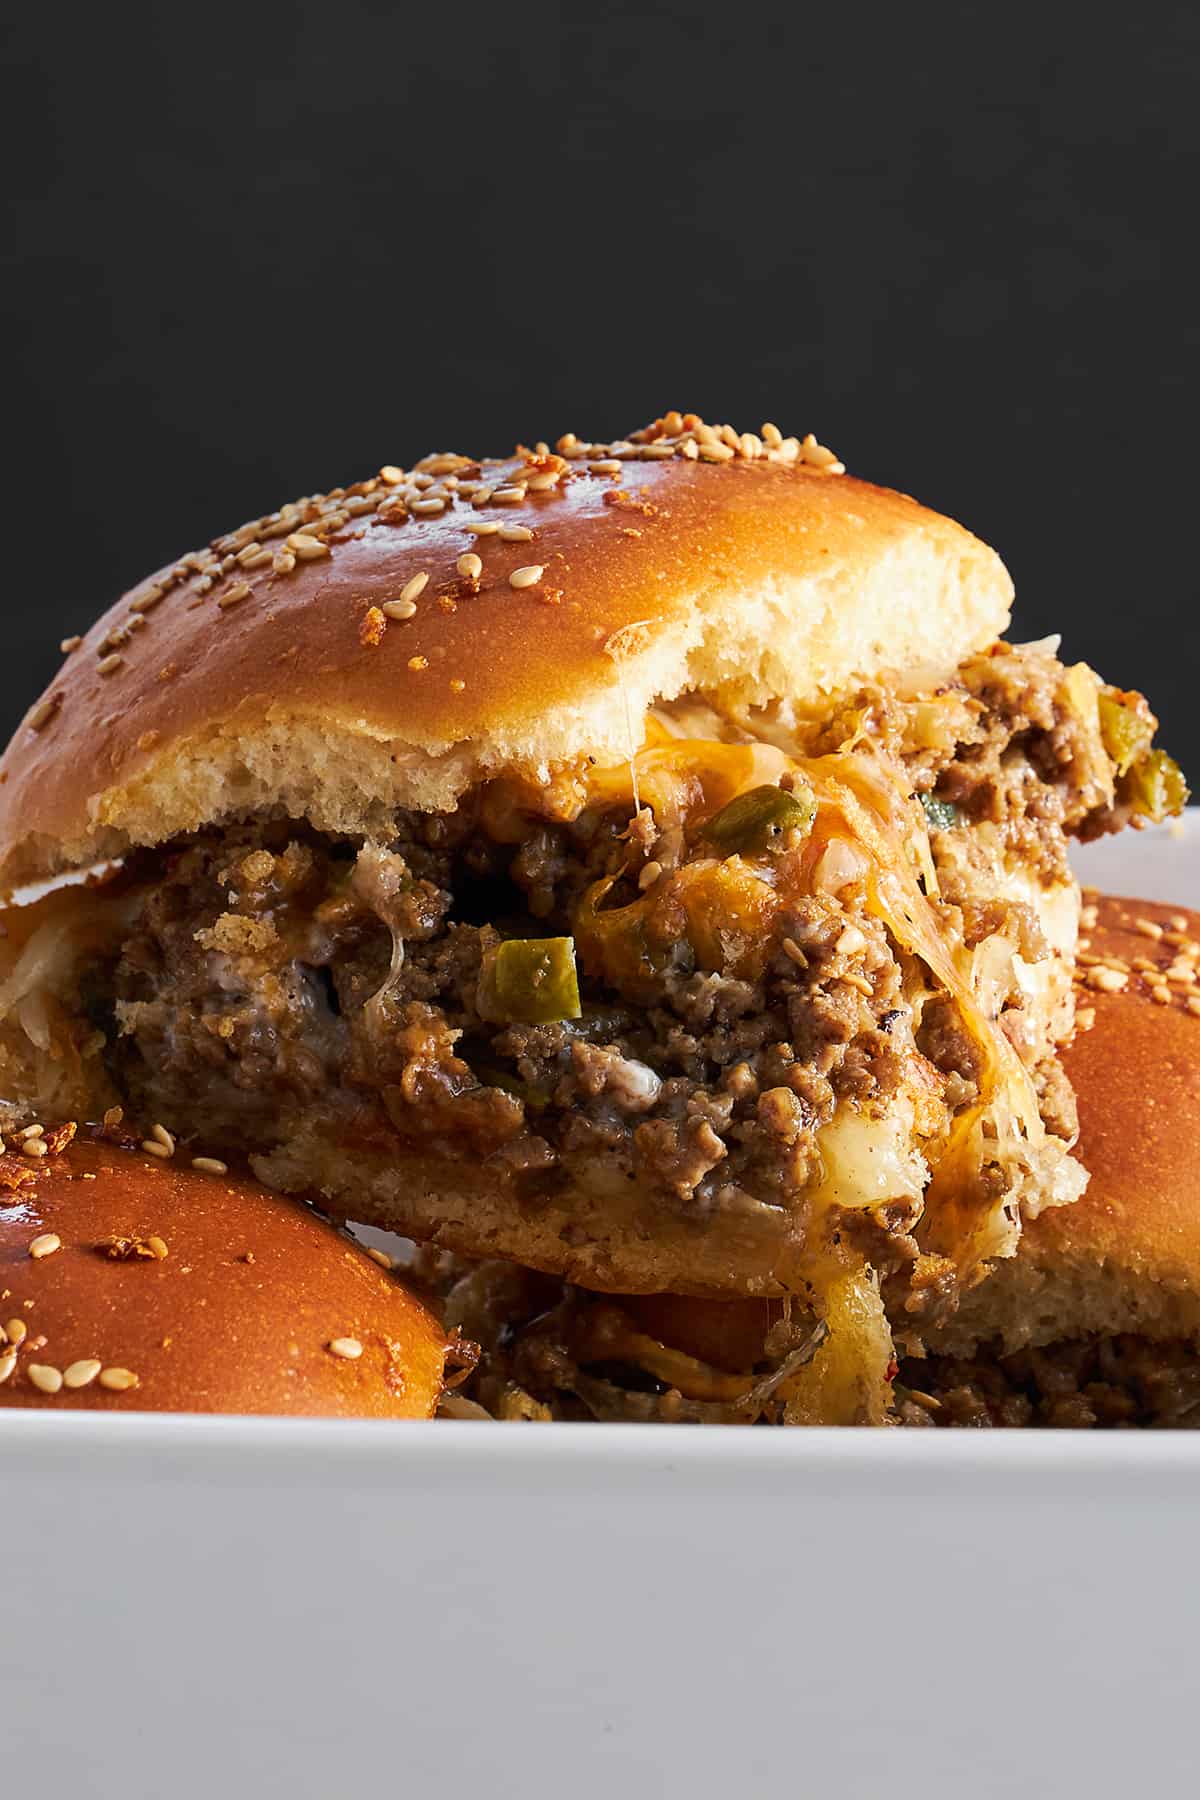
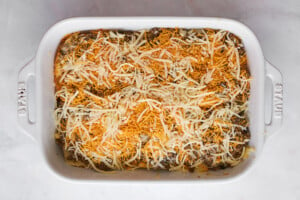
 Get ready for a flavor-packed twist on classic cheeseburgers with our Cheesy Ground Beef Sliders! These simple sliders are kicked…


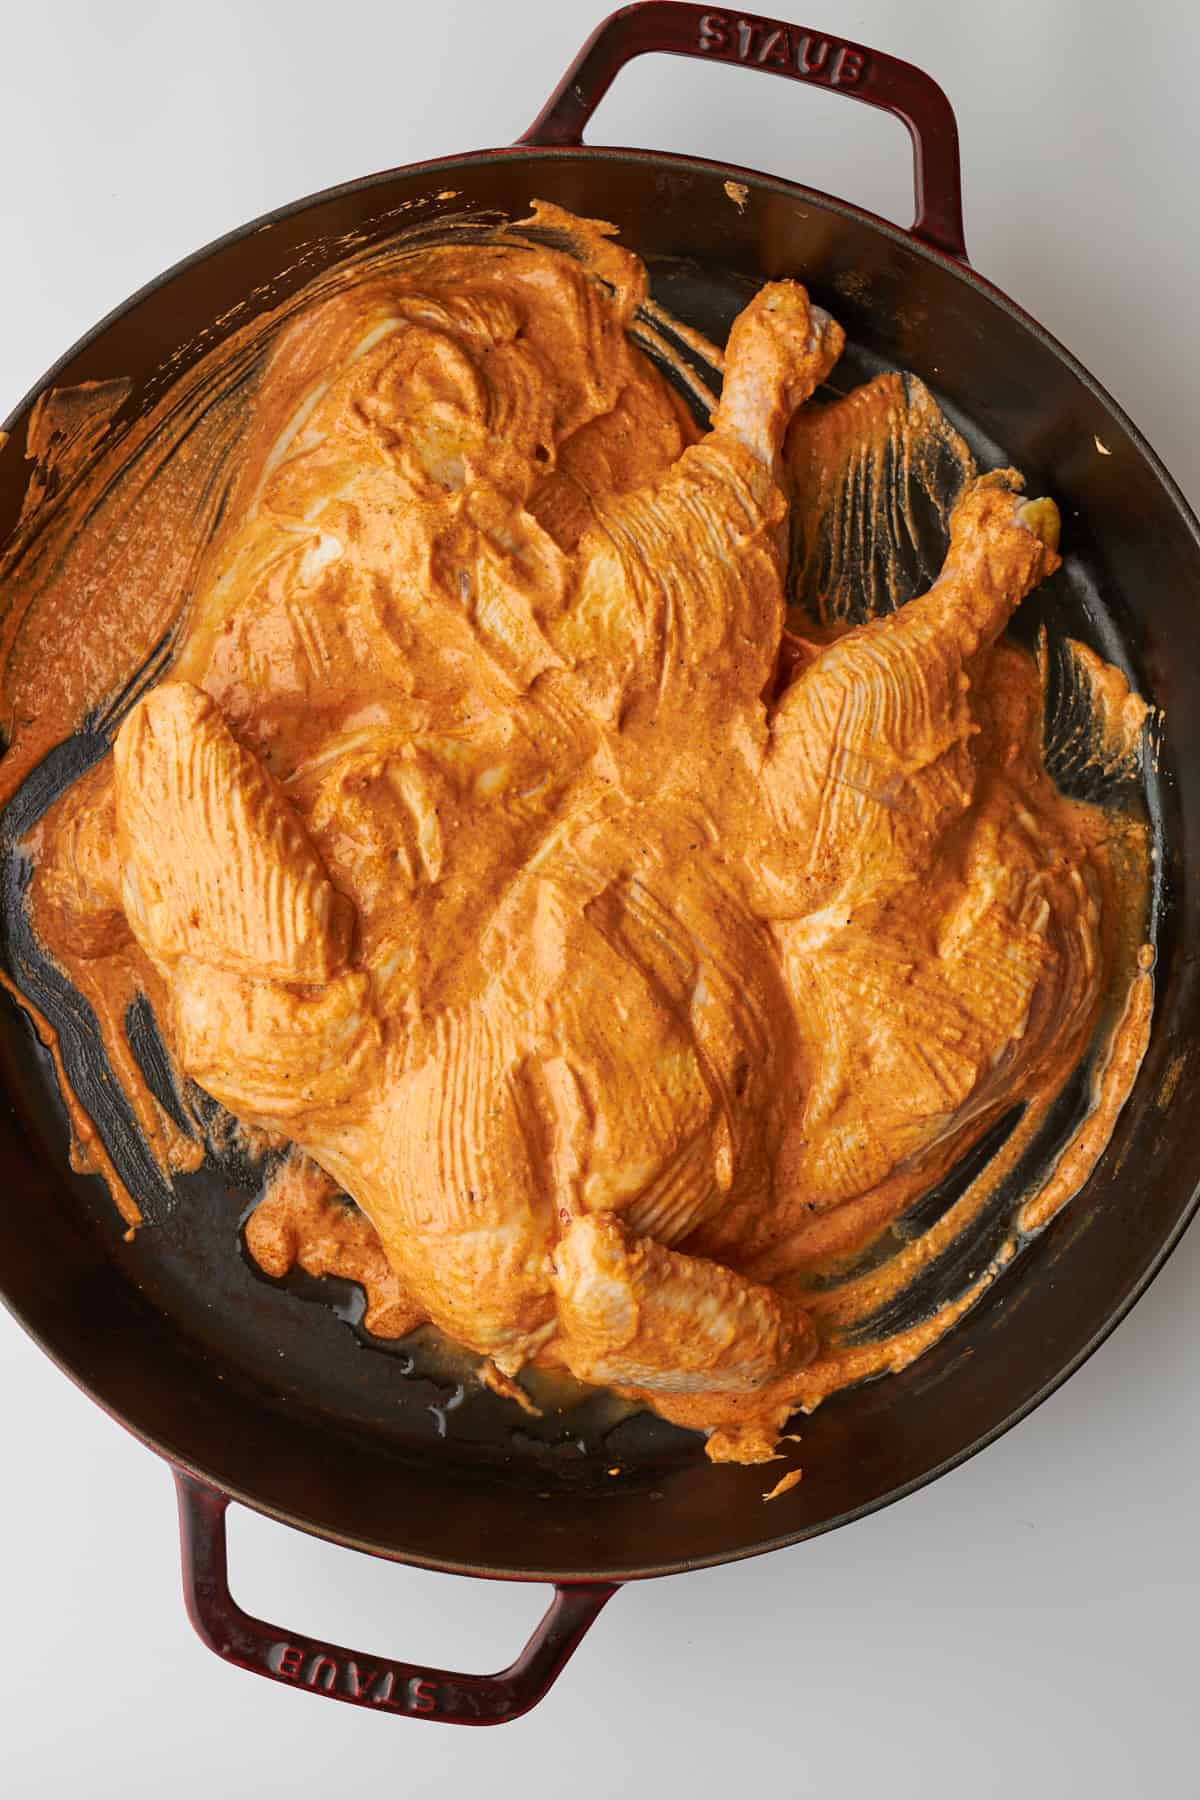
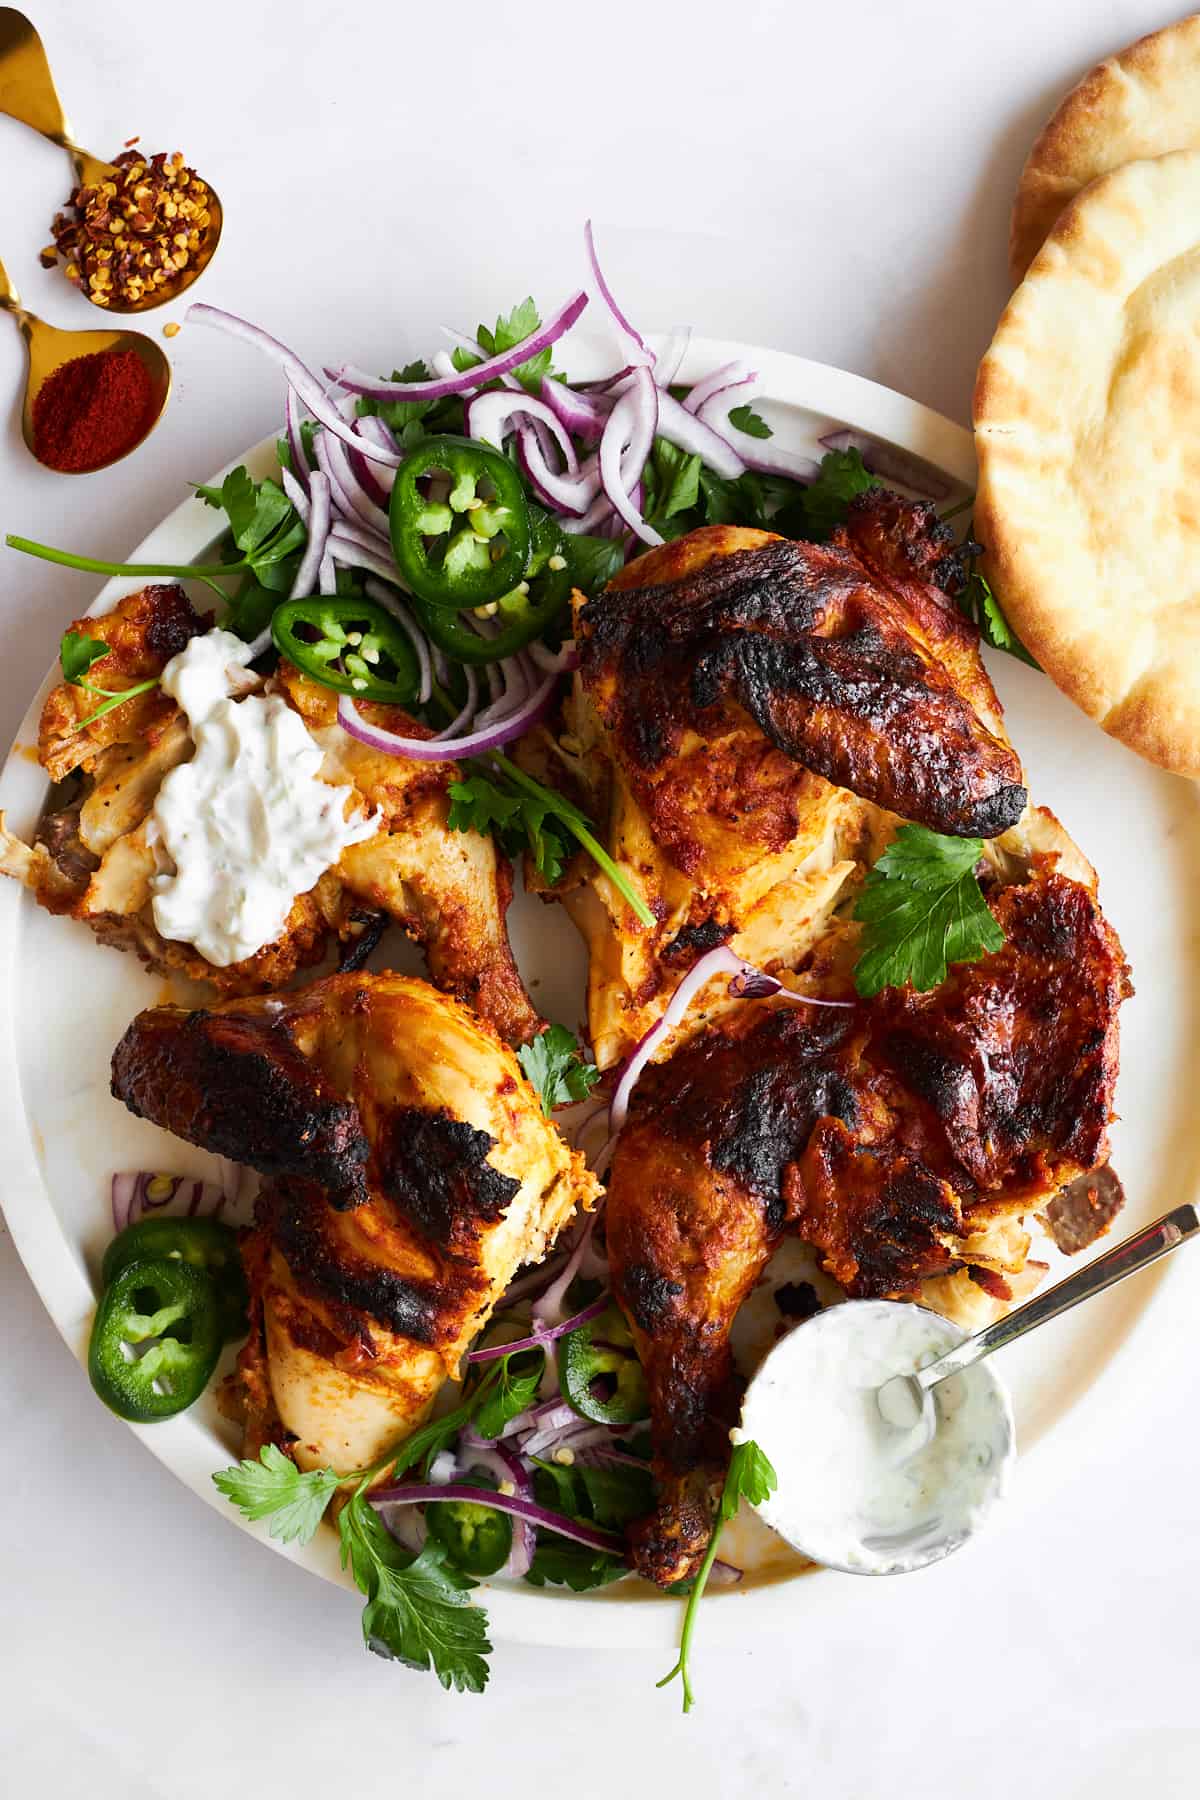
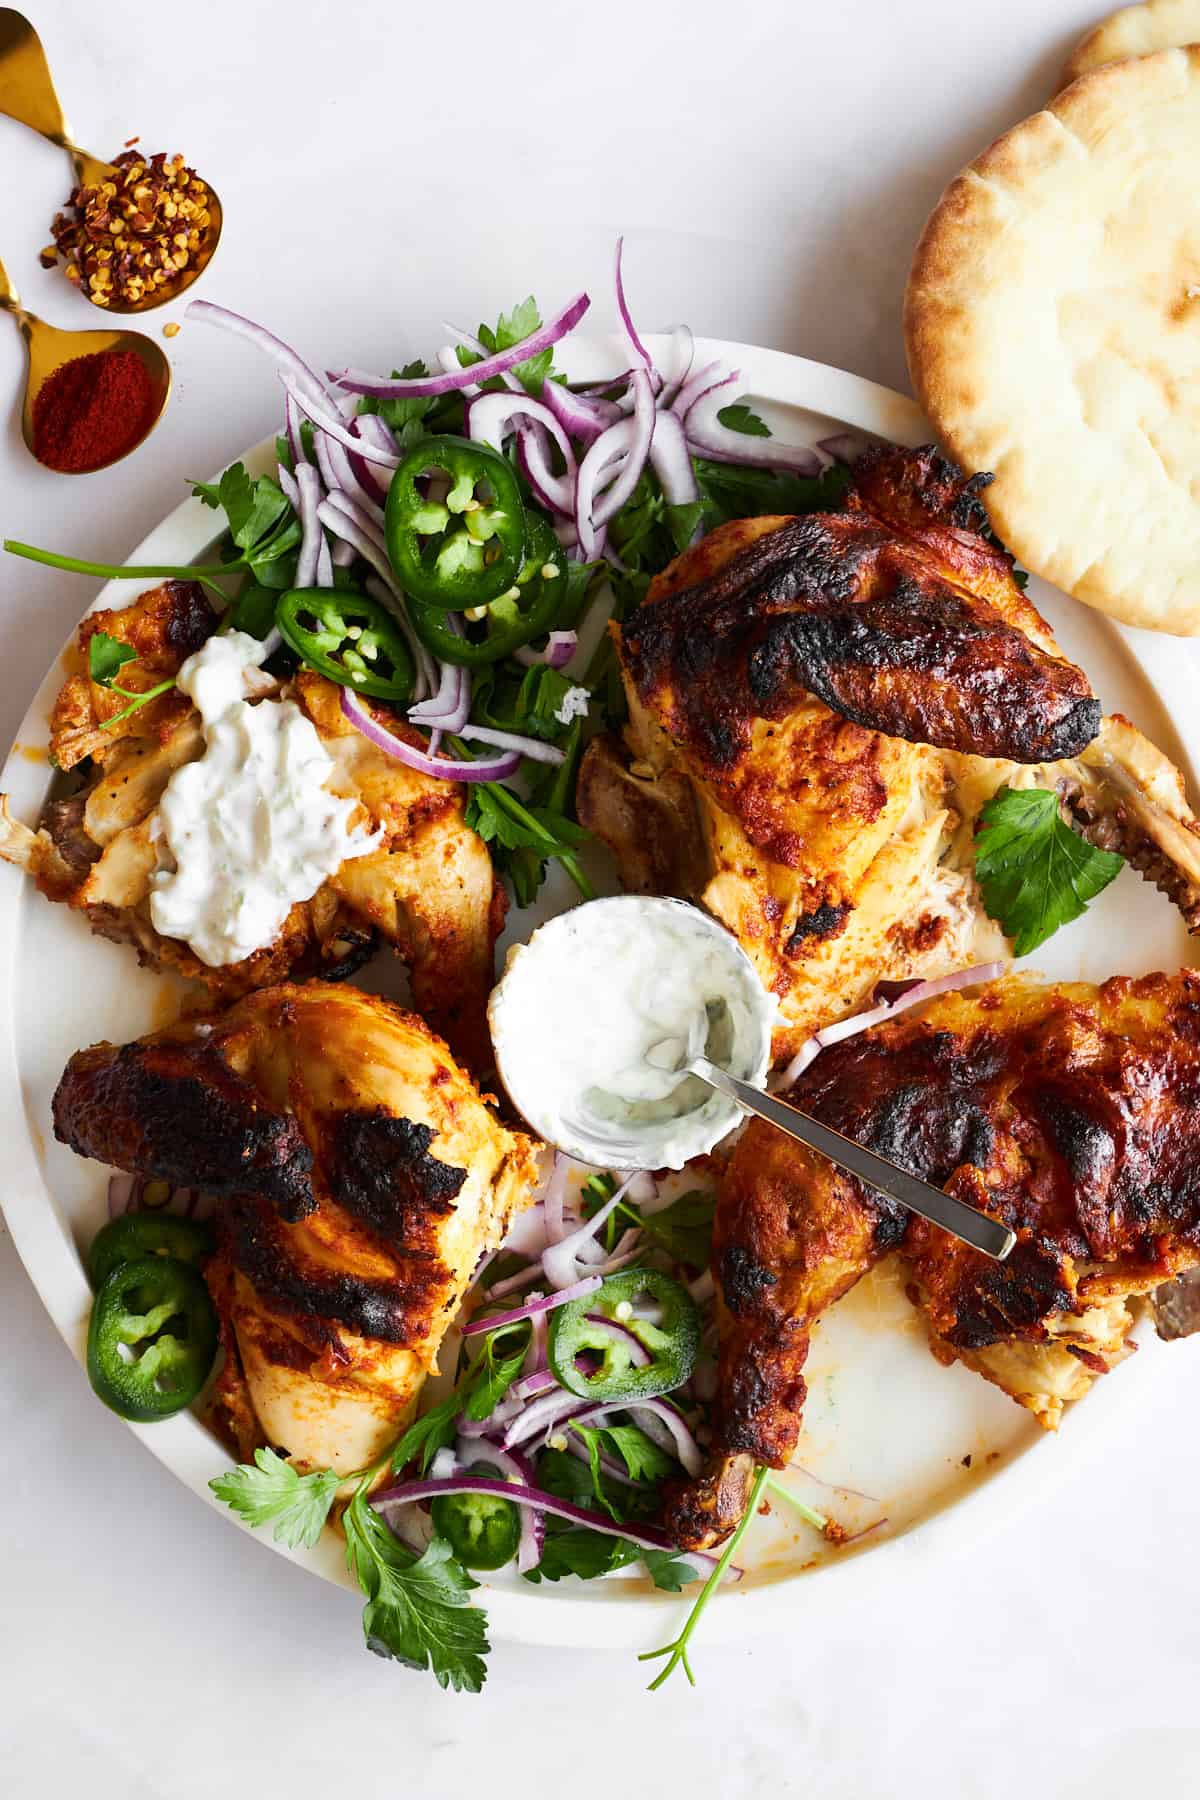 Our Whole Roasted Chicken Tikka recipe showcases a spatchcock chicken infused with savory goodness from a creamy yogurt marinade. Seared,…