Chocolate Pistachio Croissants with Ricotta
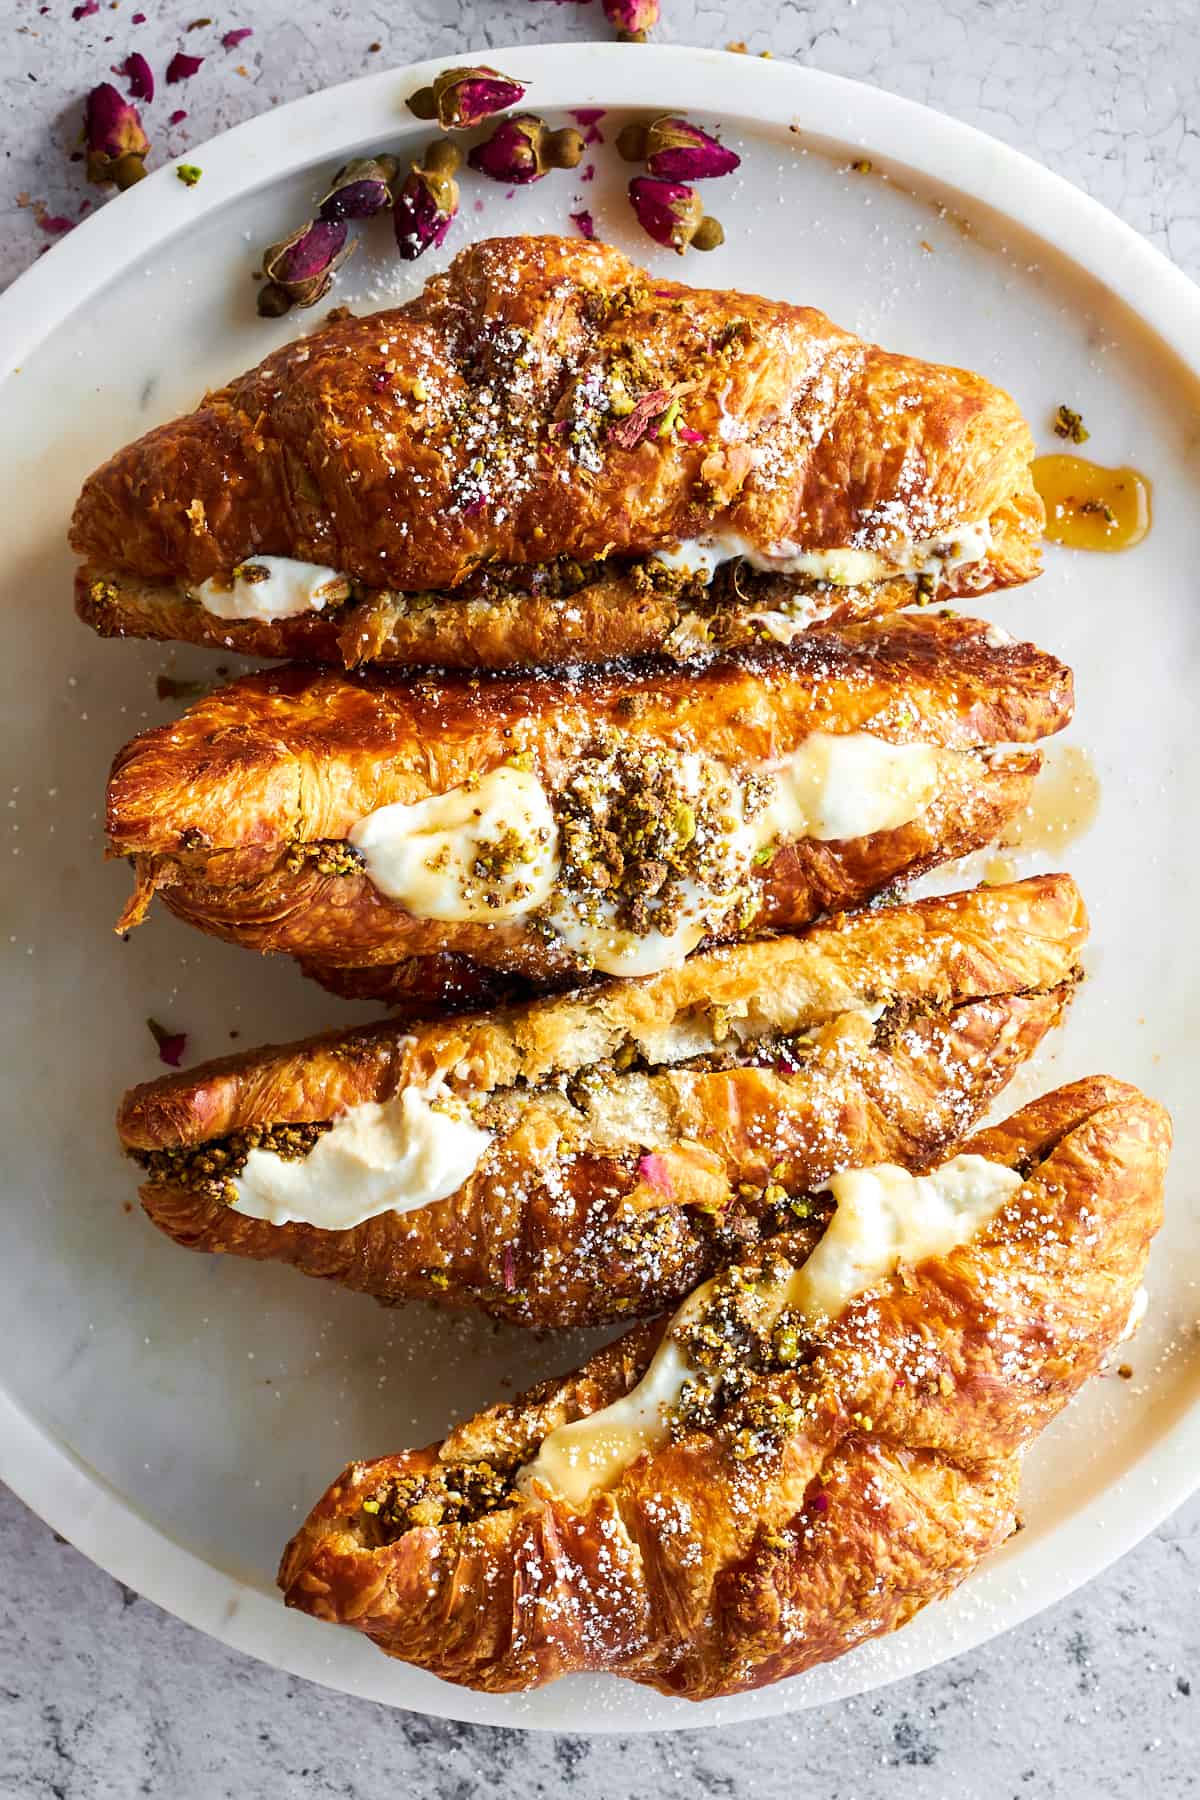 Our Chocolate Pistachio Croissants with Ricotta combines two recipes into one delectable breakfast or dessert! Easy to make and bursting…
Our Chocolate Pistachio Croissants with Ricotta combines two recipes into one delectable breakfast or dessert! Easy to make and bursting…
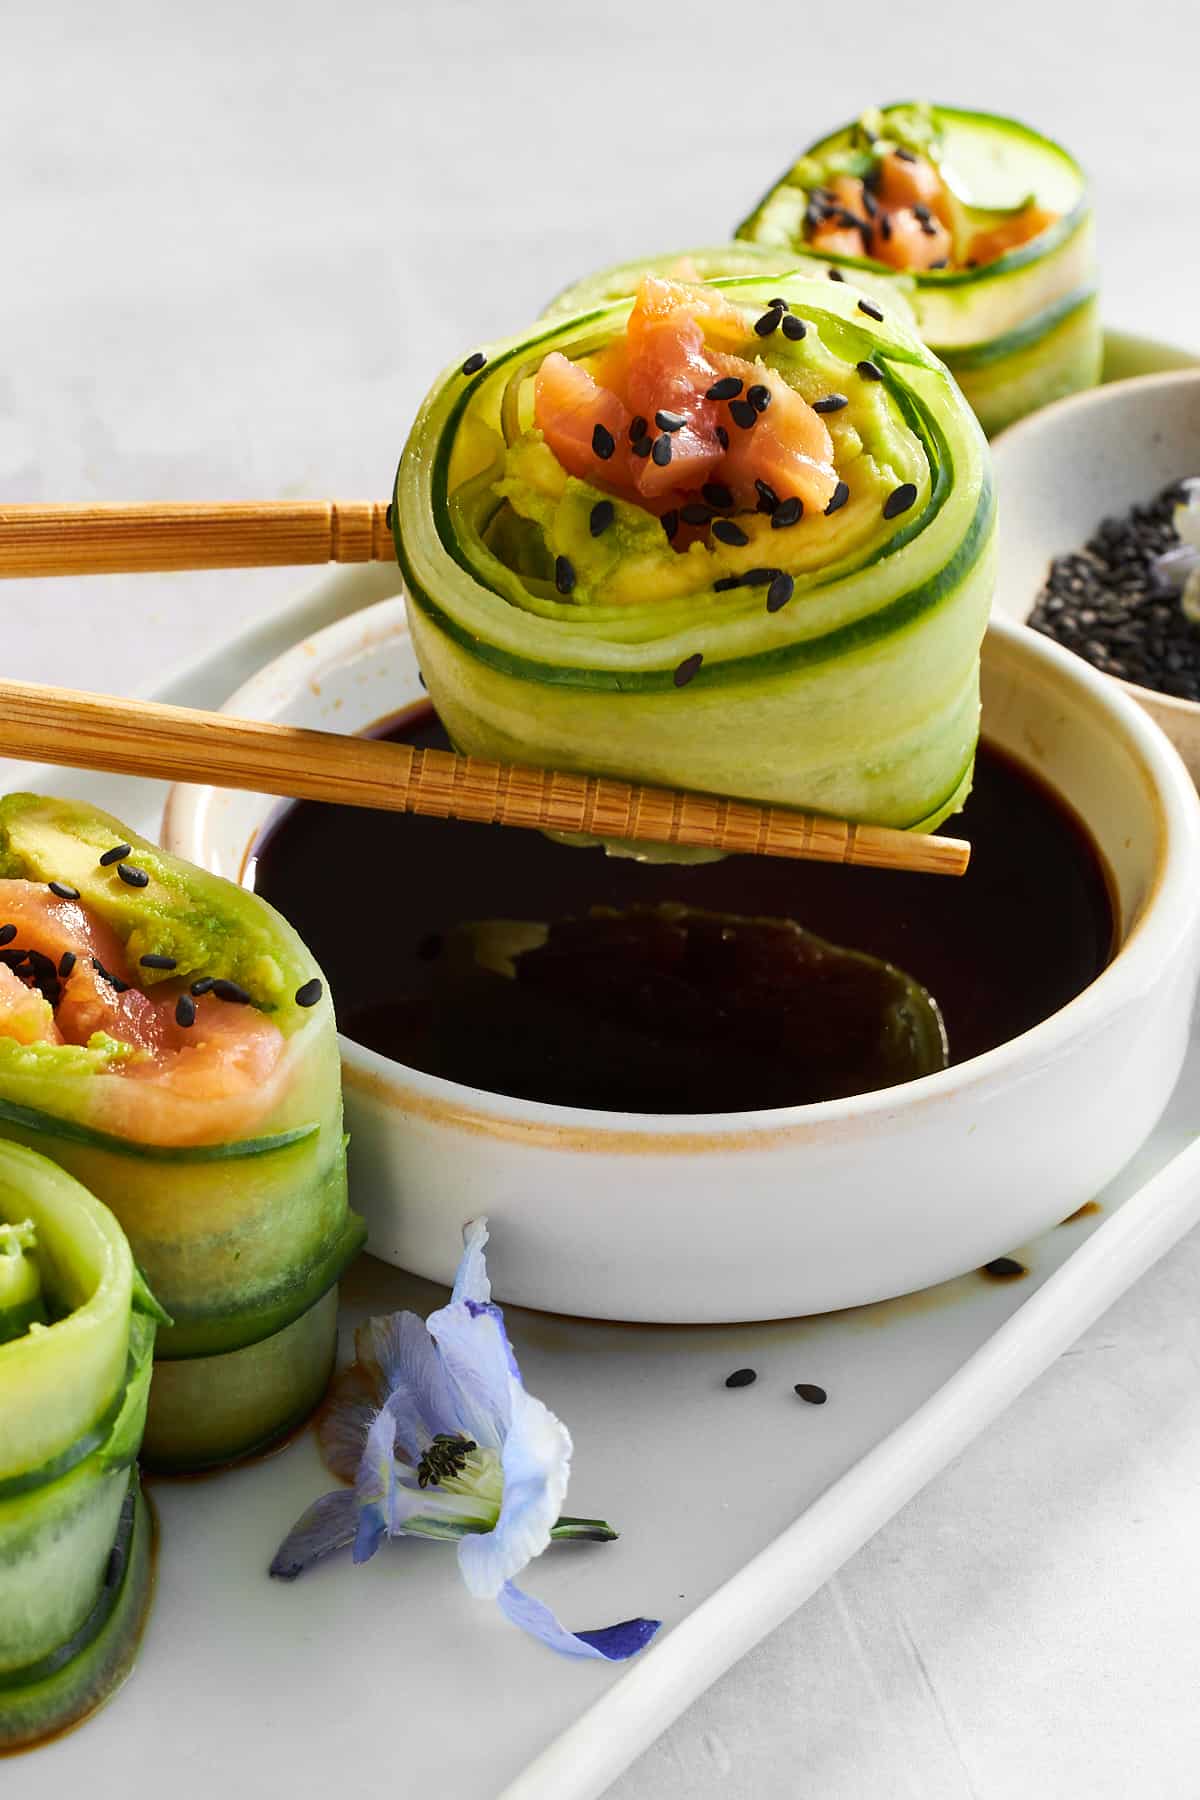 Whip up these simple smoked salmon cucumber rolls in just a few minutes with just a handful of ingredients! This…
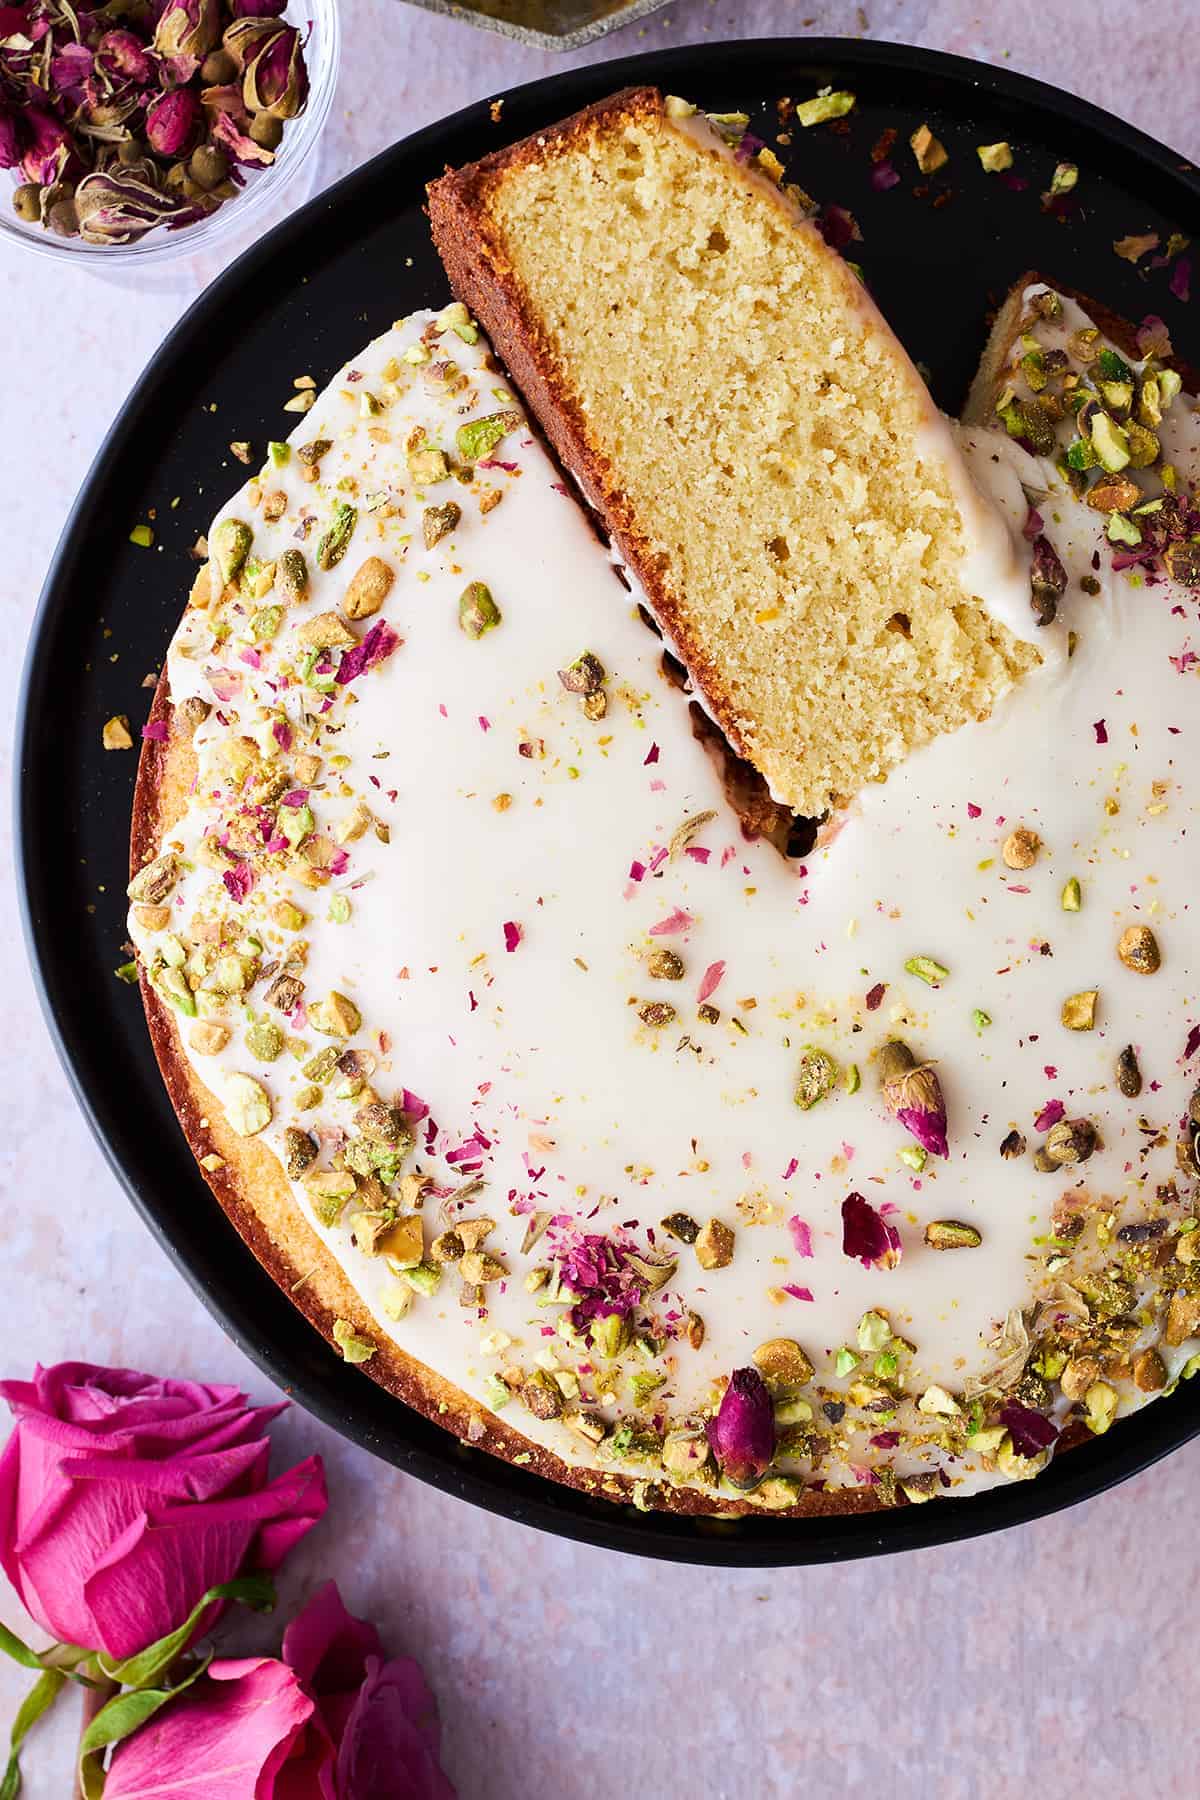 Our Persian Love Cake recipe is nothing short of heavenly! This gorgeous cake features a light and subtly spiced batter…
 Over the last few years, we’ve seen a bit of a Stanley Cup craze thanks to TikTok and social media.…
 Wait until you try this delightful dried fruit compote drink, also known as khoshaf! Imagine a burst of sweet and…
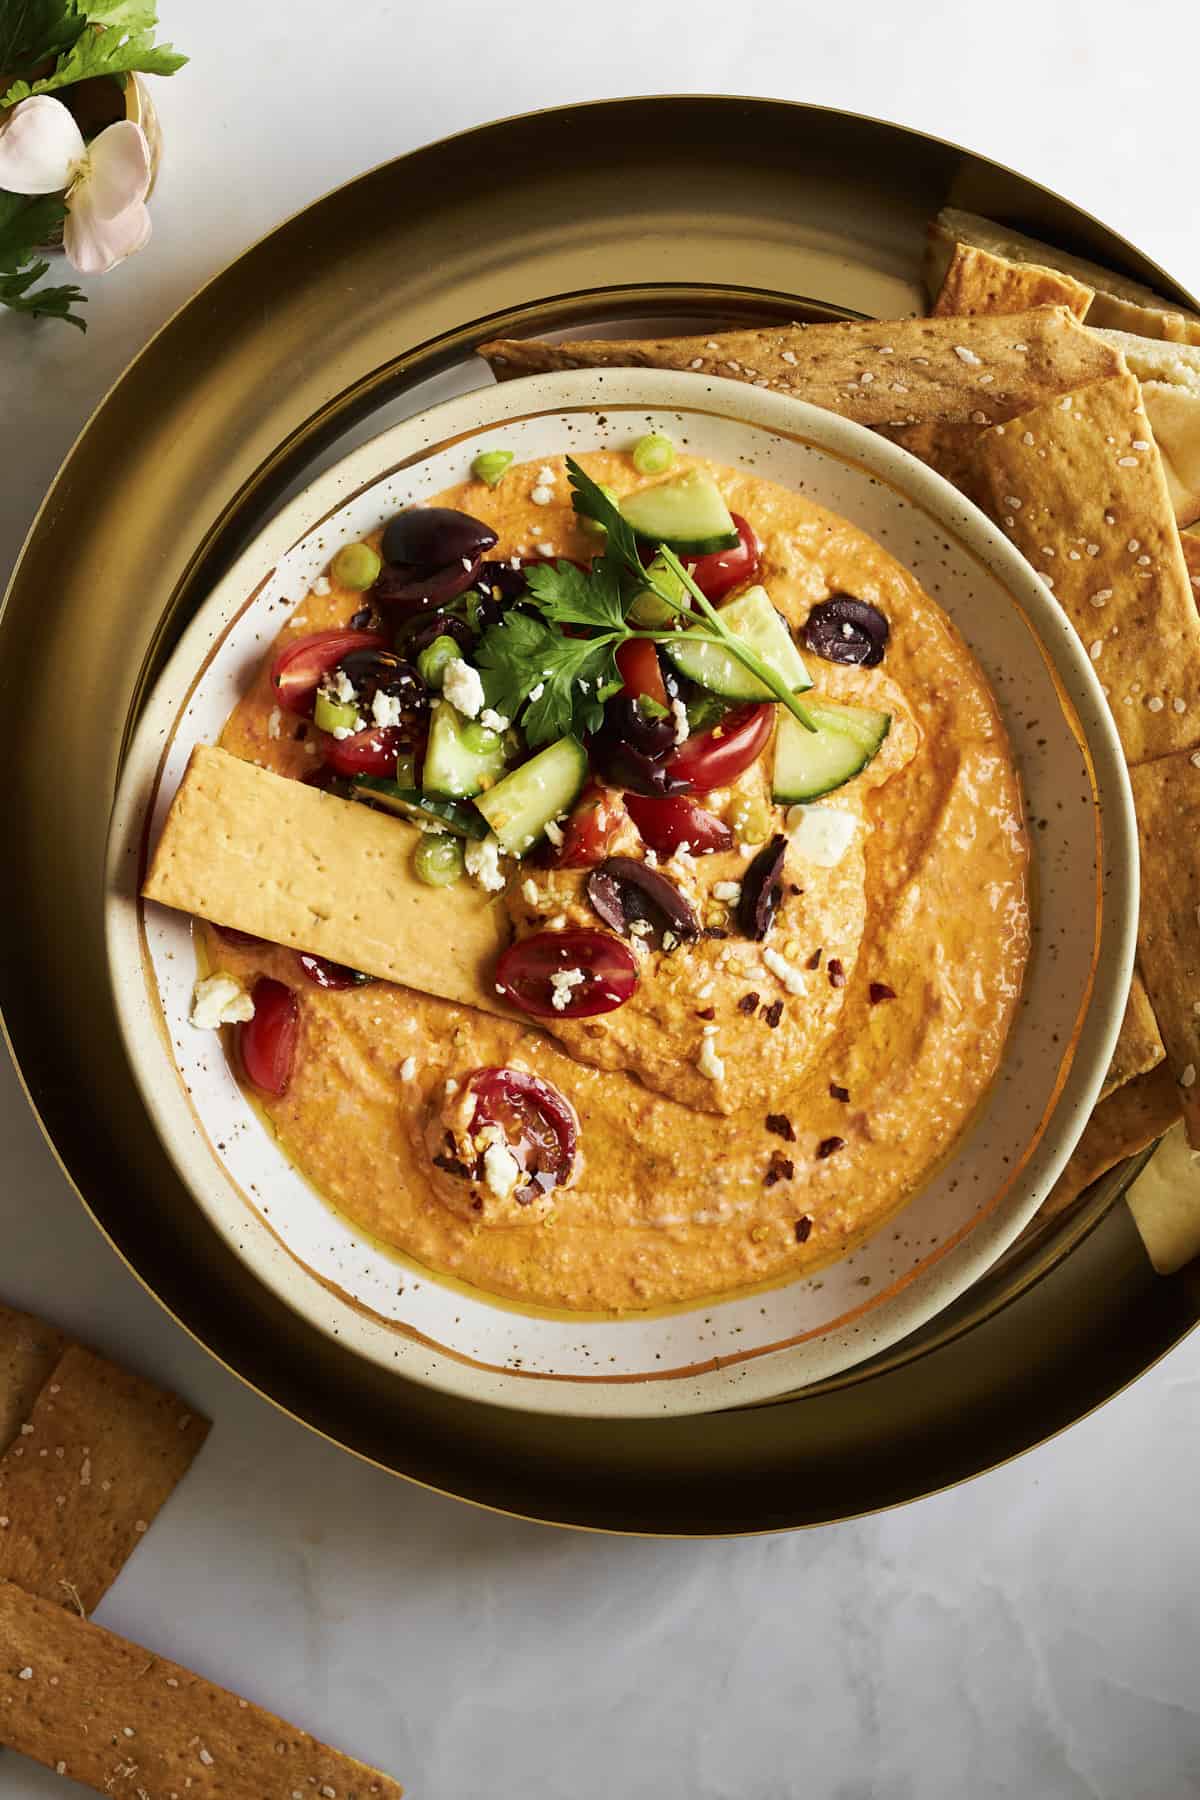 If you’re a fan of the flavors of Greek cuisine, you’re going to fall head over heels for our tantalizing…
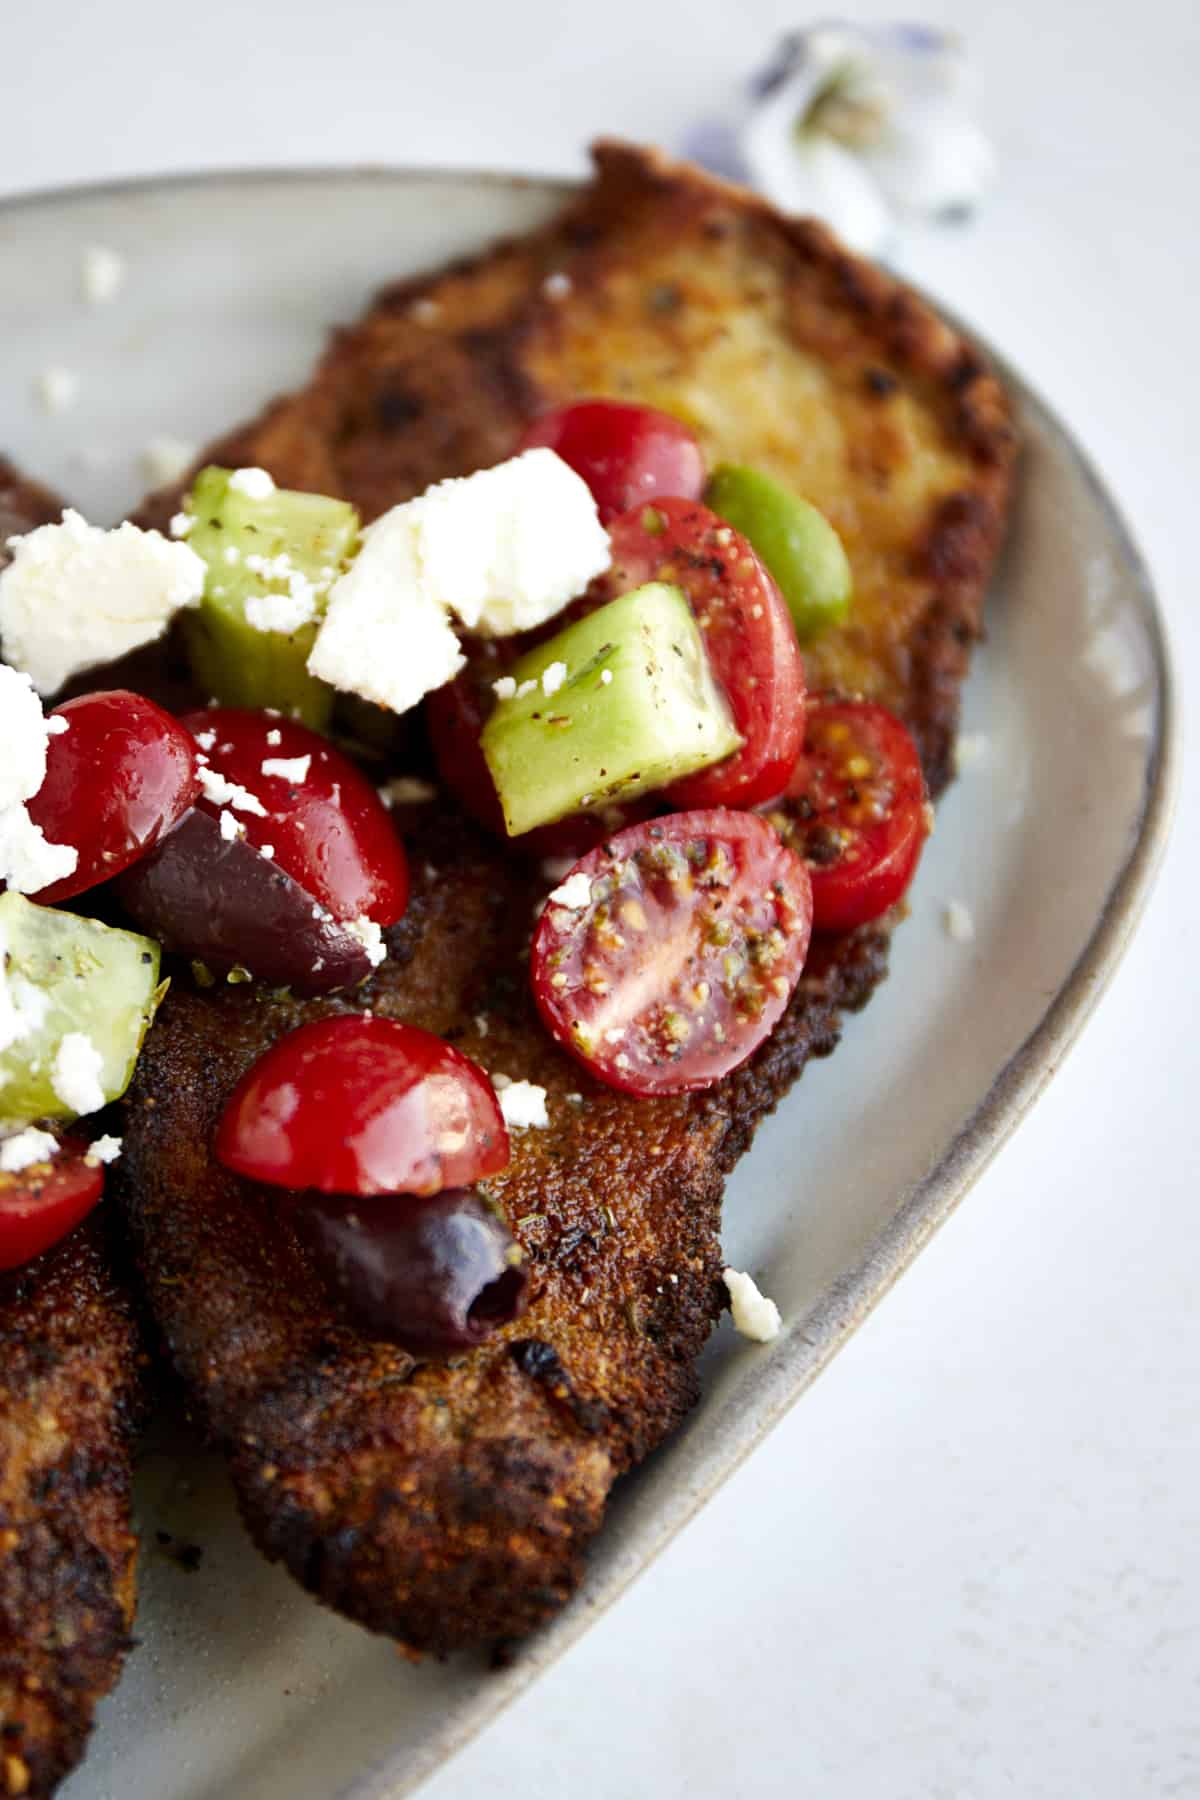 Our air fryer Chicken Milanese with Mediterranean salad is a mouthwatering twist on the classic Milanese chicken! This lighter version…
 Get ready for a flavor-packed twist on classic cheeseburgers with our Cheesy Ground Beef Sliders! These simple sliders are kicked…
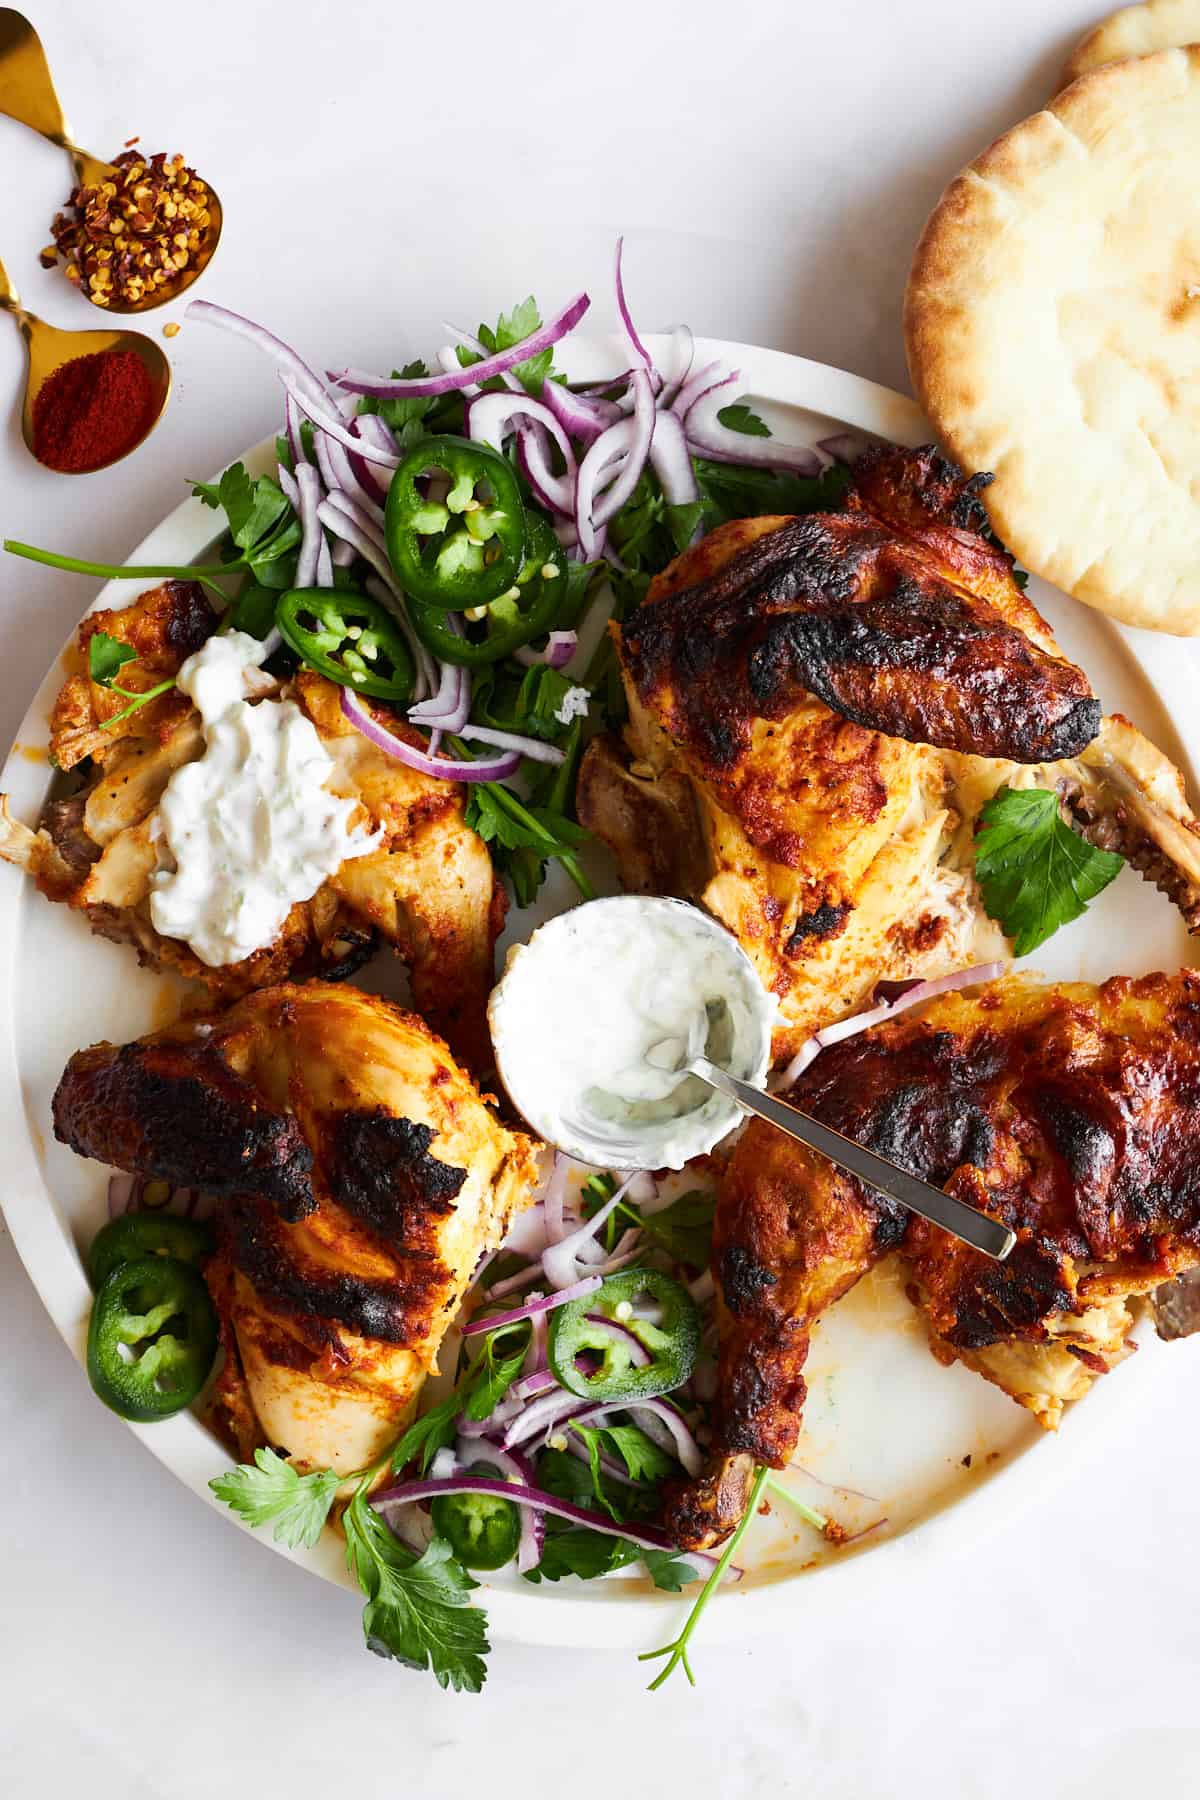 Our Whole Roasted Chicken Tikka recipe showcases a spatchcock chicken infused with savory goodness from a creamy yogurt marinade. Seared,…