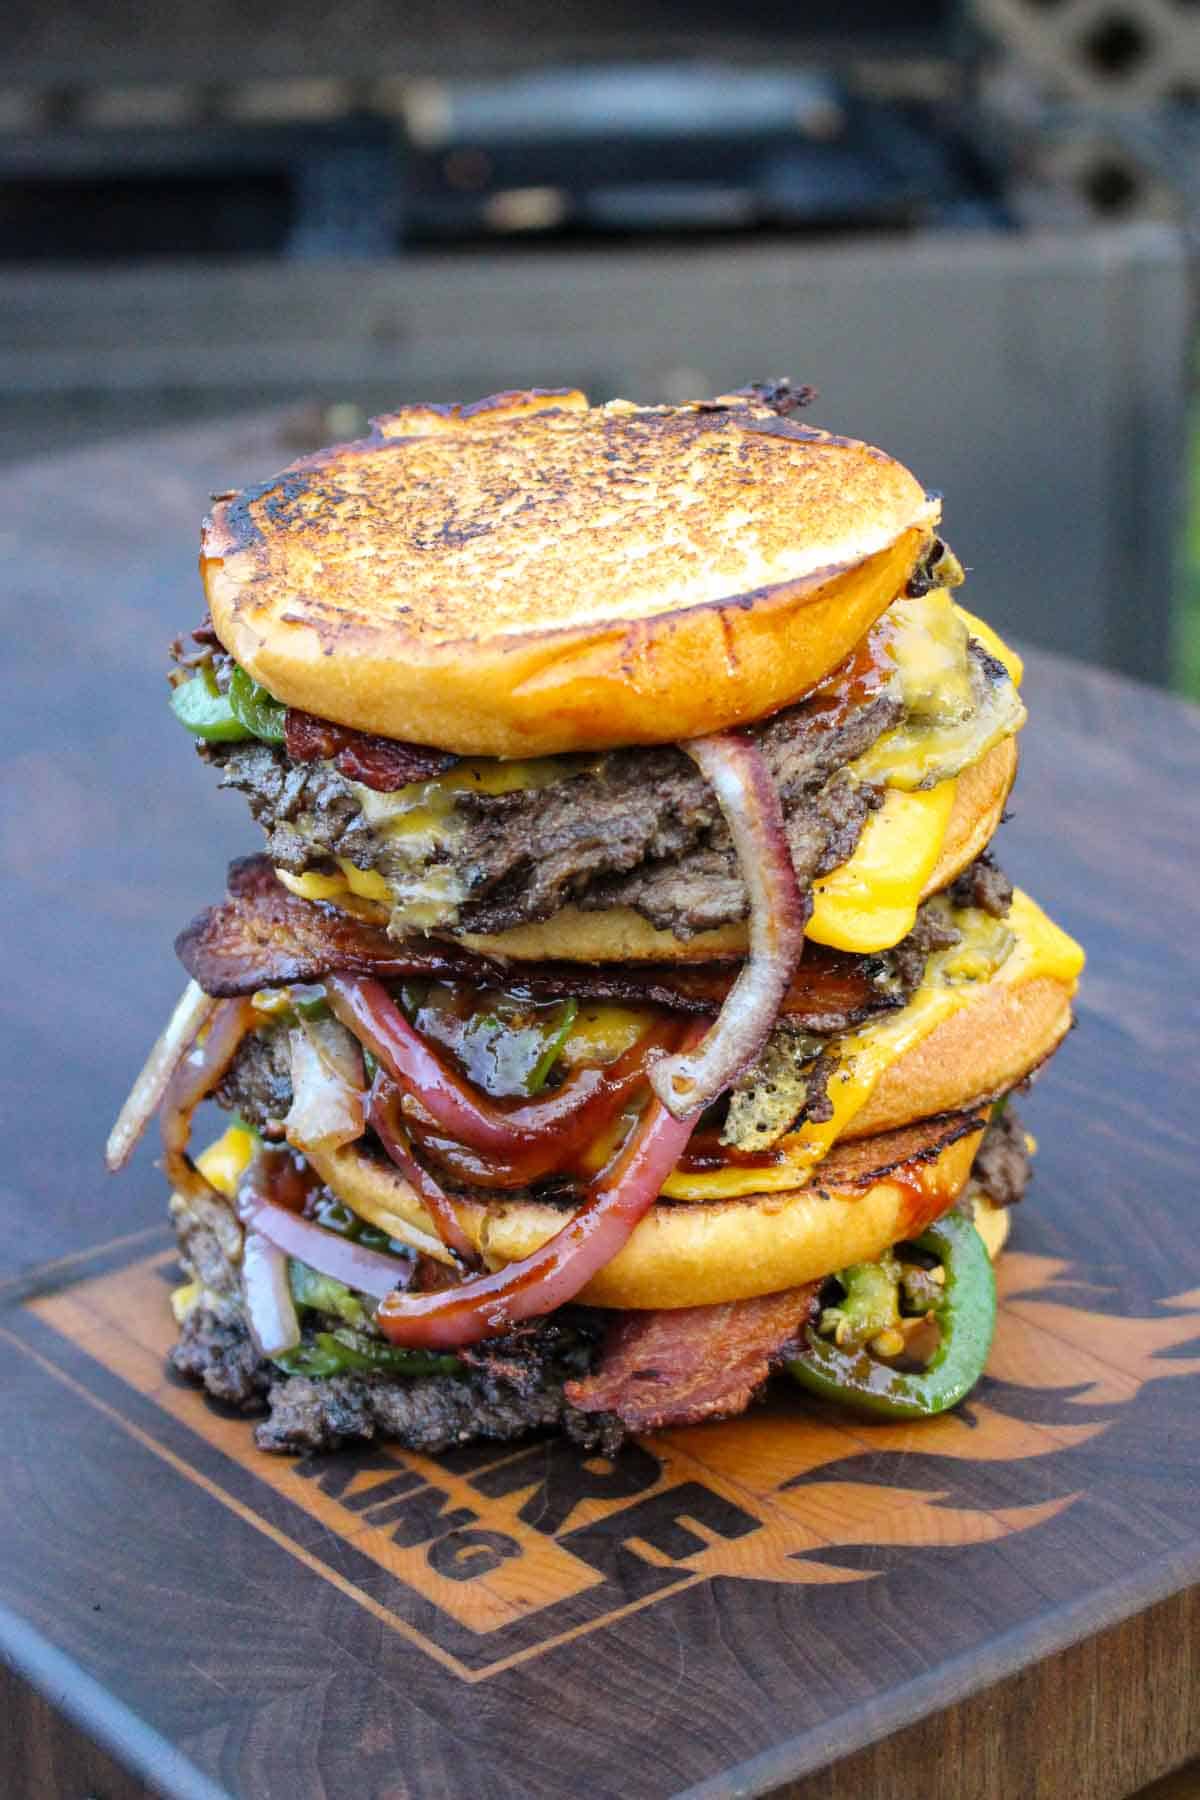
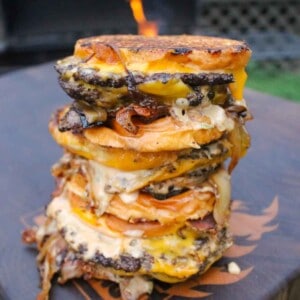
When most people think of patty melts, they think of classic diner food. You know what I’m talking about: ground beef patties with a slice of cheese, caramelized onions and pieces of rye bread or Texas toast to round it out. I’m here to tell you that yes, the classic patty melt recipe is freakin’ delicious, but patty melts can be so much more!

I’m stoked to share my favorite homemade patty melt recipes with you. Don’t be afraid to try a new version of a classic, because I know you won’t regret it!
Why You’ll Love These Patty Melt Recipes
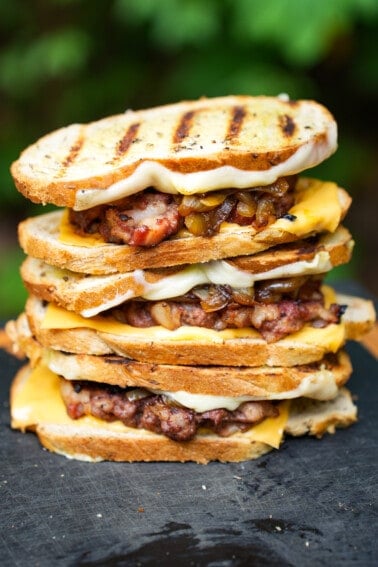
Hamburger patties, slices of cheese, crispy bread, simple ingredients for toppings and sauces — what’s not to love? Patty melts are like a next level grilled cheese sandwich. However, what really makes these recipes go beyond a traditional patty melt are the toppings and bread we use. I’ll walk you through each version, but know that it’s easy to swap out ingredients based on your preferences.
Cooking Tips for Patty Melts
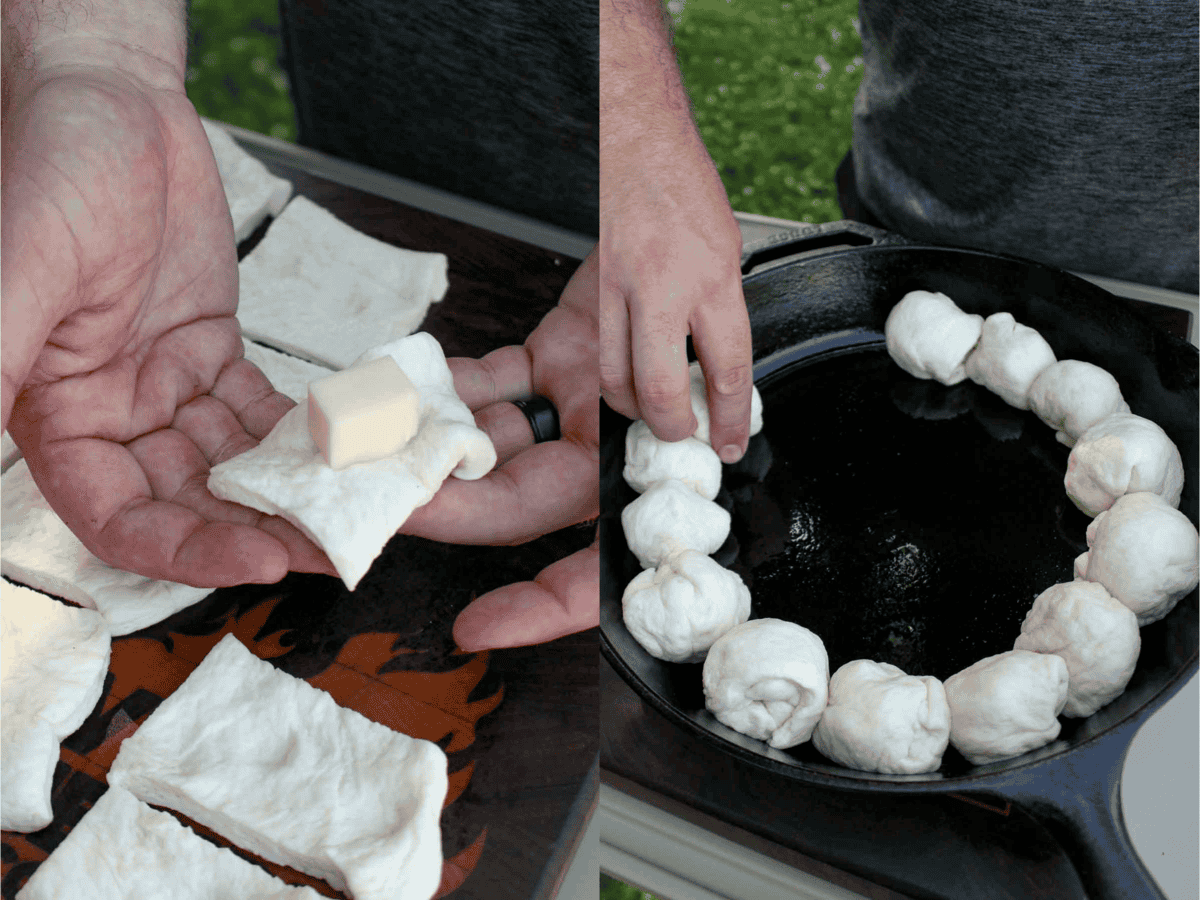
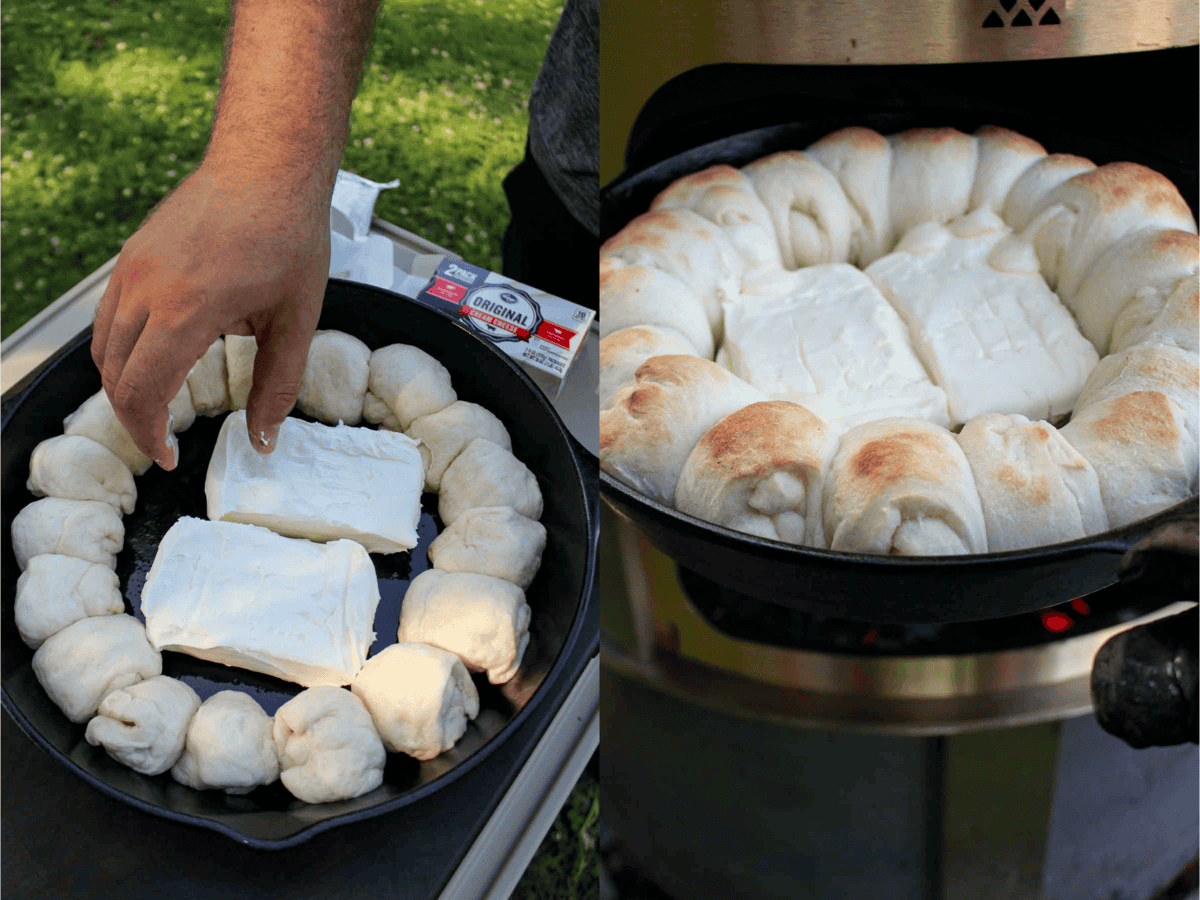
- Gear: First up, a cast iron skillet is your best friend here. You’ll also want the basics: tablespoons of butter, black pepper, kosher salt and a small bowl or medium bowl for mixing up sauces.
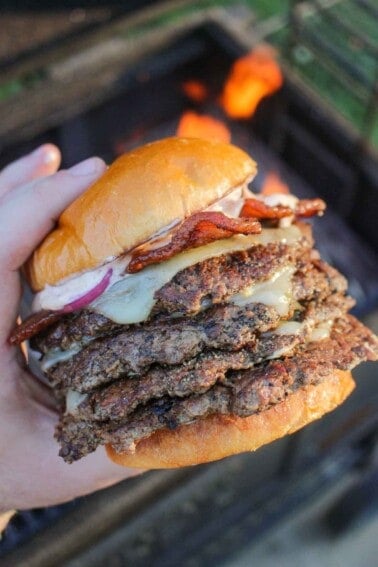
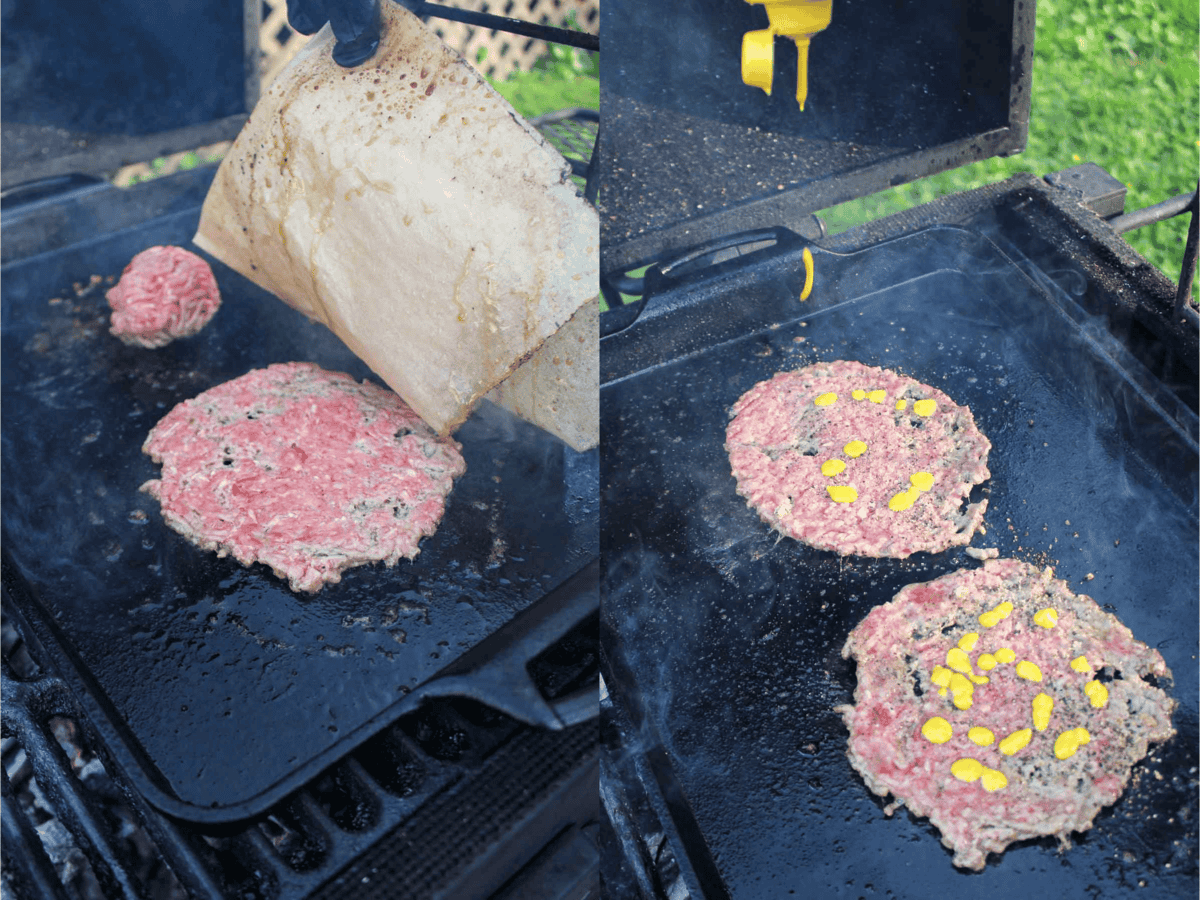
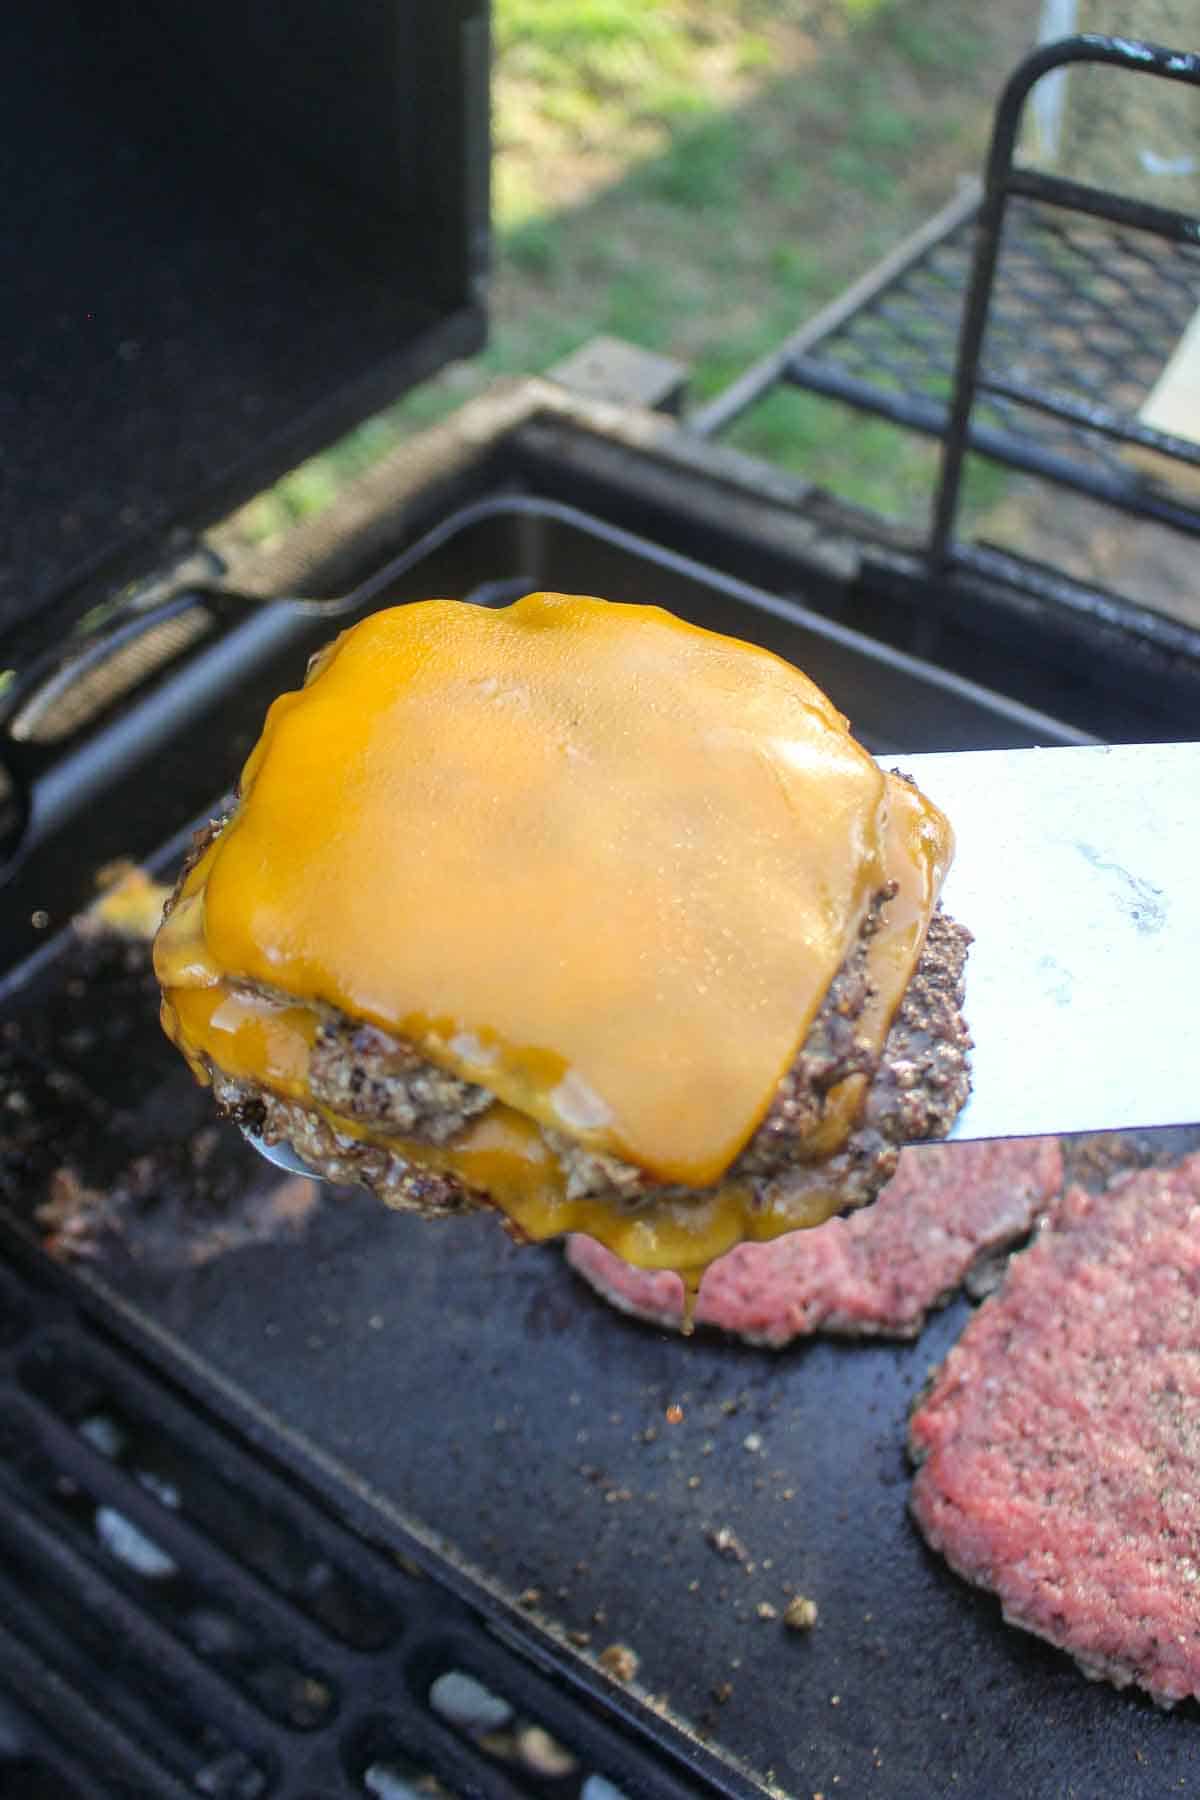
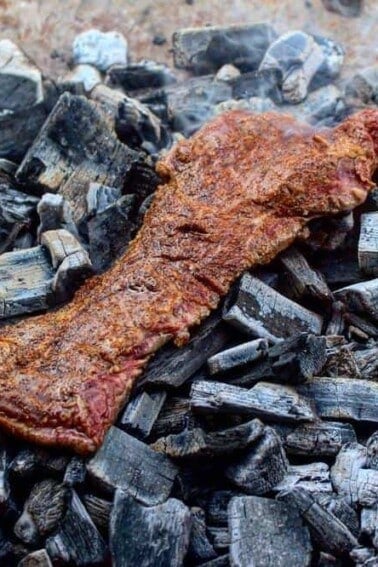
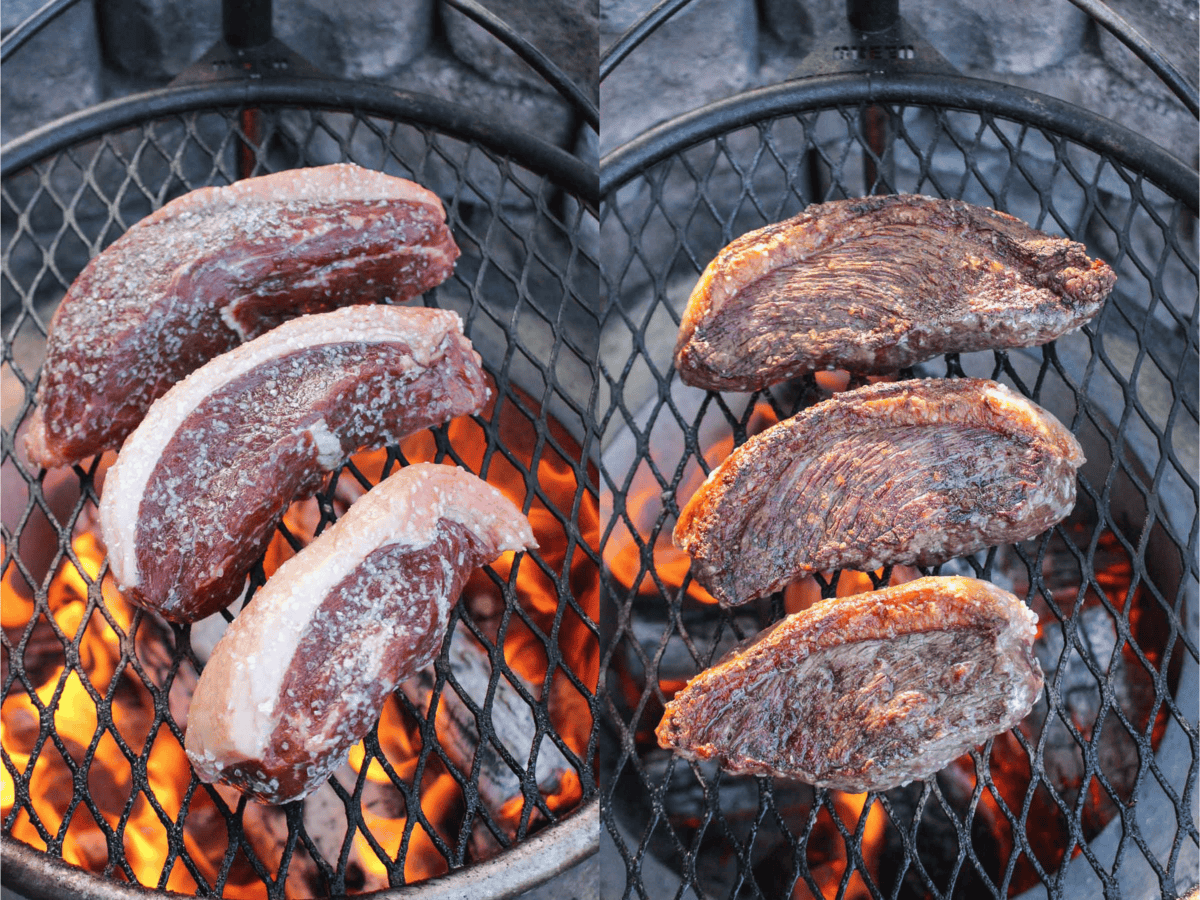
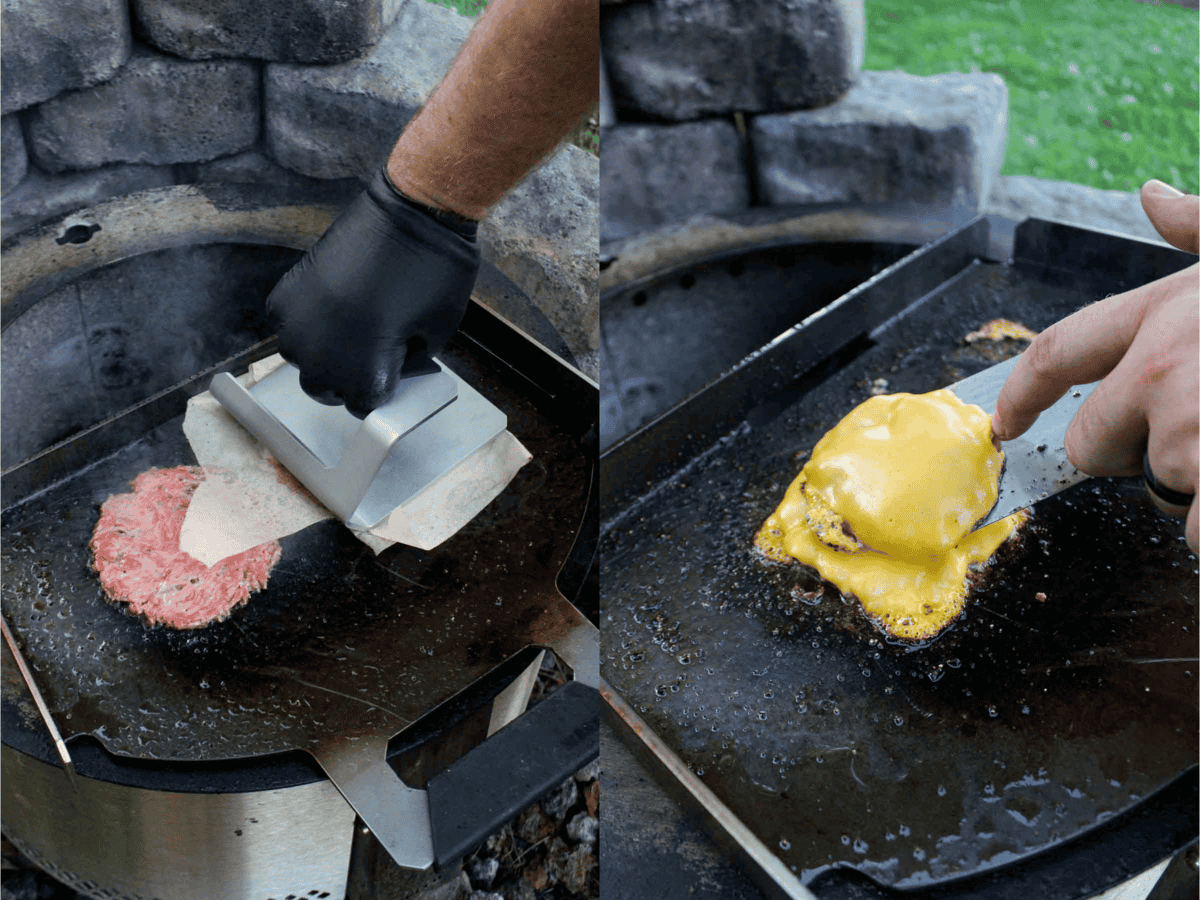
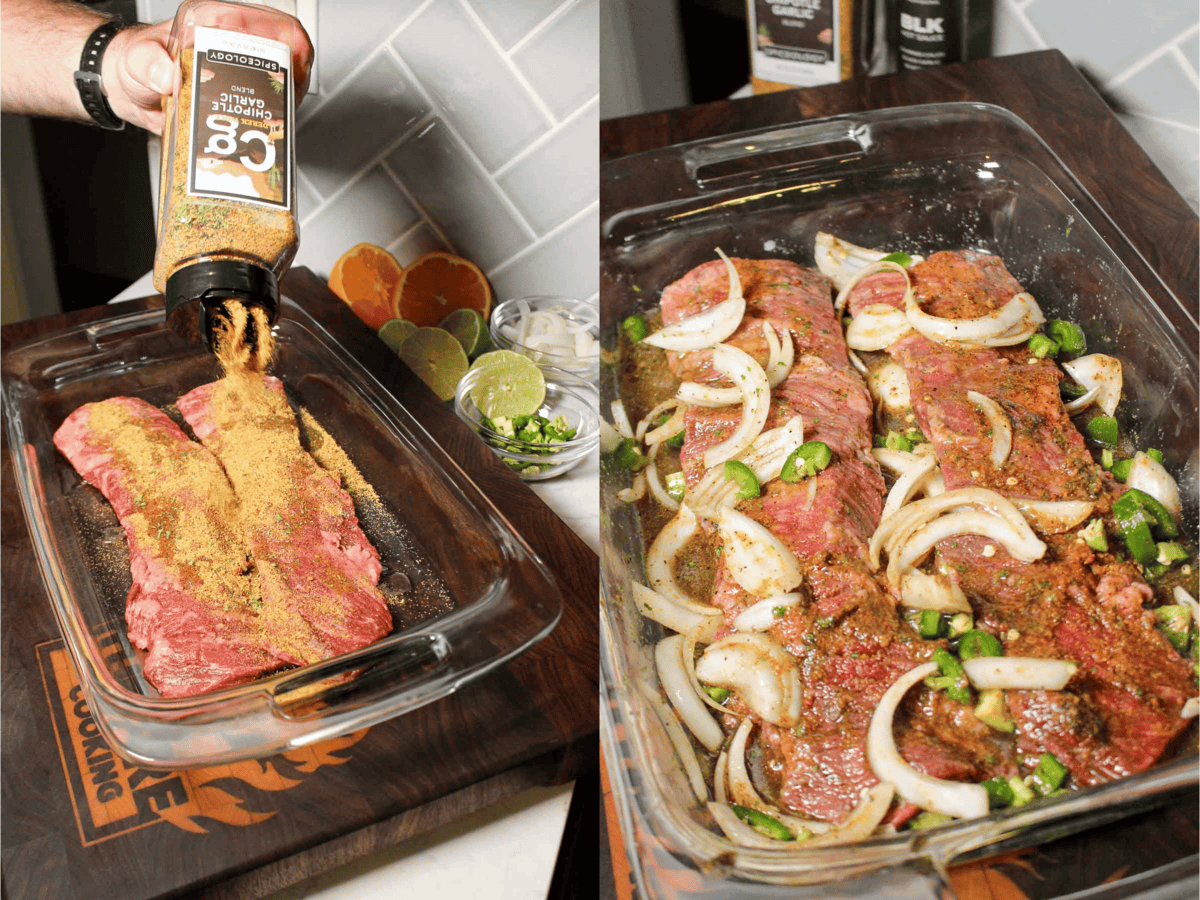
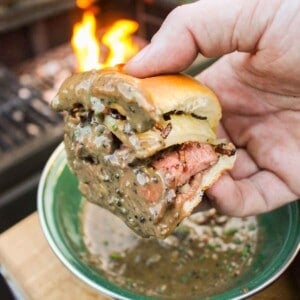
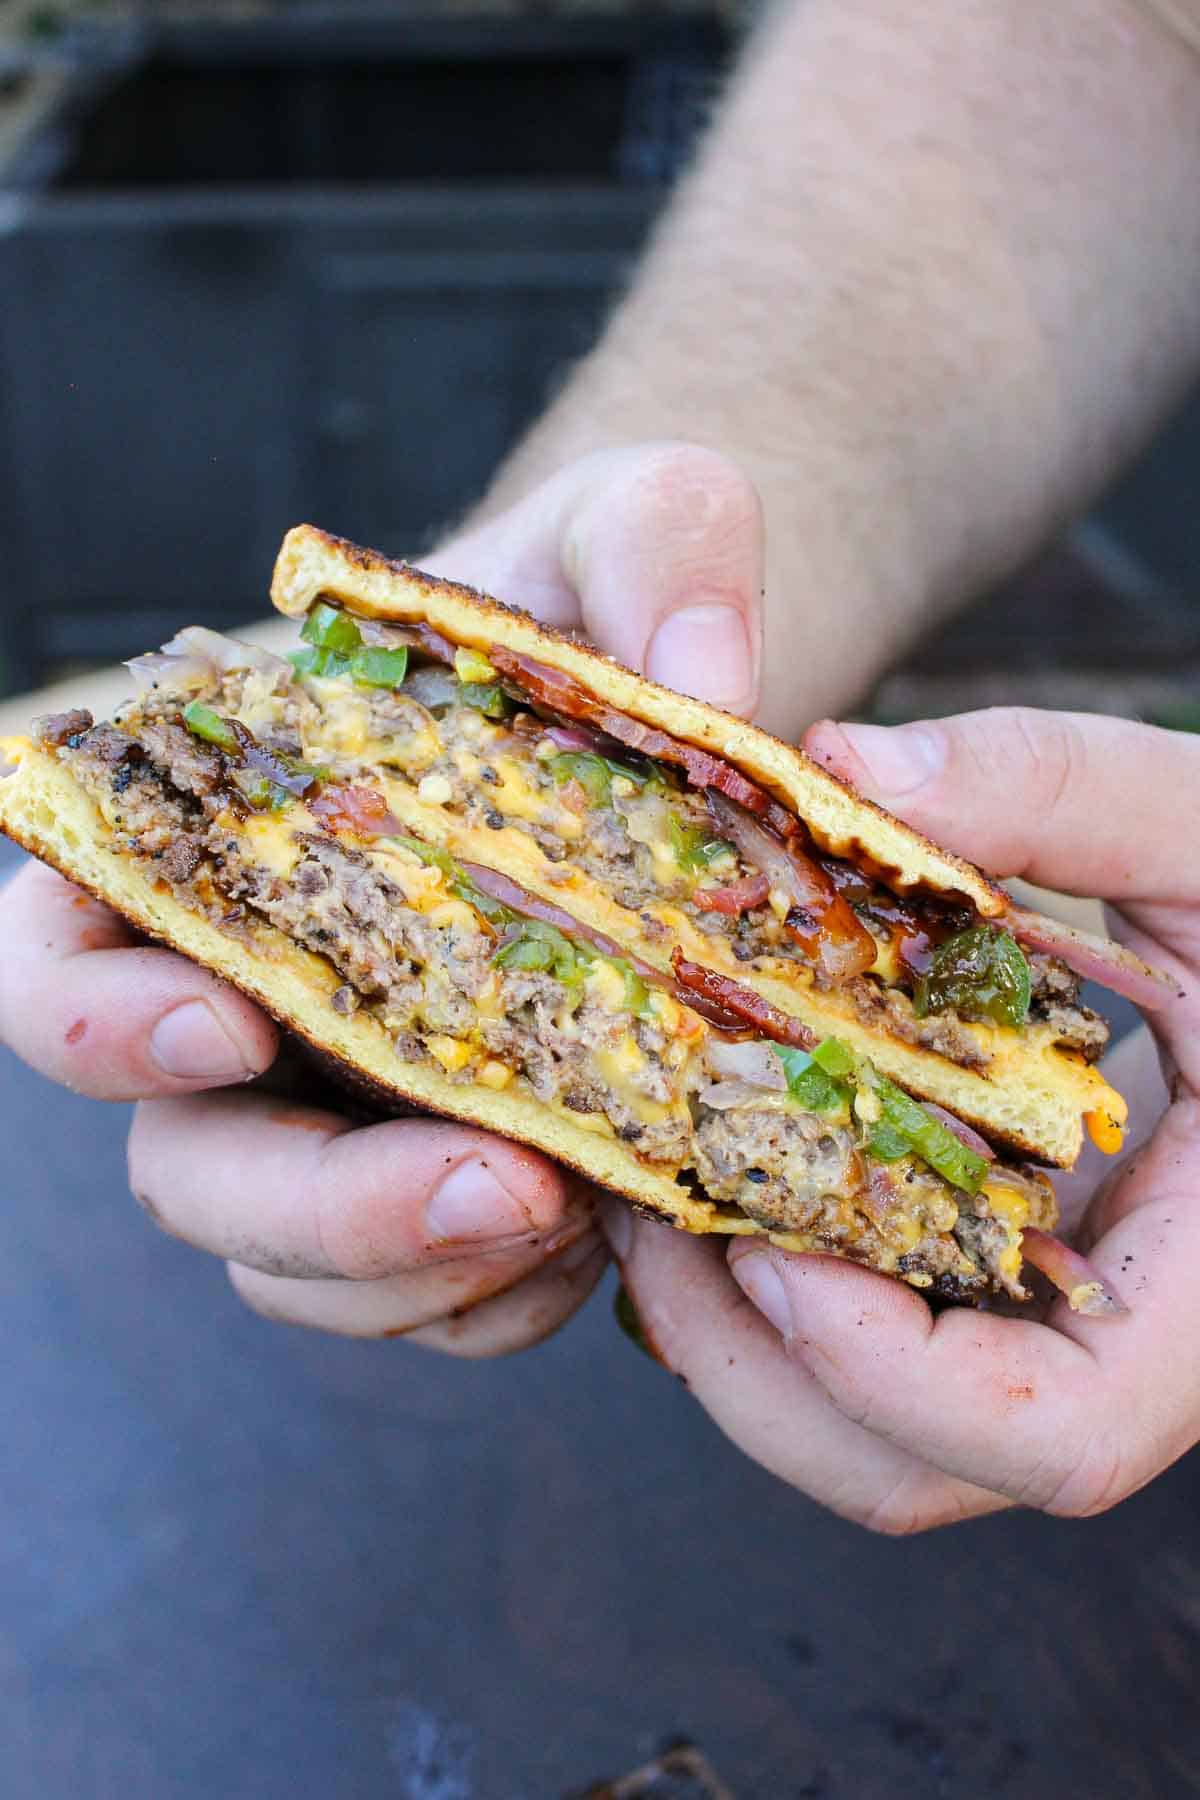
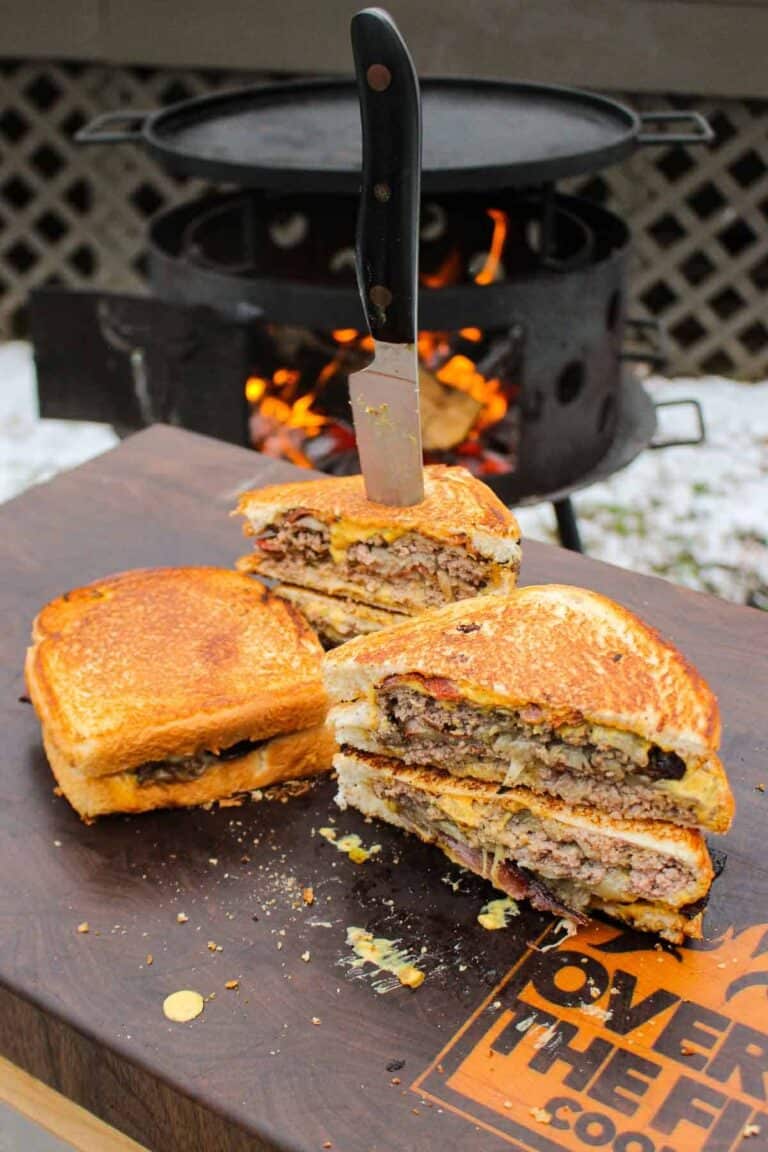
- The Meat: Since our sandwiches start with a juicy burger or grilled chicken, make sure you choose high-quality meat for your hamburger patty or any other type of protein. Smashburgers are great for patty melts since they’re nice and thin. This way, you won’t have all your ingredients sliding out of the bread slices.
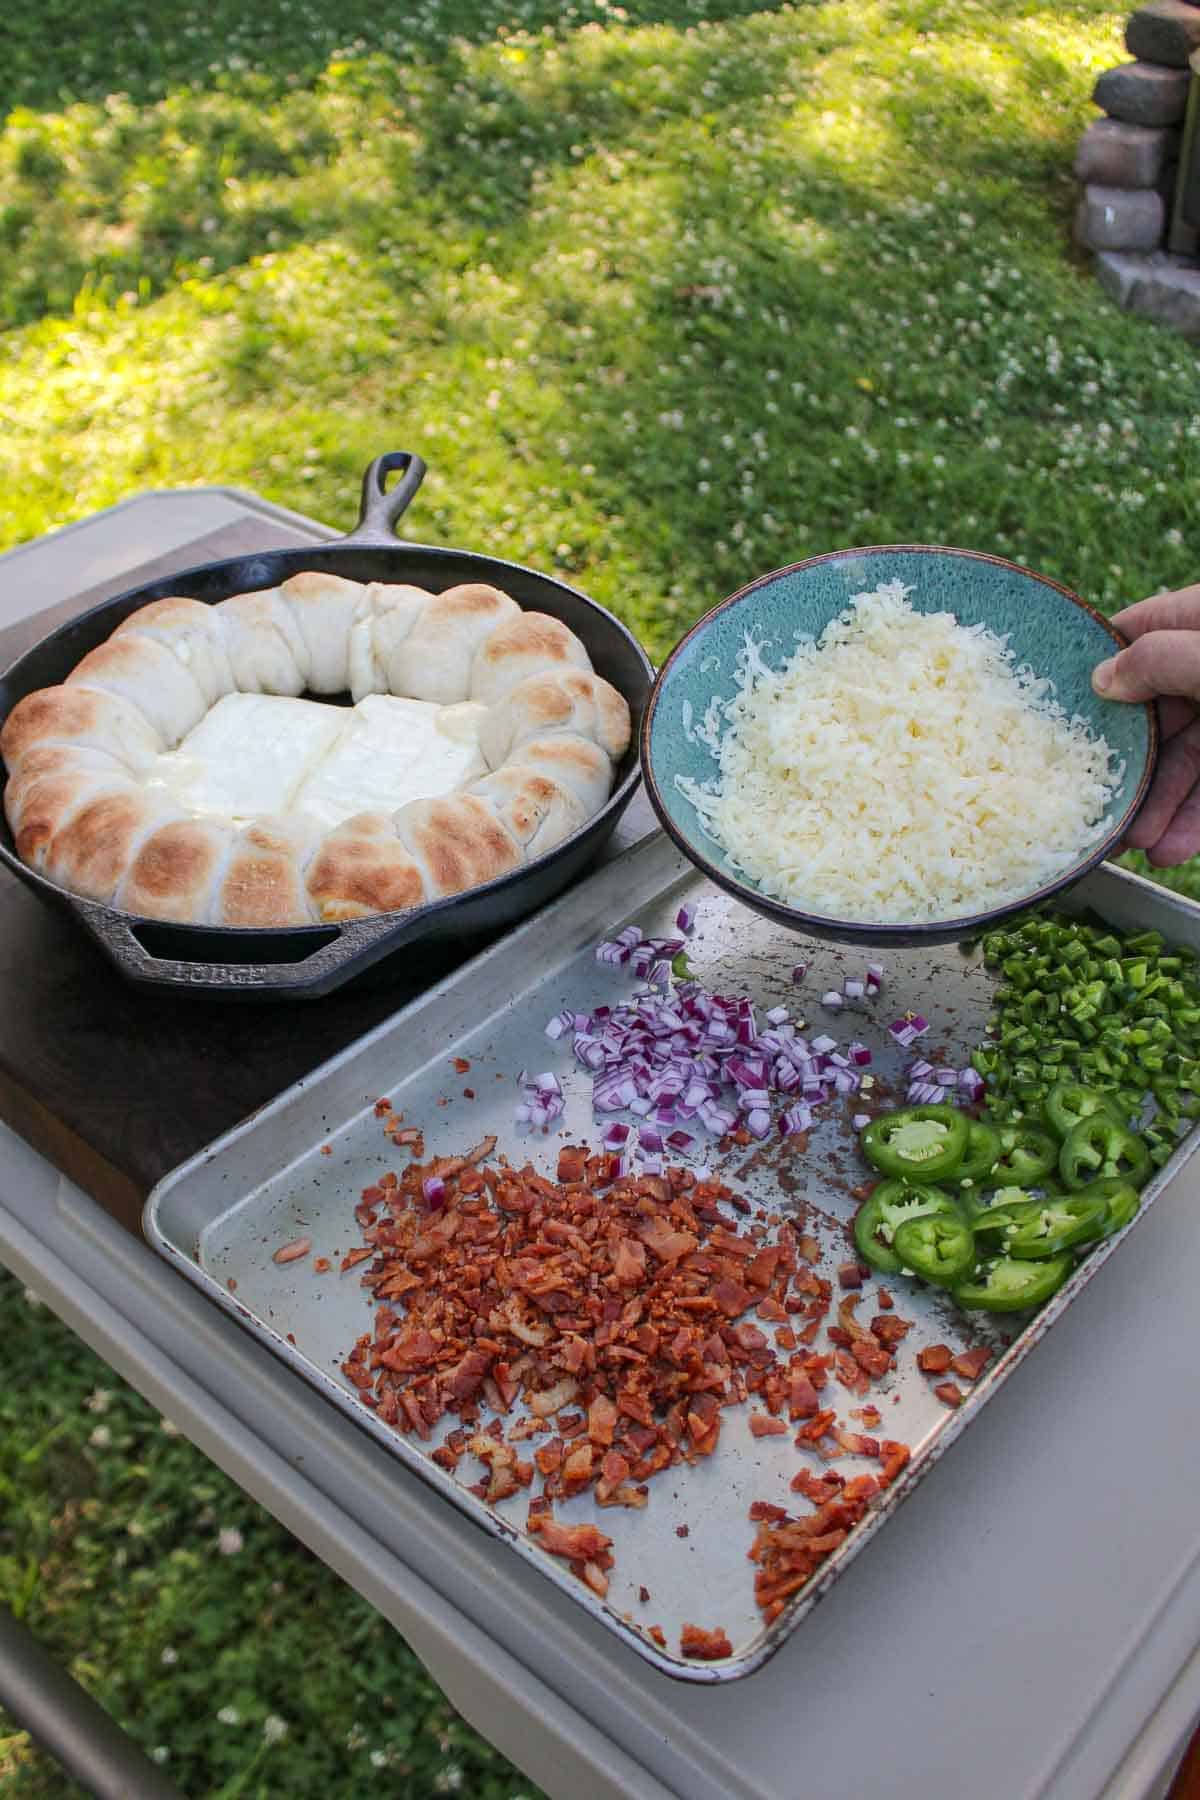
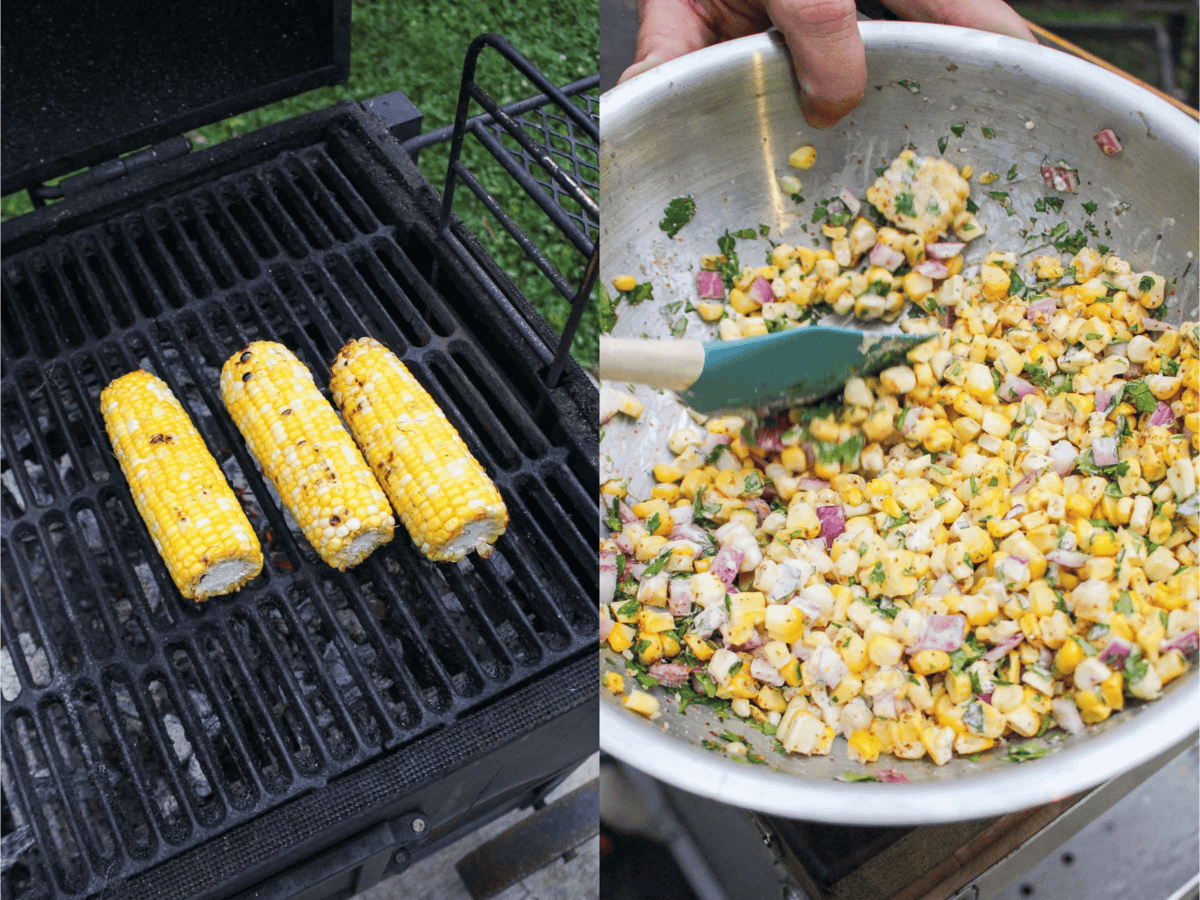
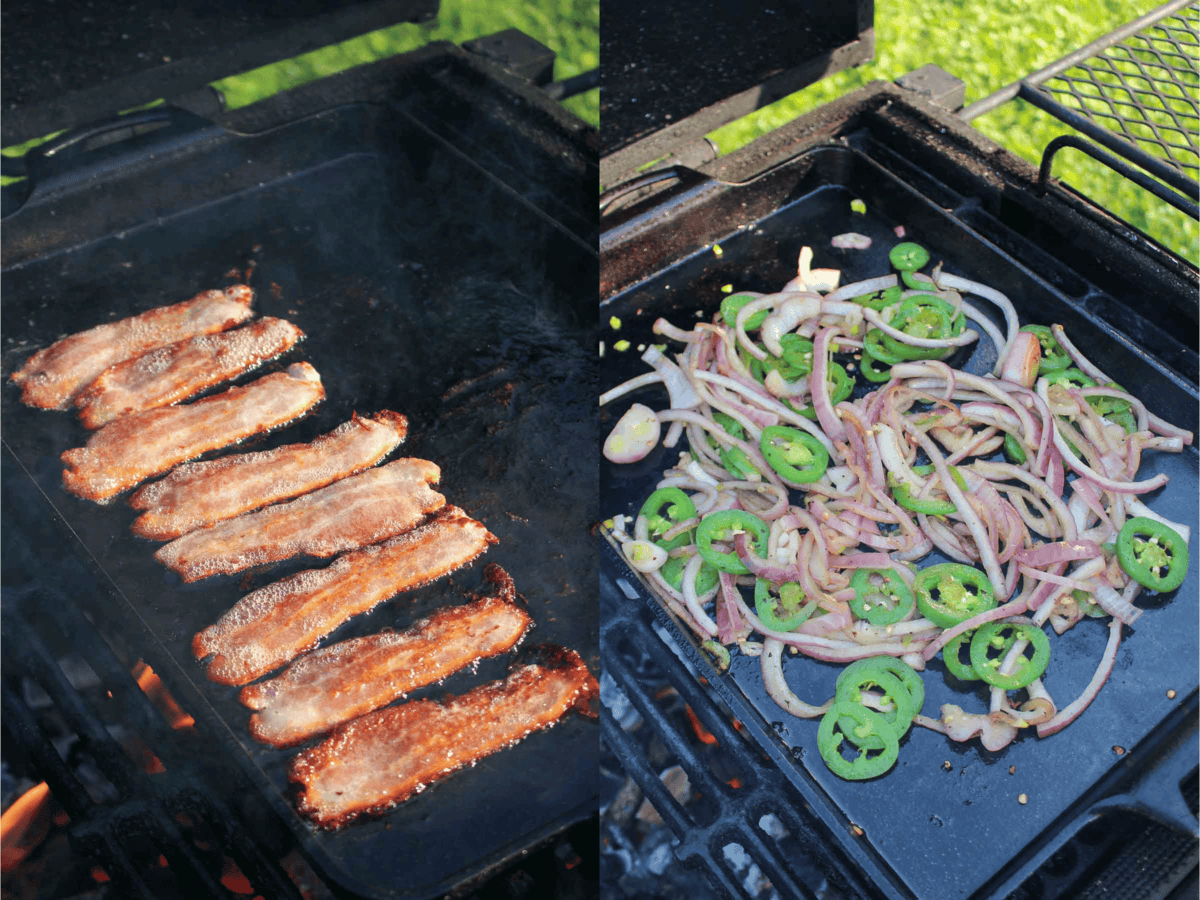
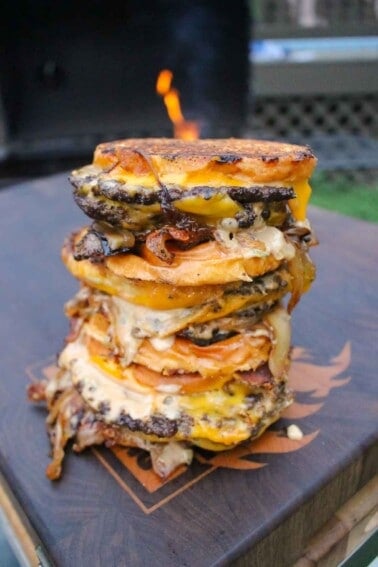
- The Toppings: Be sure to check your patty melt recipe before you get started and make sure you leave enough time to prep the toppings. For example, caramelized onions usually take about 45 minutes to make, so I like to get those cooked onions started early. Same goes for slices of bacon and sliced jalapeños. Have your cheese at the ready too.
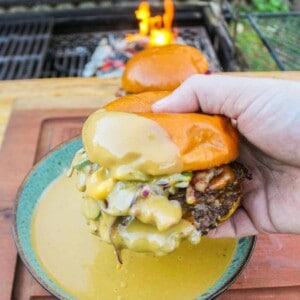
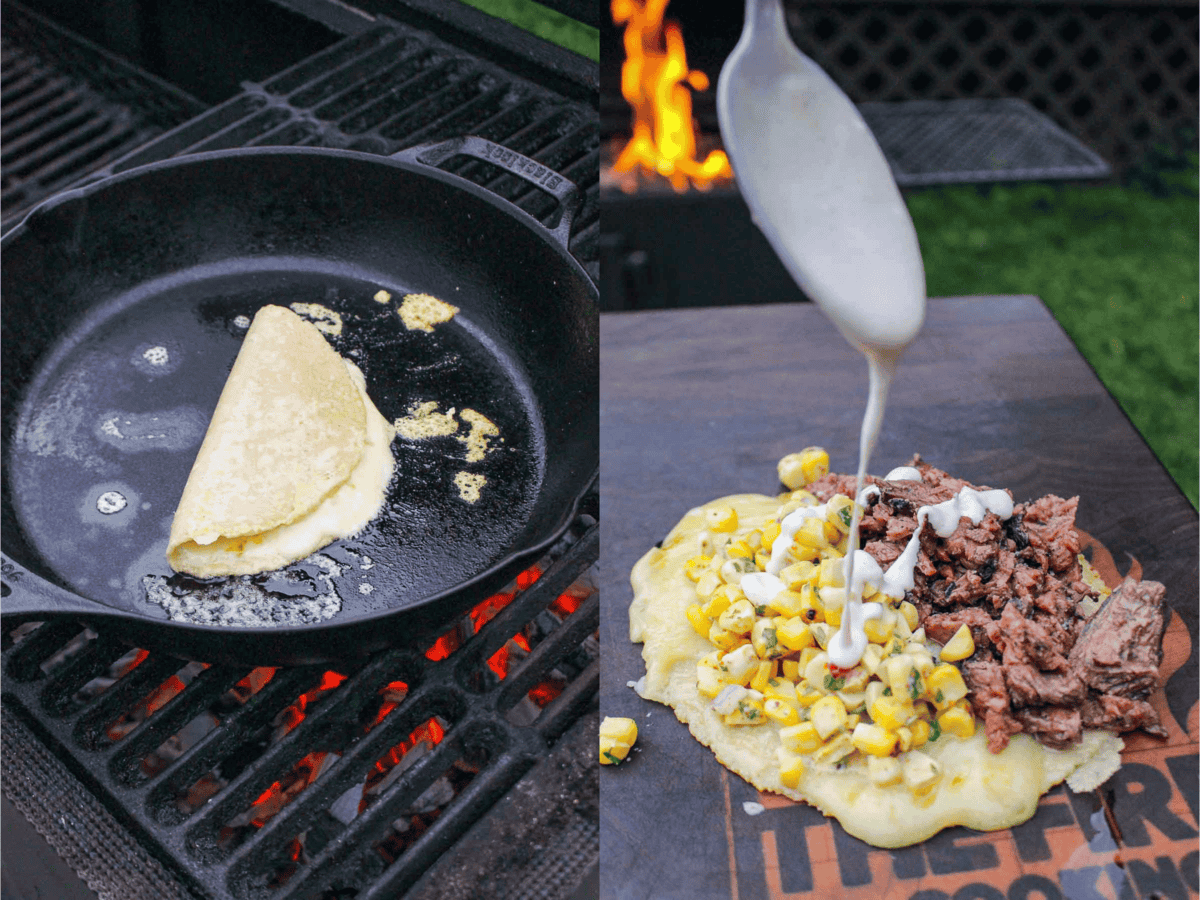
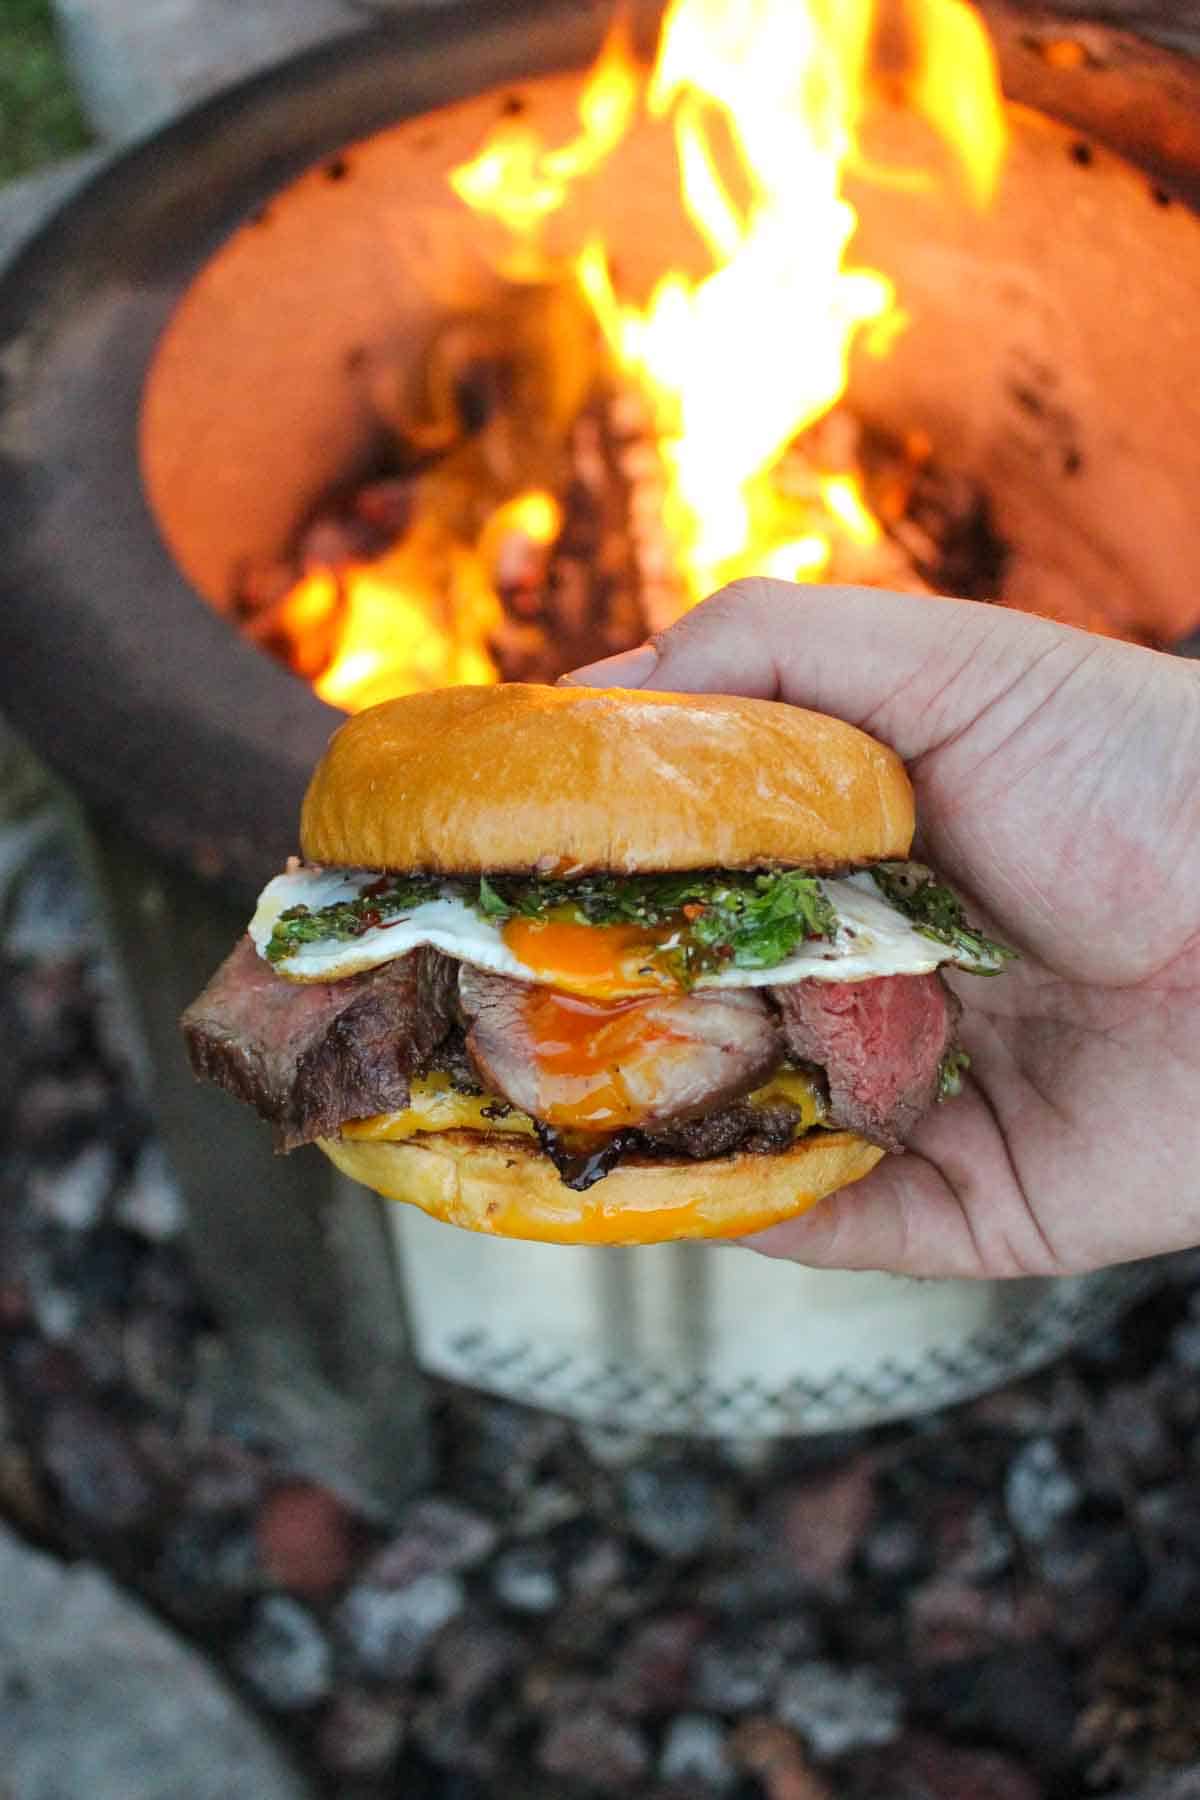
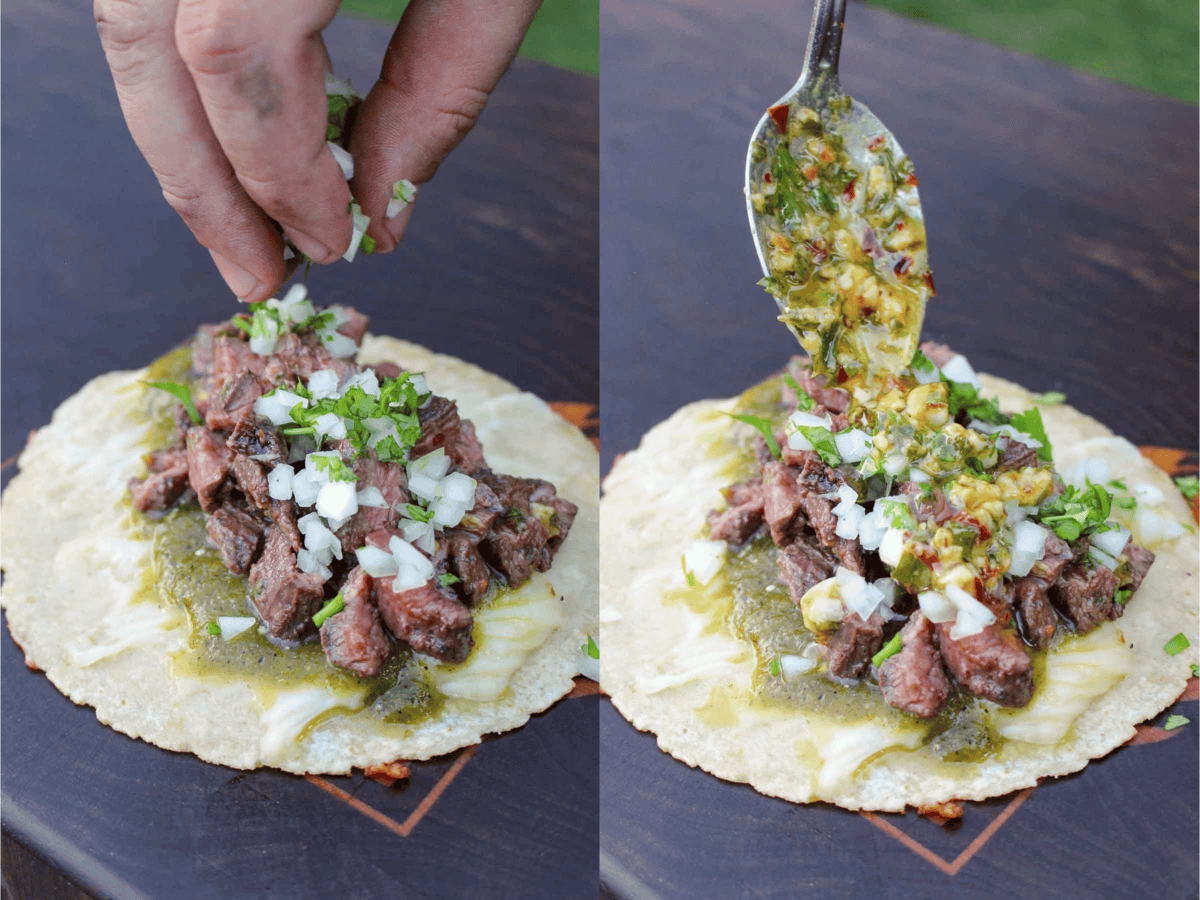
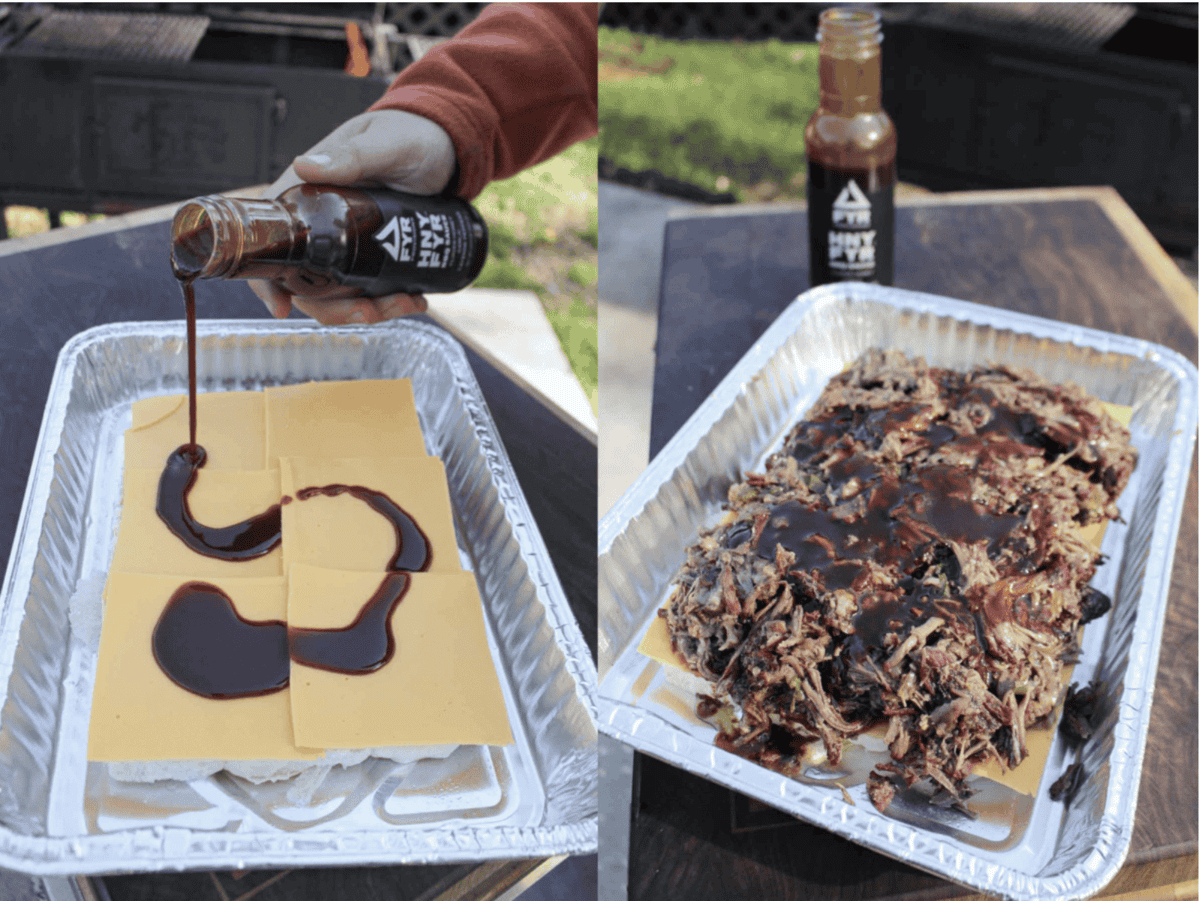
- The Special Sauce: Don’t skip it. There, I said it. Don’t. Skip. The. Sauce! It brings the whole sandwich together. Whether it’s an animal style patty melt with burger sauce or a chicken bacon ranch patty melt, you’ll find the sauce takes your meal to the next level.
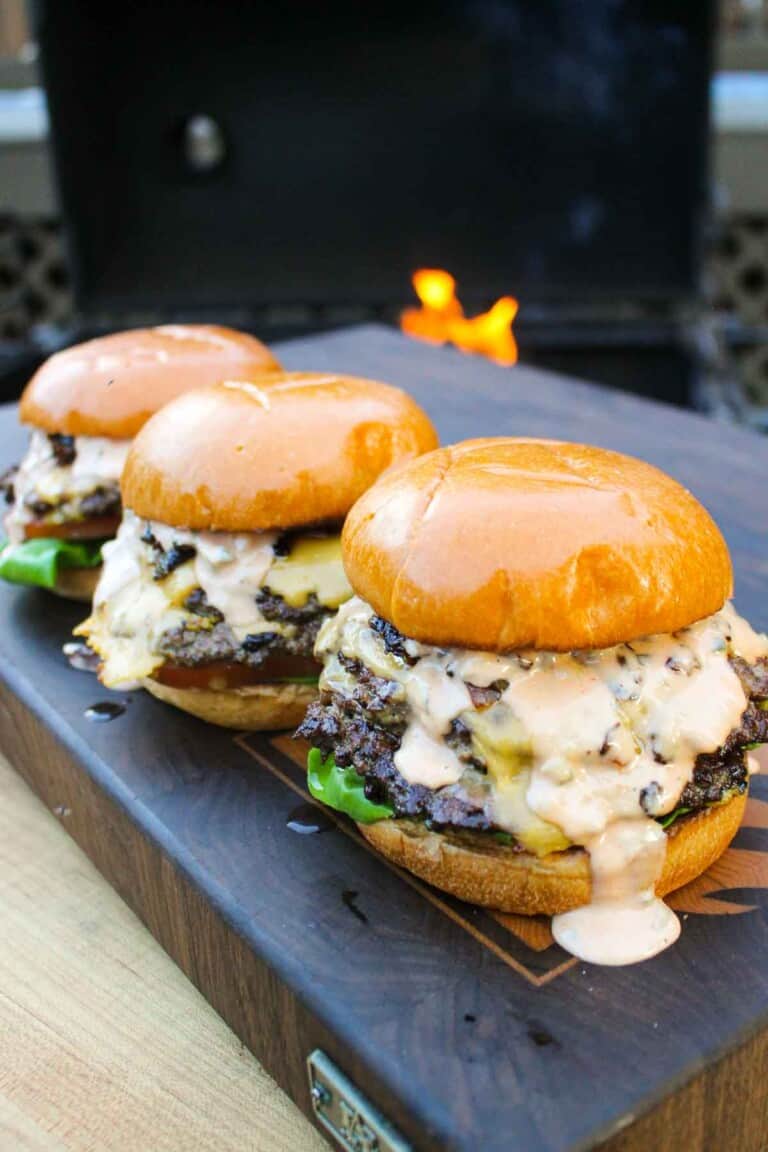
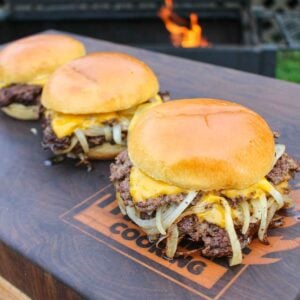
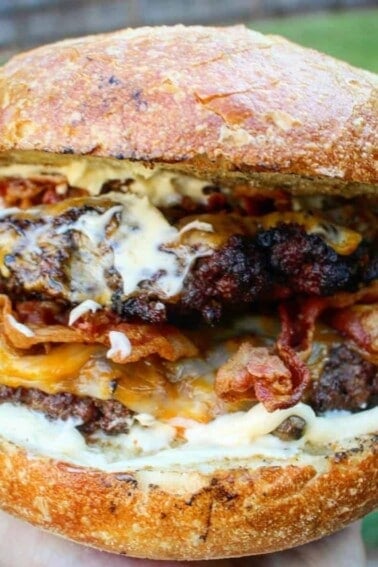
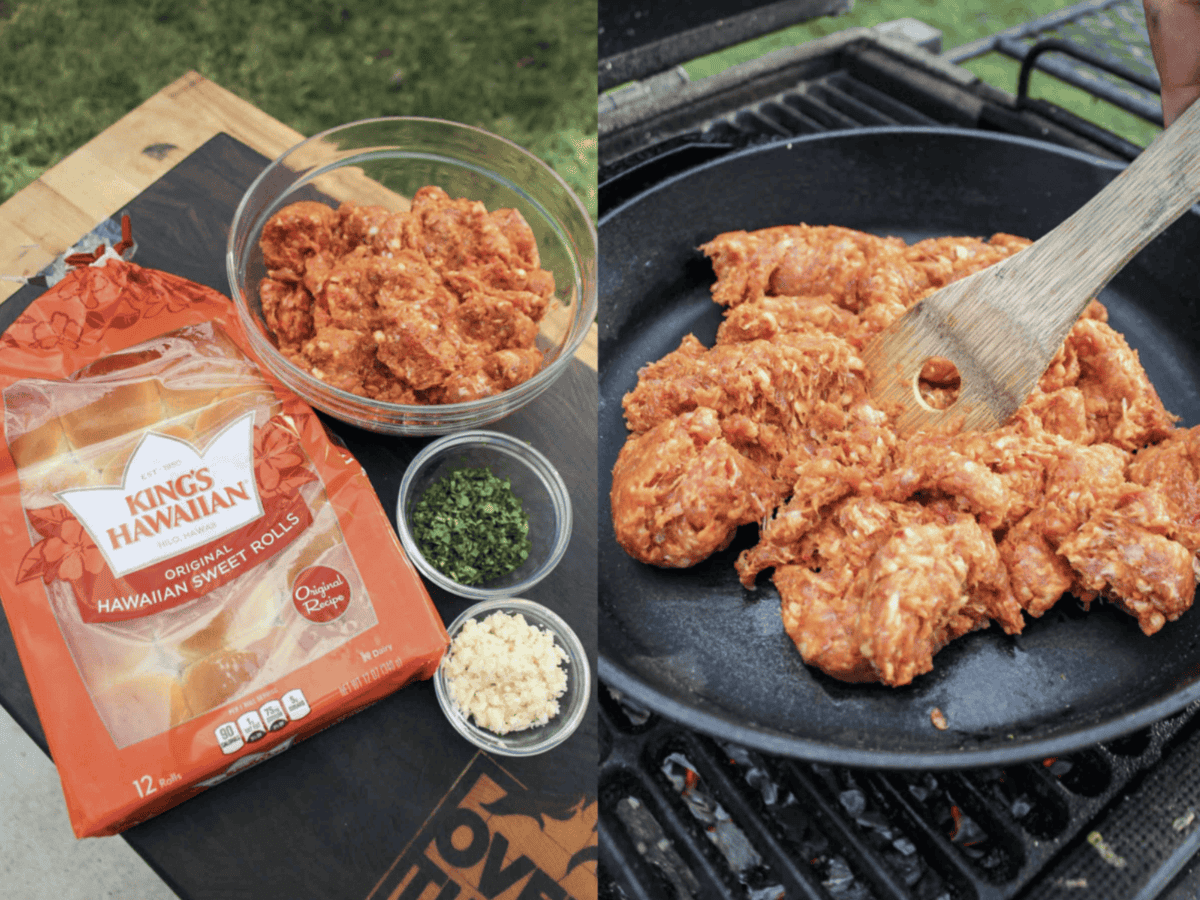
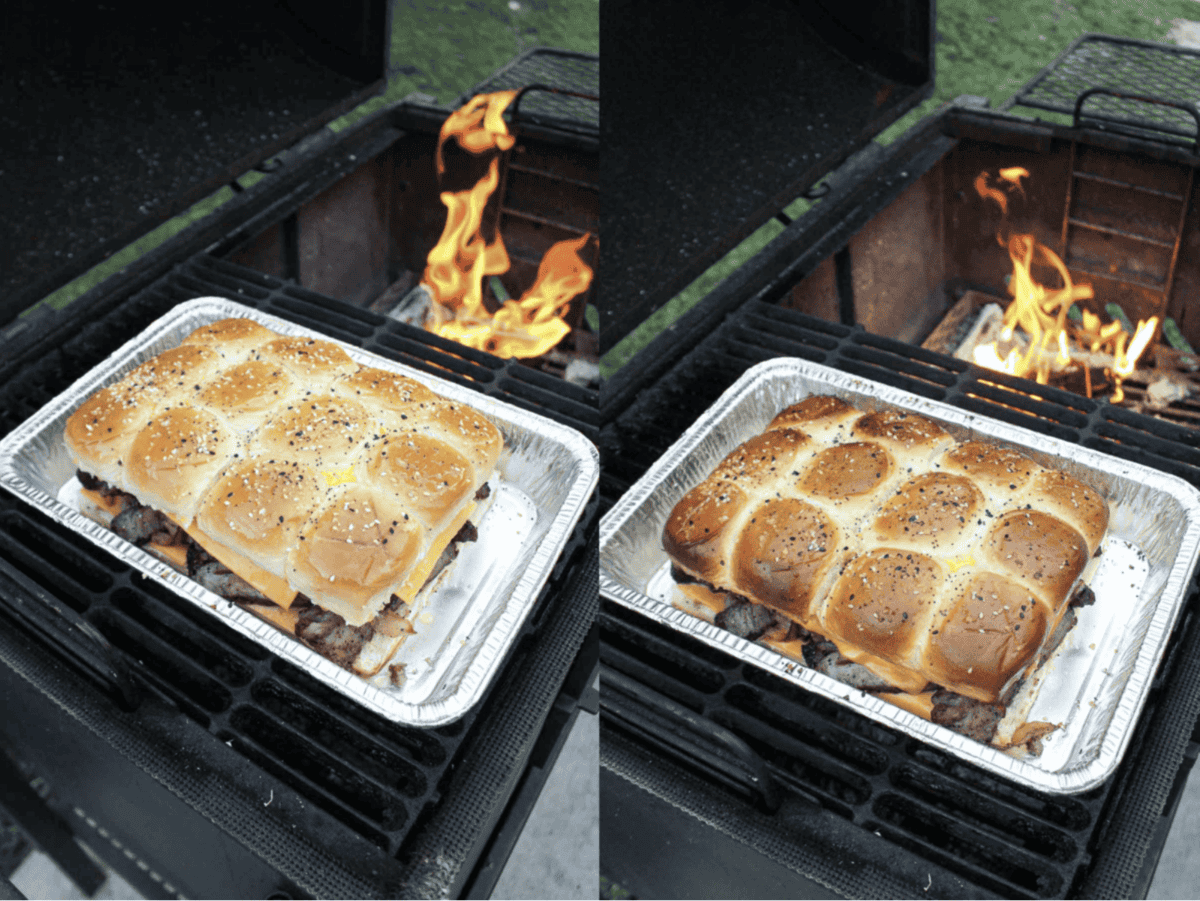
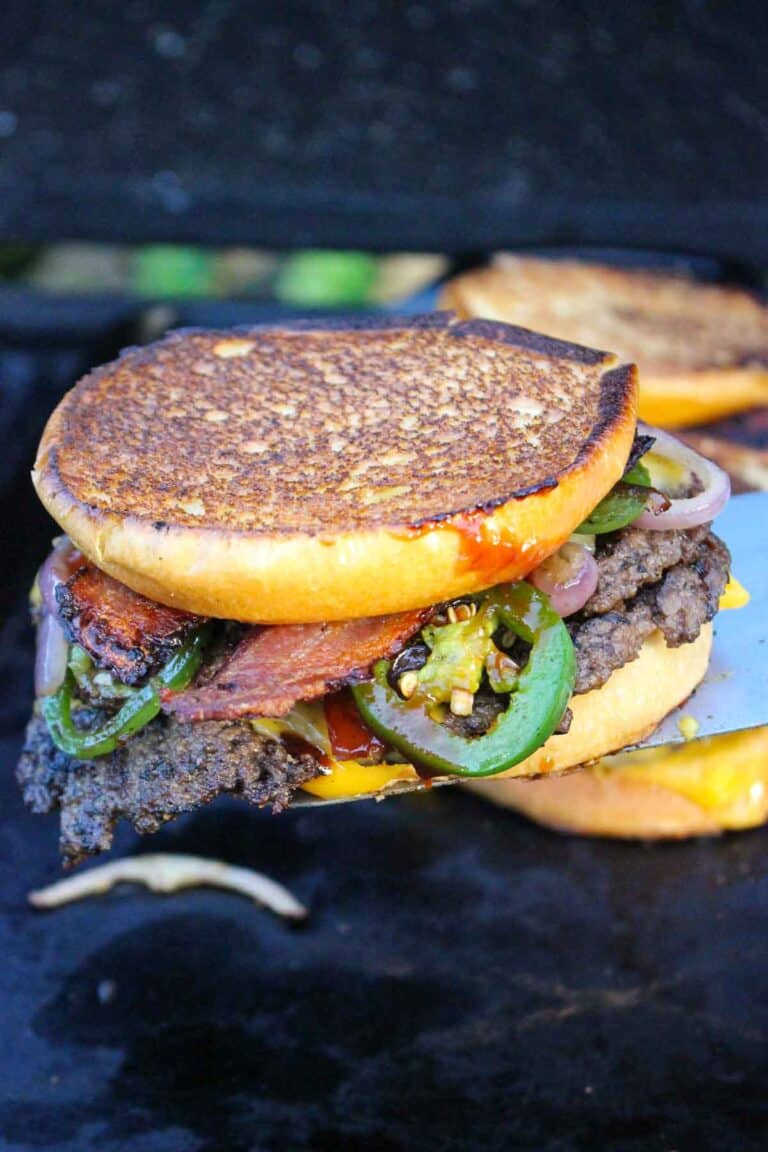
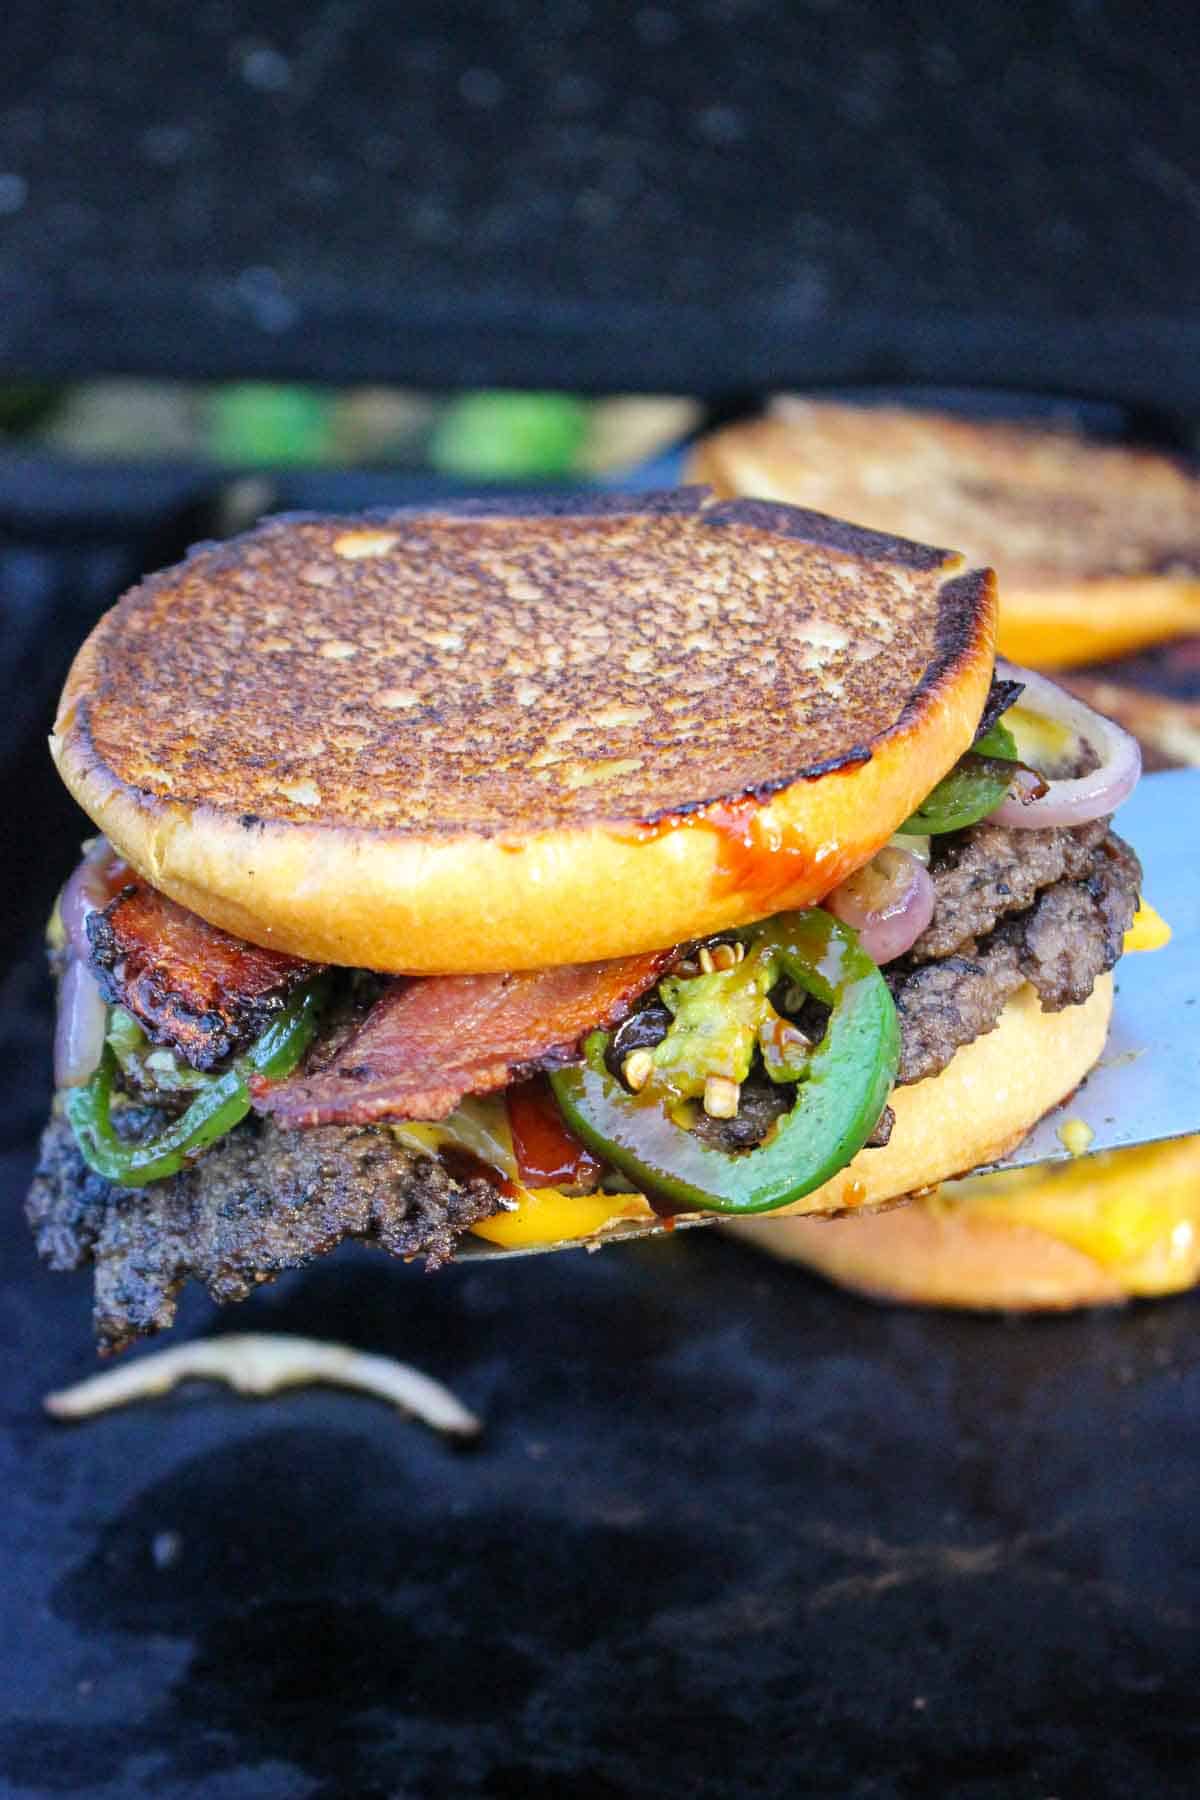
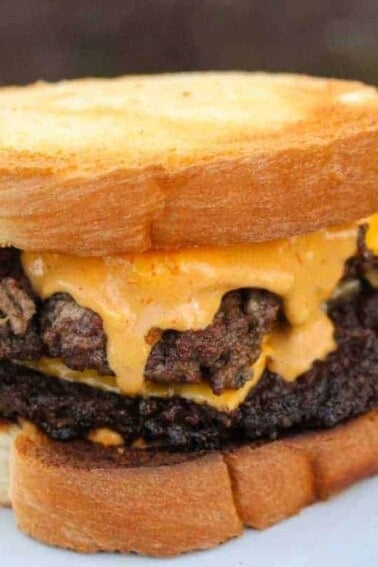
- The Bread: A traditional patty melt uses slices of rye bread. But, I think Texas toast is fantastic since it holds up really well to a juicy burger, gooey cheese and sauces. Burger buns can work too, as does a sturdy sourdough bread. You just want that bread to be golden brown when you serve it, since that buttery toast flavor is essential to any patty melt recipe.
Get stoked for life
This sauce is FYR!
Born from a deep passion for food and flavor. Whether you’re grilling in the backyard or live fire cooking around the world, we have what you need to transform every meal into an adventure.
My Favorite Patty Melt Recipes
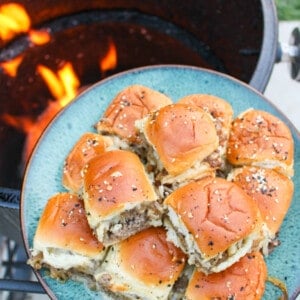
Here we go — a great patty melt, right at home! With this roundup of patty melt recipes, it’s easy to see how this diner classic can get a tasty and easy upgrade. Give them a try and then let me know your favorite in the comments!
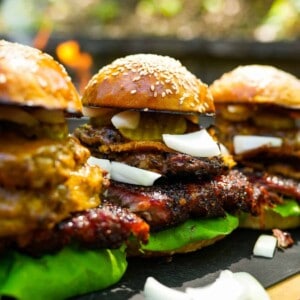
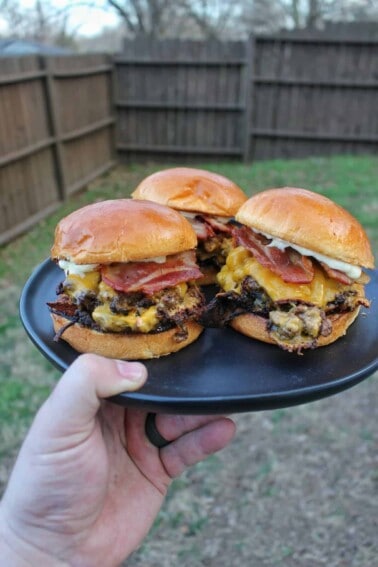
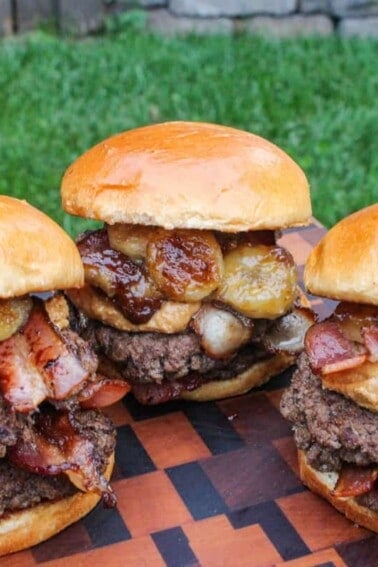
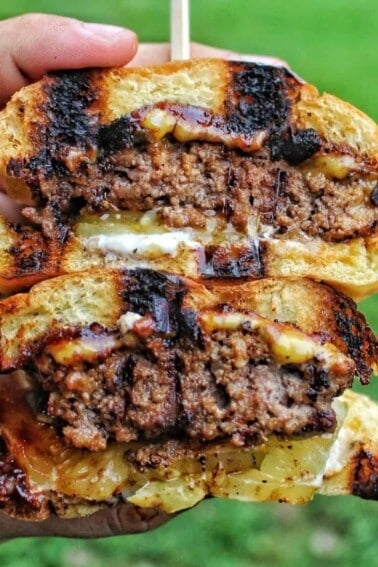
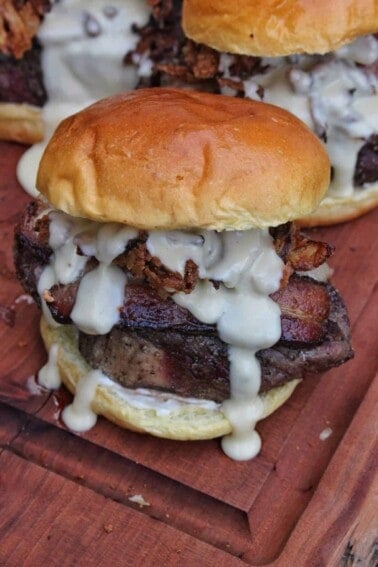
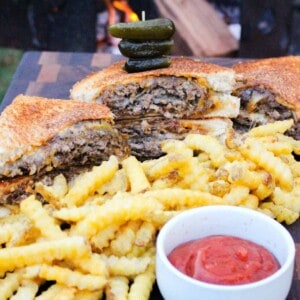
Bacon Patty Melt
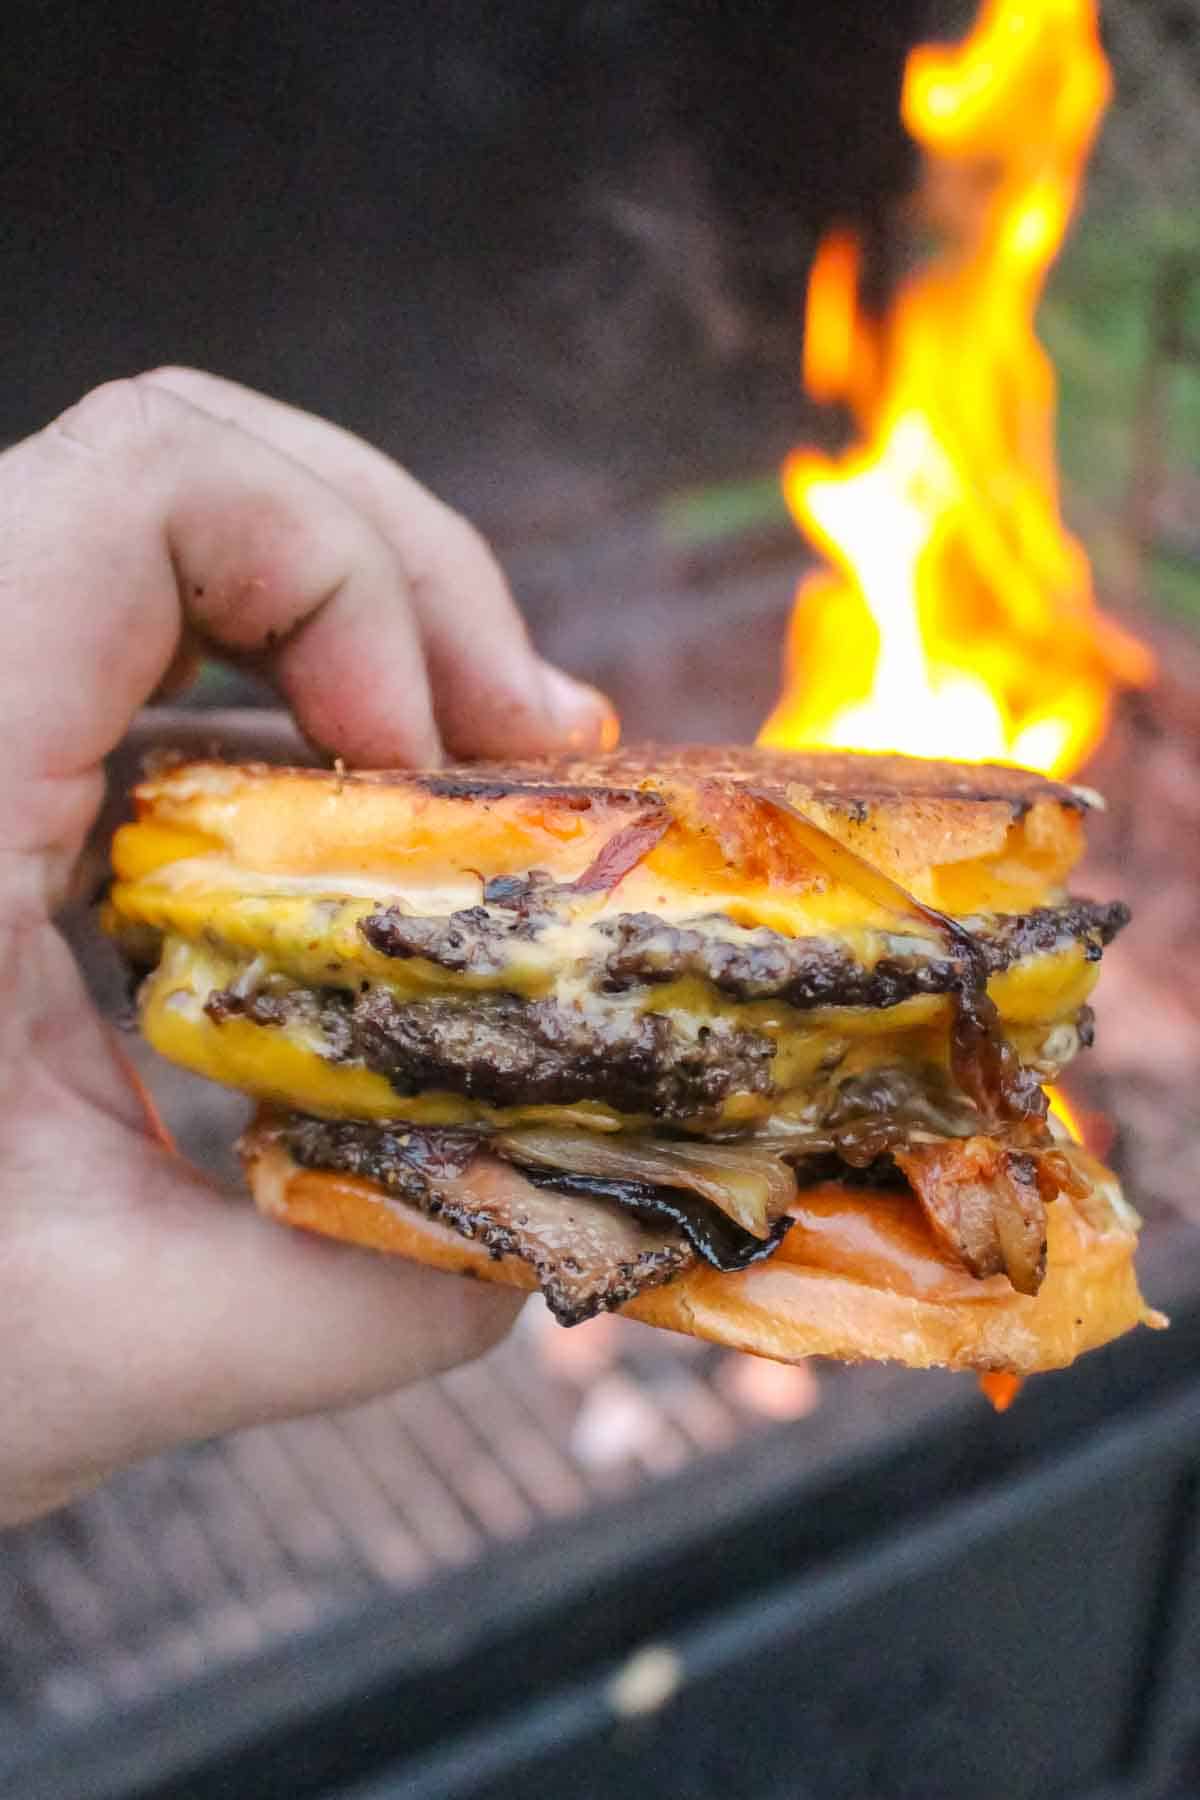
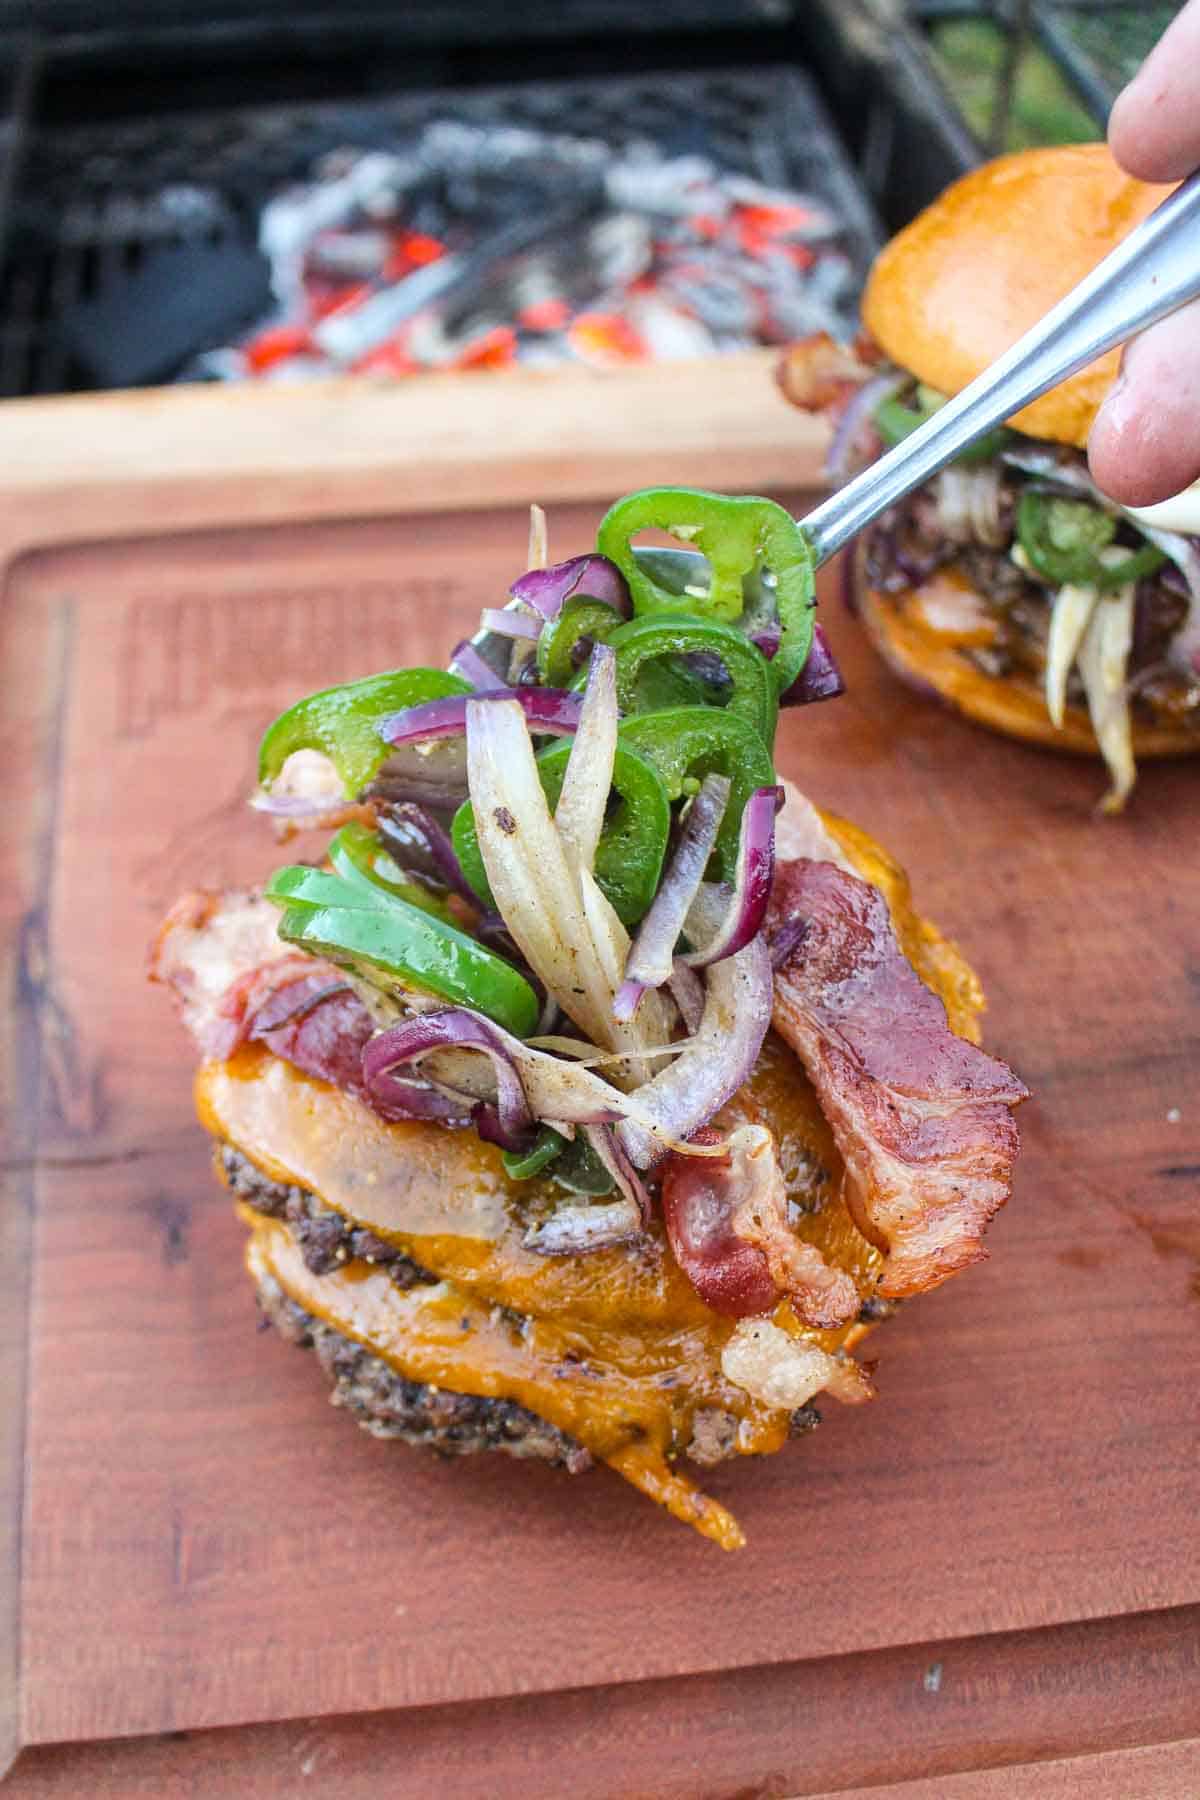
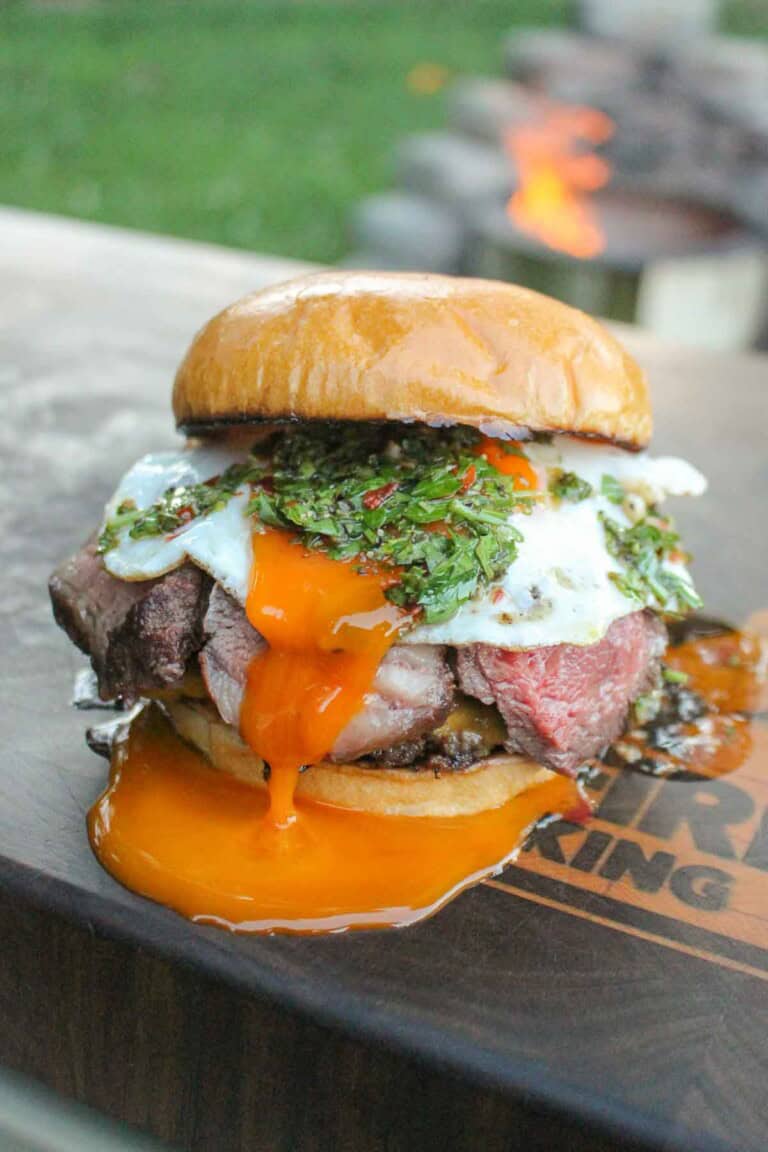
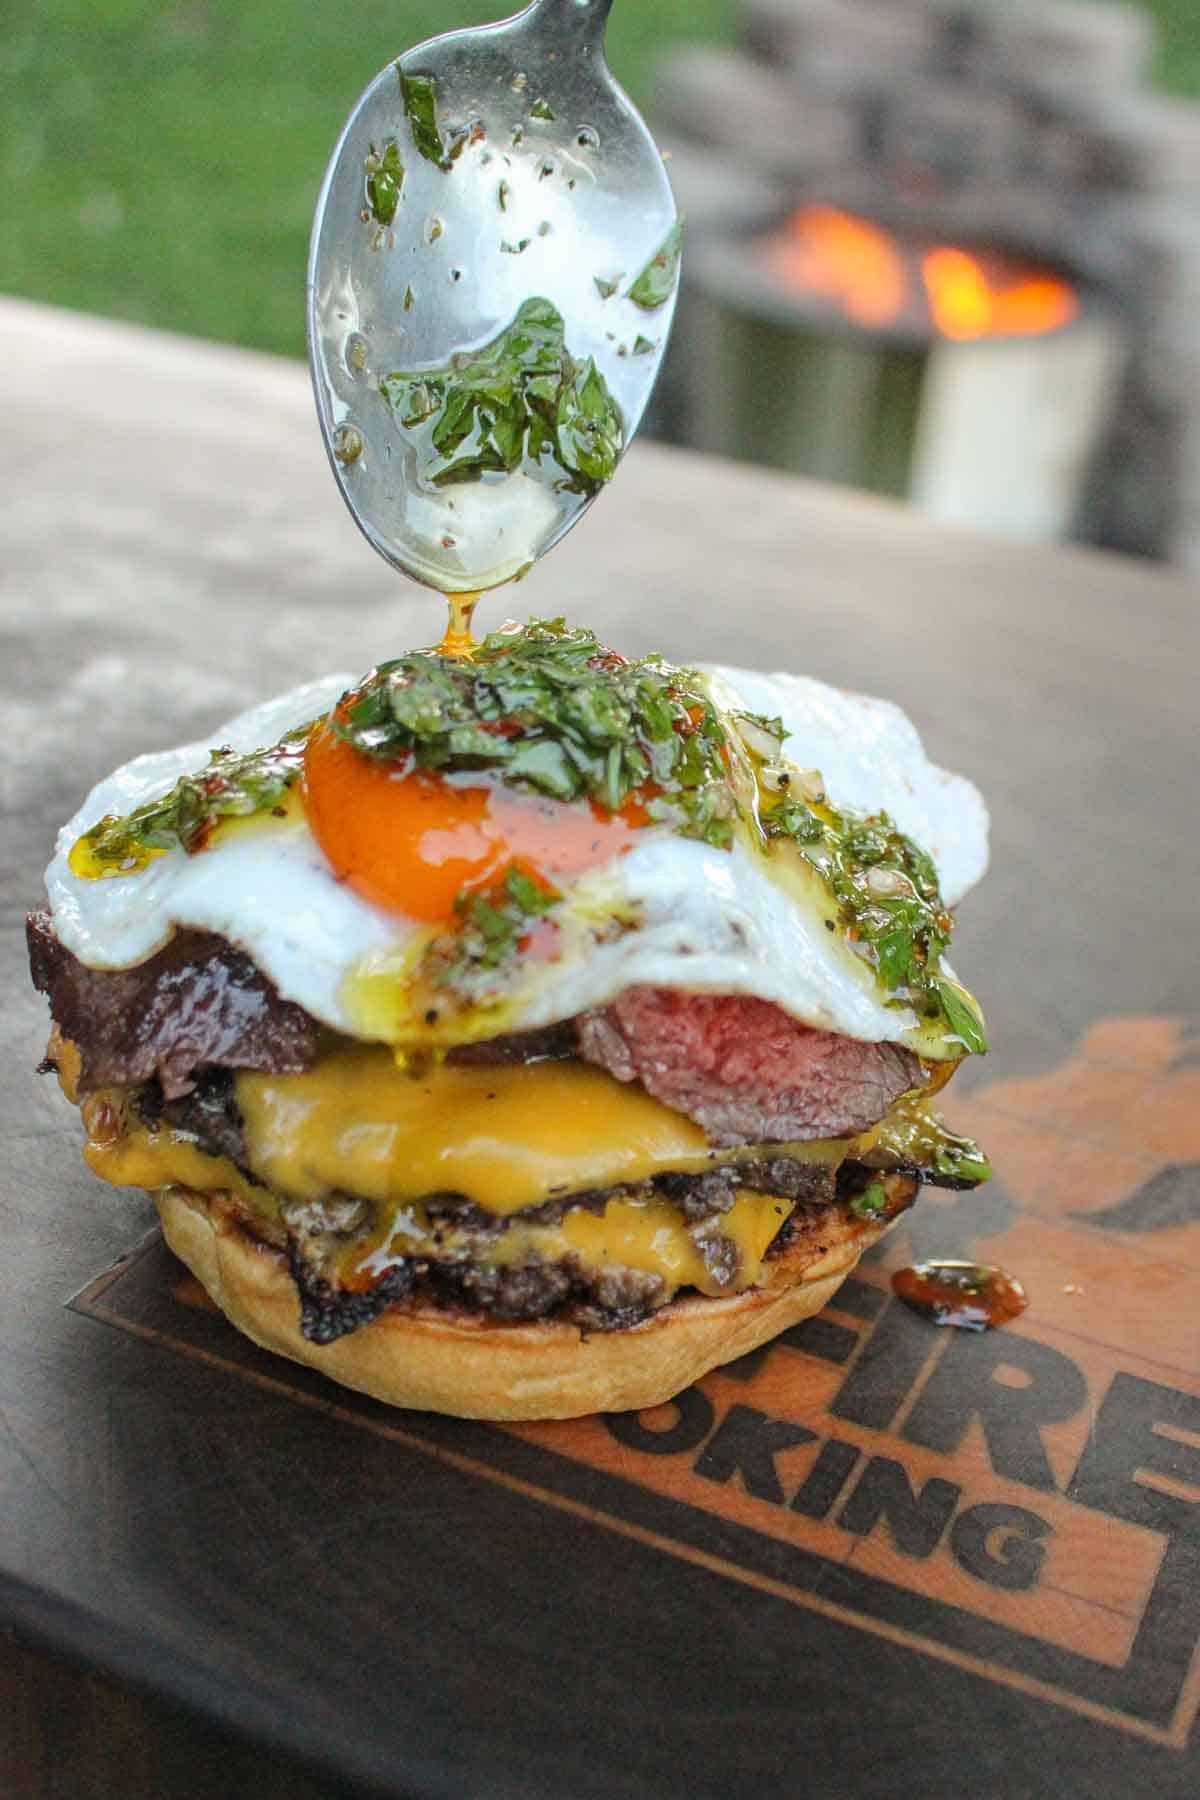
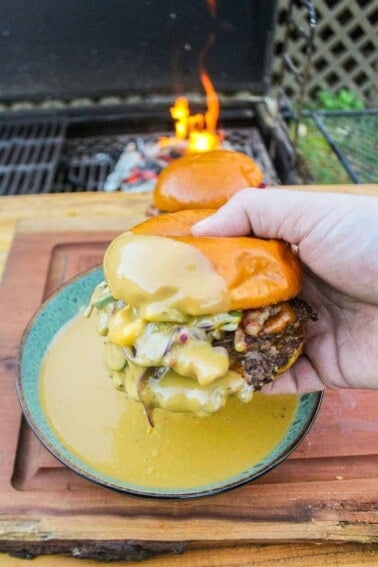
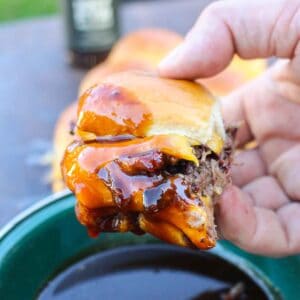
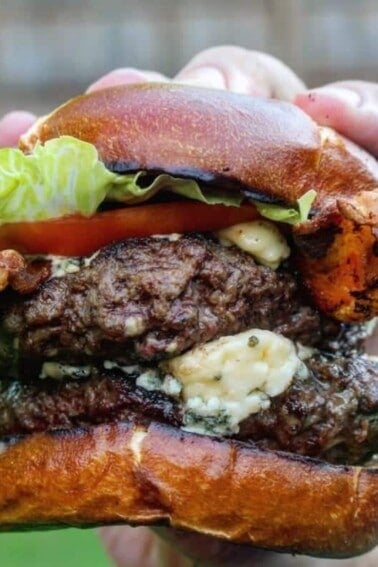
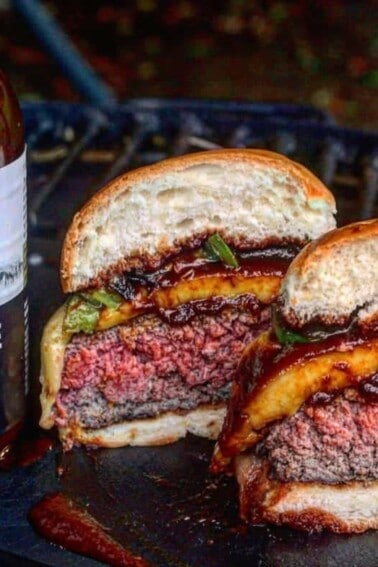
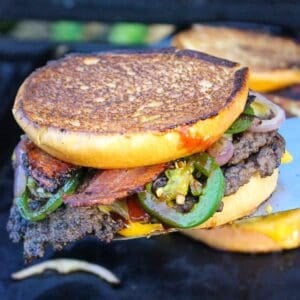
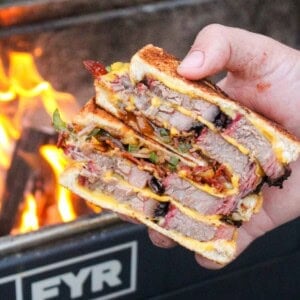
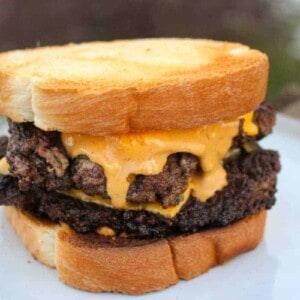
Animal Style Patty Melt
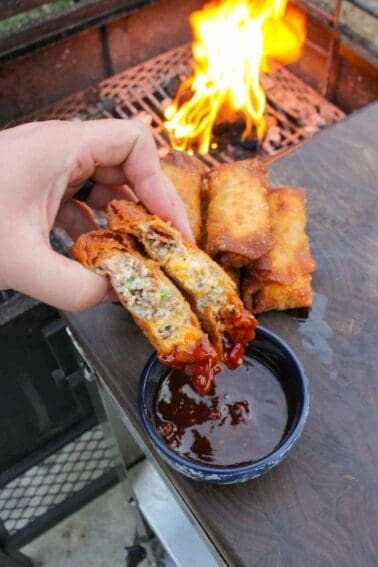
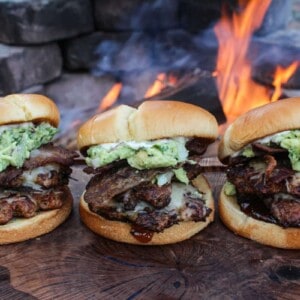
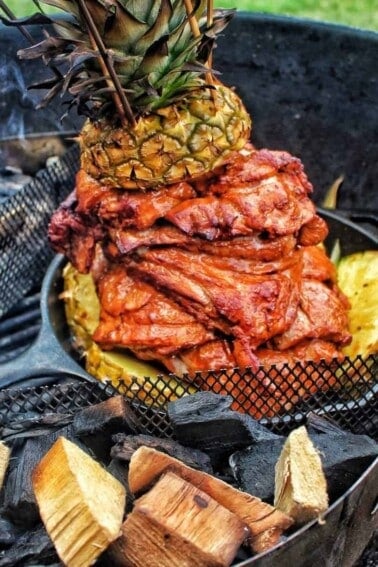
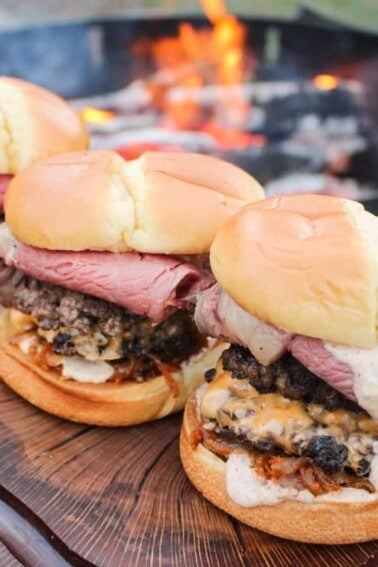
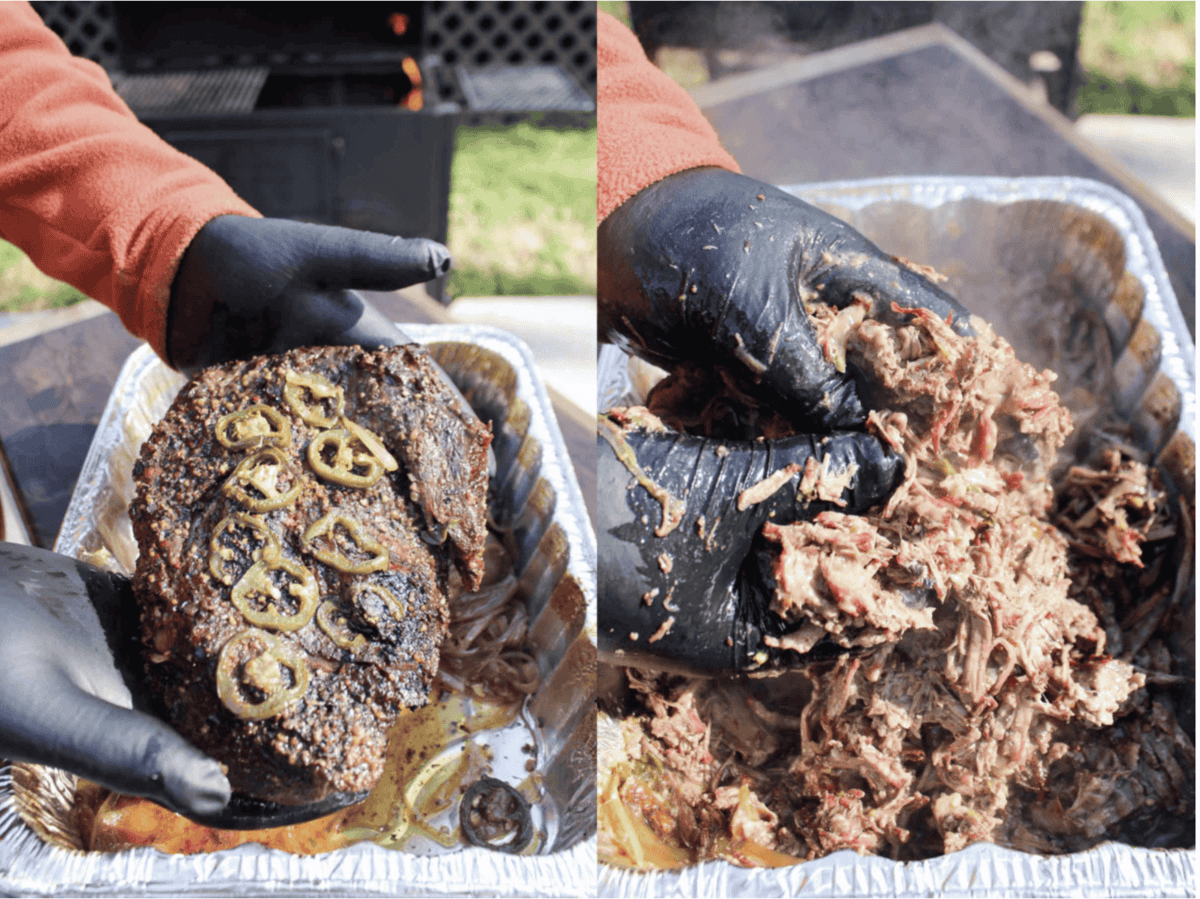
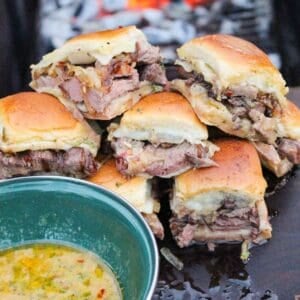
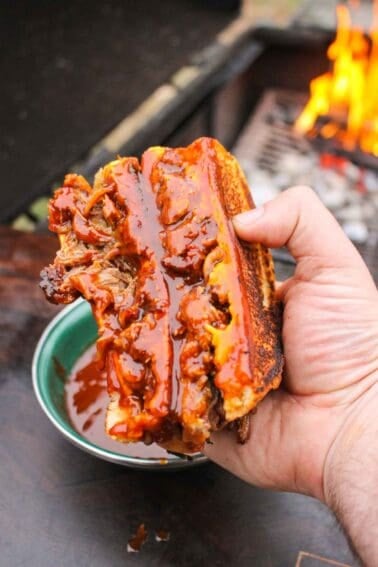
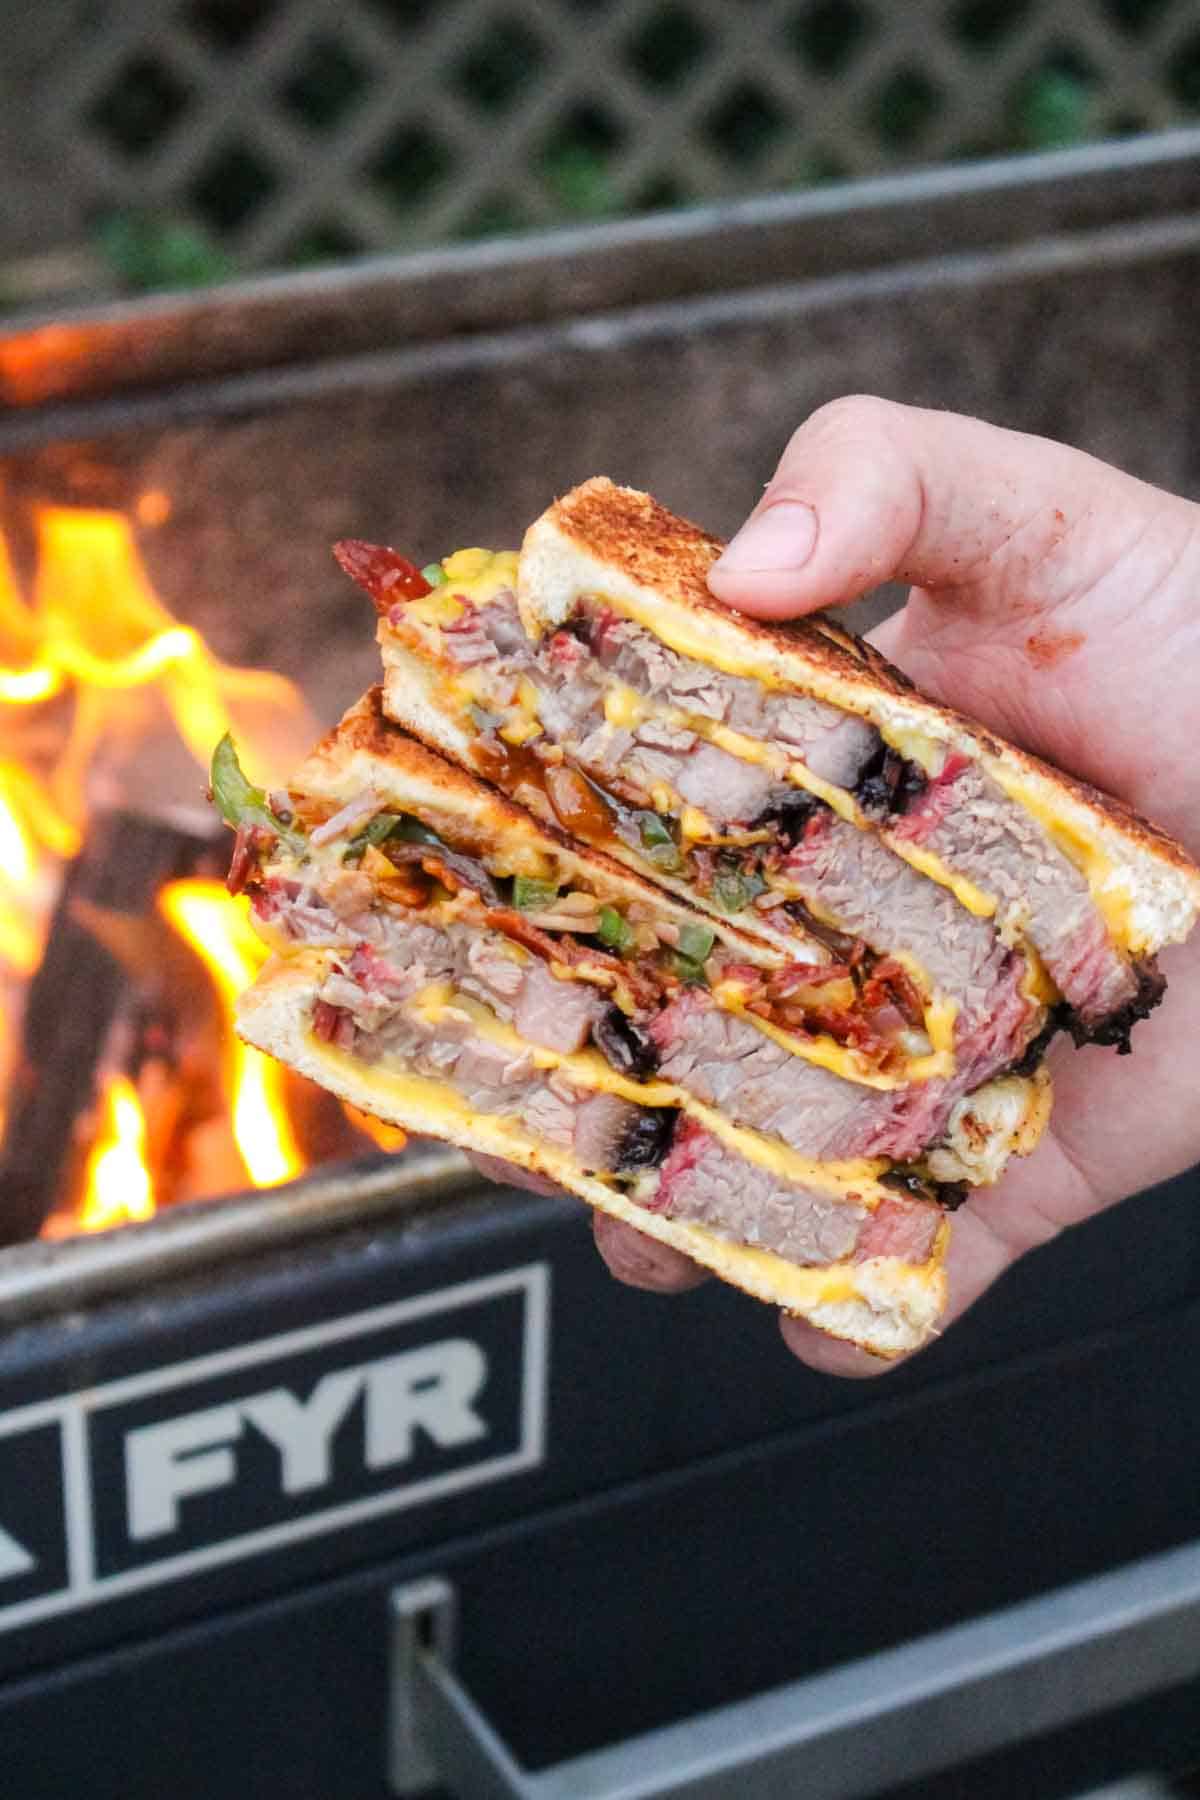
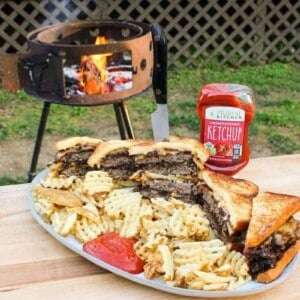
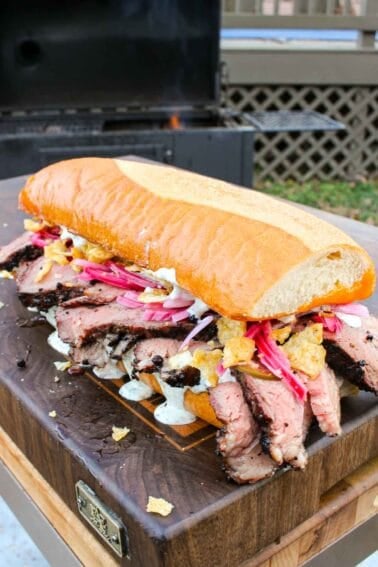
BBQ Brisket Melt
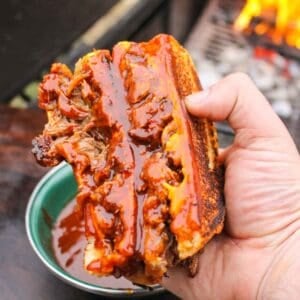
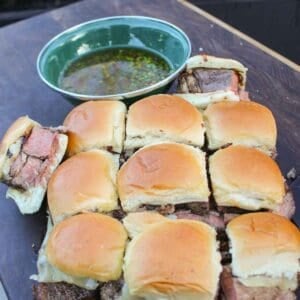
BBQ Beef Melt

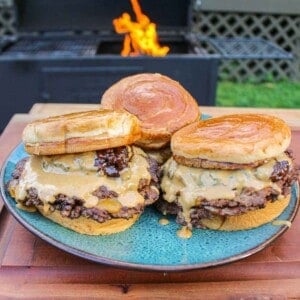
Patty Melt

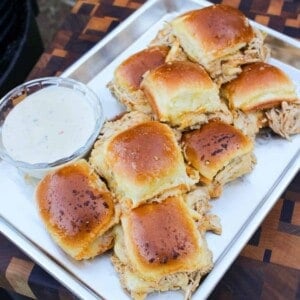
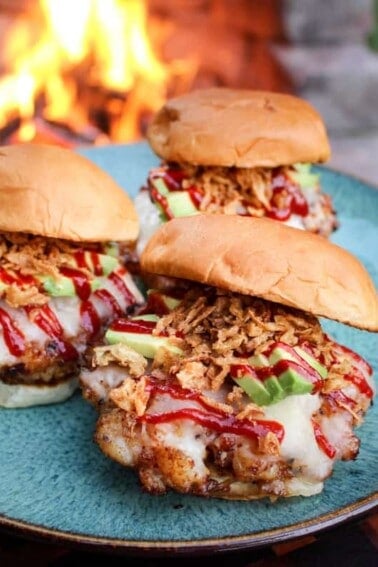
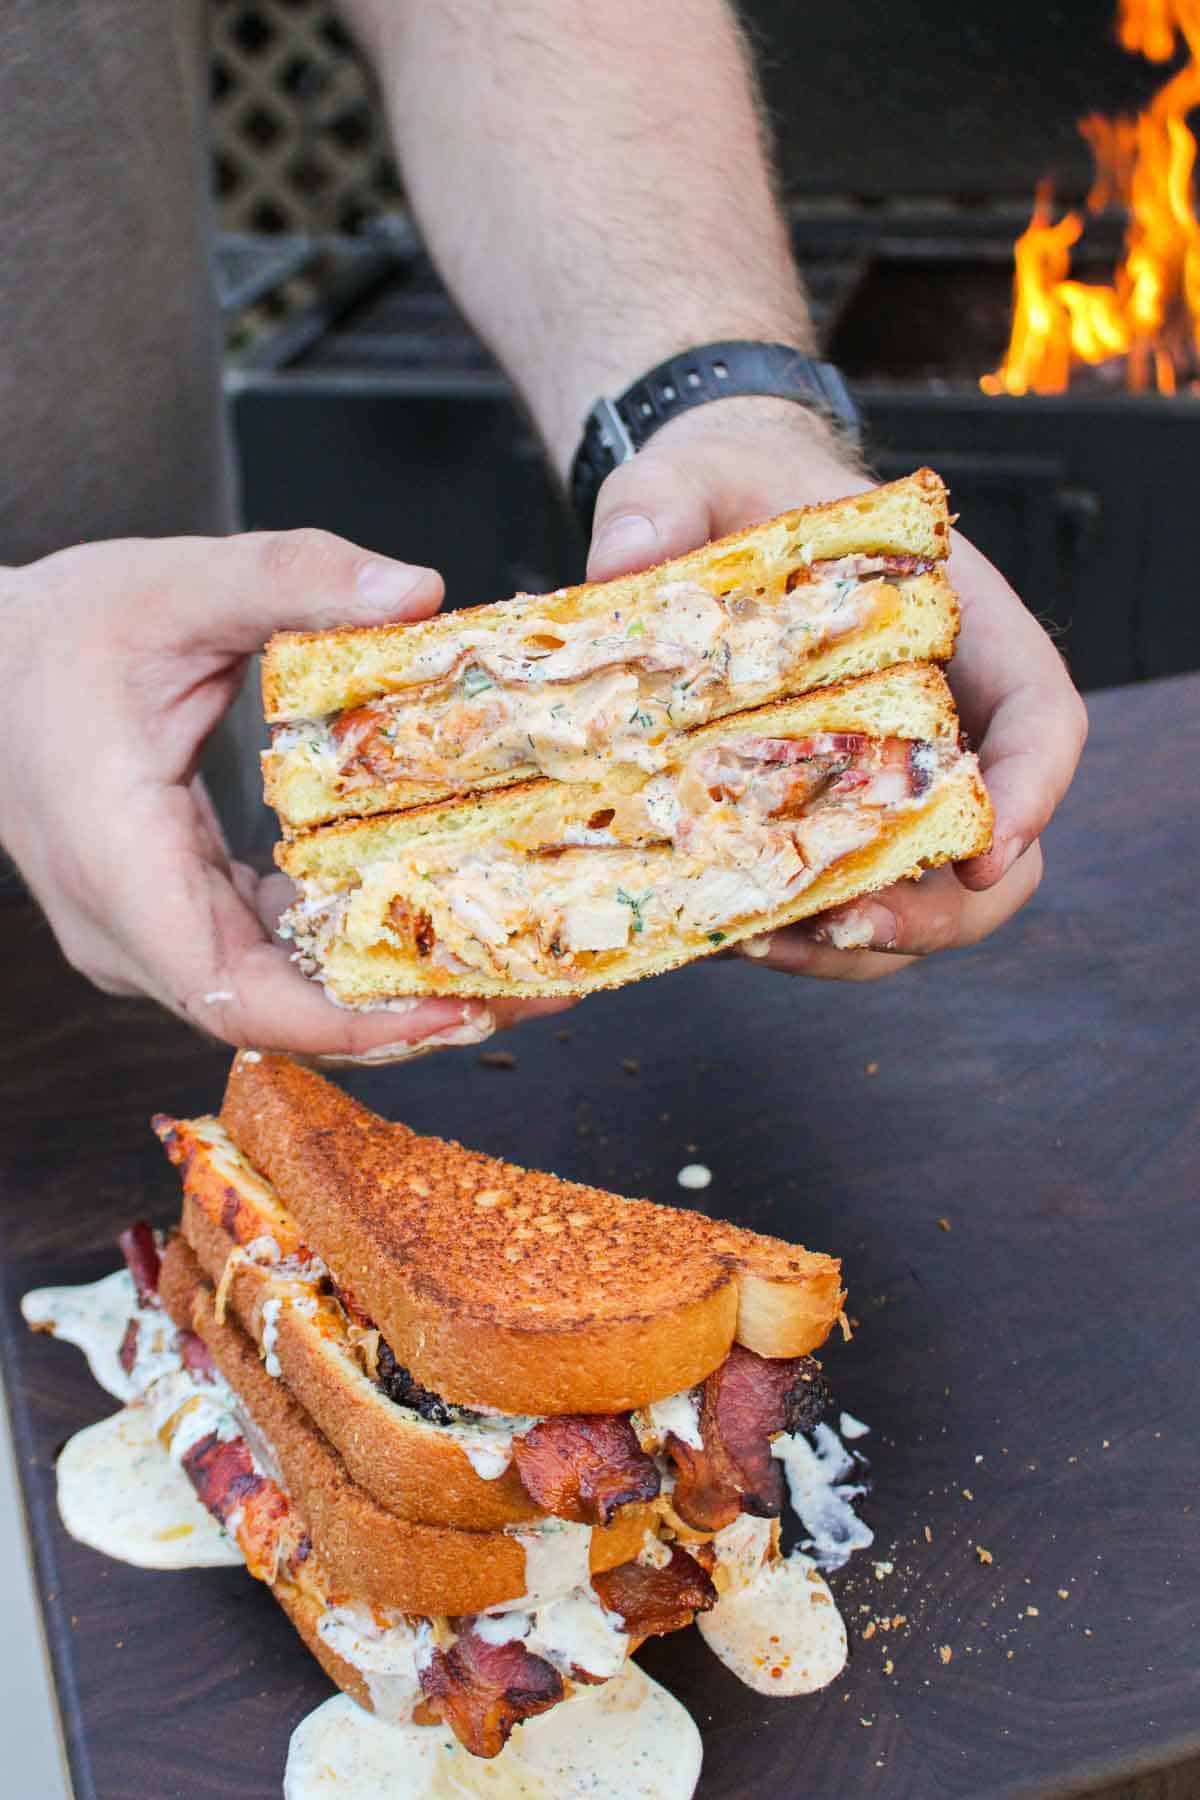
Chicken Bacon Ranch Patty Melt

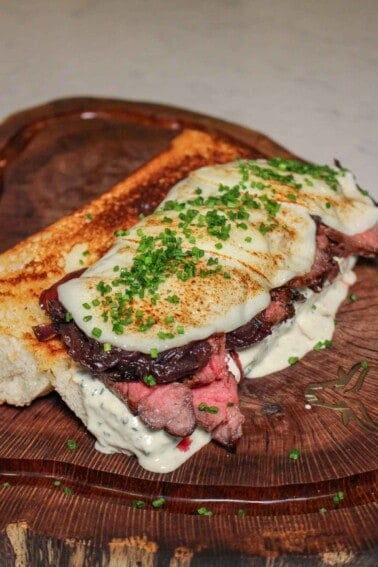
French Onion Patty Melt
Cheesy Patty Melt

What to Serve with Your Favorite Patty Melt
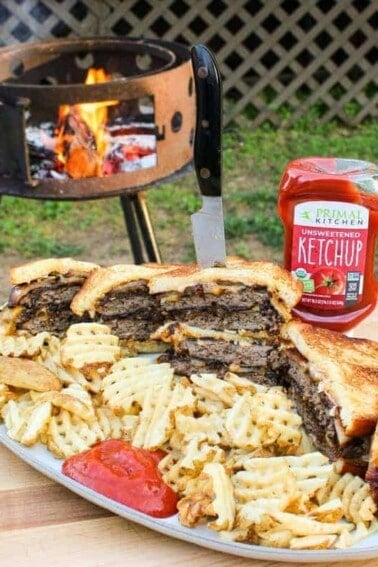
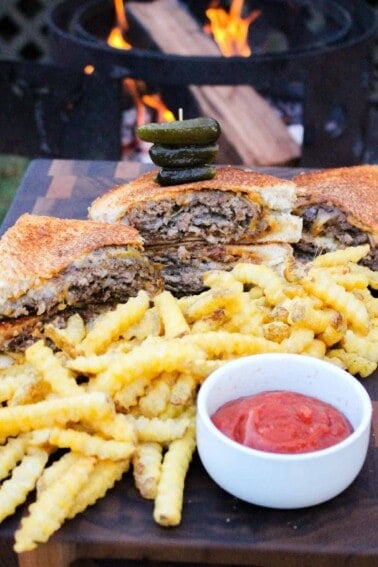
I love to go classic here. French fries, onion rings, or a Caesar salad are delicious with any patty melt sandwich.
Leftovers and Reheating
Store any leftover patties and other ingredients in separate airtight containers in the fridge for up to three days. Then, reheat your patties and ingredients in a hot skillet for maximum flavor in your patty melt recipe.
For more articles highlighting my favorite handhelds, check out The Best Slider Recipes and The Best Smash Burger Recipes!
For More Sandwiches
FAQs
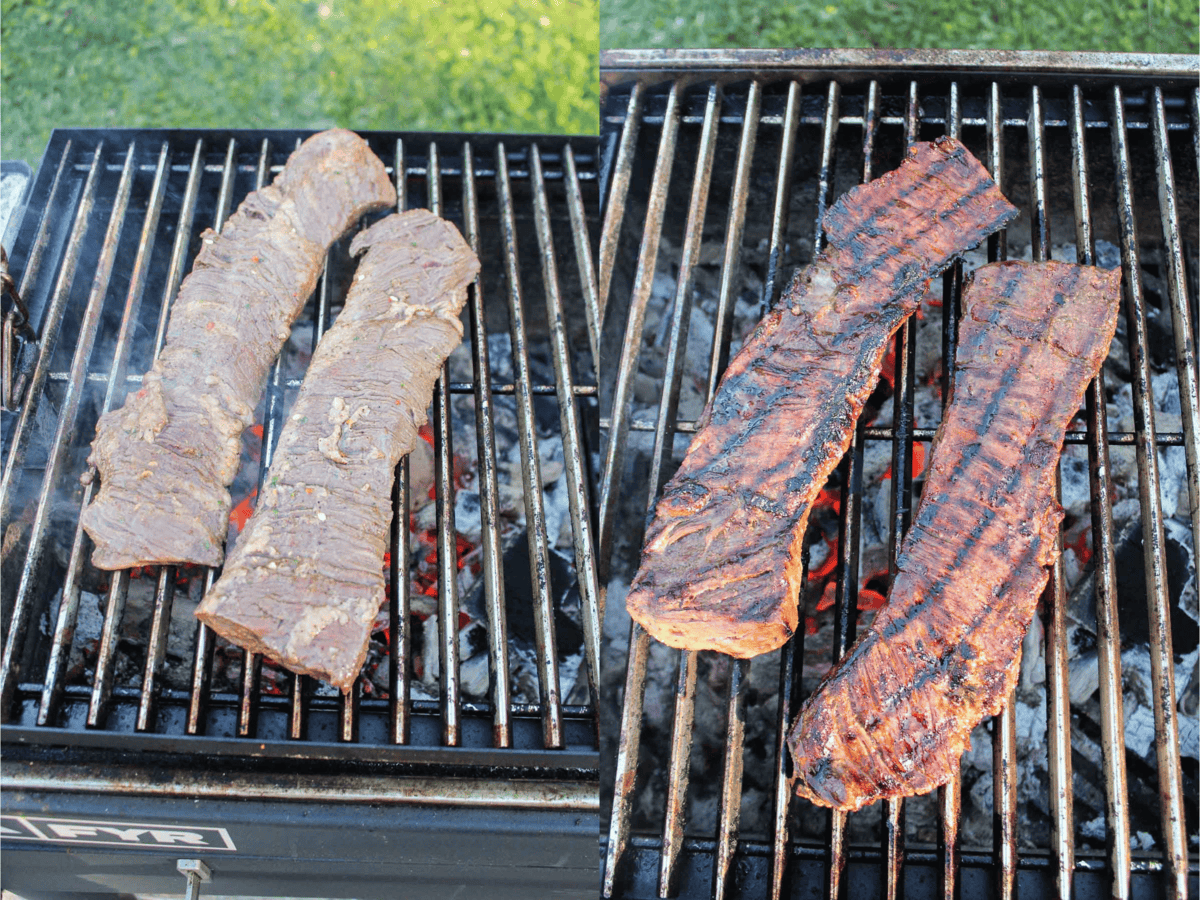
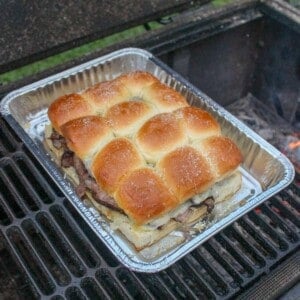
Good news: these sandwiches go fast! Cooking the proteins usually takes the longest, about 5-20 minutes depending on what you’re using (but if you’re making a BBQ brisket melt, that’s an entirely different story). Once you assemble the sandwiches, they only need a few minutes on the grill to get all melty and so freakin’ delicious.
Definitely! You can cook patties ahead of time and then store them in an airtight container in the fridge. Do the same for any other toppings that need a little extra cook time. Once you’re ready to pull together your sandwich, assemble everything and warm it up on the grill until the bread is dark golden brown.
Check with your local grocery store or butcher shop. I’m often surprised by how good the quality is there. Another great option is to go online and buy pasture-raised beef from popular sites like White Oak Pastures, US Wellness Meats, and Primal Pastures. If there’s another high-quality meat supplier I should know about, be sure to leave a comment!
Get The Cookbooks!
Flavor X Fire & FOOD X Fire
All the major tastes—salty, sour, sweet, bitter, and umami—are explored in depth, along with an investigation of other components you should consider when it comes to flavor, such as aroma, heat, and texture.
The post The Best Patty Melt Recipes appeared first on Over The Fire Cooking.